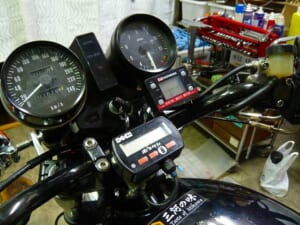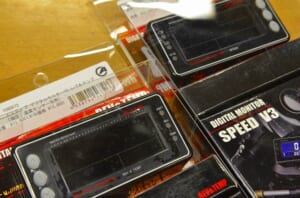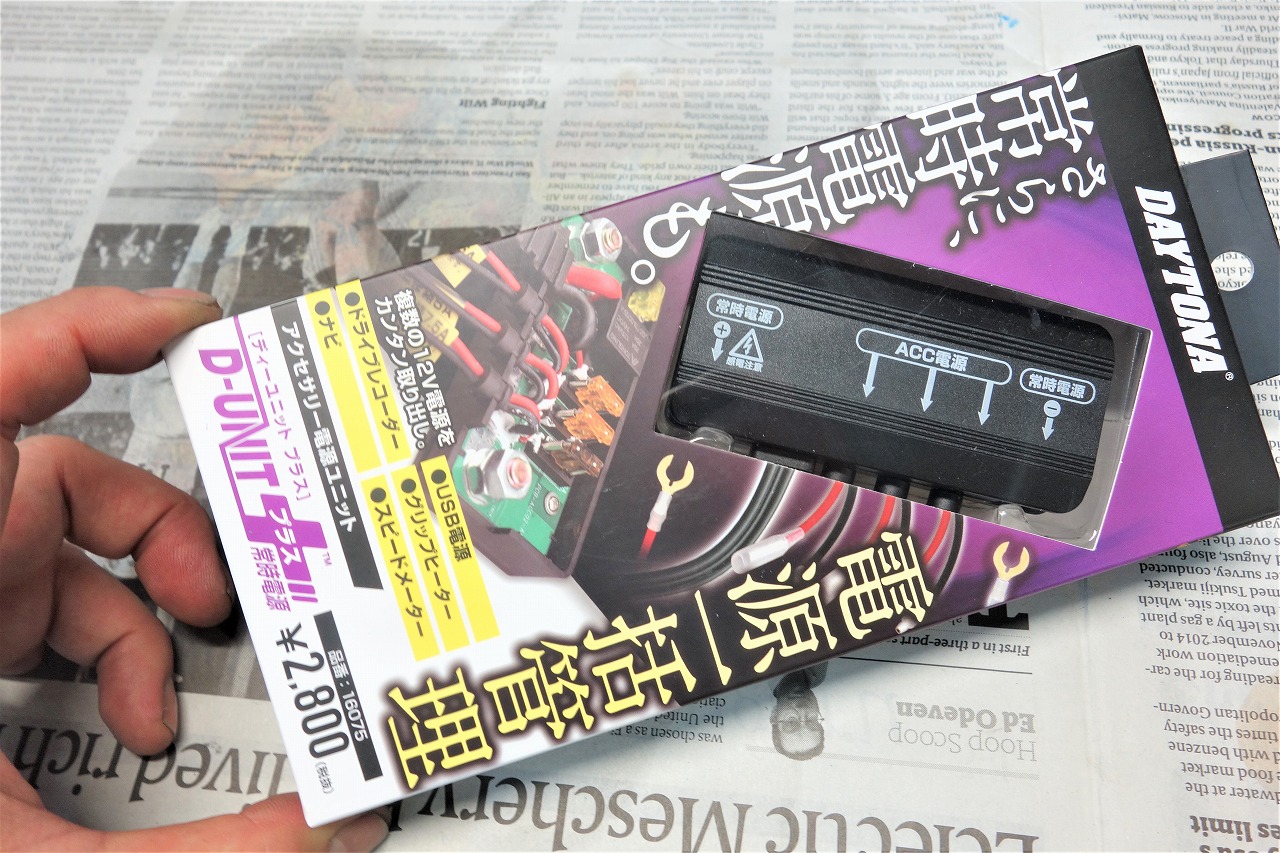
Daytona D-UNIT+Stock is disappearing at an explosive pace.
Hmm, I should probably stock up before supplies run short.
It’s really great when you want to add aftermarket power or optional power. Mass retailers should just throw these in whenever they install an ETC unit, don’t you think?
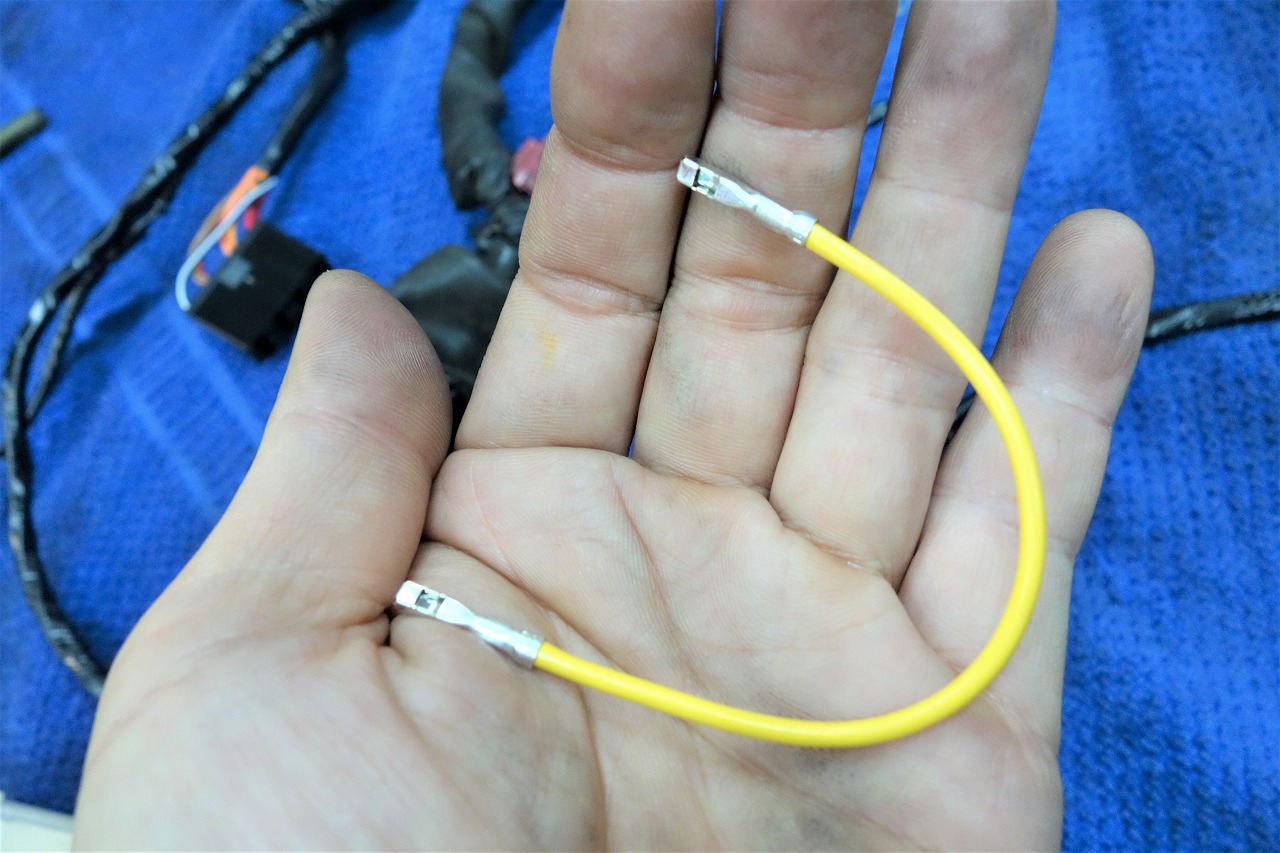
One more difference between the SR and SY! The headlight turns OFF when the starter engages.
The circuit path to the dimmer switch goes: fuse ⇒ switch that turns OFF when starter is ON and ON when starter is OFF ⇒ dimmer switch.
When using the SR harness, basically you need to go there and come back, so to speak.
If you don’t mind leaving it on, well, you don’t need this. That’s it.
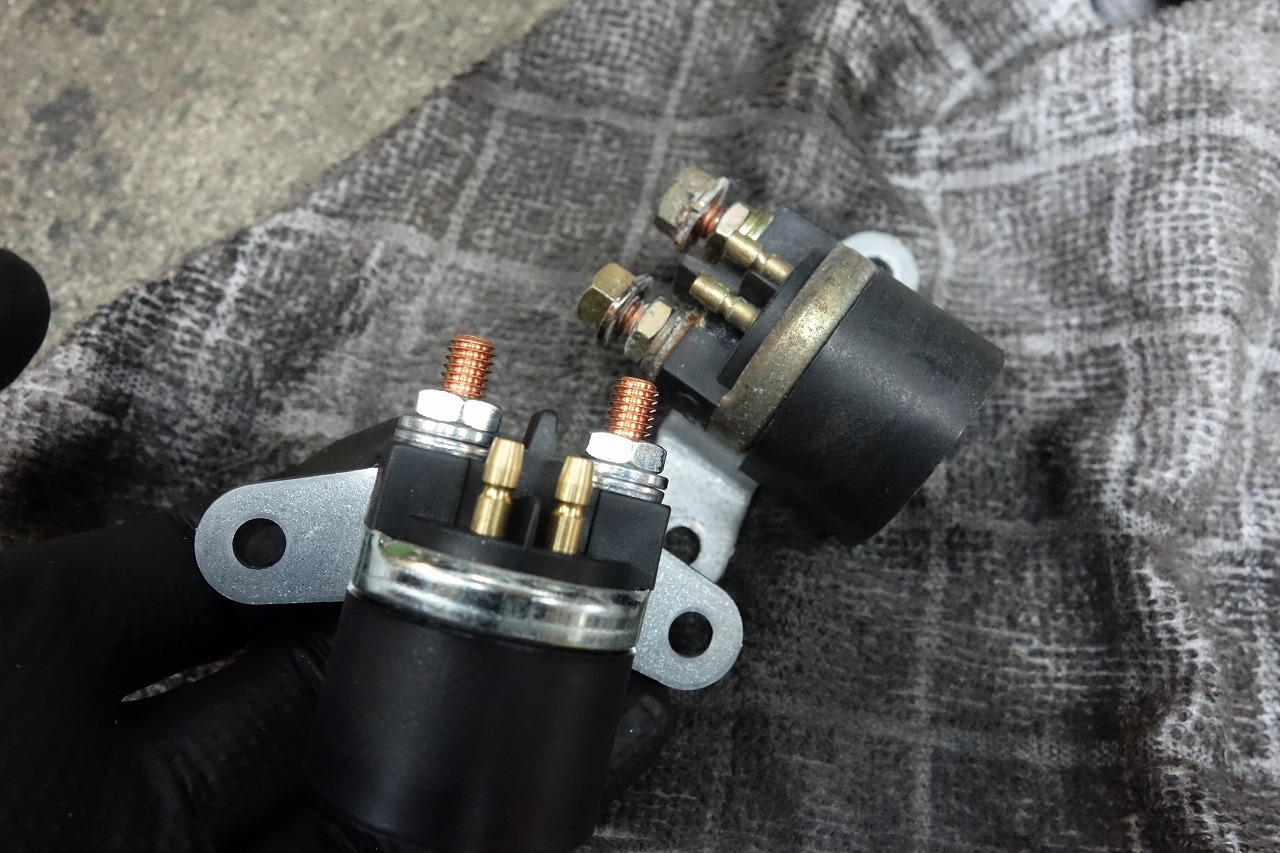
This time I’m using the OEM starter relay without any fuss.
Yeah, just swapping it out is the best—change man.
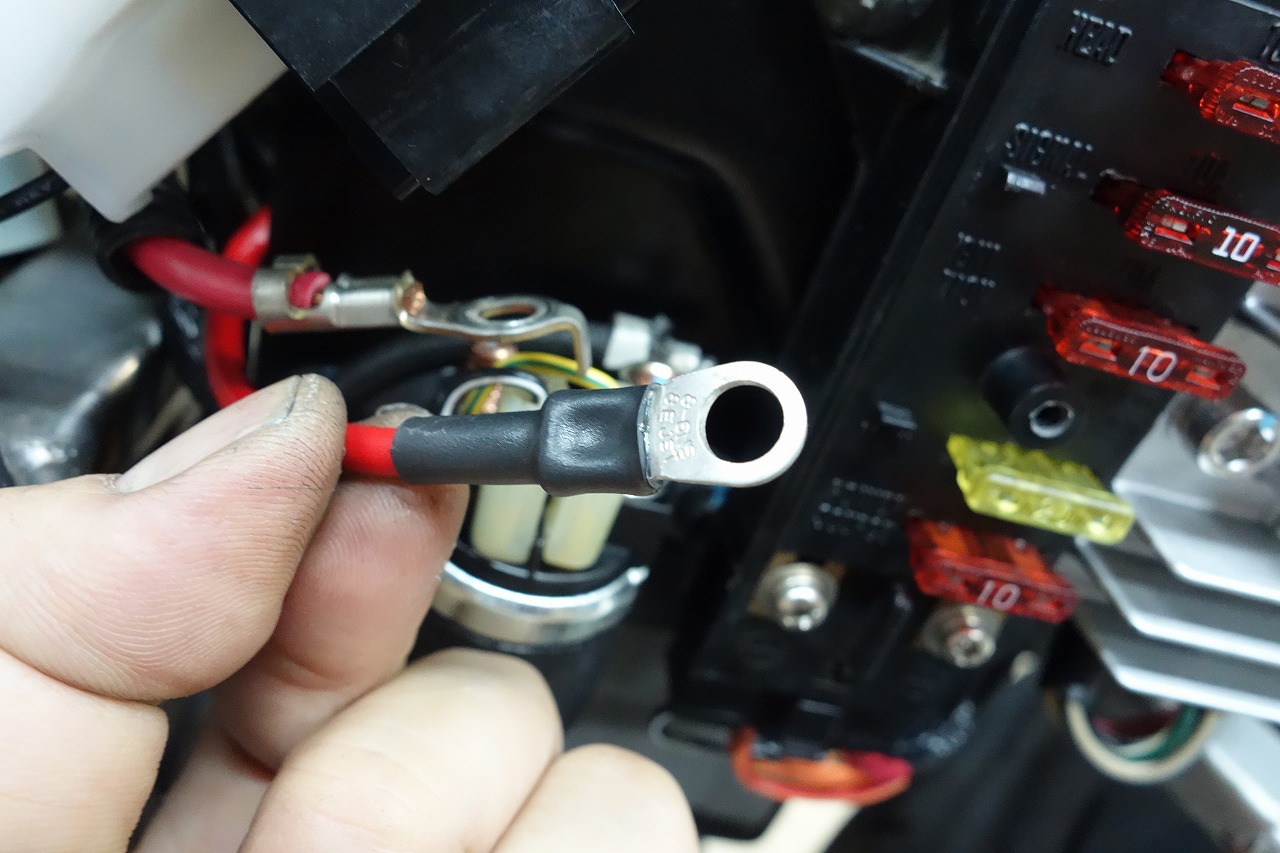
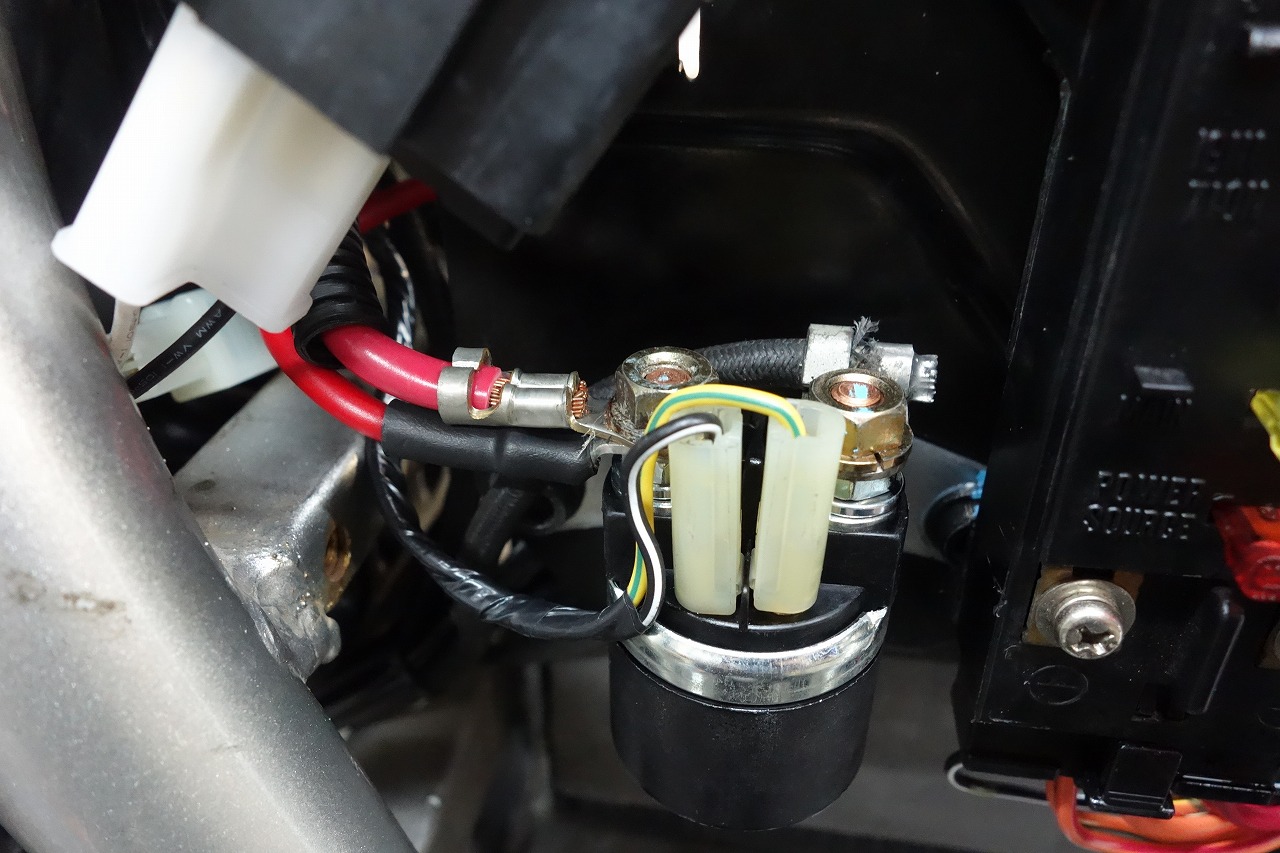
So basically, I’m in the camp that doesn’t co-crimp the battery terminal, so I’ll power it from the starter relay side.
*By the way, this battery terminal is super dangerous.
If it drops on the frame, electricity keeps flowing until the battery is dead—which means it catches fire.
One of the common causes of vehicle fires is apparently constant-on battery charging while the bike is parked.
You might say, “But there’s a fuse, right?” Well, that fuse is downstream of the starter relay, so it helps but… that’s the thing. Be careful.
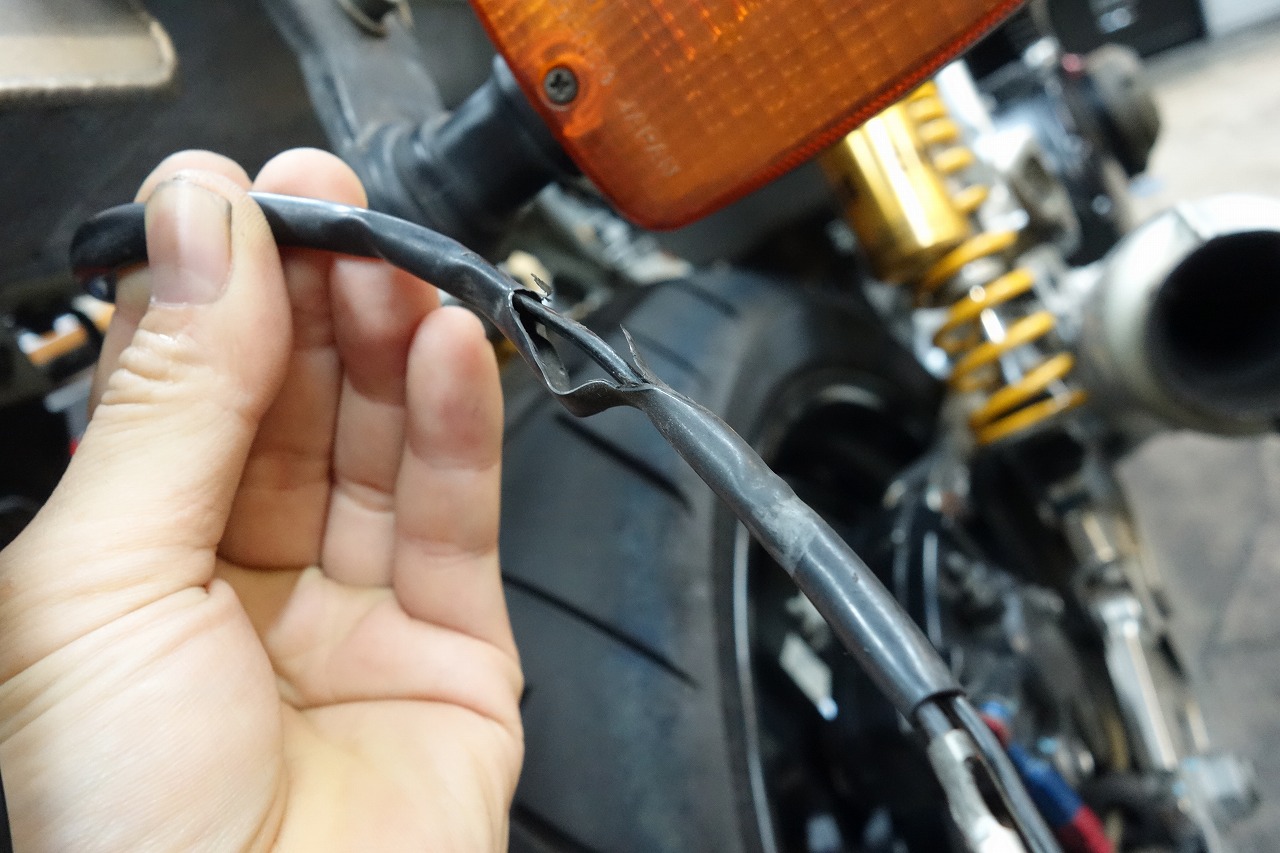
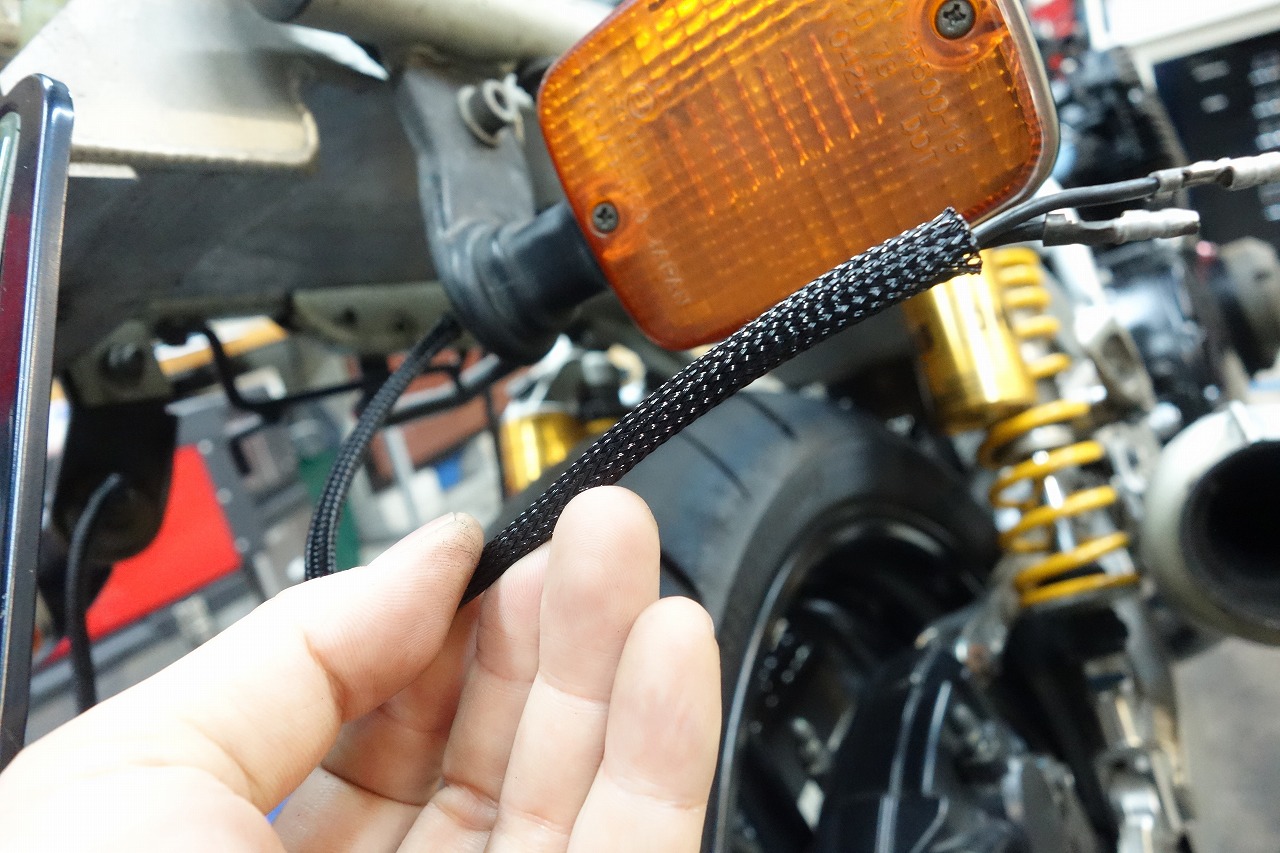
I’m replacing the peeling turn signal outer covering with mesh tubing.
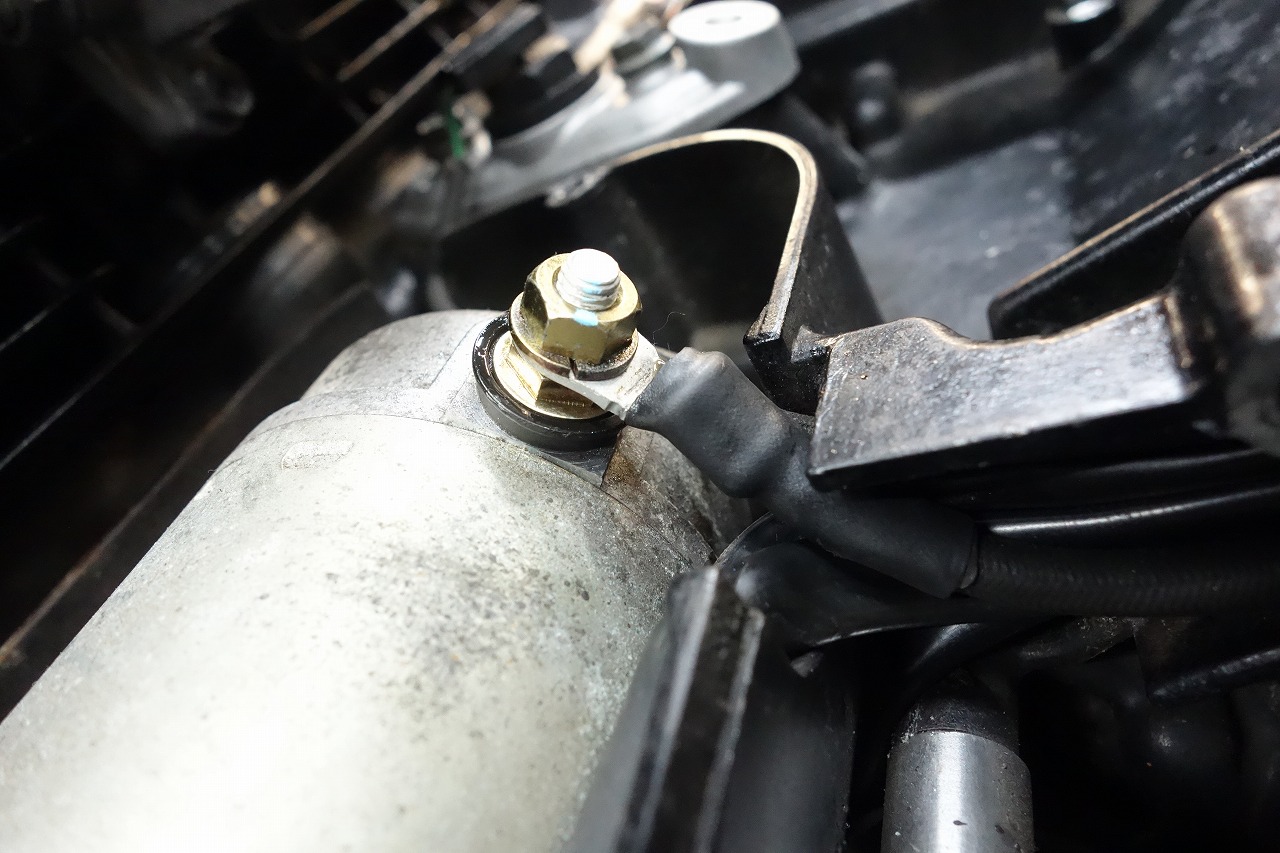
The starter lead wire is long, so I’m cutting it and re-soldering it. It looks subtly cleaner. (I’ll cover it later.)
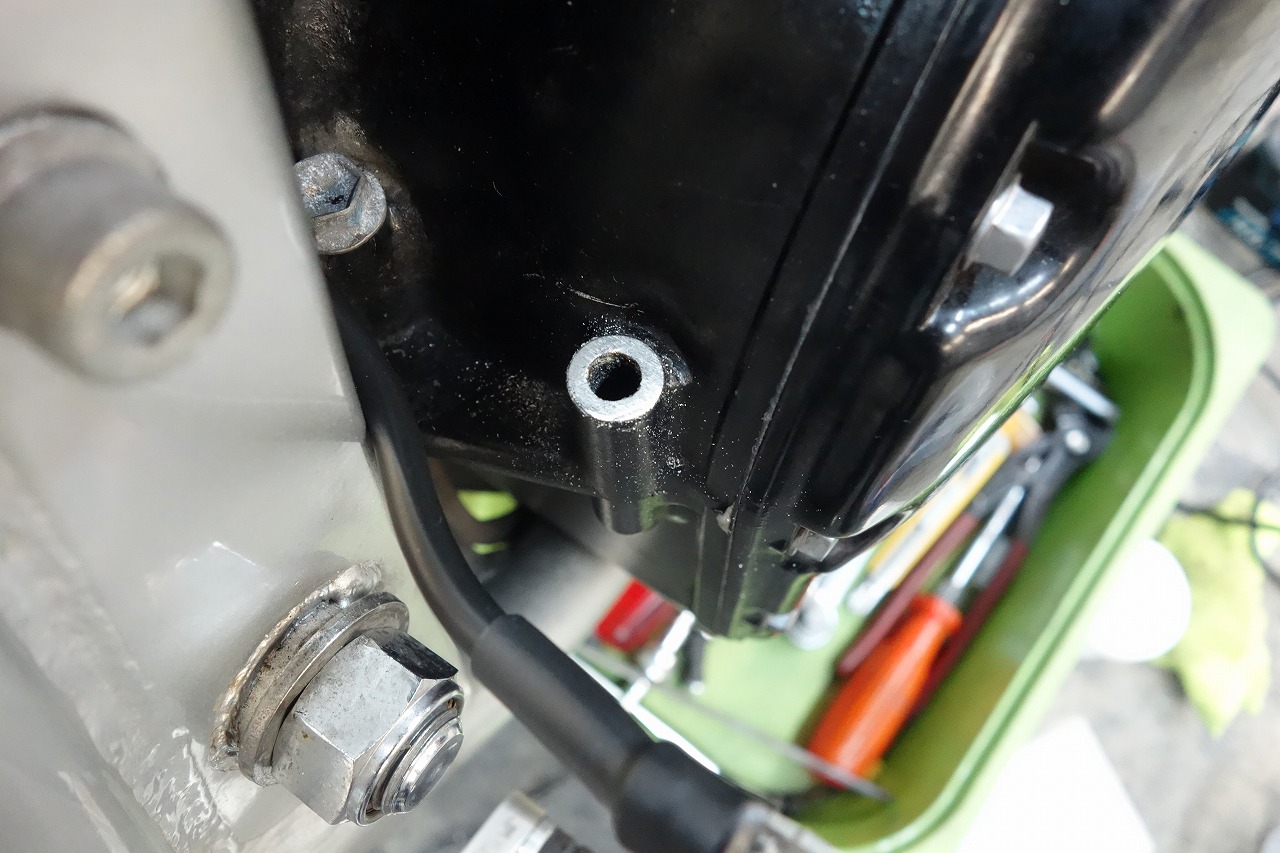
The main ground is being relocated to a spot that’s easier to service. If you always expose the seating surface and make sure it sits firmly, reliability will improve.
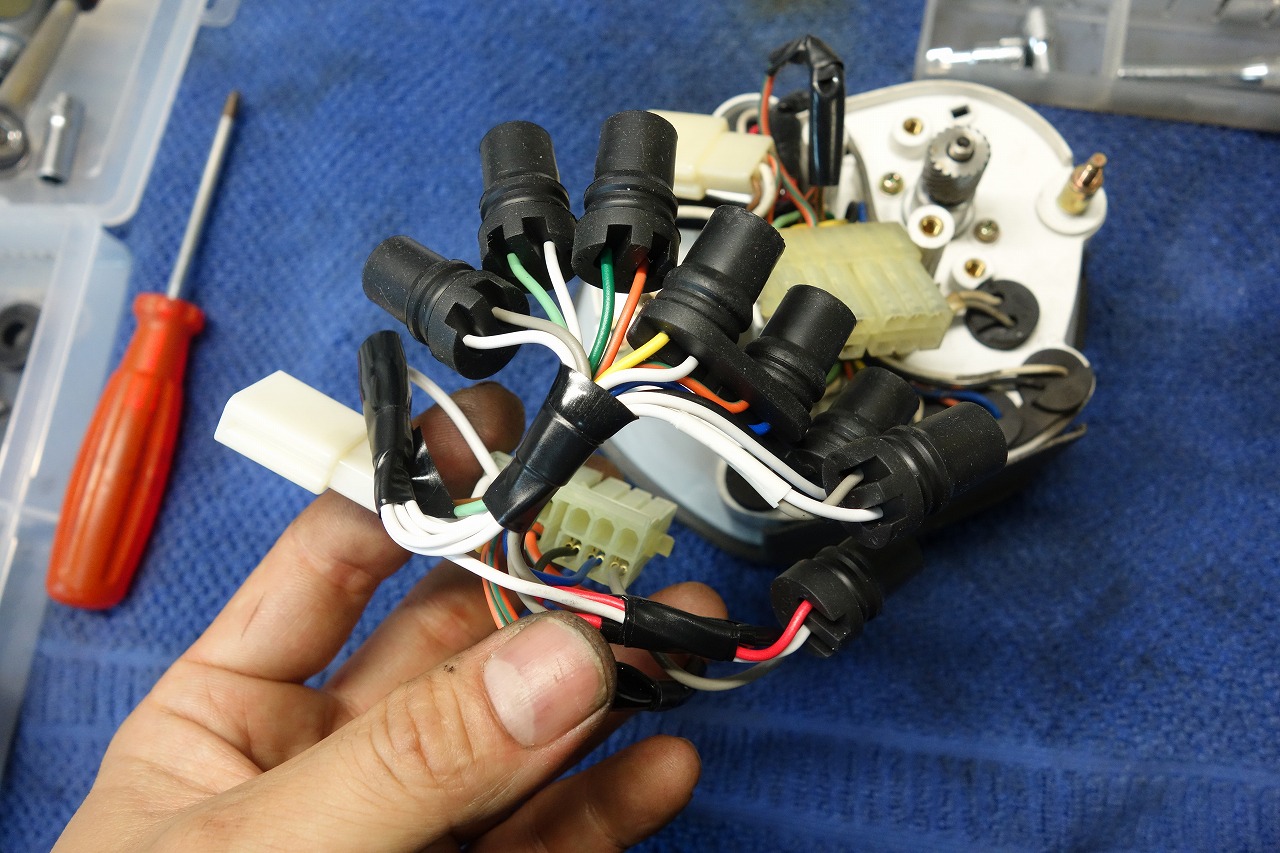
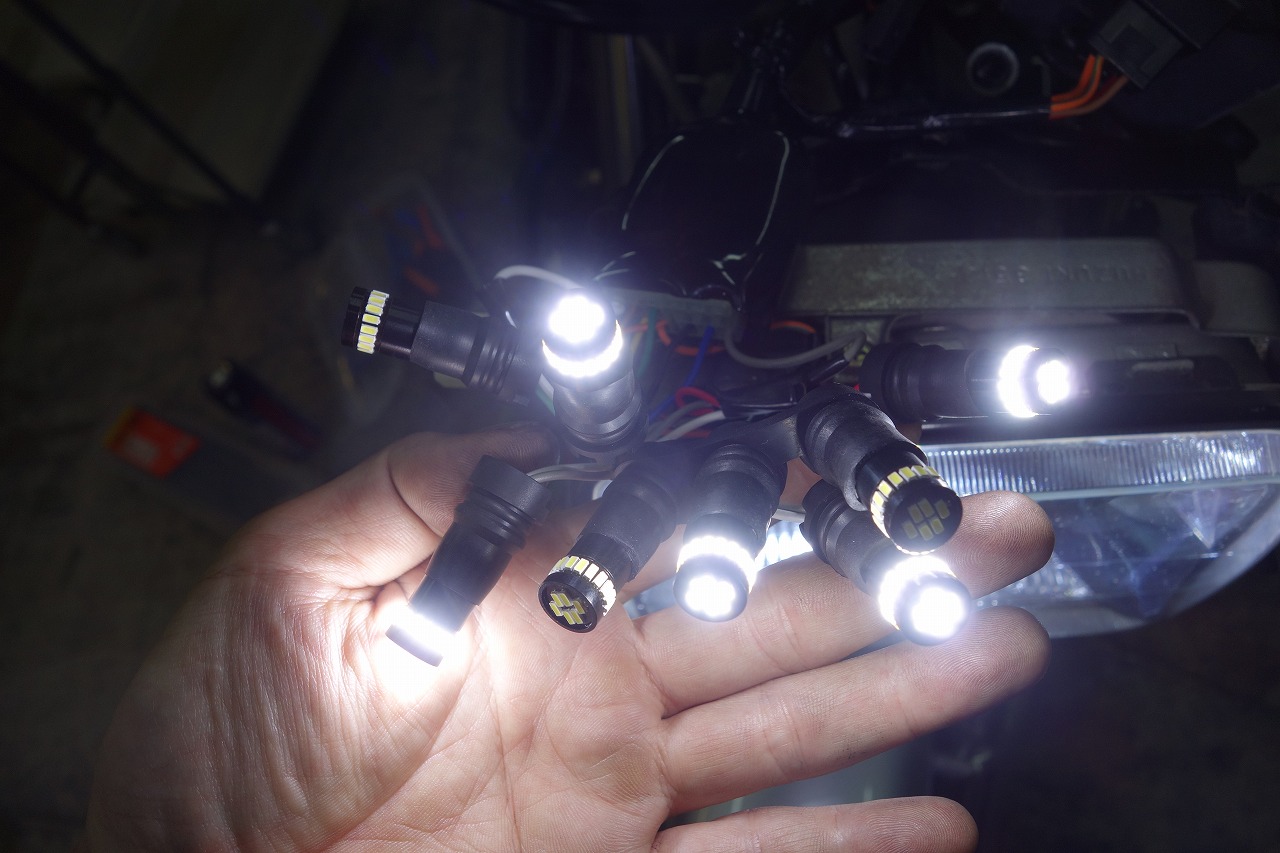
I’m replacing the T10 bulbs with LEDs.
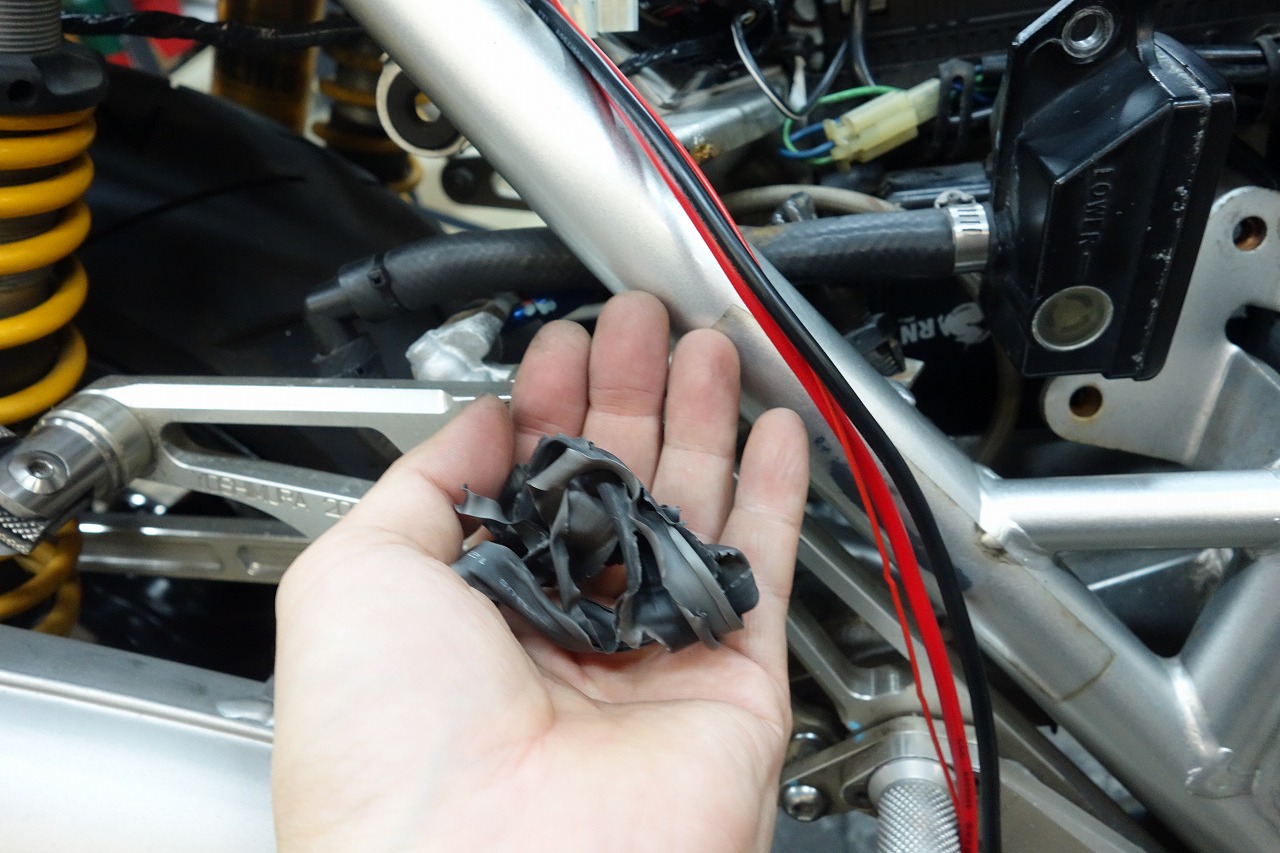
Peeling the shrink tubing off the D-UNIT every time is pretty tedious. Since it’s DIY-oriented, there’s only so much you can do about it.
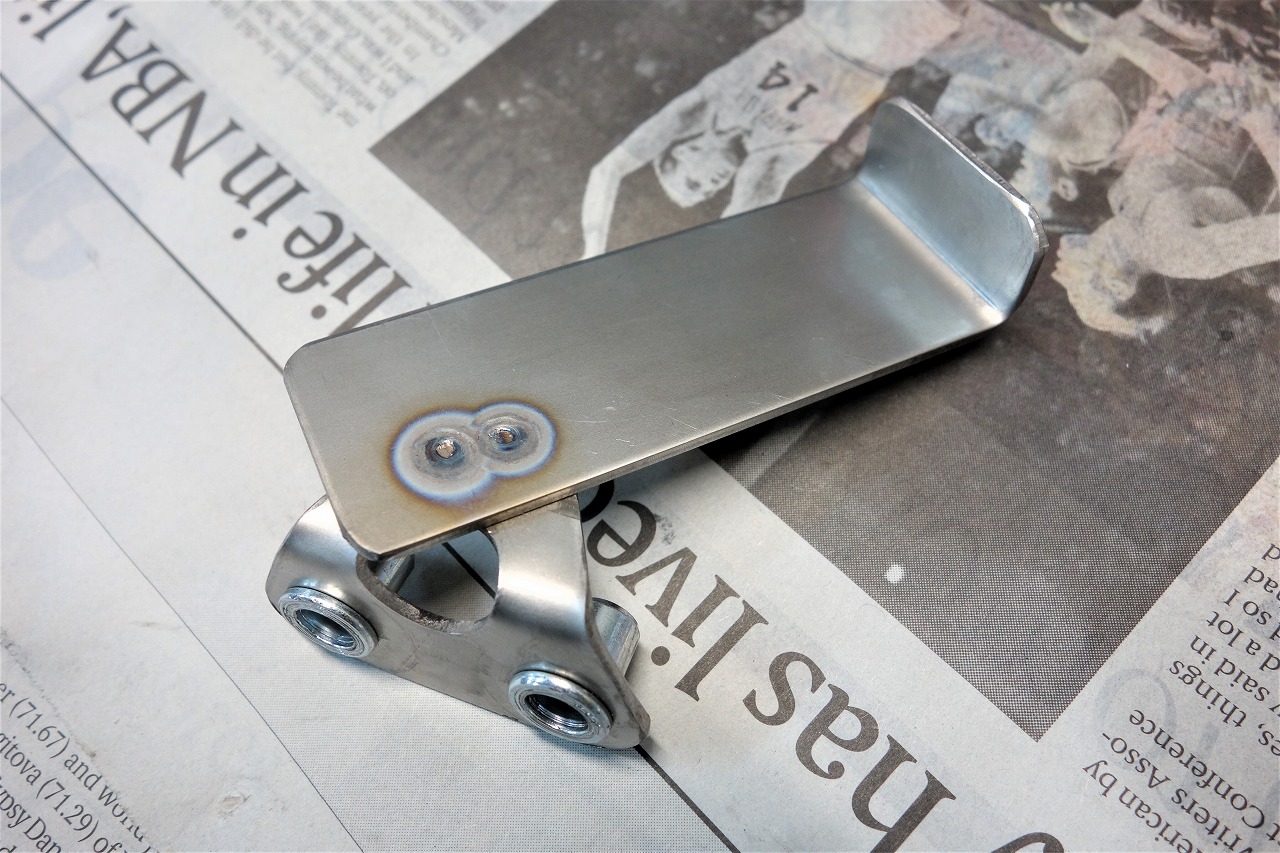
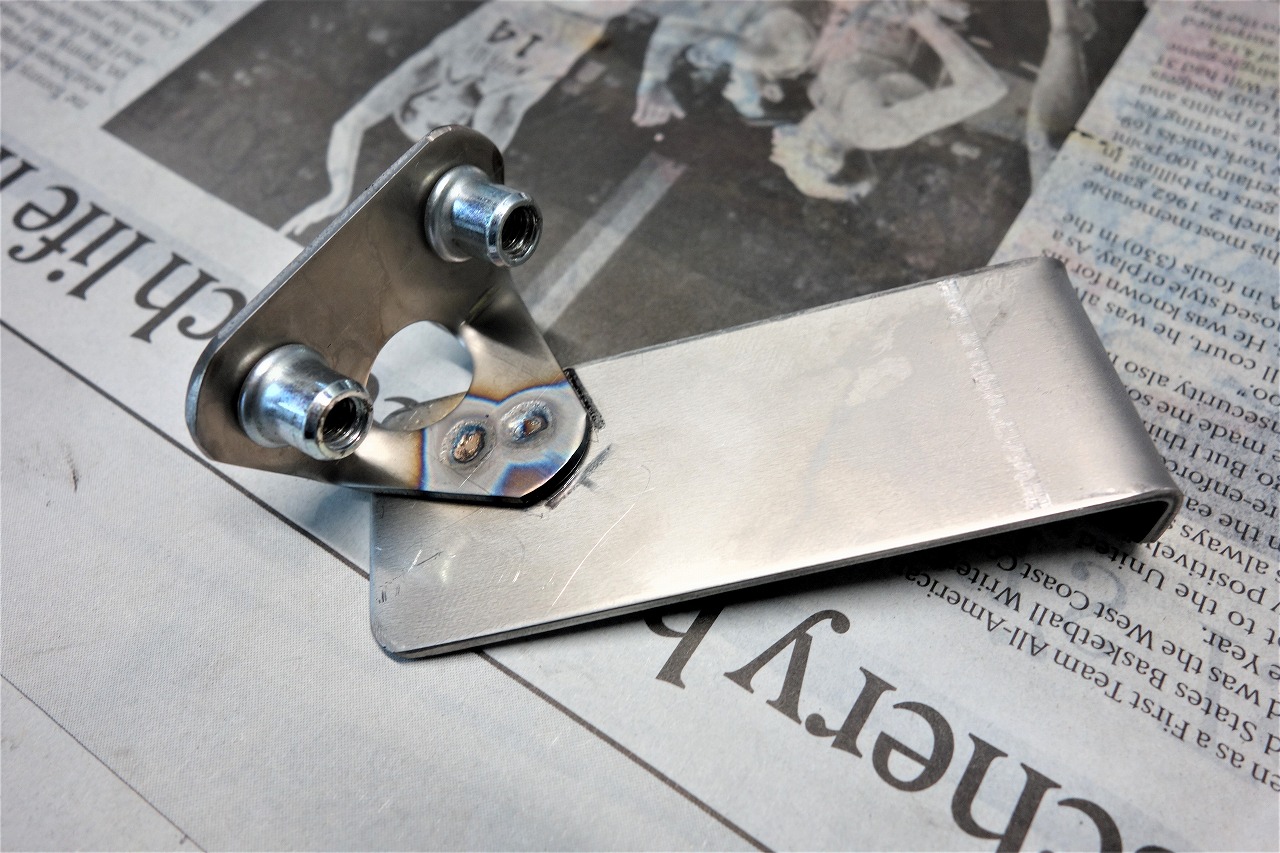
I want to install this kind of electrical stuff cleanly, but I can’t spend time making brackets.
That’s a pain that anyone doing this work understands, right?
I try to spend as little time as possible, no fancy bends or maniacal work.
I made it with 90-degree-to-90-degree angles for easy management and maximum flexibility. (It’s titanium.)
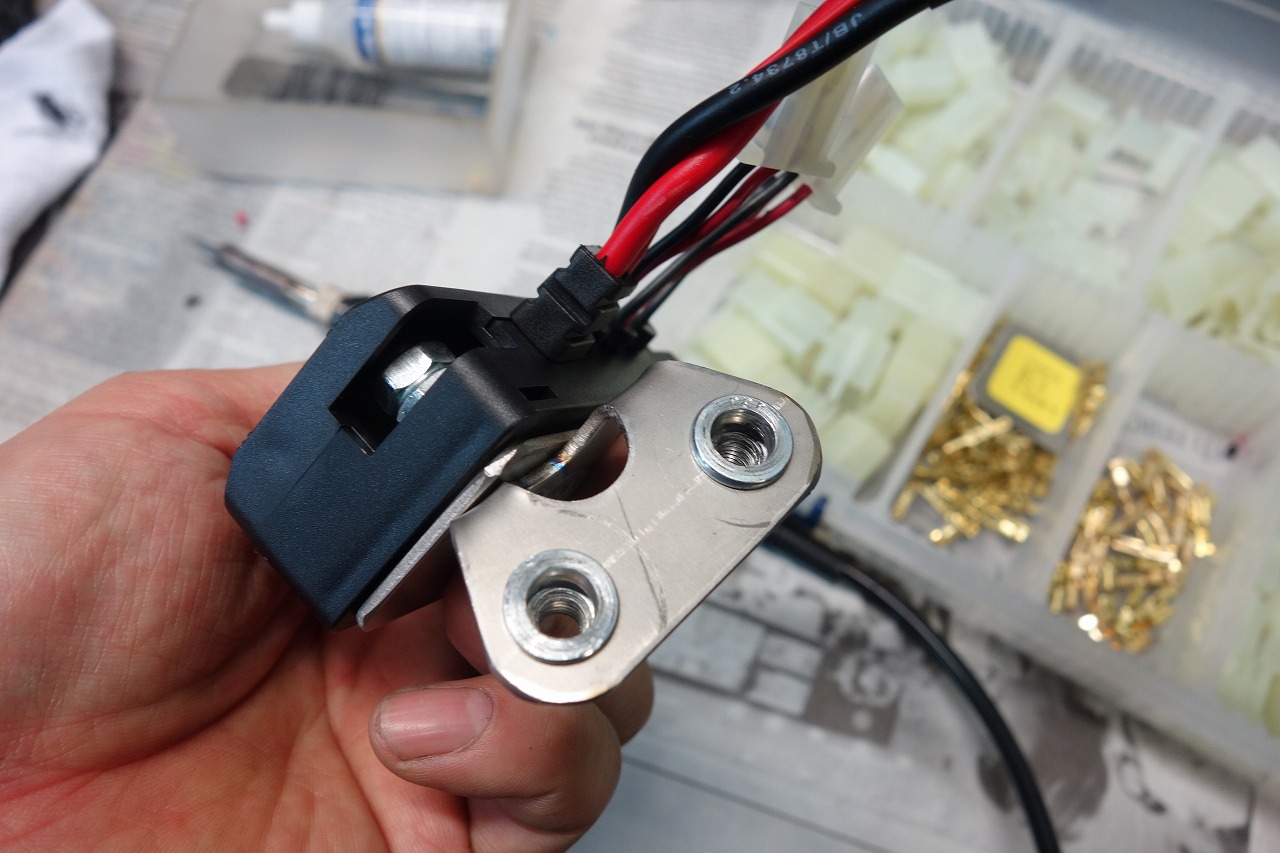
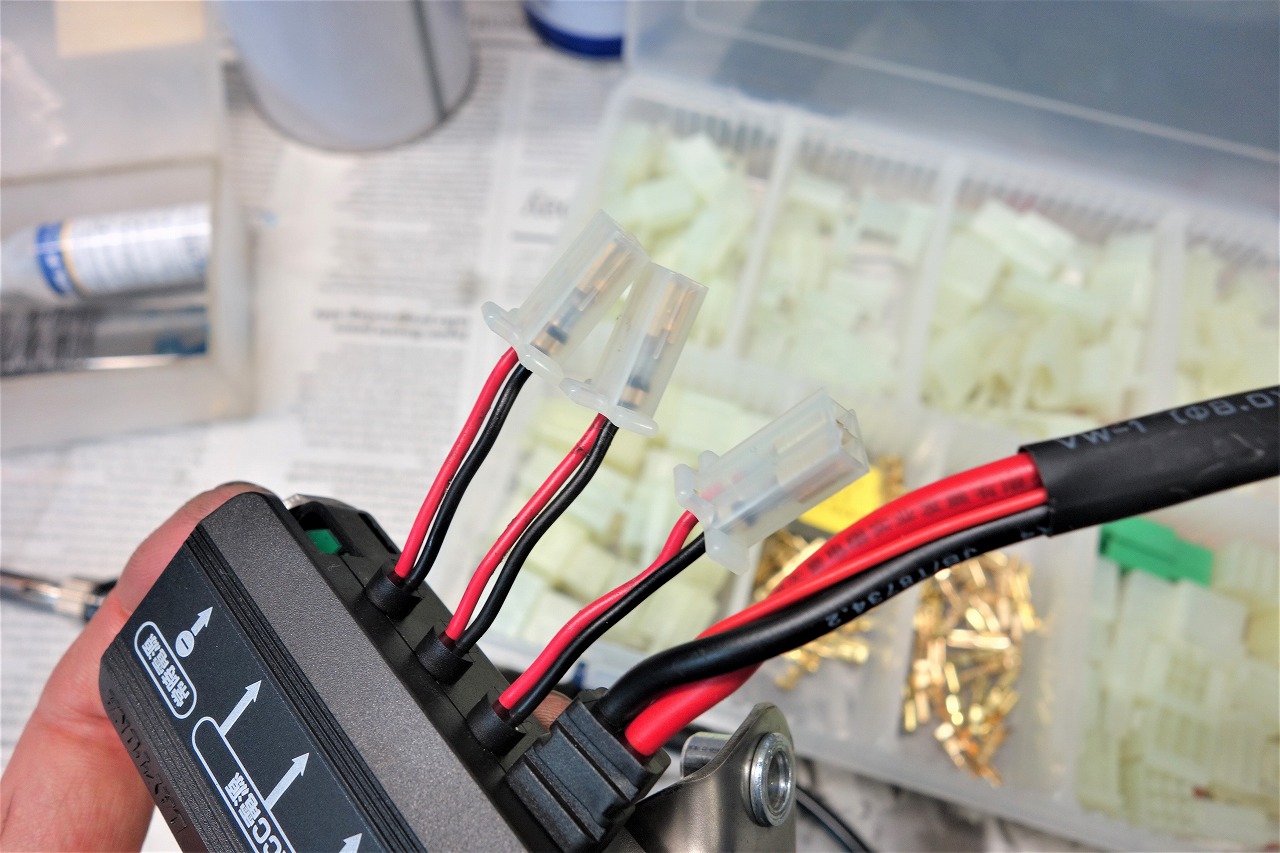
The D-UNIT originally came with spade terminals, so I changed it to a 110-series connector.
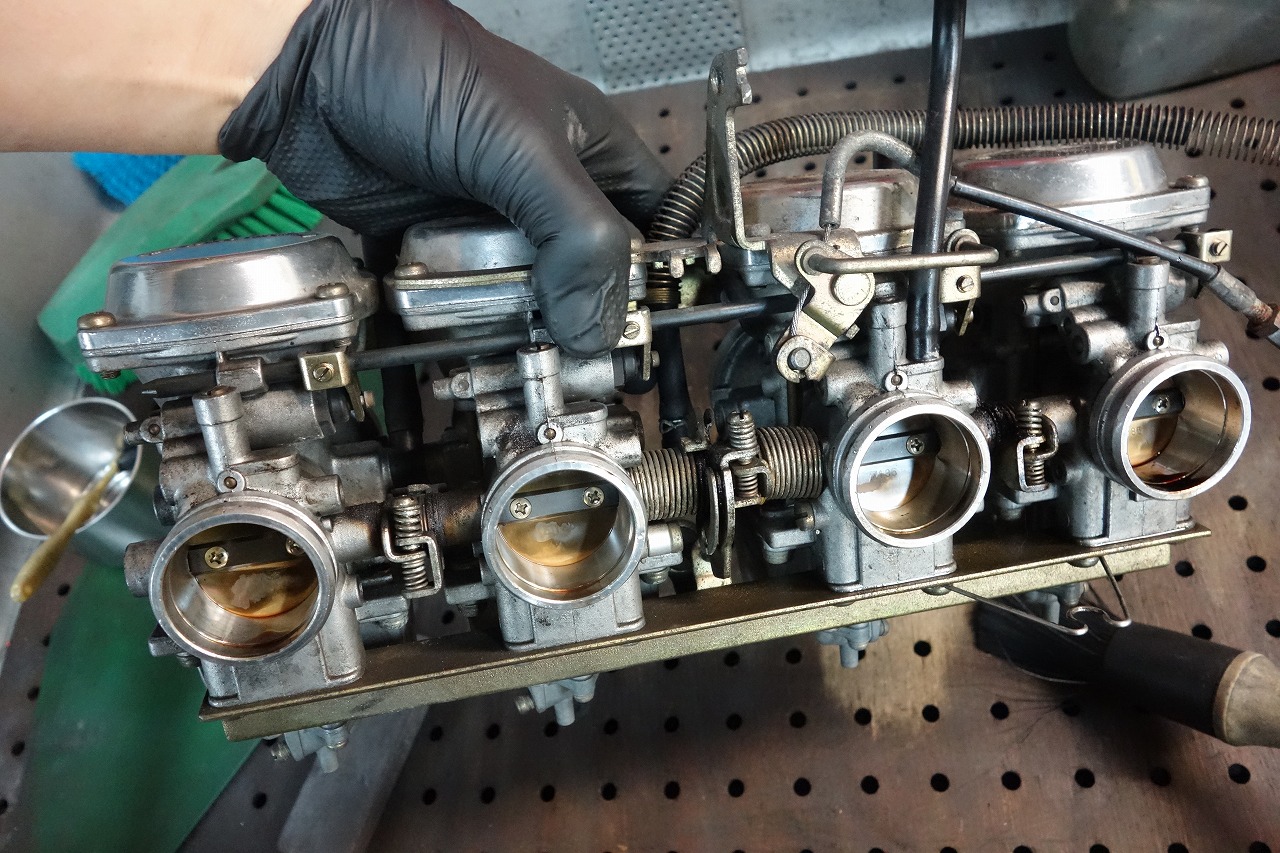
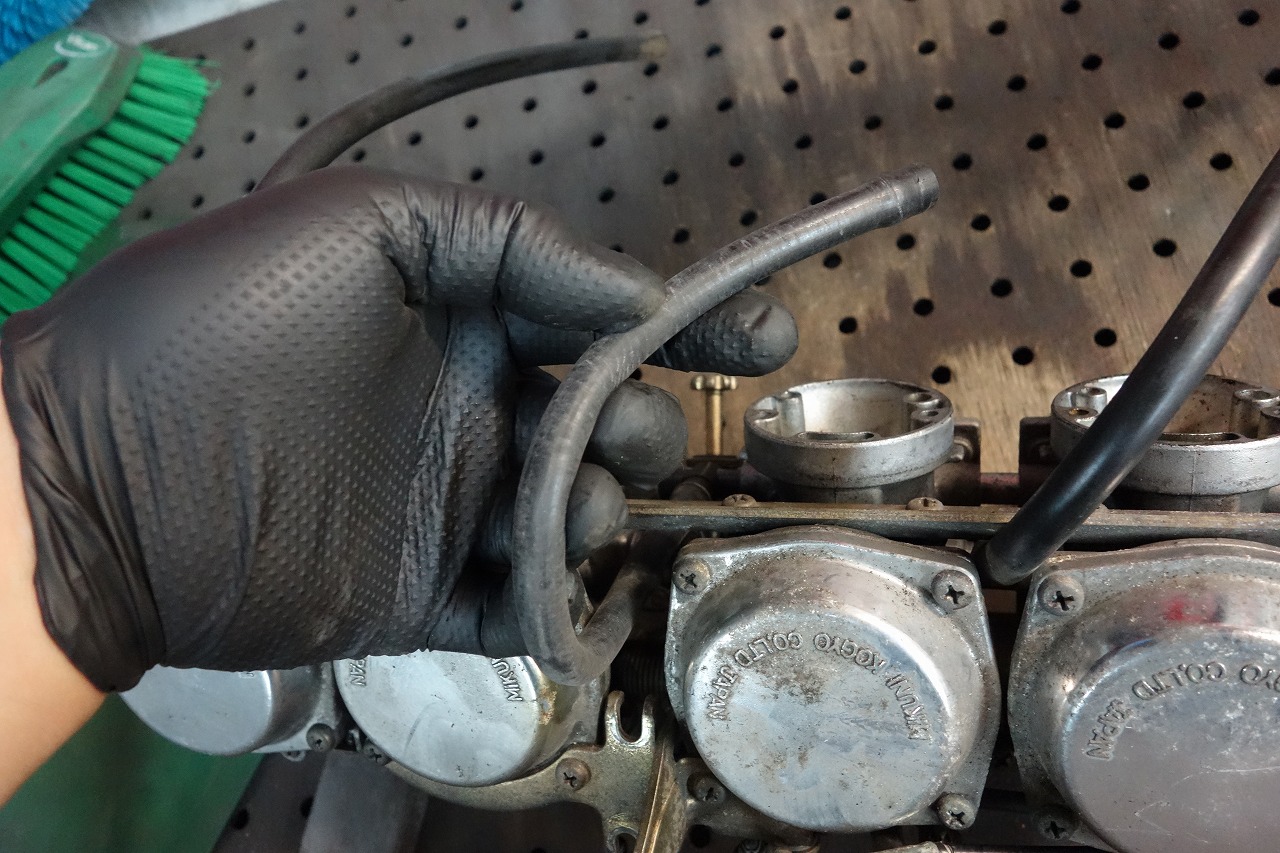
I just gave the carburetor a light external cleaning.
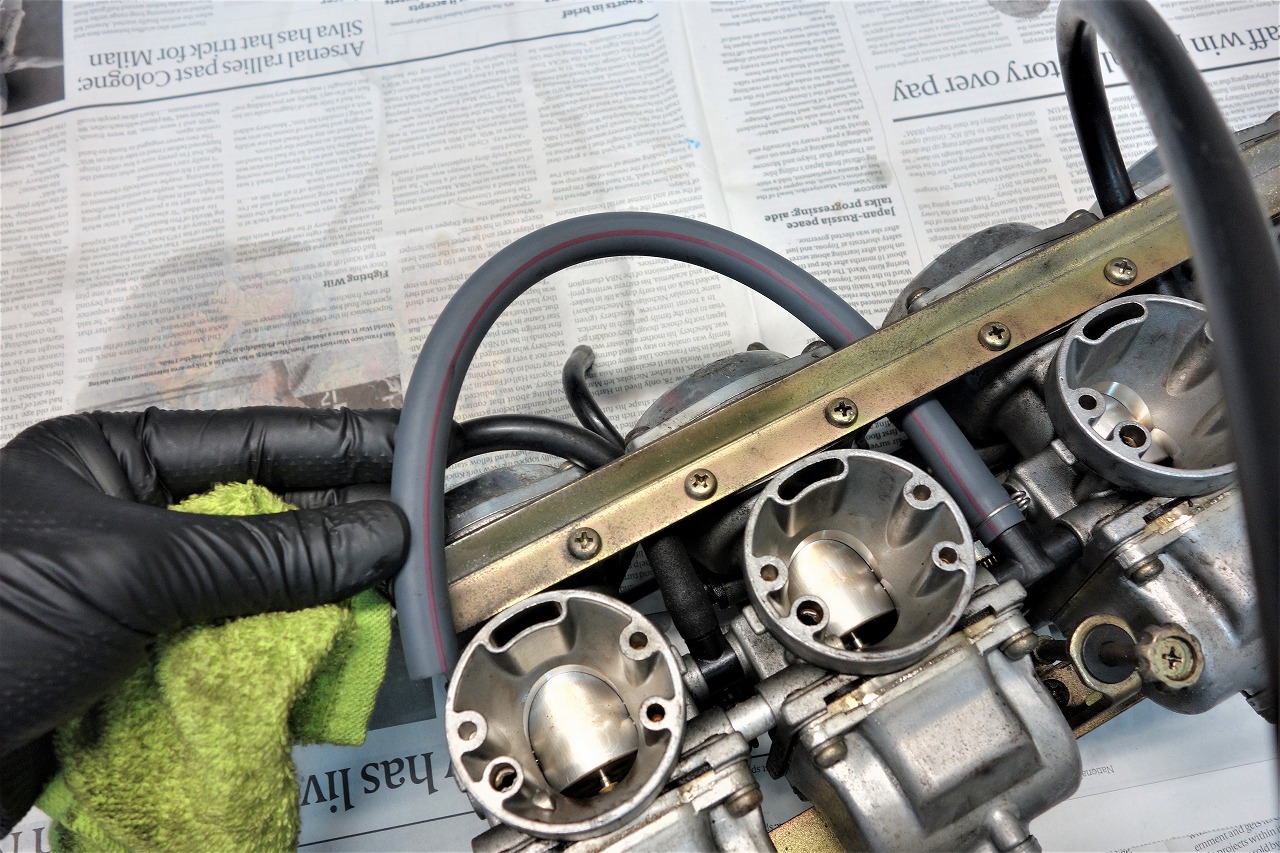
The fuel hose is old, so I’m replacing it with genuine Mikuni dual-layer hose.
This is the best fuel hose I’ve found so far.
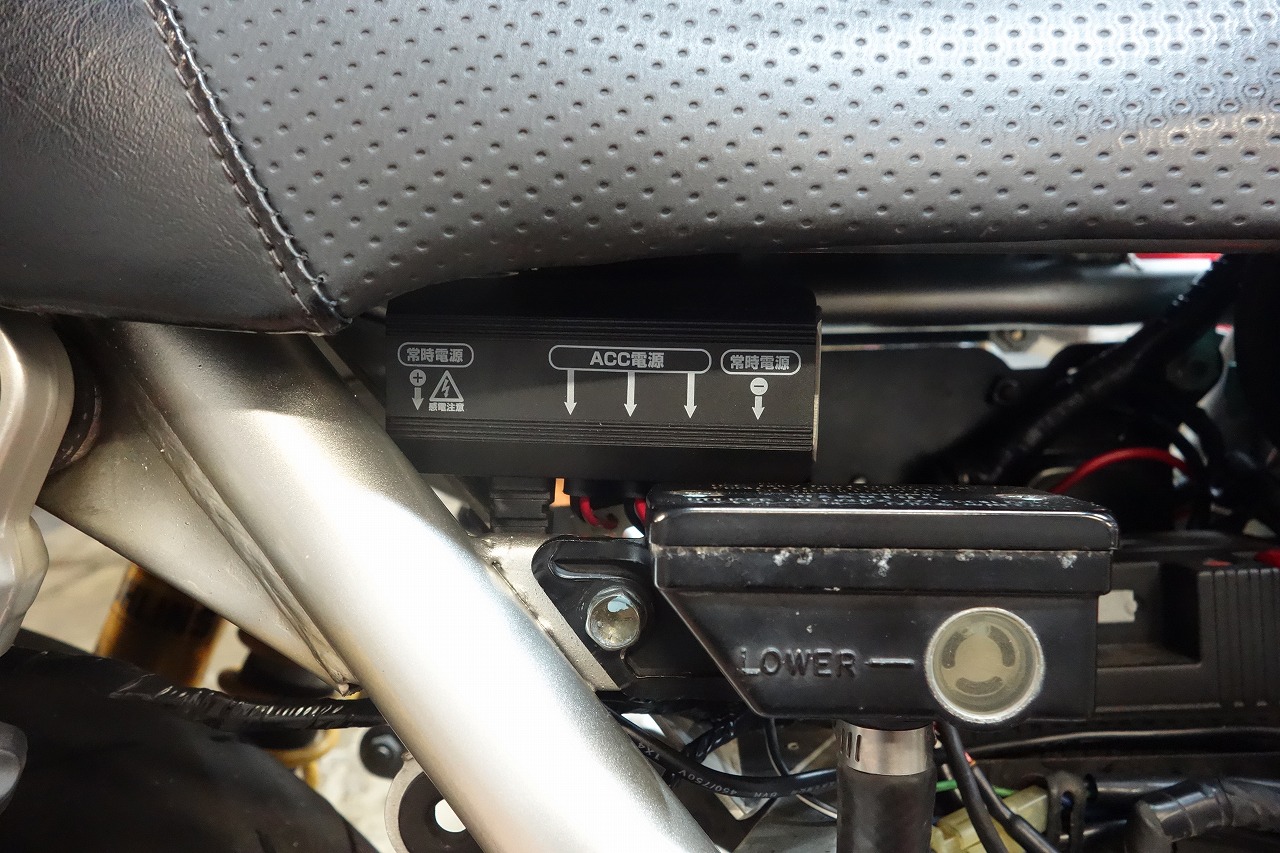
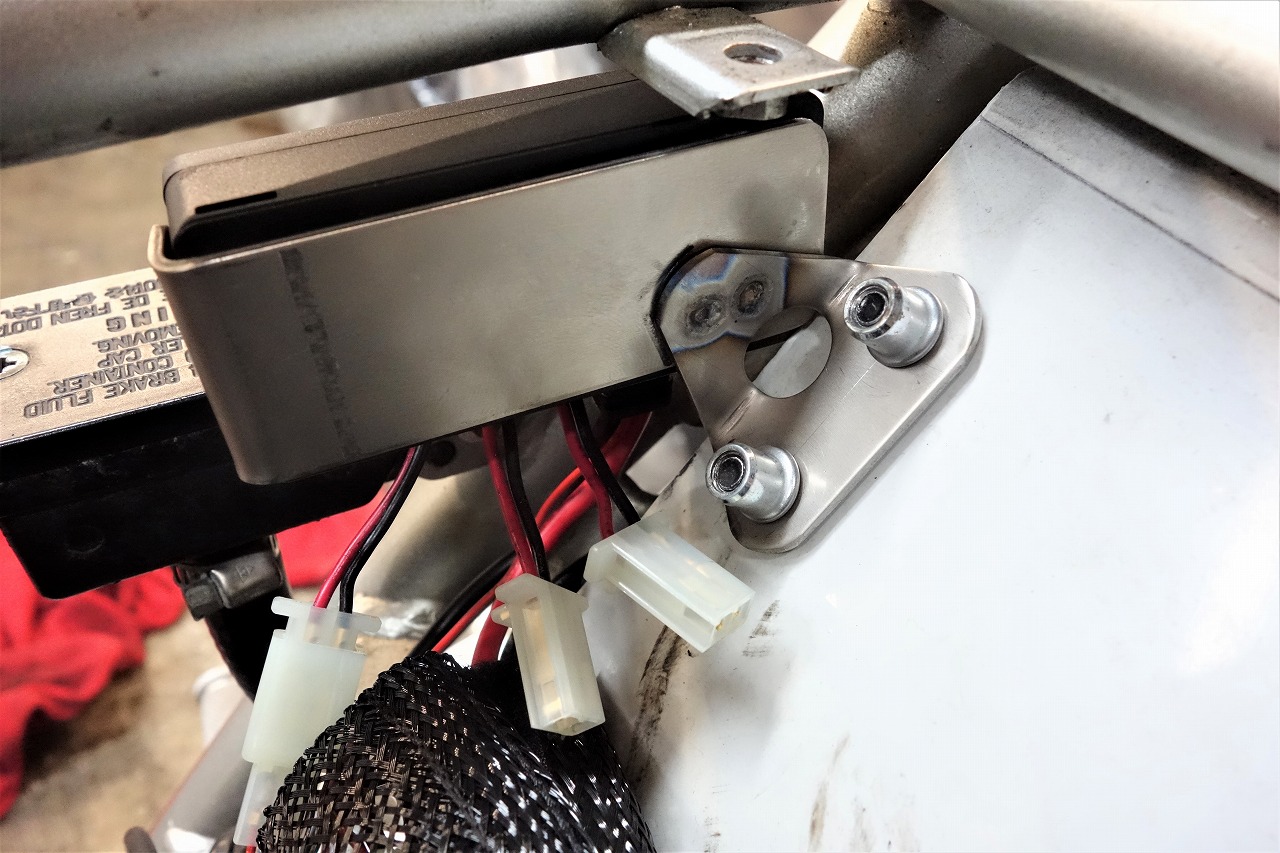
So the bracket and D-UNIT turned out like this.
Making it two pieces makes management much easier. Plus, I’ve been getting titanium sheet lately, so I use it a lot.
Titanium welded nuts are super expensive, so recently I’ve been using a nutter to secure them instead.
So being the lazy type that I am, I converted my nutter to hydraulic crimping. (Convenient.)
Attachments like this are kind of niche products—seems like they’d sell.
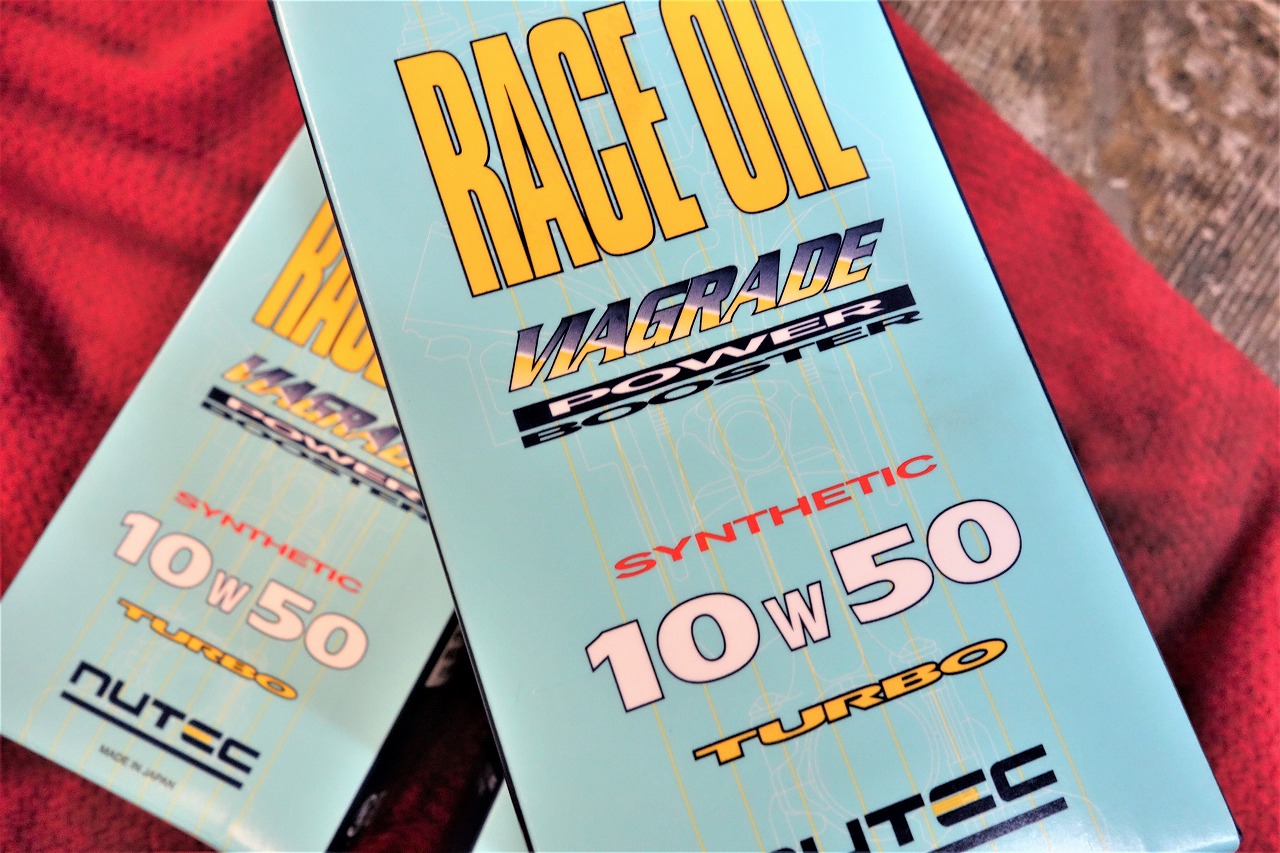
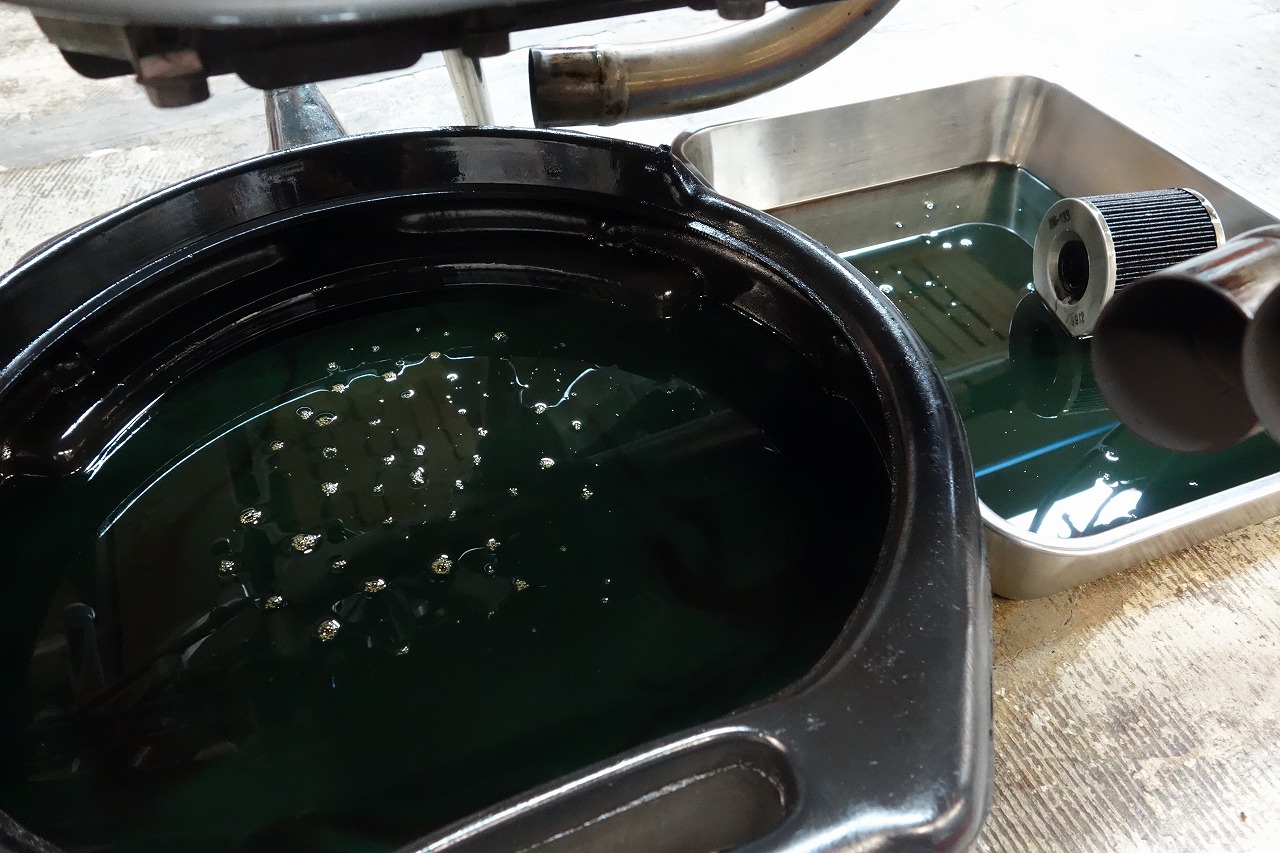
The engine oil is Newtech NC41 10W-50.
Currently on hold waiting for materials.