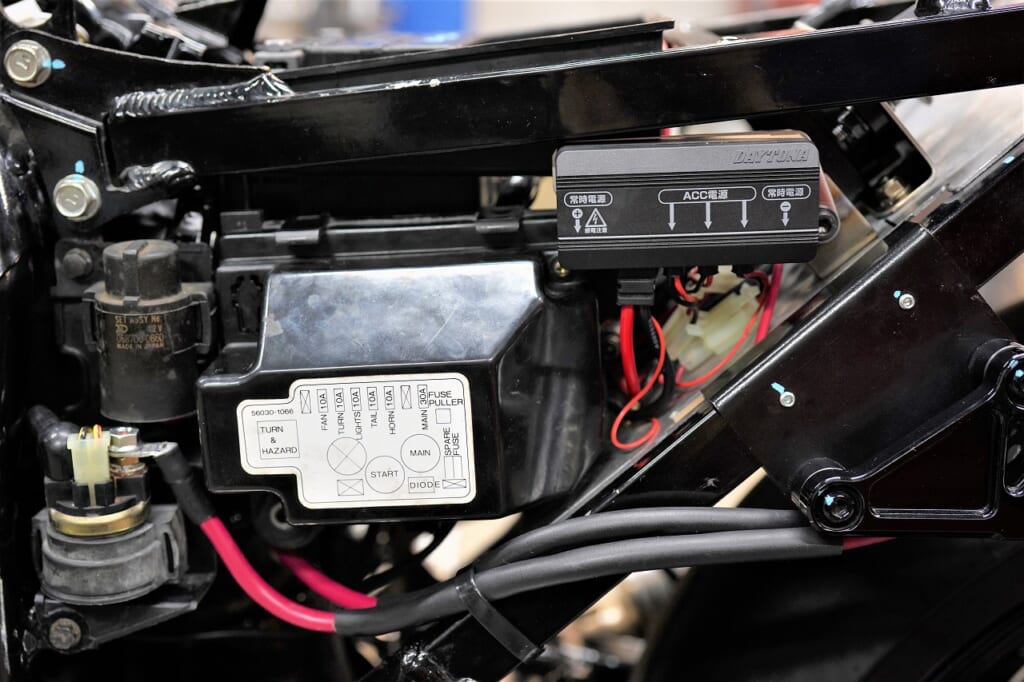
The most time-consuming part of a main harness replacement is installing aftermarket electrical components.
If you’re just replacing the harness on a carbureted bike, I don’t think it takes more than four hours.
Where should I lay out each component neatly? The questions just keep piling up…
( *´艸`)
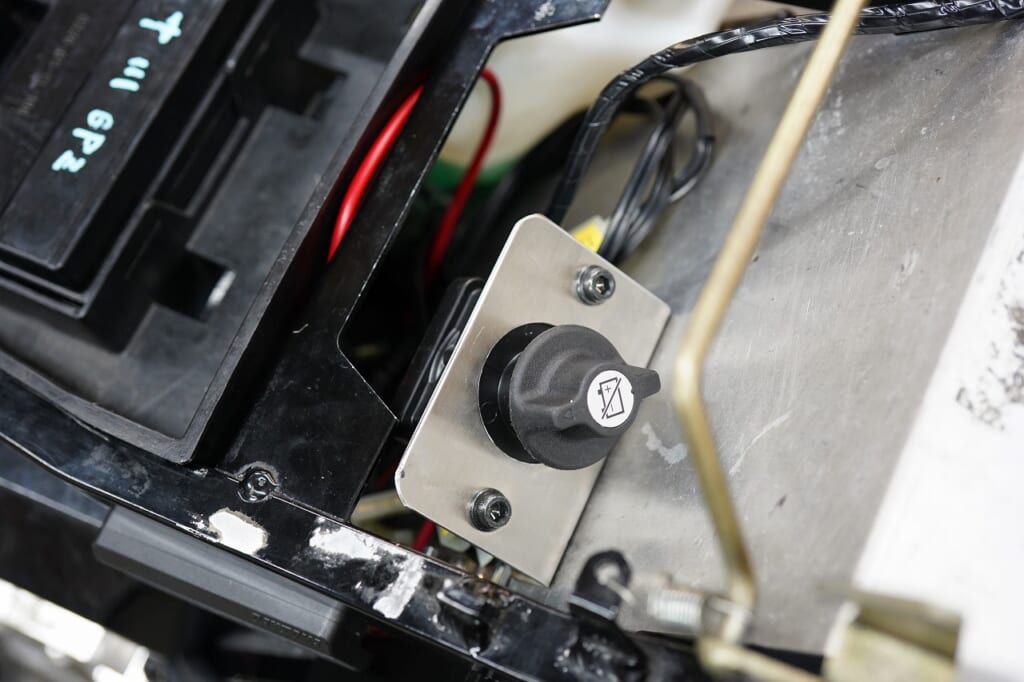
I mounted that battery ON/OFF kit in a spot that’s easy to use and safe.
I wonder why manufacturers put it on the positive side… wouldn’t the negative work?
If anyone knows, I’d love to hear from you.
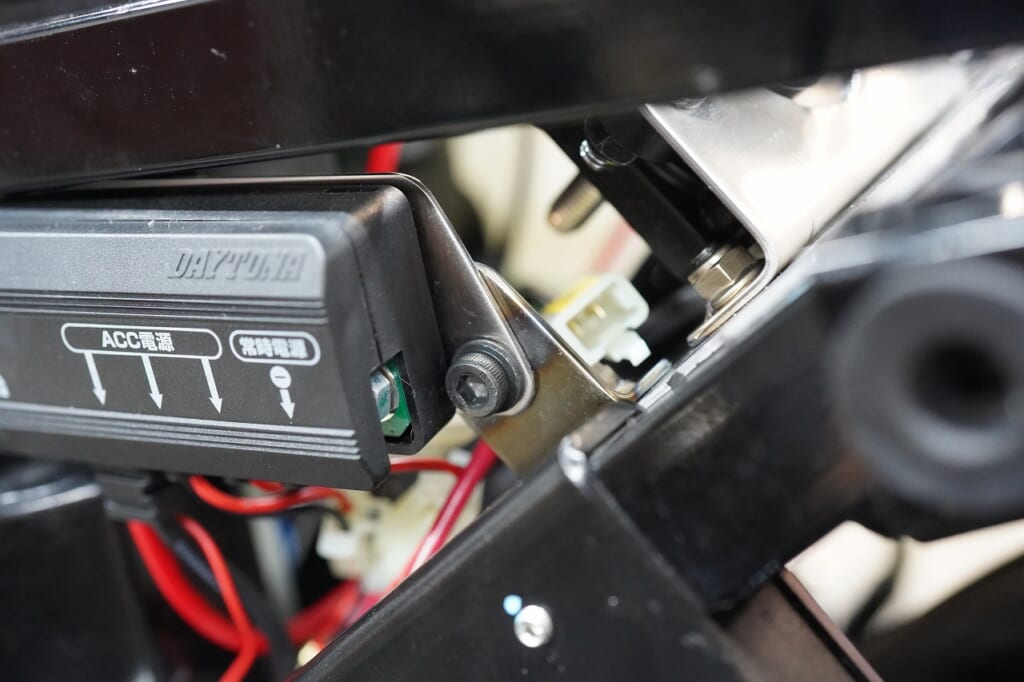
There’s plenty of space, but you can’t just throw things anywhere.
Electrical components look better and are easier to work on later when they’re consolidated.
I made plates for everything and the lock nuts are already welded in (‘ω’)ノ Serviceability is very good, I tell you.
The M8 terminals haven’t arrived yet, so I’ll work on other stuff. .
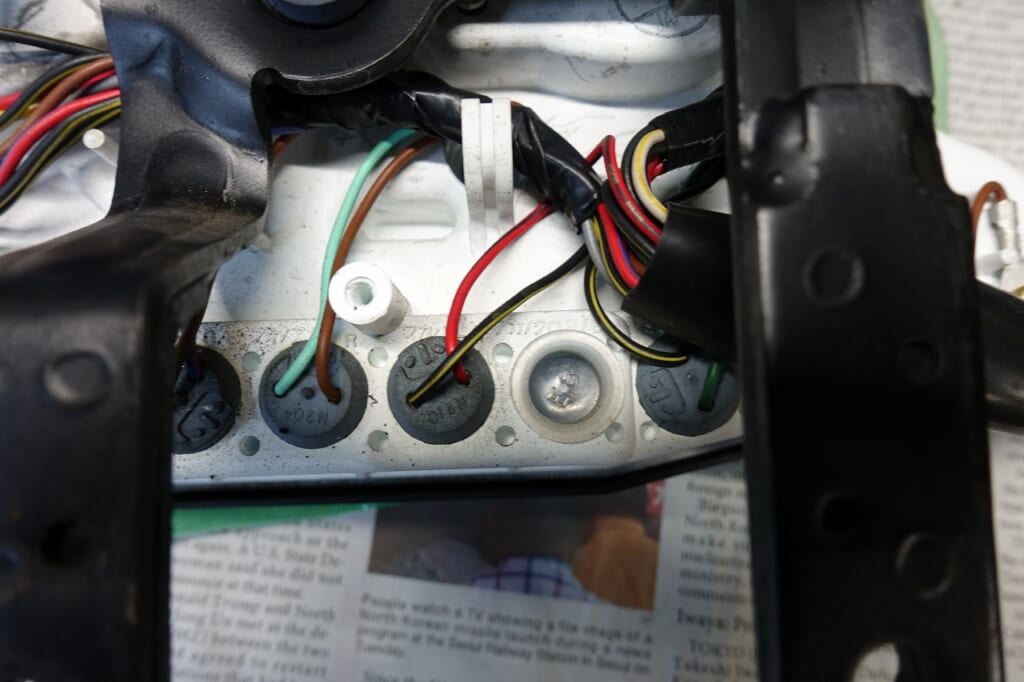
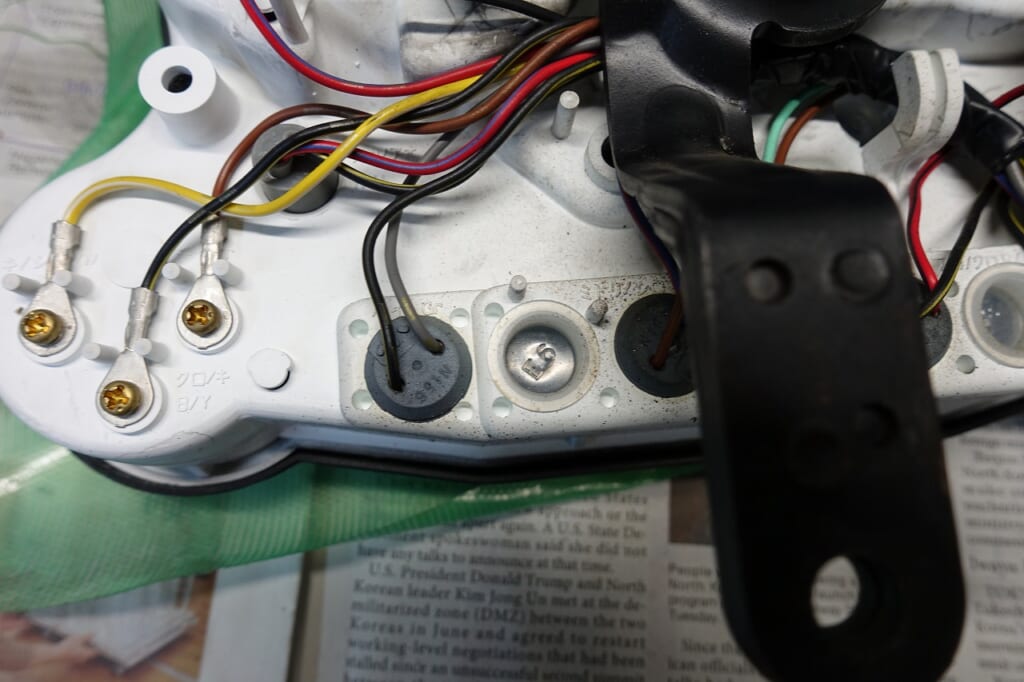
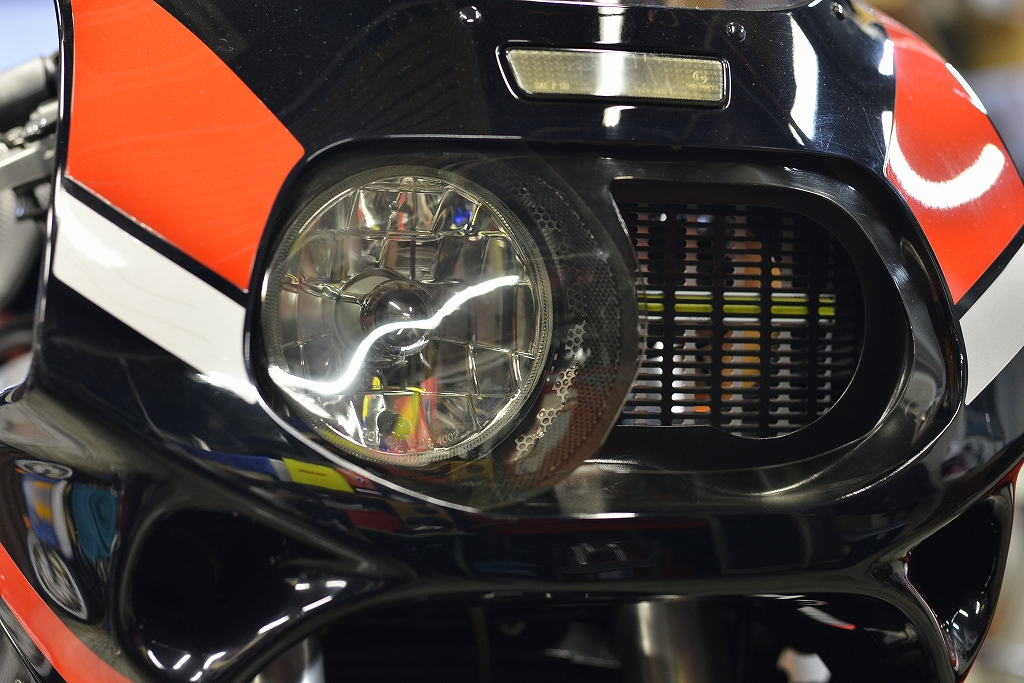
I want a lamp to light up when the forced fan is running. . .
I found two nice blank spots on the meter indicators, so I’m thinking of sticking a wedge socket in there.
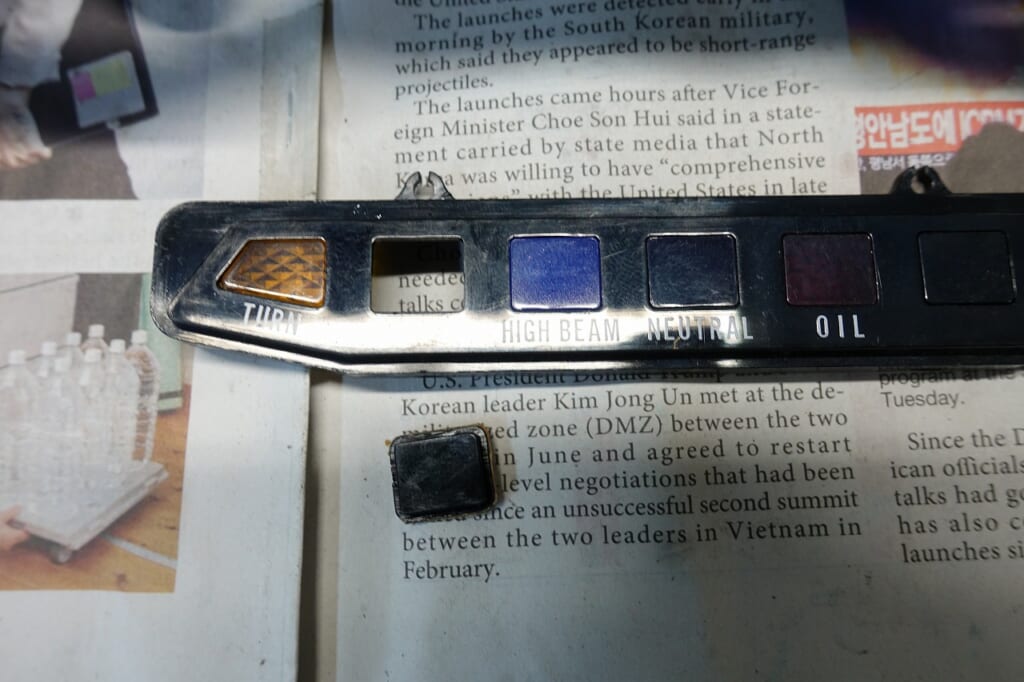
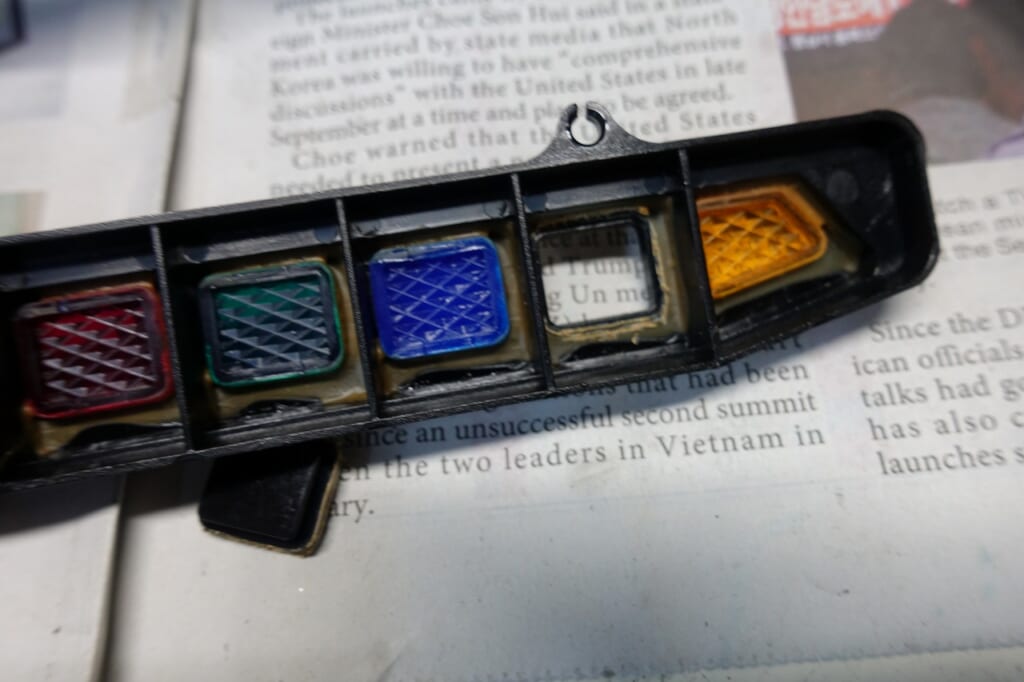
The blank doesn’t transmit light, so when I scraped the edge with a cutter, it popped right off (‘ω’)ノ
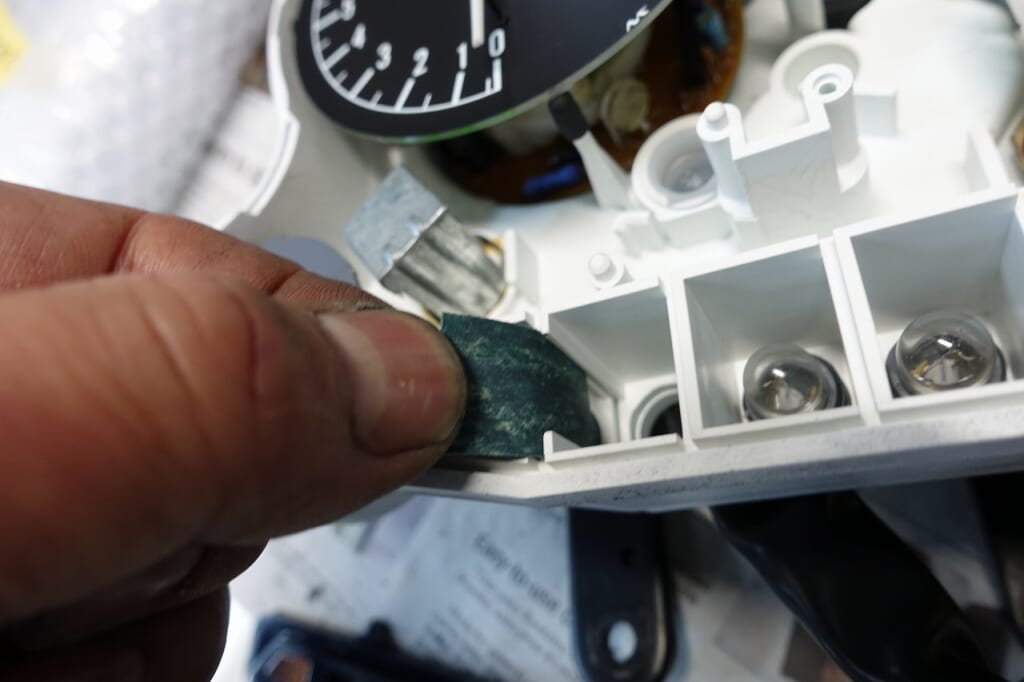
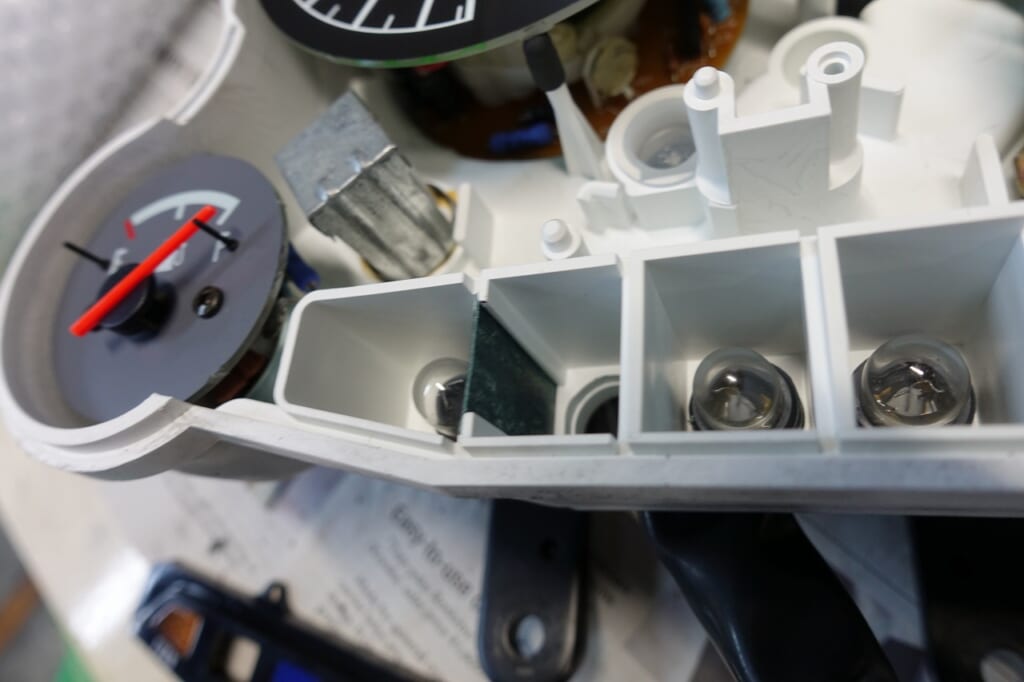
Light will probably leak from the side turn signal. It’s less than 1 mm here… I don’t have shim tape on hand.
Wait! That’s it! As long as it’s heat-resistant… I put a paper gasket in to partition it.
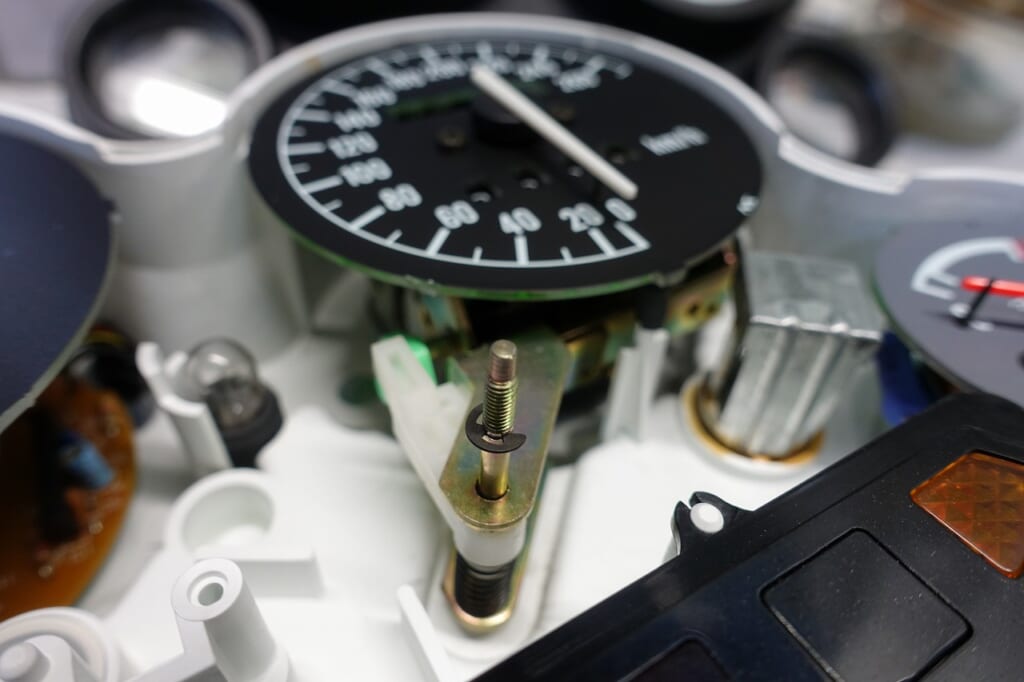
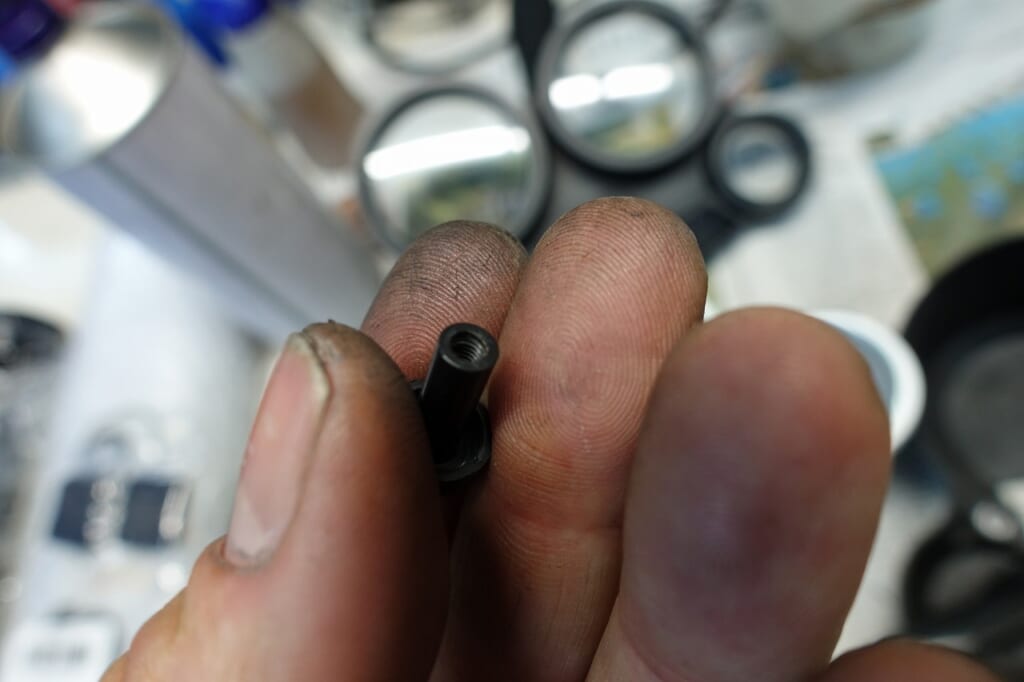
To remove the meter cover, you have to take off the trip knob.
This is scary because the “rules” differ from one bike to another.
It was threaded… good thing I didn’t pull on it (*^-^*)
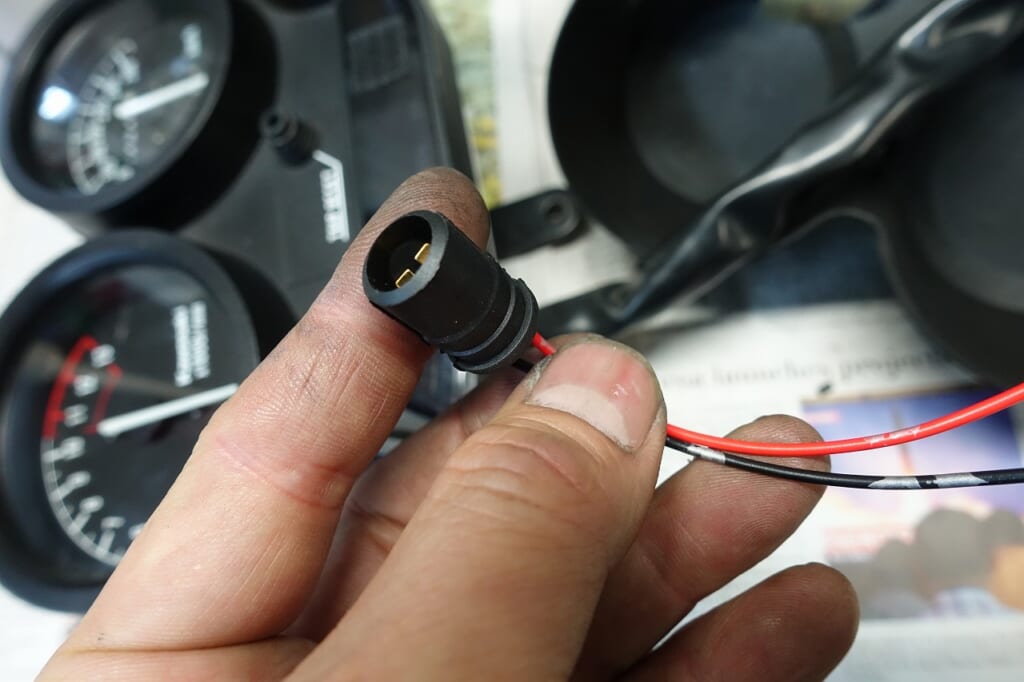
Good thing I had wedge sockets in stock… .
Waiting on various parts now (‘ω’)ノ