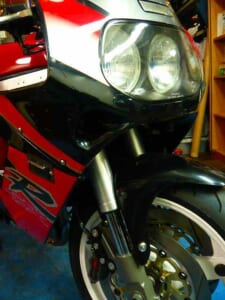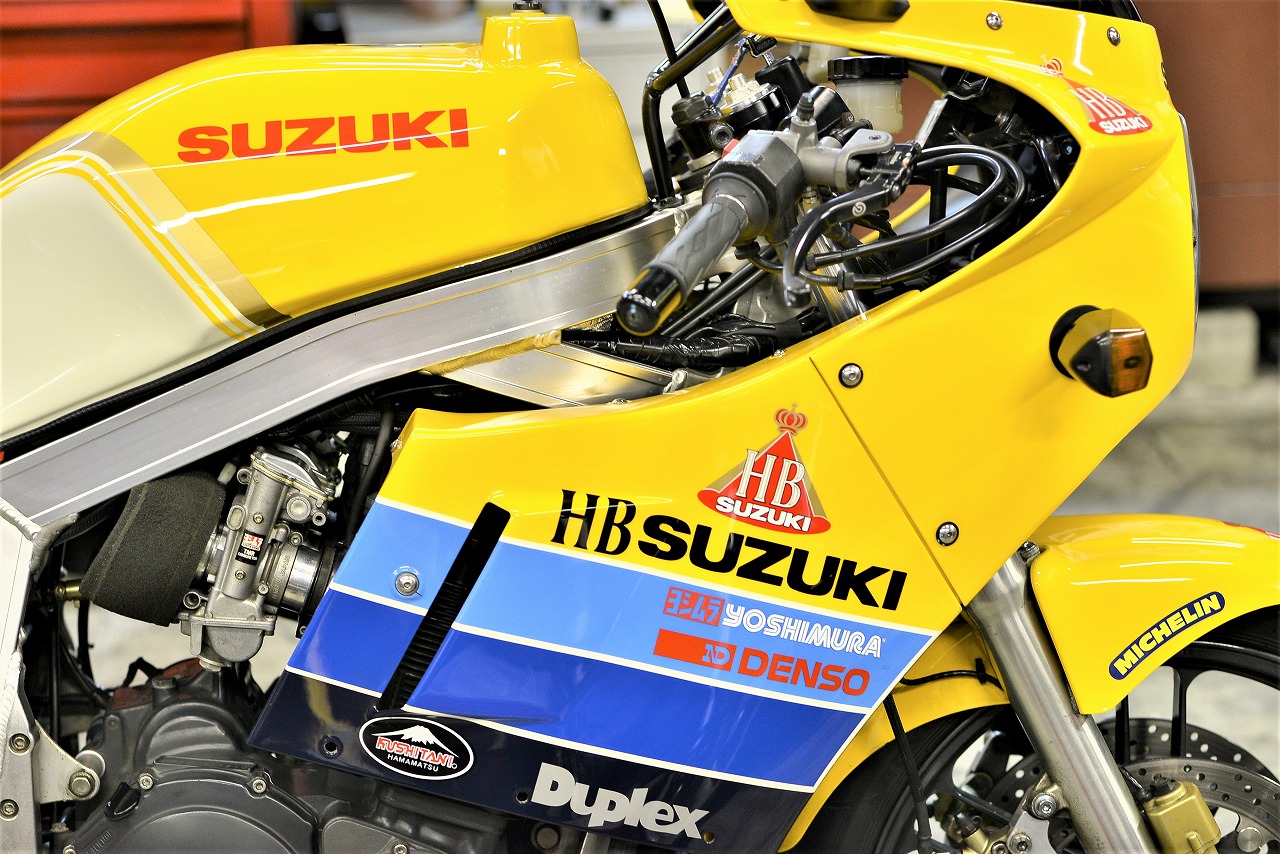
GSXR1100J (GS1000R-style HB replica) generator replacement, rear caliper replacement, side stand shortening, Watanabe SP2 inspection, tank quick-release mod VR2 is what we’re working on.
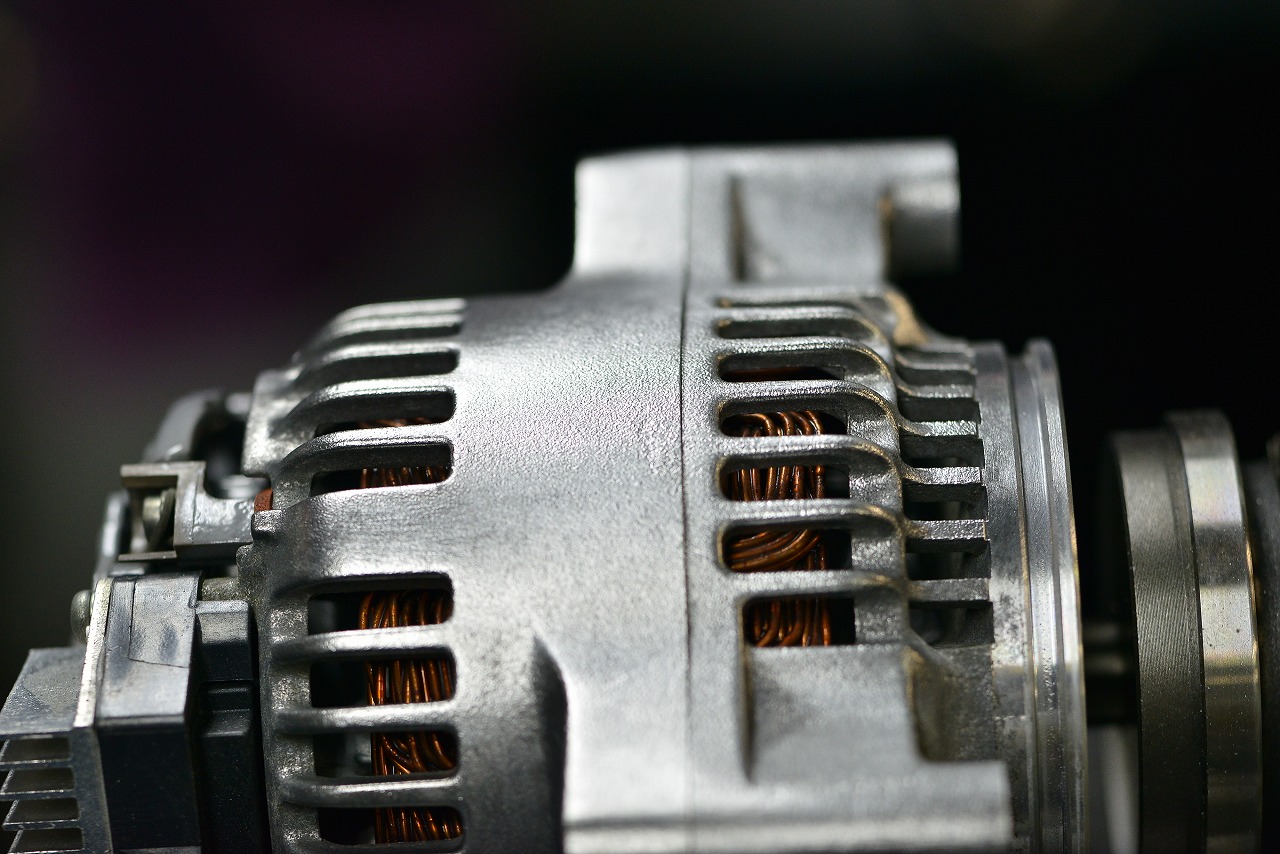
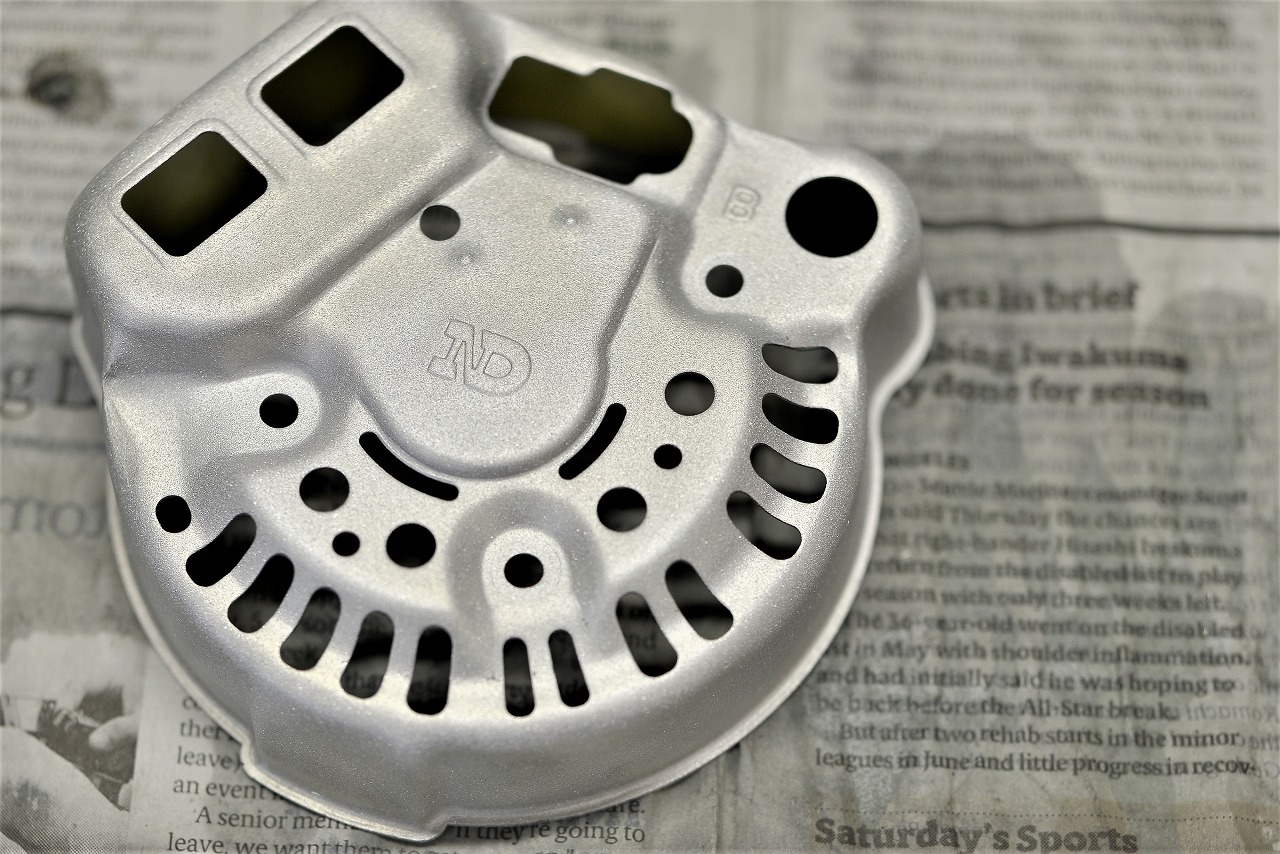
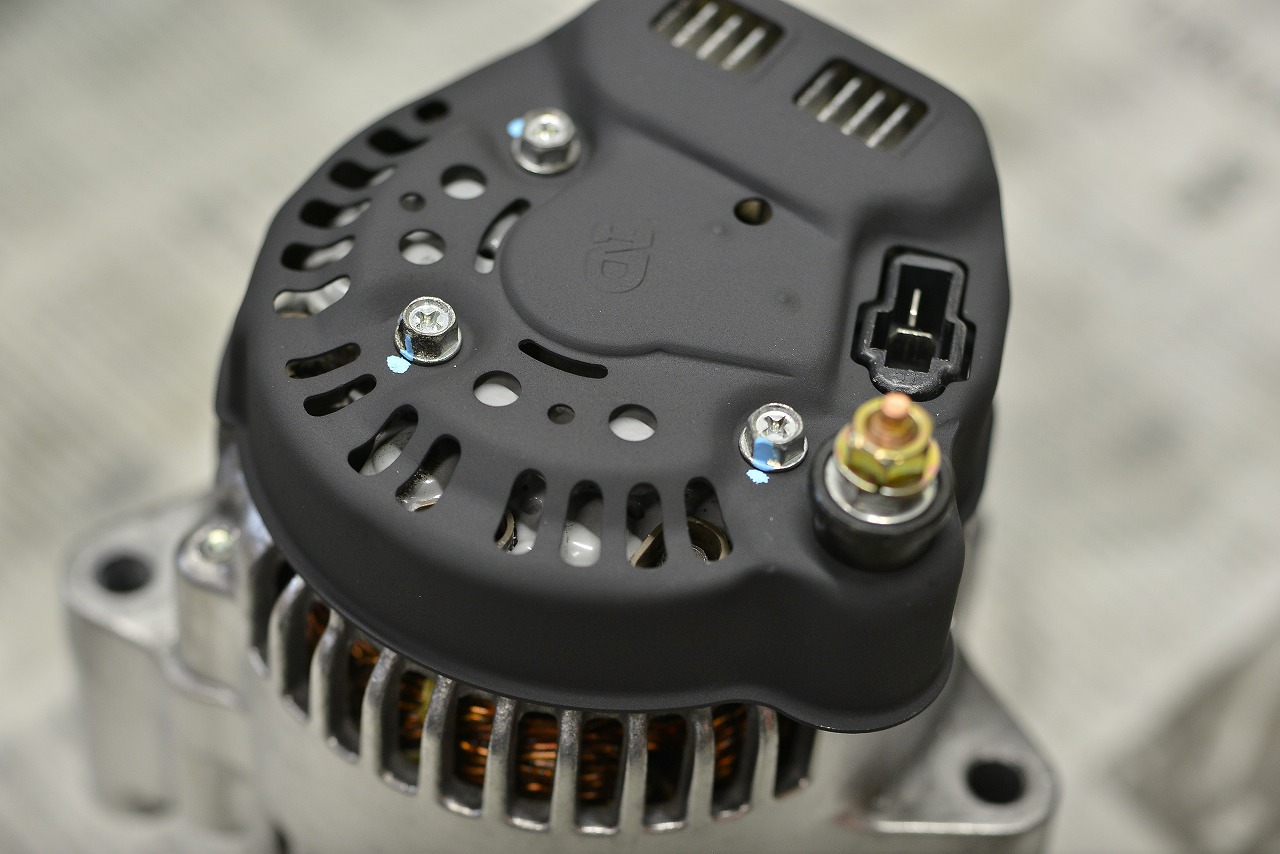
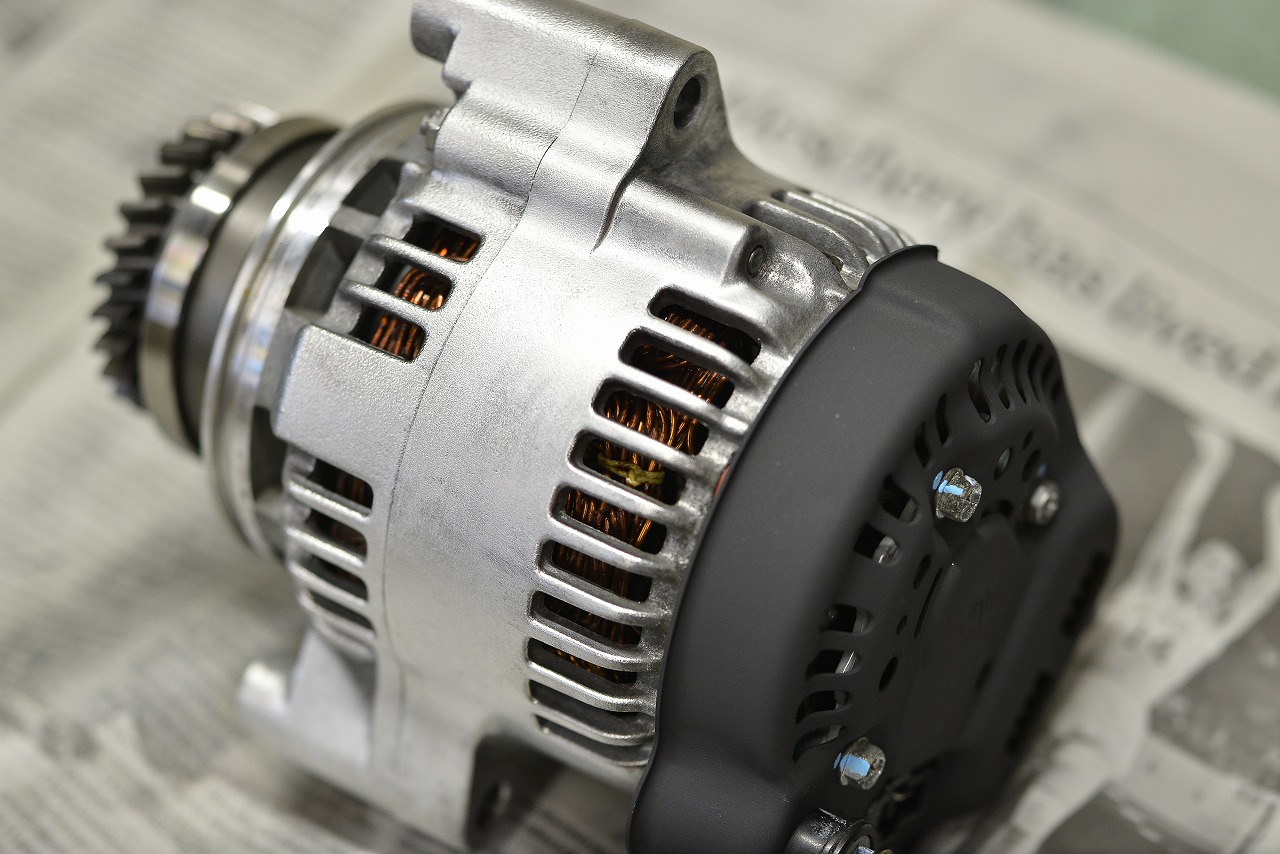
Sure, we could outsource everything, but…
• It takes longer
• Shipping and distribution costs go up
• It’s hard to communicate the fine details and nuances; you need detailed instructions.
• Of course there’s a middleman cost, so the final price goes up
• If something goes wrong, it’s hard to place blame
In the end, someone’s going to cry… I wish I hadn’t gotten in the middle… that’s the classic outsourcing story.
Someone said the other day… “Bad taste is congenital.”
“Gulp!” I wonder if I’m okay…
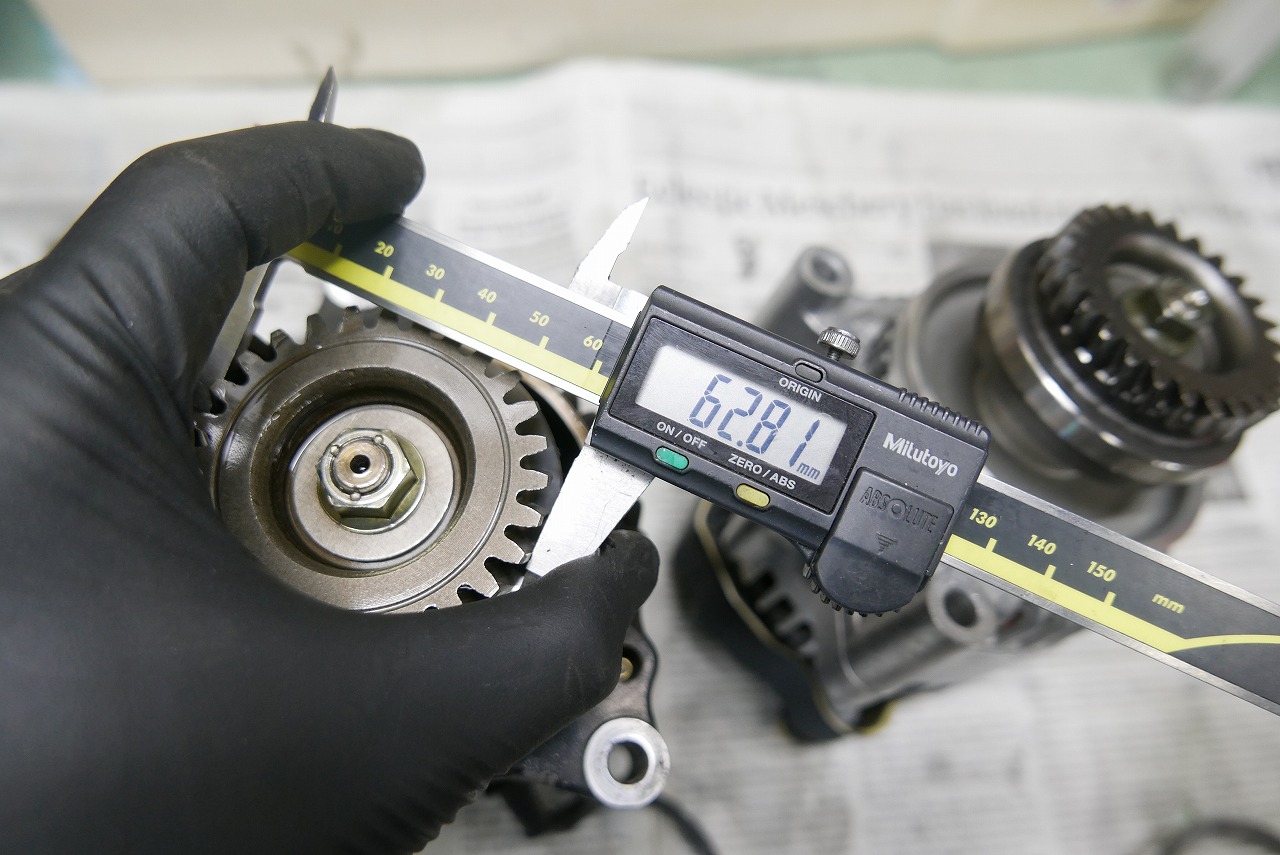
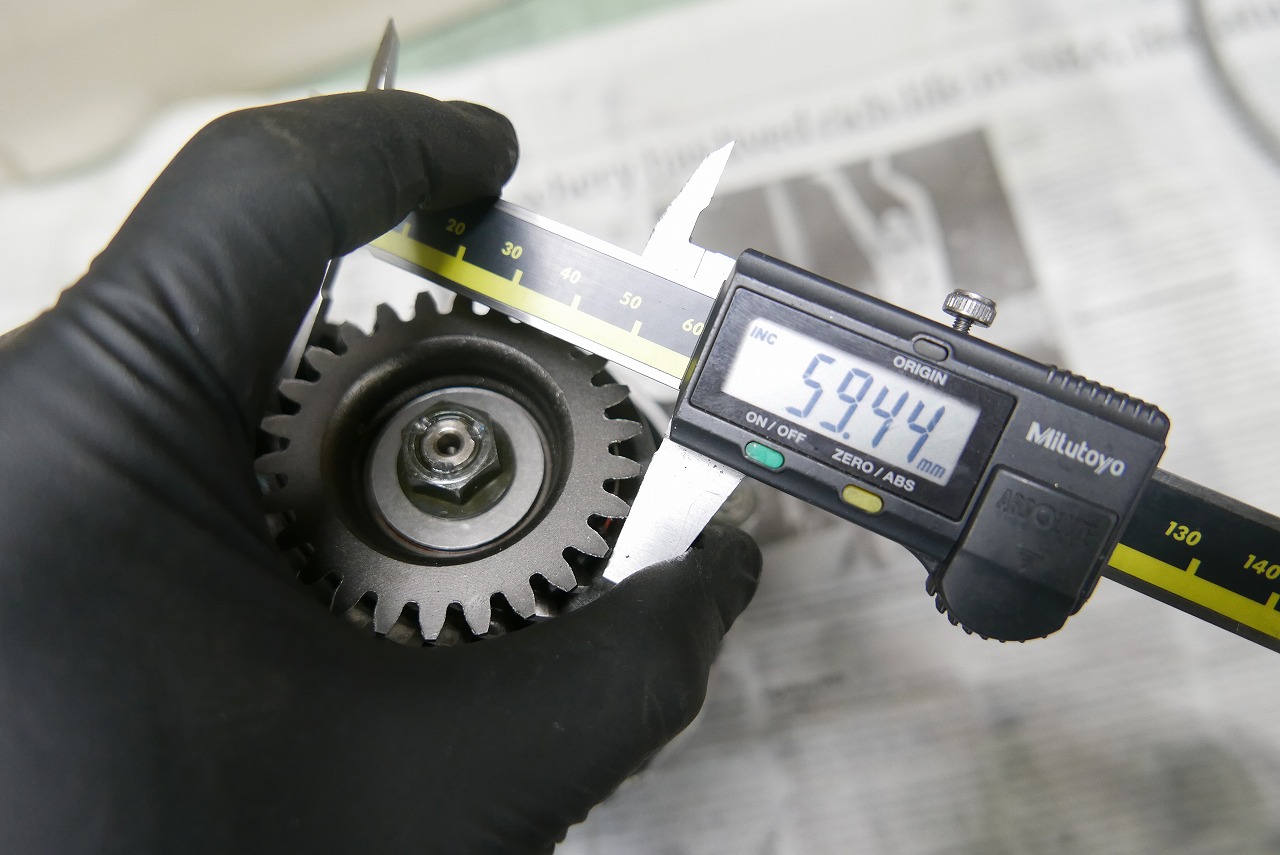
By the way:
1100G-N 28T 22730-06B02 (part number has changed)—all GSXR models
Bandit 26T 22730-27A05—all Bandit models, GS1200SS, Inazuma—latest generation?
GSF1200 22730-27A03—I’ll check the tooth count…
that’s it.
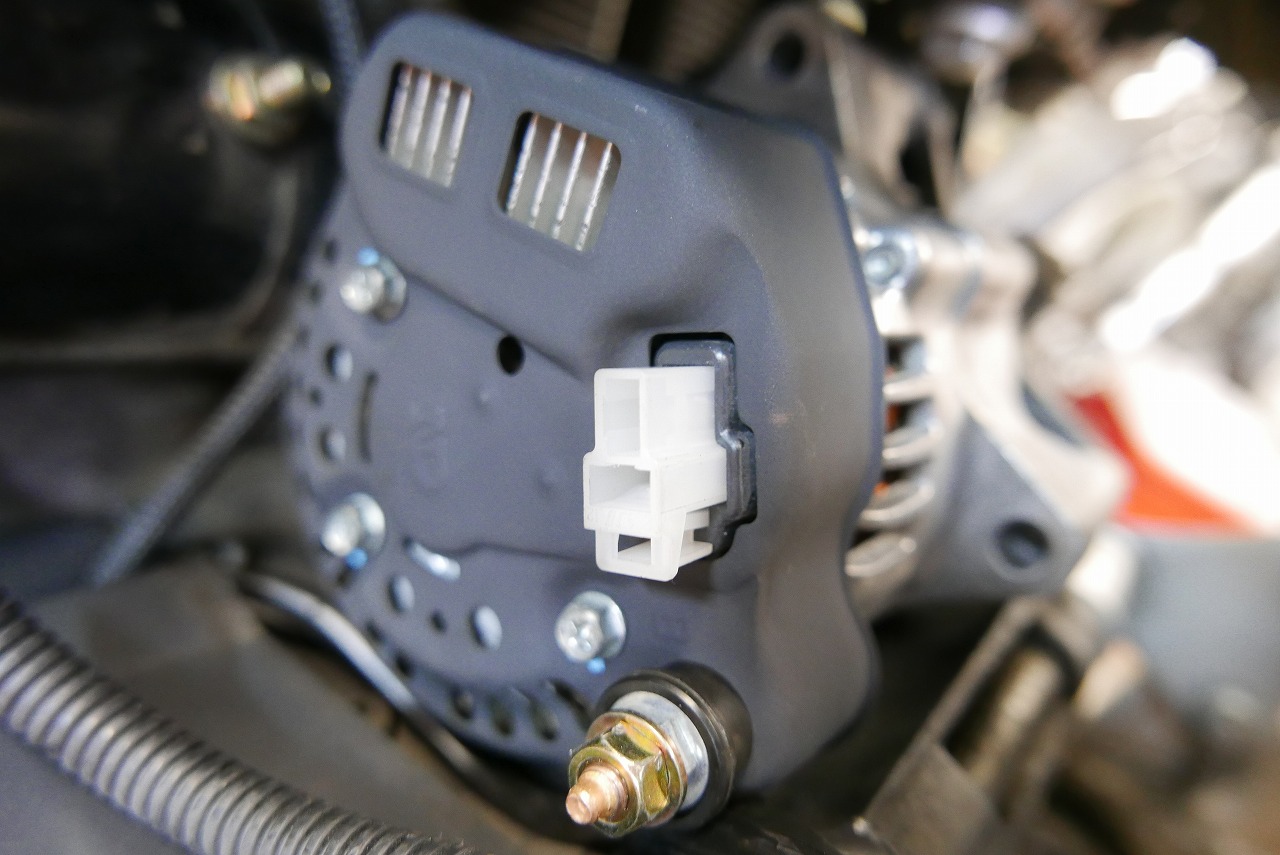
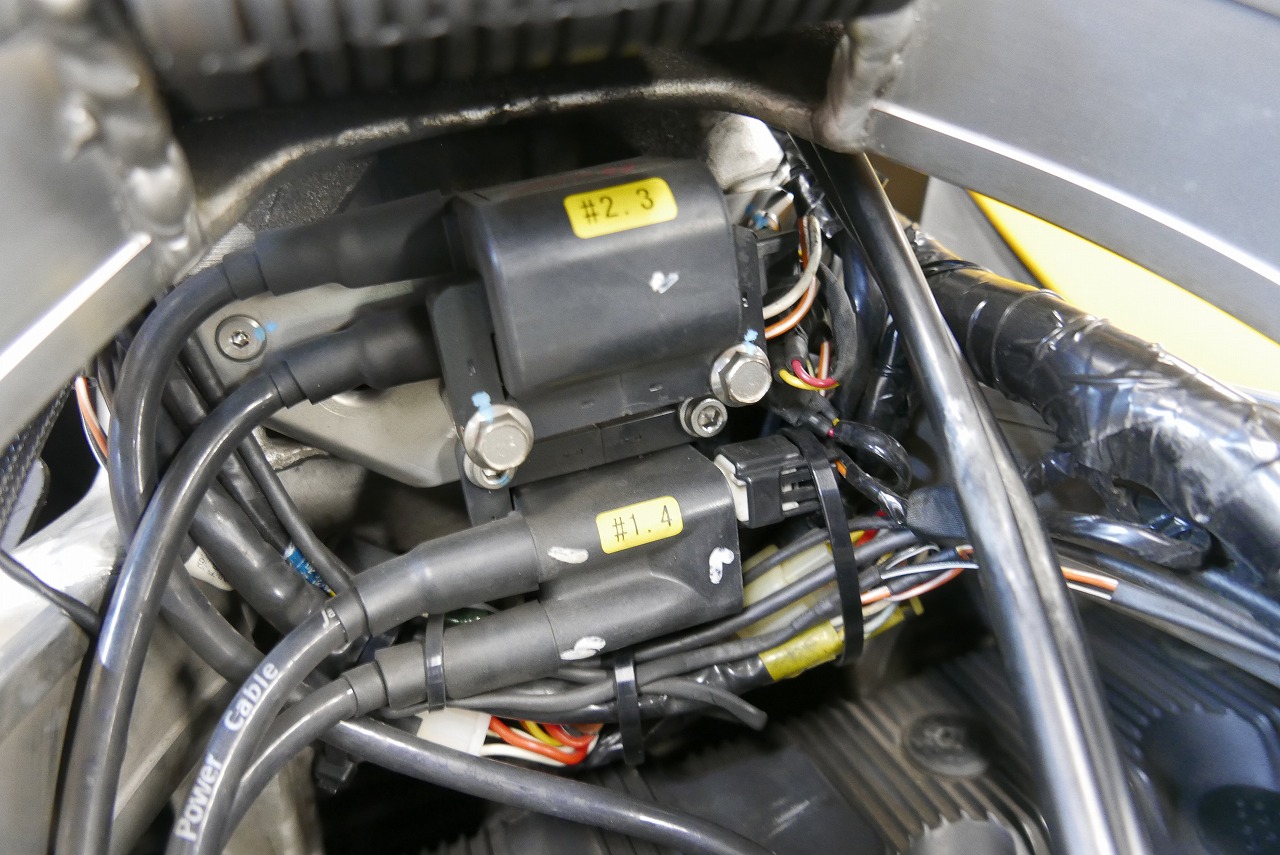
We made a bracket for the Watanabe coil when we replaced the harness last time, so it’s easy to remove and install.
Basically, if you use rear-side nut fastening on aftermarket parts, you increase the tools and labor needed. Just bolting it on is something anyone can do. But to go beyond that takes an extra step.
If the customer’s going to keep coming back, I figure making it convenient and clean will pay off in the end—and it really does!
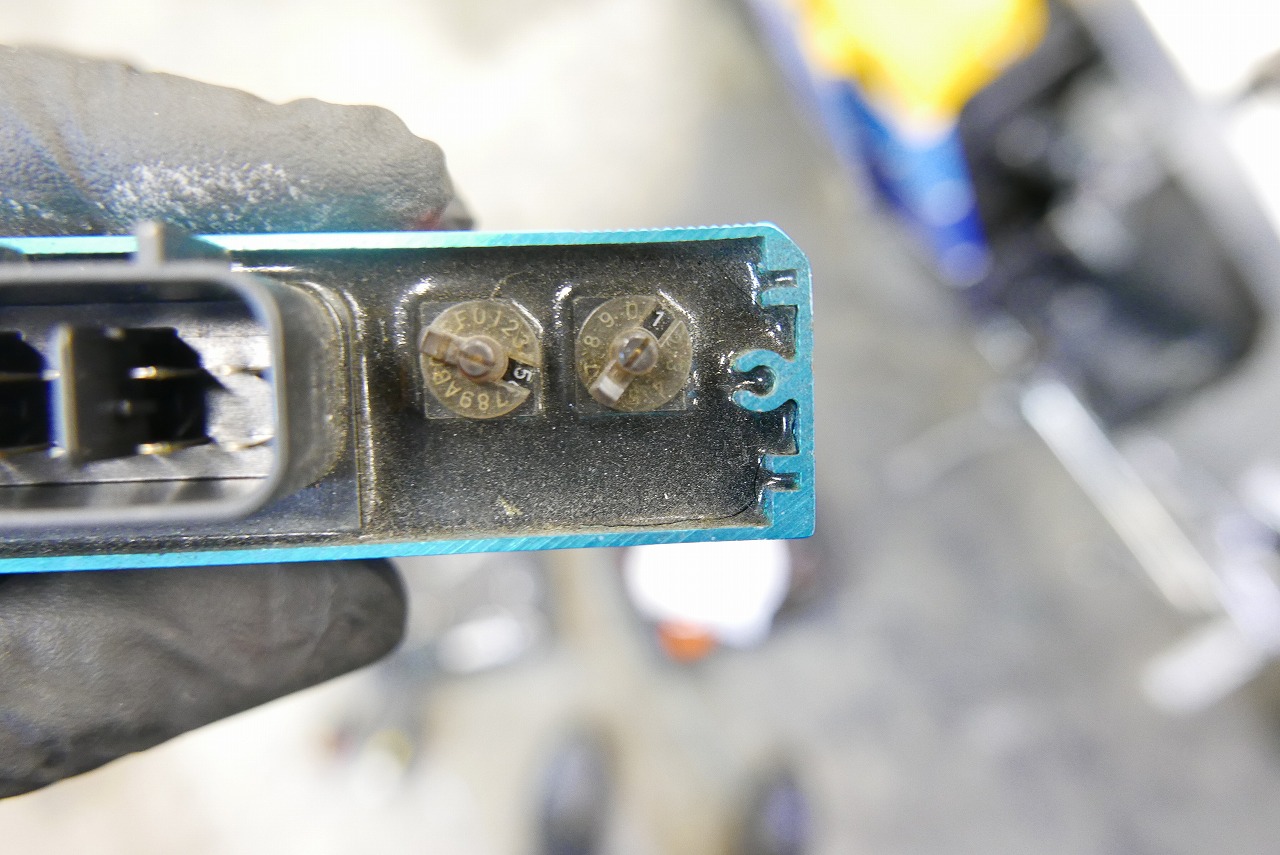
I’d rather not fix the unit to the frame with double-sided tape if possible—it’s a pain to remove and clean up.
Any aftermarket part comes with instructions that anyone can follow. But the reality is they don’t account for failure, removal, or maintenance workflow. If you don’t think about it from the installer’s perspective, you won’t get that OEM-quality finish. It’s surprisingly deep.
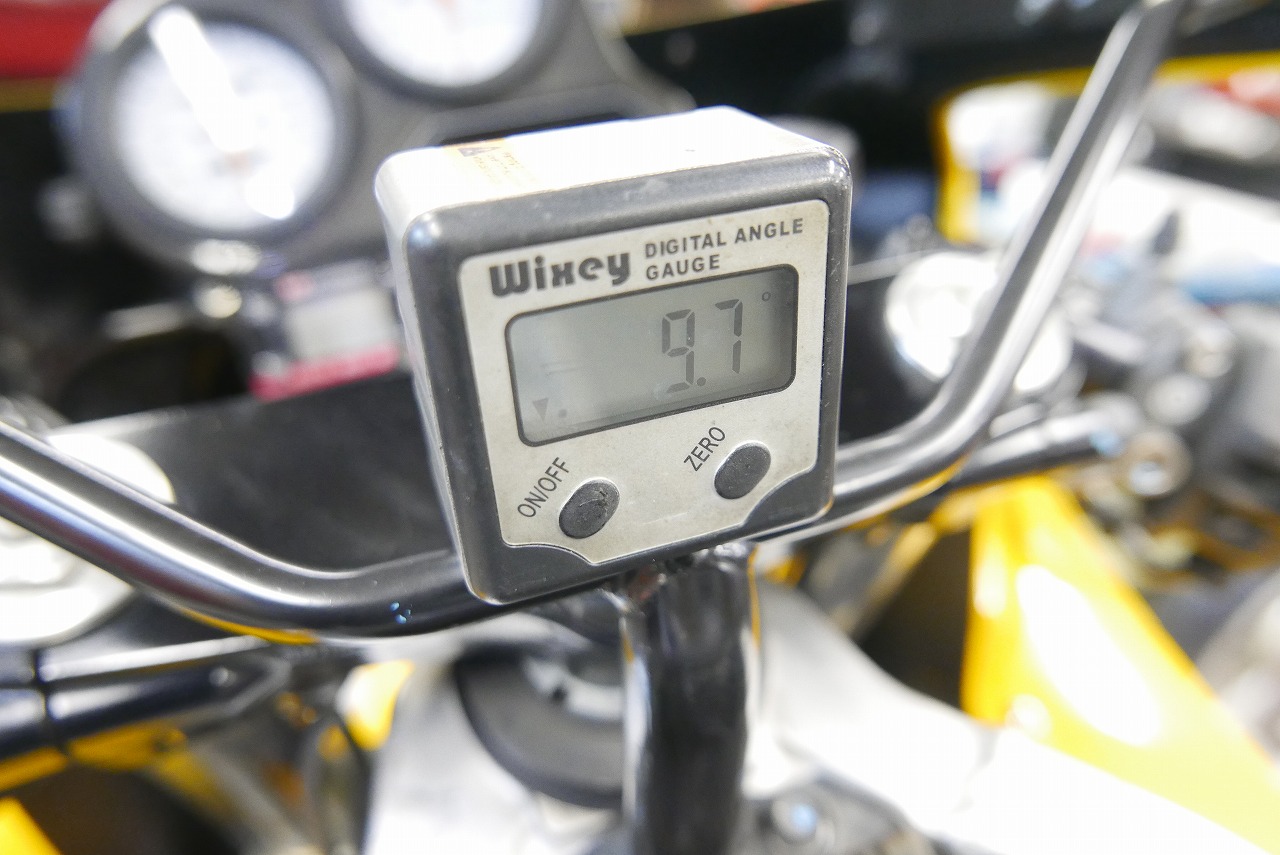
The angle shown is my own reference, so it’s rough. But if you don’t know the standard before you modify, the result can end up being just a guess.
When you’re cutting and welding, it’s fine to check against your own standard first, then proceed. That way when you explain the modification to the customer afterward, you’ll have more credibility.
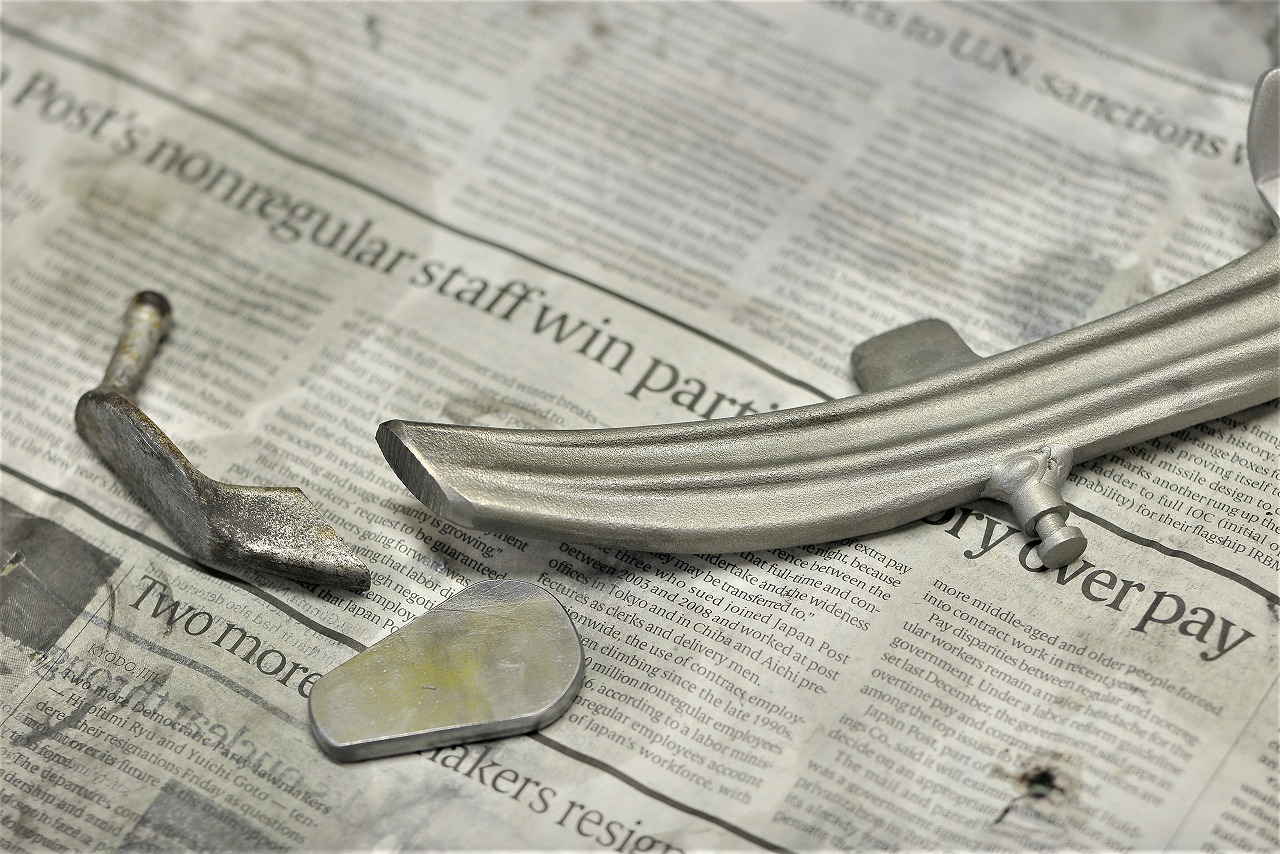
When I make a side stand, I always use SUS304, so steel and aluminum machine really nicely—super easy.
I thought about stocking steel tubing too, but then people wouldn’t know what kind of shop we are, so I’ll skip it…
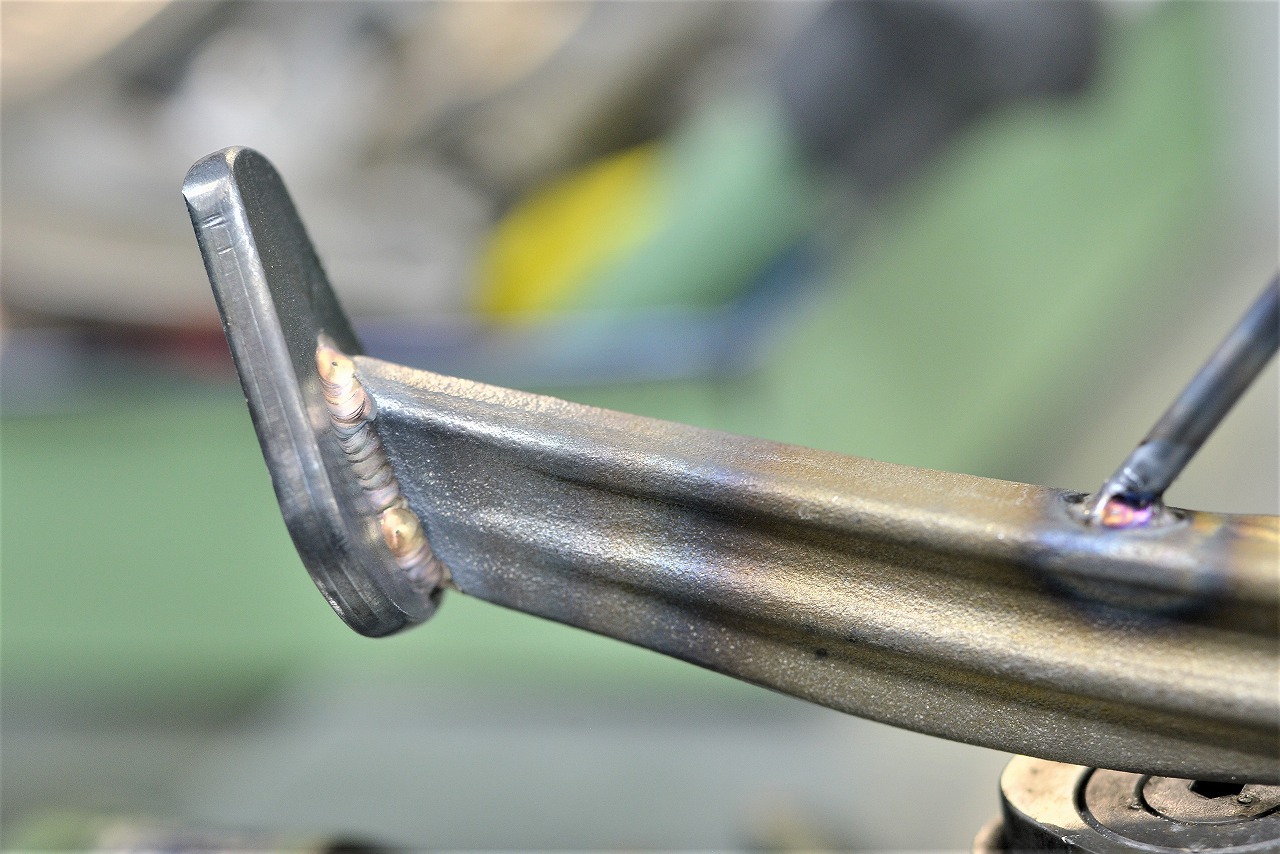
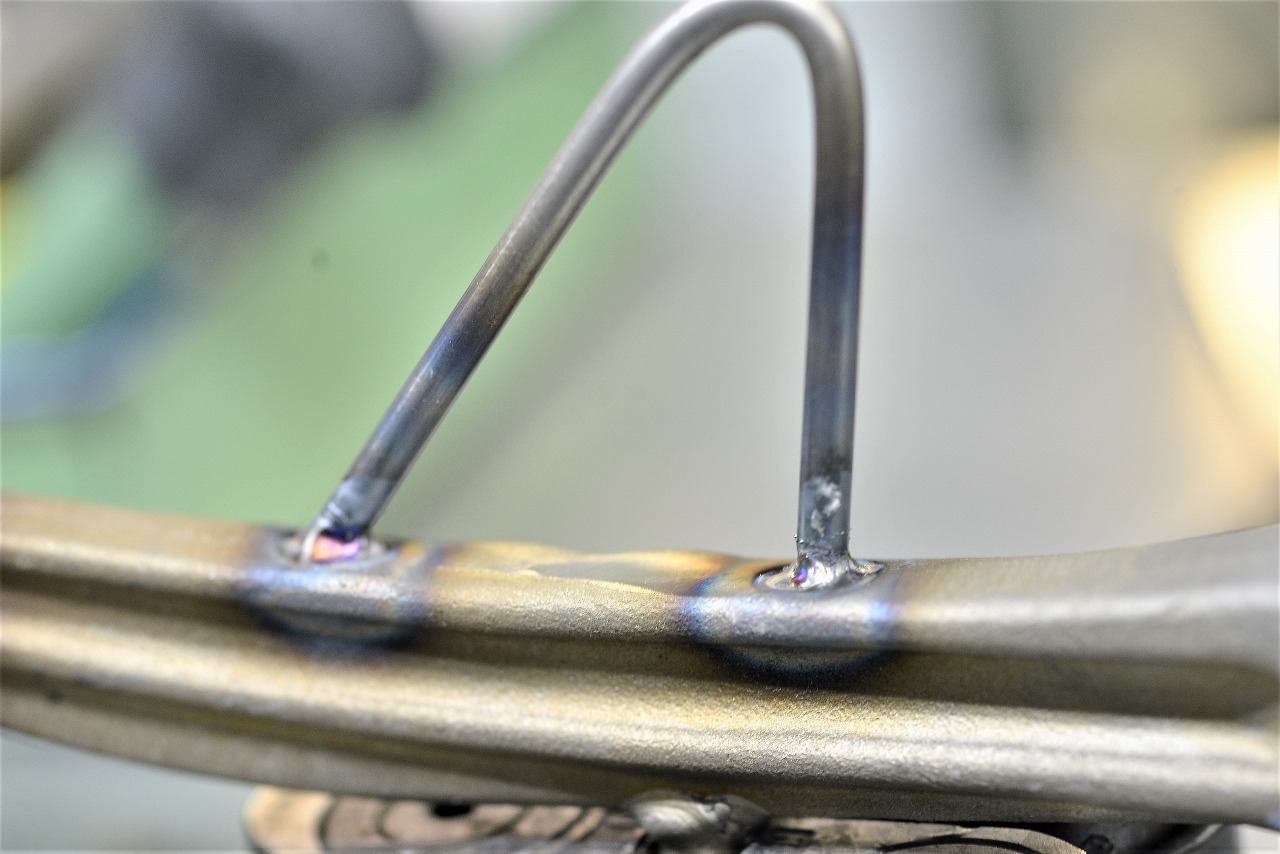
I don’t like the kind that just shoots out hard, so I don’t do that.
I’ve seen imported vintage bikes where bolts are just carelessly welded on… you either don’t care or figure as long as it’s there, it’s fine. But as someone doing the work, I want to care a little.
And ease of deployment is really important. The rider’s burden should be as light as possible. A stiff or heavy stand just makes you go “ugh!”
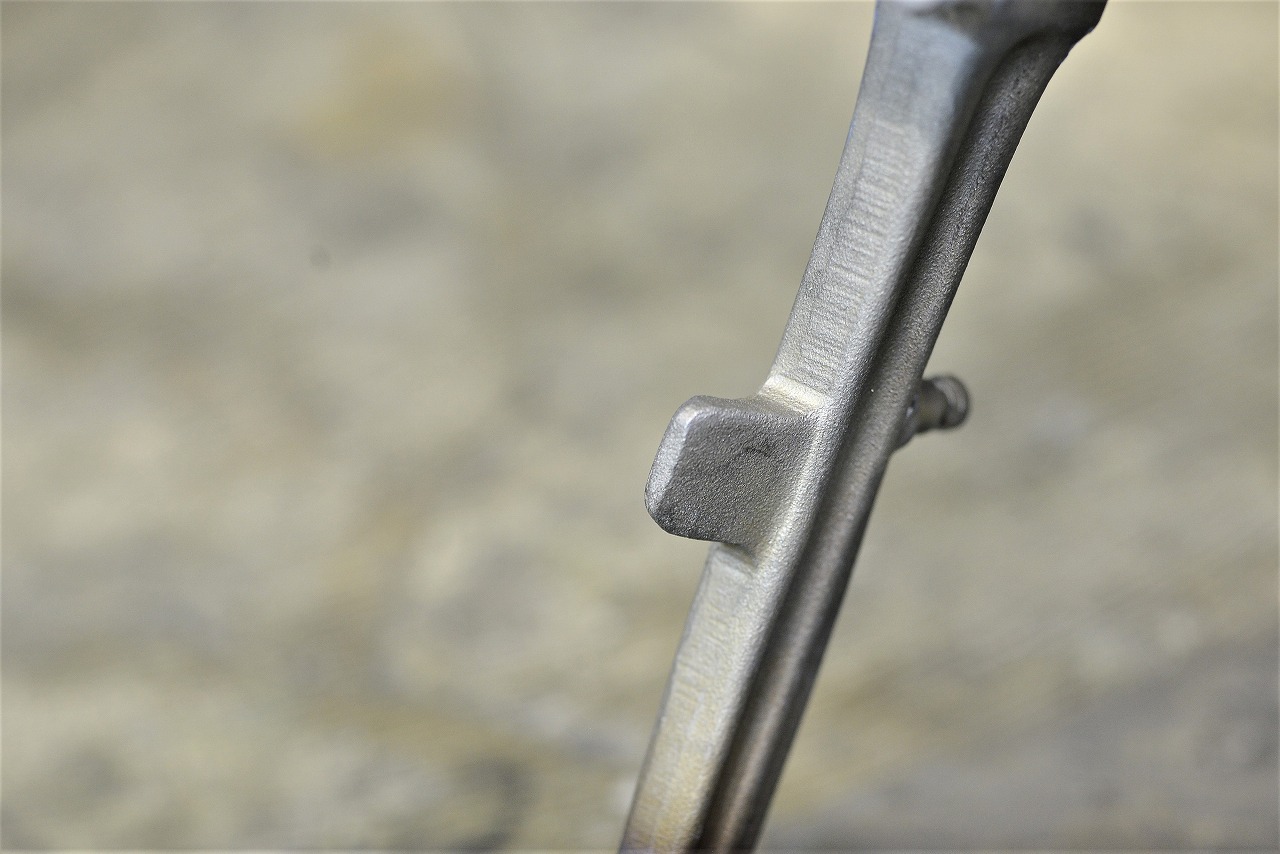
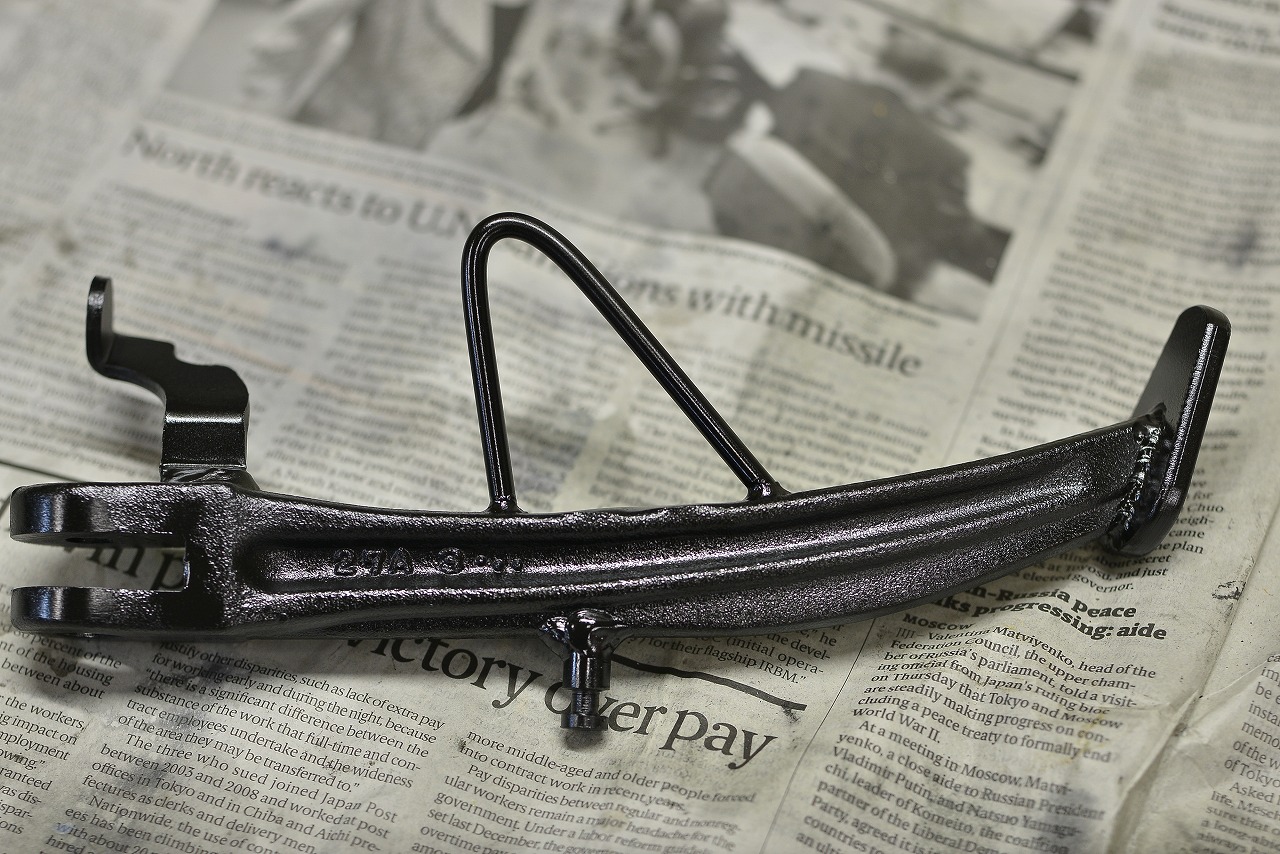
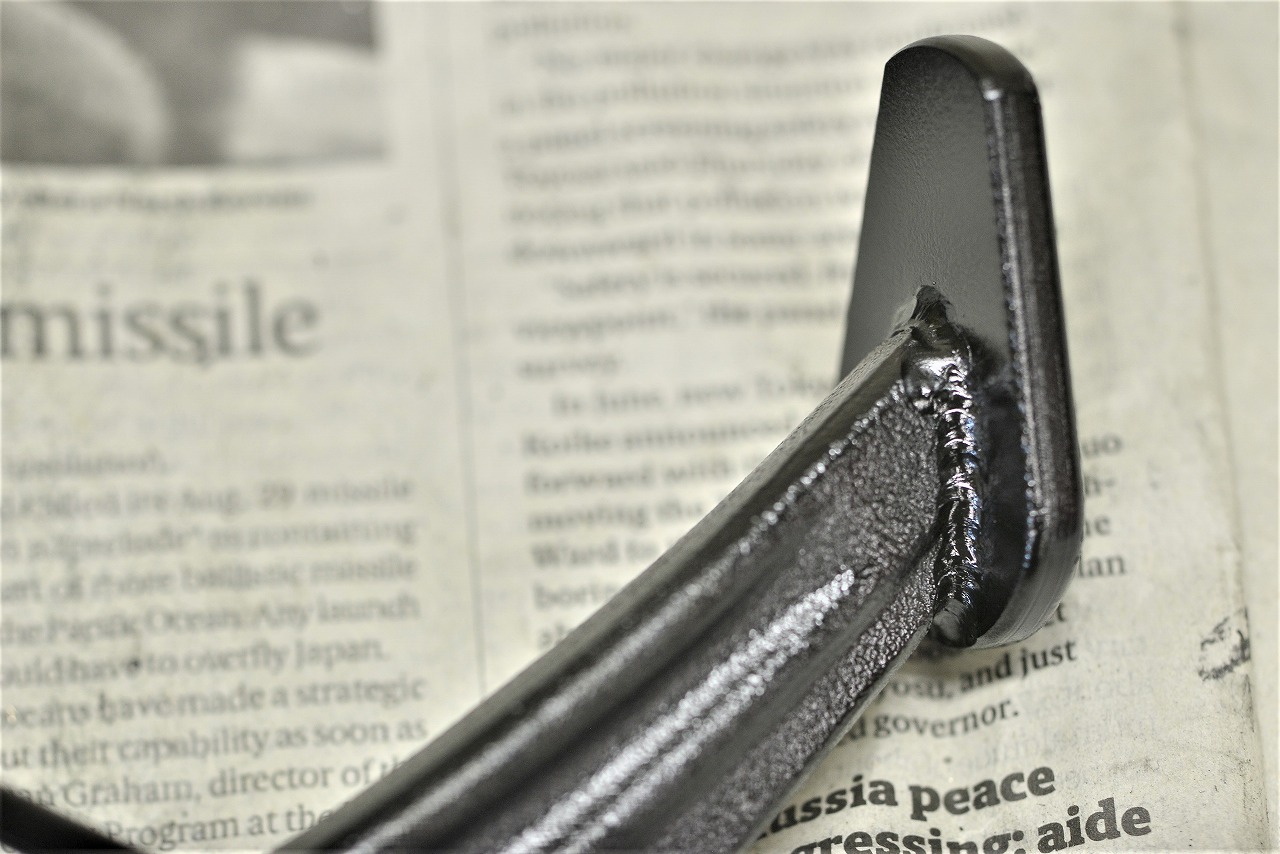
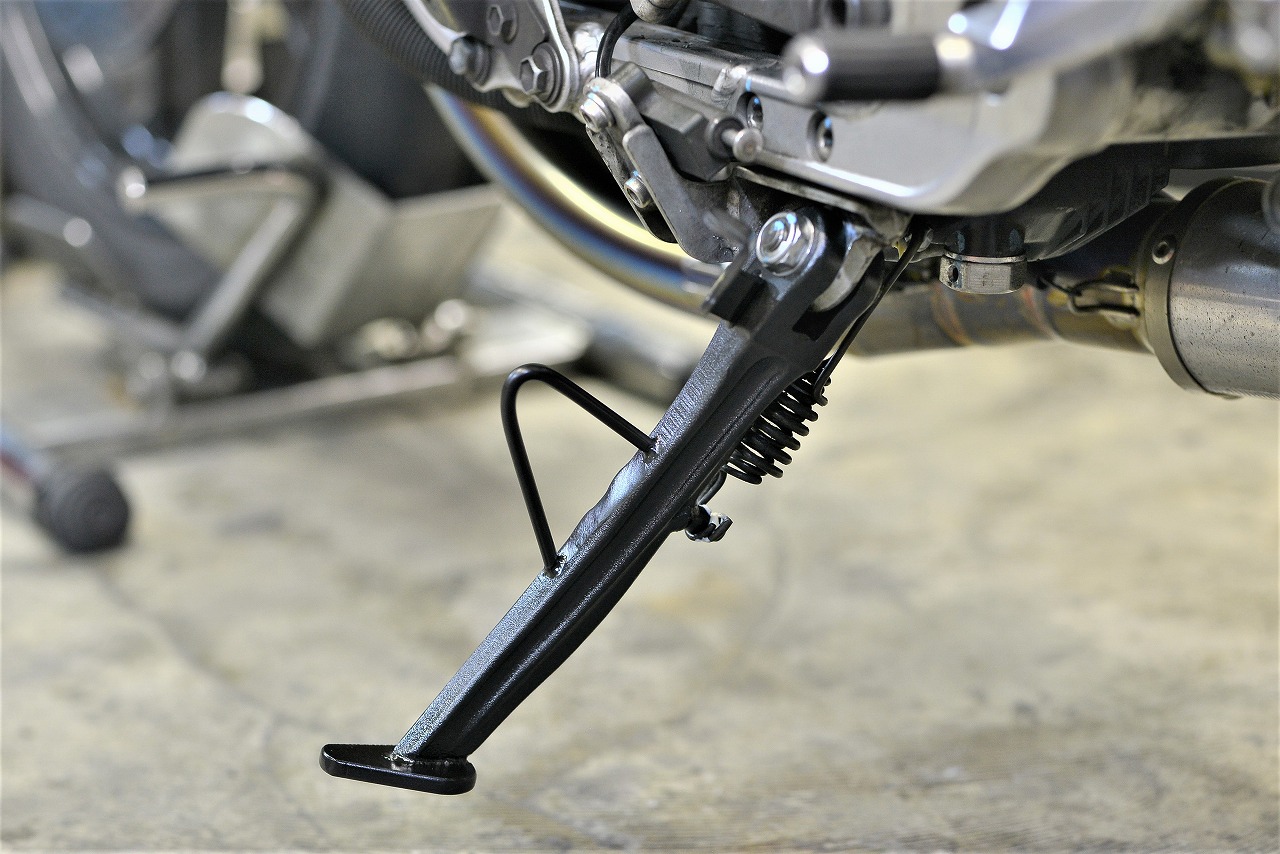
Basically, I keep the sole flat on the ground. I see some aftermarket or modified stands where the sole is lifted, and I think that’s a bit of a shame.
If you look closely at an aftermarket or modified stand sole, you’ll go “oh!” and notice it.
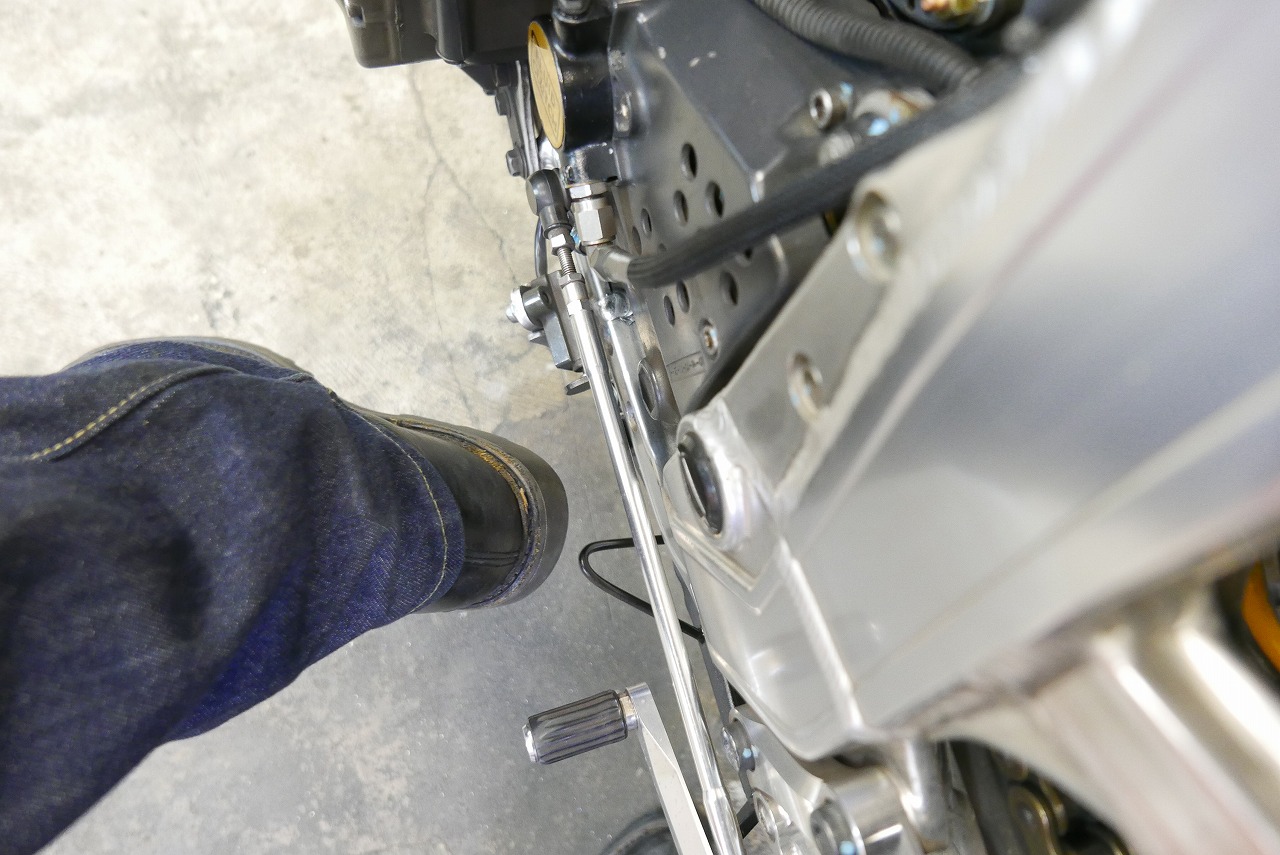
*Decoboco is not a fabrication shop, so we basically don’t take on this kind of work. You’d be better off contacting a custom shop or metal fabricator.
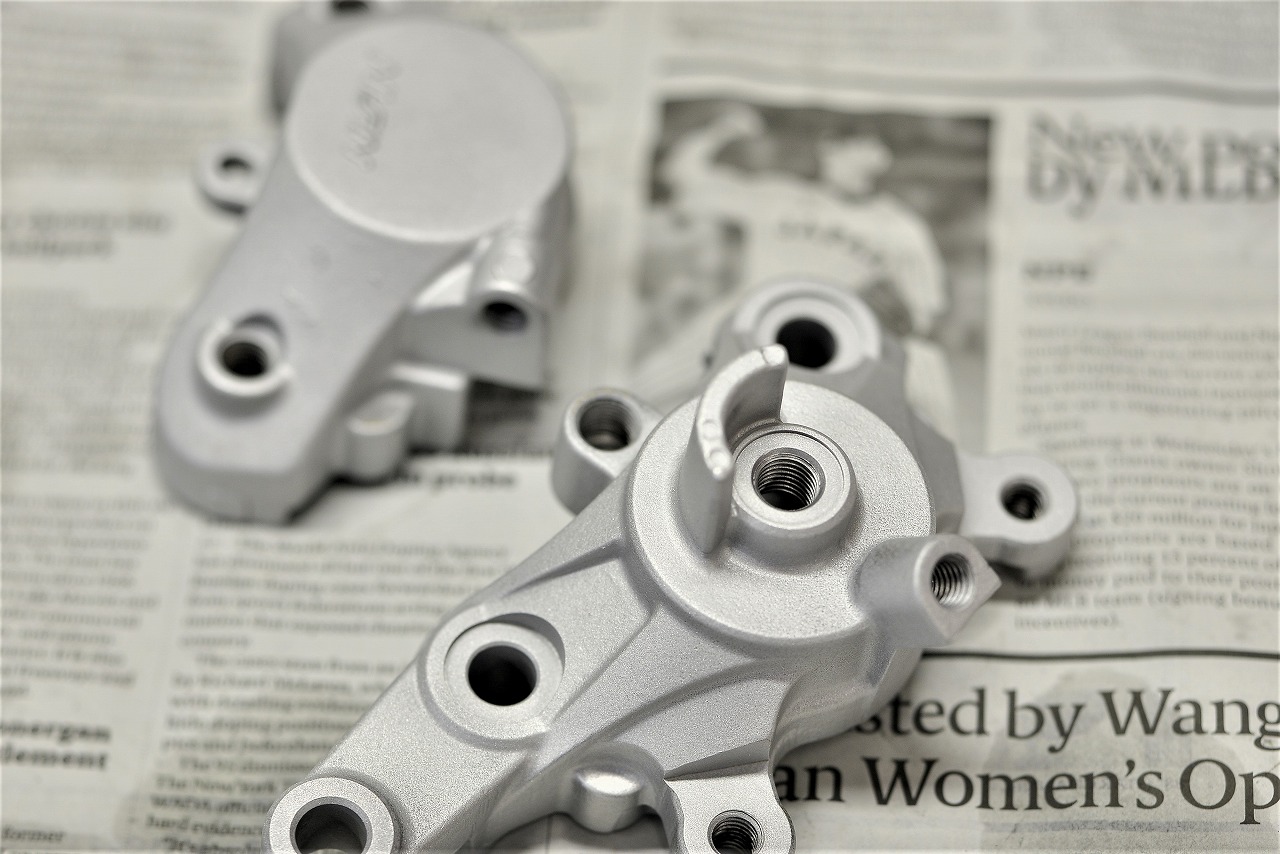
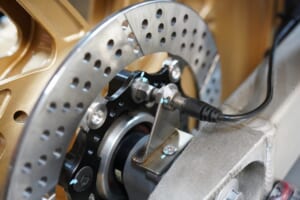
I gun-coated the caliper the old man is going to use black.
The GSXR1100 is basically floating, so this caliper can’t be used as-is. Of course we set it up so it works, but there’s a reason we’re not showing pictures.
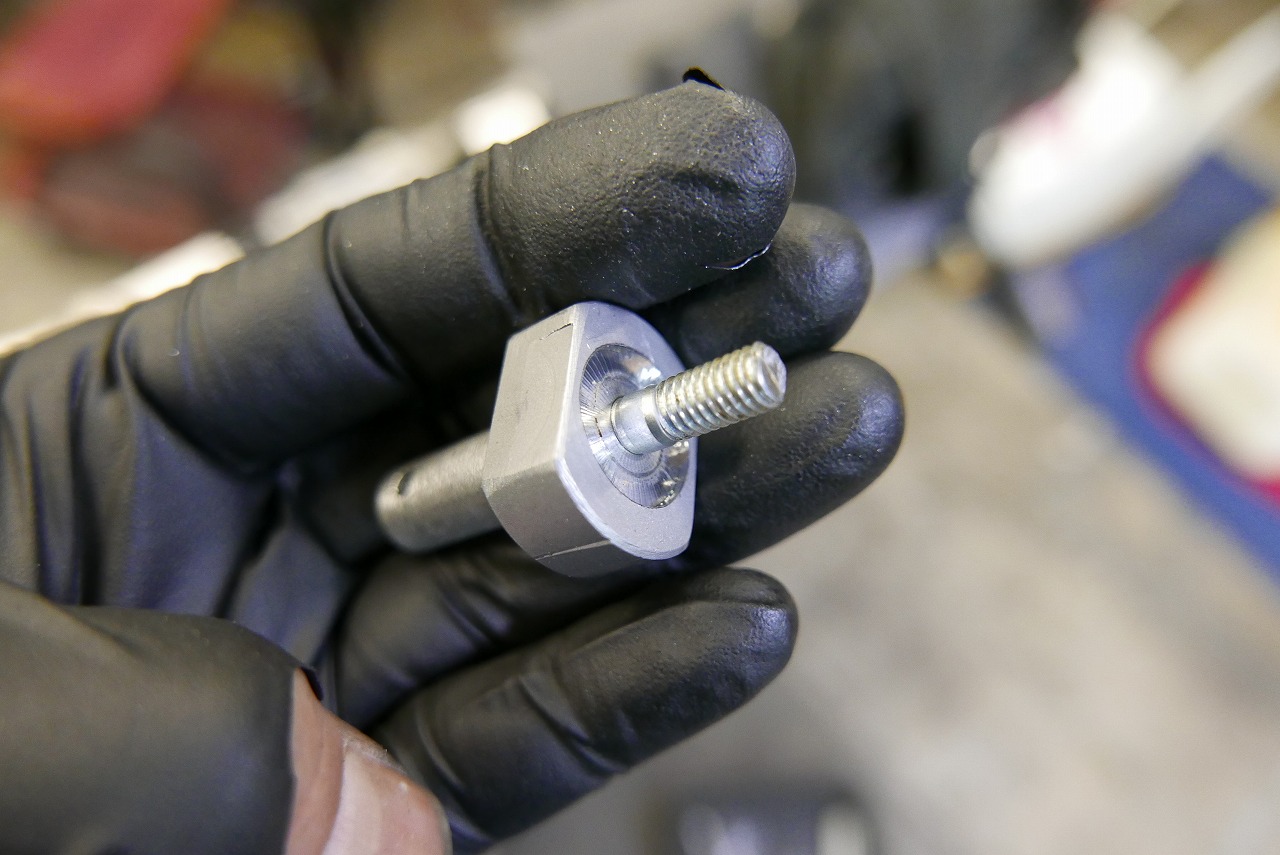
I thought about it… (which rubber to use)… and came up with this design.
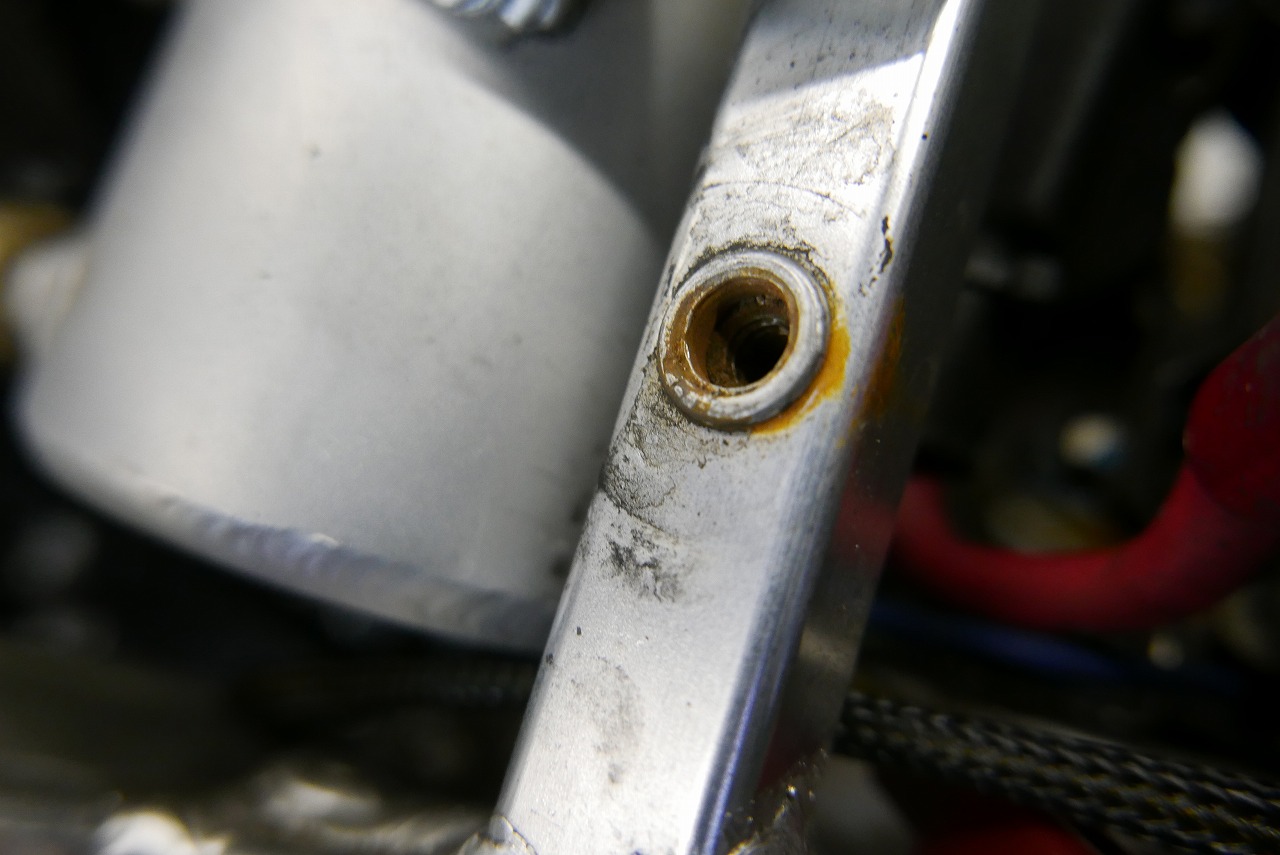
If you don’t care, fine, but on my own bike I’d hate it.
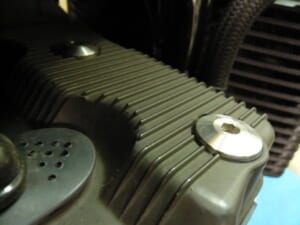
Anyway, with this rivet nut, the head pops out, so we countersink it to keep it from breaking.
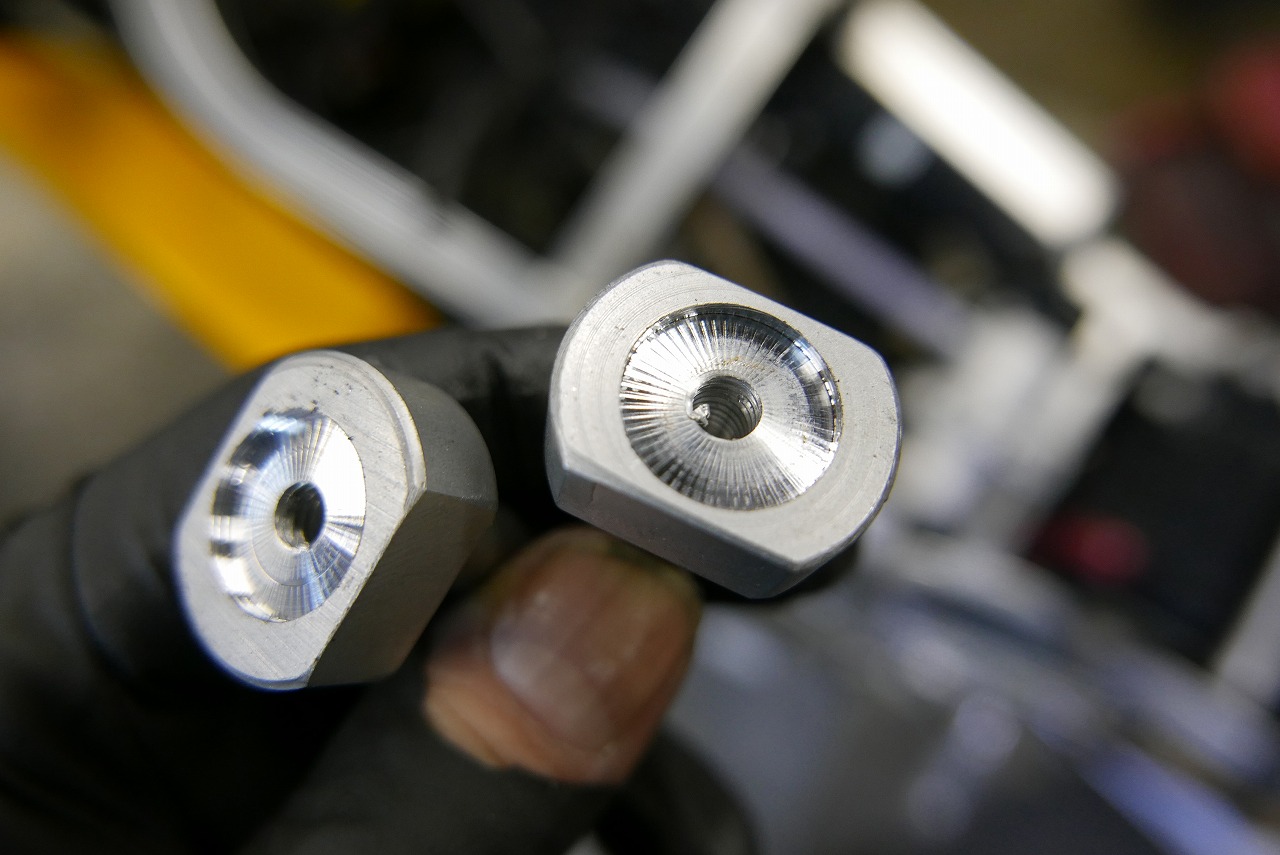
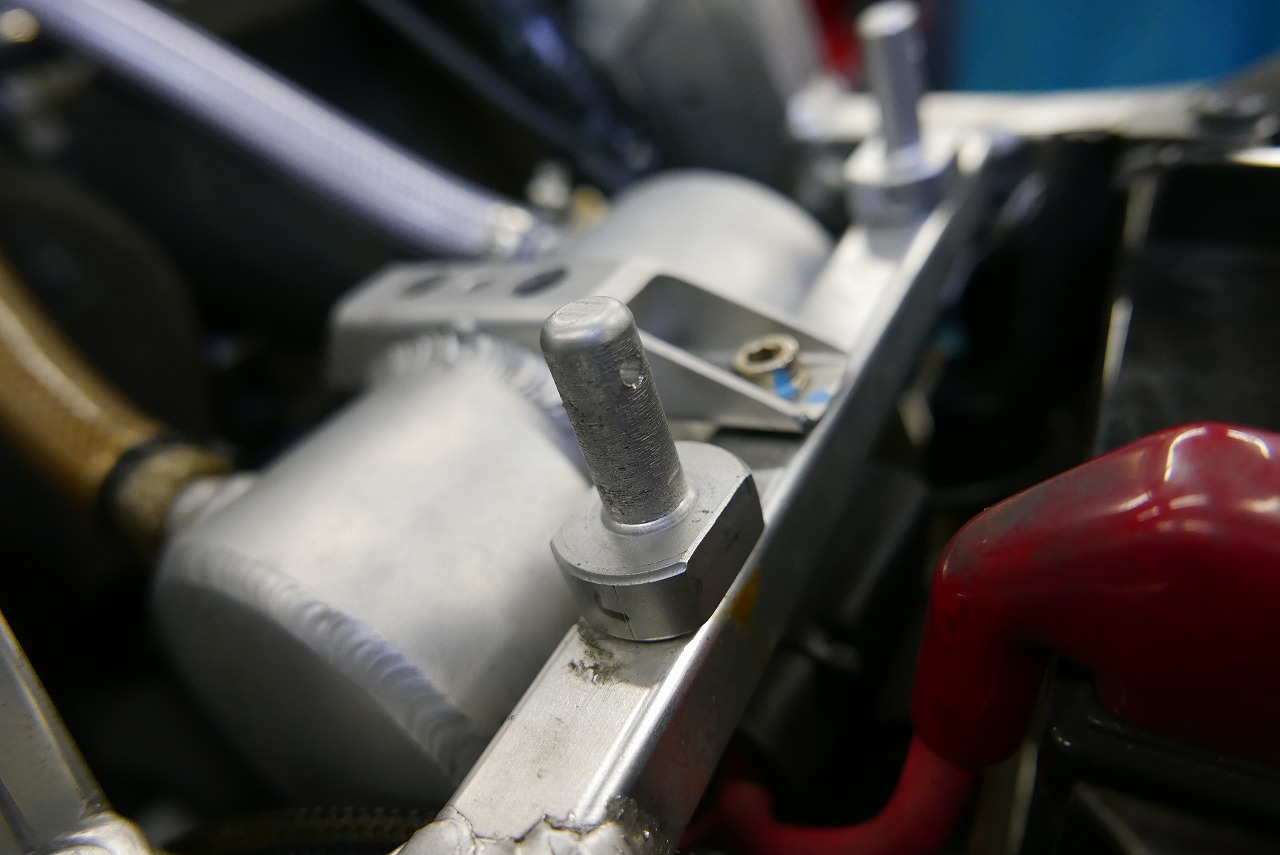
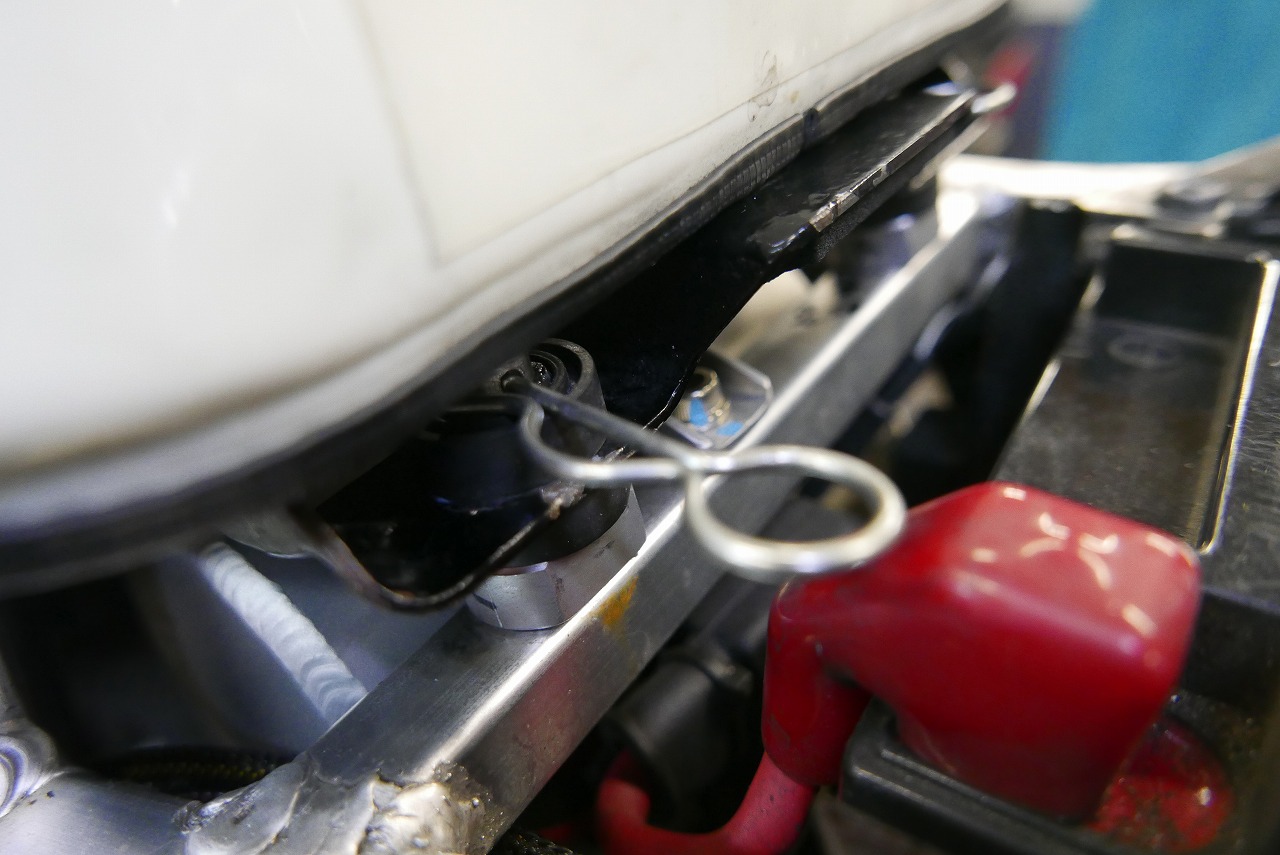
Eventually, if we extend the lower plate and also extend the tank side, wouldn’t it be easier to remove? they said…
“Oh!” I never thought of that… the customer’s wisdom is amazing!
This time there’s a lot of small custom work, but basically we don’t do fabrication-only jobs.
Repeat customers or people we think we’ll have a long relationship with are totally fine.
We have our own schedule, so please understand.
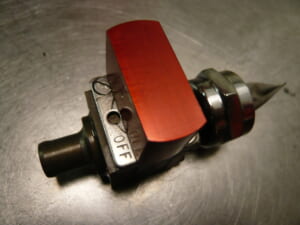
That’s all for this time.