Front maintenance + SKF OH, and along with that we stripped the old paint and repainted it black with Guncoat. Kellermann’s world’s smallest turn signals and more.
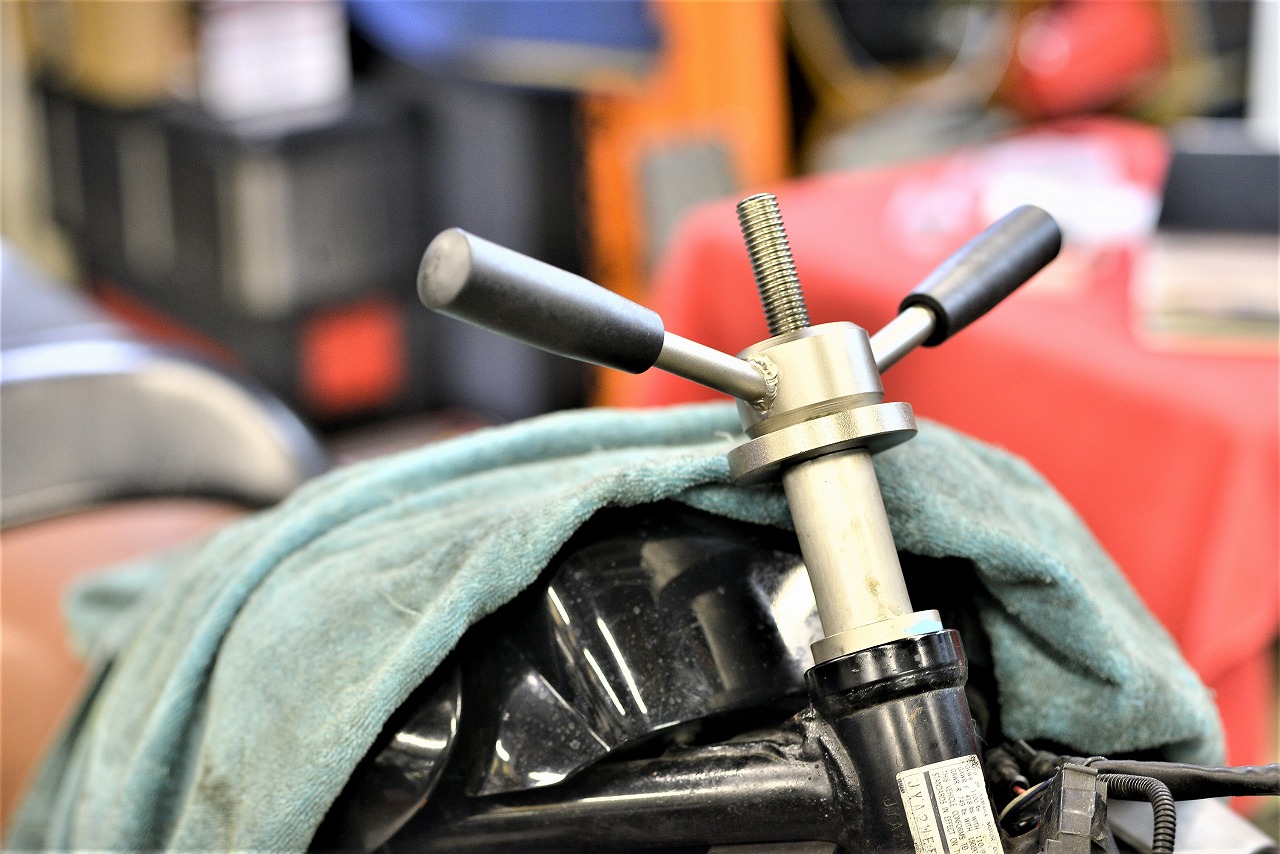
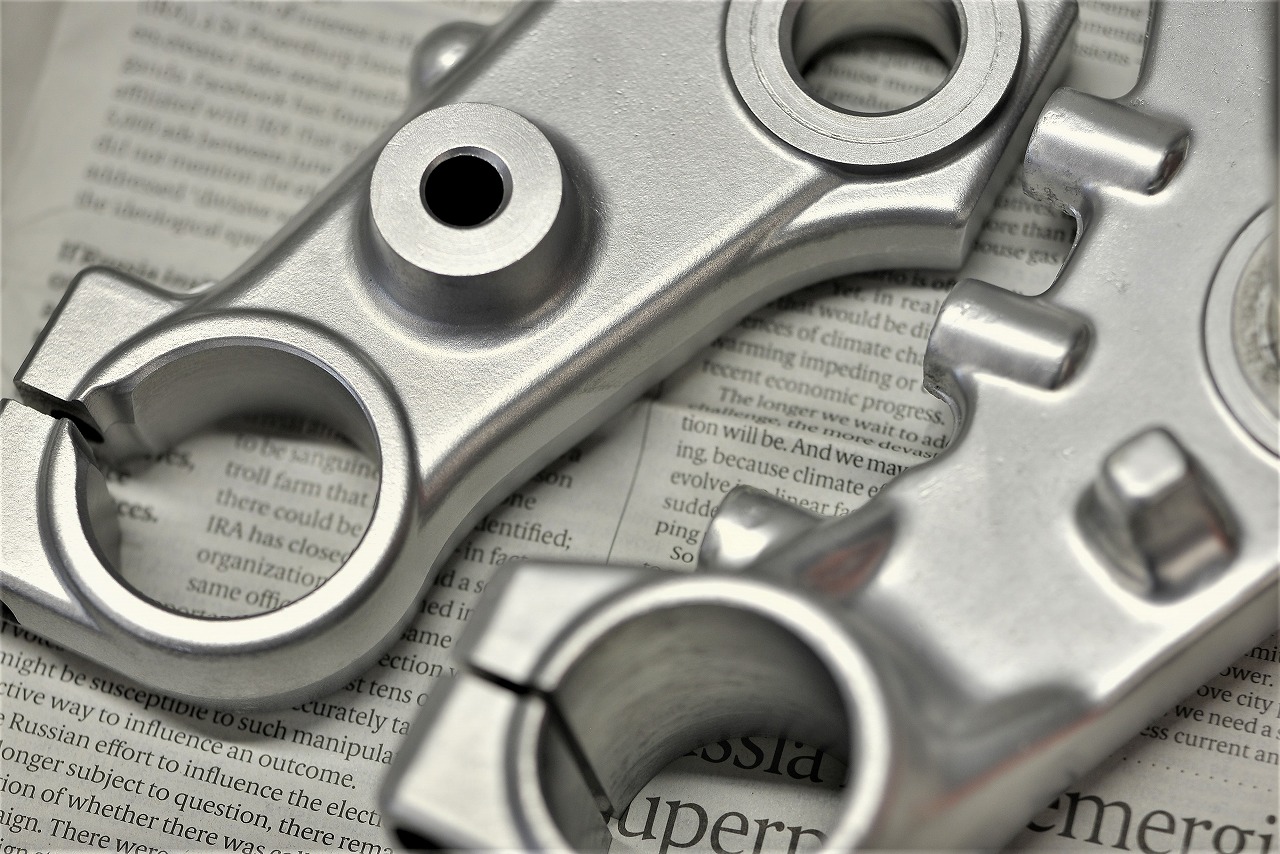
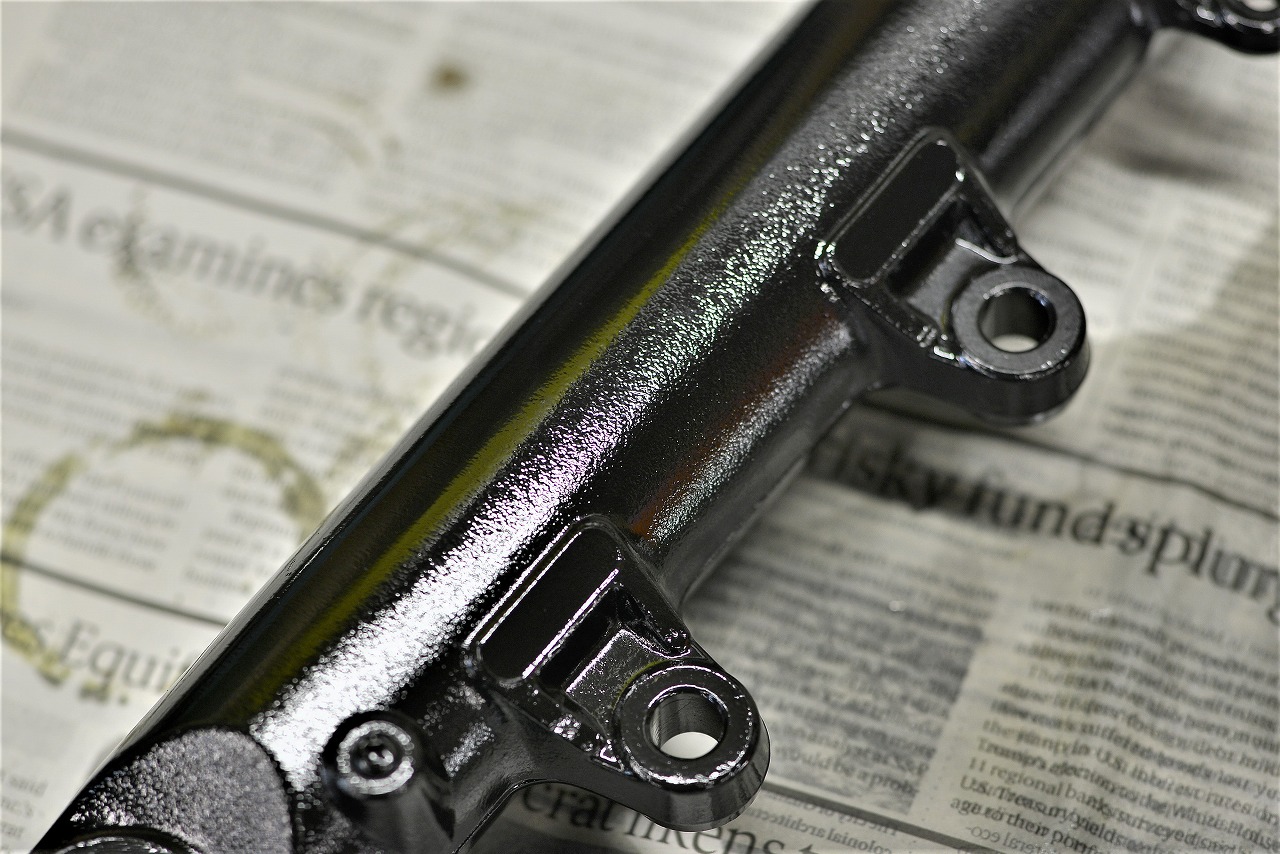
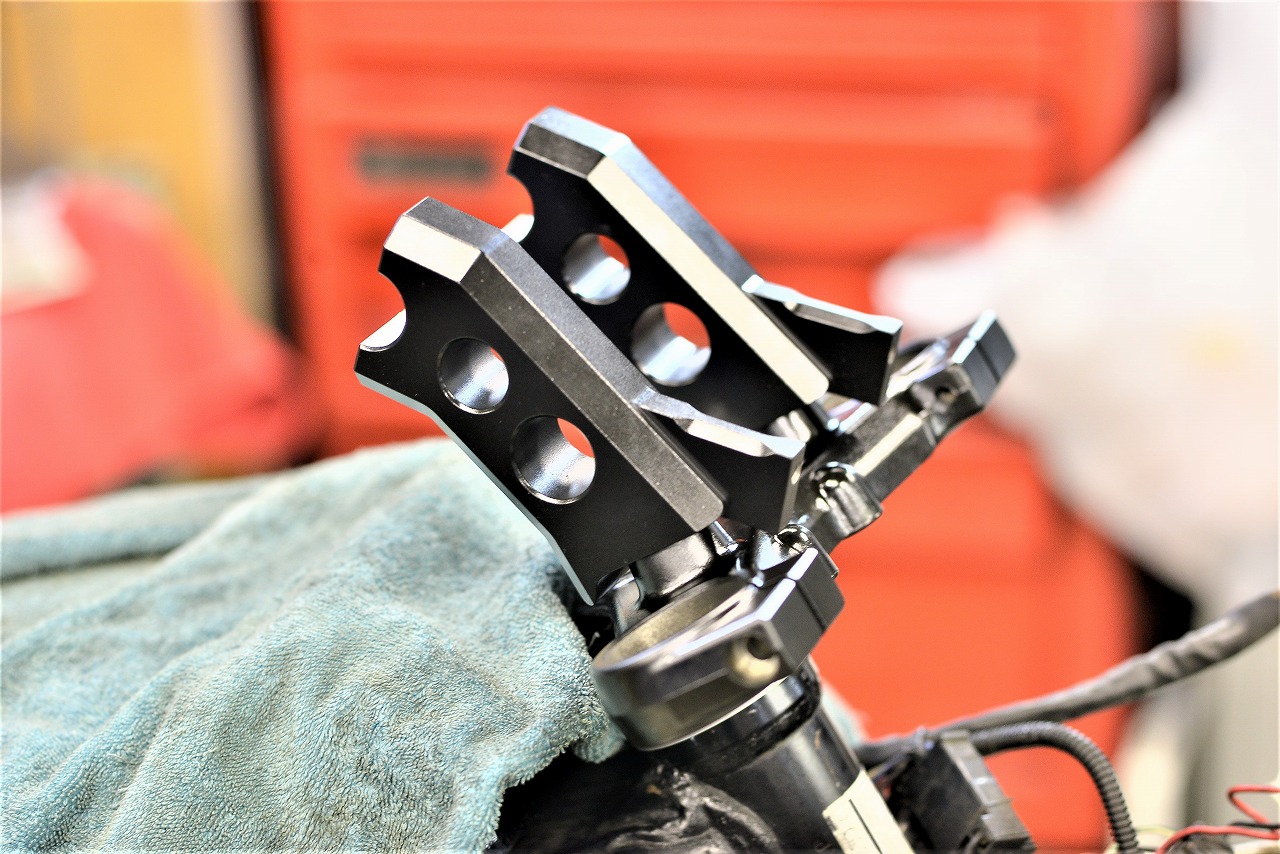
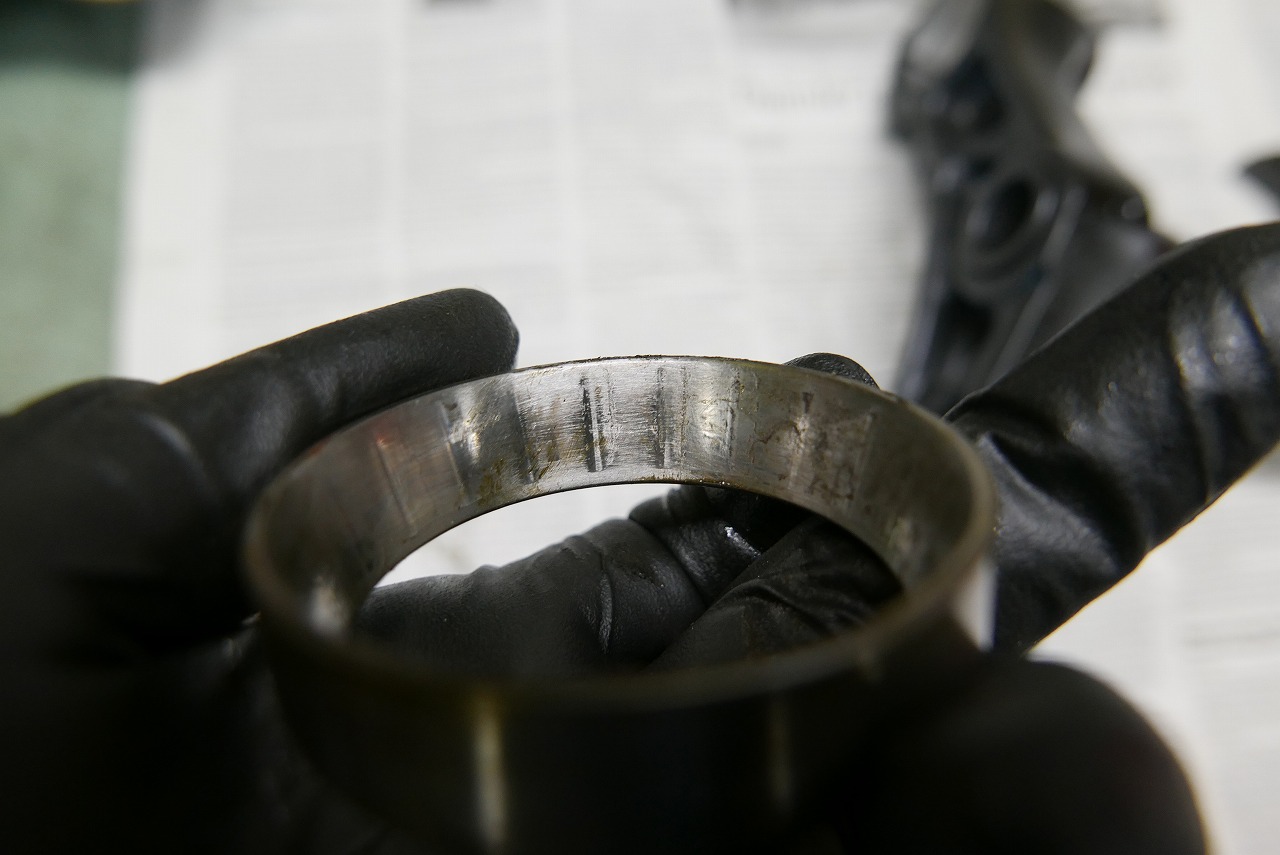
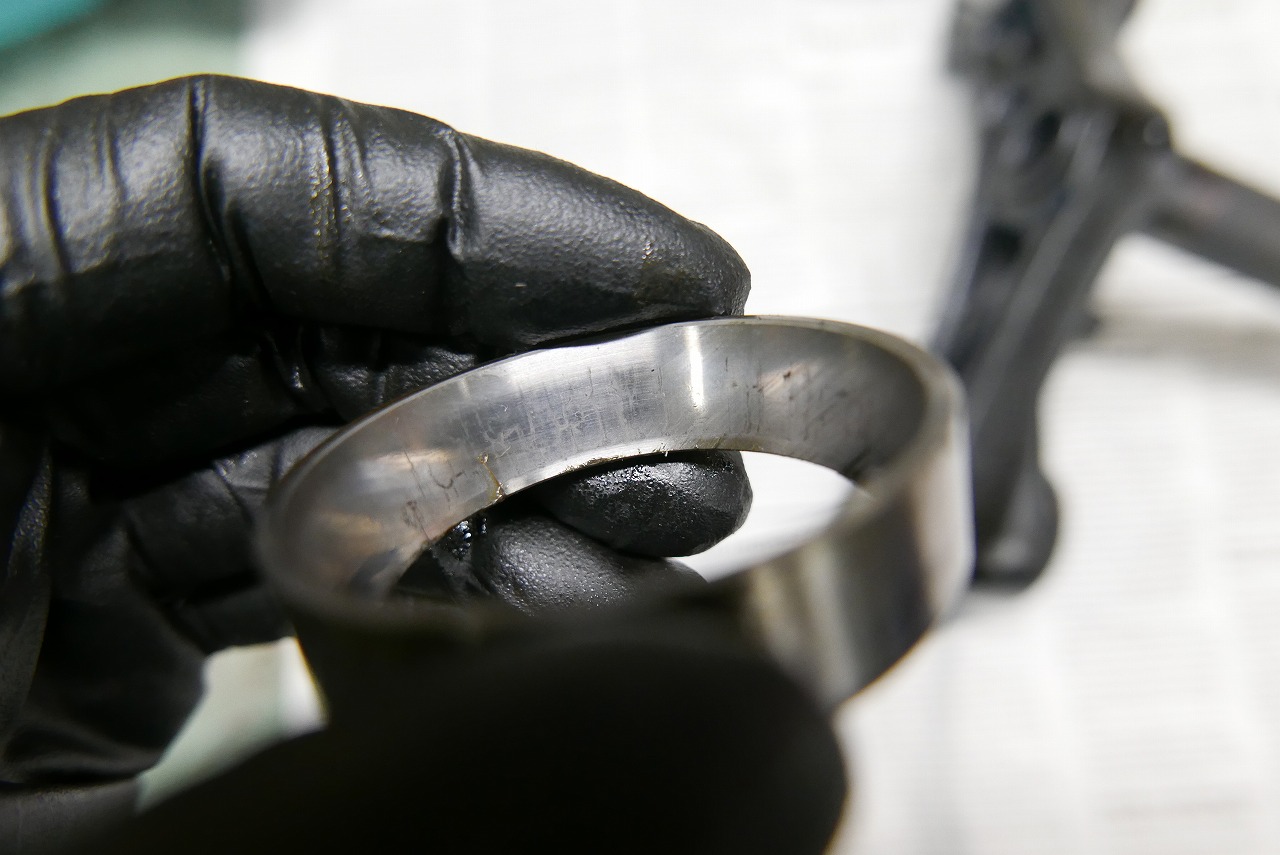
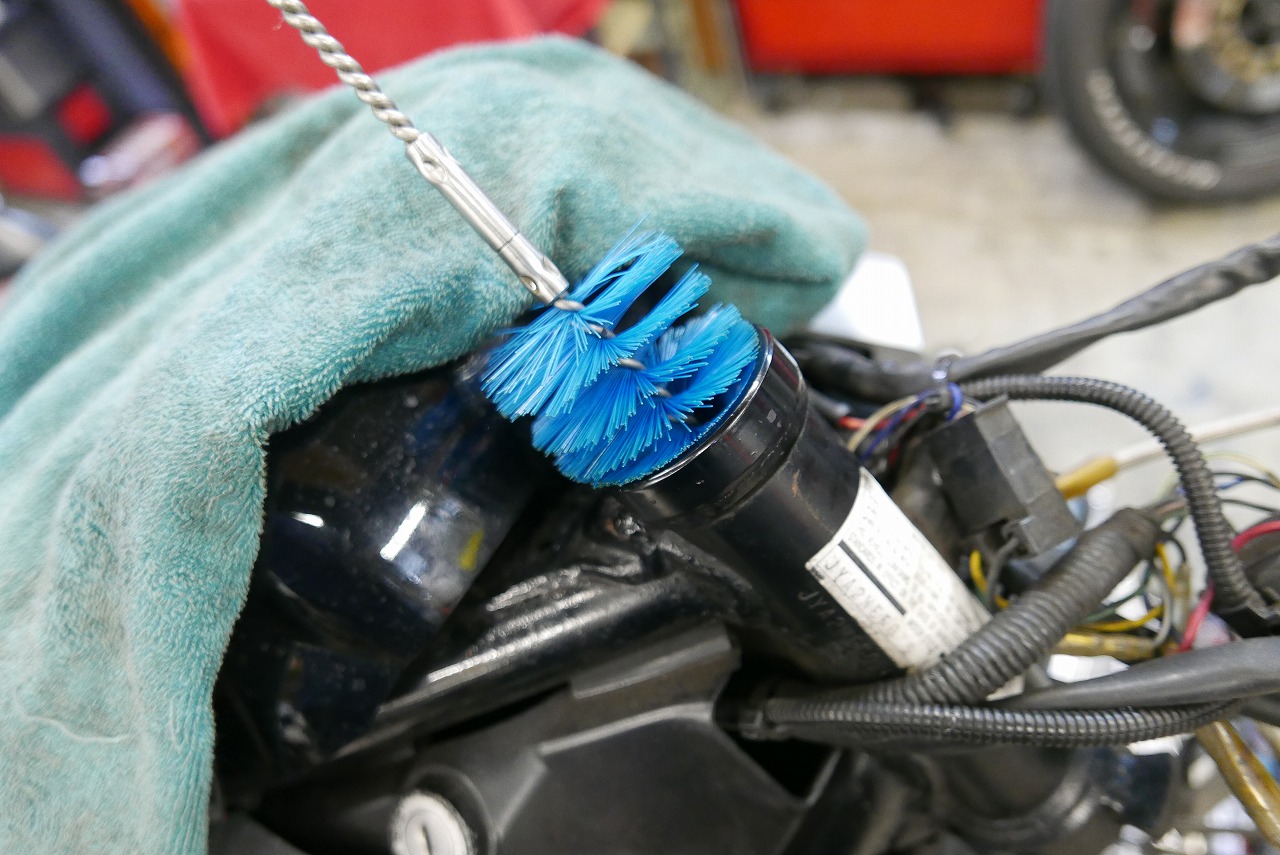
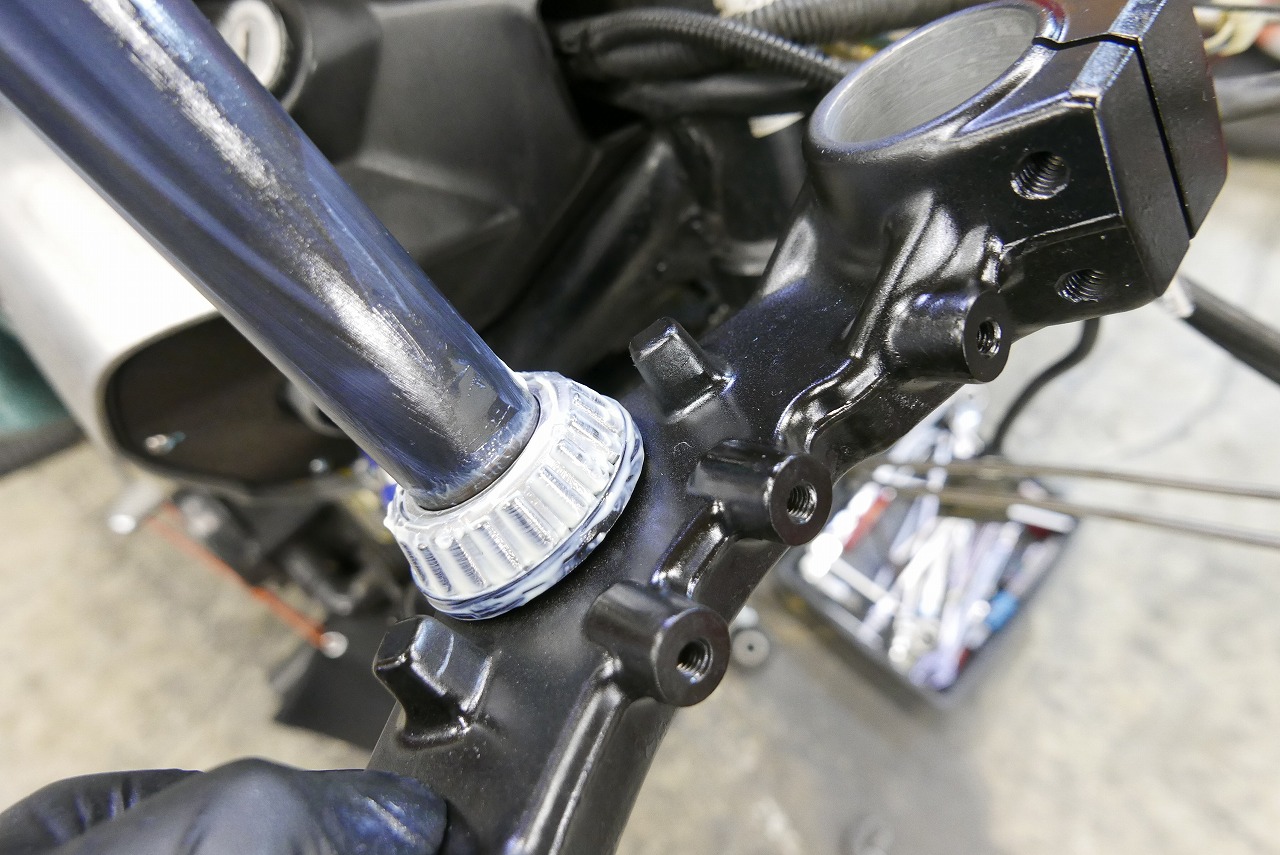
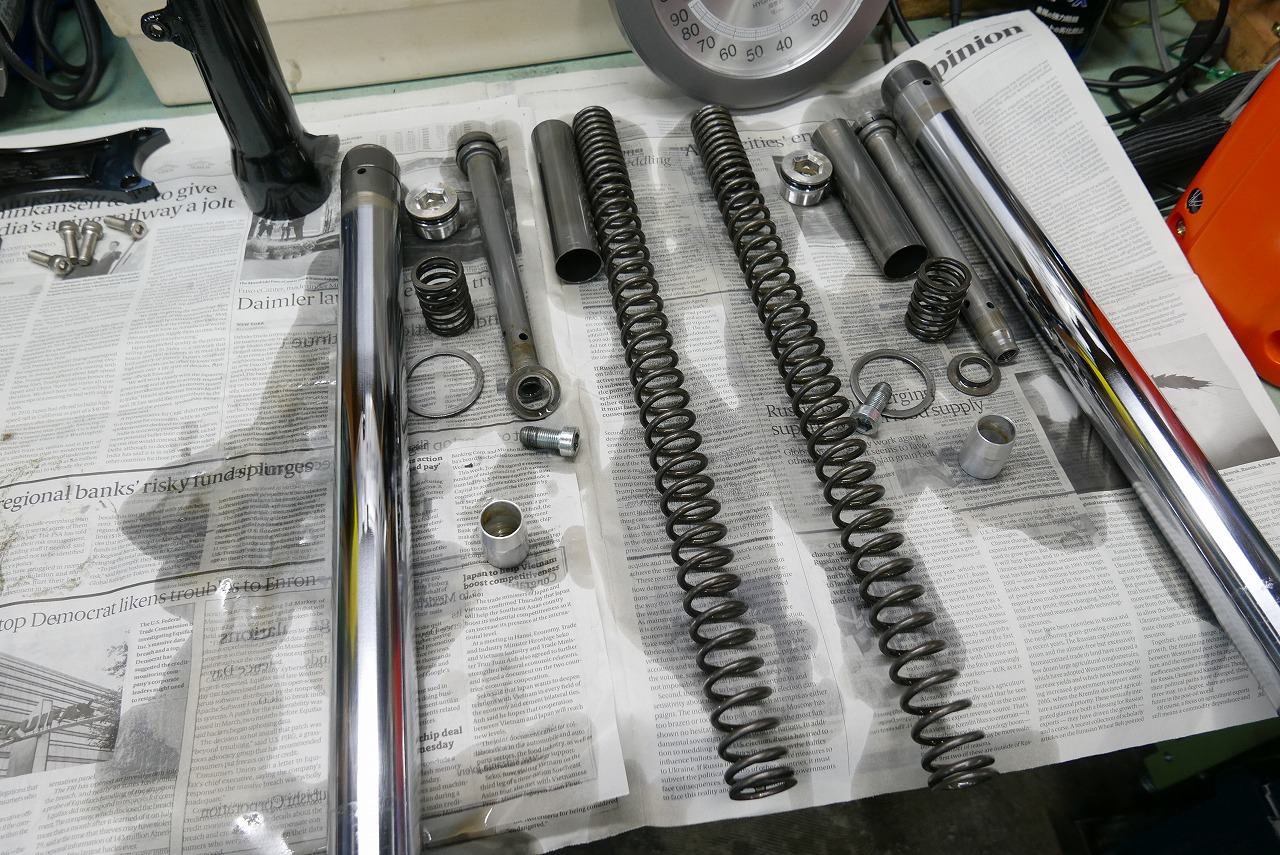
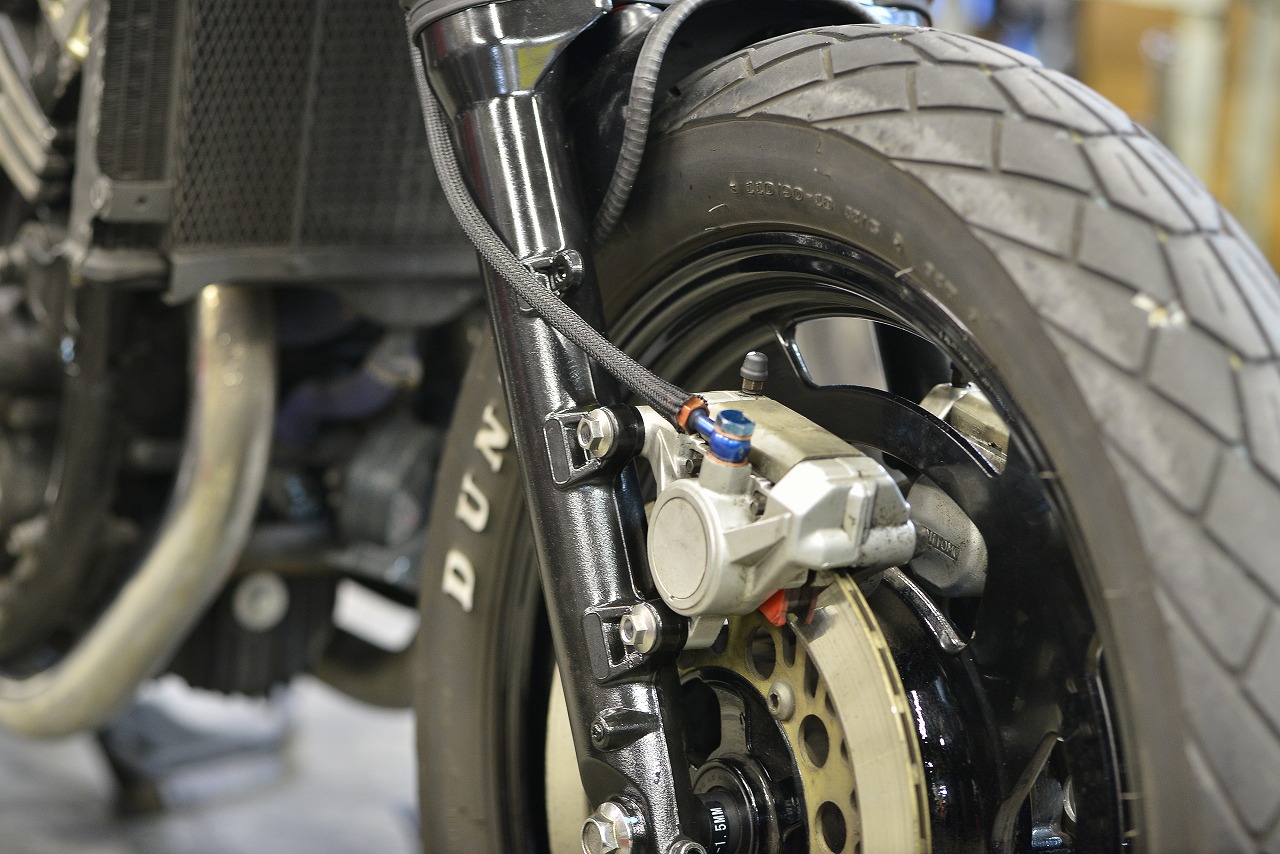
No before shots, just the after. We stripped off the rough paint and cleaned it up nicely. It really came out clean. When it looks this good, the tension during assembly goes way up. It was in pretty rough condition. When you get a chance to clean, do it thoroughly. A press tool that can install both top and bottom at once and release instantly. With OEM special tools, you have to keep turning the nut to remove it, which is a hassle. I think everyone feels that way. Well, this isn’t perfect either. After pressing, visually confirm that it’s seated properly. Apply Neutech NC100 grease generously and assemble. I think steering grease should have a softer consistency that won’t drip even when the frame gets hot. With hard grease, you often get stiff handling in winter or when there’s no heat, and when the frame warms up, it drips from the stem side, gets dirty, and the oil depletes faster. After several years and tens of thousands of kilometers, when you disassemble it, what condition is the grease in? Judging the quality of chemicals like engine oil, brake oil, and grease takes time. A very rare 40mm fork. We debated whether to go with SKF, but the outer and inner diameters looked compatible, so we went ahead and installed it this time. *Since it’s thicker than the OEM version, you can’t use it without making a backup ring, so please don’t copy this carelessly. We were asked to do something kind of Z-like, so we gave it a shot. Just swapping parts won’t center it properly, so we can’t just wing it. We measured the wheel, disc, and fork.
Hmm, I see! That’s what it was.
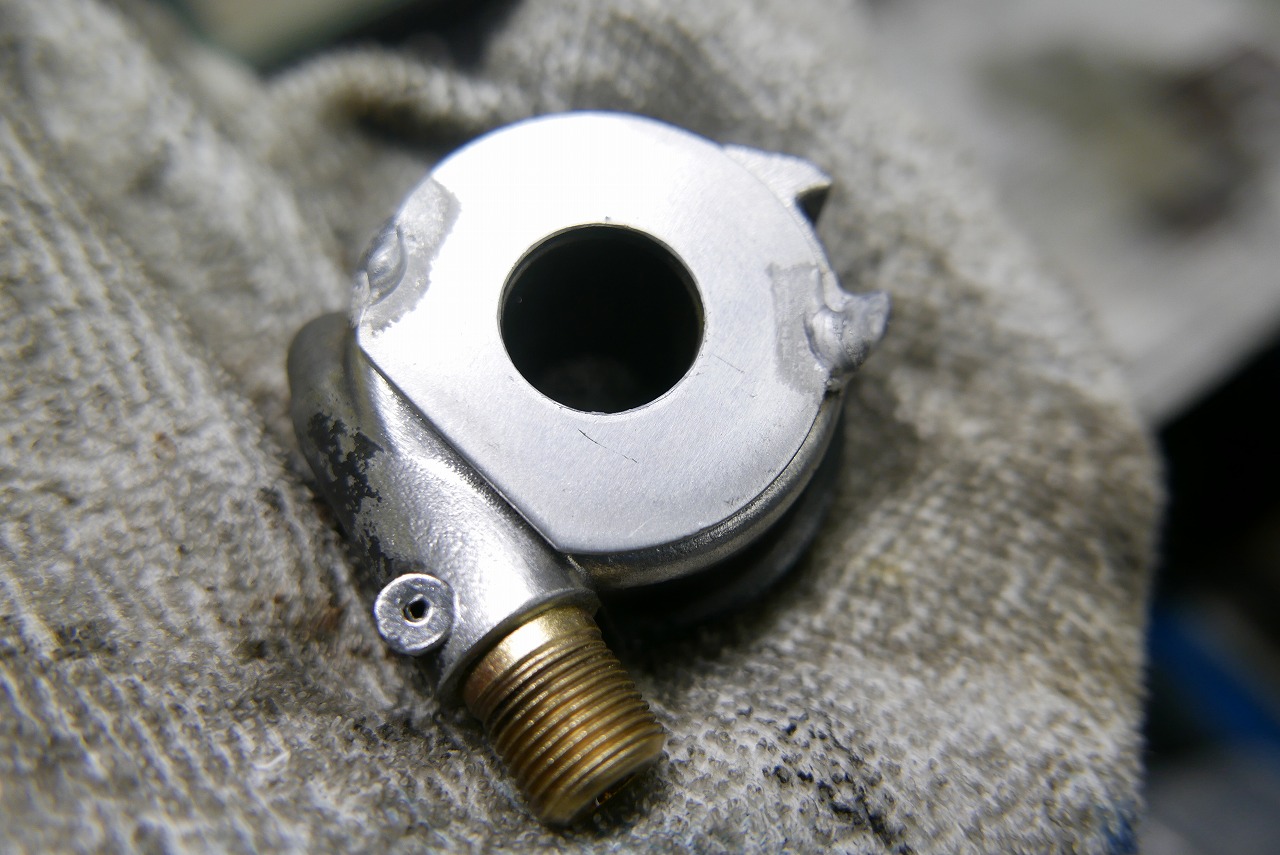
Adding shims and removing shims. Adding shims is actually pretty risky. If someone other than you is doing the work, when adding shims during parts replacement, you need to “mark it with a label maker” and “tell the owner repeatedly.”
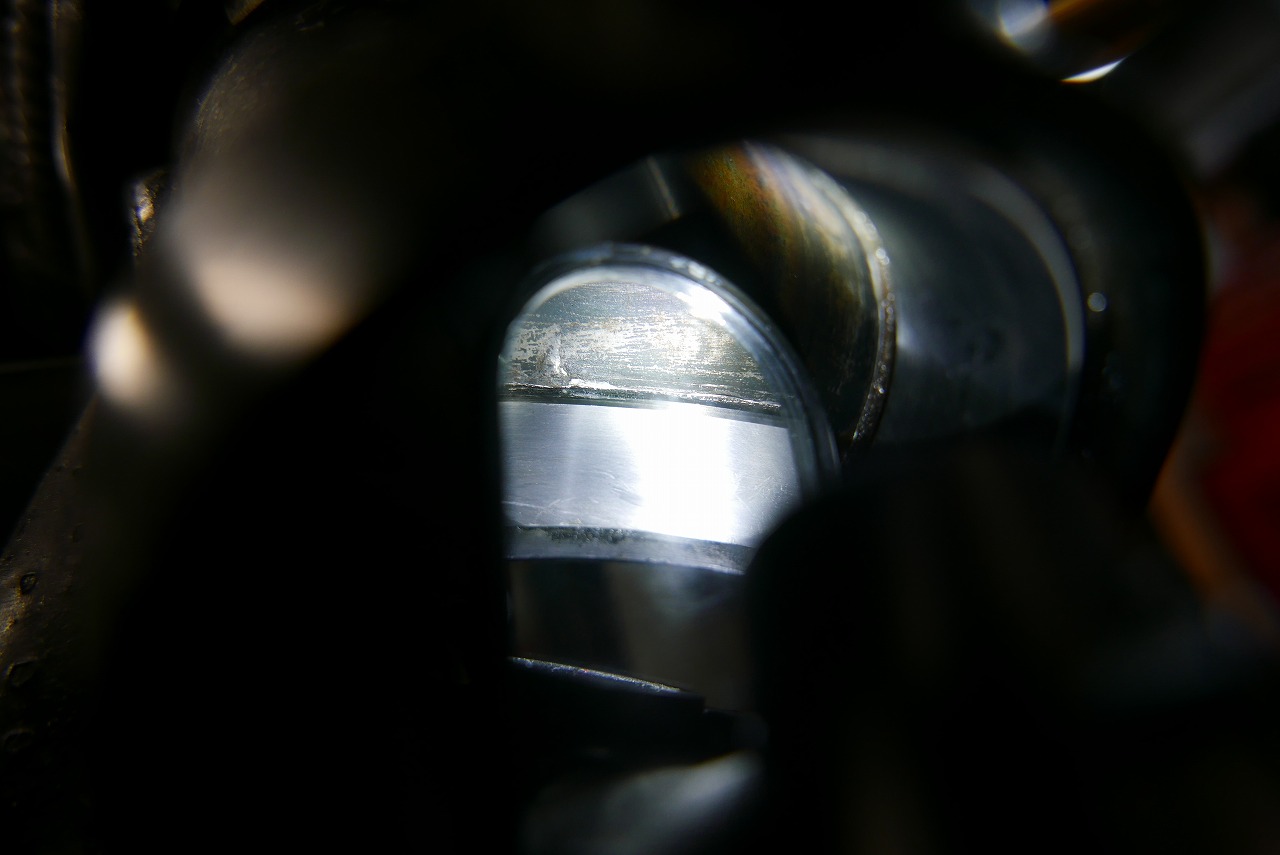
If it gets disassembled and scattered, you might notice “what’s this shim?” but if it rolls away silently, it’s a real problem. So we made the shim from aluminum, spot-welded it to the speedometer gear side, and increased the thickness. When we removed the caliper, I noticed it wasn’t tight. Looking closer, the pads were already worn down to nothing. I was surprised it held up so well. I was kind of impressed.
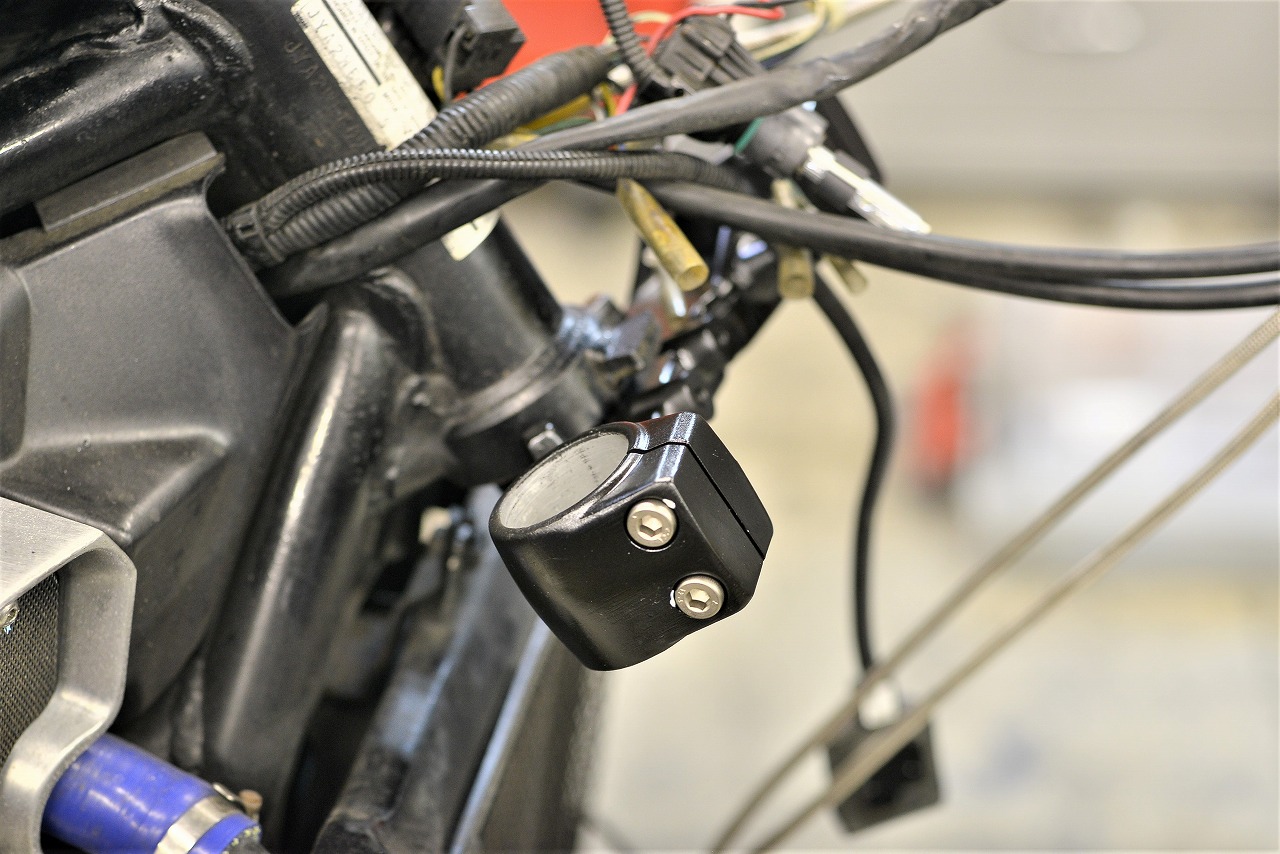
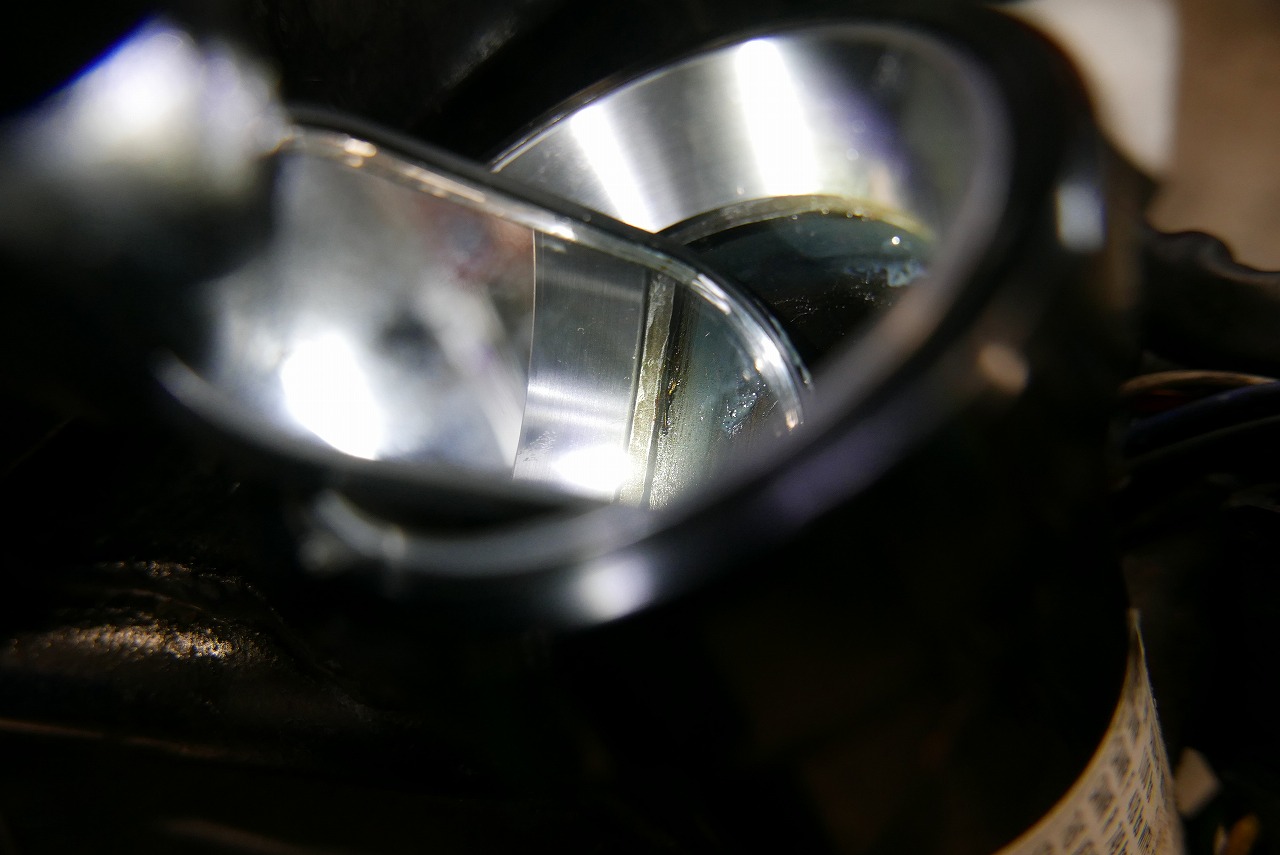
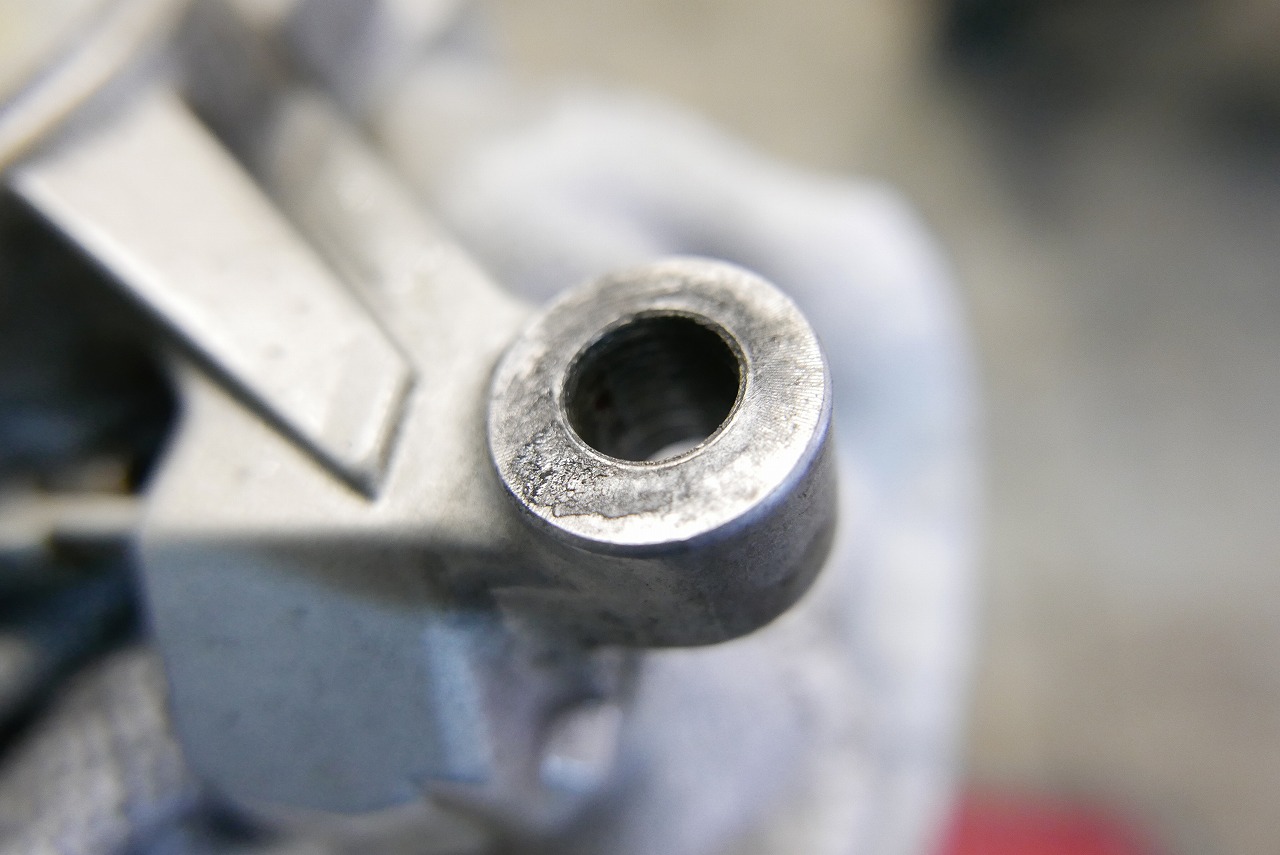
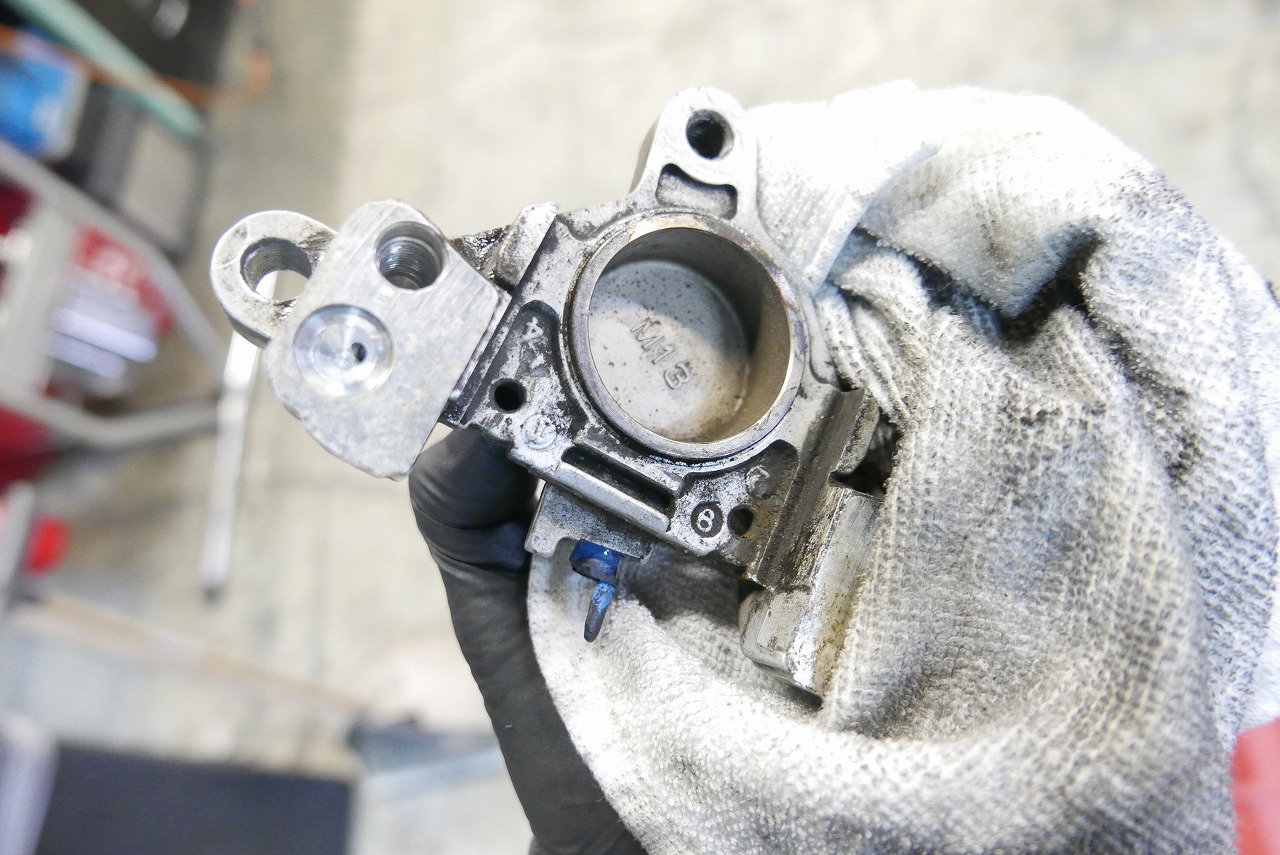
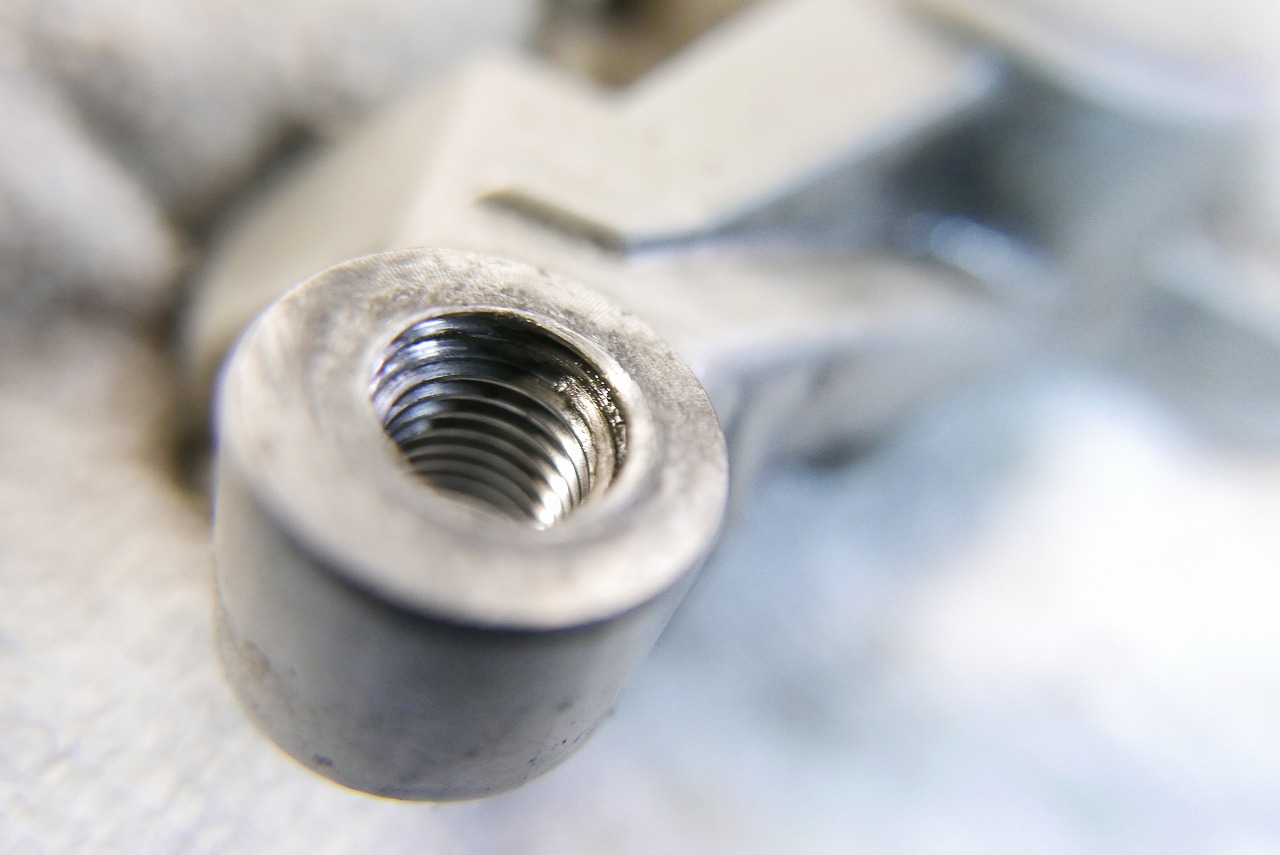
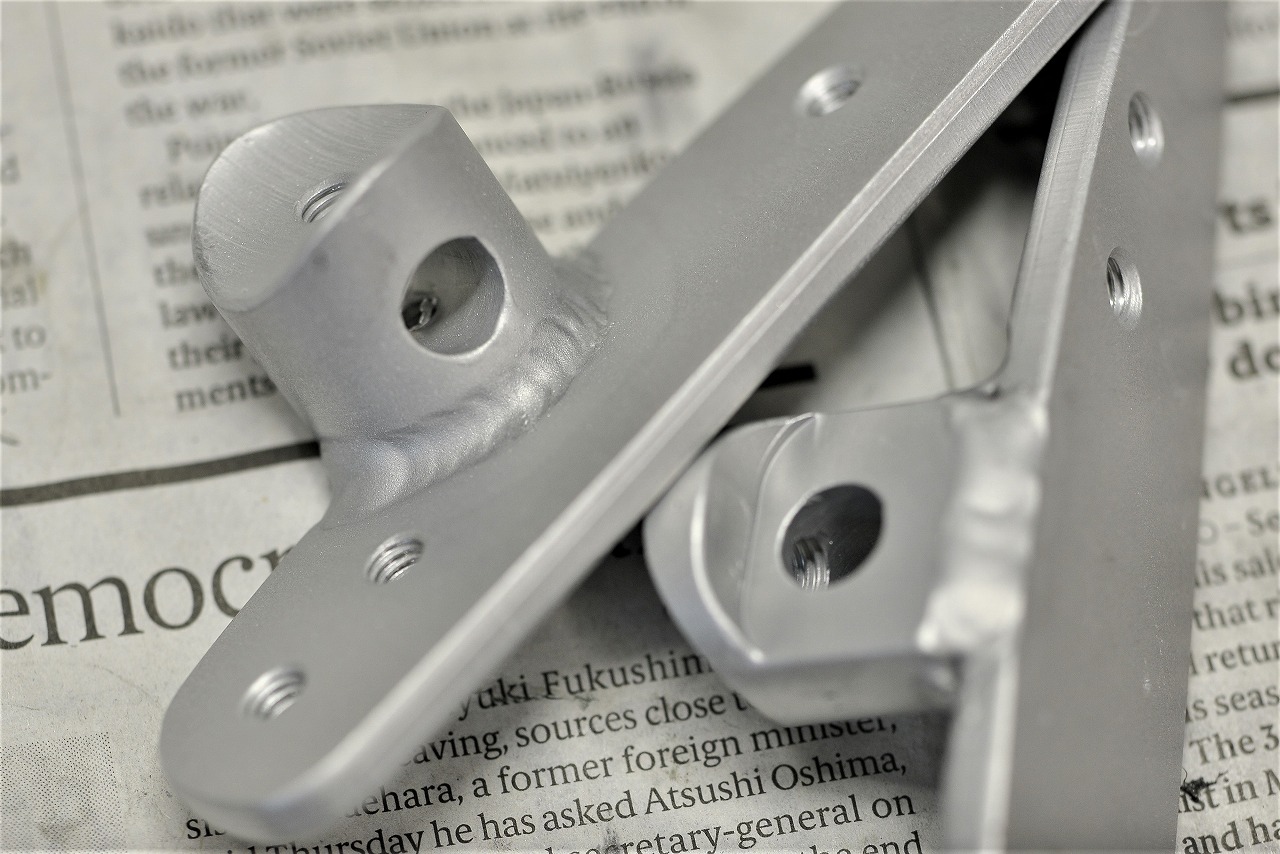
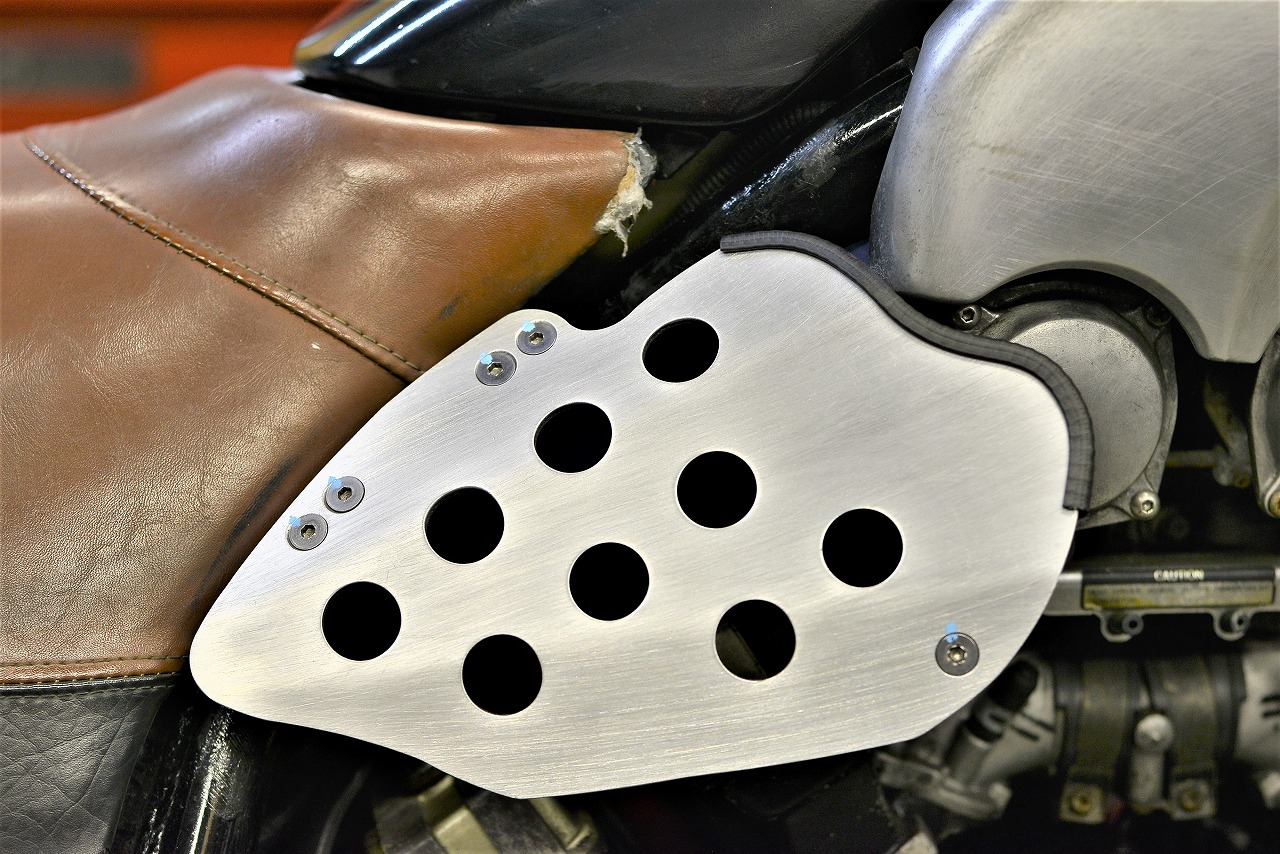
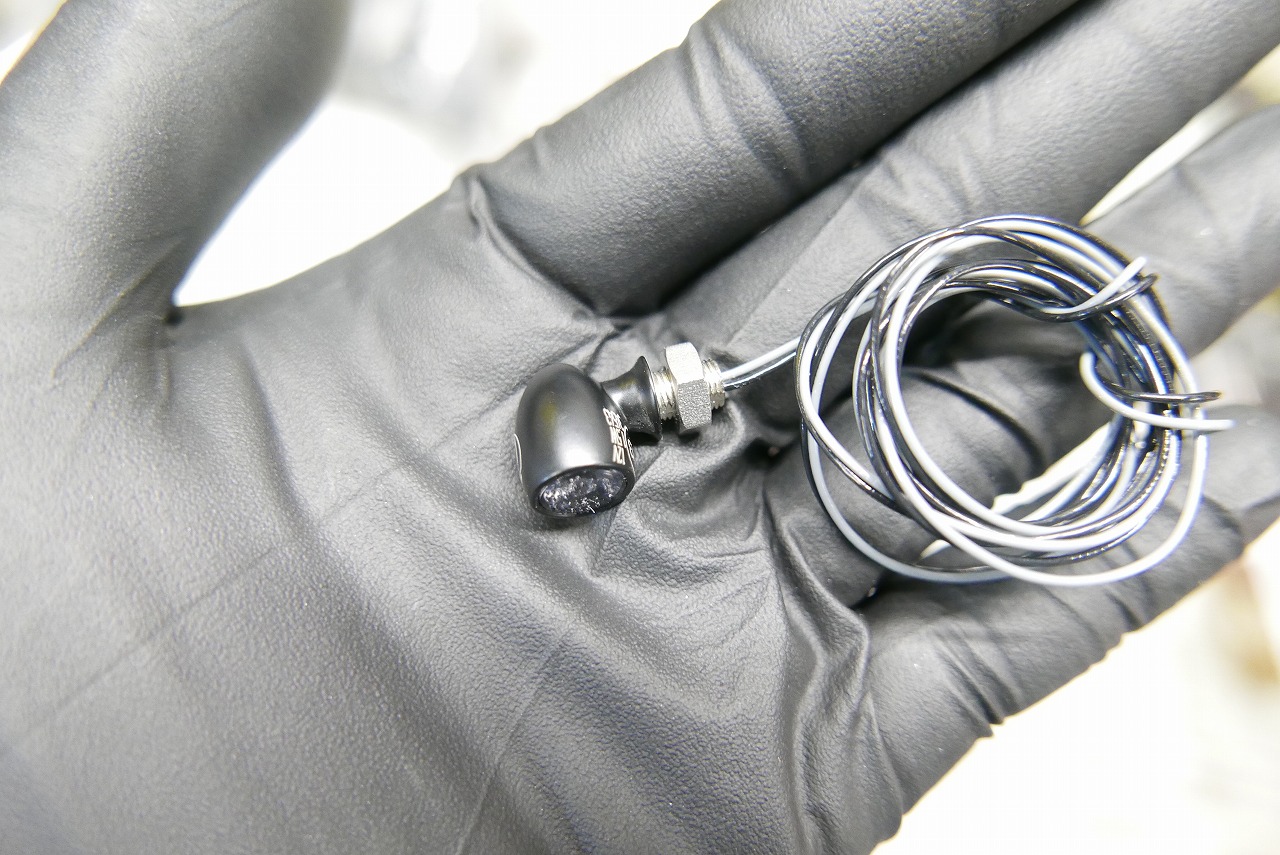
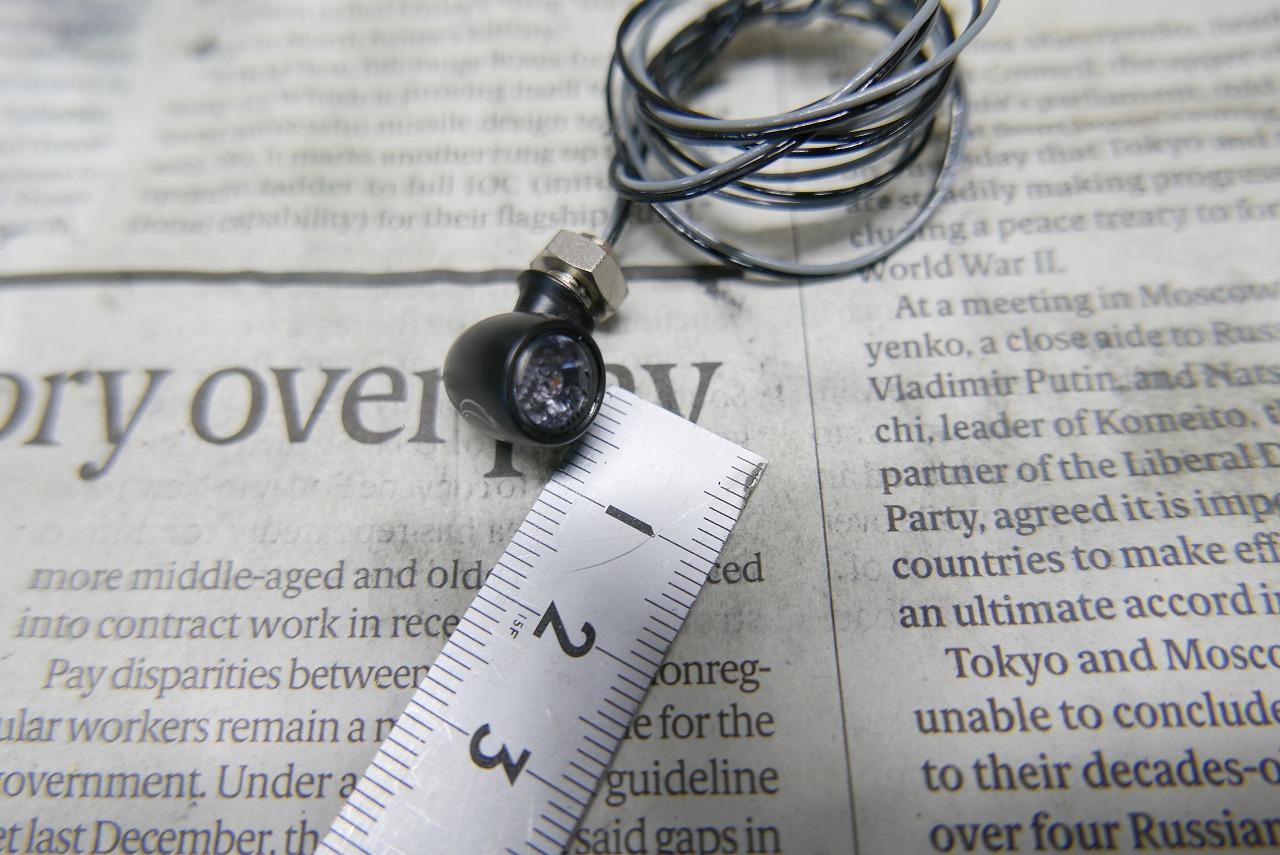
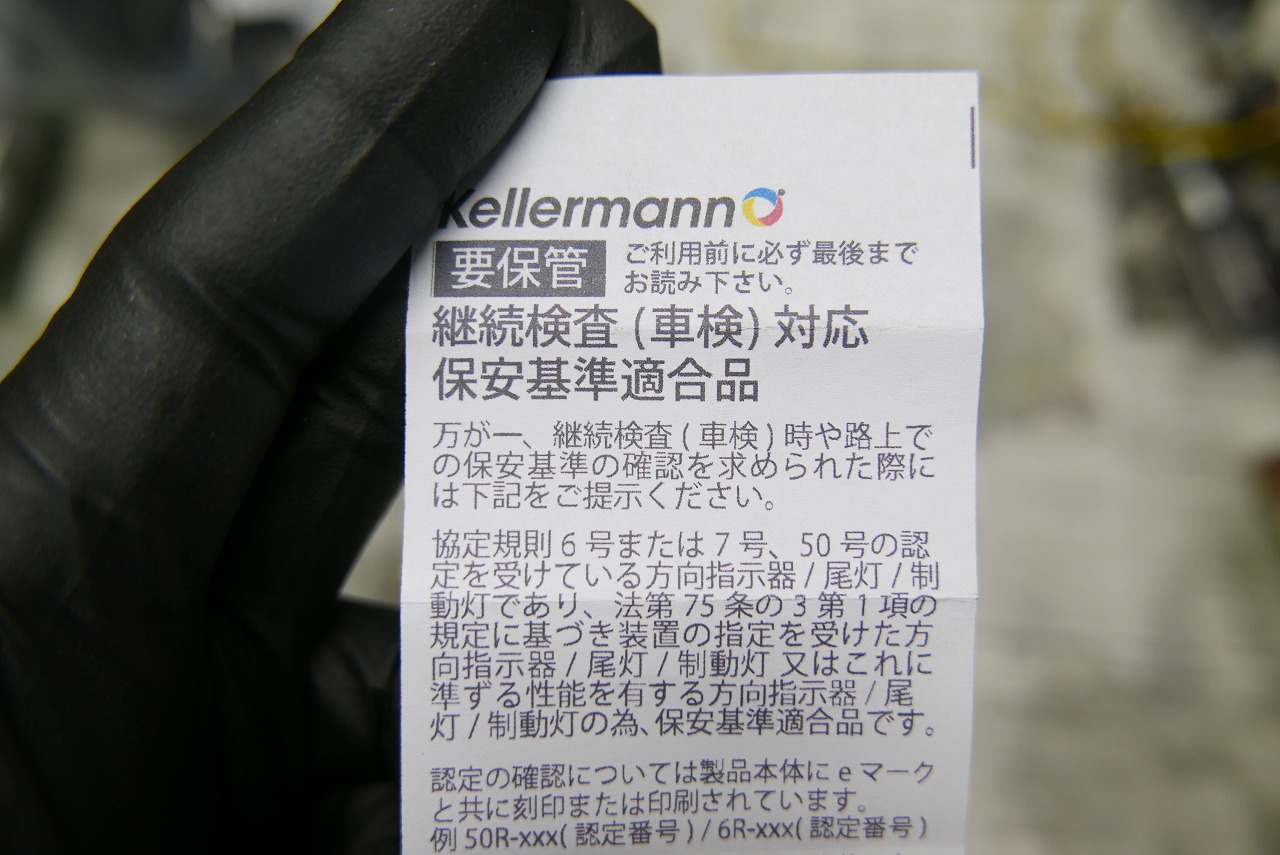
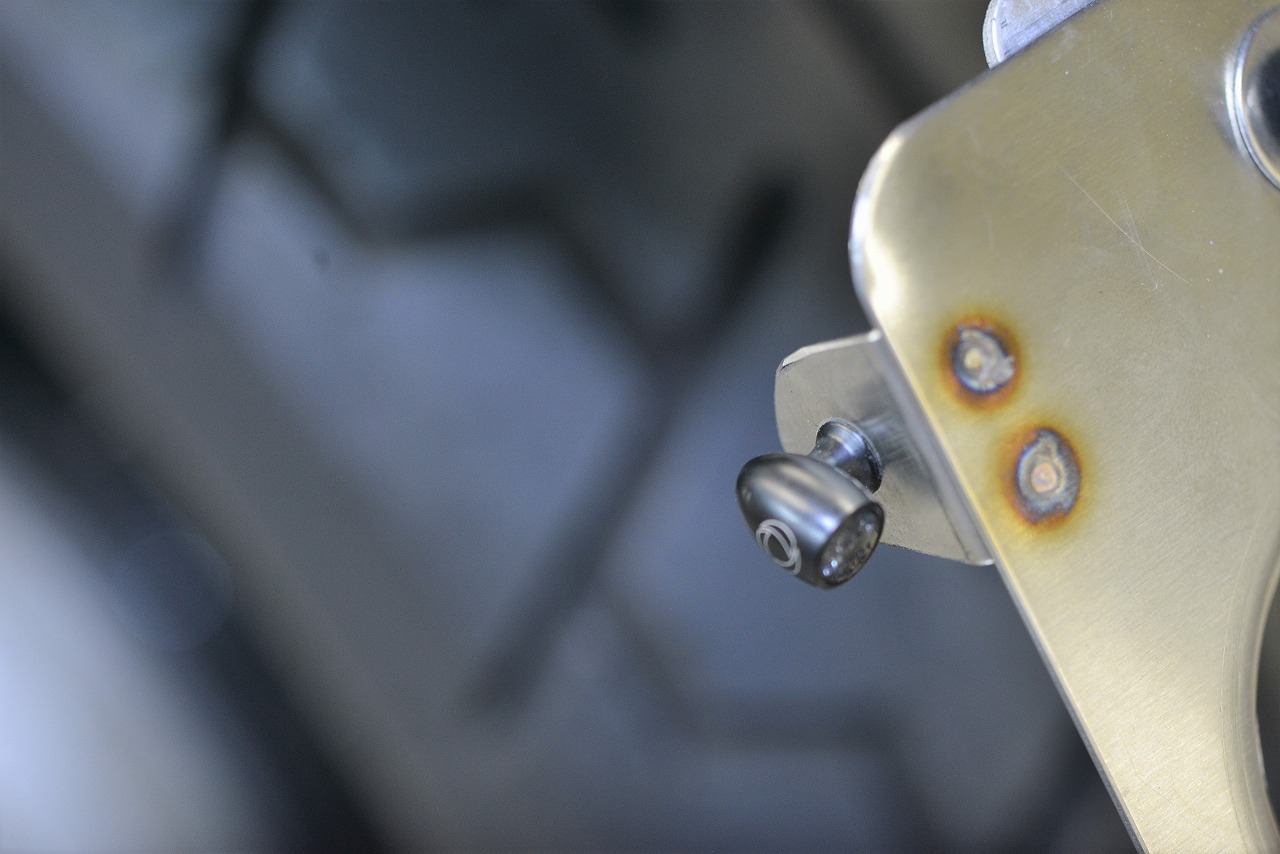
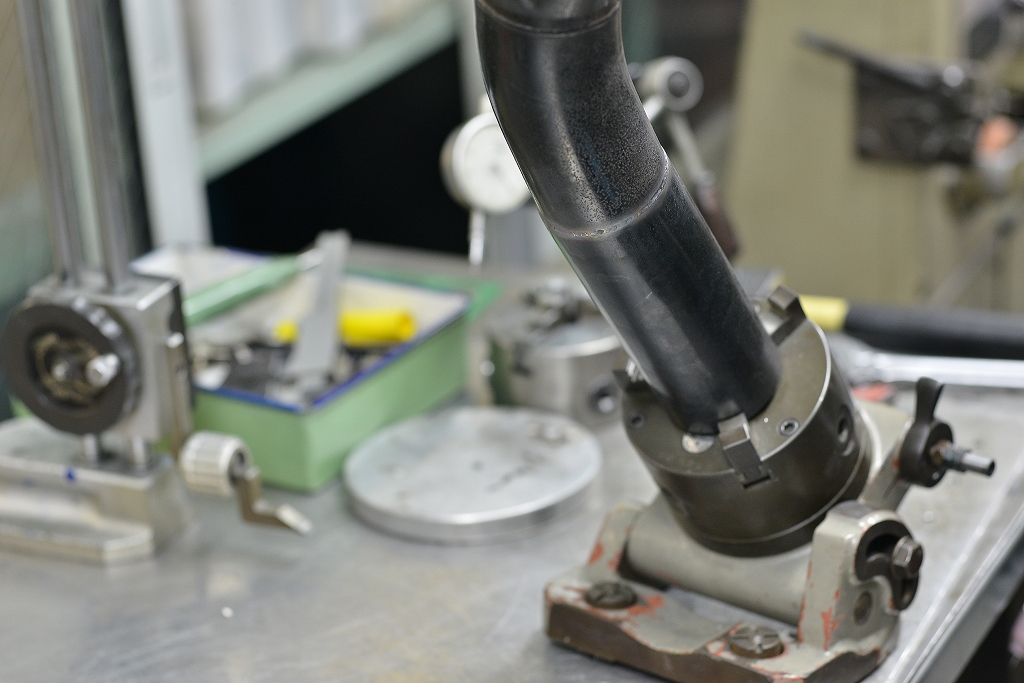
We can’t helicoil from the outside, so we had to split the caliper first. The base material was a bit questionable, so we installed it one thread down from the top to be safe. This one was far from easy. The customer wanted to securely mount a knee guard-type part. (Originally cable-tied and bolted.) Since it’s aluminum this time, machining is easy, but the design took a lot of time. (Kind of figuring it out as we go.) We seated the boss to the frame diameter, drilled holes for hose clamp mounting, test-fitted and found the seat was interfering so we milled clearance, roughed out the base plate, finished it, test-fitted for positioning, and welded. Then drilling and tapping. We reused the bottom part as-is (already Guncoated) and installed it. The mounting is completely invisible and incredibly strong. Custom work always hides all the struggle. The world’s smallest Kellermann turn signal. Bullet Atto—the world’s smallest turn signal. By the way, it’s street-legal. It meets regulations based on light output rather than size, so you can trust it. It has a strong aluminum feel and a very premium quality. German engineering really does inspire confidence.
Don’t just buy a turn signal because it’s cheap—stop and check first. Make sure it will pass inspection before you buy. If you’re absolutely confident, it should be stated in the product description.
If it’s not listed, that’s a red flag. The original one was a pain to install. Twisting, pushing, forcing it in.
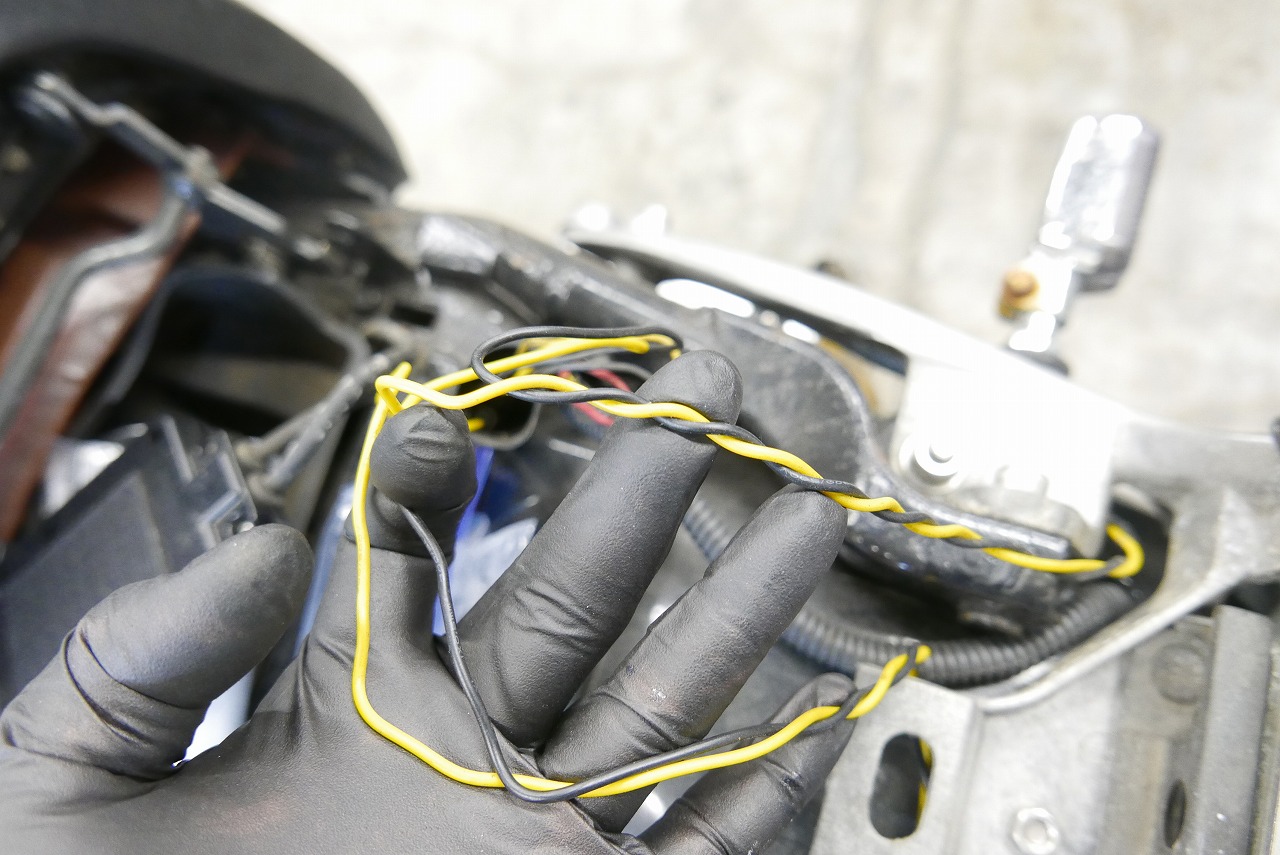
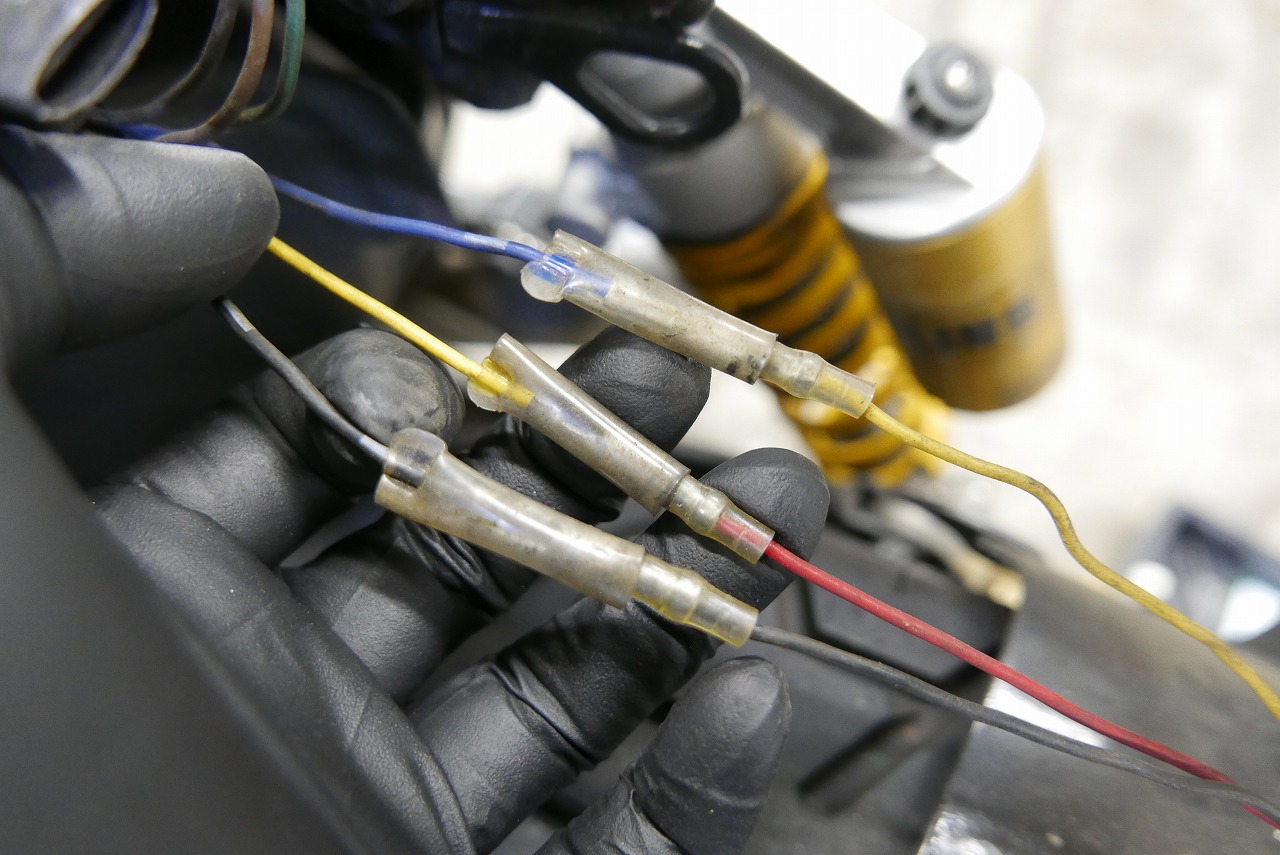
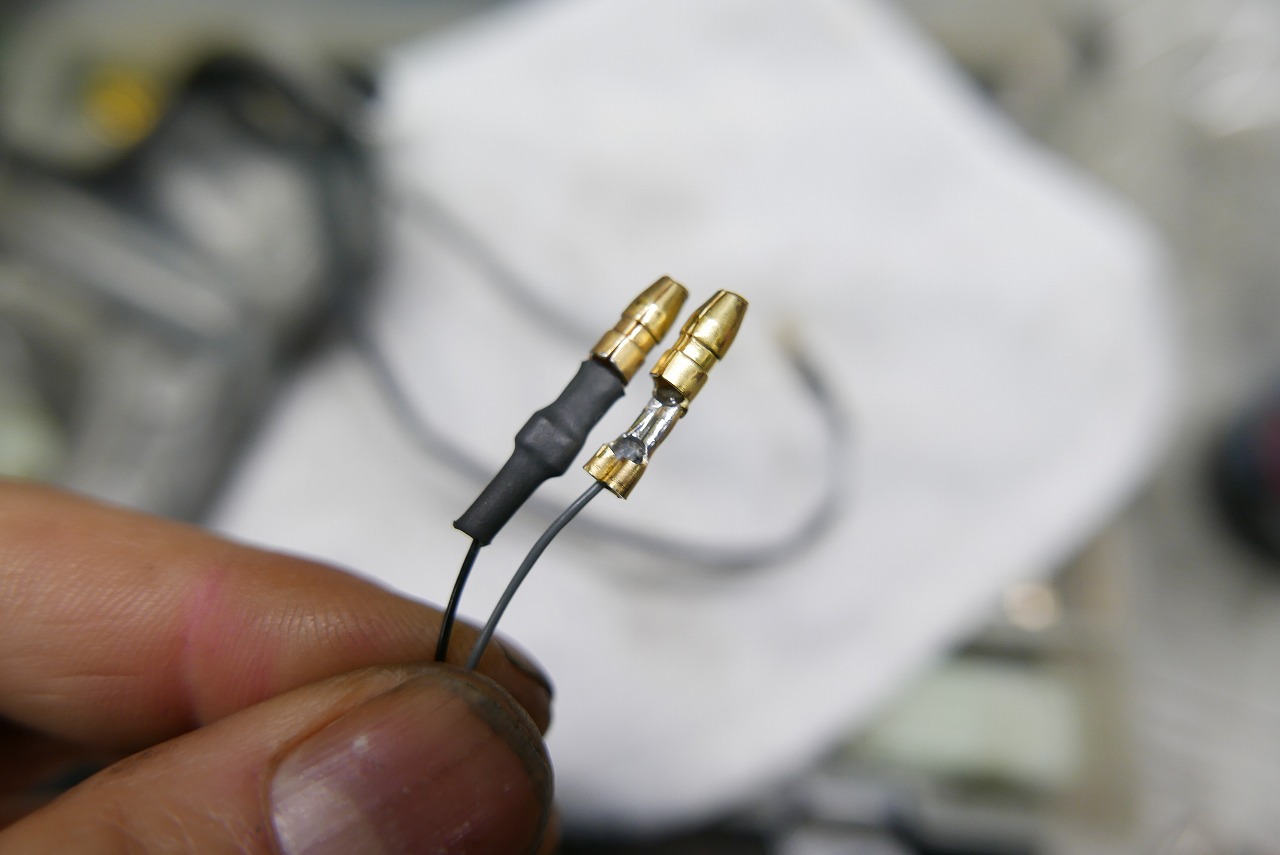
Aftermarket part installation—a common disappointment. Wiring mismatched colors without marking. You might think marking is enough, but…
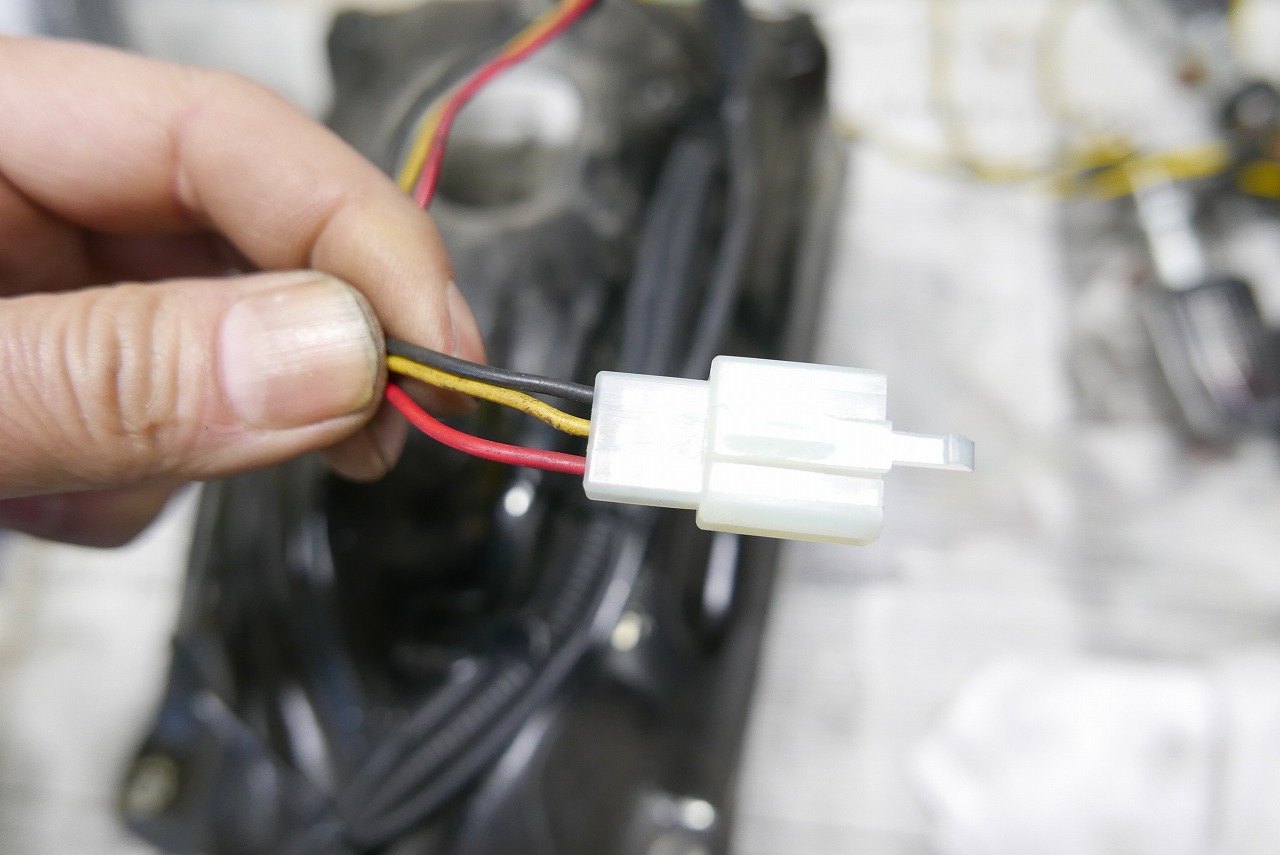
If you connector-ize it during installation, future disconnects are easier, faster, and mistake-proof. If someone does it once, it saves time and effort for everyone who touches it later.
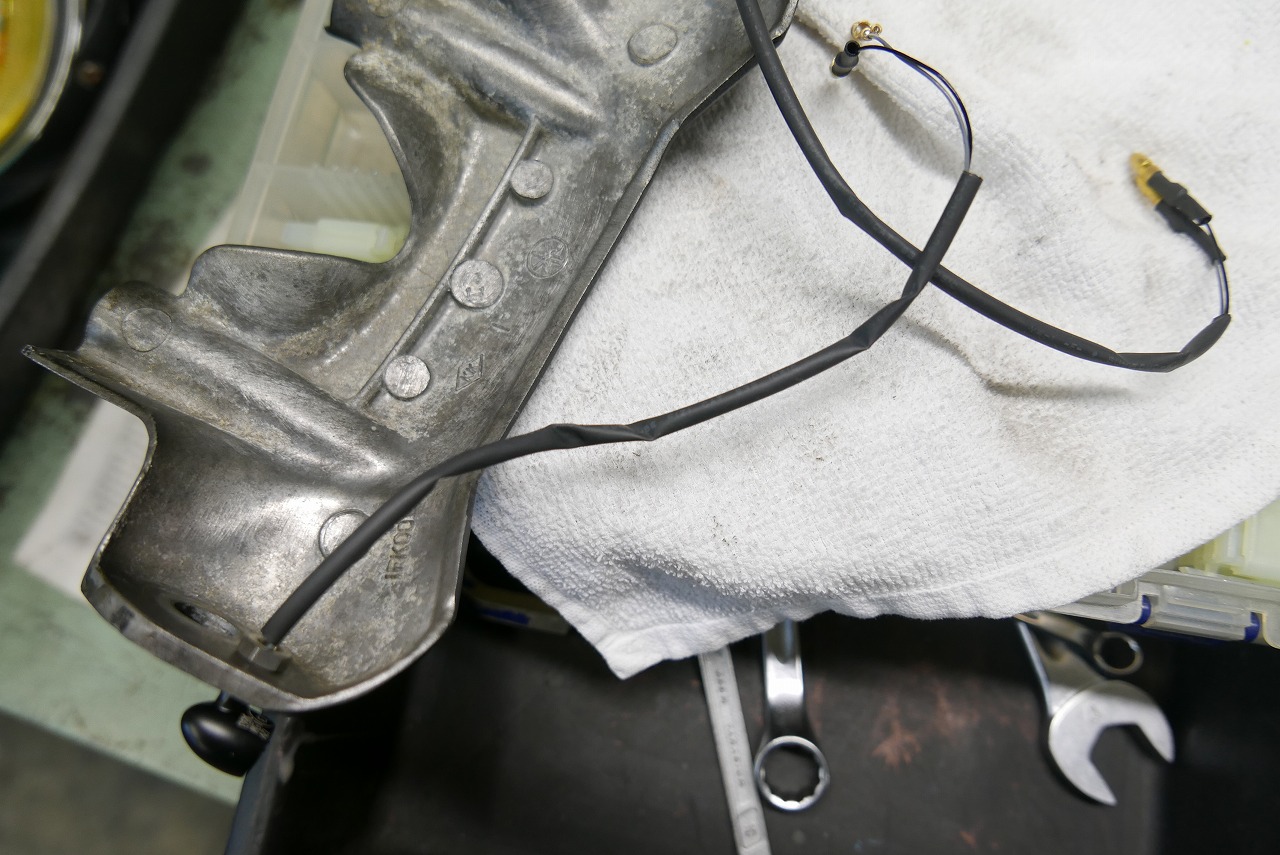
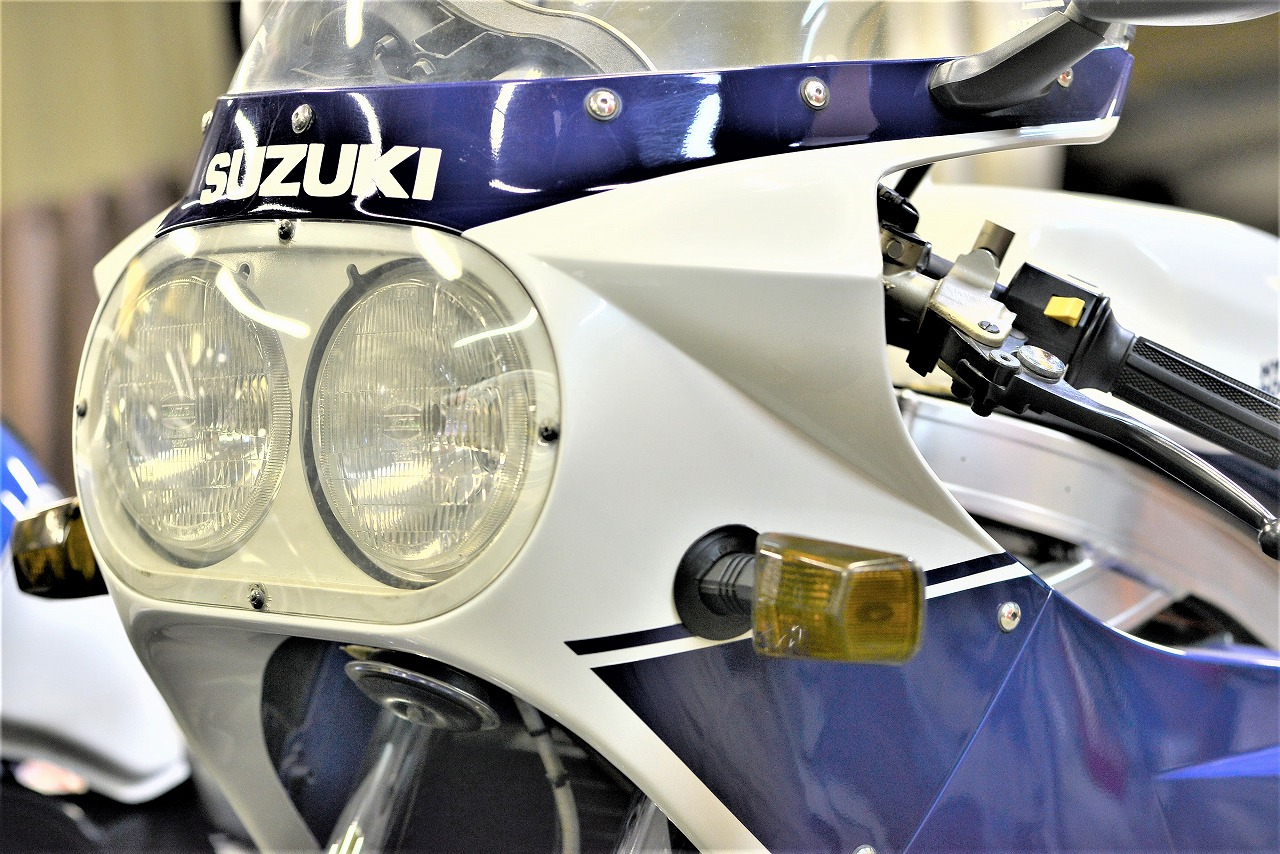
I think this applies to everything—organizing your bike, your room, your desk, even your life. Run heat shrink tubing over it and bundle it up neatly. The wire is thin, so after soldering we shrink-wrap it for reinforcement. Makes future work easier. Always remove flux. This is the tail light from before. Now everyone has an easy time. Some bikes have a single turn signal indicator. They light it with right + and left +. If you swap to LED turn signals and activate them, it goes into “hazard mode.”
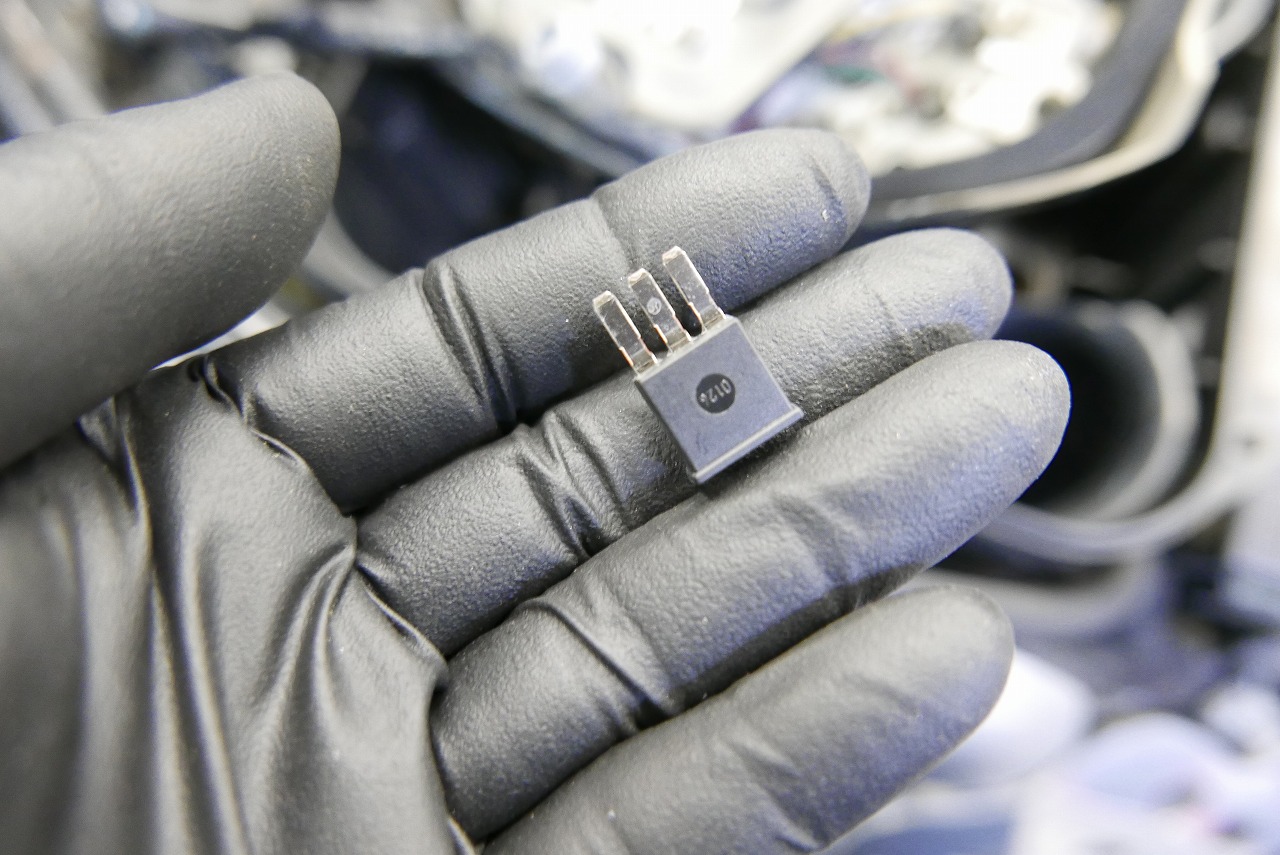
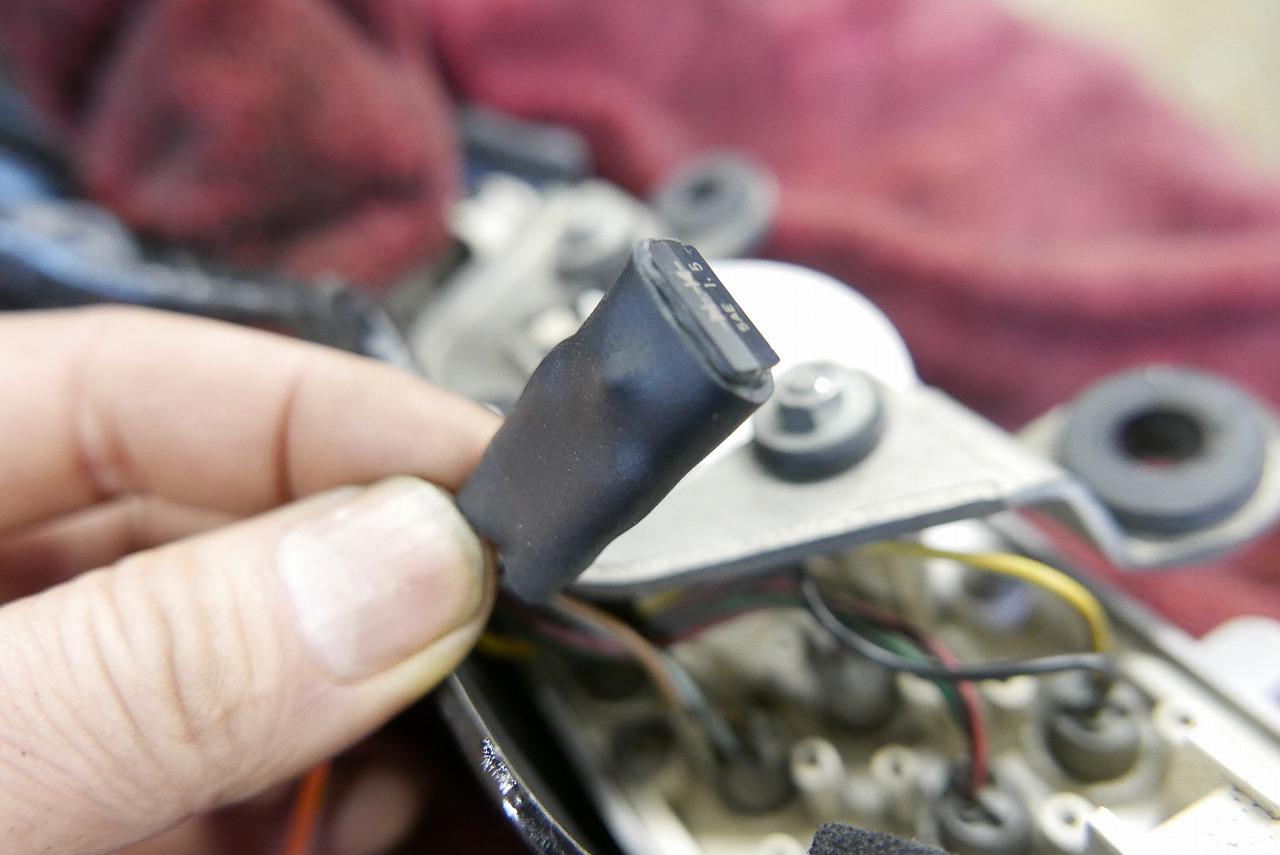
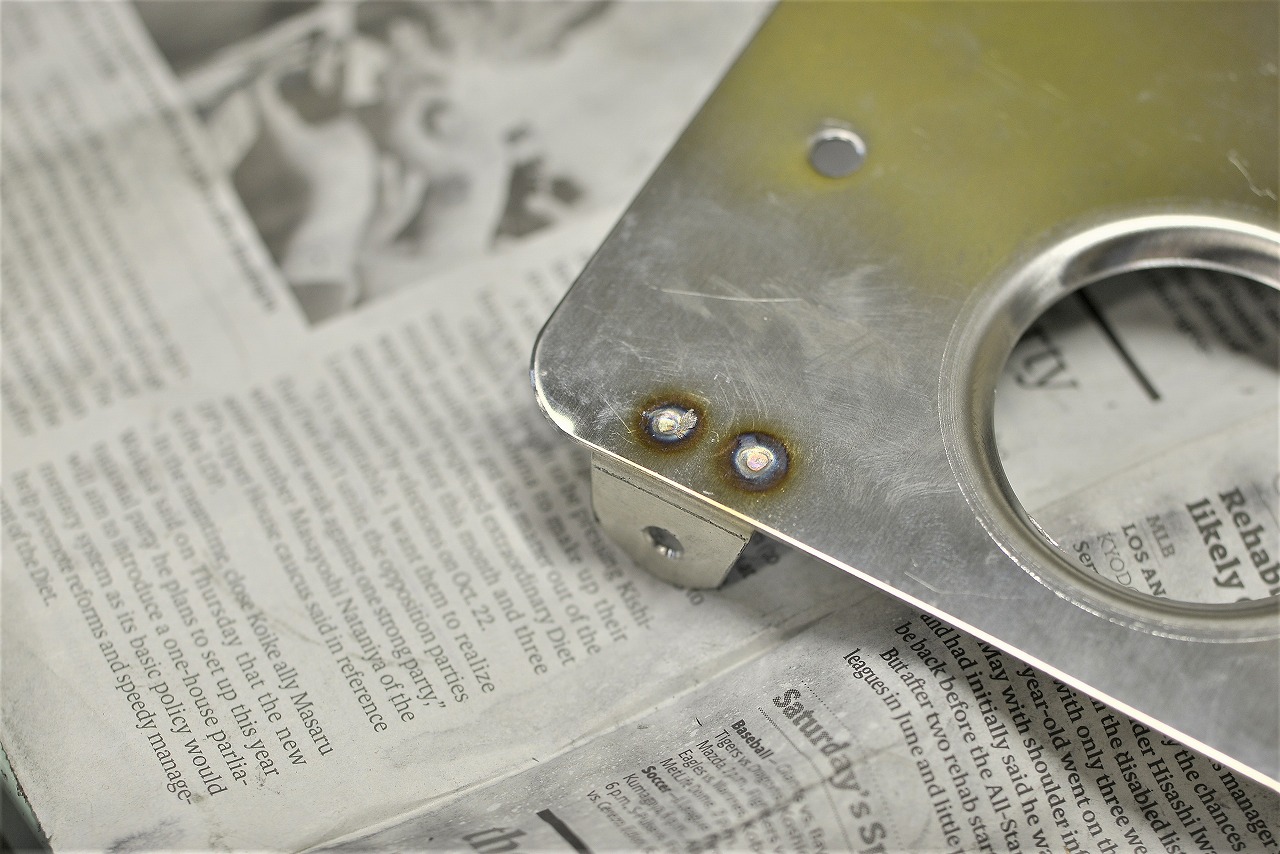
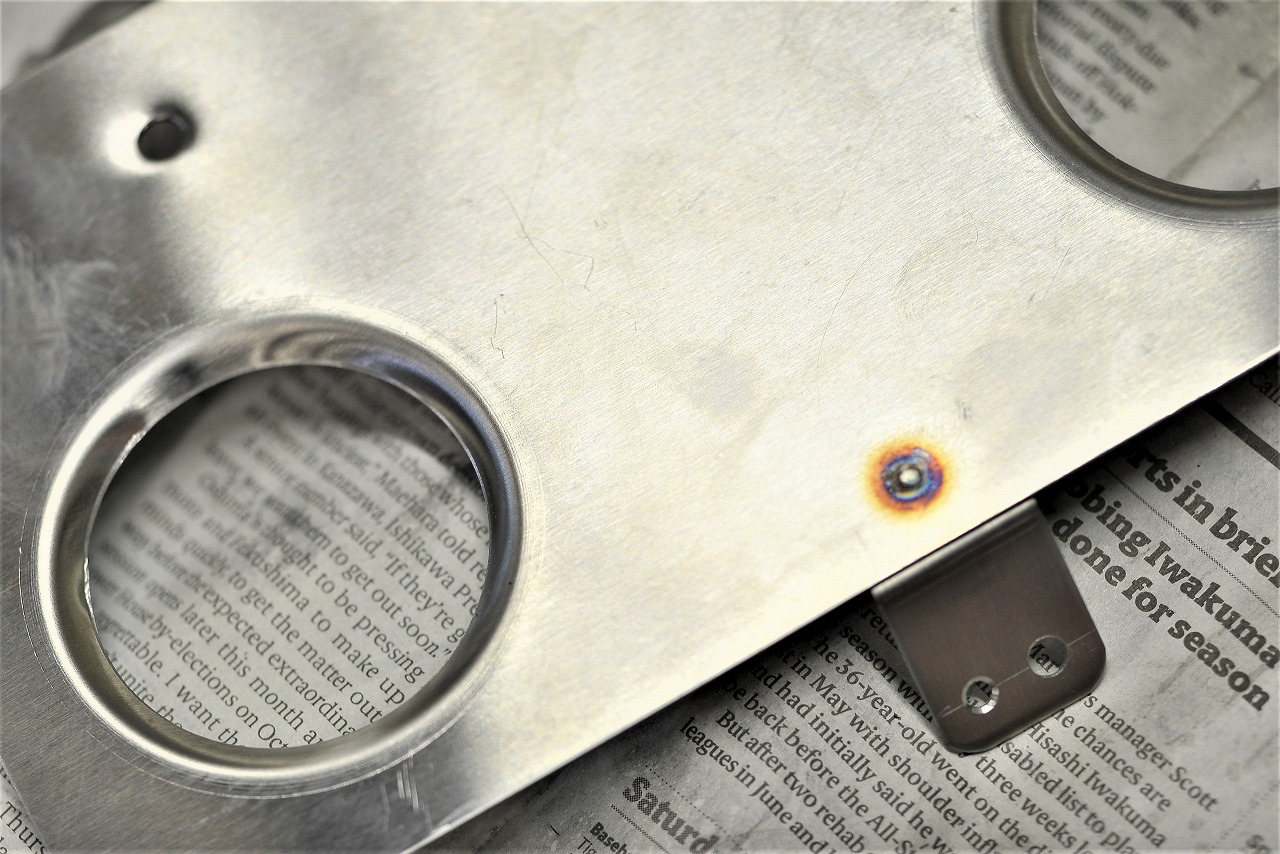
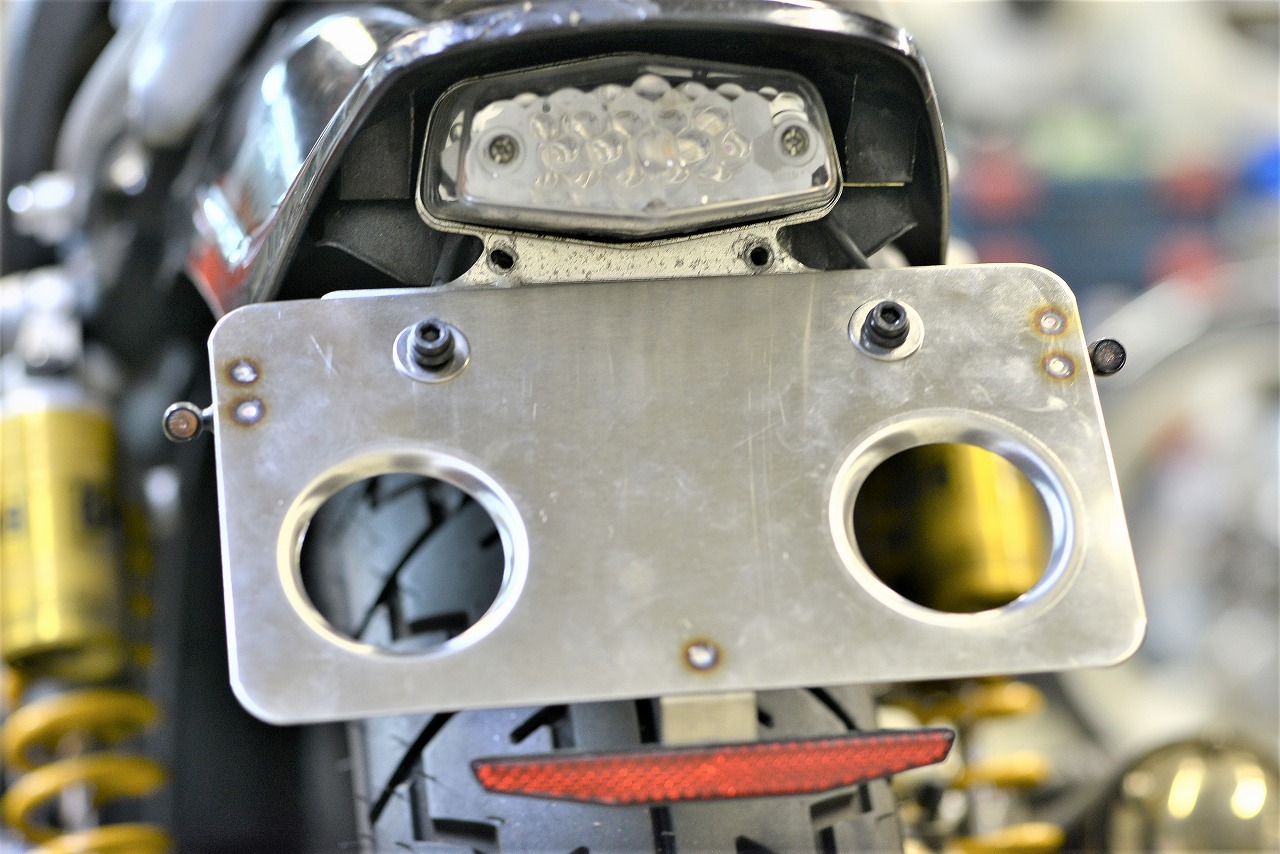
You could remove the indicator bulb, but you’d want it to blink, right? In that case, add a diode to rectify it to one line. Suzuki 36611-38A00 Two wires come out of the indicator lamp, so one through the diode and one to ground—that’s how it lights. We couldn’t find a nice connector for this diode, so we fixed it with 1/3 shrink. 1/3 shrink = adhesive-lined heat shrink tubing that shrinks to 1/3 size. We couldn’t find a mounting spot, so we made a license plate holder to mount it. There was a reflector I dislike that was co-bolted, so we integrated that too. And there we have it. Incredibly small, but ridiculously bright, so you’re safe. The old big turn signals on vintage bikes don’t come close to how visible these are. With the tail light too, we’ve entered an era where you can do pretty much anything.