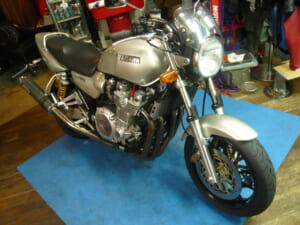
Inspection, oil change, and number plate holder fabrication.
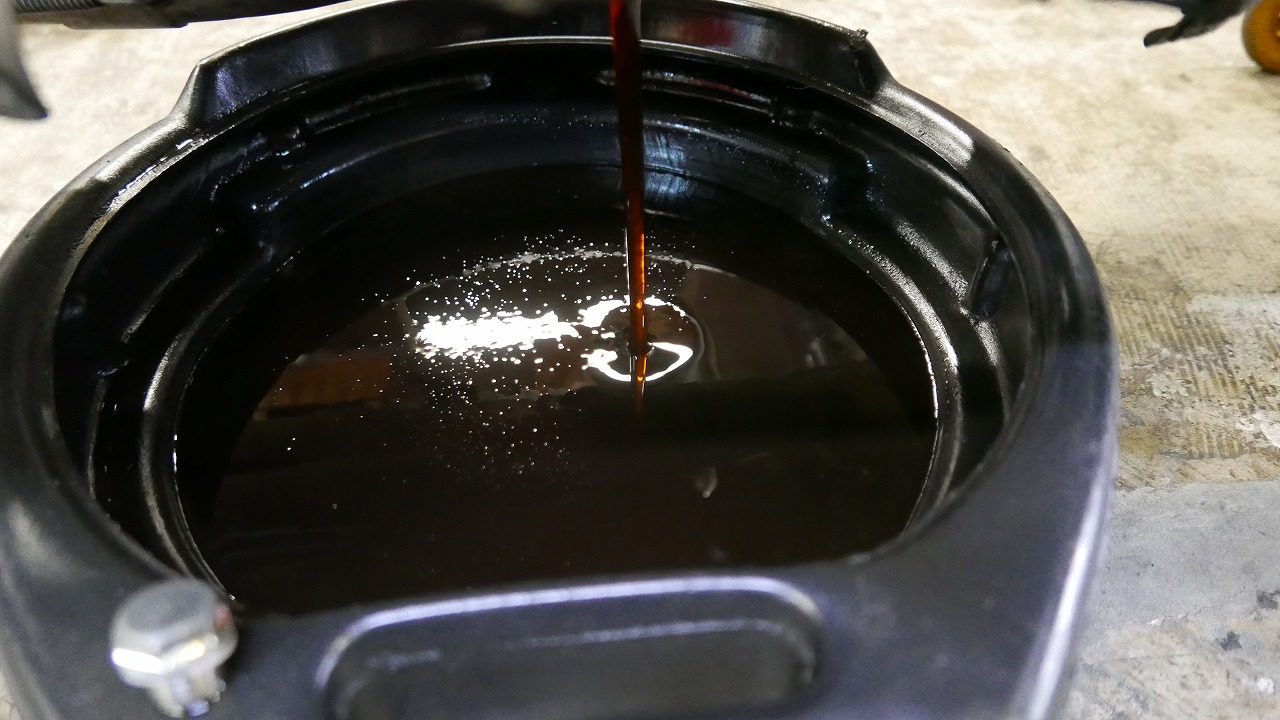
We’ll change the oil. This time it’s ELF MOTO4 TECH 10W-50.
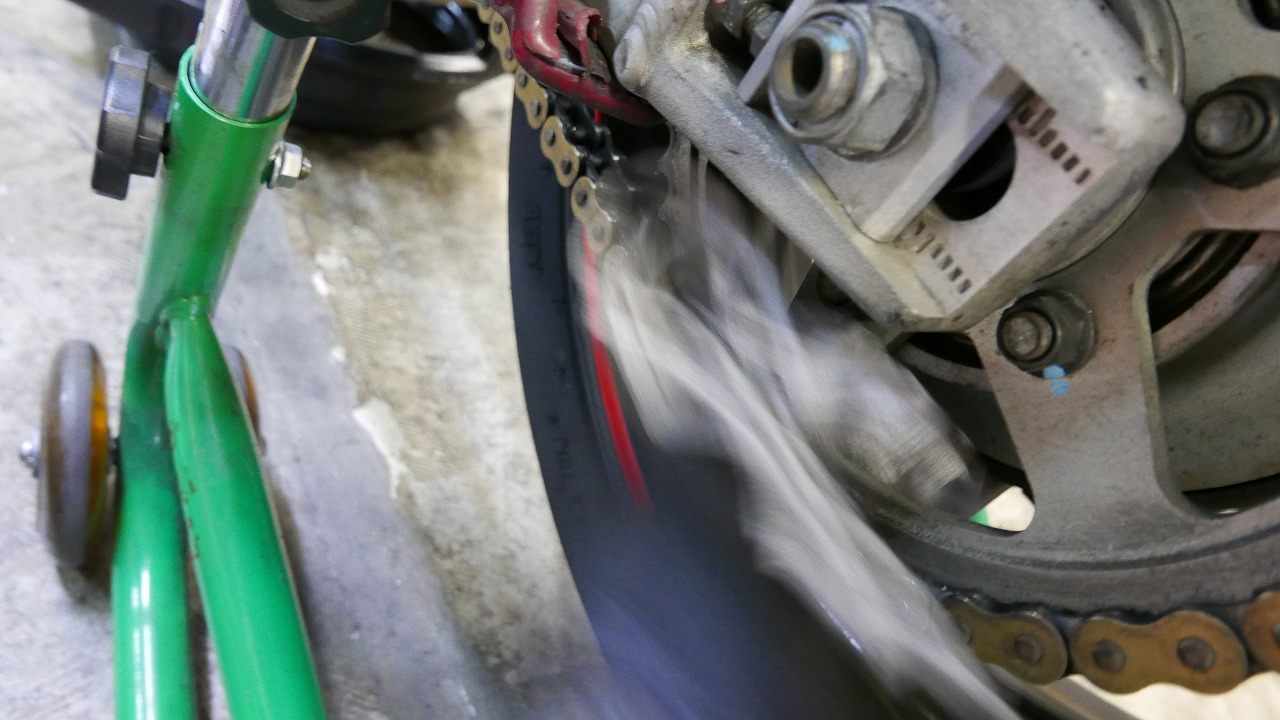
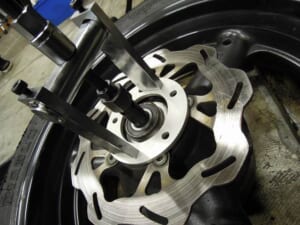
While we’re at it, we can do chain cleaning and lubrication, and wheel cleaning.
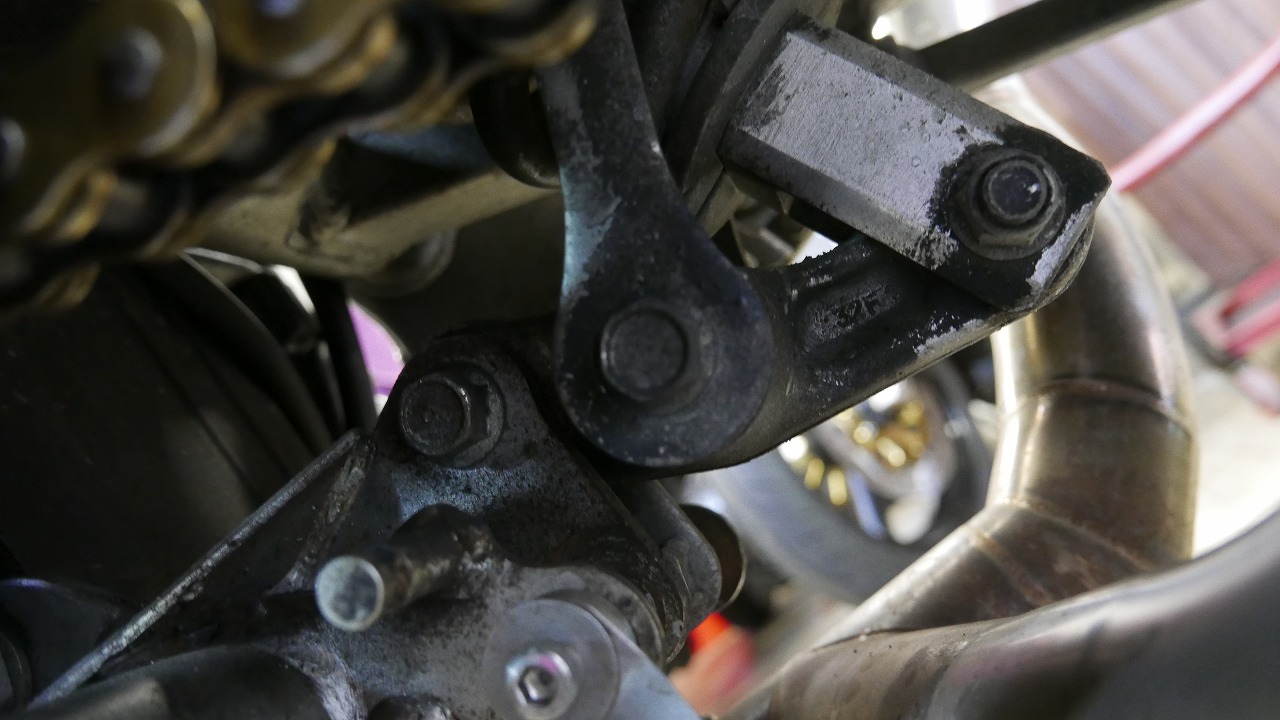
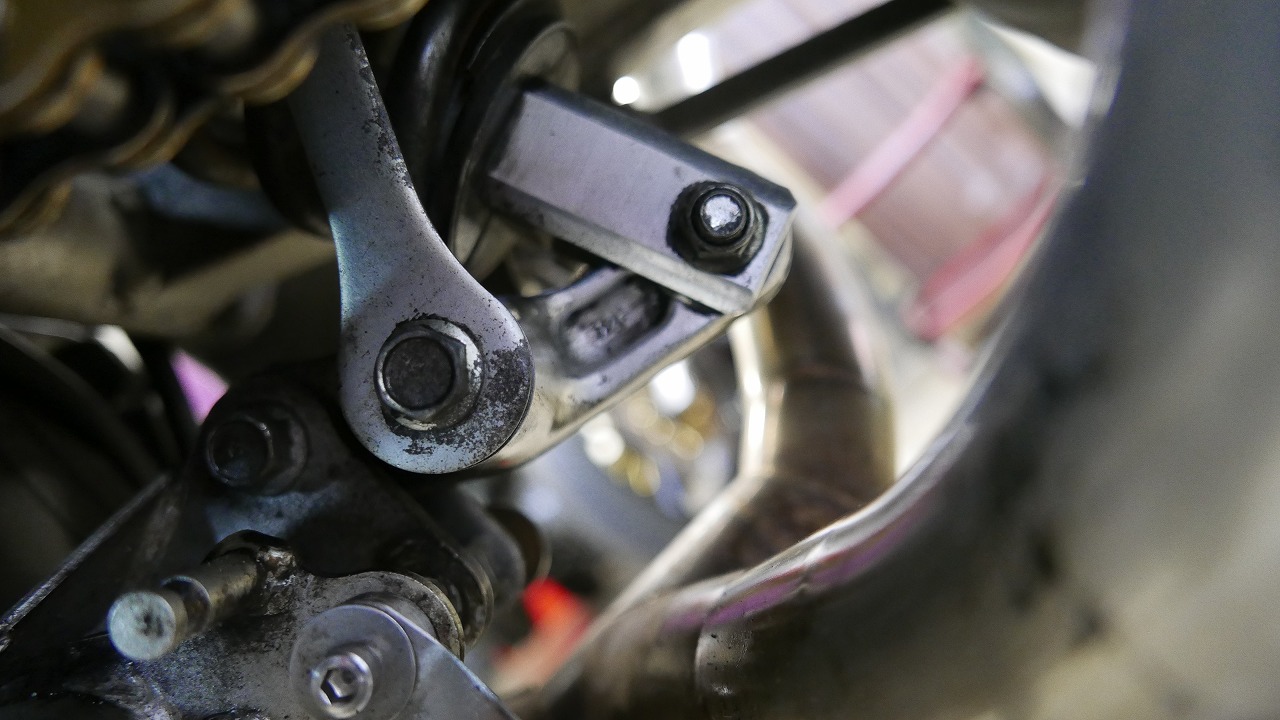
This is when you just wipe things down lightly. If you get too serious about it, it takes forever, so we just decide to do it while the oil is draining and wipe away vigorously.
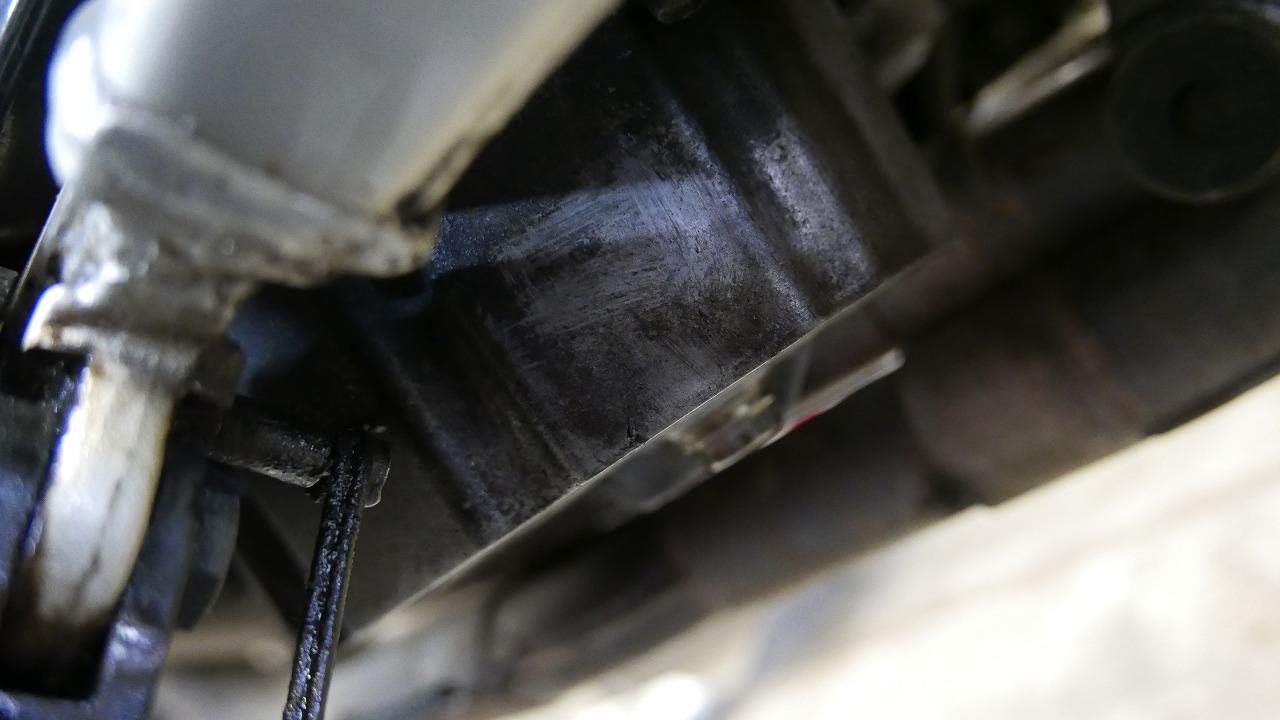
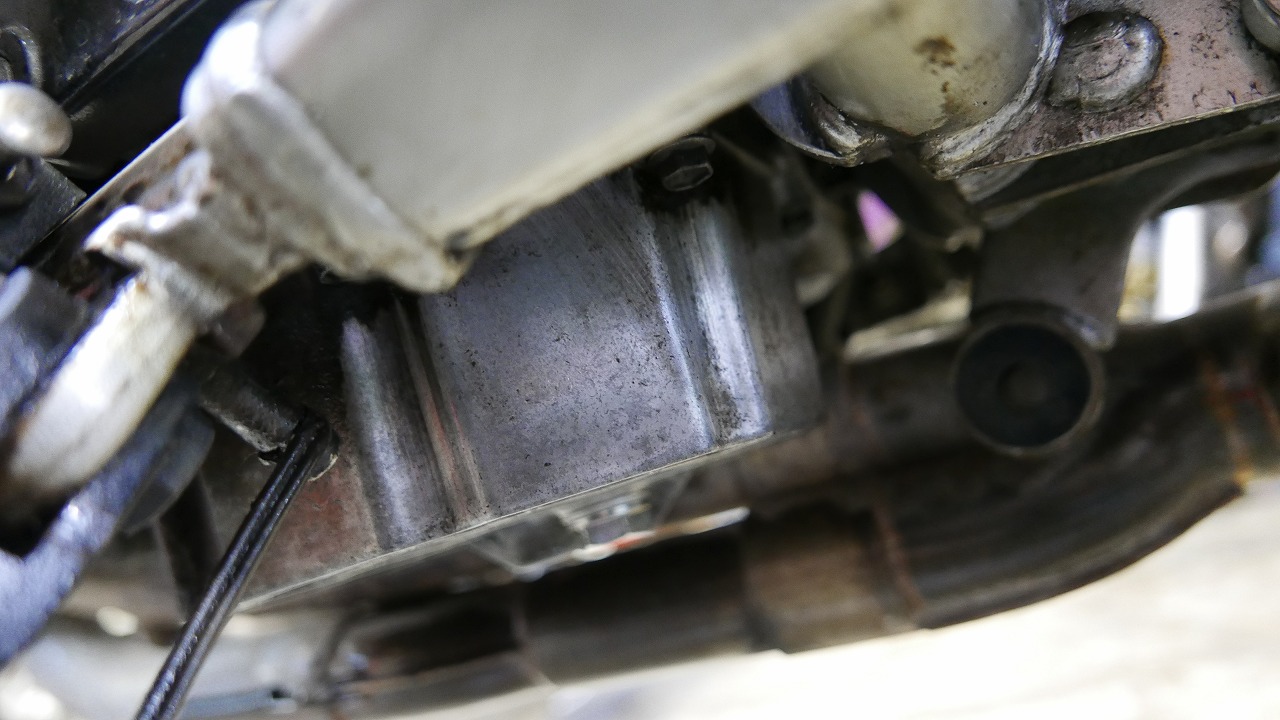
We reach deep in and wipe thoroughly.
Your hands are the best tool. Wear gloves to avoid injury and keep things clean, and you won’t get tired of it.
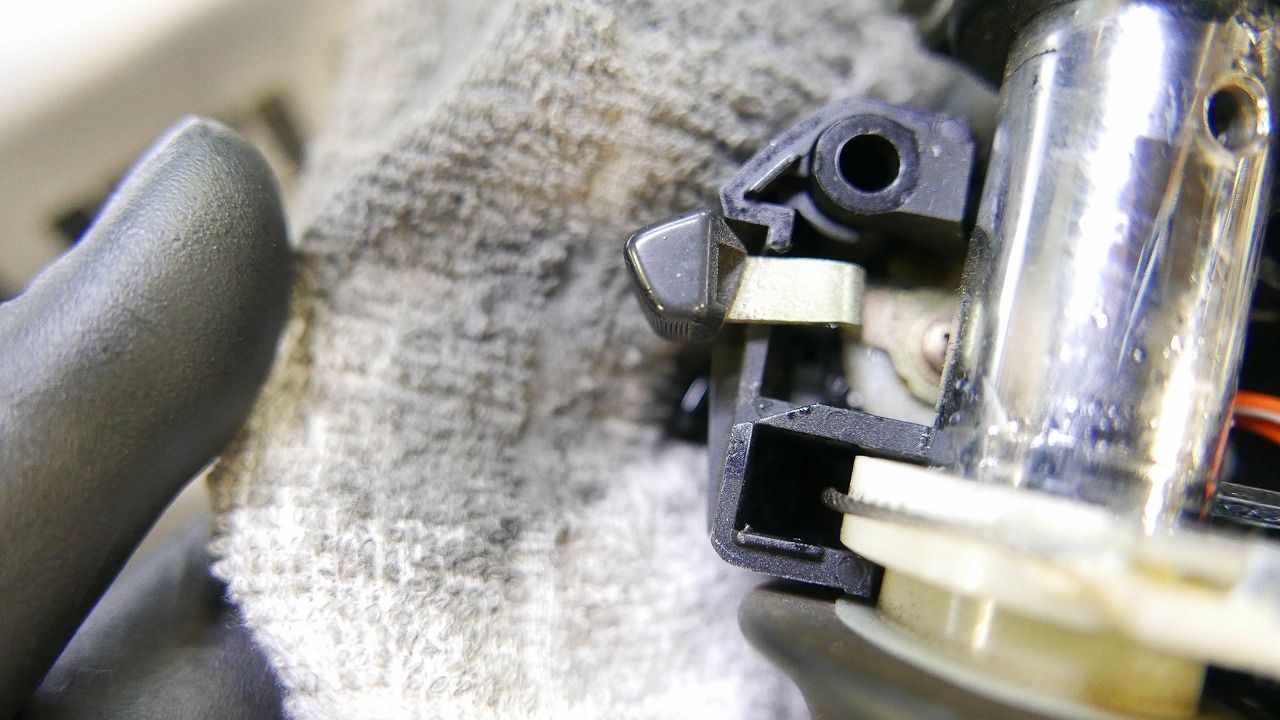
Occasionally the starter won’t turn over. We check the starter switch and clutch switch. There’s nothing unusual, so let’s apply contact cleaner and see how it goes.
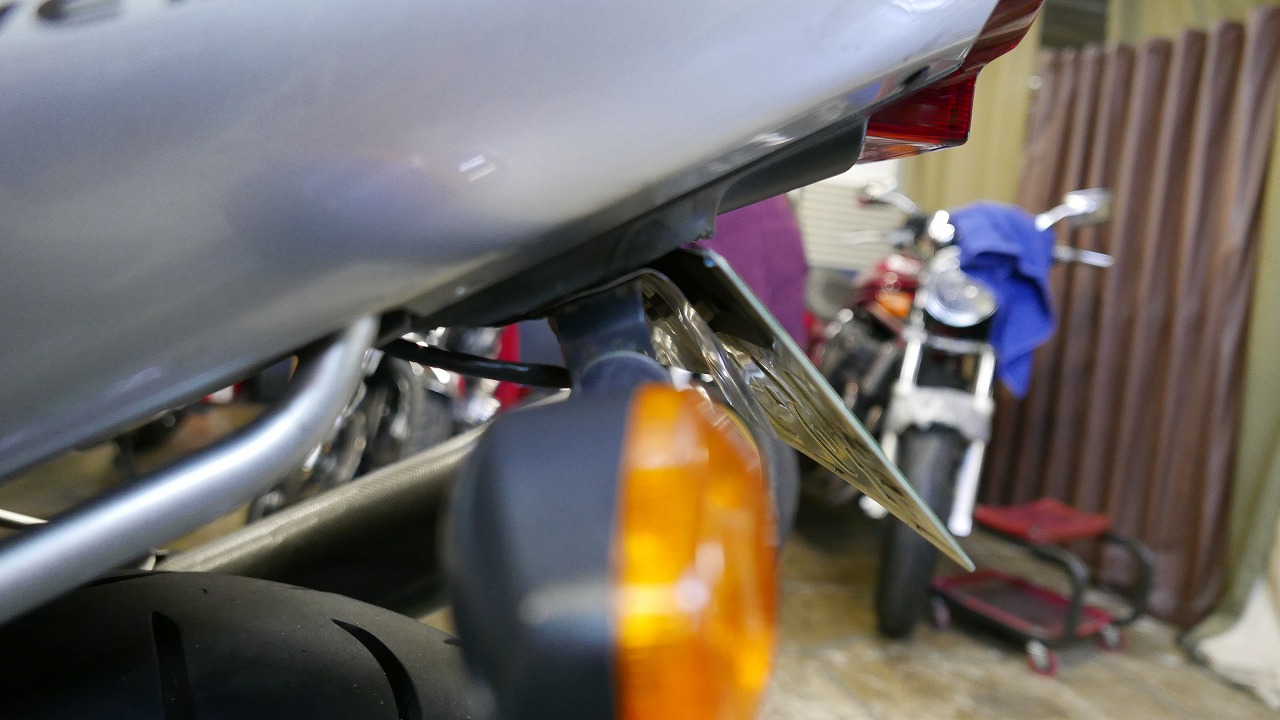
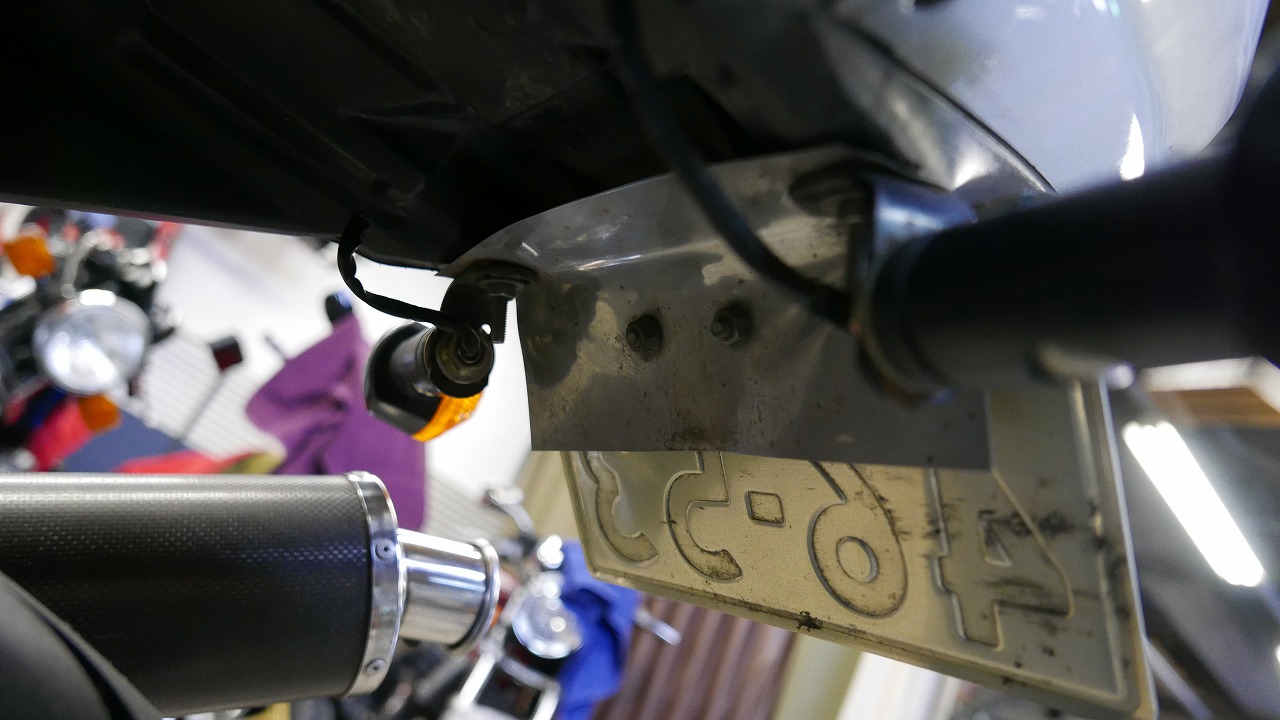
You did great for so long! That’s what I’d say about this fenderless setup. Thanks for your hard work.
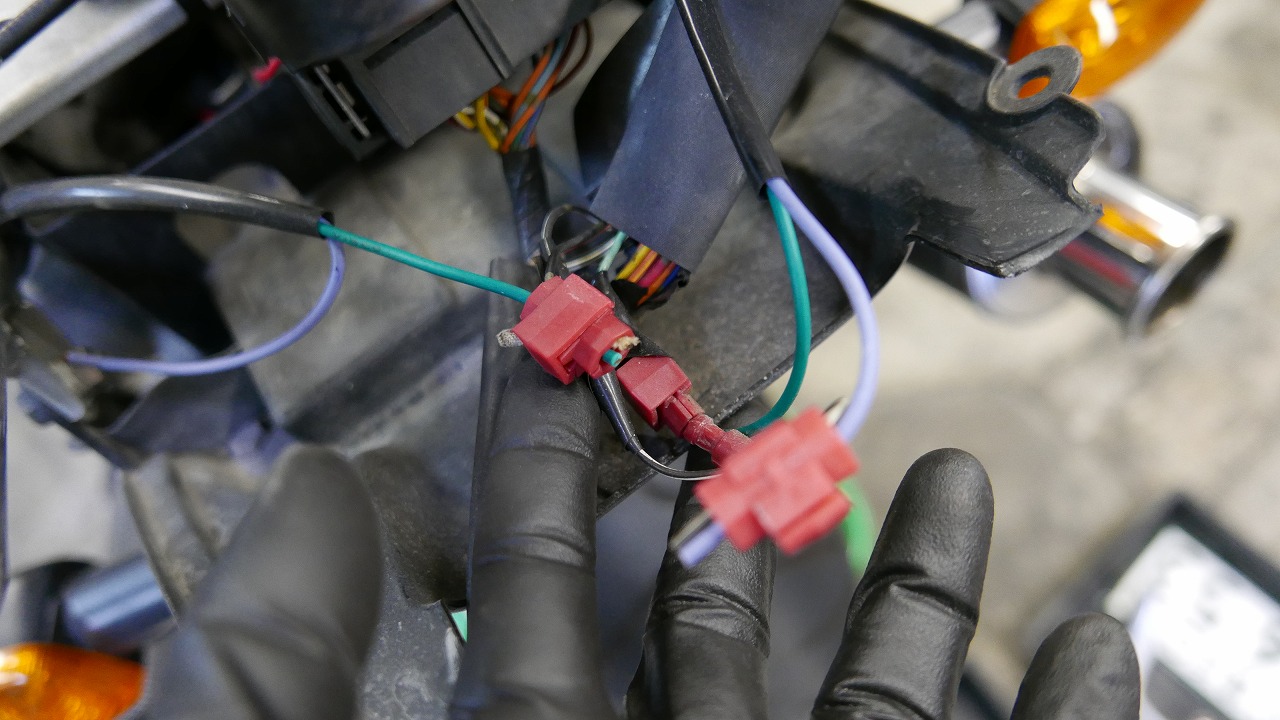
Beware! The wiring. That multi-tap that comes included but is better left unused whenever possible.
It gets thrown away anyway, so I wish it wouldn’t come with the bike in the first place.
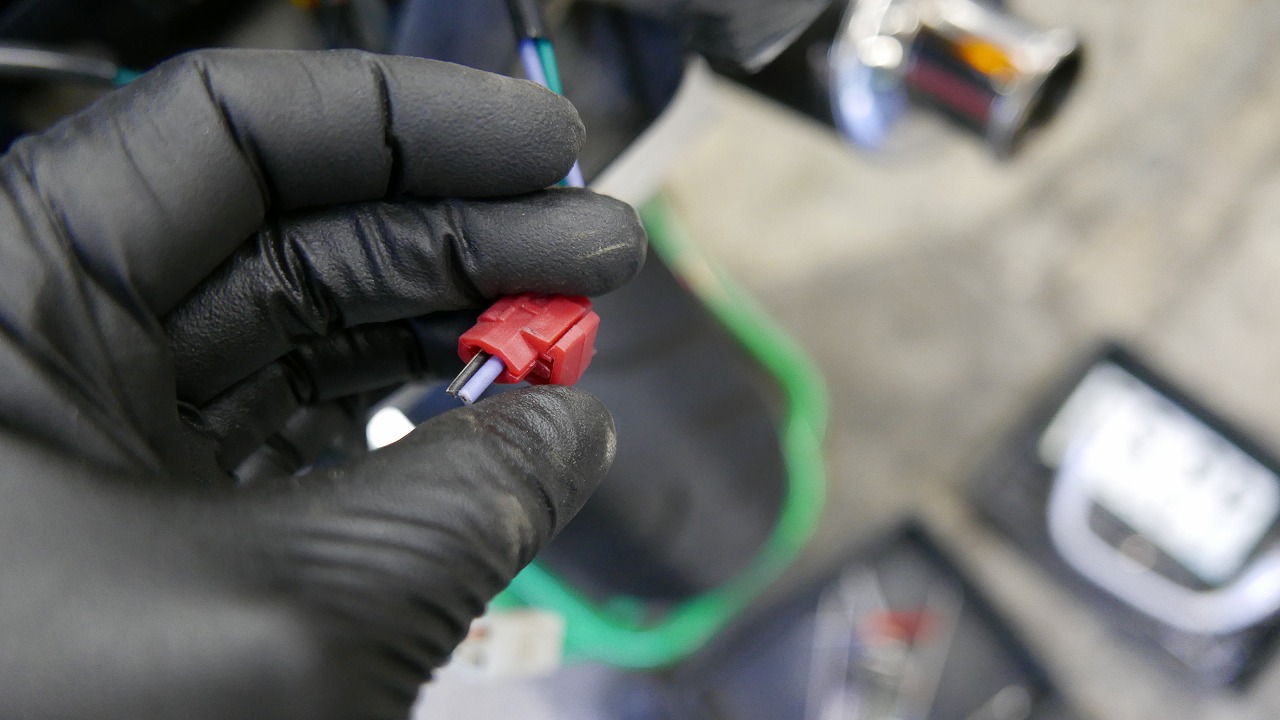 Sticking out = risk of a short. I really think everyone’s been lucky.
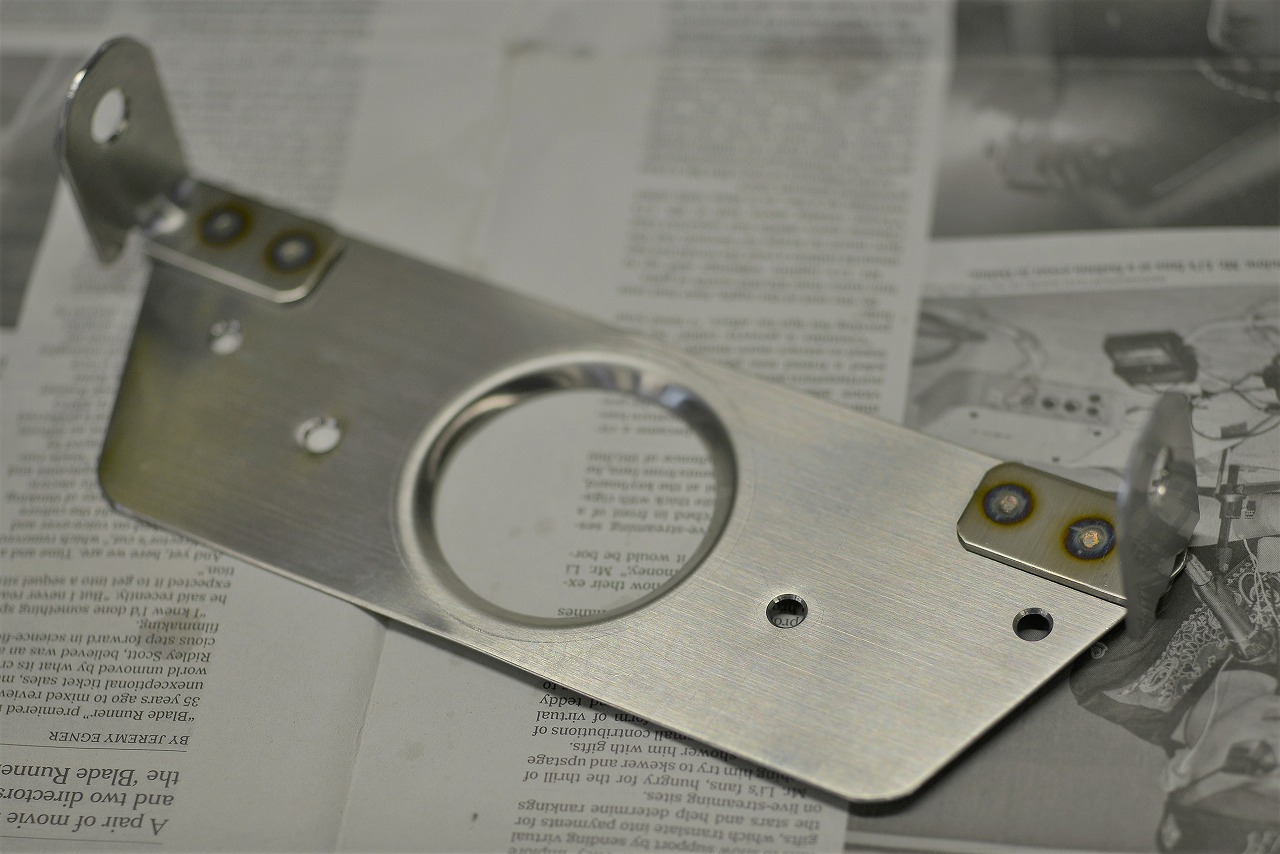
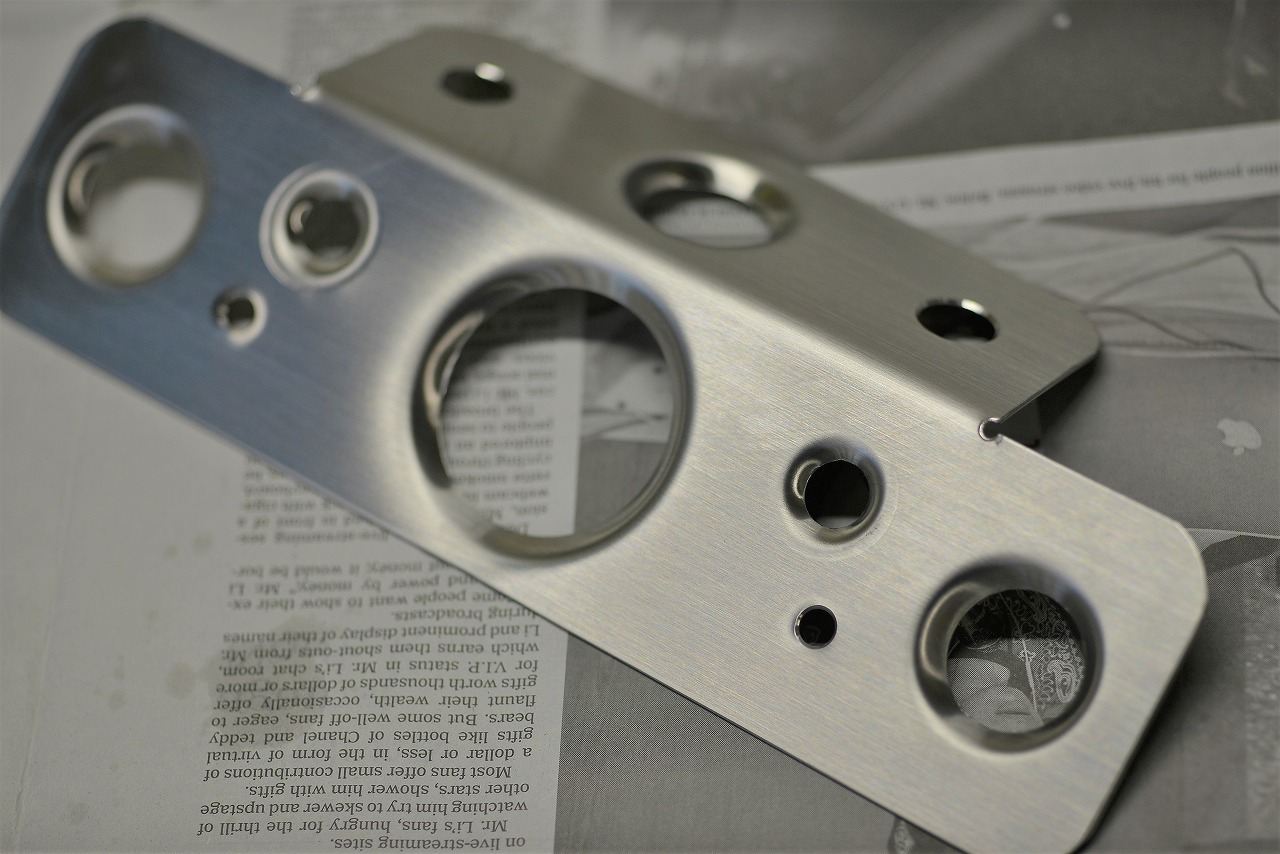
First we fabricate A and B. The image above is the number plate, and below is the base that includes the turn signal.
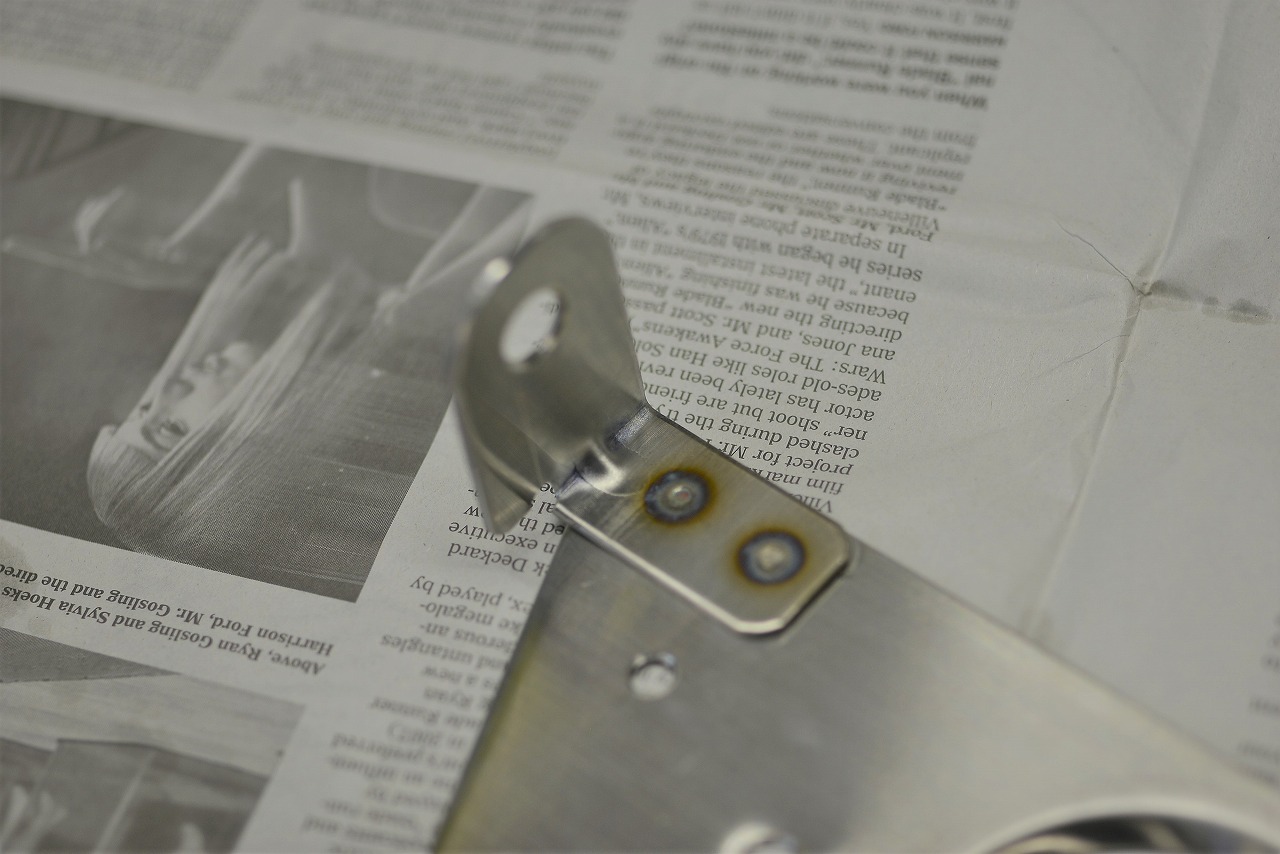
We add ribs because we want it to be as solid as possible!
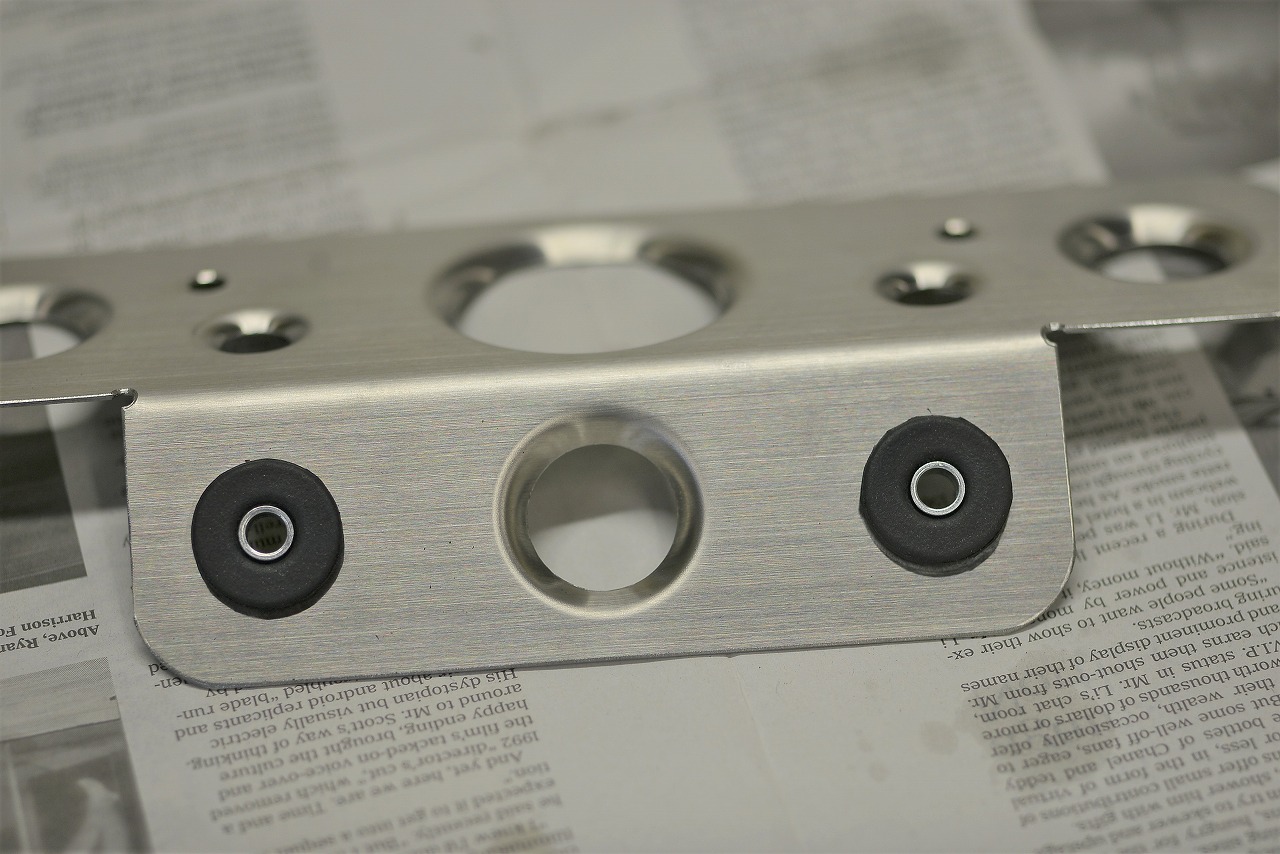
Floating mounts are essential to absorb vibration. Even if you increase material thickness, it can still break. The best way to prevent breaking might be to make sure vibration doesn’t buzz through in the first place.
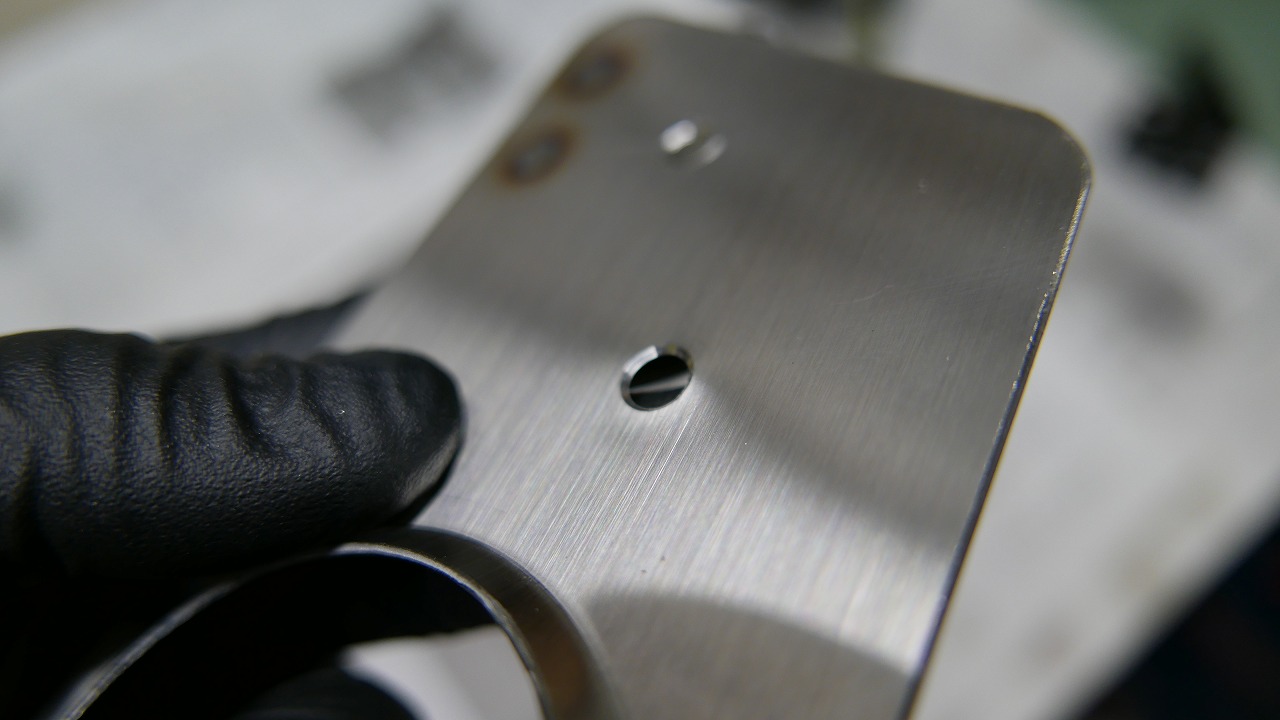
A little extra insurance? For parts you absolutely don’t want to drop, we add a bit of insurance.
Even on a plate, if you cut threads, you get a double-nut effect, and the nut will hold even if it comes loose. For extra insurance, if you apply double-sided tape to the surface, it’s foolproof.
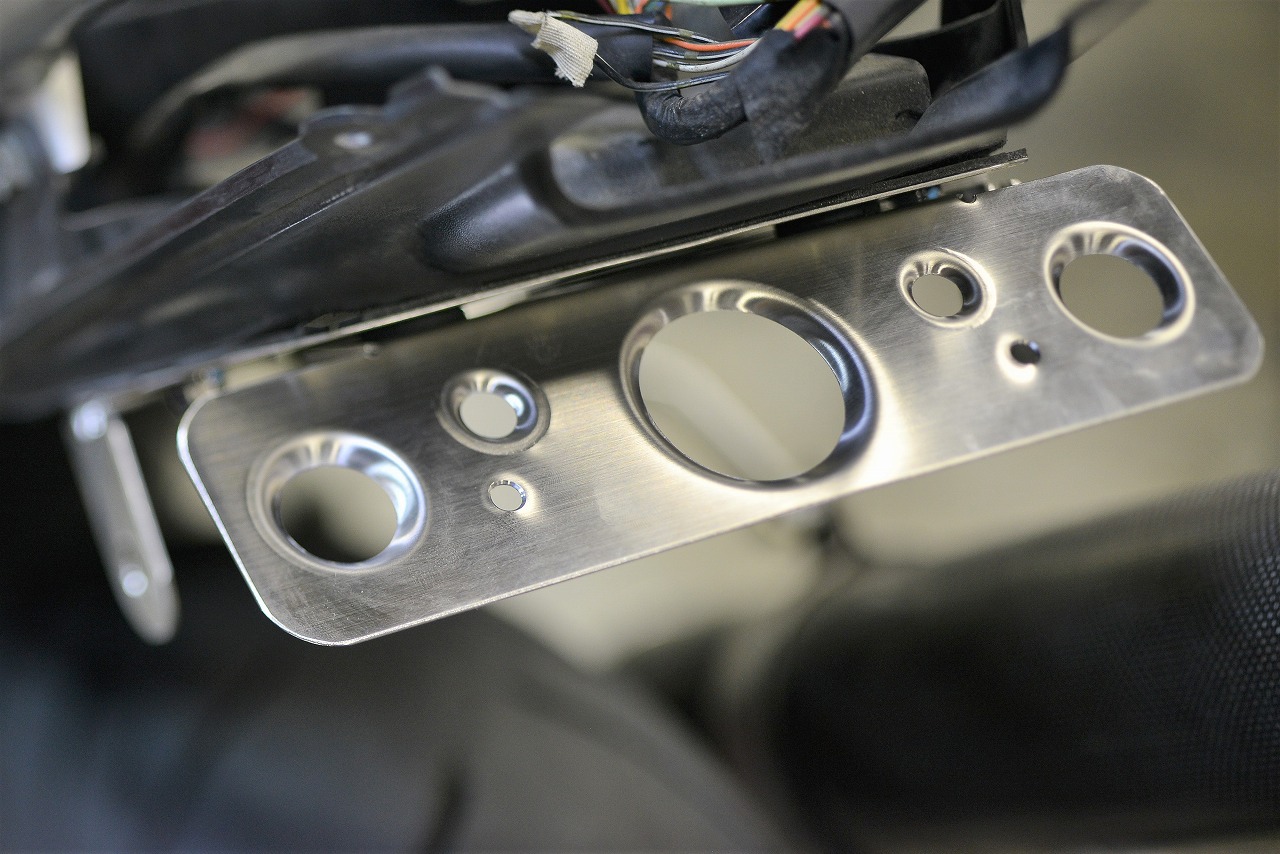
That’s what we got. As is, there’s a risk of cracks in the number plate, so we make a base.
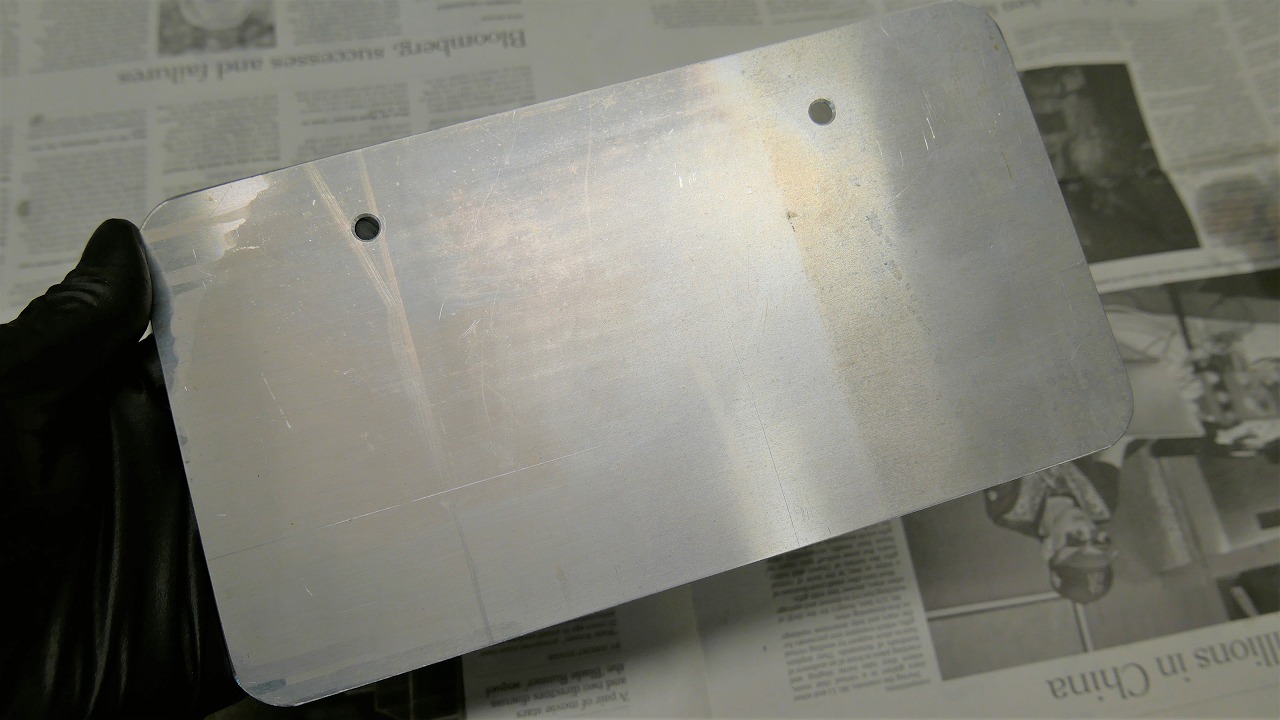
We use rare 7075 plate stock, shear it, cut the radius, drill the holes, and it’s done.
The number plate shows in the photo, so the finished product is not shown.