Wow!
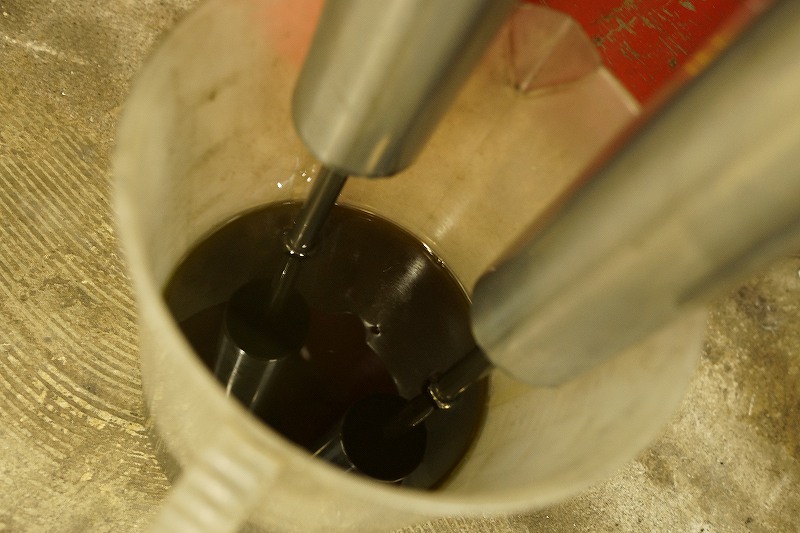
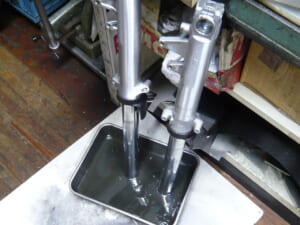
Fork spring replacement with Hyperpro
According to the manual, full initial preload removal (fourth position)
It takes quite a bit of force to tighten the cap.
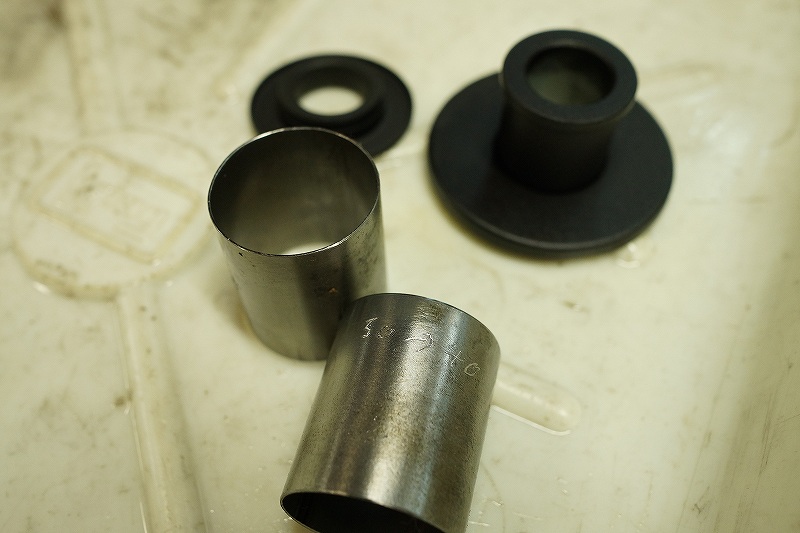
Since we can’t go any further in the removal direction, I went ahead and cut the collar.
I’ve prepared a groove for cutting the pipe with a metal saw!
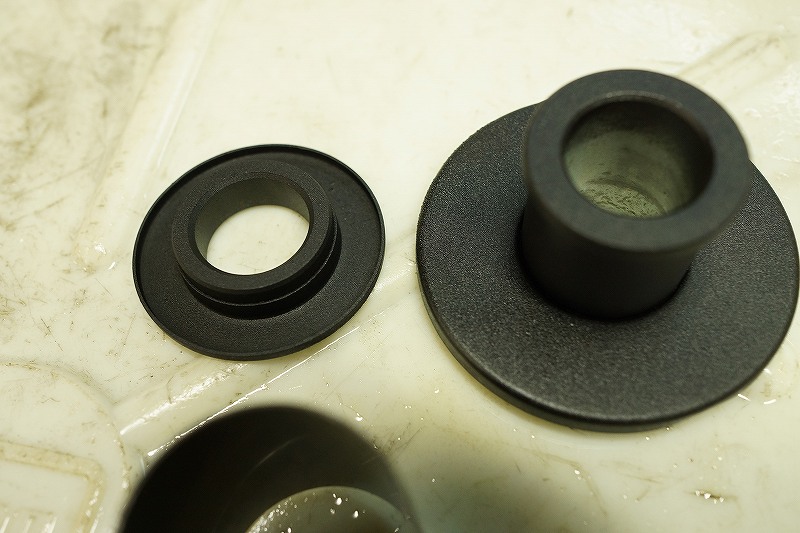
Since a clean finish looks better, I went ahead and painted it!
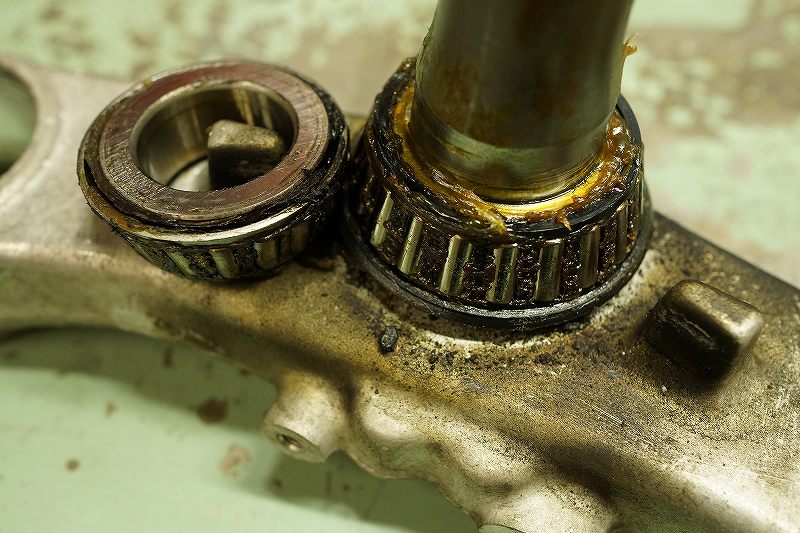
The steering wasn’t requested, but it stops dead center…
If you’re removing the fork, the stem is definitely a spot you want to service.
It’s got that thick, sticky grease that you’d call grease if you had to call it something ★
Since I did it on my own initiative, it’s on the house.
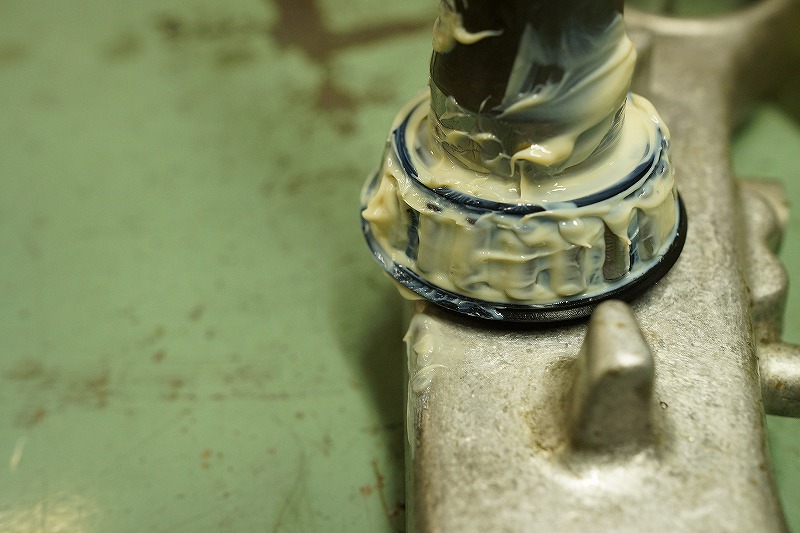
Soft grease with a low dropping point that resists sagging under heat seems to be the way to go.
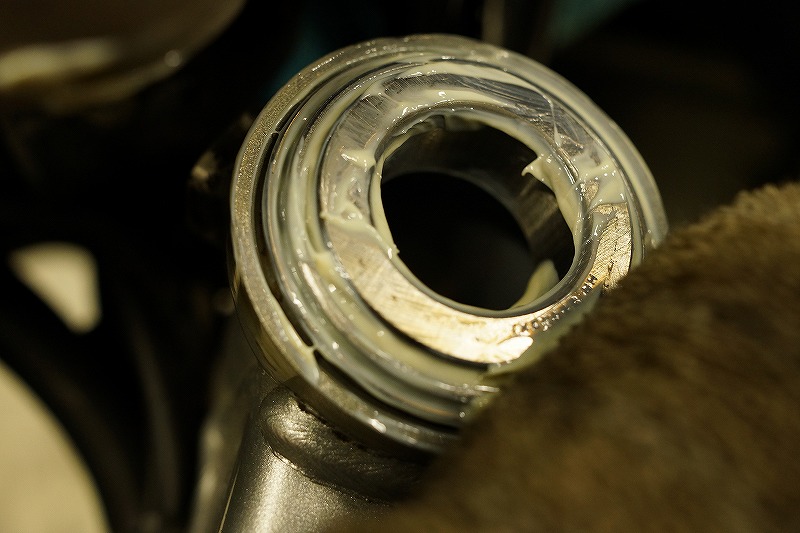
Even with race wear on the races, the steering can stop dead center,
and it’ll do the same if the steering adjustment is too tight ★
This time it came back to life beautifully!
It’s been a while since I assembled tapered roller bearings, and the feel is a bit different again.
Steering assembly varies from person to person, but there’s definitely a knack to it ★
When you tighten the stem nut, there’s a pulling force on the shaft
and a pressing force on the top bridge,
so I’m never at ease until it’s fully assembled and lowered ★
Even when I shake the bottom with the bike suspended,
there’s play in the fork too, so I still haven’t quite gotten used to it ~
So far, the best way to check is the “Kishi ○ method”—it’s foolproof.
The old blog is here ★