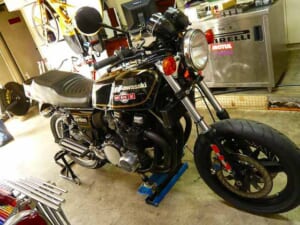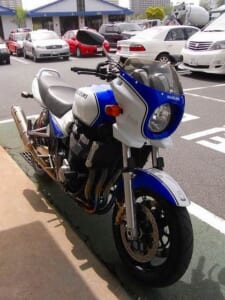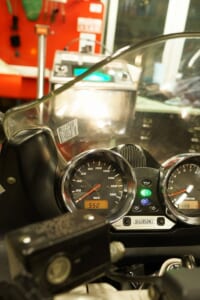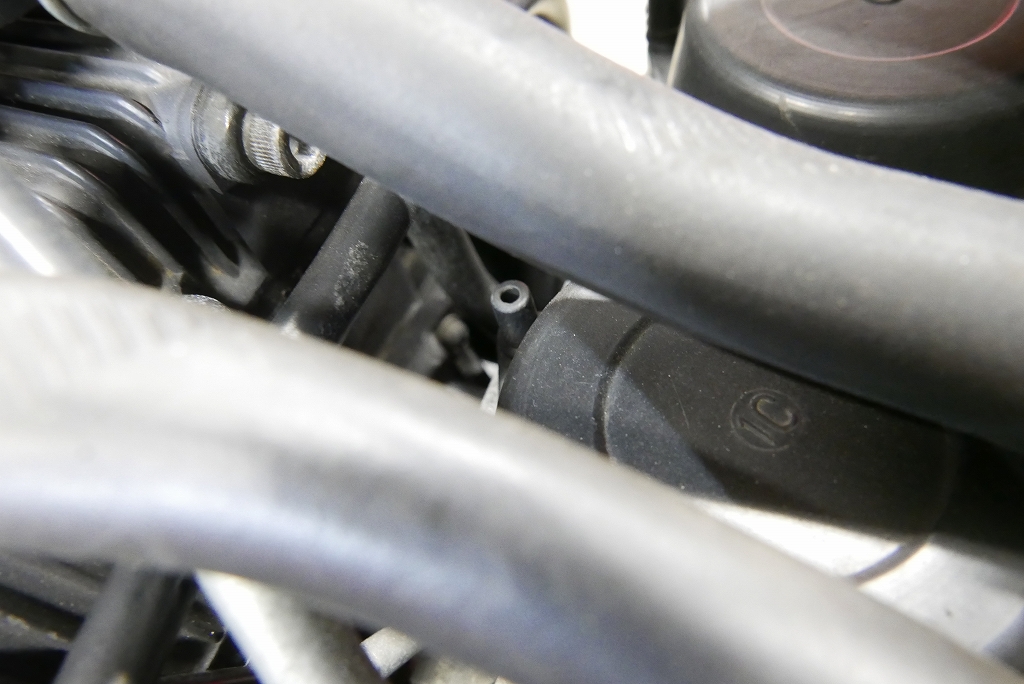
This is the kind of thing where an inspection and maintenance really comes in handy. The vacuum cap had blown off. With a 4-2-1 header it’s hard to tell, or maybe not—anyway, here we are.
Let’s do some Deco-mainte.
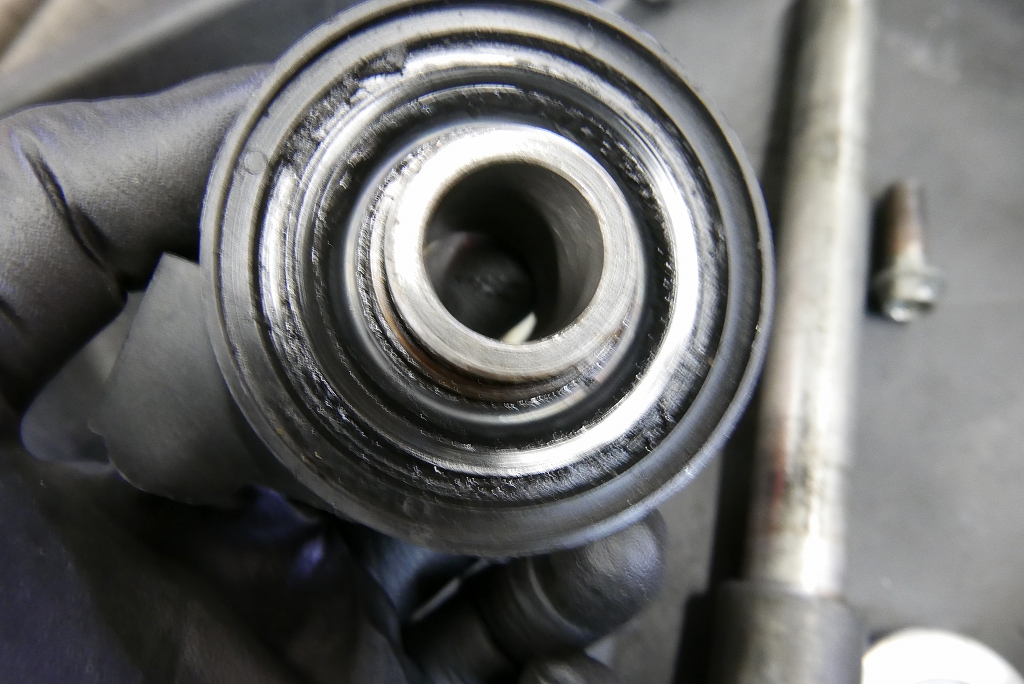
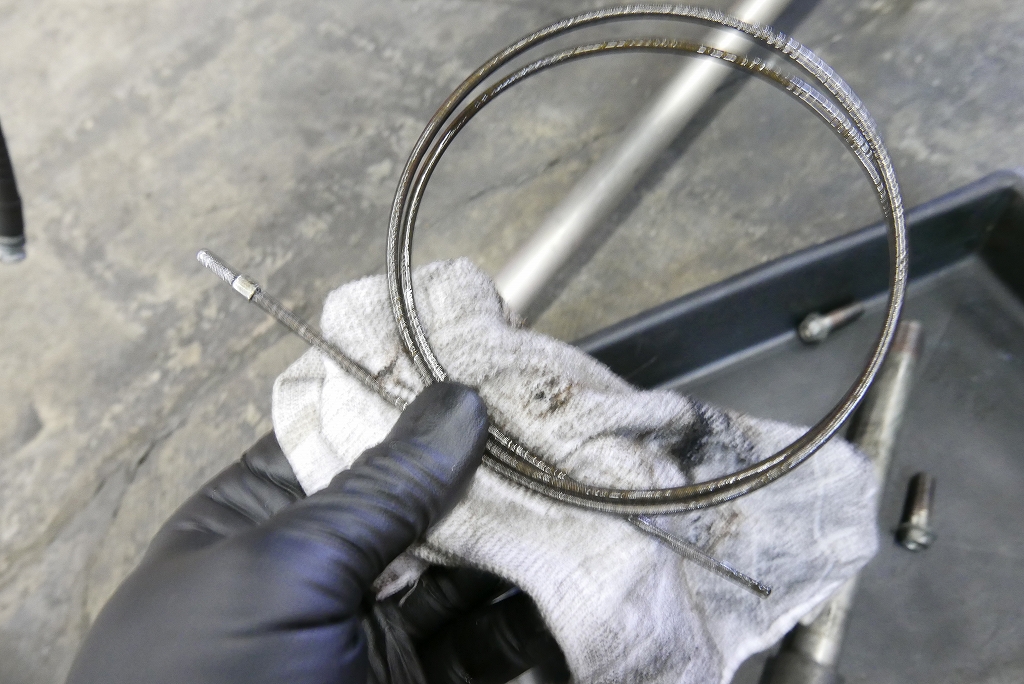
First, we’ll clean the speed gear and cable. It probably won’t make much difference, but if it adds even 1% to the lifespan, that’s good enough for me.
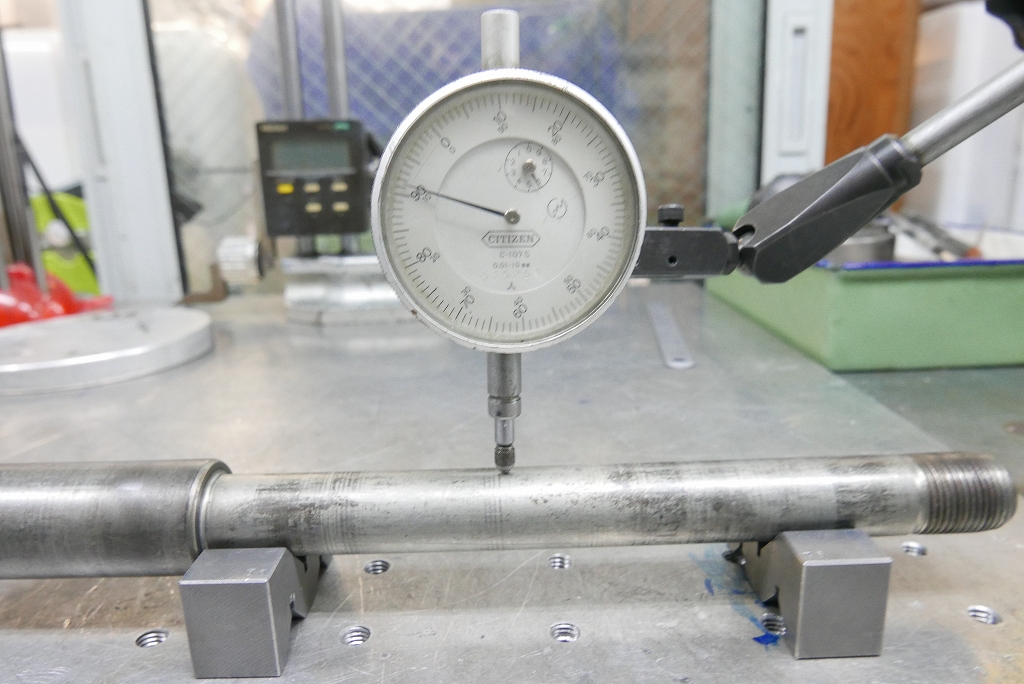
The axle shaft looks fine.
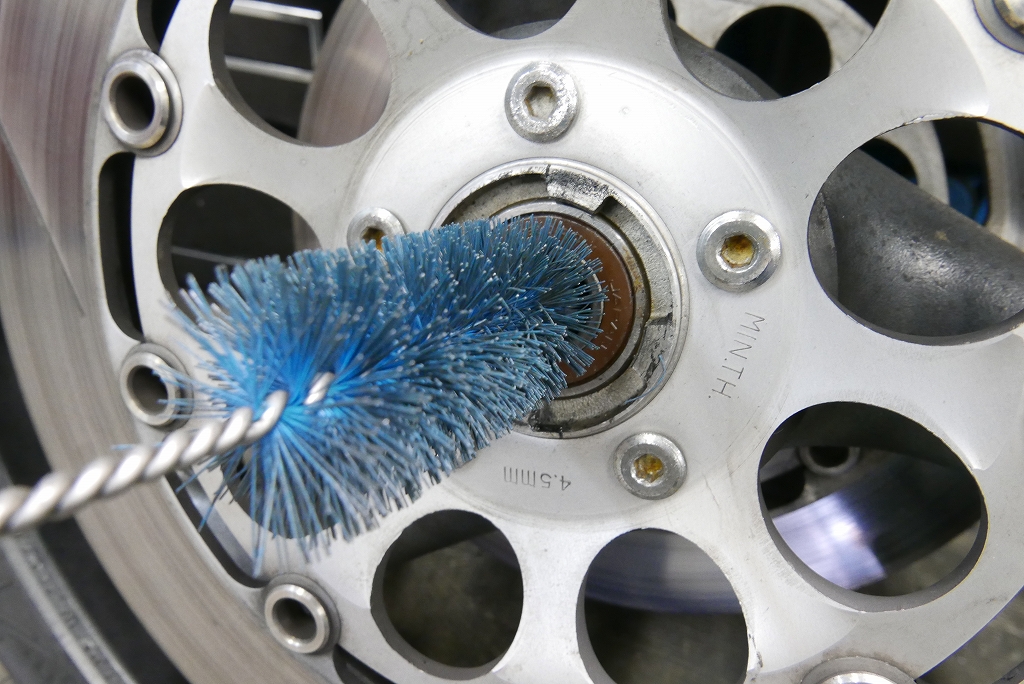
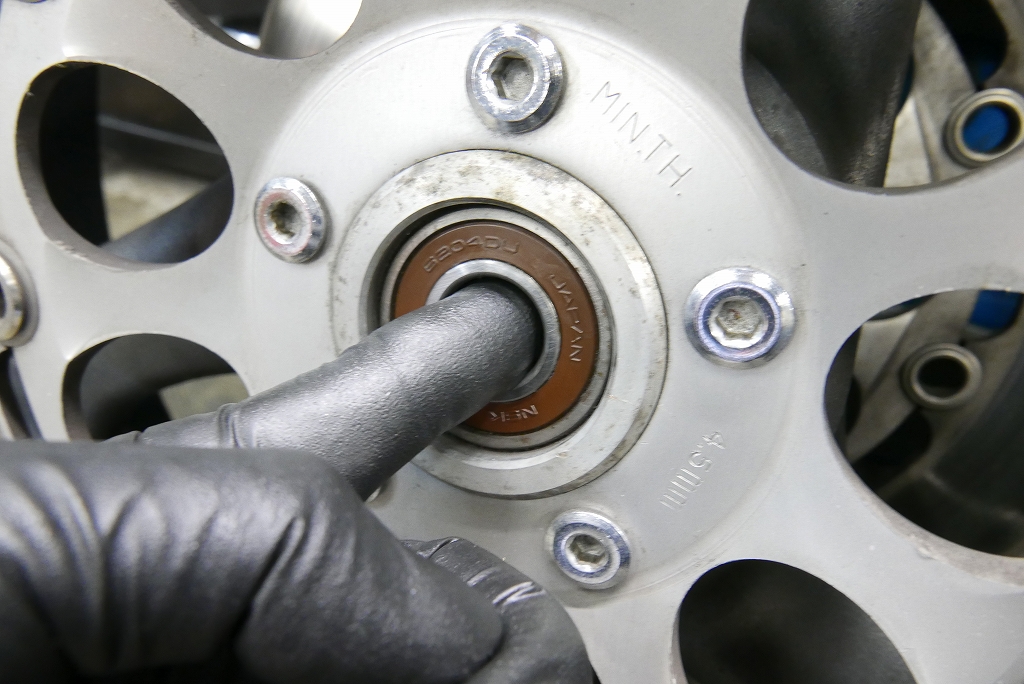
We cleaned the bearing hole and checked the position of the distance collar and the condition of the bearings.
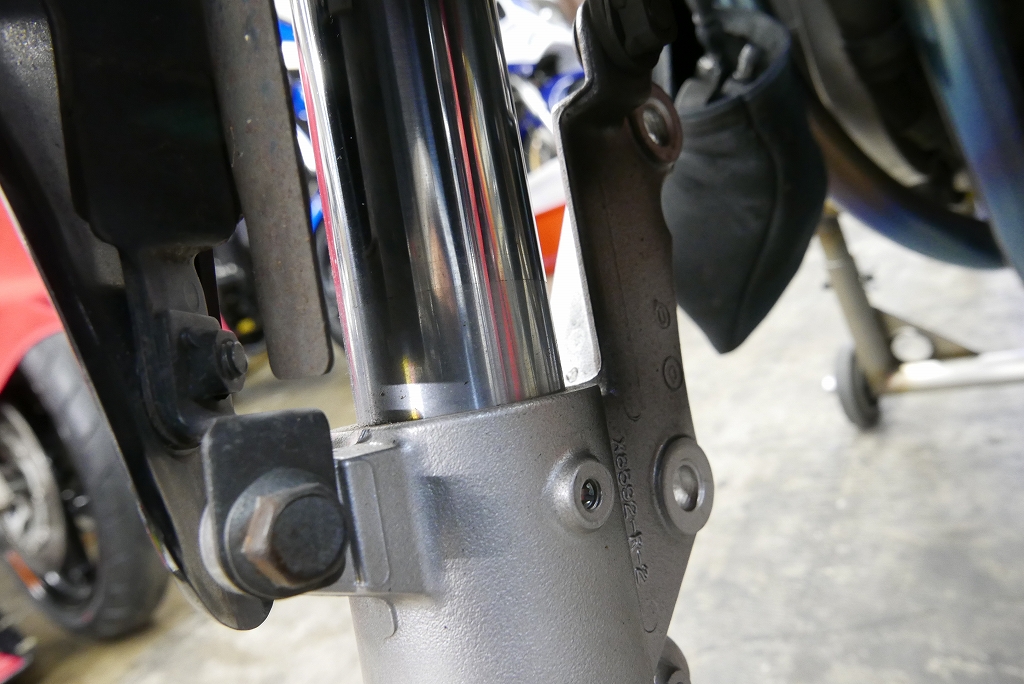
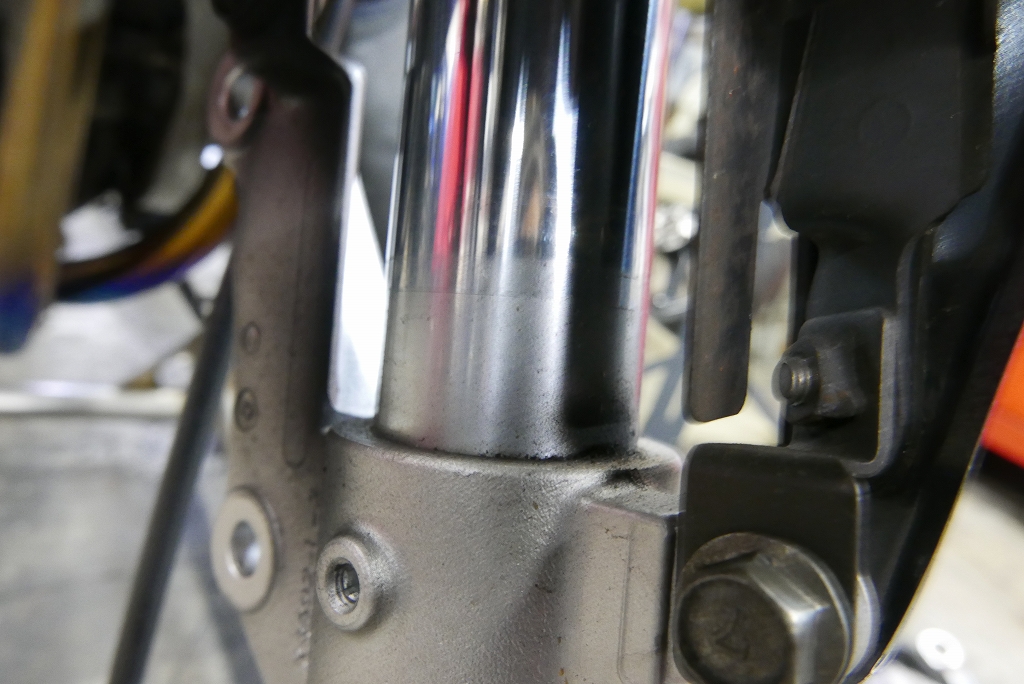
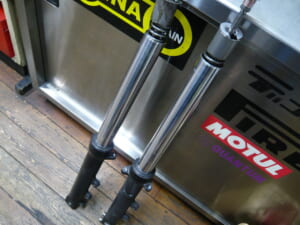
The inside of an inverted fork rusts easily, so cleaning and rust prevention are essential.
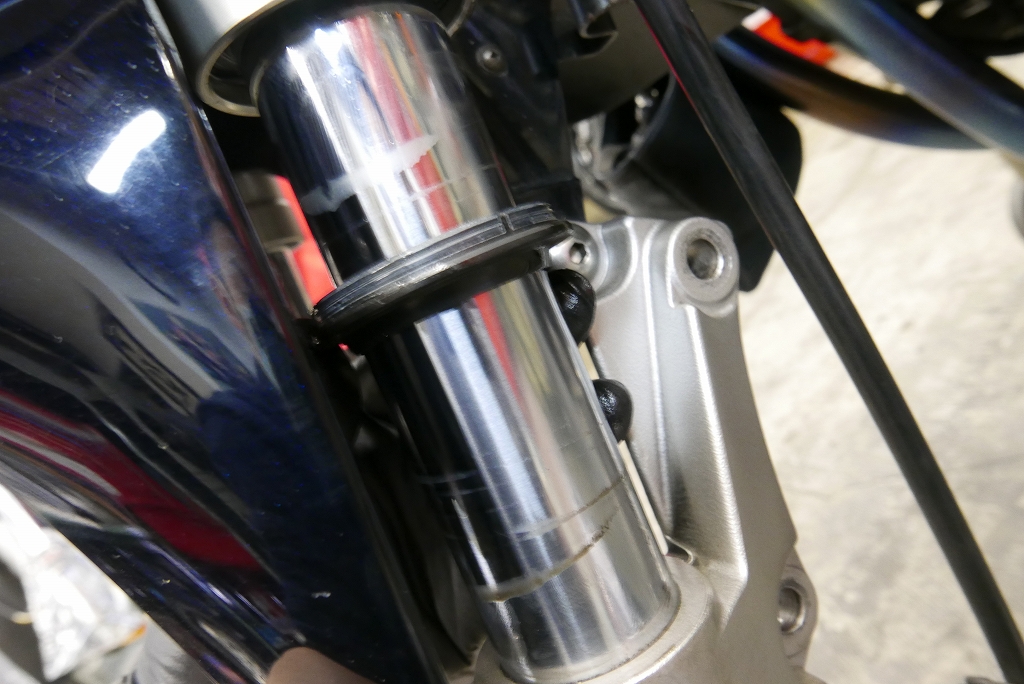
Let’s keep the inside of the dust seal clean too.
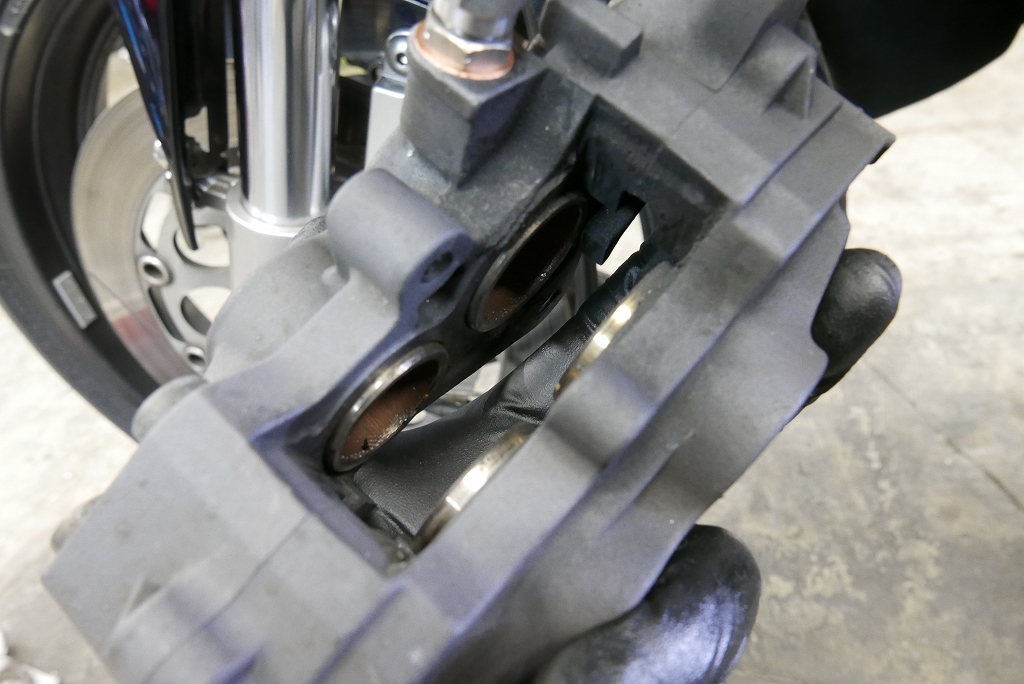
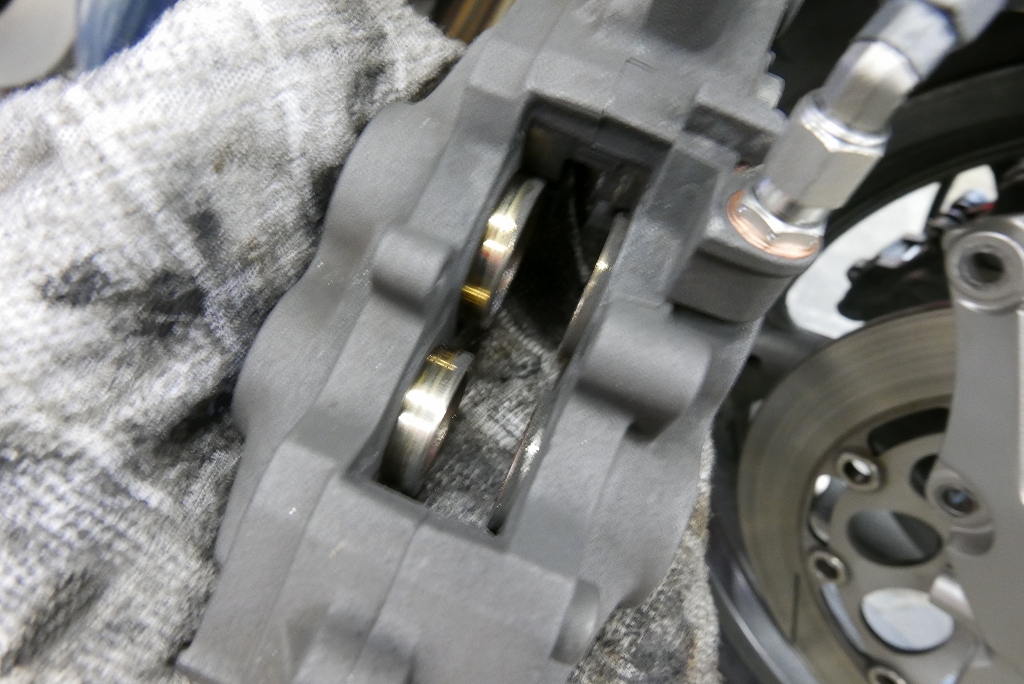
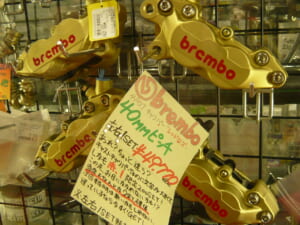
Both calipers were operating smoothly.
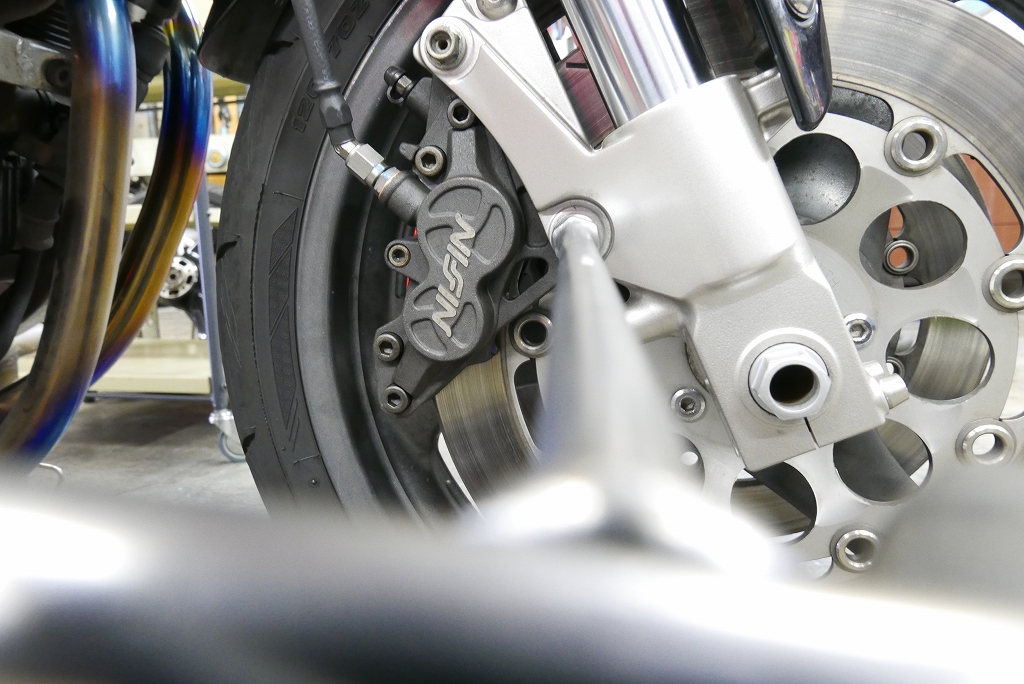
I’d say the mounting holes are about +0.2 tolerance. When the pads and discs are new, you want to pull them outward to use as much of the outer diameter as possible. After that, if you always pull and secure them, even if there’s some wear, the pads and discs will seat well.
When you remove them, check which position has the smoothest rotation on each side before securing, and then it should spin smoothly.
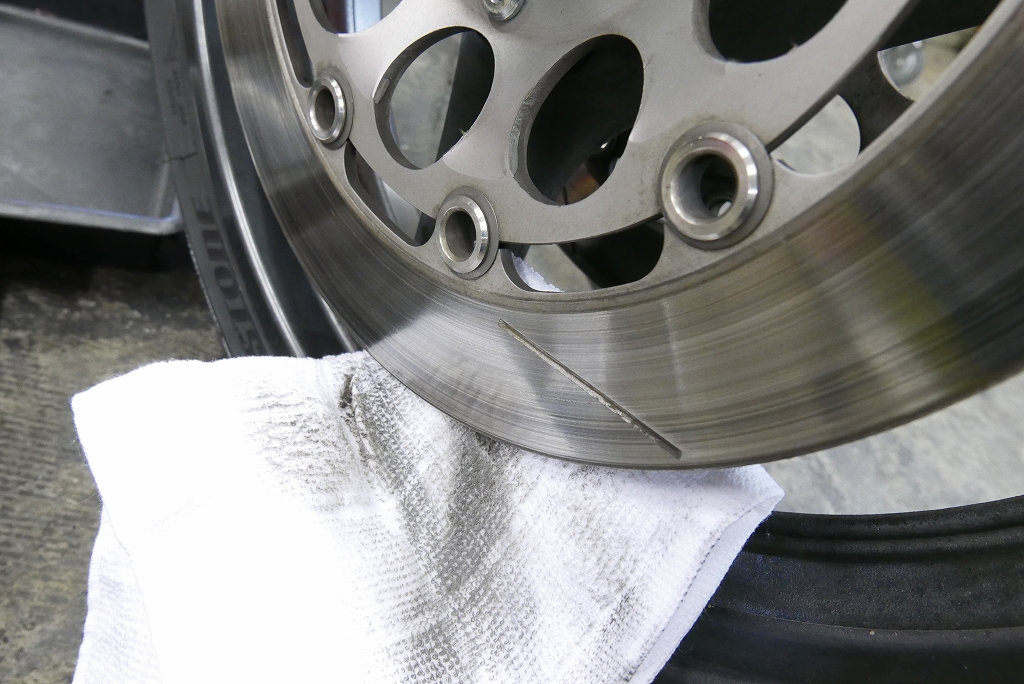
Cleaning a disc with no holes feels a bit pointless.
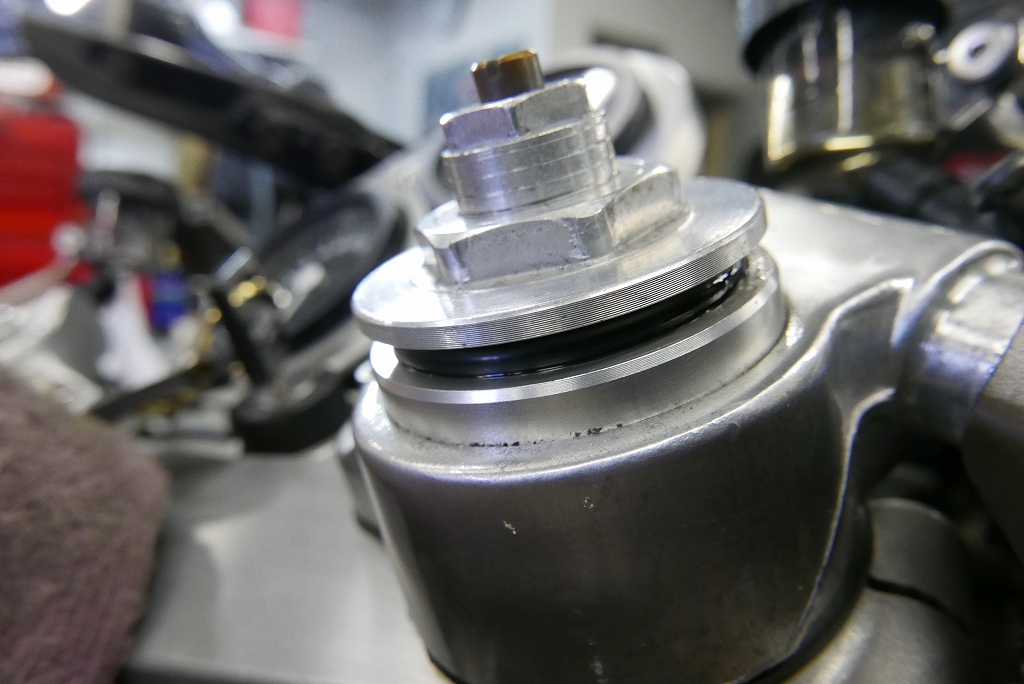
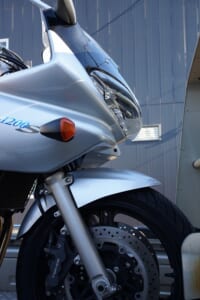
Front end lifted, fork cap opened to atmospheric pressure.
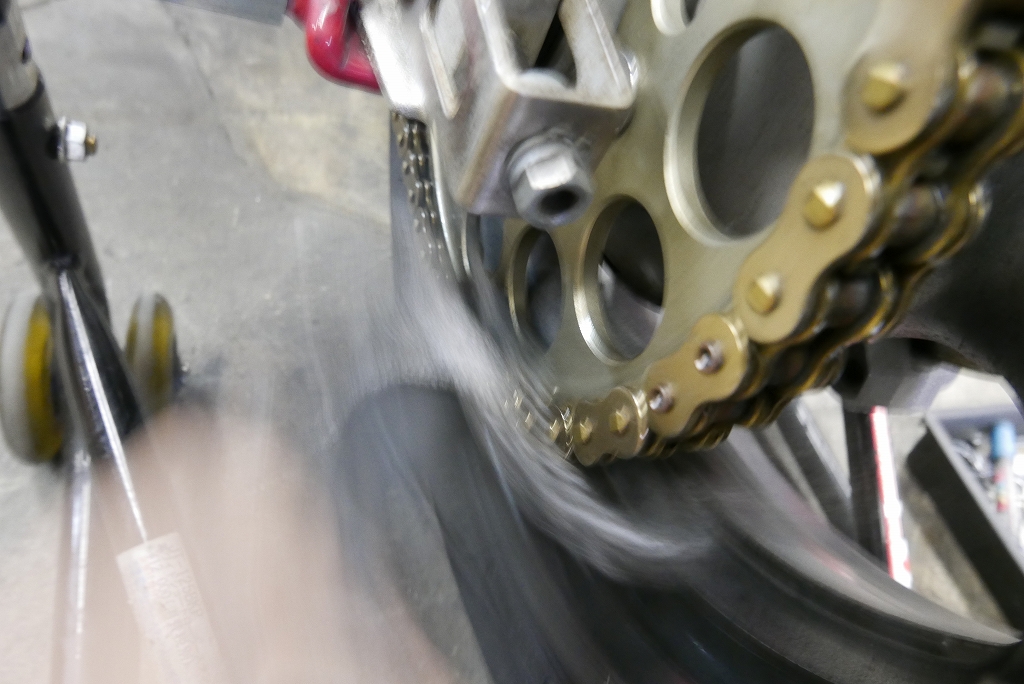
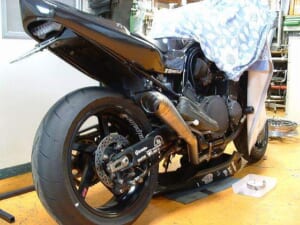
Moving to the rear. We thoroughly wiped and cleaned the chain. Checking for any kinks or unusual noise.
In severe cases, we recommend replacement rather than unnecessary work.
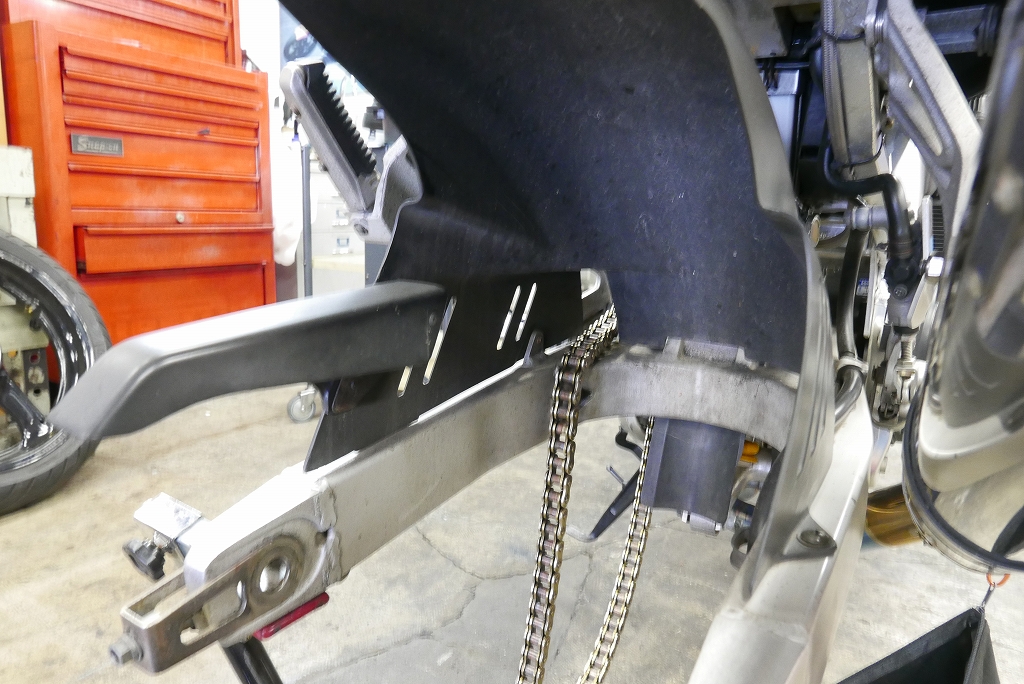
The inside that the owner can’t clean—let’s keep it nice.
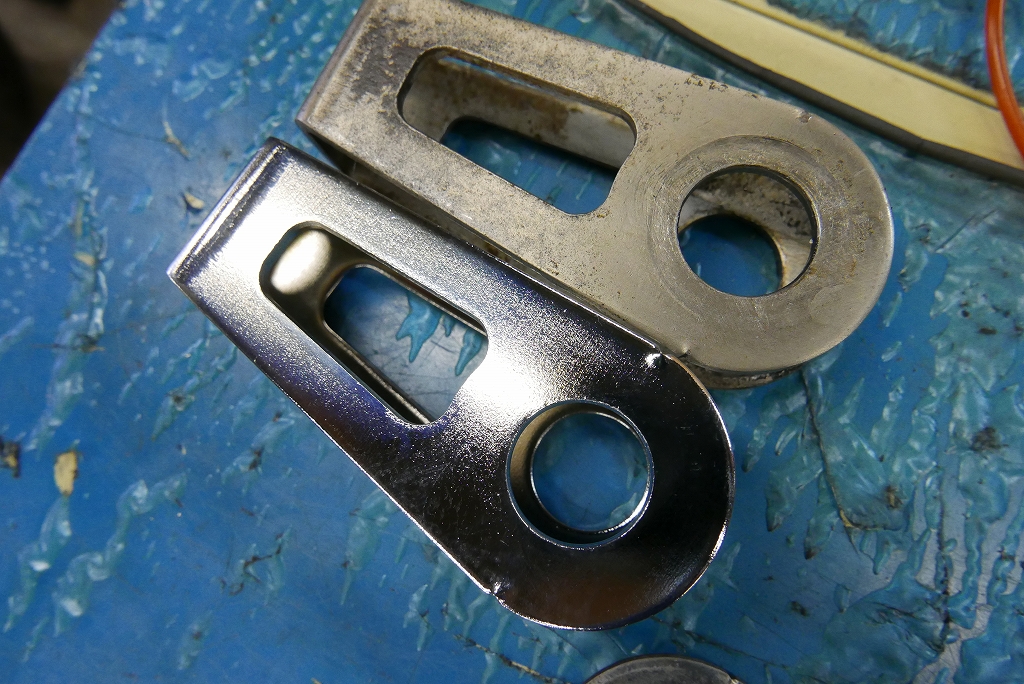
A chain guide costs just a few hundred yen. If it’s dirty, replacement is better. (I went ahead and replaced it.)
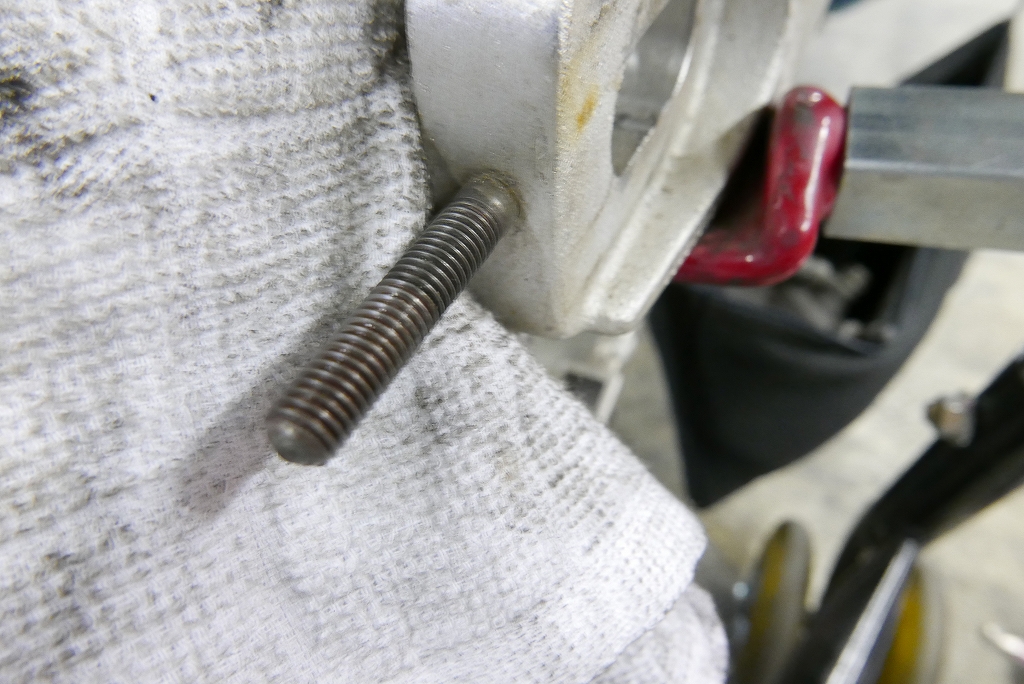
Cleaning and oiling the adjuster makes adjustment easier.
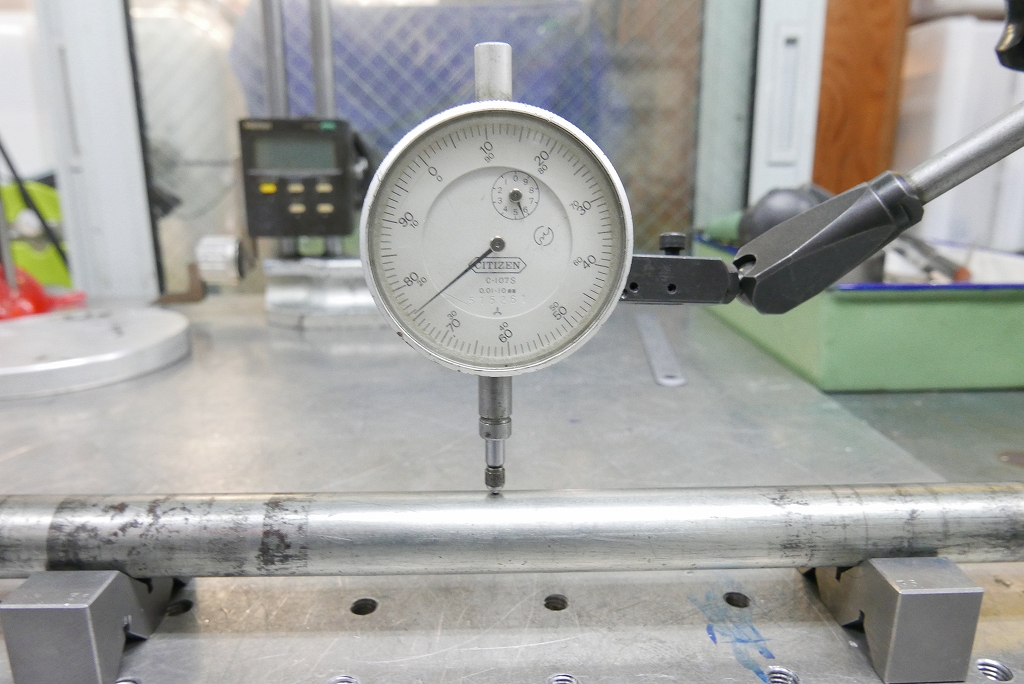
The axle was fine too.
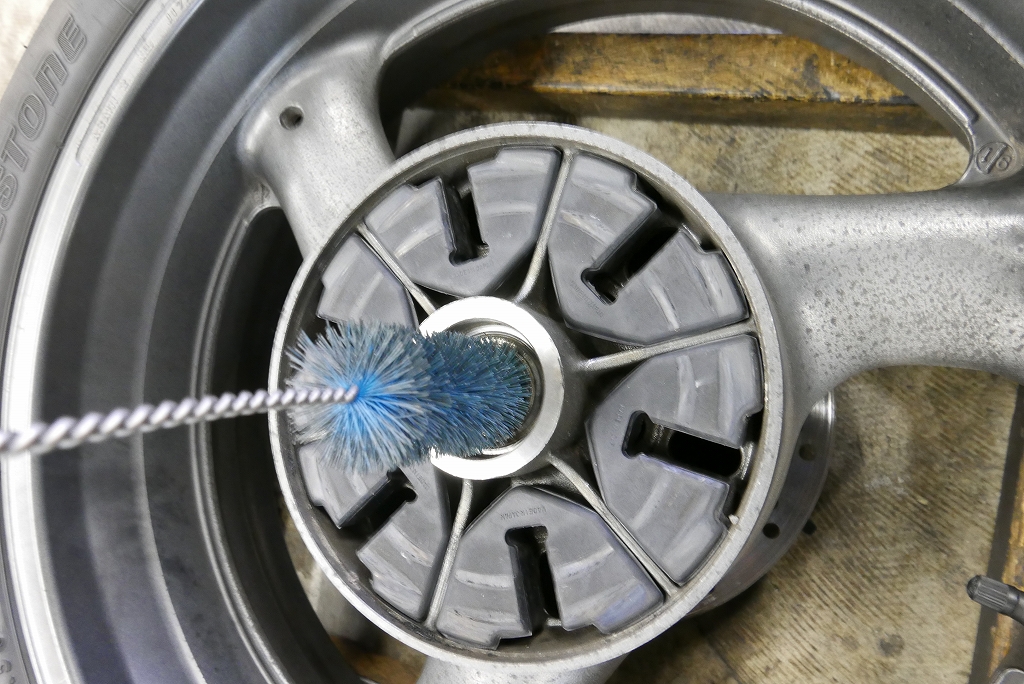
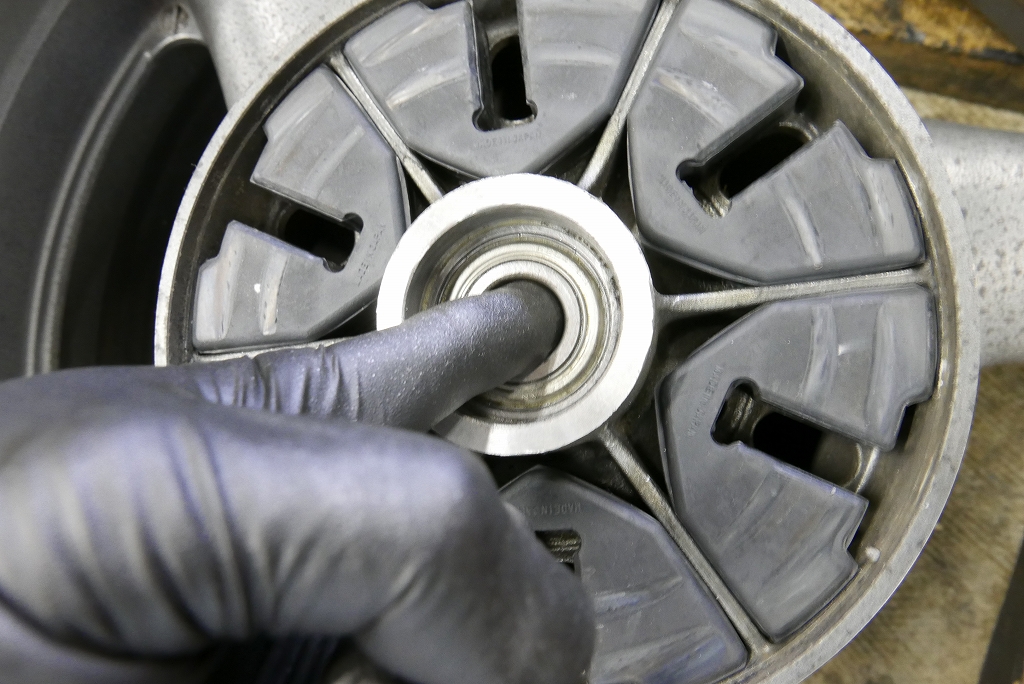
The hub damper is in good shape. We just cleaned the hole and checked the bearings—all good.
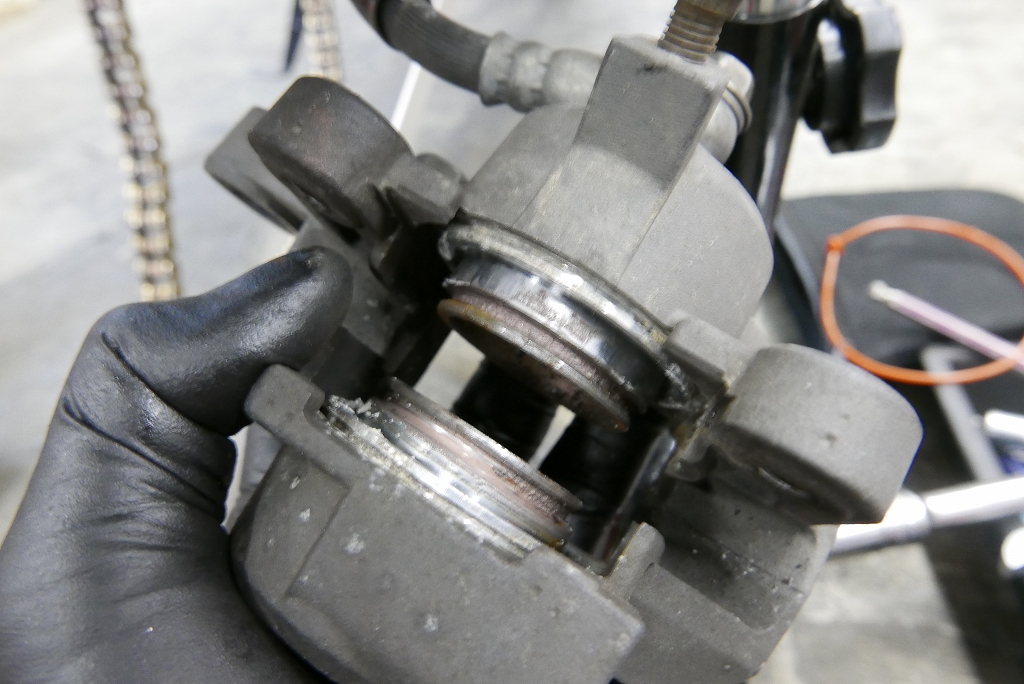
The outside is corroded, but the inside is clean. Operation should be fine.
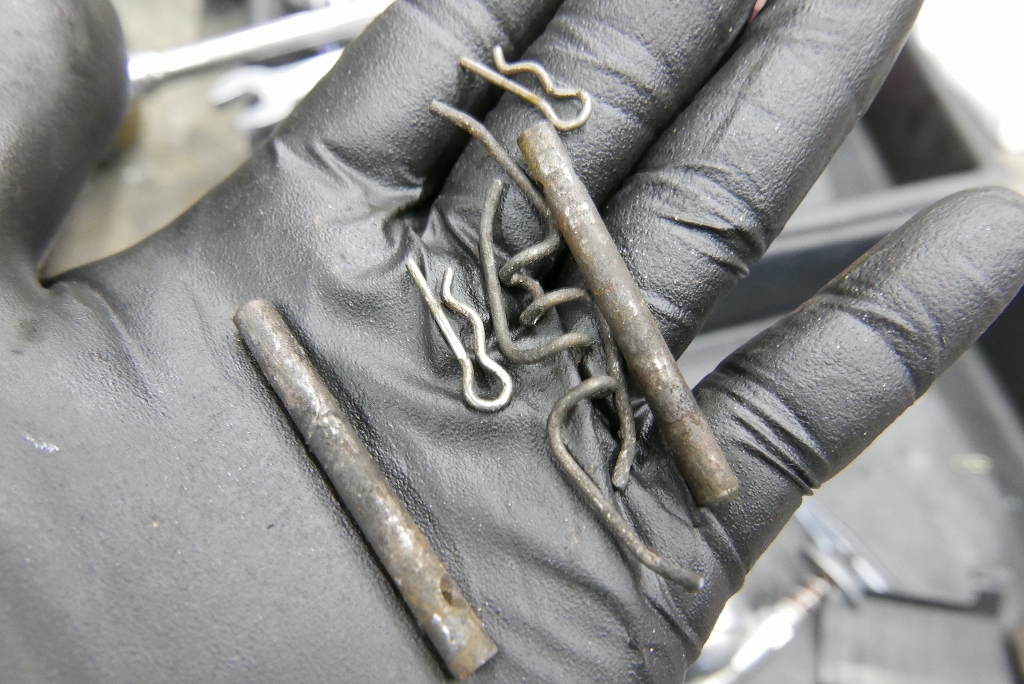
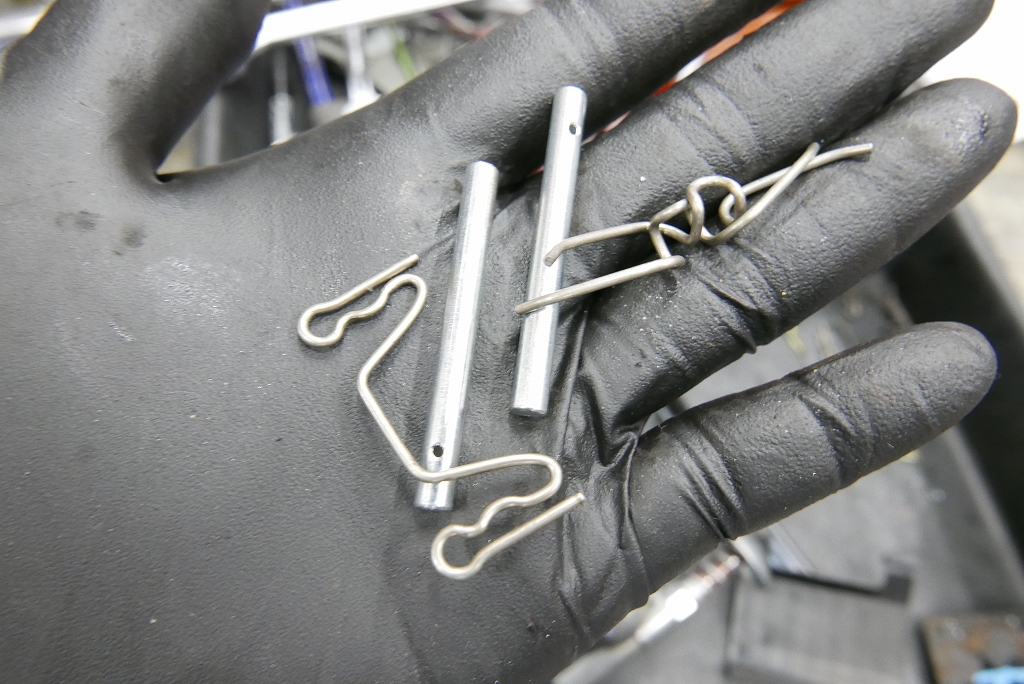
Pad pins and such were dirty, so we replaced everything. We used the later-model clip.
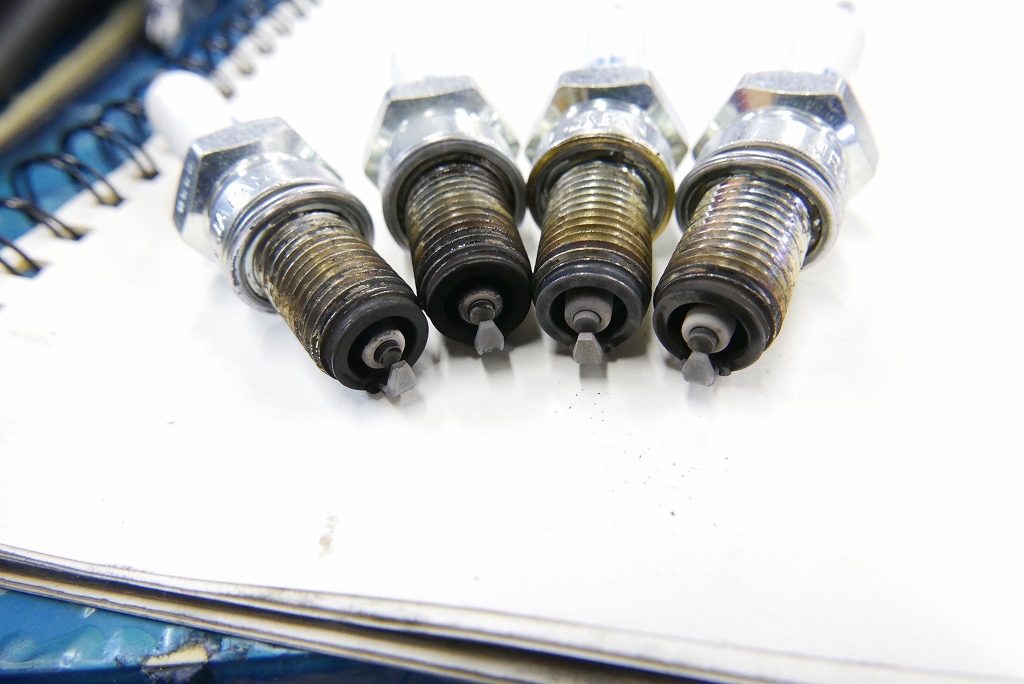
Number 2 is slightly sooty. Let’s keep an eye on it for now.
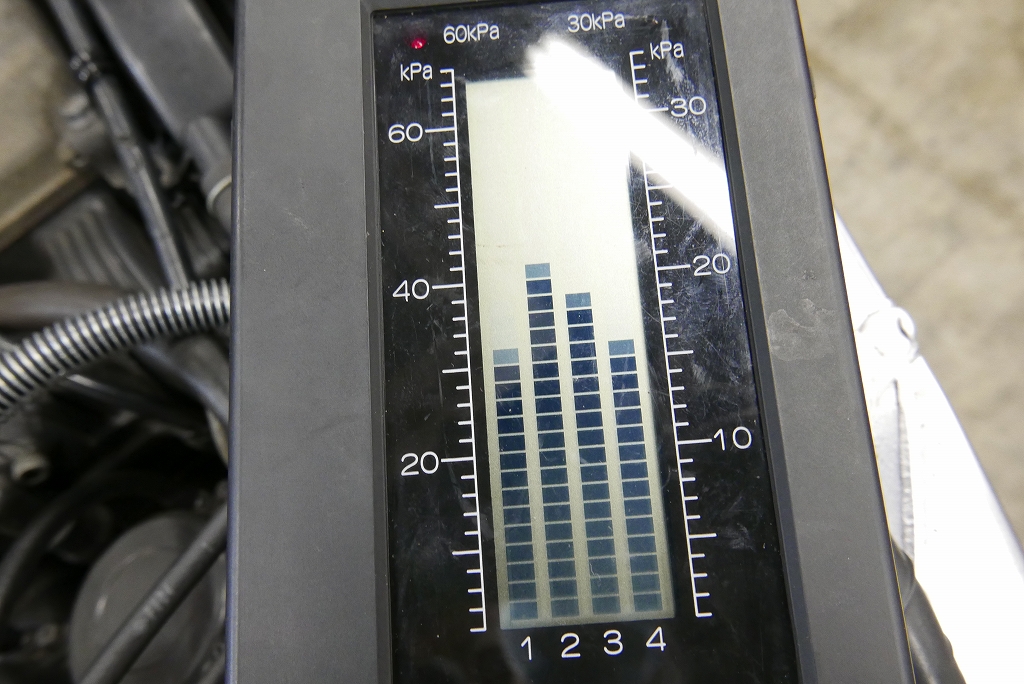
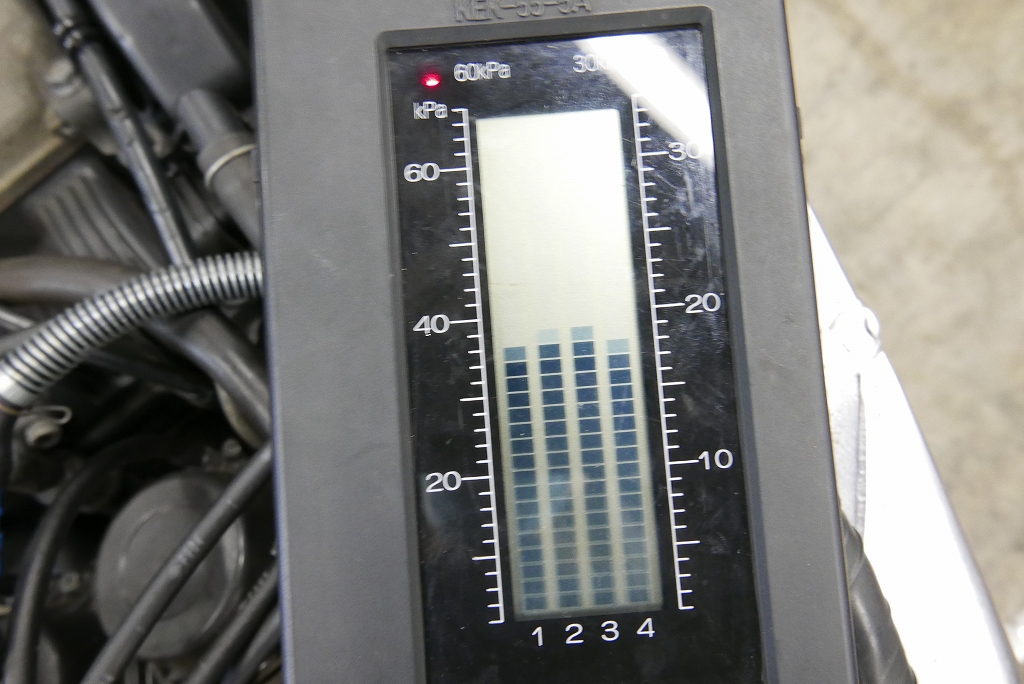
The synchronization was pretty far off. The sound was all over the place. Now it’s stable.
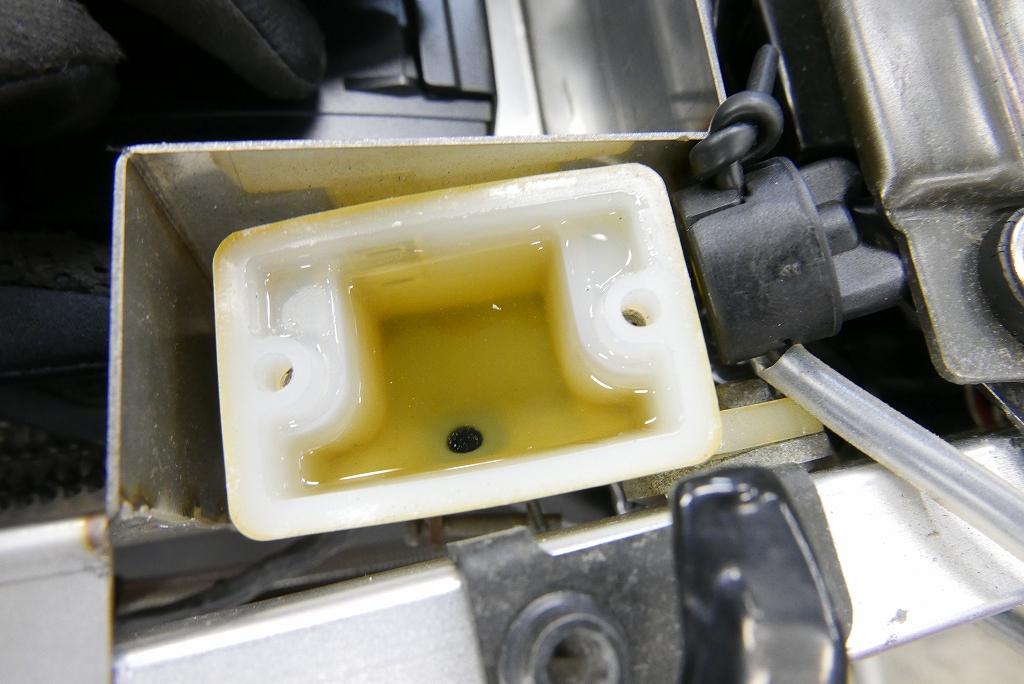
The front master was replaced, so we did a rear fluid change.
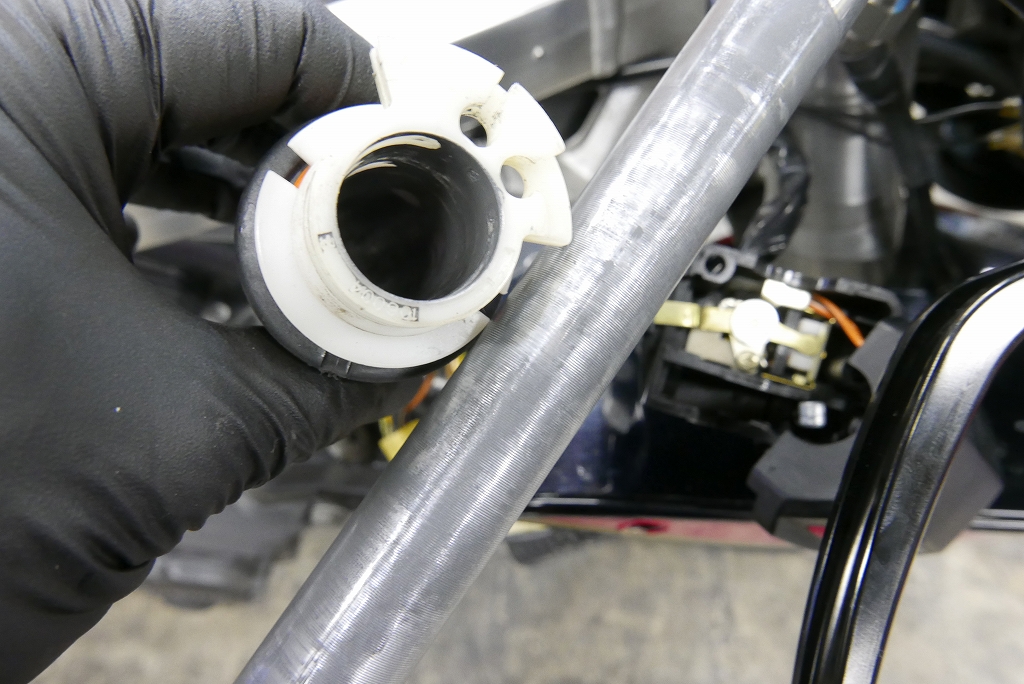
Throttle cleaned and lubricated.
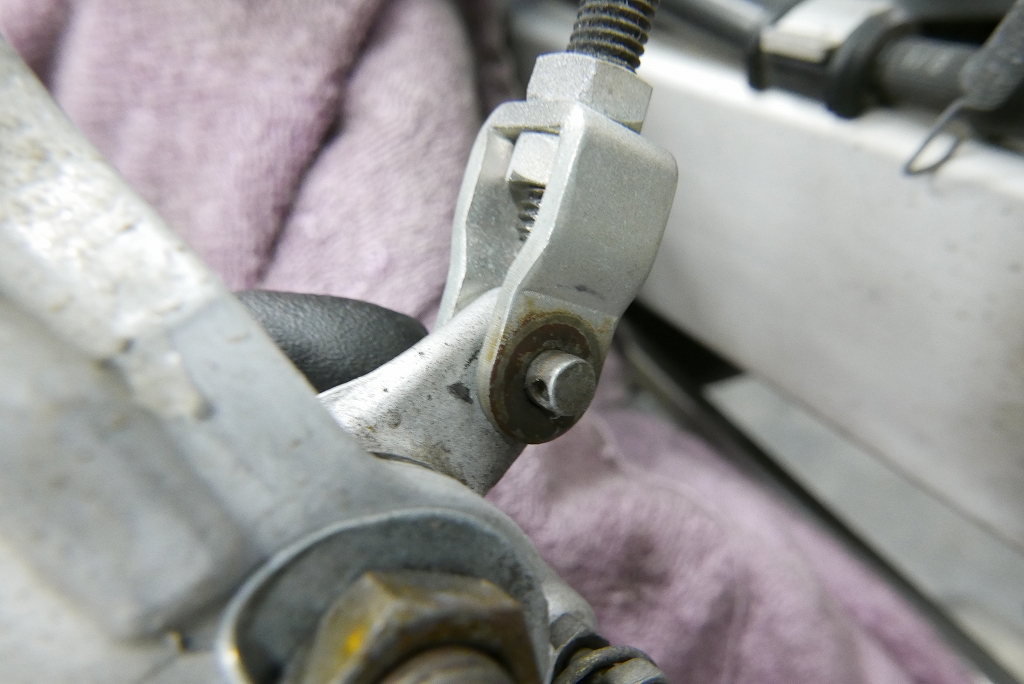
Lucky, right? It’s surprising how stubborn some things are. Discoveries like this remind you why you do an inspection and maintenance.
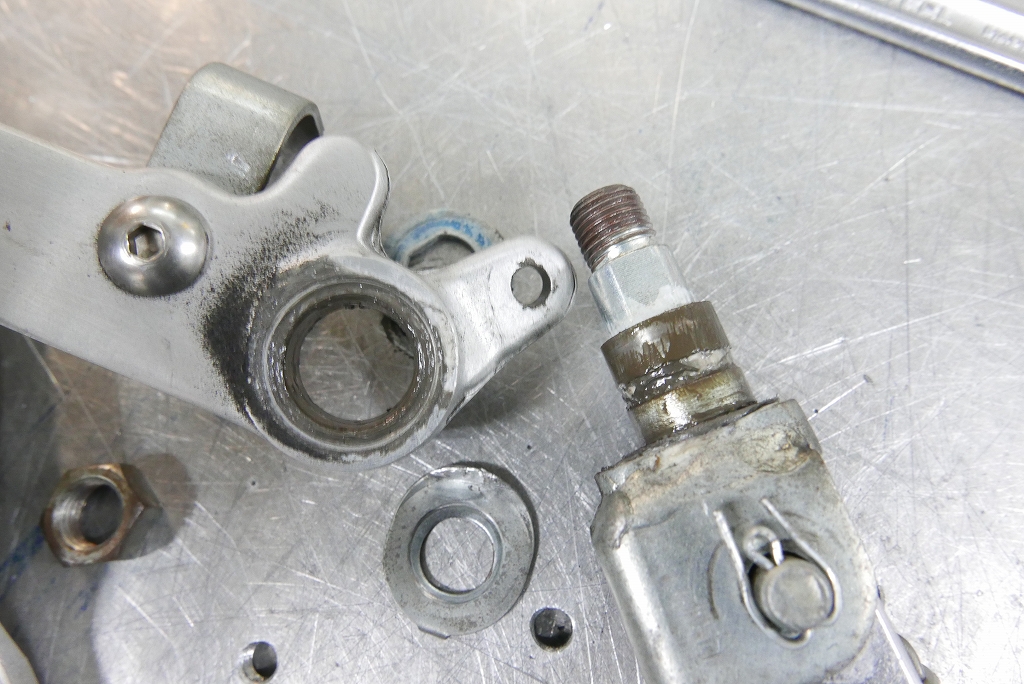
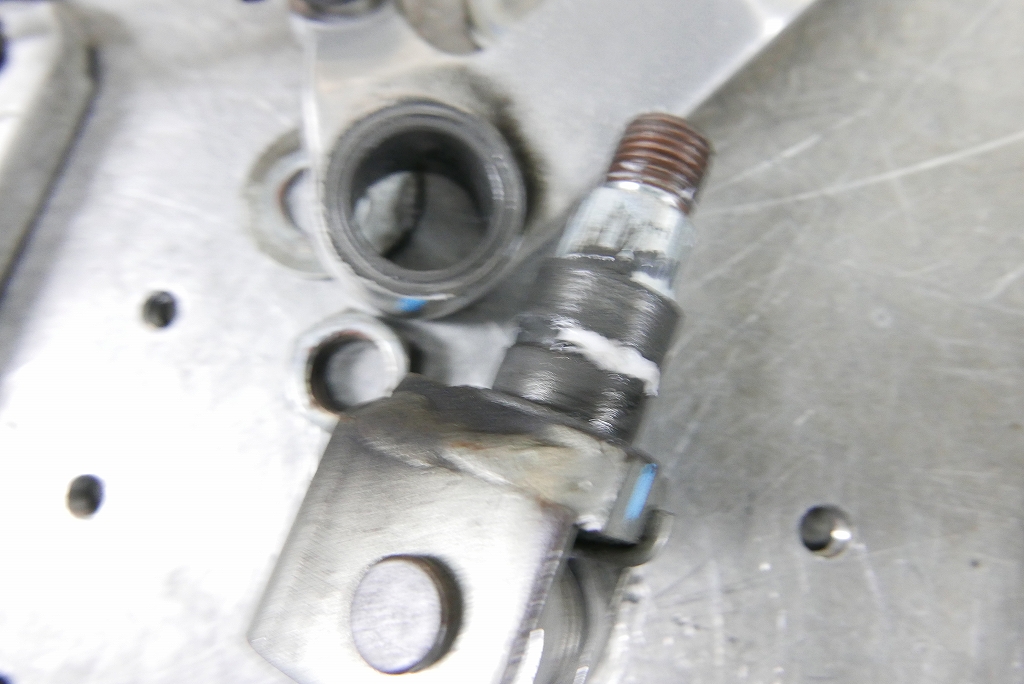
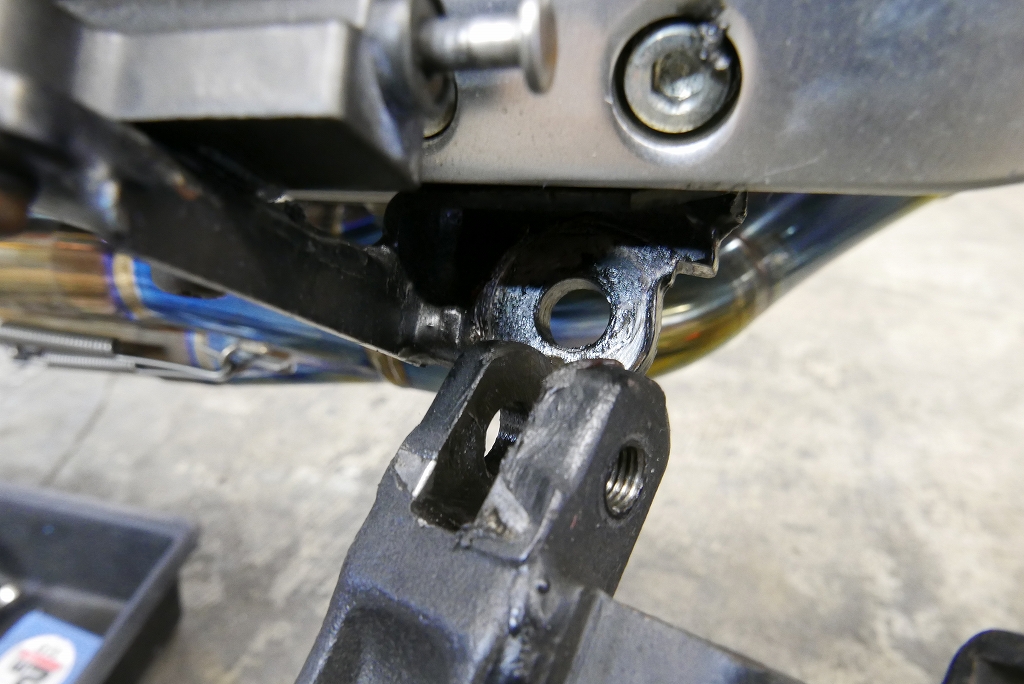
Pedal and stand cleaned and oiled.
After the inspection and air filter replacement, we’re done!