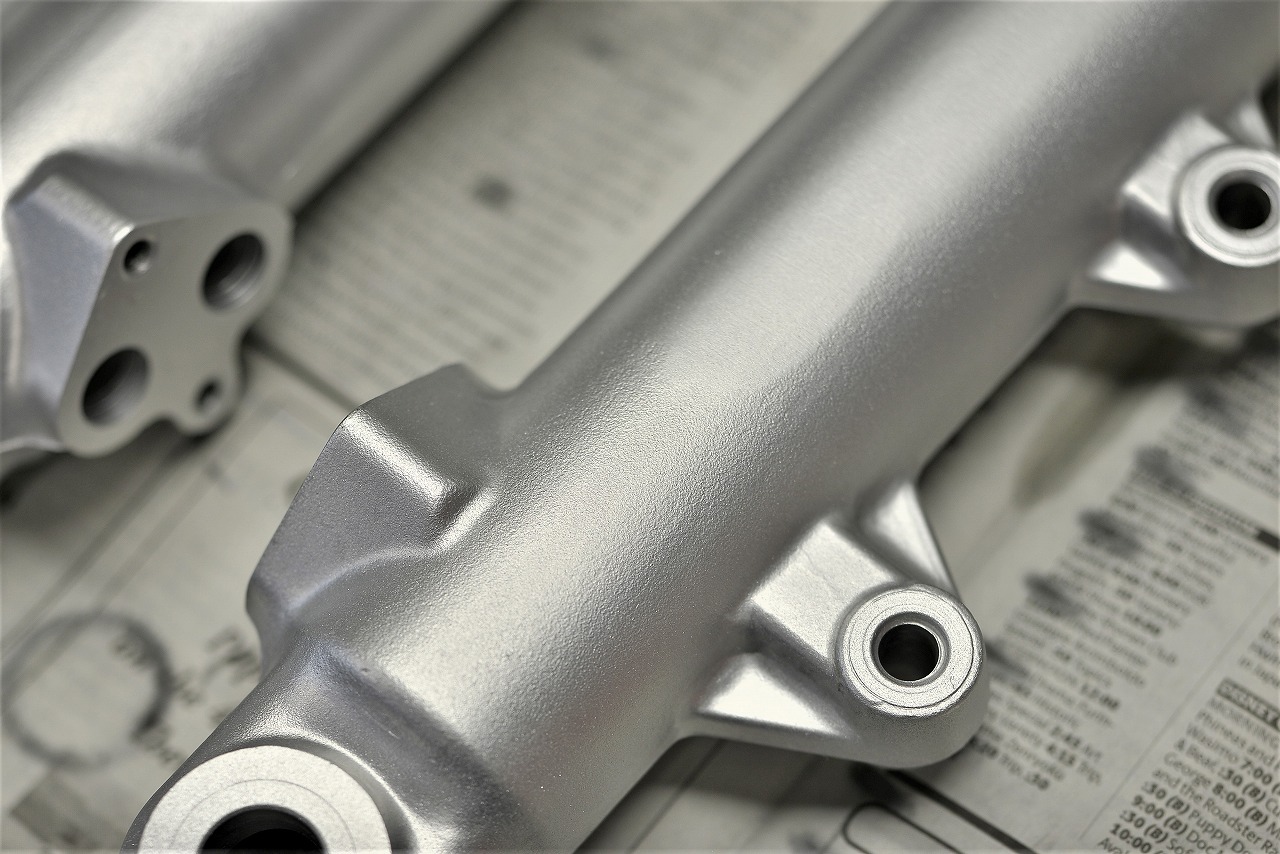
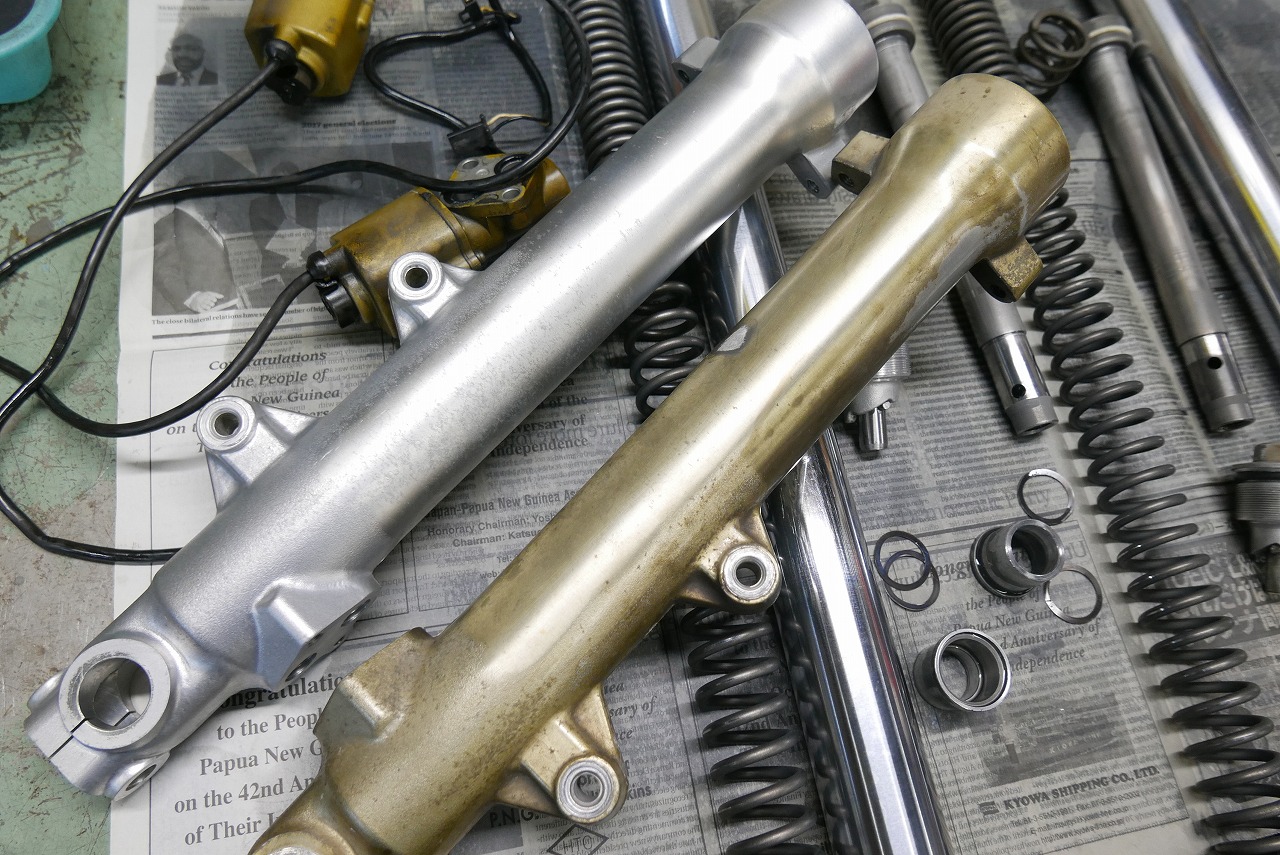
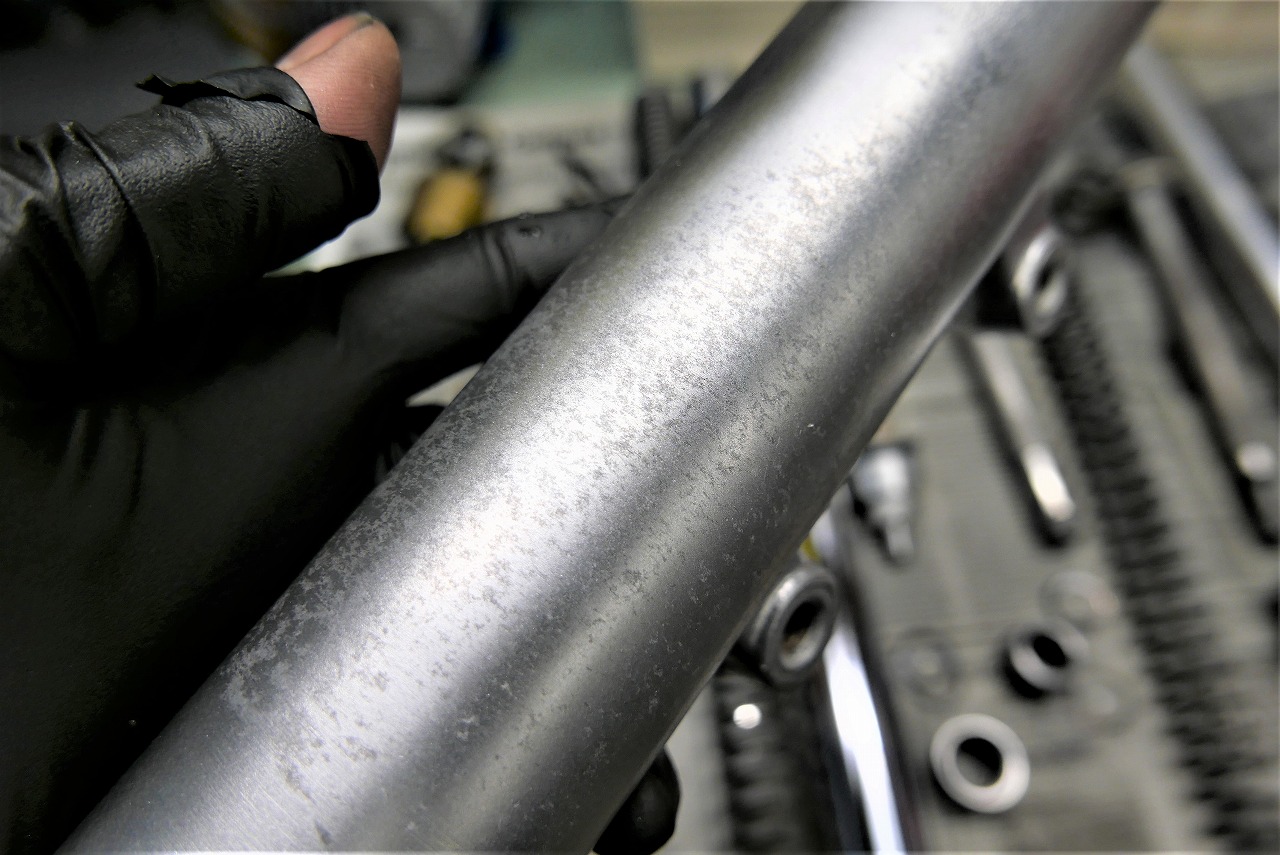
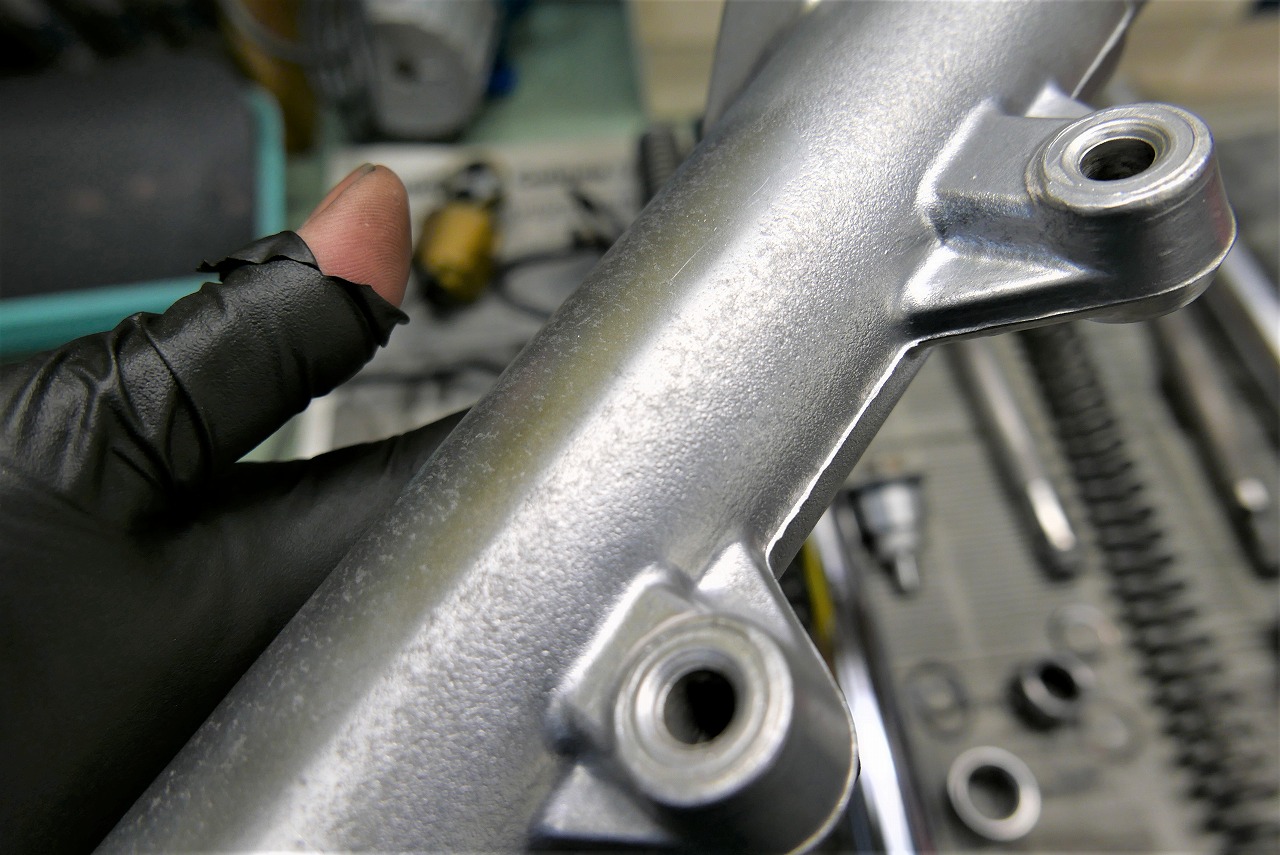
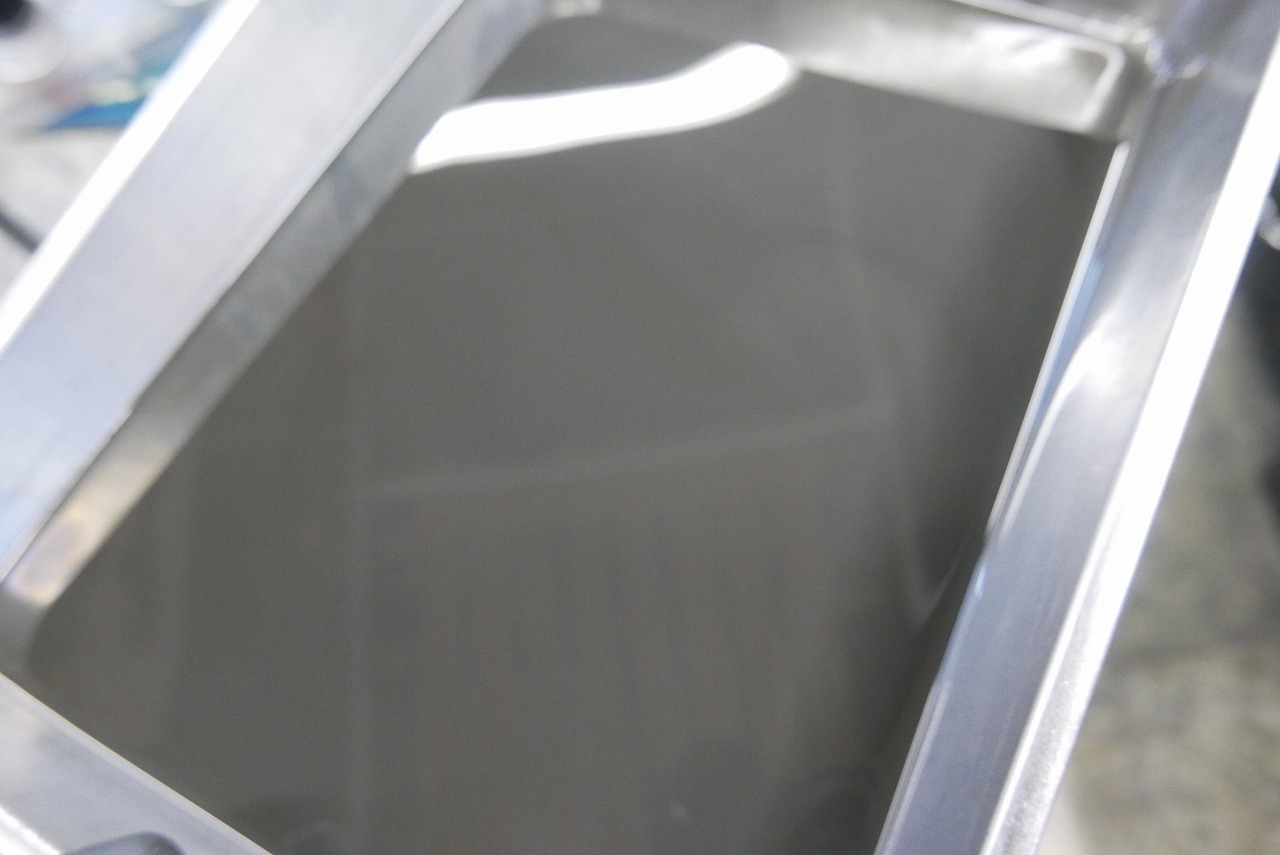
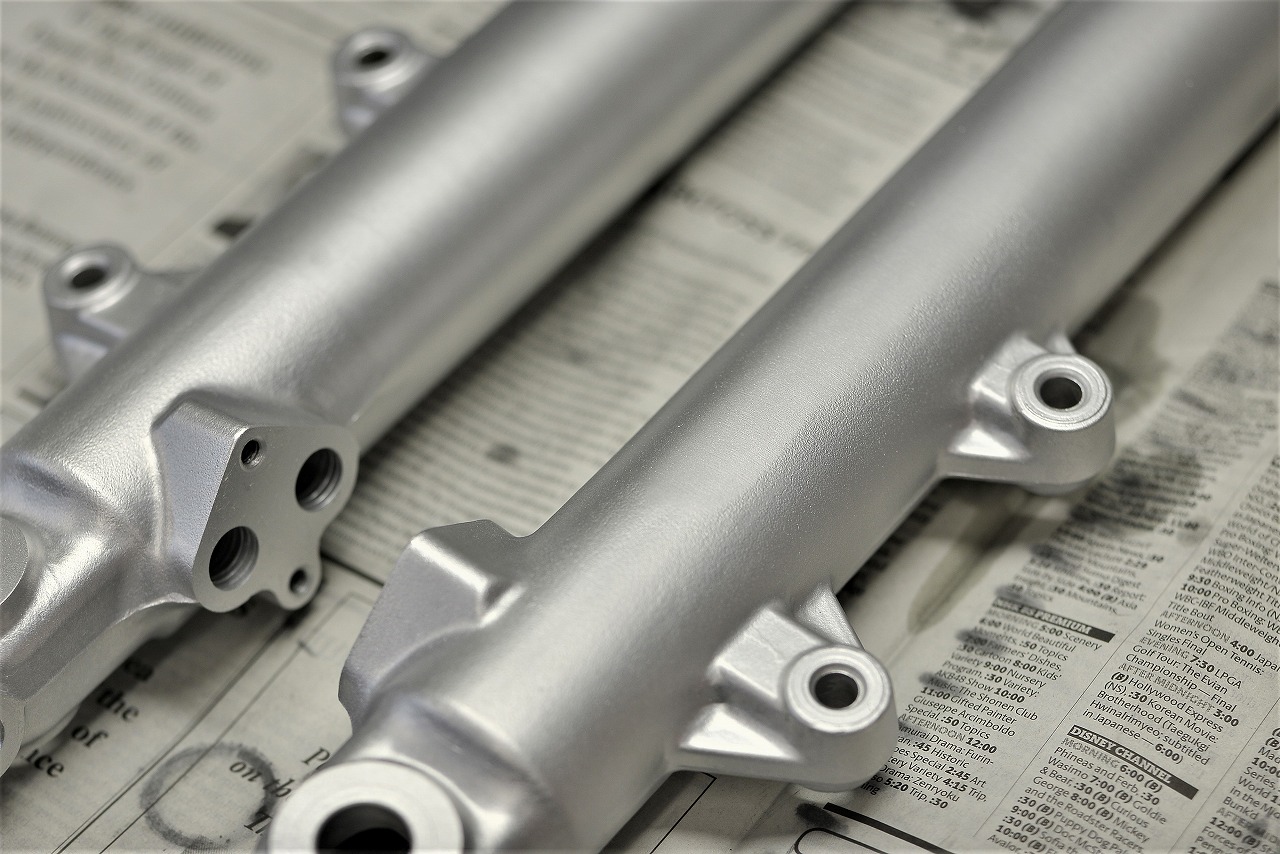
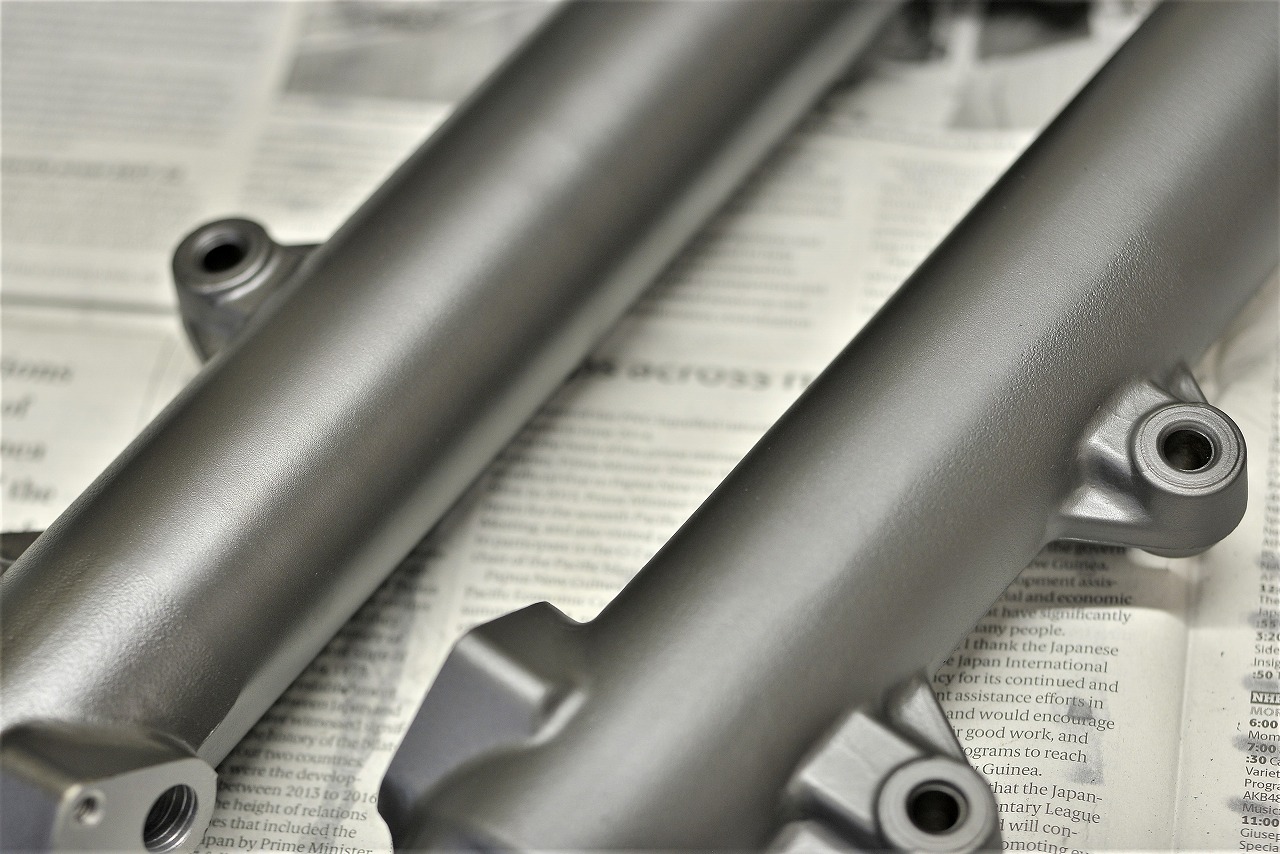
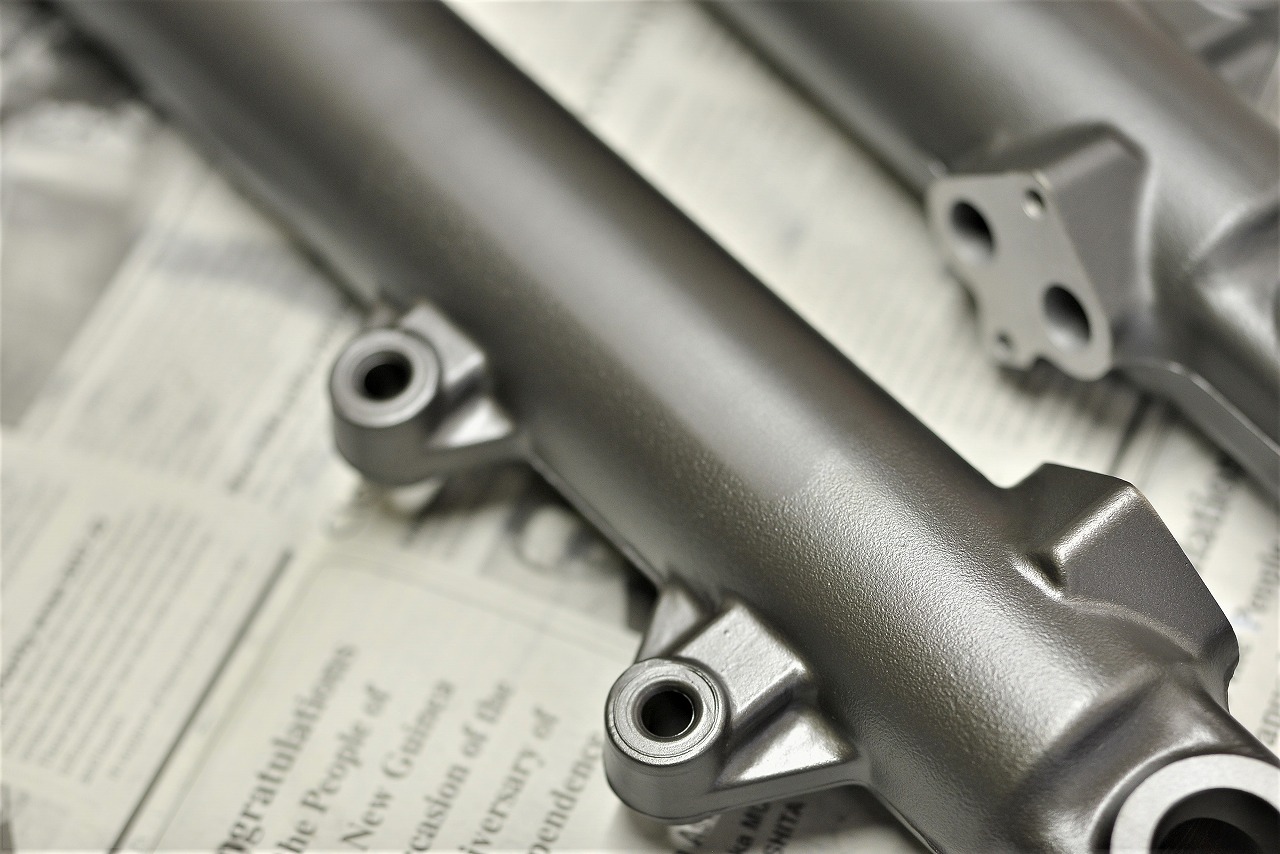
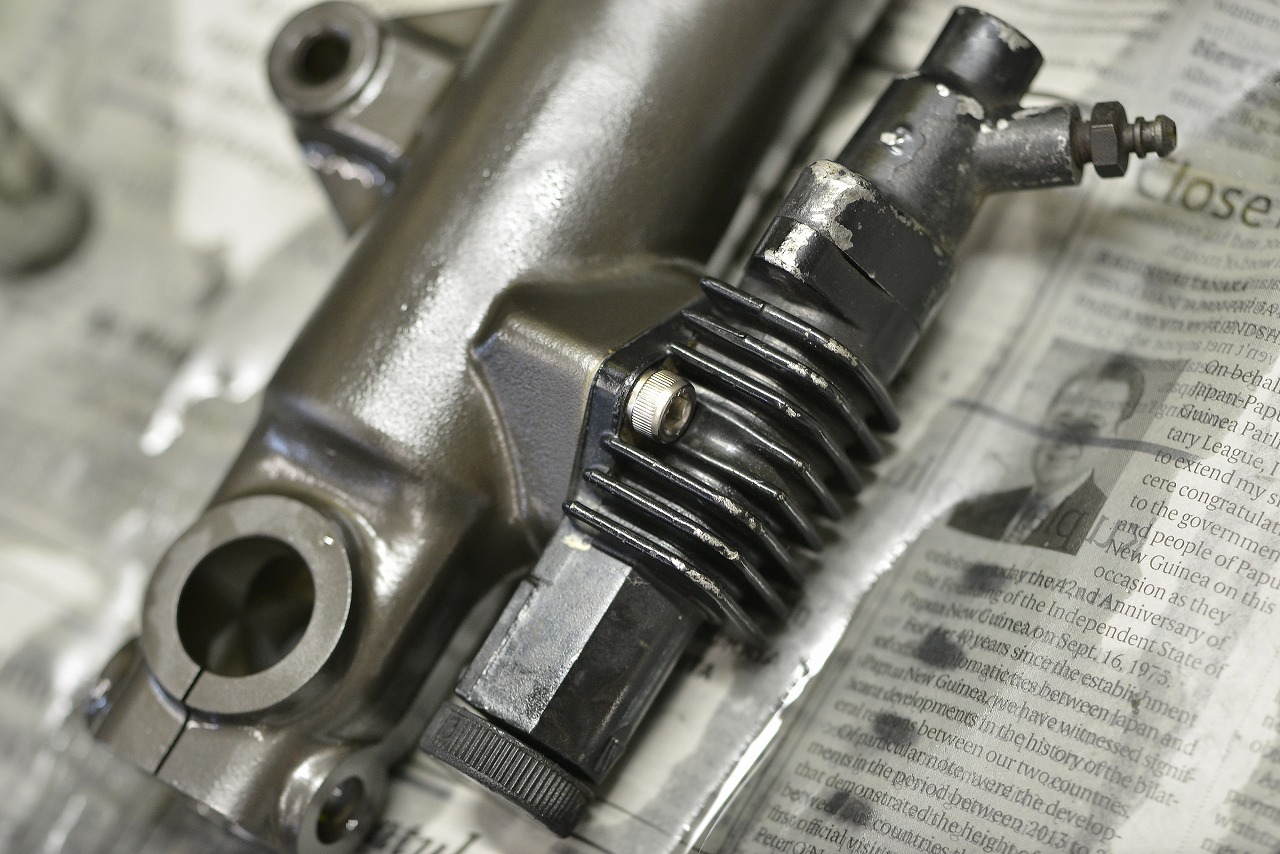
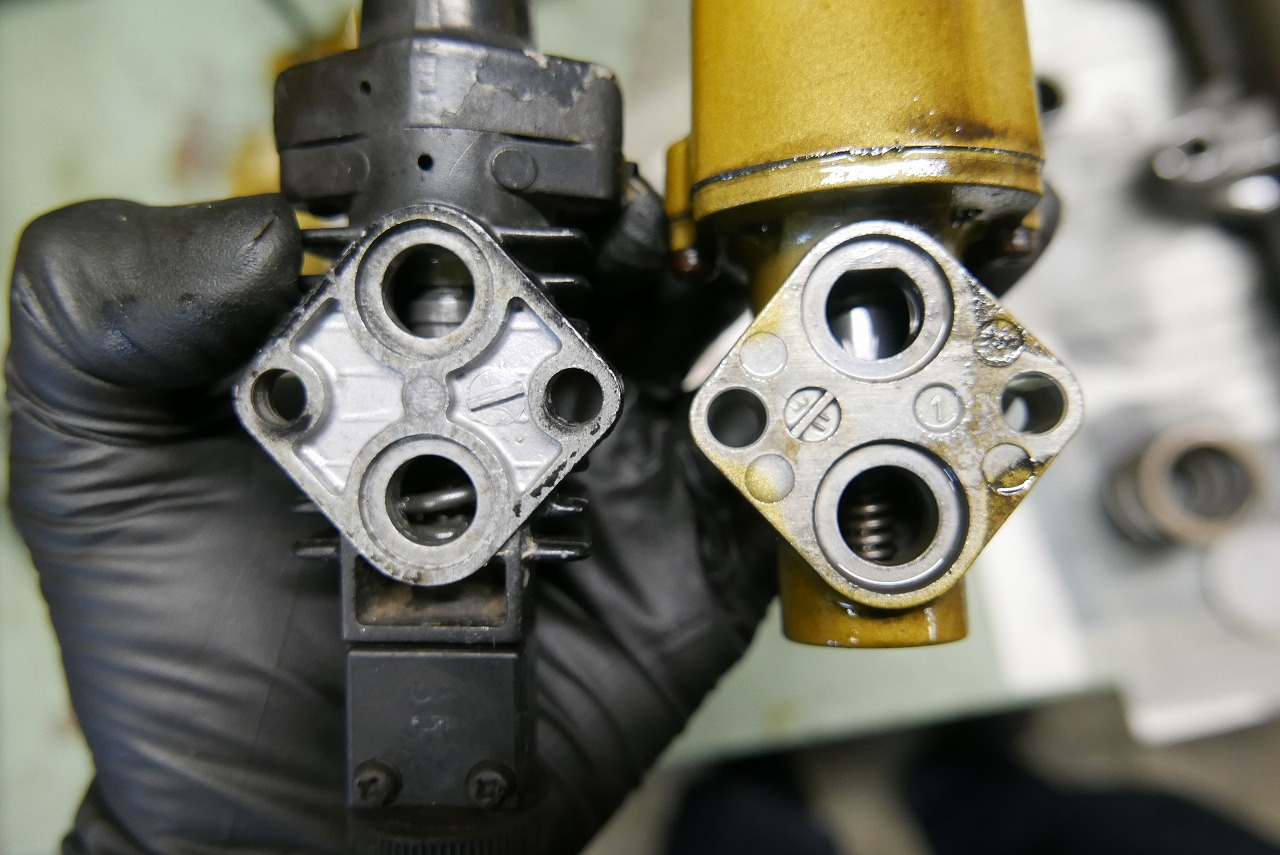
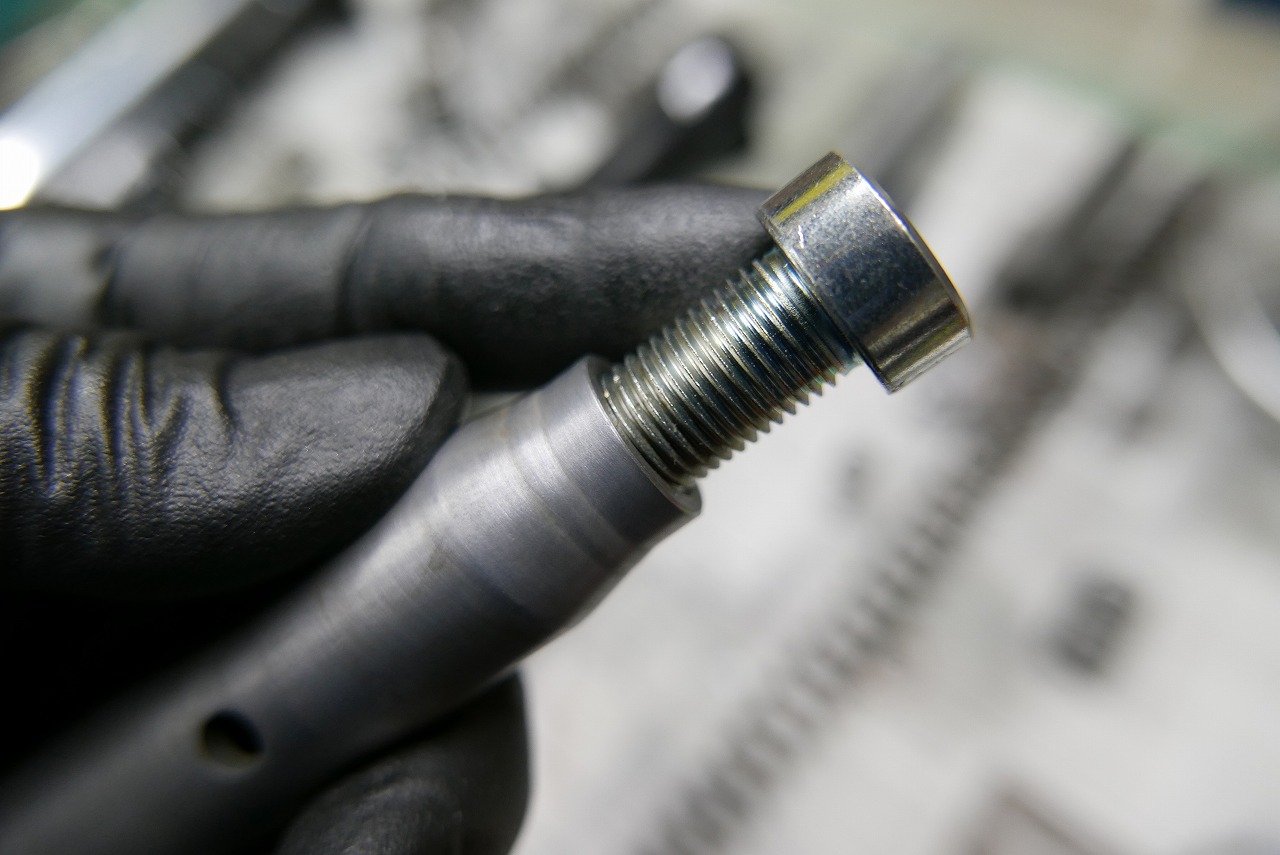
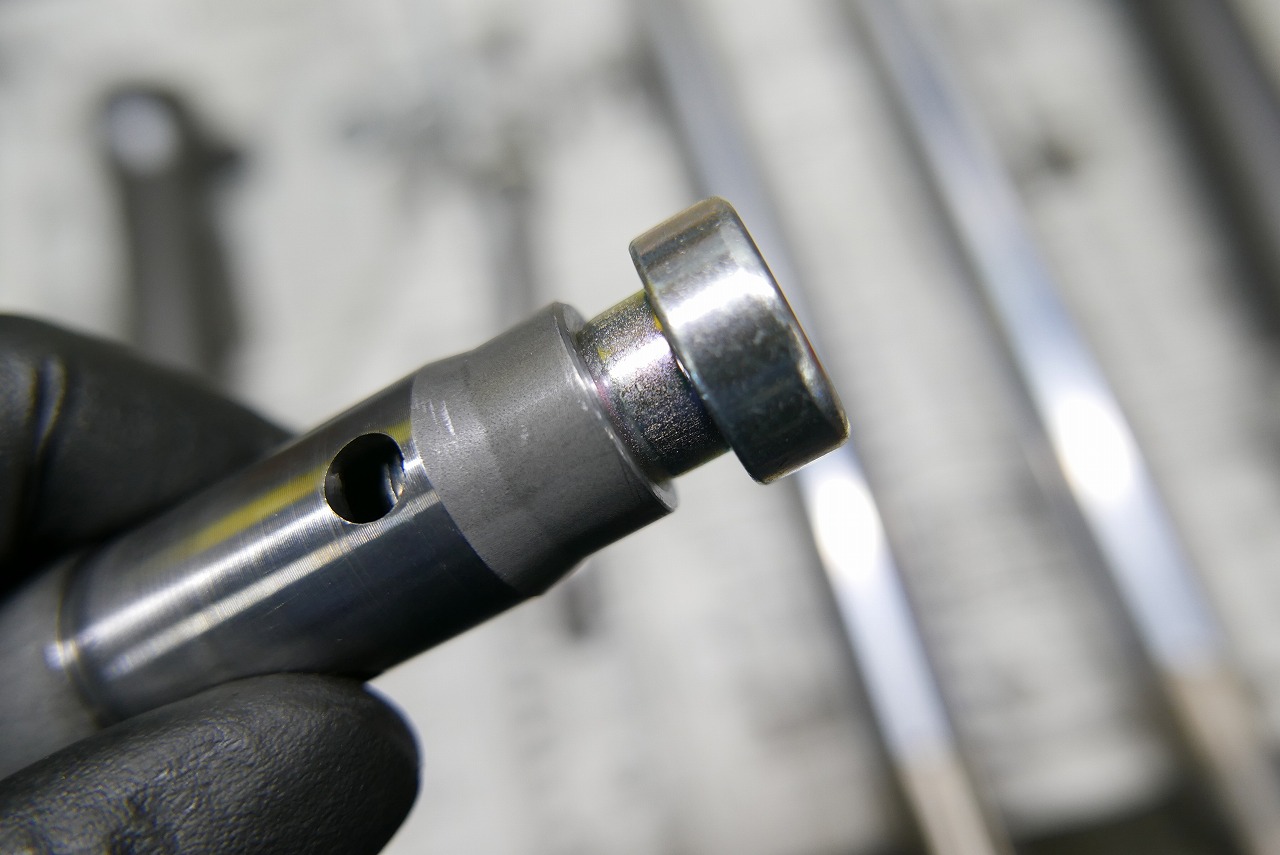
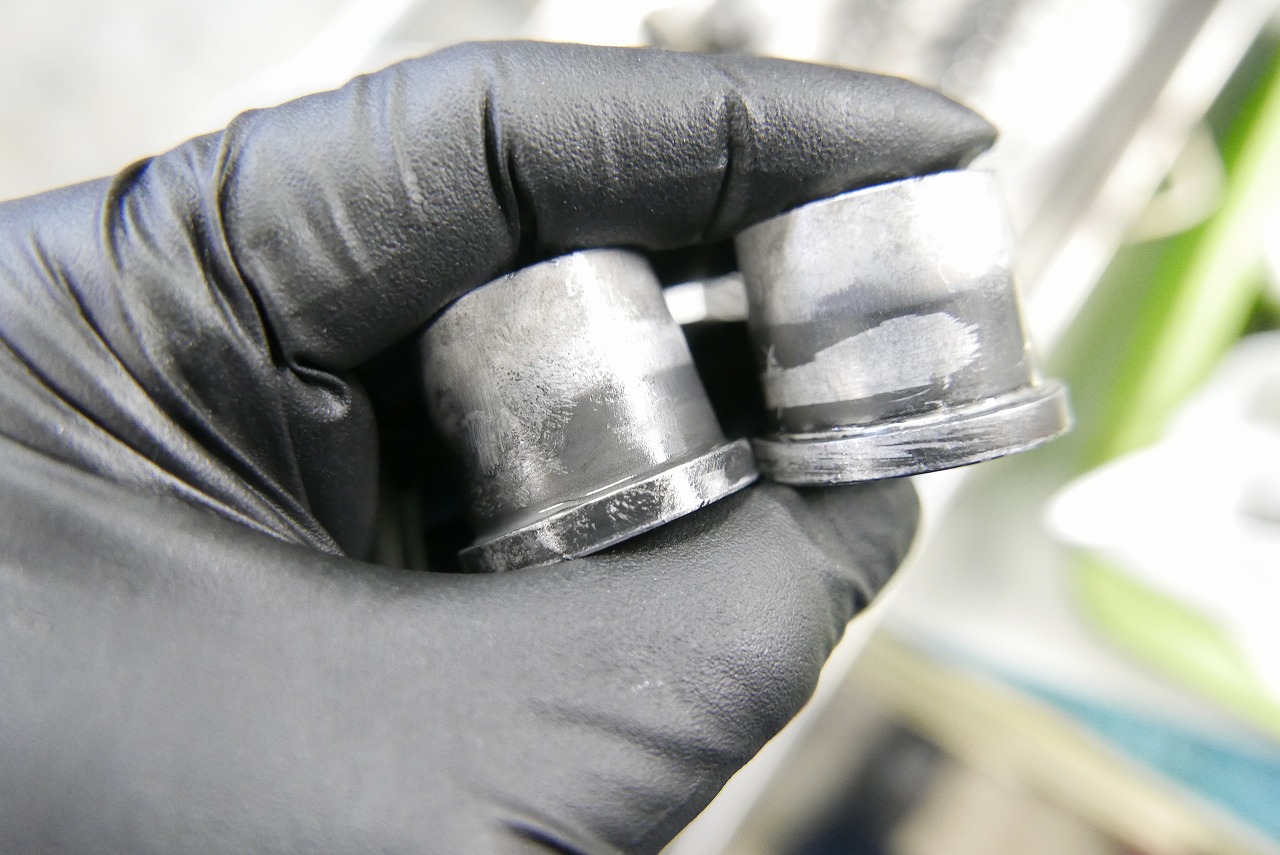
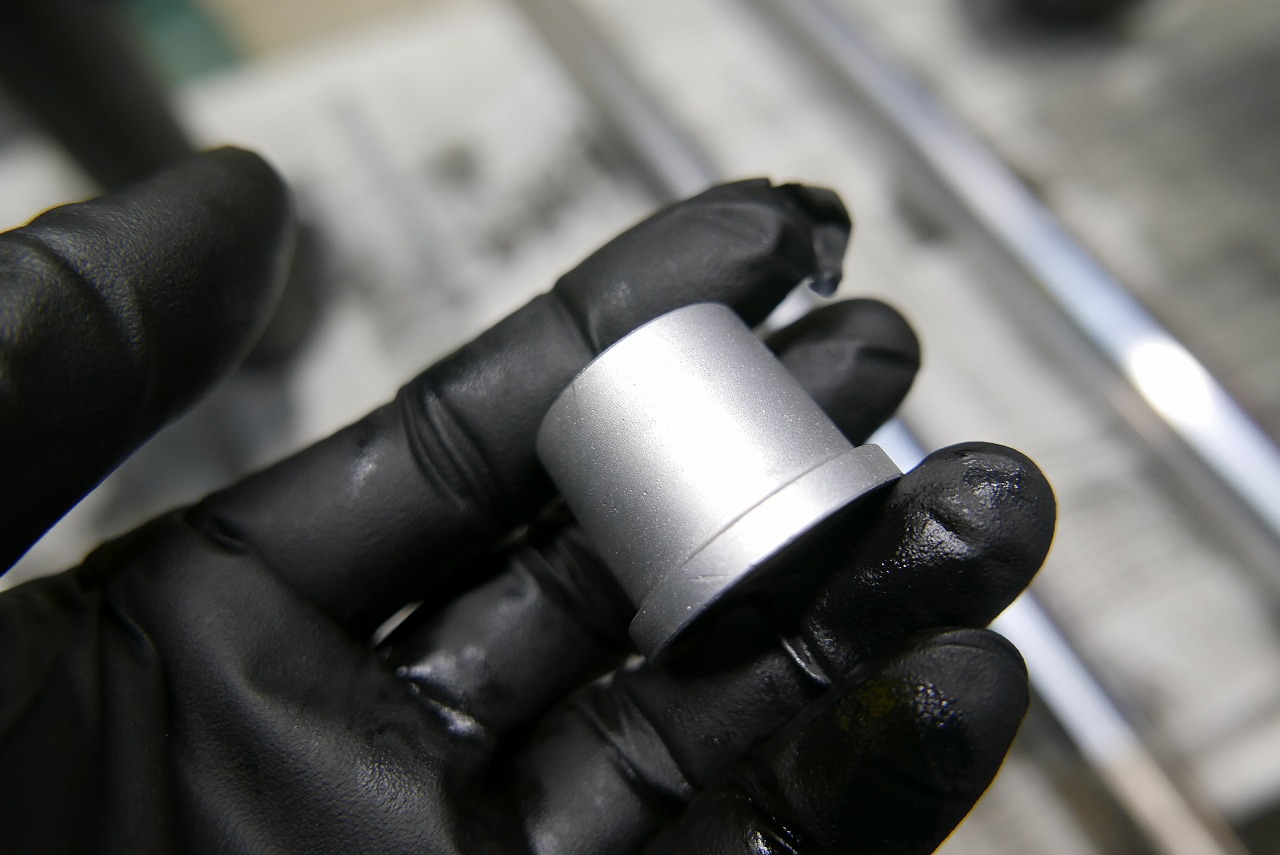
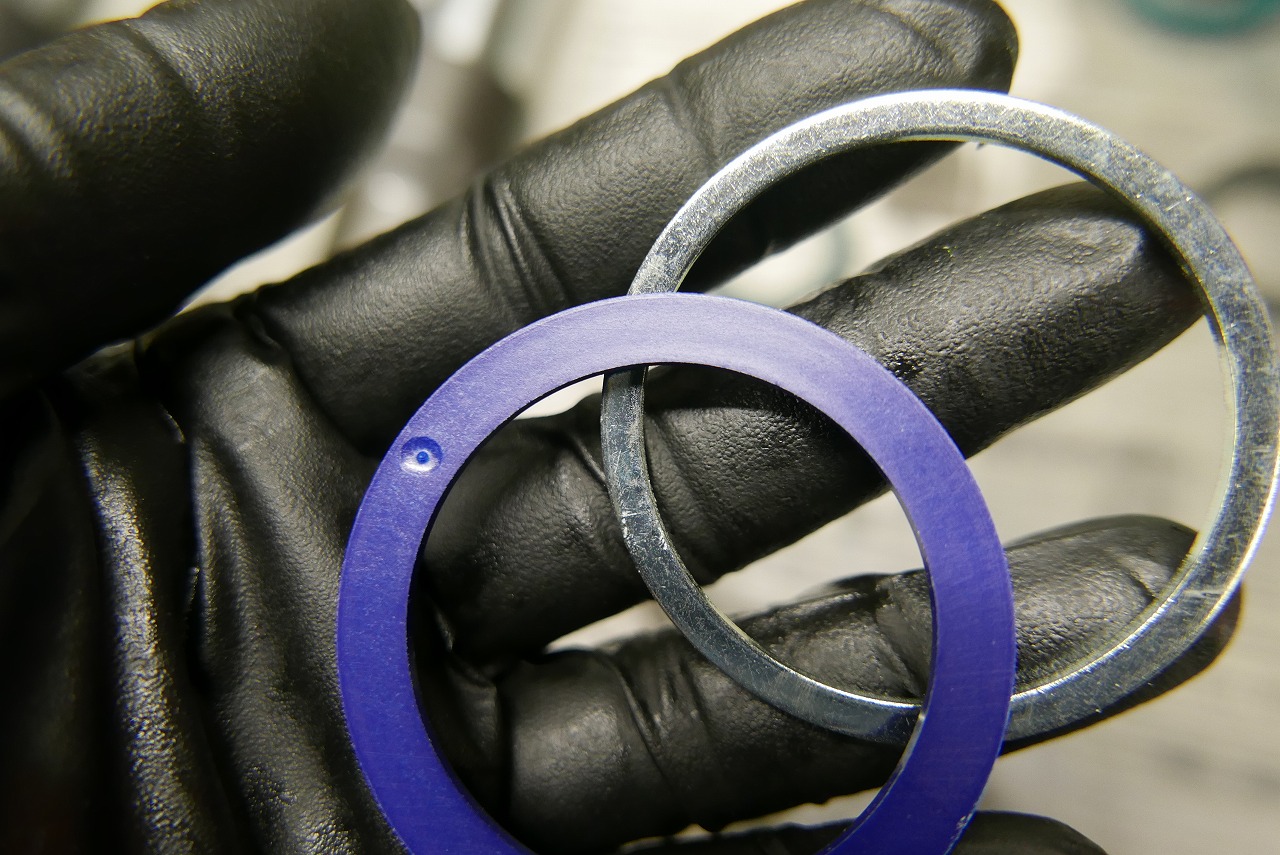
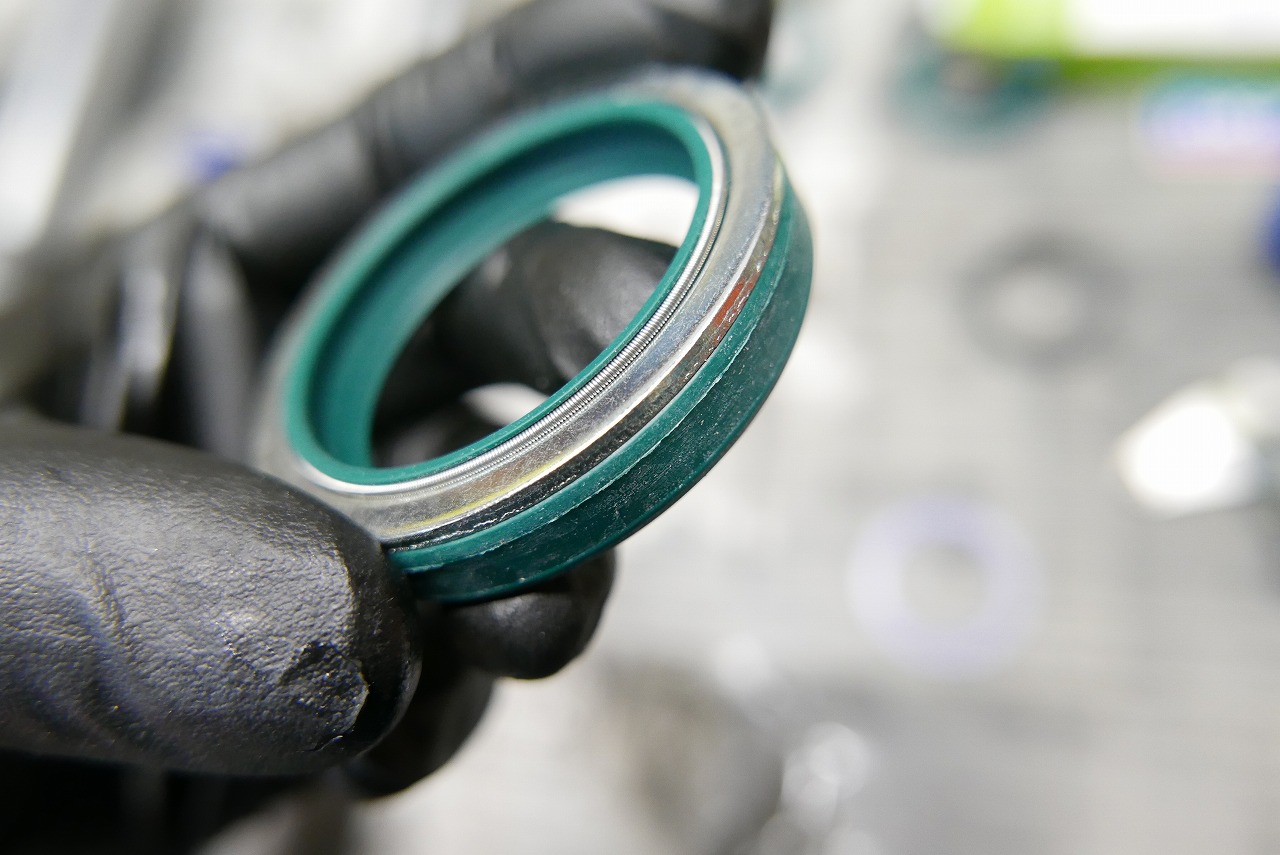
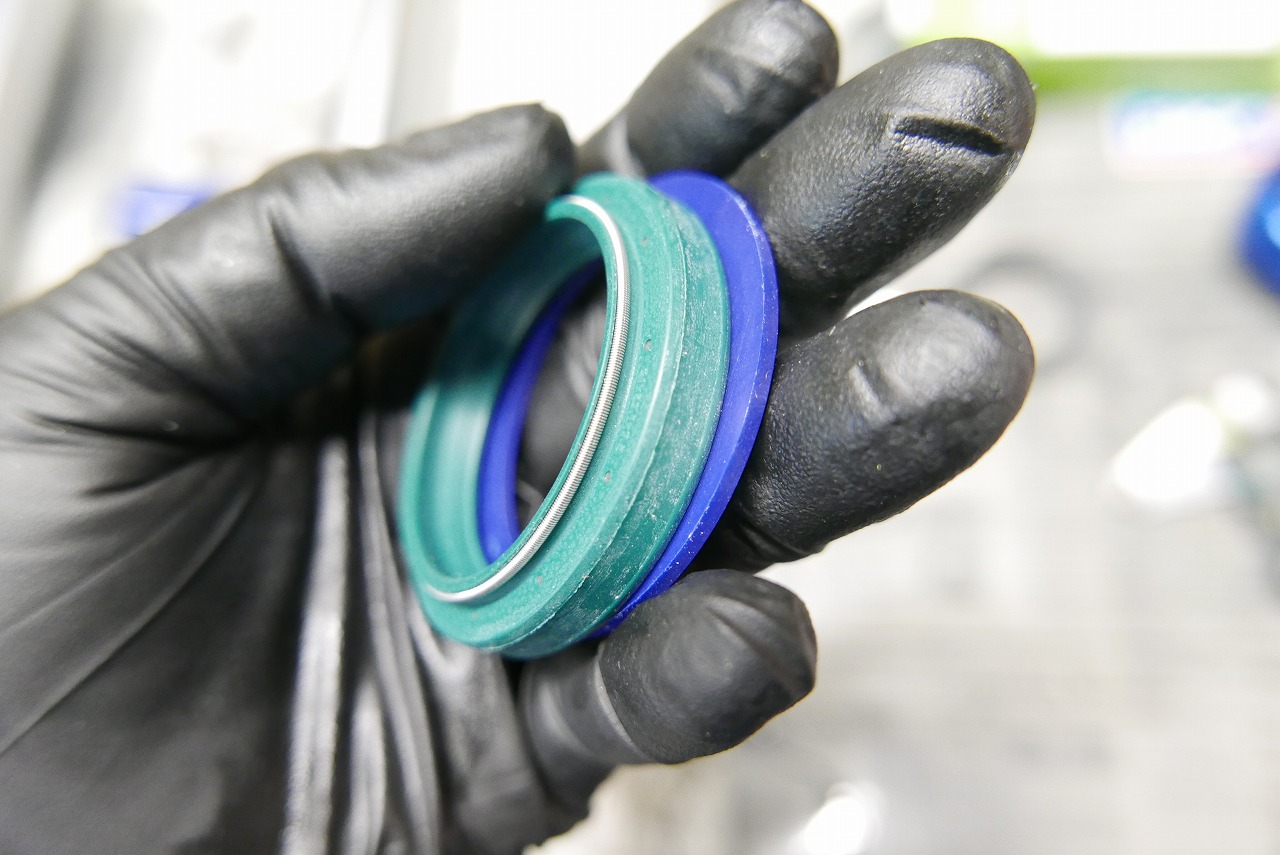
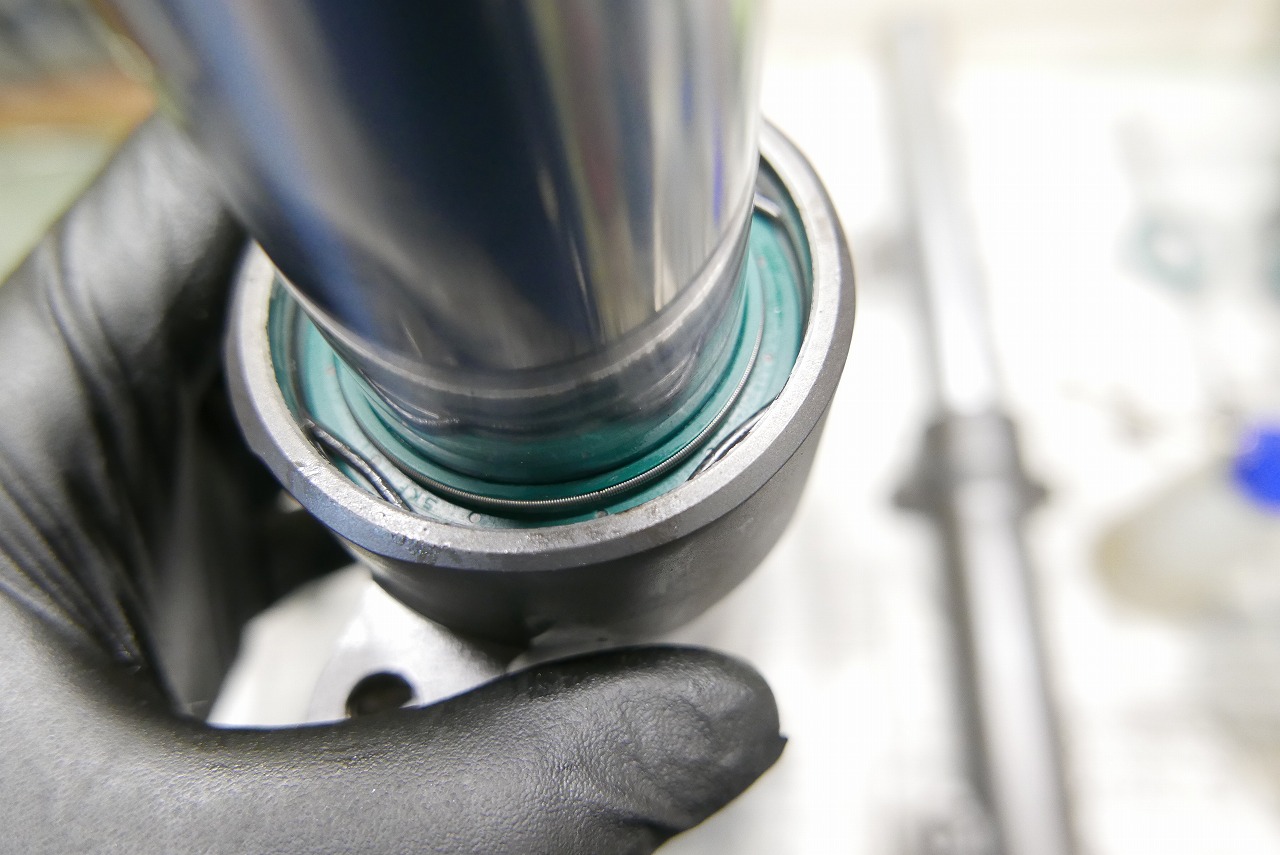
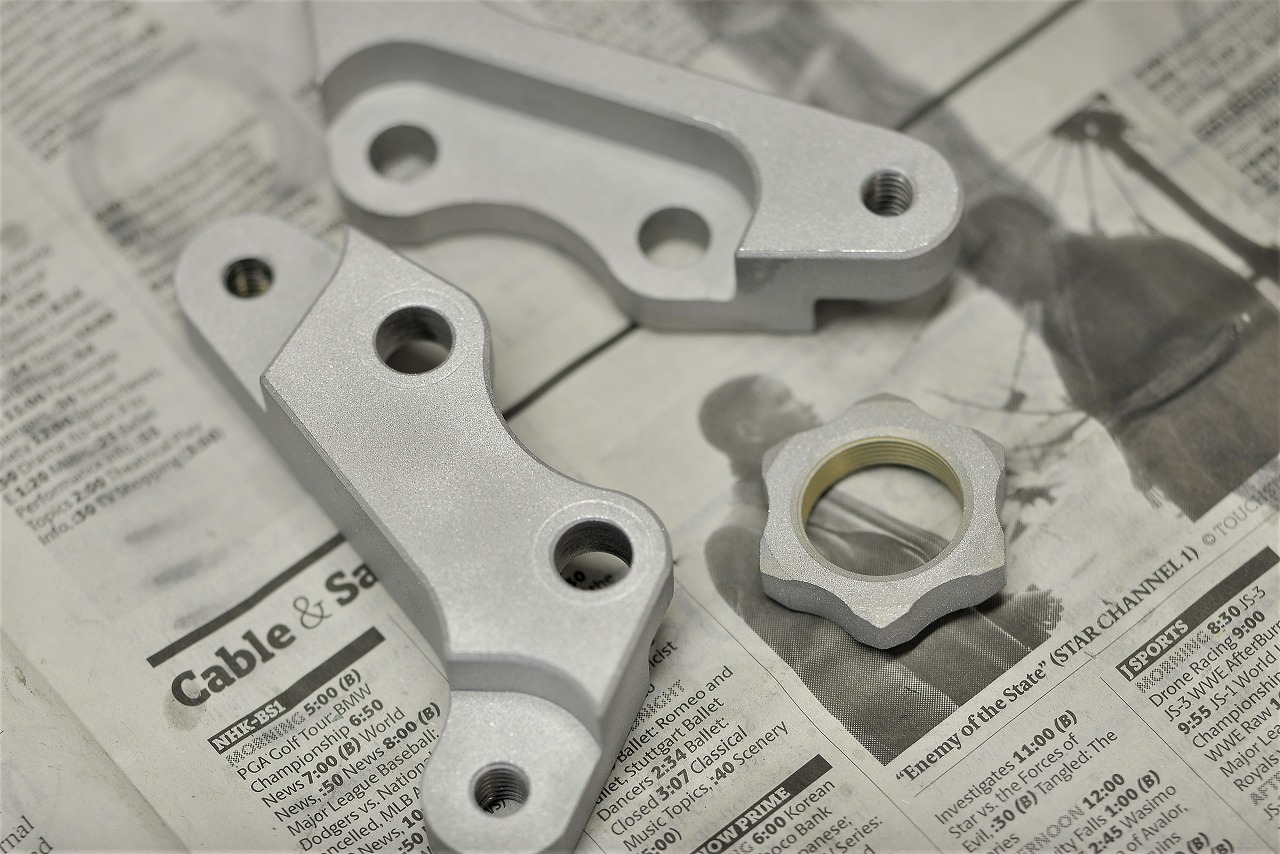
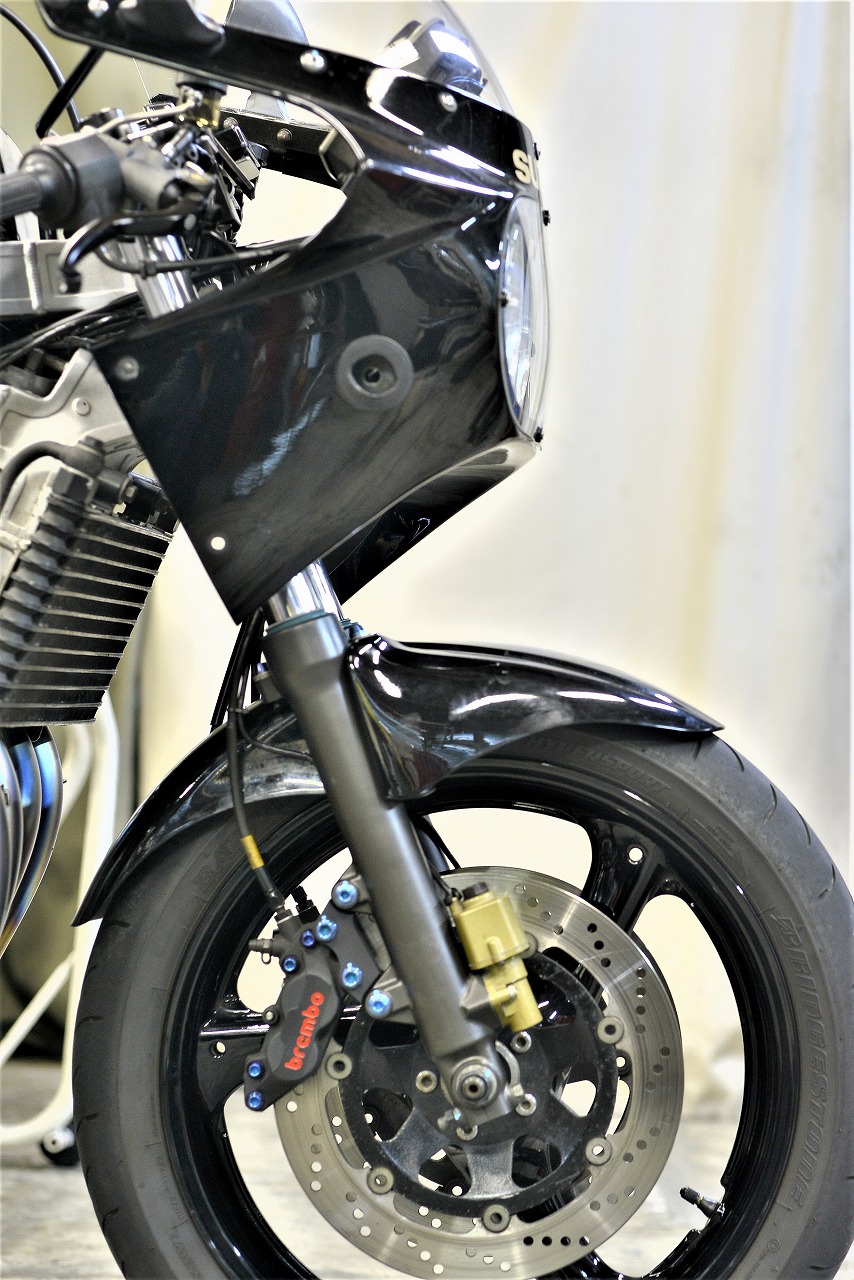
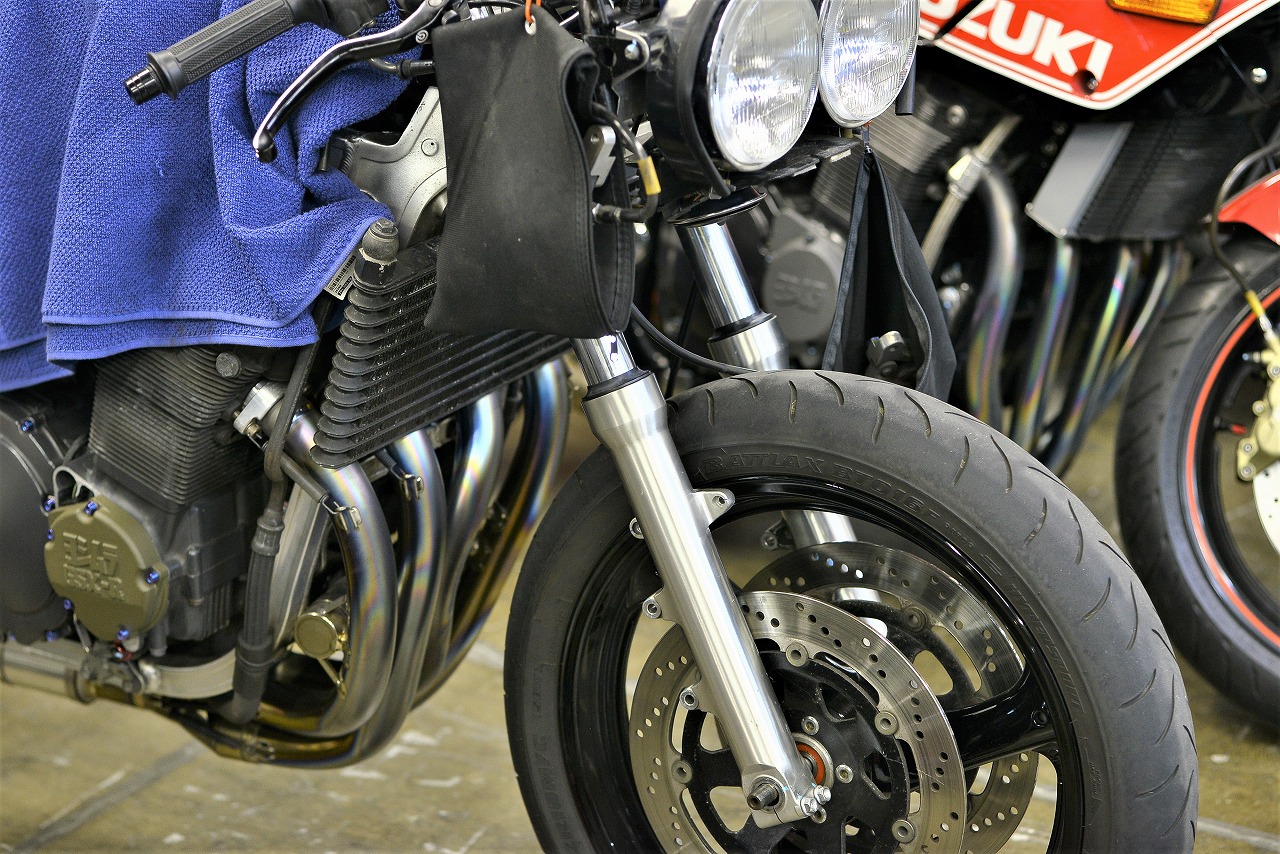
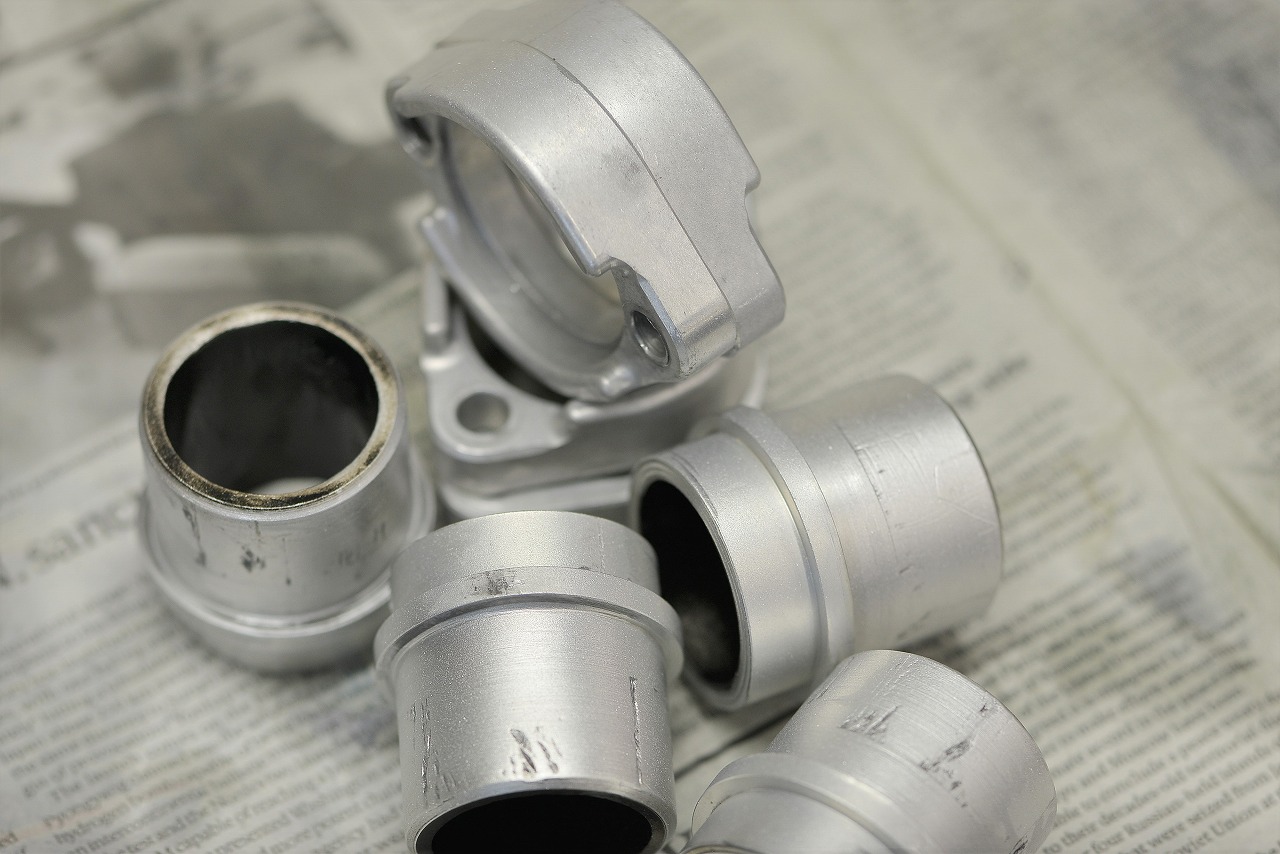
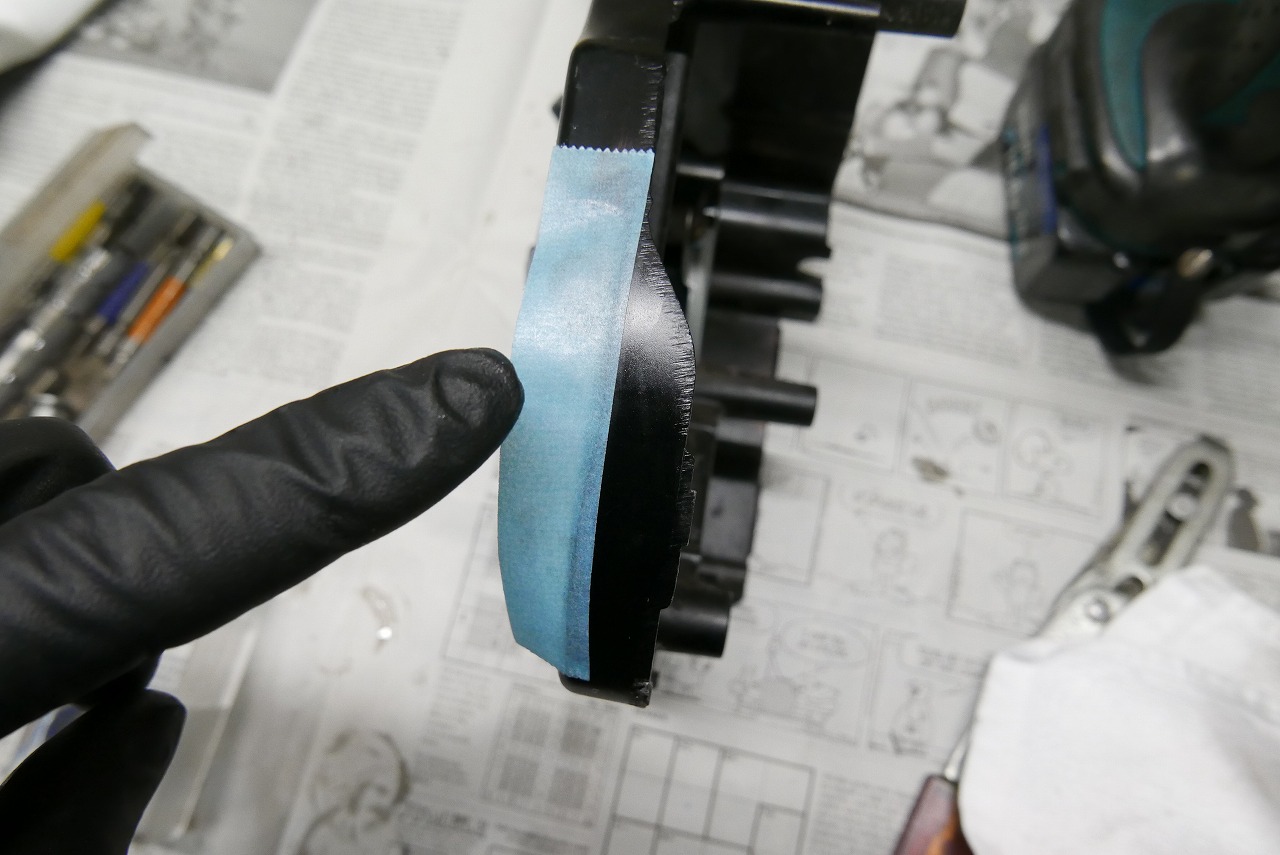
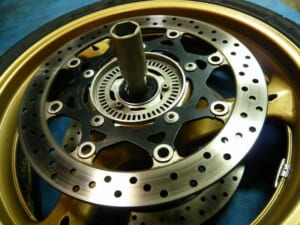
The bottom case on the right is in rough shape. The left one has been lightly polished. It peeled off in no time, so I found myself thinking: does clear coat really have poor adhesion to bare aluminum? Even though the clear coat peeled, the surface underneath was rough. To smooth it out, I went on a journey to upgrade my equipment—and it was a huge success. I wish I’d done it sooner! Cutting corners gets you nowhere, I think. Backing up a bit: the fork oil was a nice dark color. Thanks for your patience. This one here is A→B→A finish. We had a plan change at this point, so we’re moving to B finish before painting. Black was too boring, so I painted it gray. Depending on the angle, it has this strange color that looks slightly brownish. It turned out well, so we’ll call it a win. The AND is no longer functional. I’ve got three sets of GPZ750F ANDs in pieces right now—I’m building one set. I was shocked to find that Kayaba makes the same size. (Same mounting pitch, passage pitch, and diameter.) If I put this on, machine the bottom case, and install it, it’d look cool like an RGB500, or so I think—but as usual, it doesn’t appeal to the general public. Maybe the Katana has the same thing? That’s my theory. Nobody gets excited, and nothing develops—it was a shy measuring corner. Cylinder bolts get replaced every time. They’re pretty special dimensions, so you need to keep in mind that they might not be available anymore. It’s reassuring to confirm by hand that they thread in smoothly. That way you won’t end up wondering if the torque spec is really right. The oil lock gets so dirty it’s stained. AND forks have a large oil lock with a wave washer and shim underneath, so watch out. I’ve occasionally seen them assembled backwards. Sometimes they don’t fully stroke and you’re safe; sometimes they’re crushed solid. When in doubt, check the service manual. There’s a reason for every shape, and if you fiddle with it, you’ll understand. Polishing makes the surface smooth and slick, so it resists dirt better. Even the hidden spots deserve care and attention. When the SKF oil seal width (thickness) doesn’t match, a blue plastic washer is included. The metal piece on the right goes under the snap ring—it’s an OEM part. The OEM way is to install it like this, but it has a high risk of rusting, so I don’t use it that way. Instead of the OEM top washer, I use an SKF plastic washer under the oil seal, with a backup ring below that. The dimension above the metal works out, and if the snap ring fits, you’re good.
A silly discovery: the top washer—the GPZ750F is already discontinued, but it turned out to be the same size as the GSX-R1100J. It really pays to measure everything. I coat the snap ring with rust preventative oil before assembly. It’s always better if it doesn’t rust.
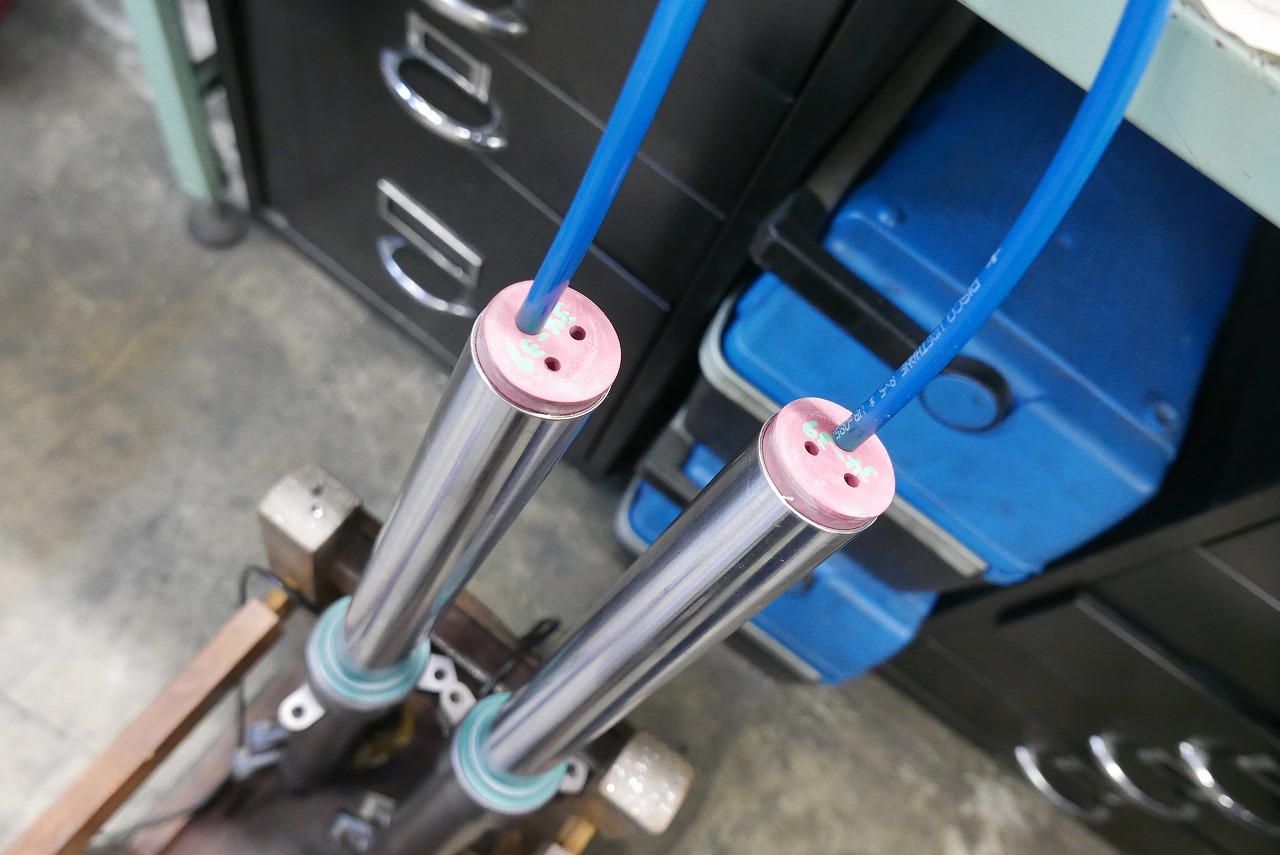
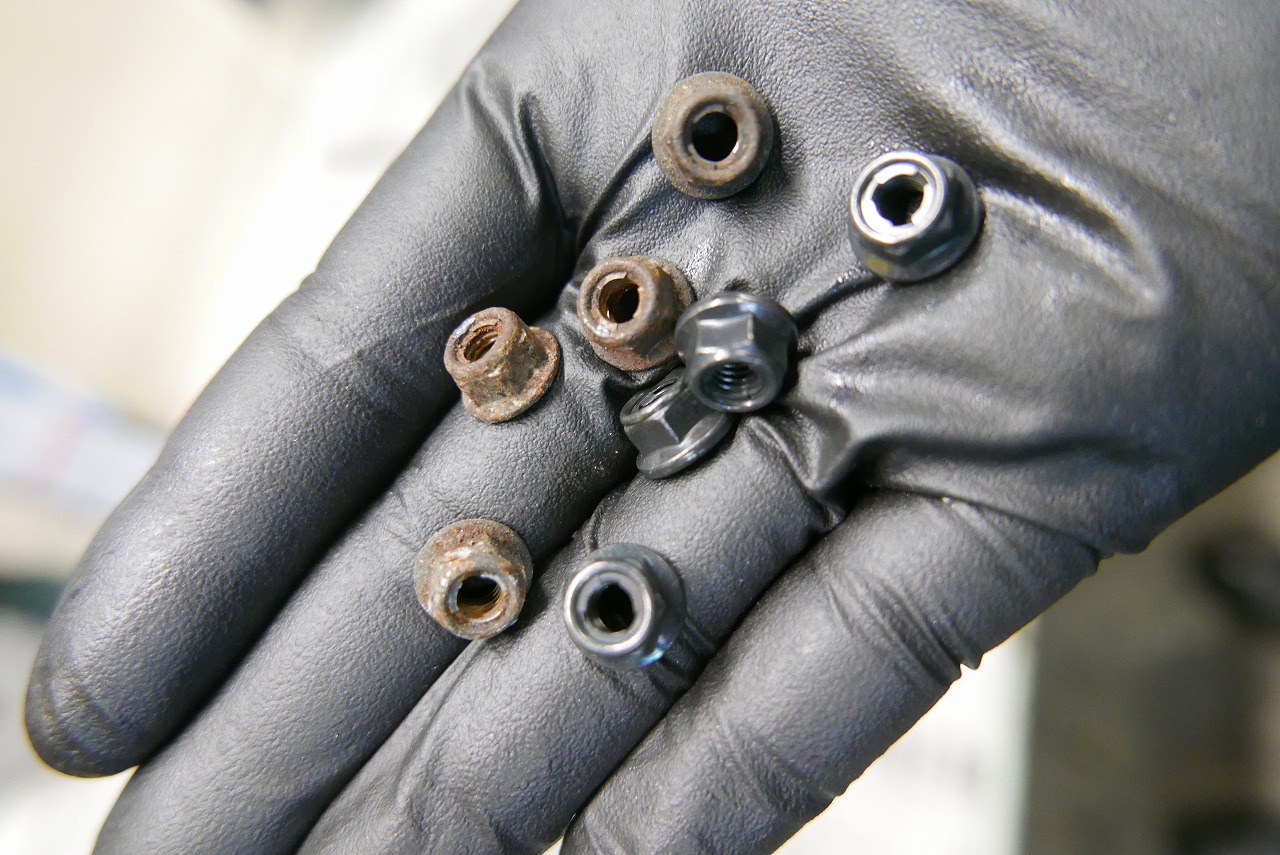
After stroking it, I pull a vacuum to remove as much air as possible. It’s reassuring. The nuts on the fender underside—I usually stock bolts and nuts, so I swap them out freely. It’s nice when things don’t fall off or disappoint you with an “oh no!” moment when you remove a part.
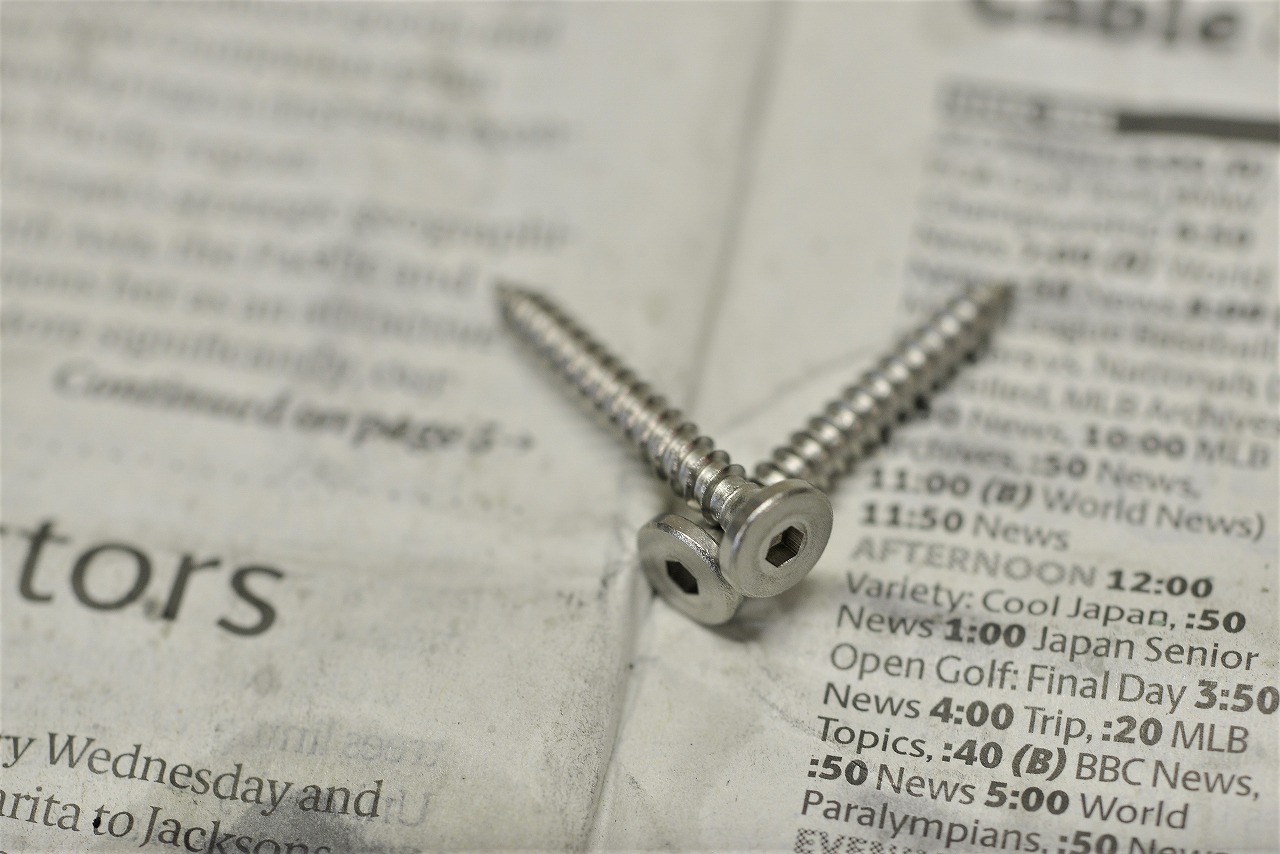
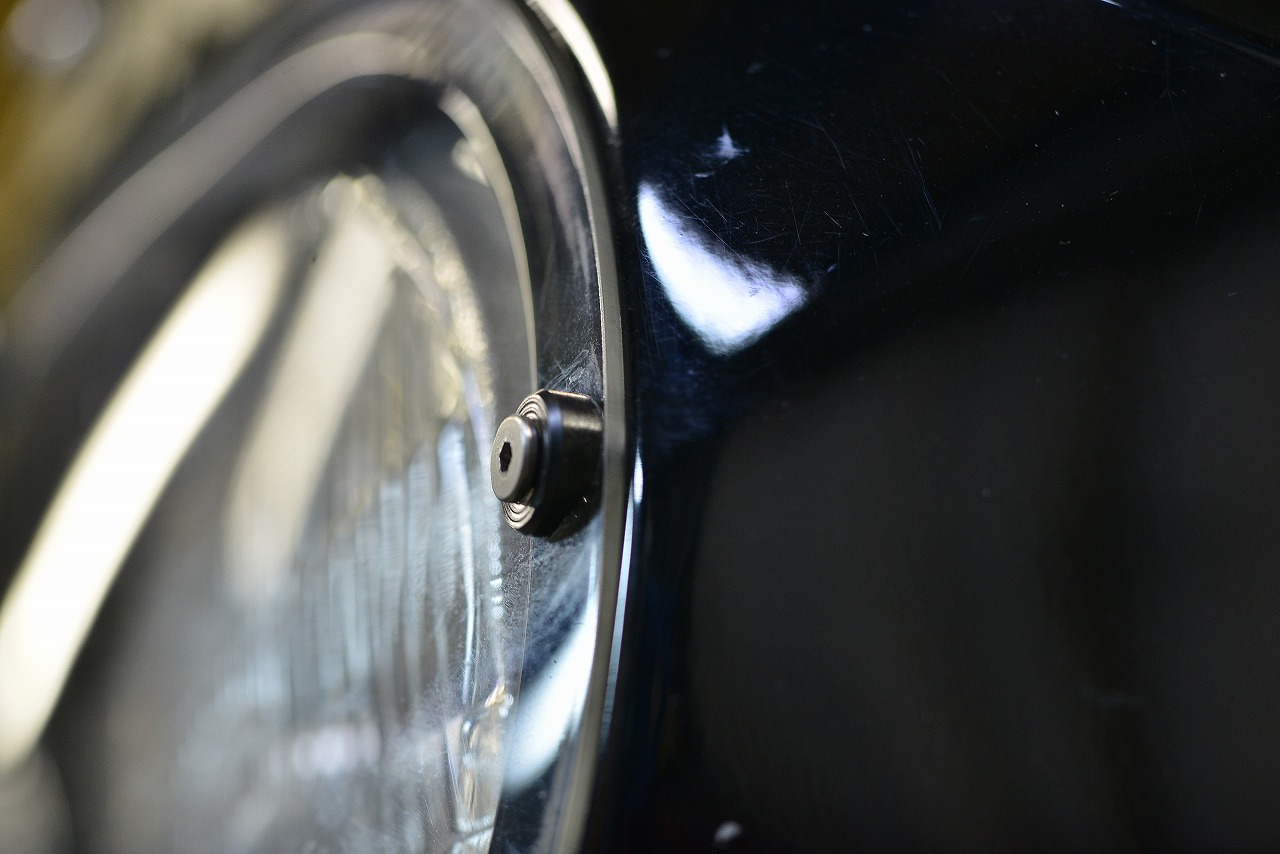
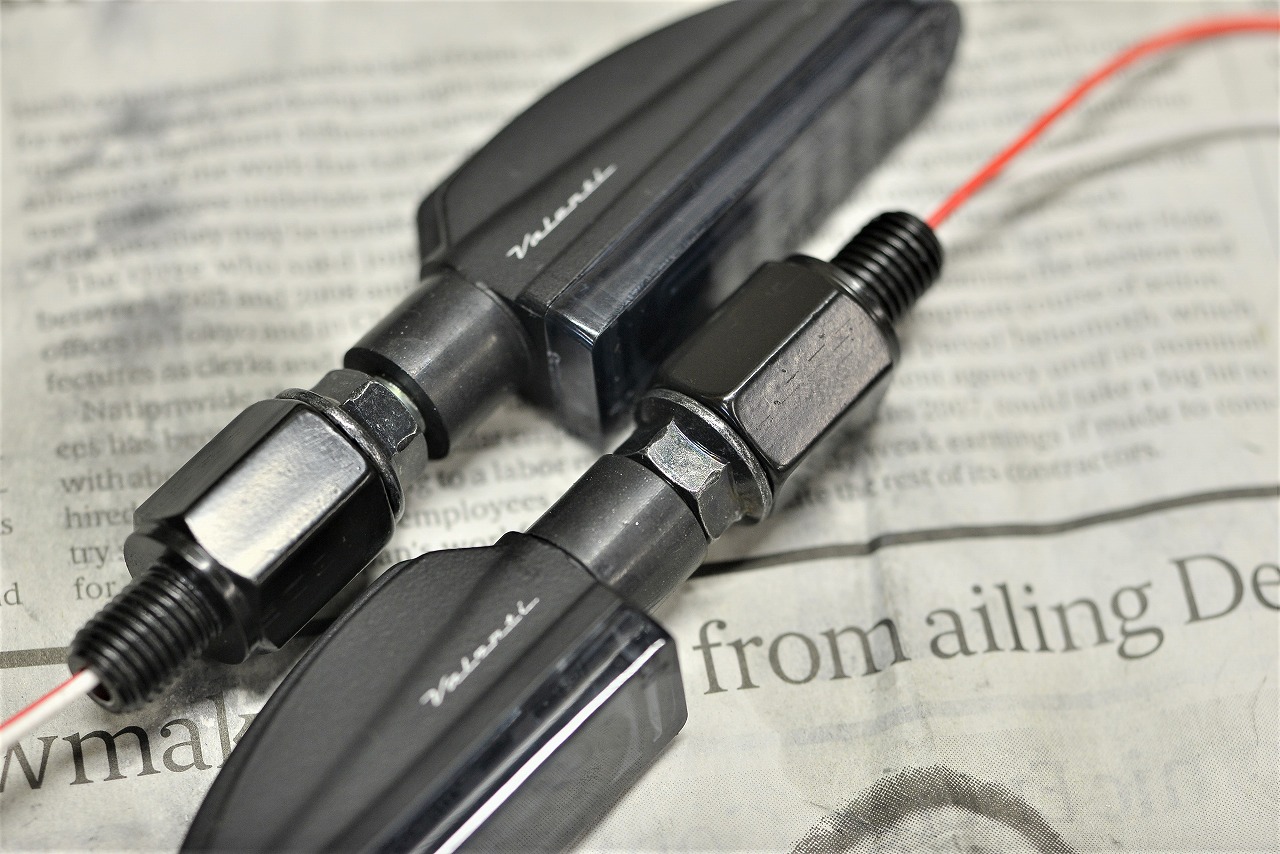
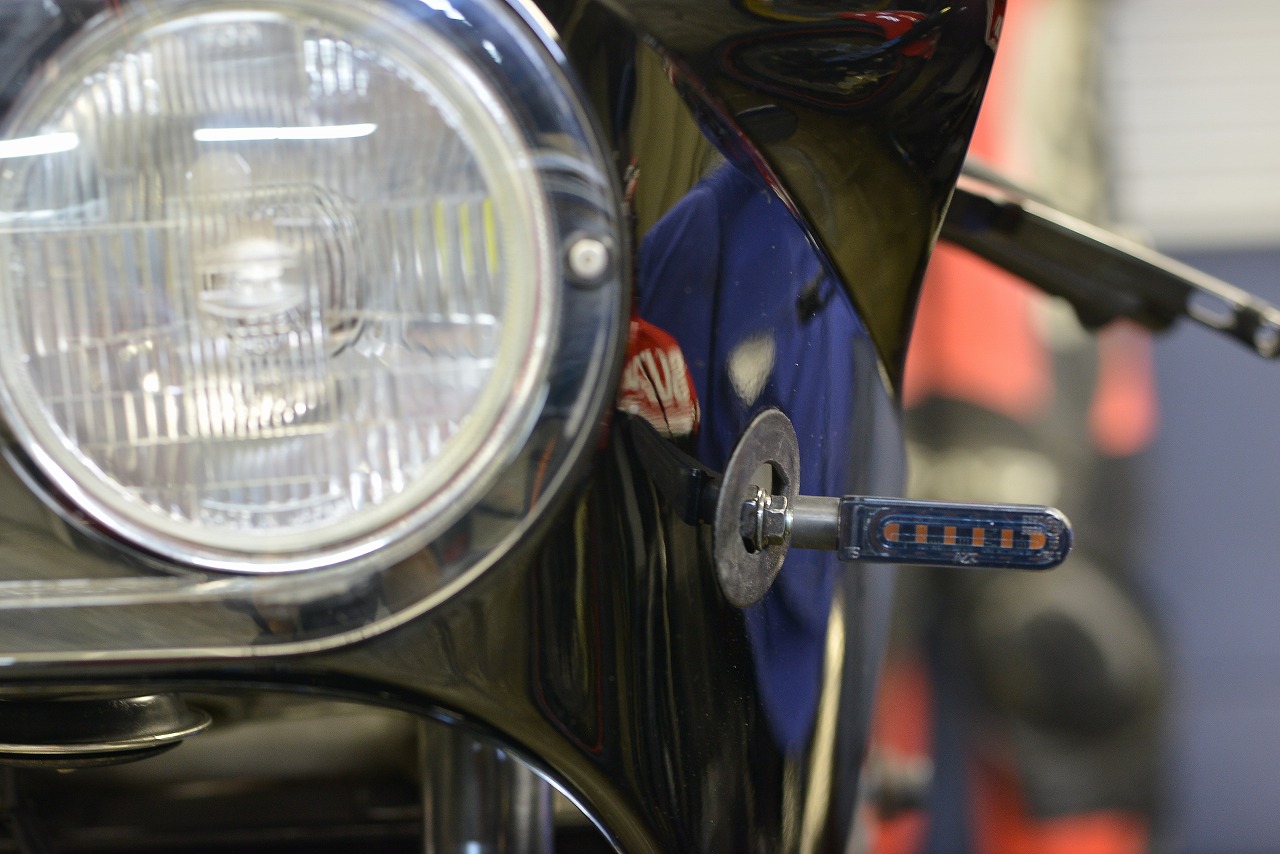
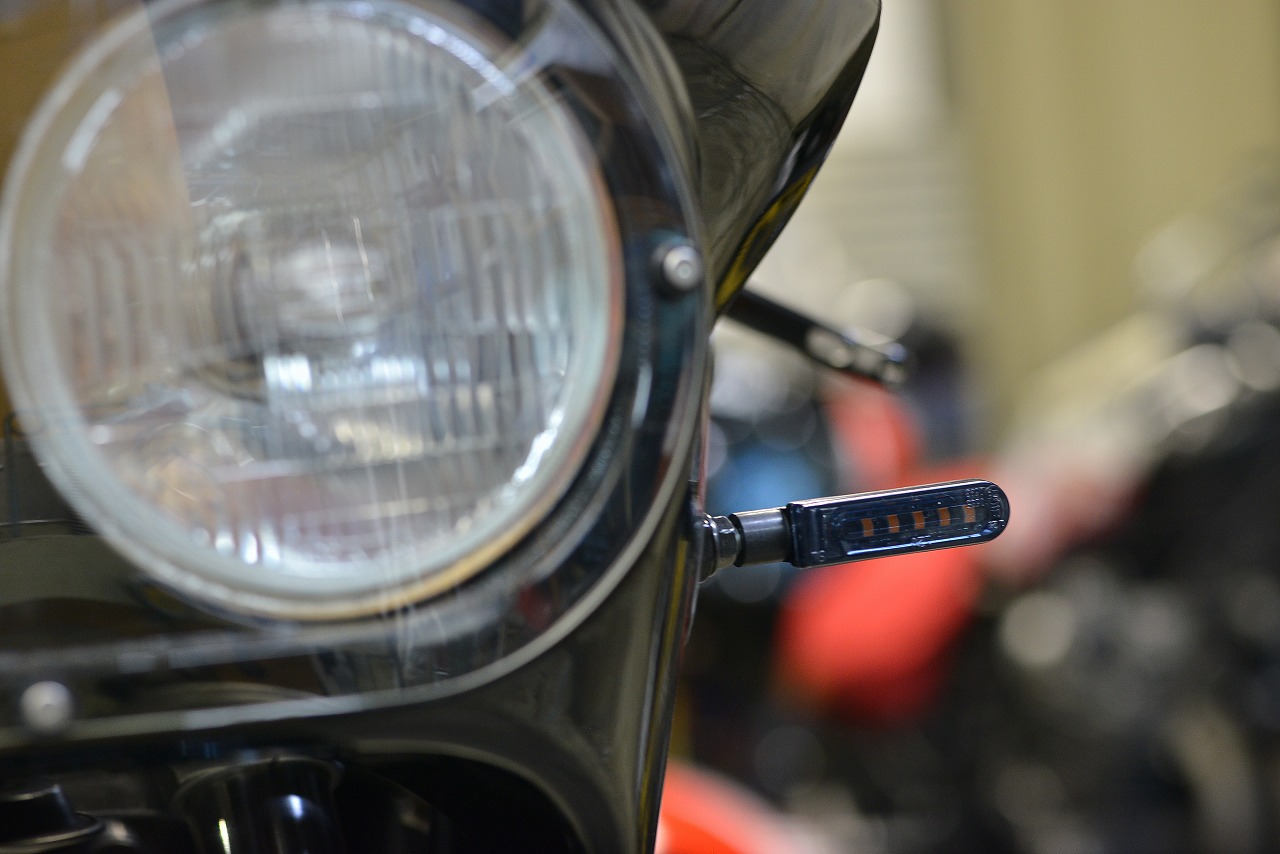
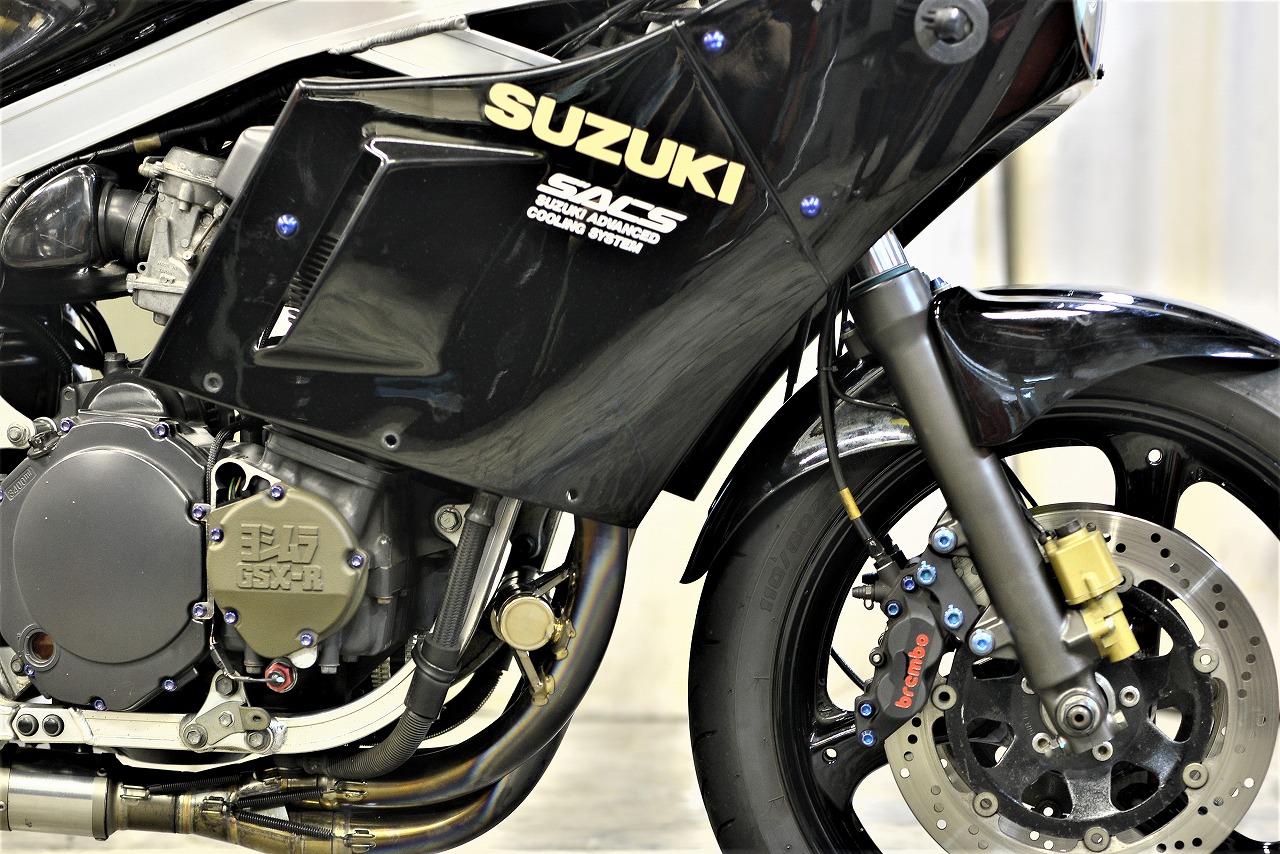
The customer asked for the support and nut to be guncoated too, so I processed them with B polish (coarse). Our shop doesn’t have a sandblaster (I don’t like the dust, so I don’t keep one), so being able to do this processing saves a ton of time. When the lower end looks clean, it really tightens up the whole look. This is rewarding work too. The temporary stand—this is my spare from a CB1100 SC65. If it were my own bike, I’d have fun mixing and matching forks to make a 41mm with damping. The customer asked me to replace the headlight cover bolts. The stock Phillips head didn’t look quite right. It’s the 21st century—surely there’s a low-profile tapping screw or something? Let me ask Google. There was! I measured the depth and used a slightly longer one for safety. It’s a Suzuki thing—or maybe just the era—but the bolts don’t sit flush with the headlight cover. I made two Duralumin shims, one at 10 degrees and one at 15 degrees, and installed them. The customer asked for a turn signal replacement. It’s the trendy sequential type. I’ll check with the inspection station today what’s okay and what’s not, and I’ll post about it in the inspection blog.
• Length was short • M8-M10 adapter—this would be a pain to make. The customer suggested a mirror adapter instead, which is faster anyway. We went with that and hollowed it out. It’s the quick, cheap, and easy Yoshinoya-style adapter.
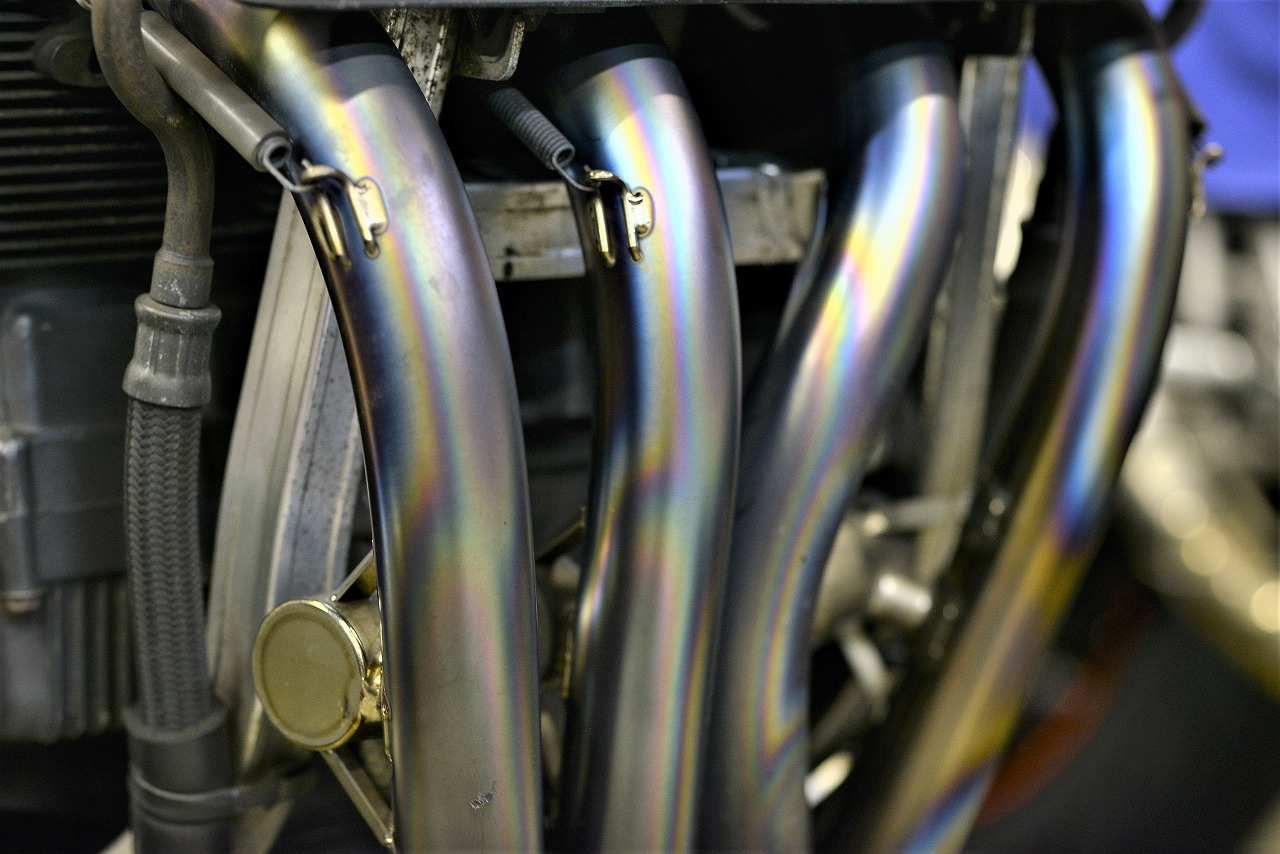
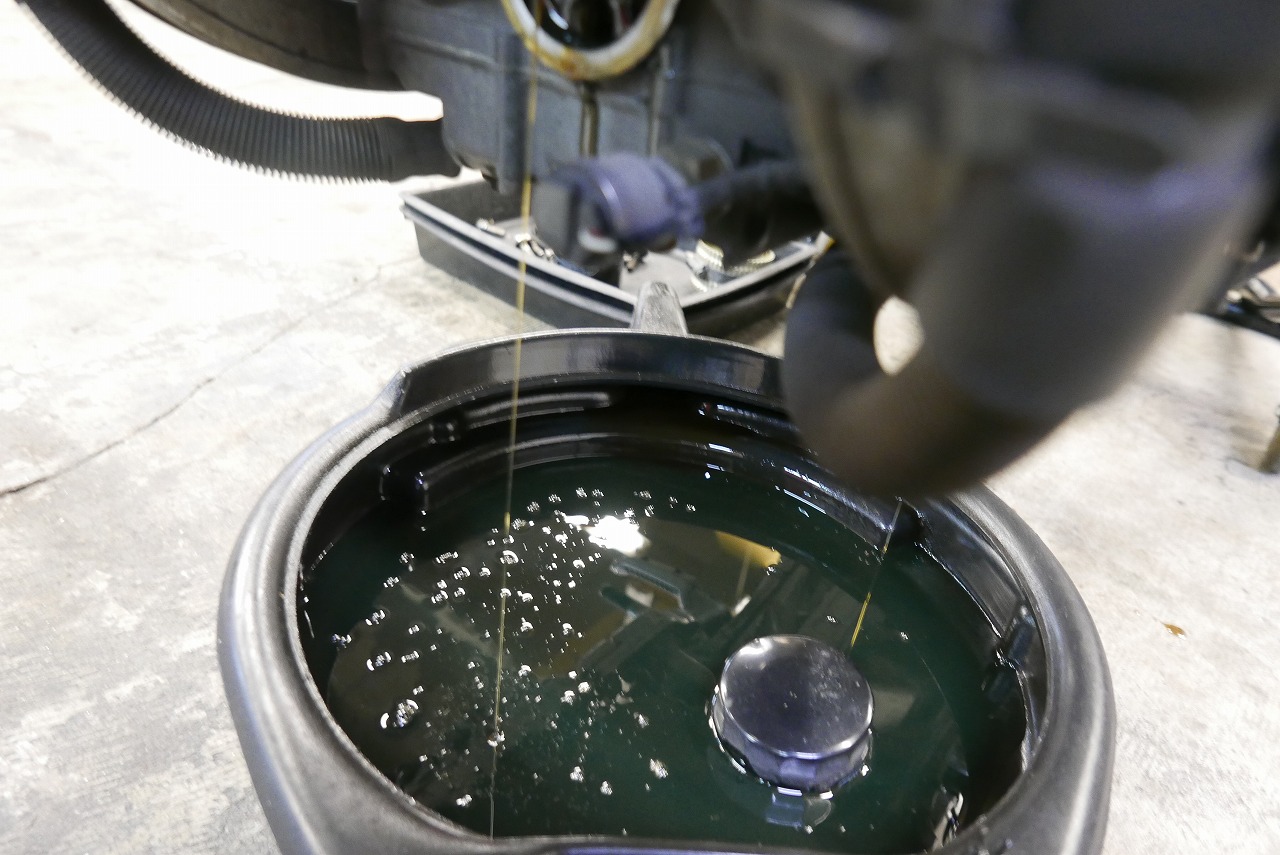
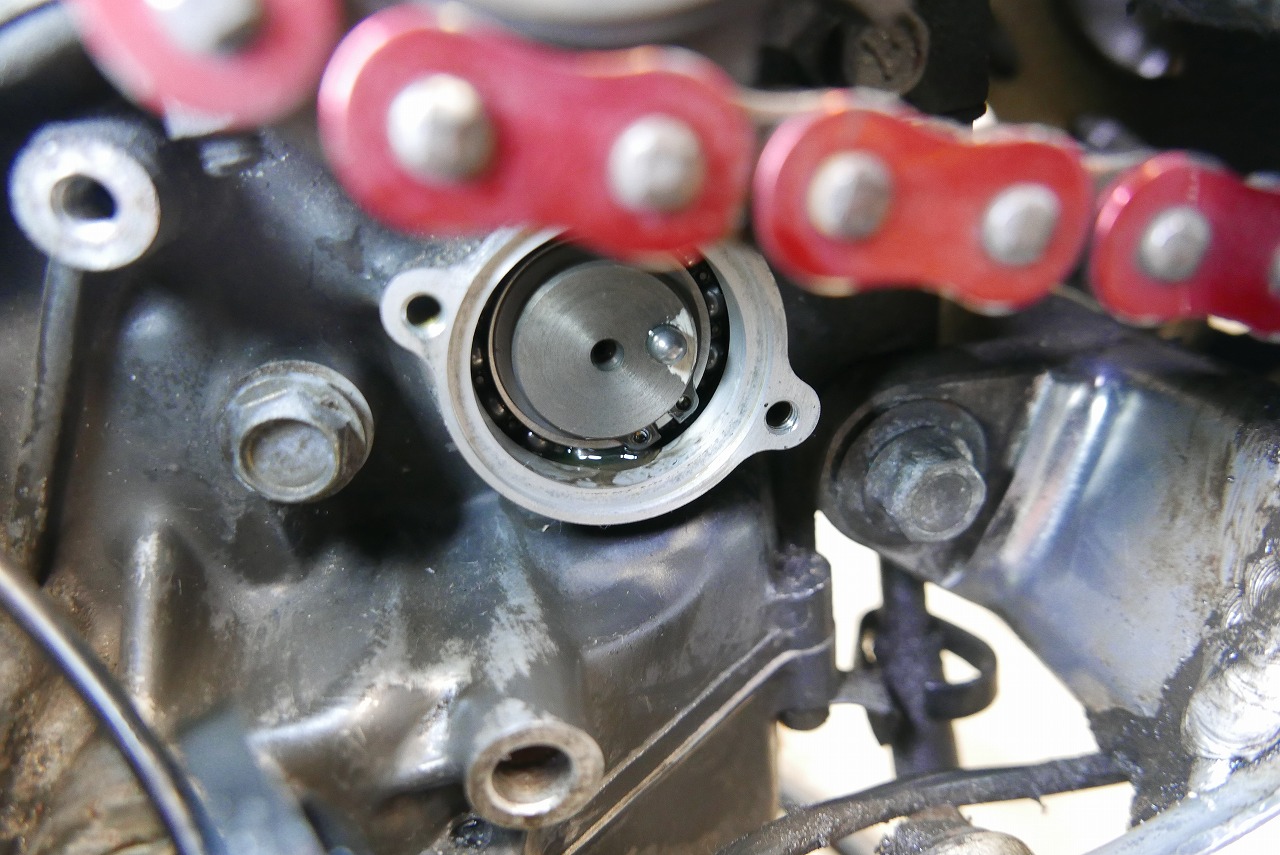
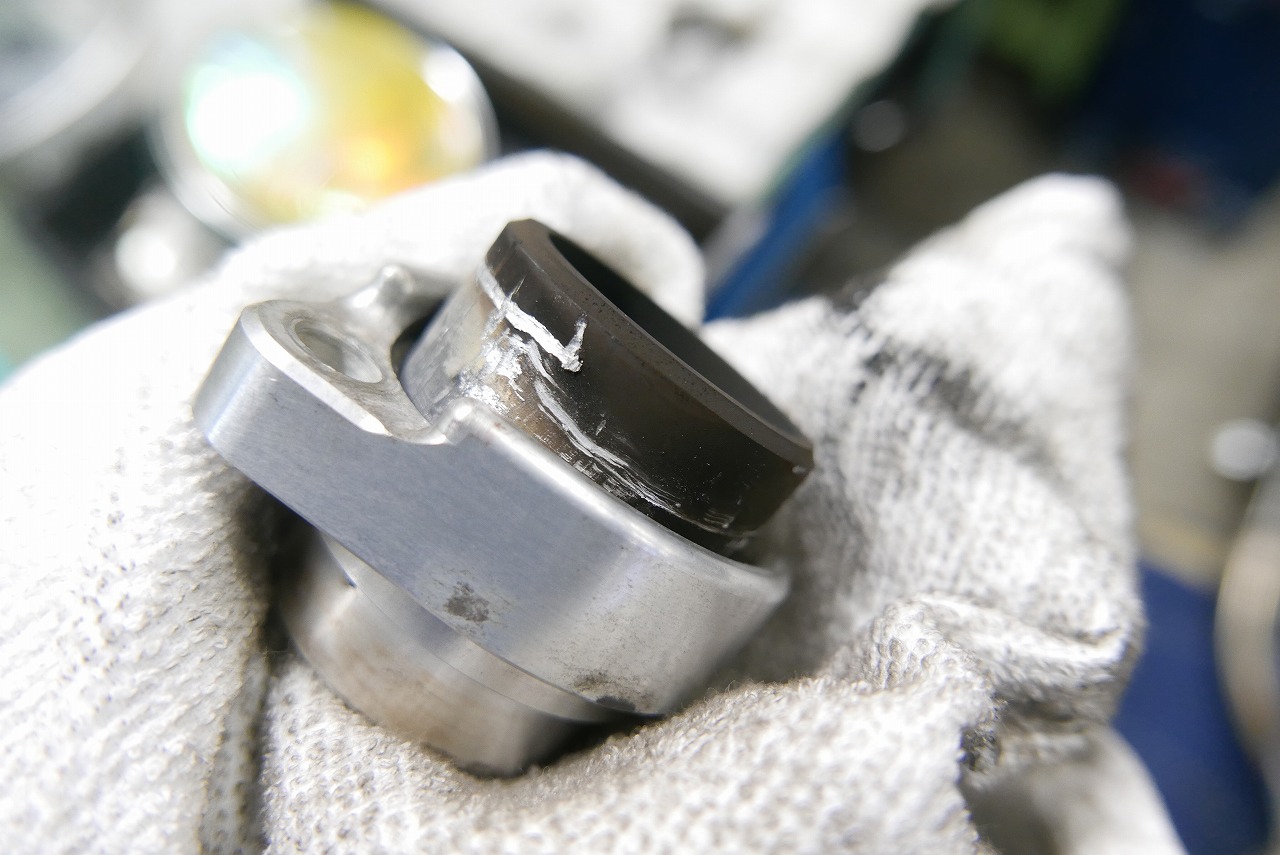
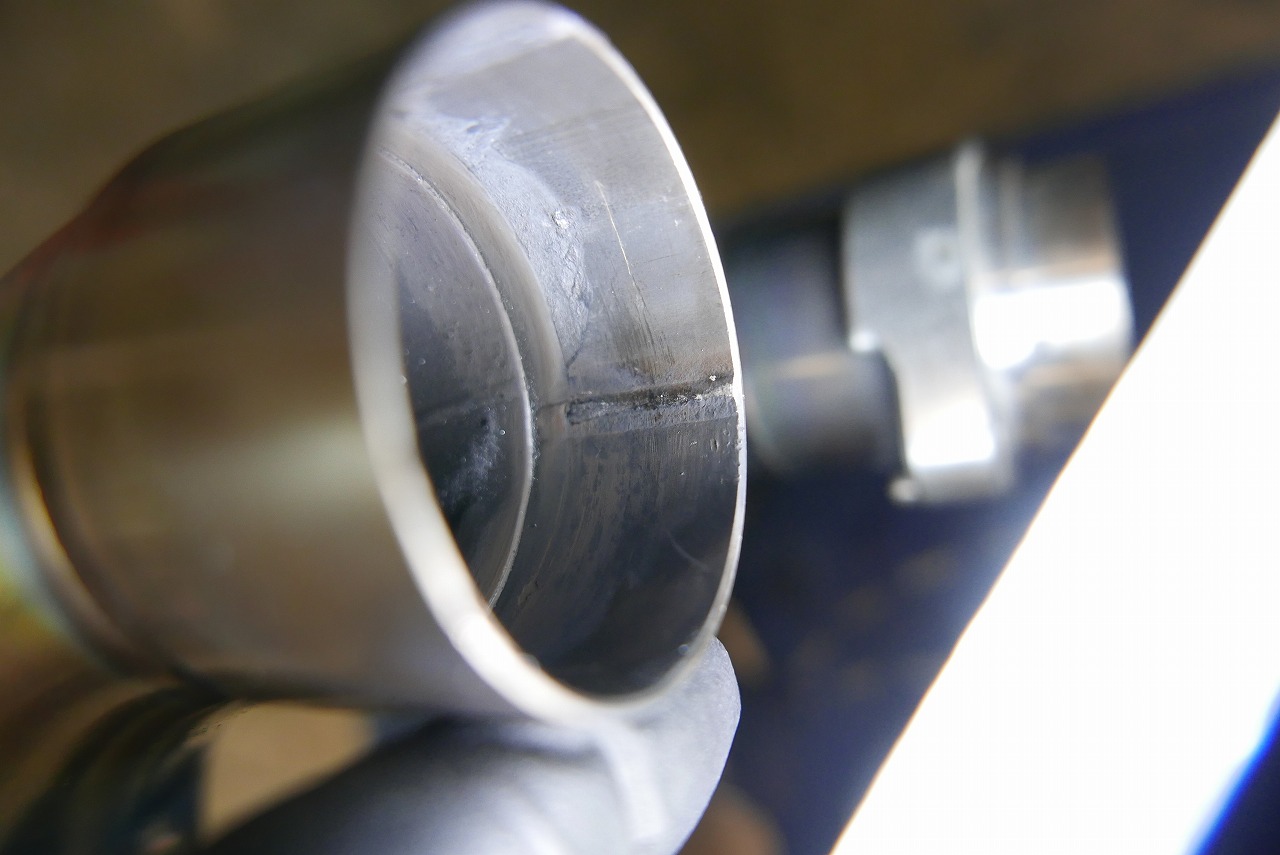
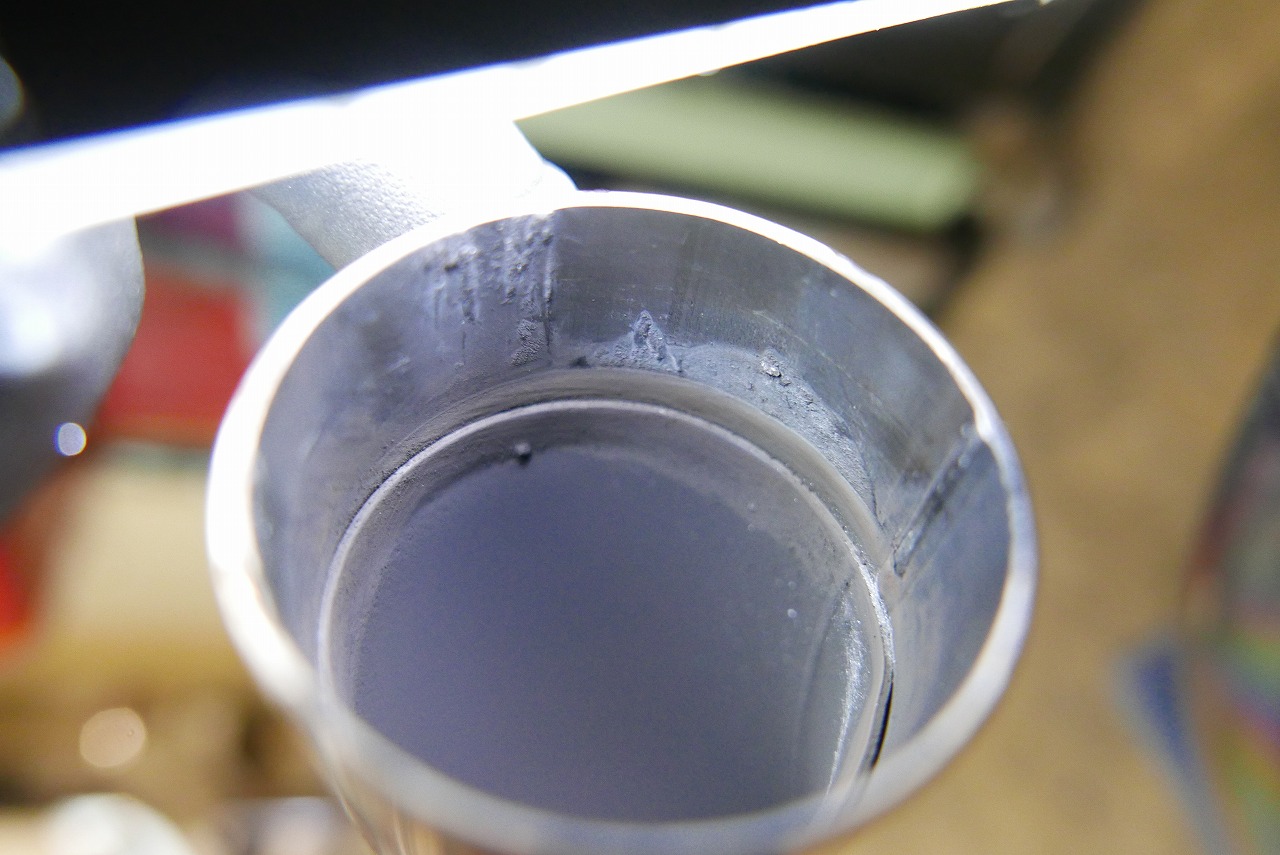
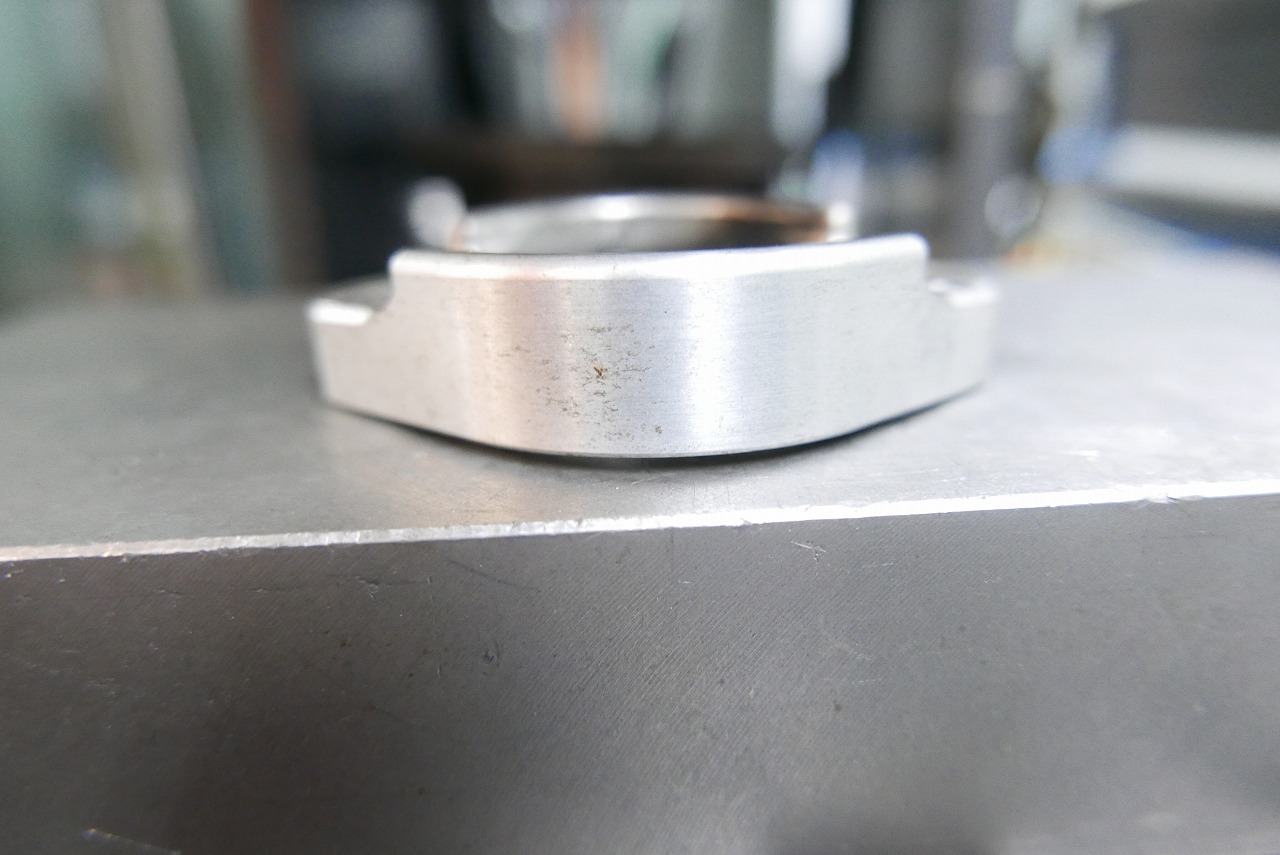
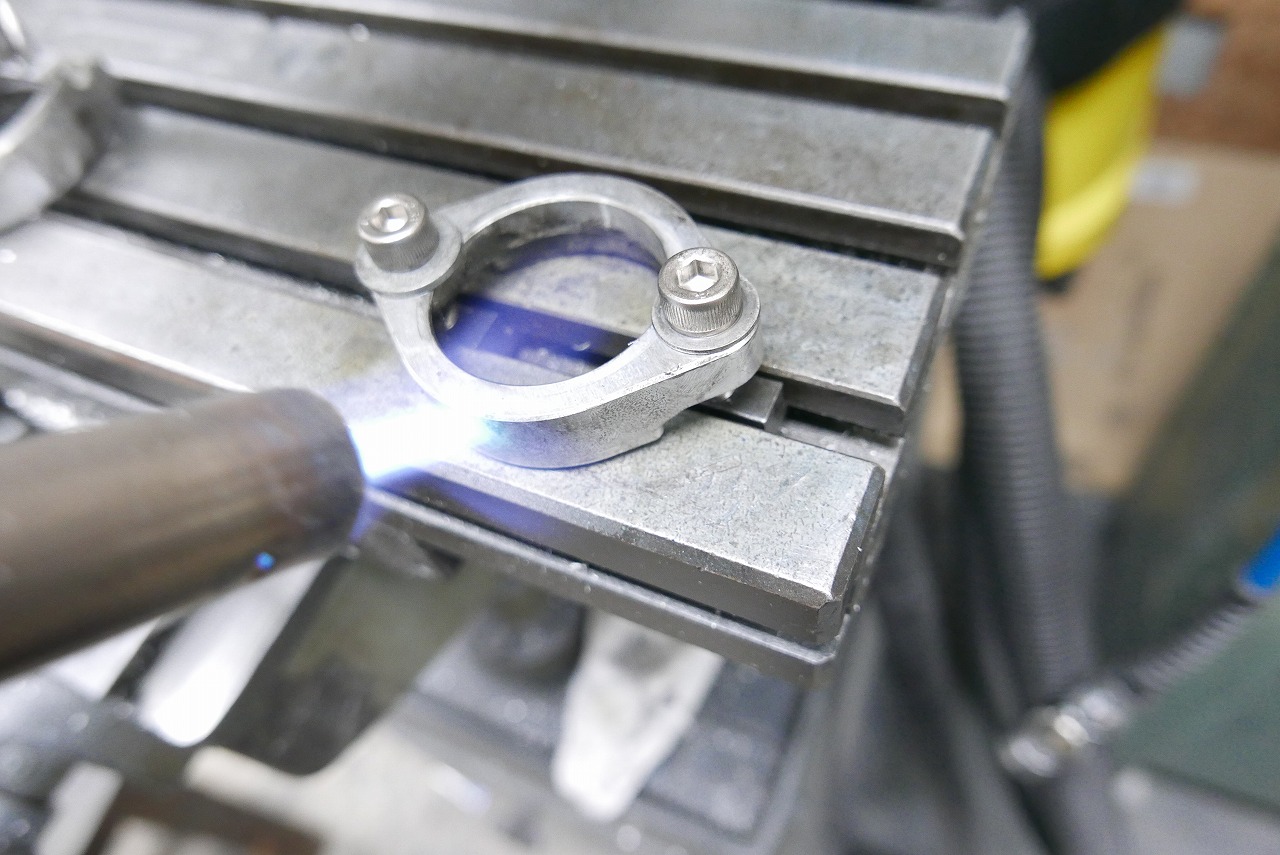
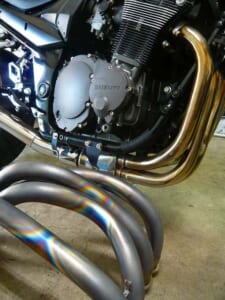
I thought we were done—but then this bracket didn’t look quite right. If it were my own bike, I wouldn’t want that—so I removed the upper cowl, bent it, reinstalled it, and bent it again to correct it. I’m not sure why I shot it at an angle. But it looks good now. Oil change was also requested. The quick-disconnect fitting wouldn’t come off—sad. So I loosened all the exhaust pipe bolts instead. I changed the oil and filter to Newtech NC50 10W-50. I checked the neutral lamp seeping issue that wouldn’t go away. This should fix it. It took about an hour to remove four bolts. Halfway through, I thought about giving up. But then I thought, “If I get asked to do another oil change, I’ll hate it,” so I pushed through. The sheet-metal weld bead was pretty substantial. The inside was pretty rough—that’s why it won’t come off. I polished it with a standard finish. Backing up a bit—the flange was badly bent, so the fitting wouldn’t go in. I had to fix it. I got stuck here, but I had to push forward. I clamped it forcefully to the milling machine, heated it, tightened it, heated it again, tightened it again—being careful not to crack it, which would be the worst outcome.
Now it should come off easily next time. It’s invisible but functional—that’s surprisingly hard work. You can’t tell from the outside what condition it’s in. I’m taking it one step at a time so I won’t regret it later.