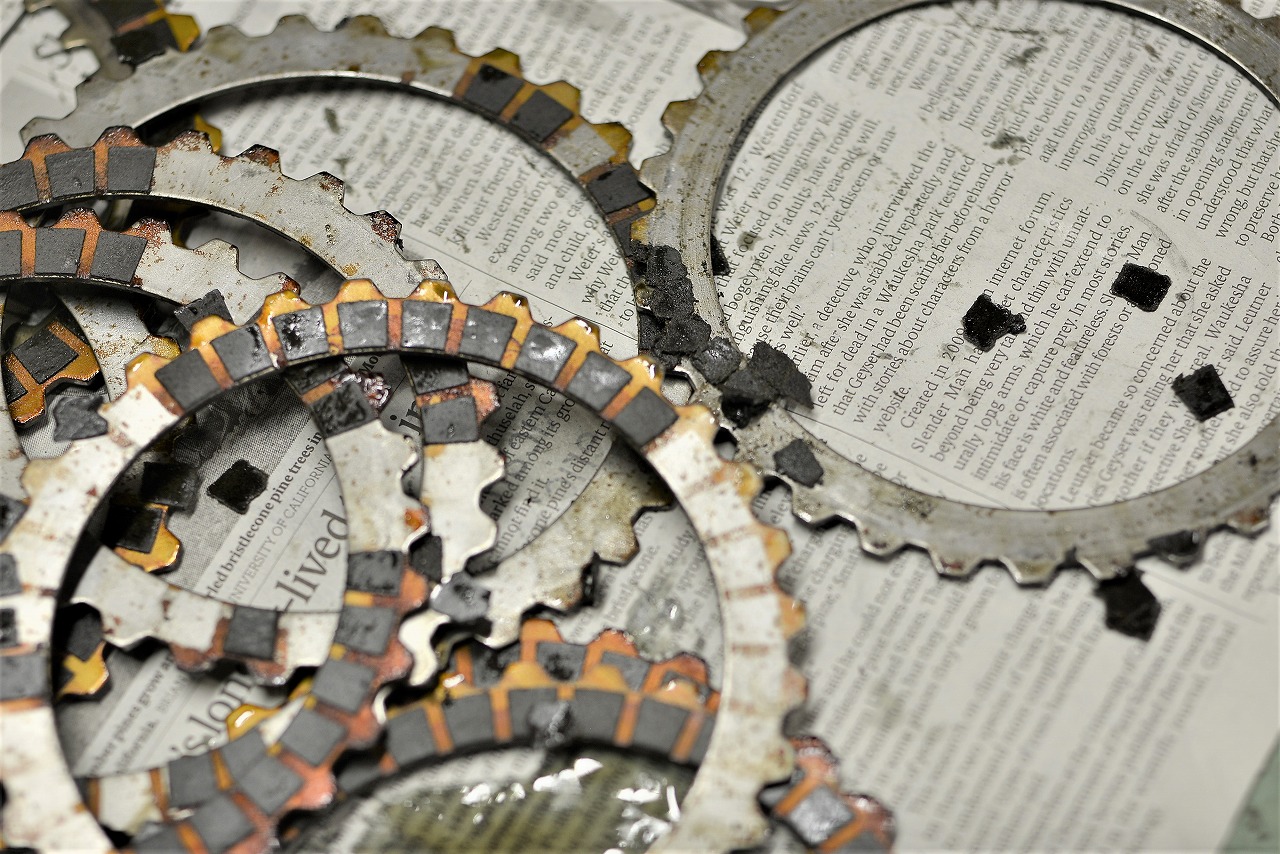
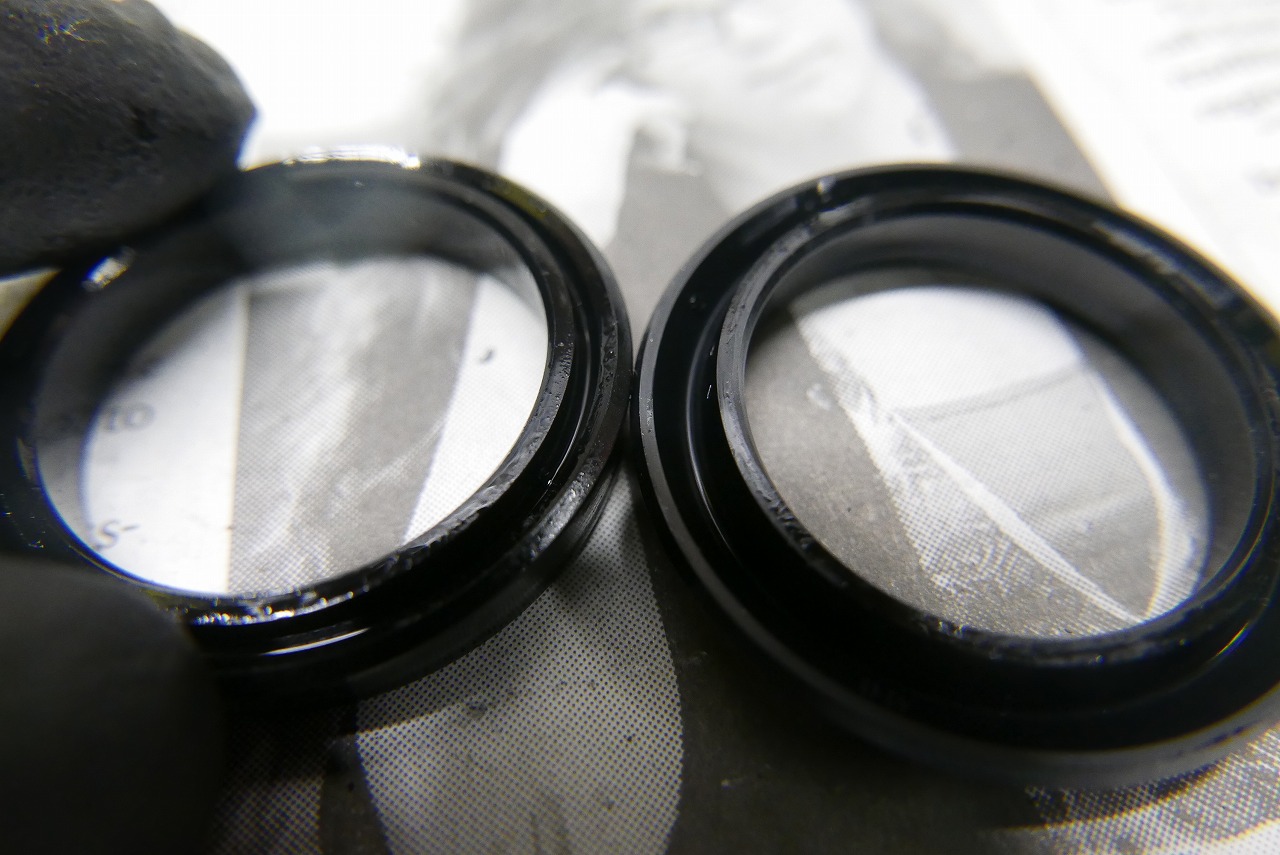
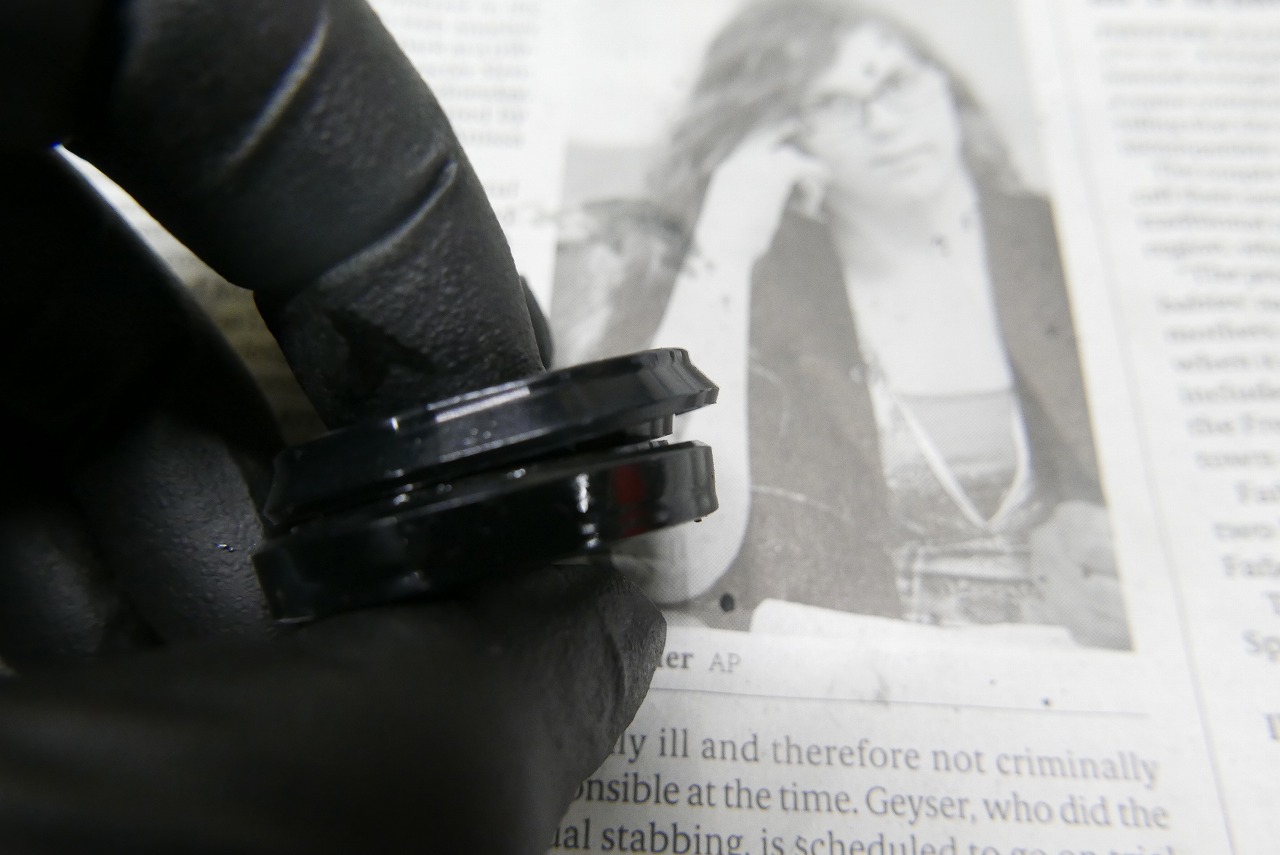
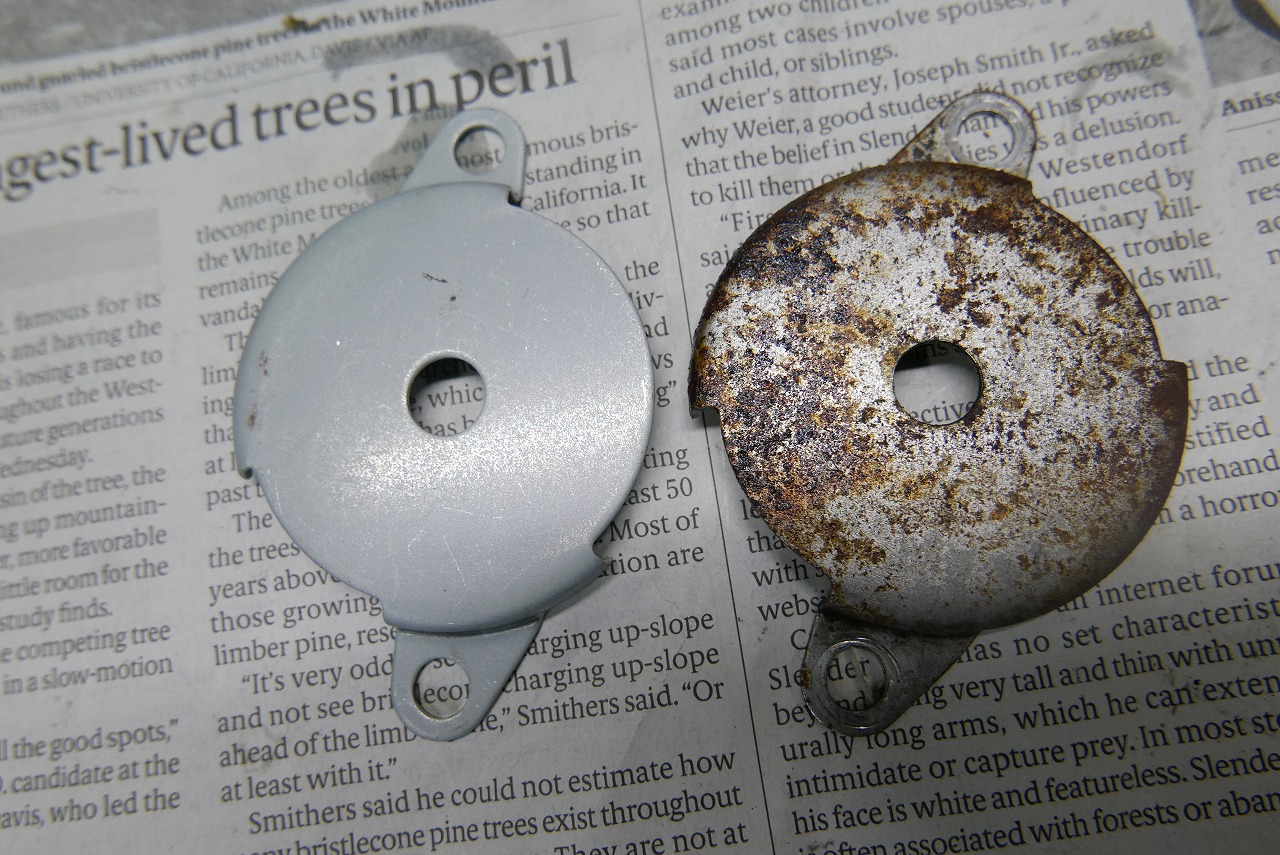
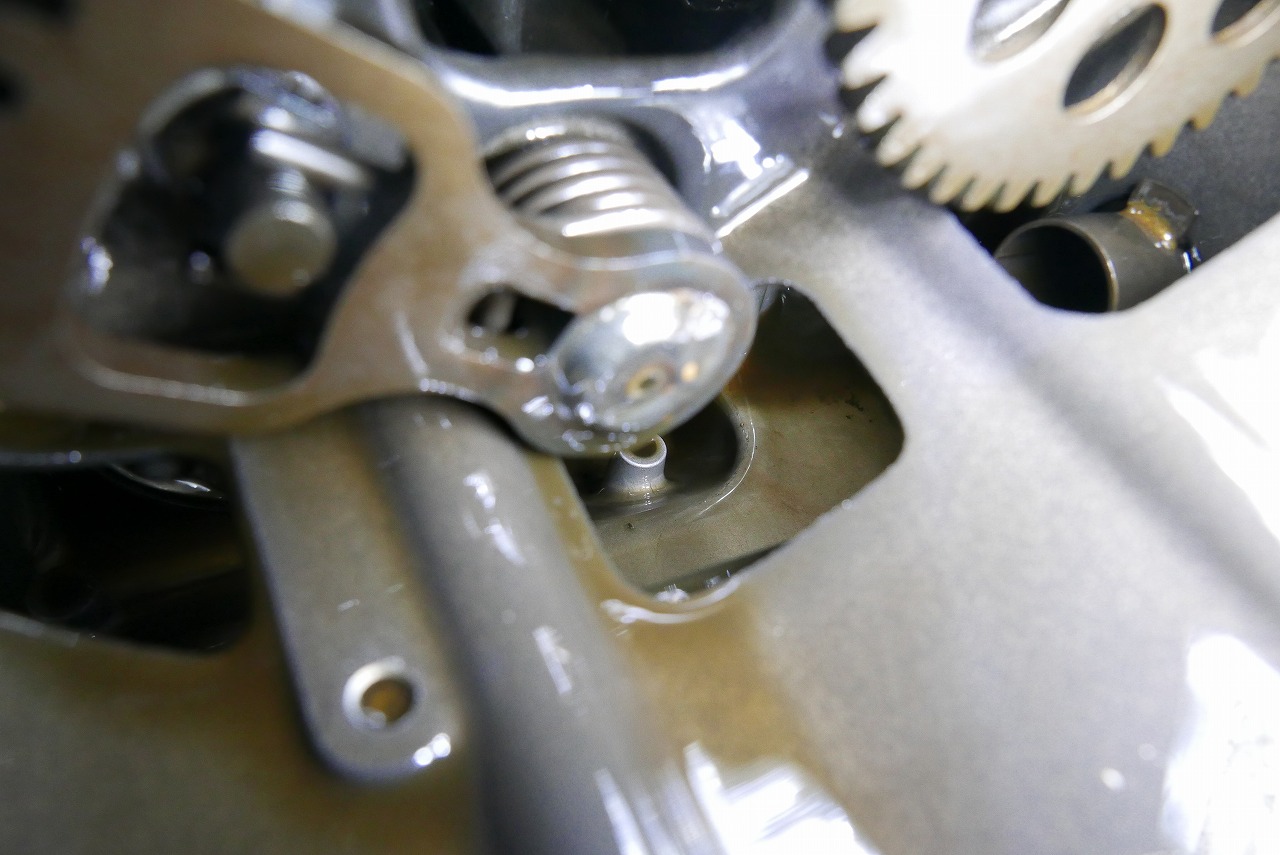
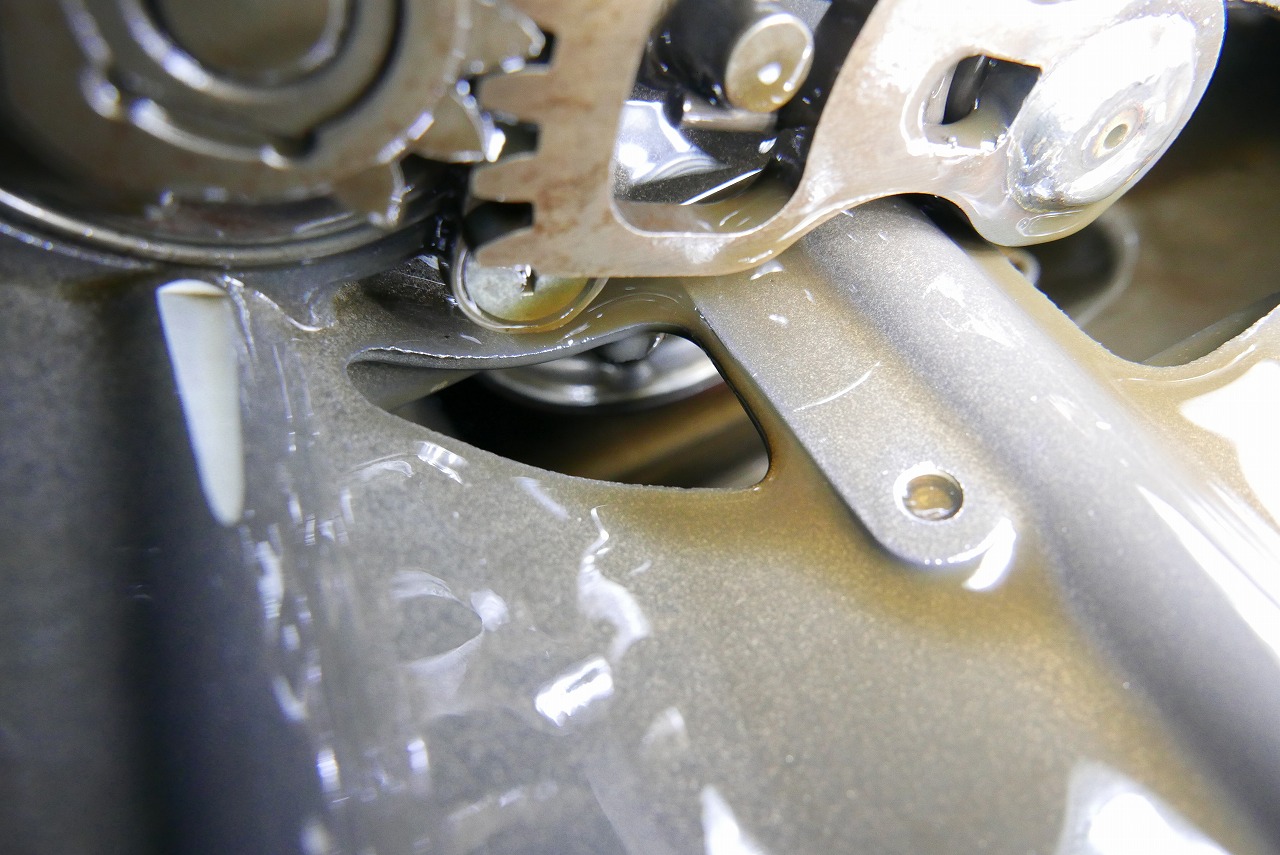
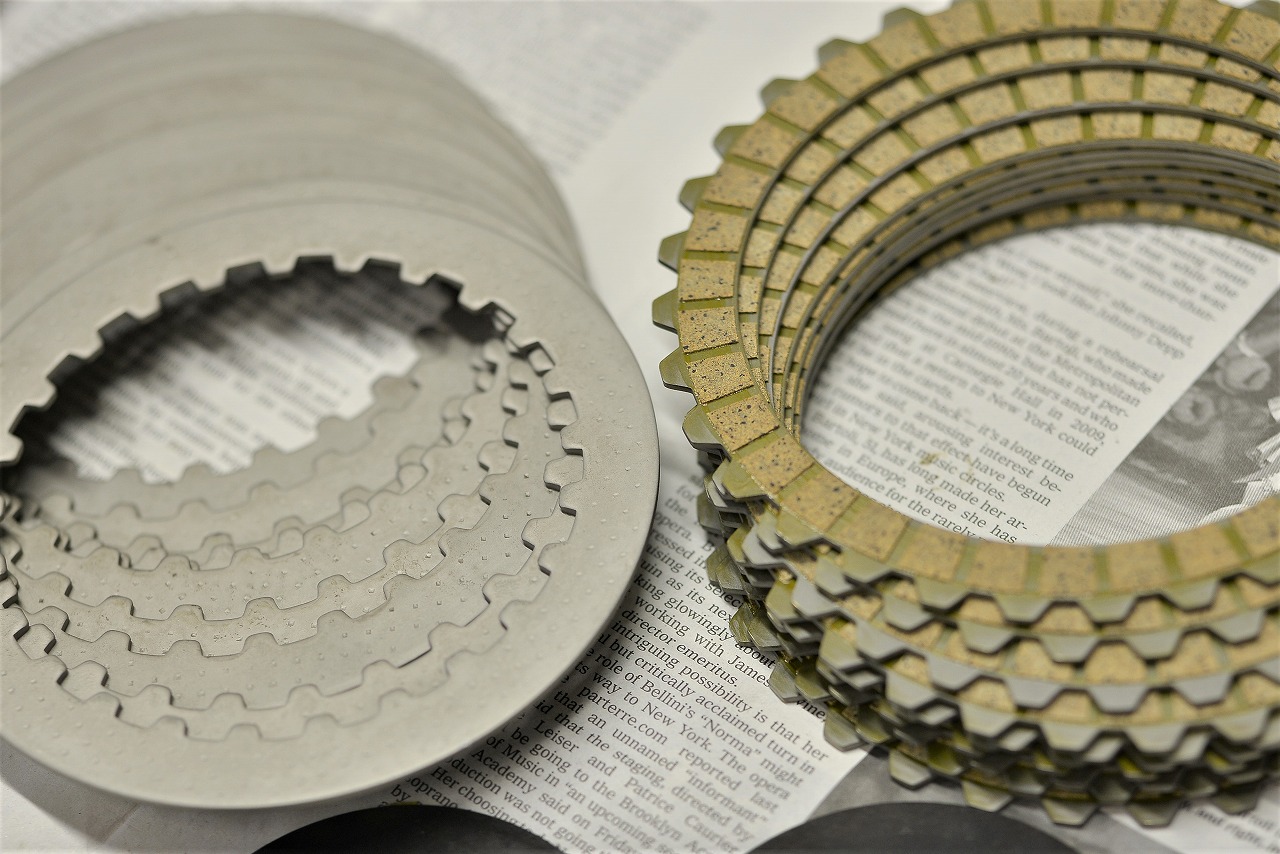
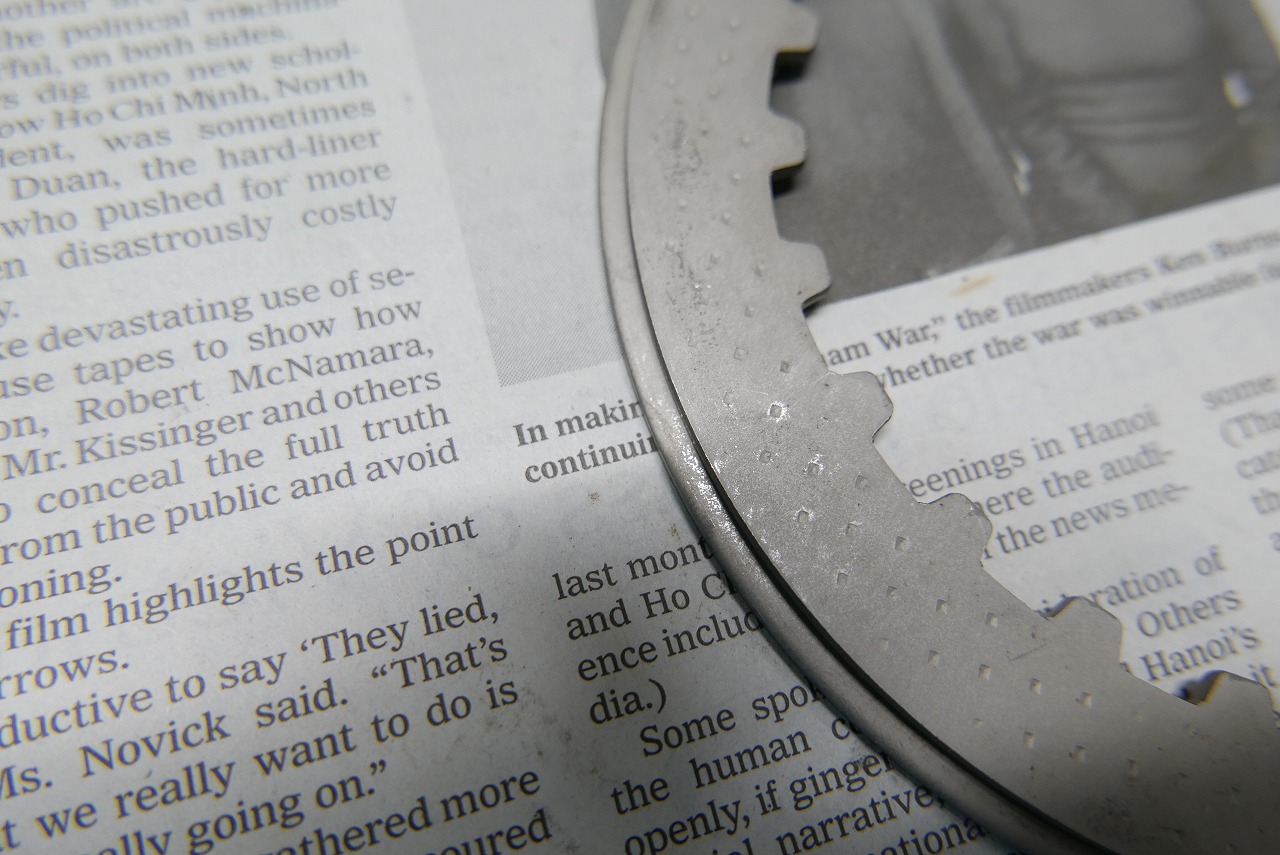
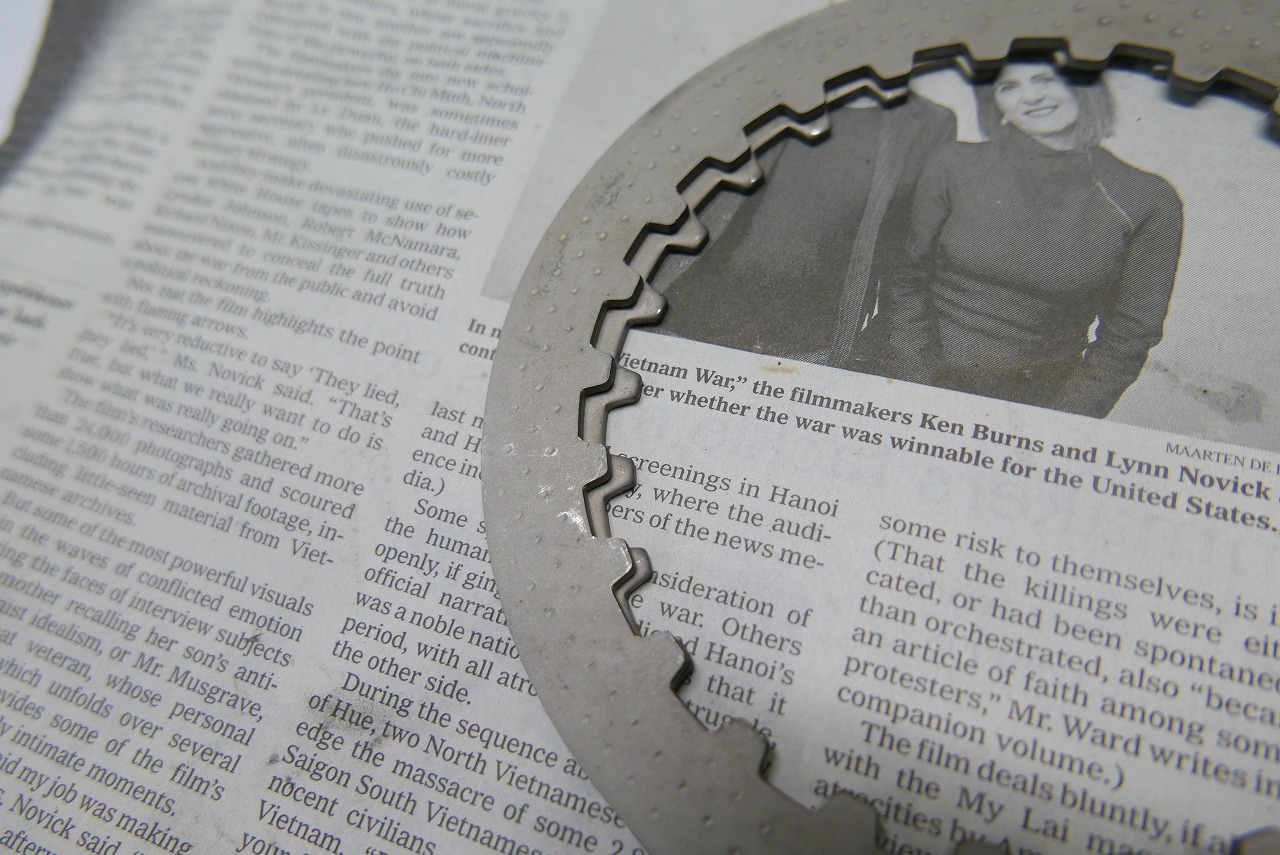
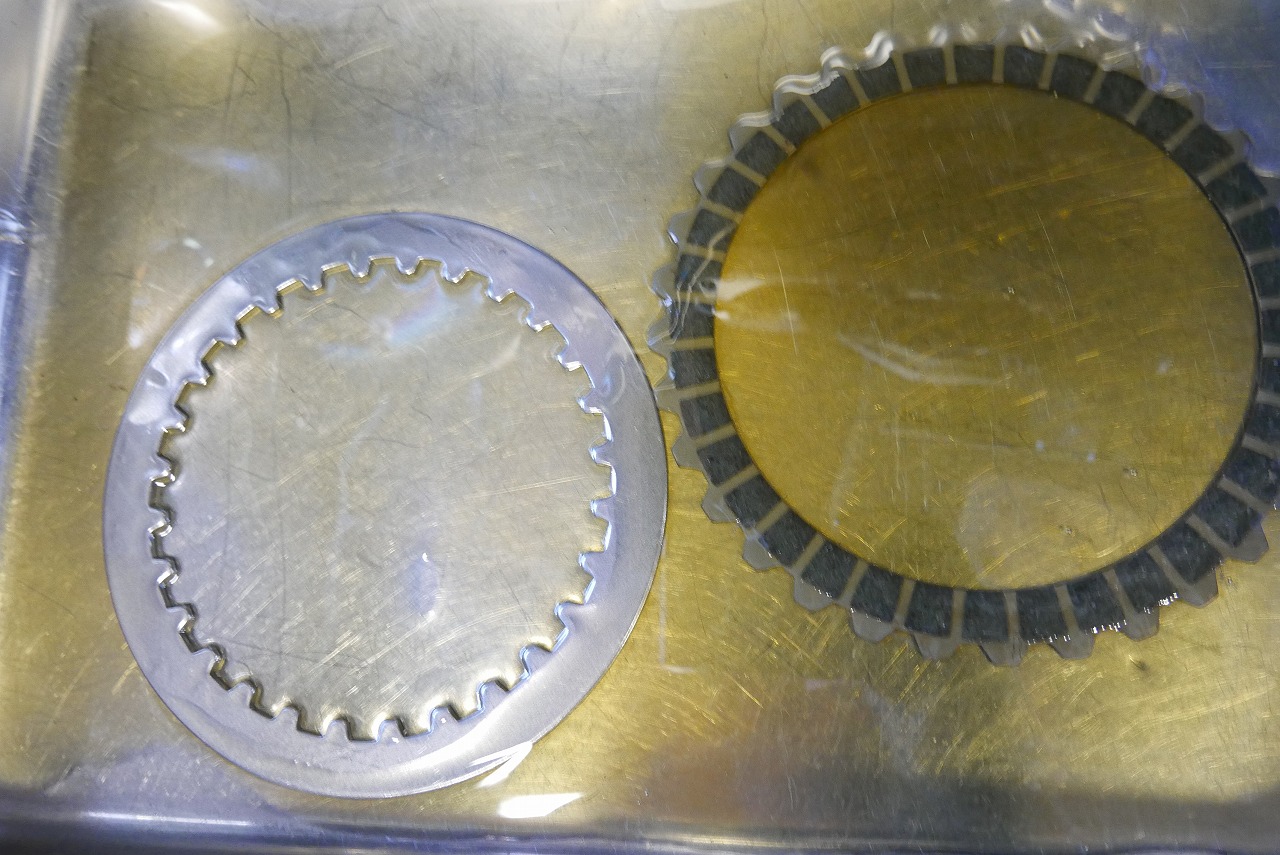
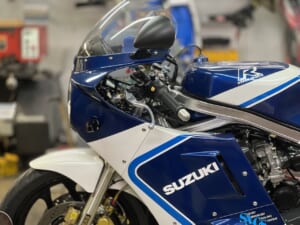
The clutch won’t disengage completely… even though everything is stock. I thought it wouldn’t be a big deal, but I was wrong. It turned out to be quite involved on the spot. I bet most people who’ve never taken one apart are in this condition. It’s pretty rough. The difference between used and new. The new one has the umbrella spring “pinging” nicely. The tension should be solid and the touch from zero should be good. We polished the body and assembled it. I think it’s good to replace the release plate with a new one too. Even after doing a release OH and bleeding the air, it still won’t disengage? That’s when we figured the clutch itself must be the problem. The structure is simple: squeeze the clutch lever → push the rod → disengage the clutch pressure. It’s hard for anything weird to happen.
When you squeeze the lever before taking the clutch cover off and disassembling, it moves at an angle somehow. Right? Definitely. There’s a video, so if you get a chance.
Some of the baskets and plates weren’t separating either. We were like, seriously? GSX-R1100K/L/M/N might be worth watching out for.
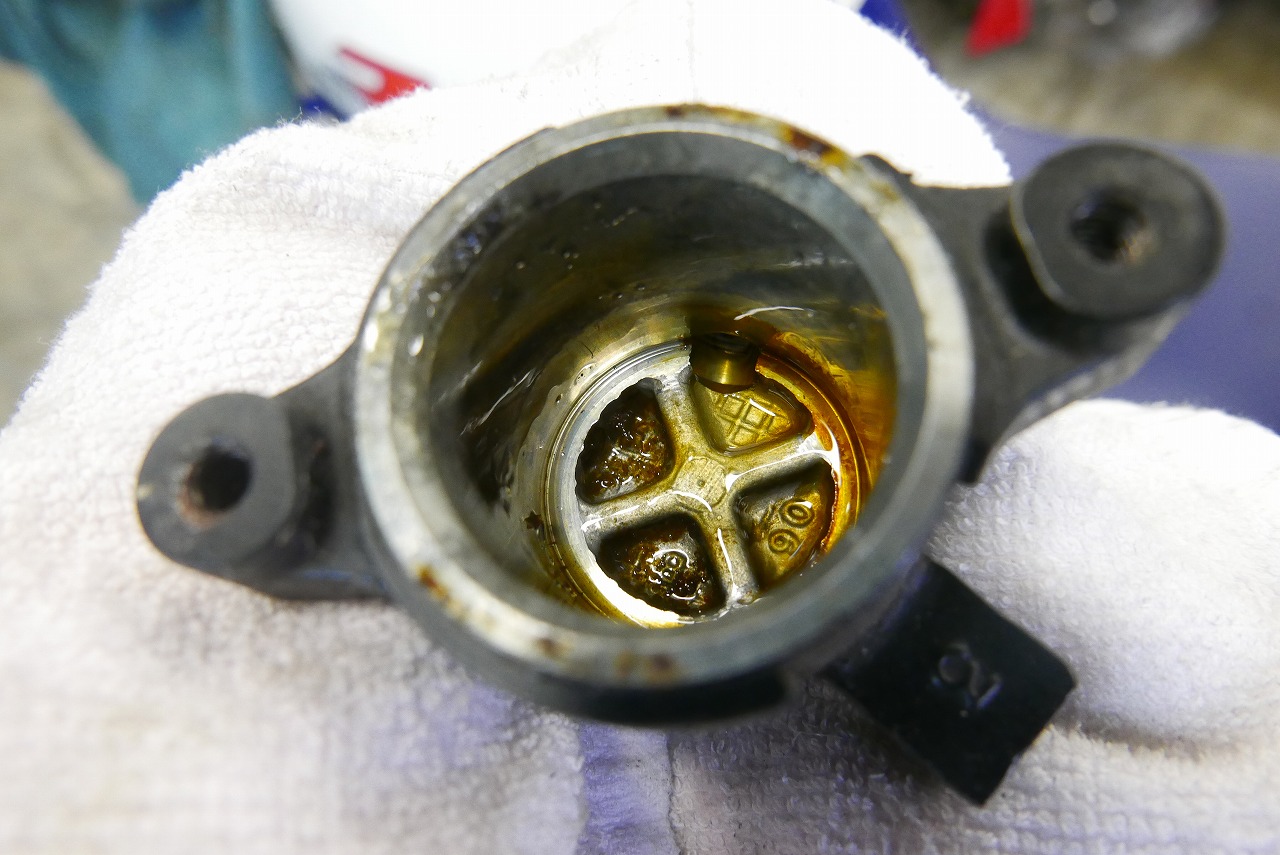
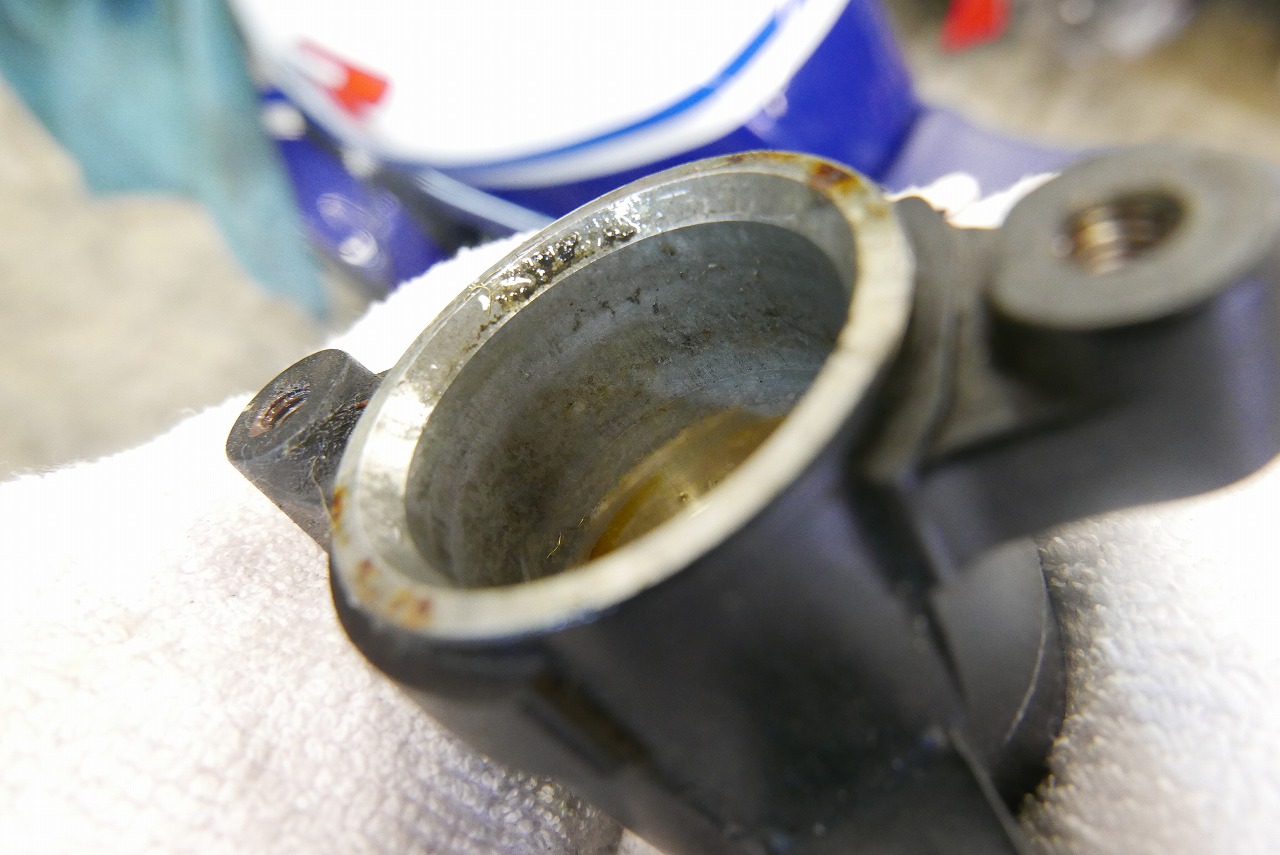
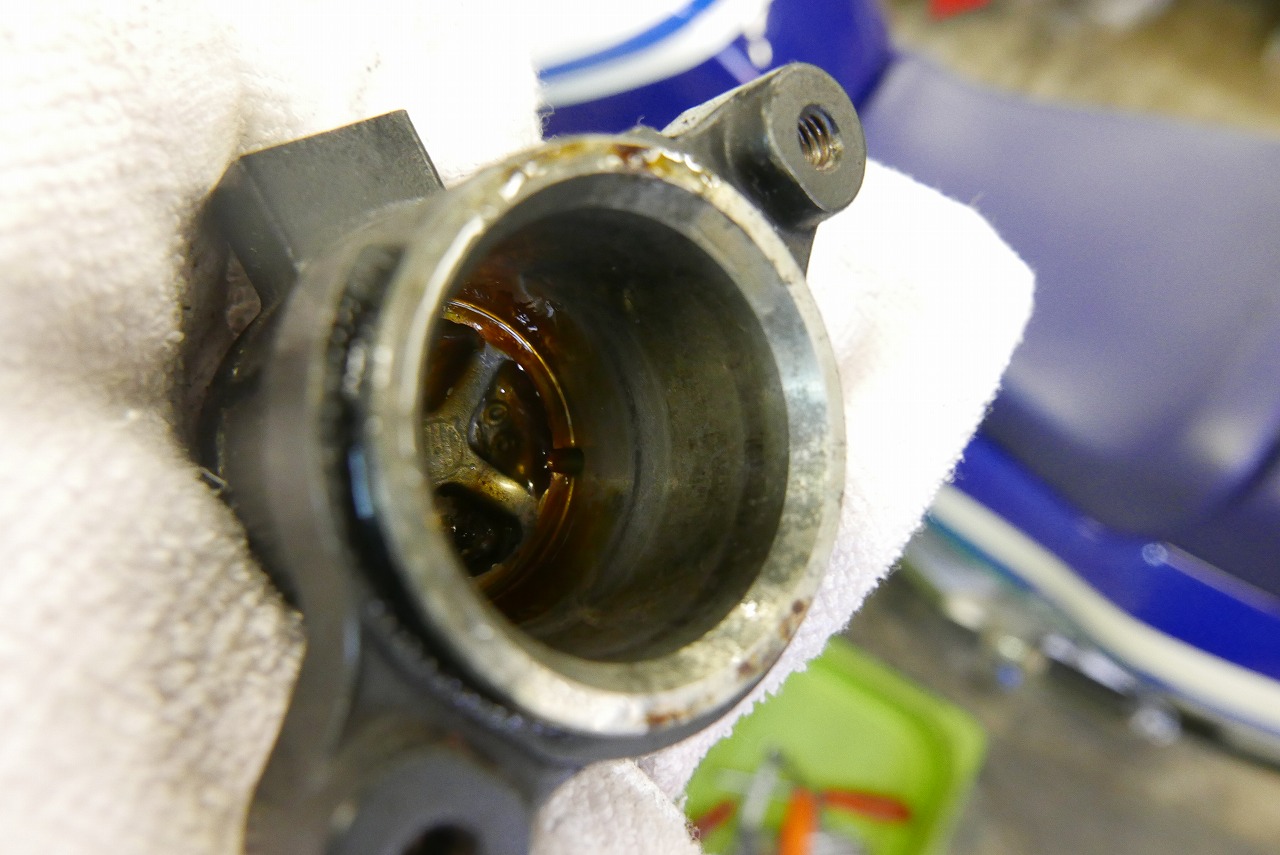
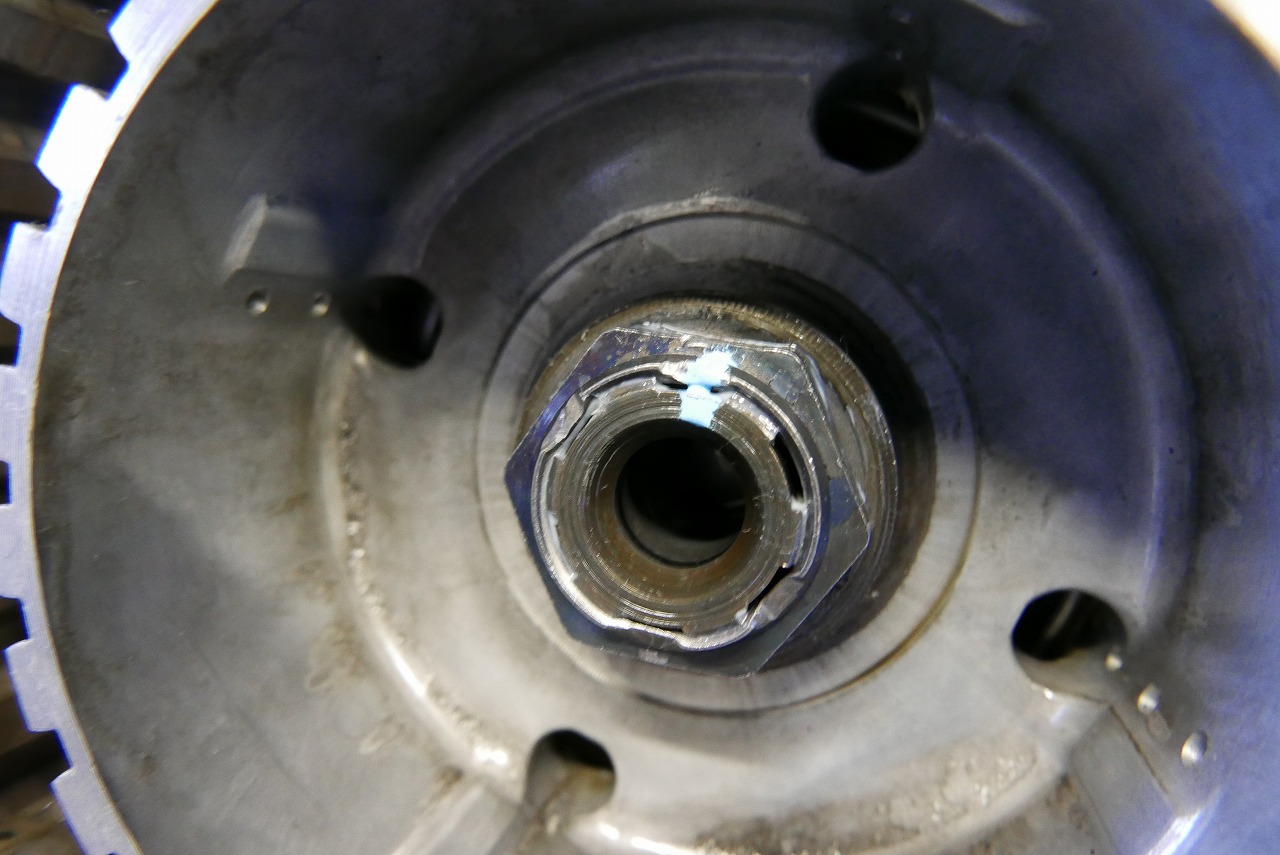
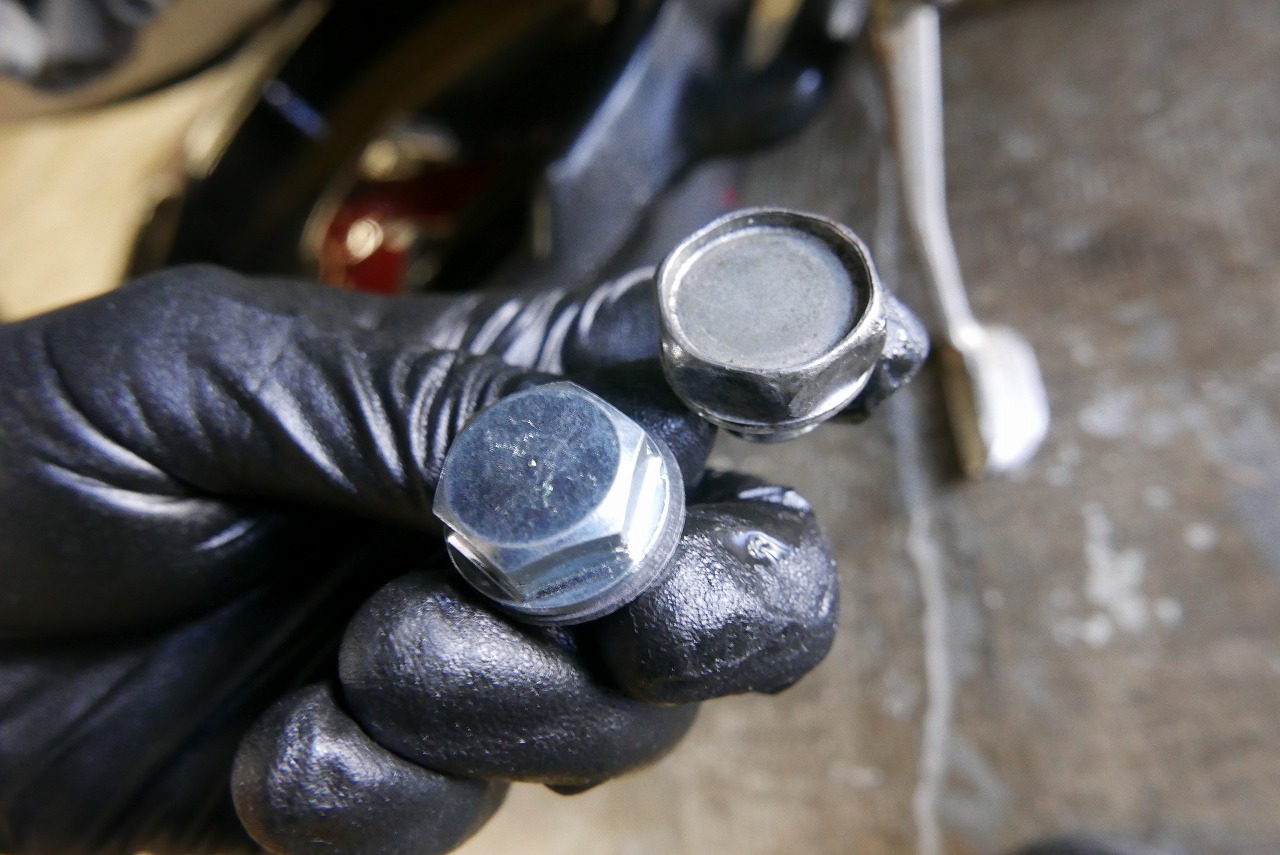
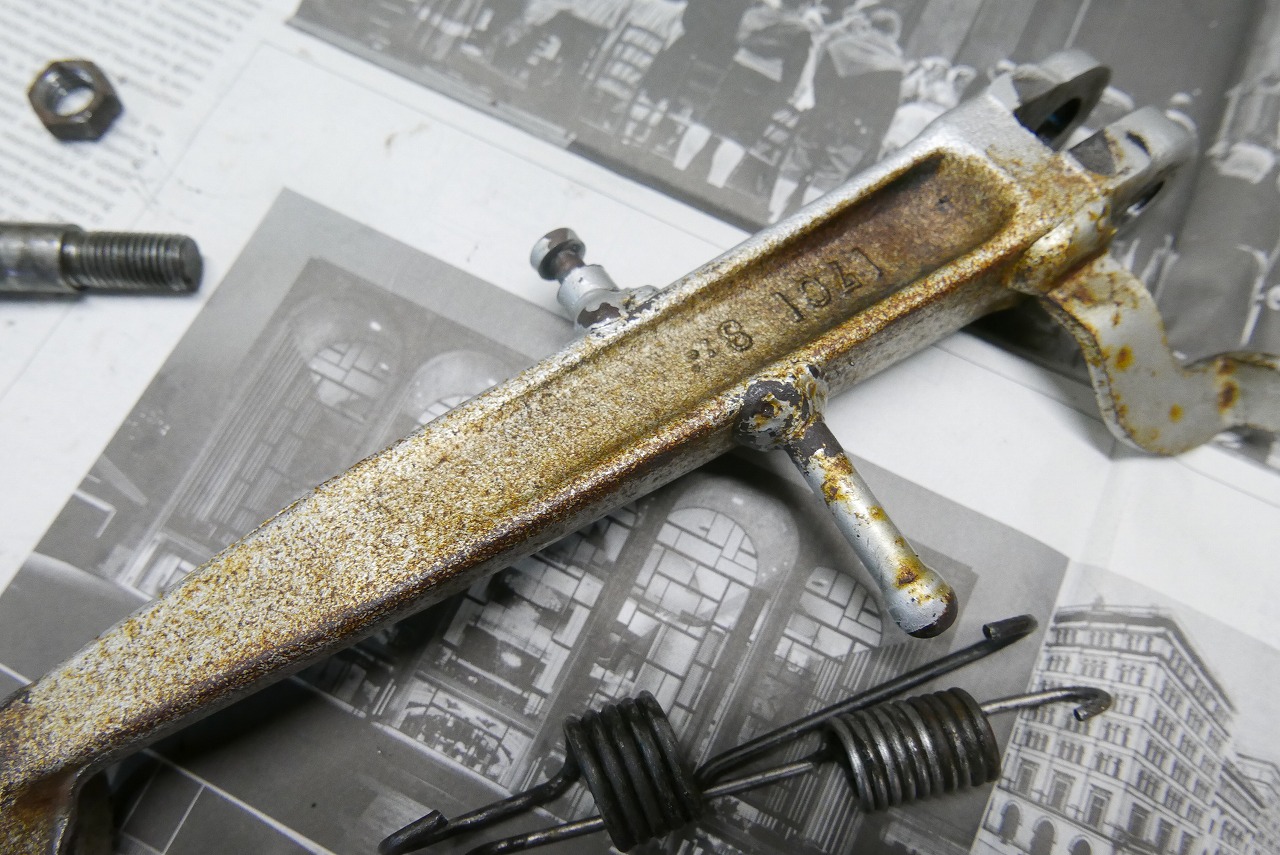
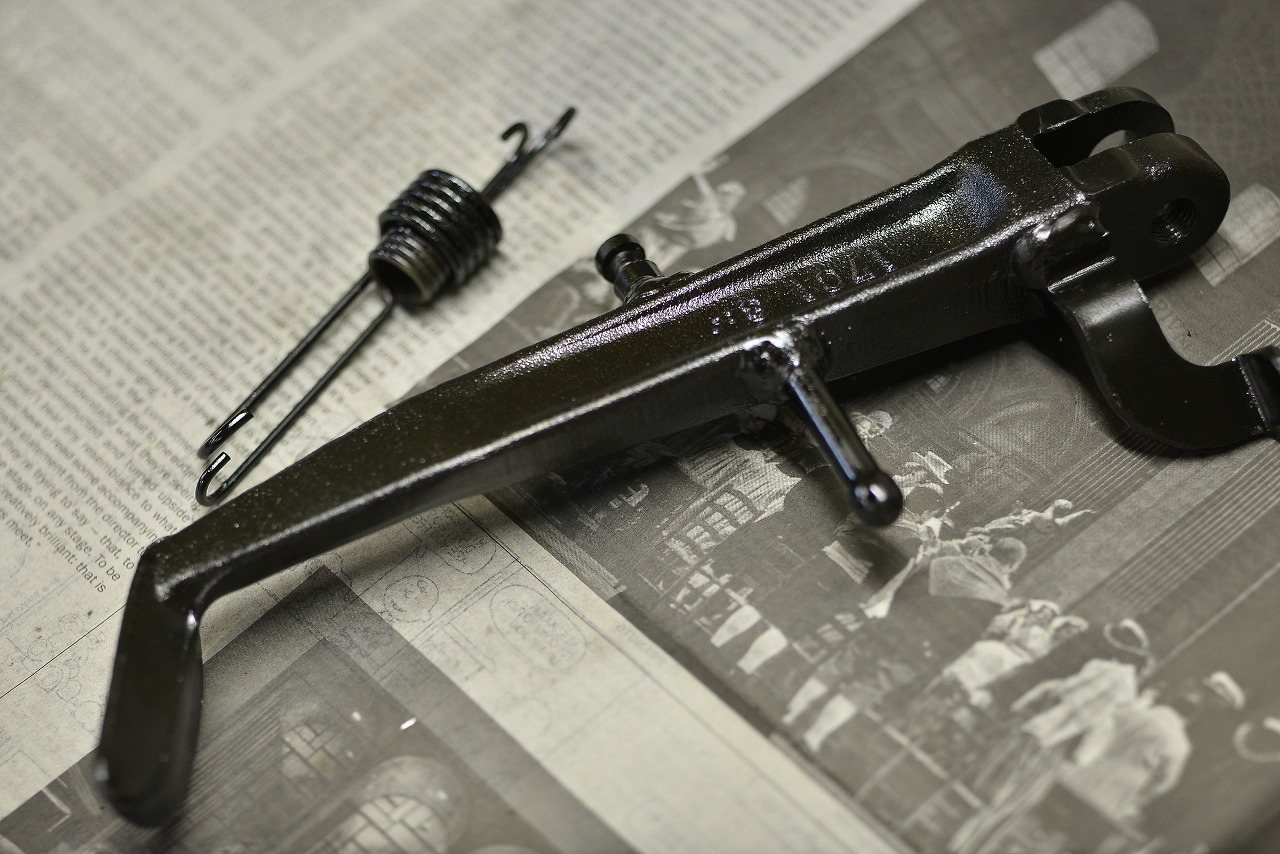
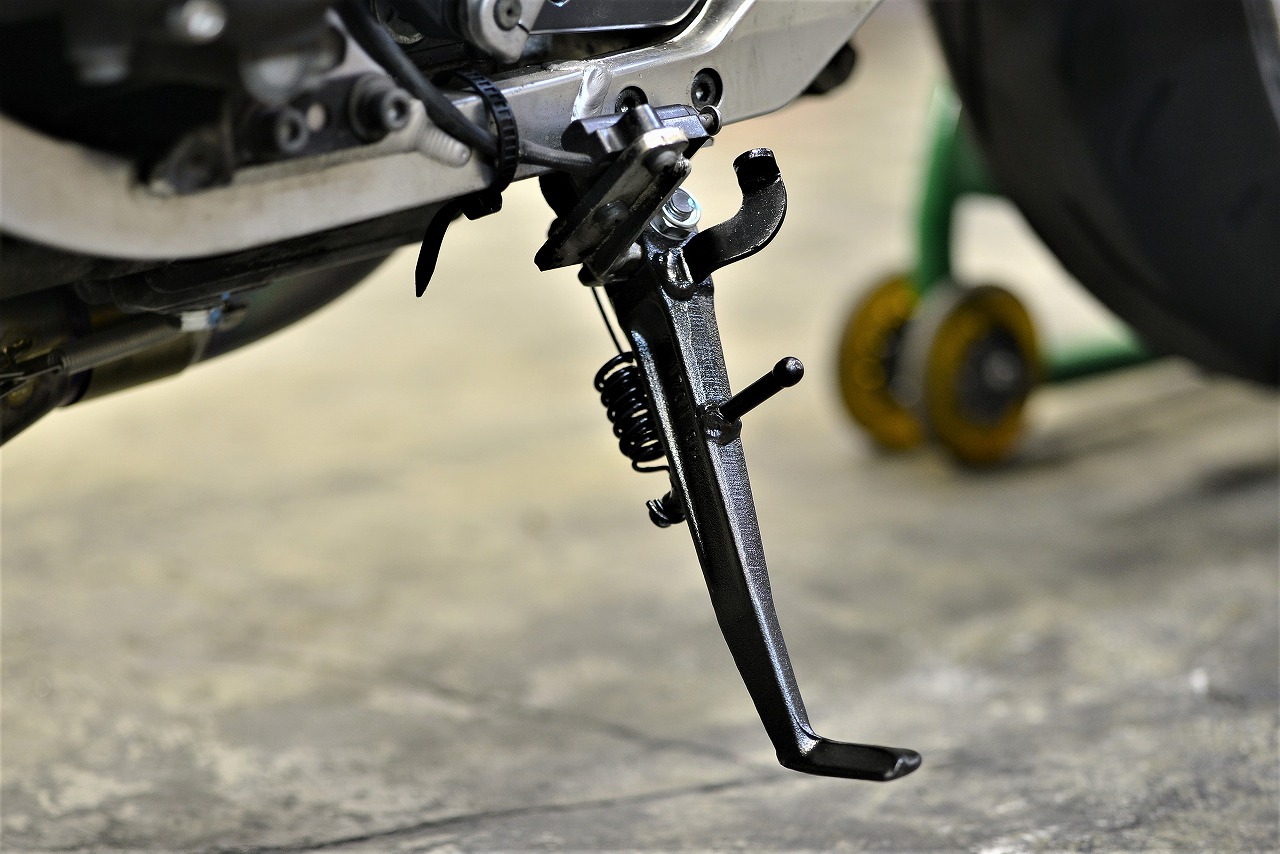
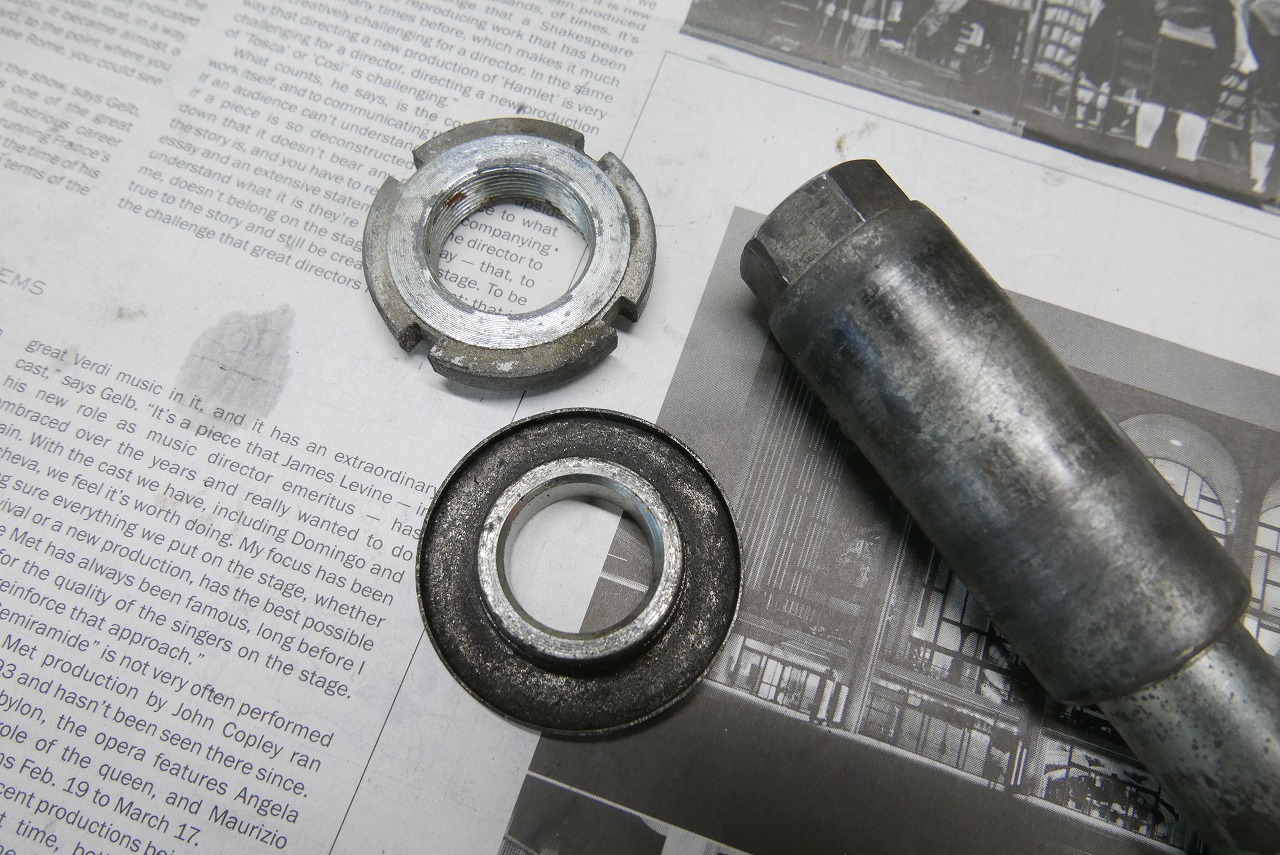
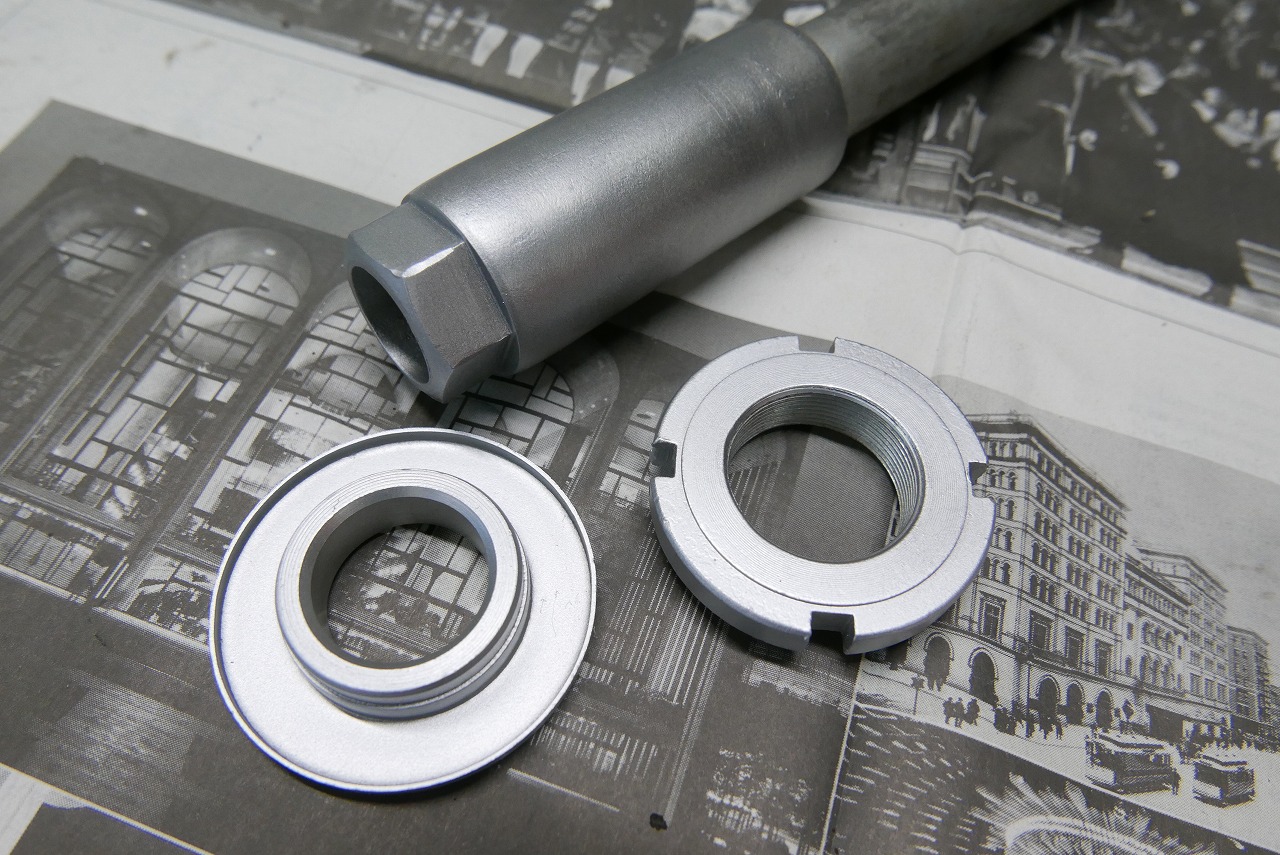
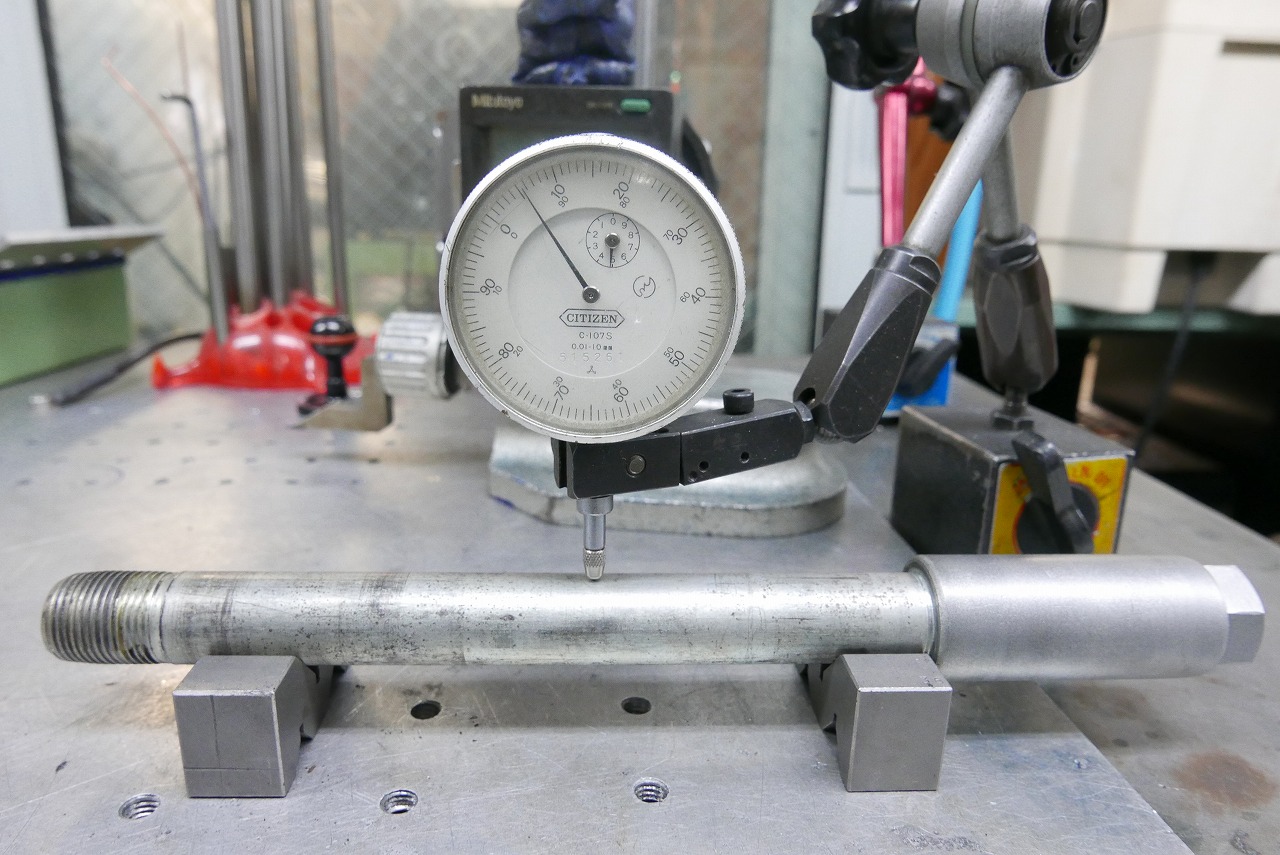
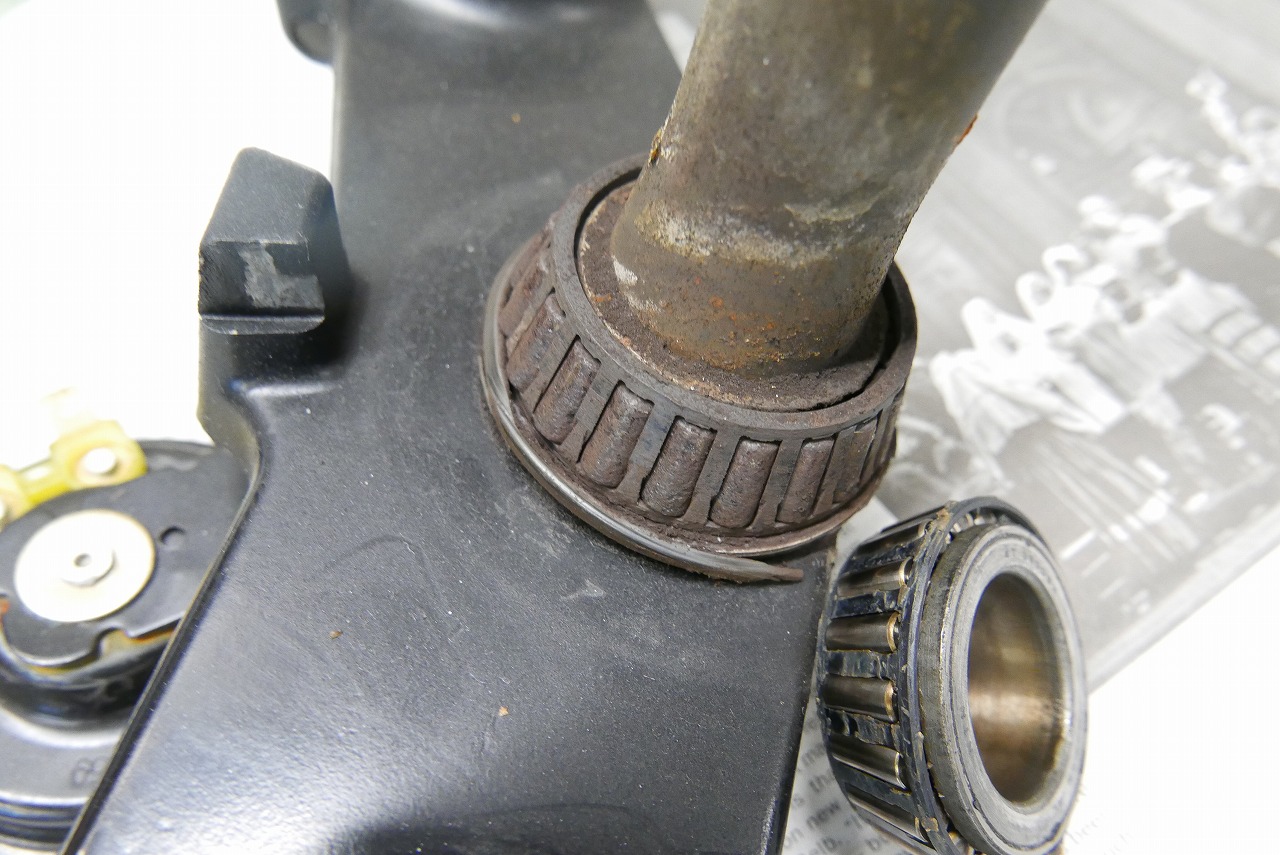
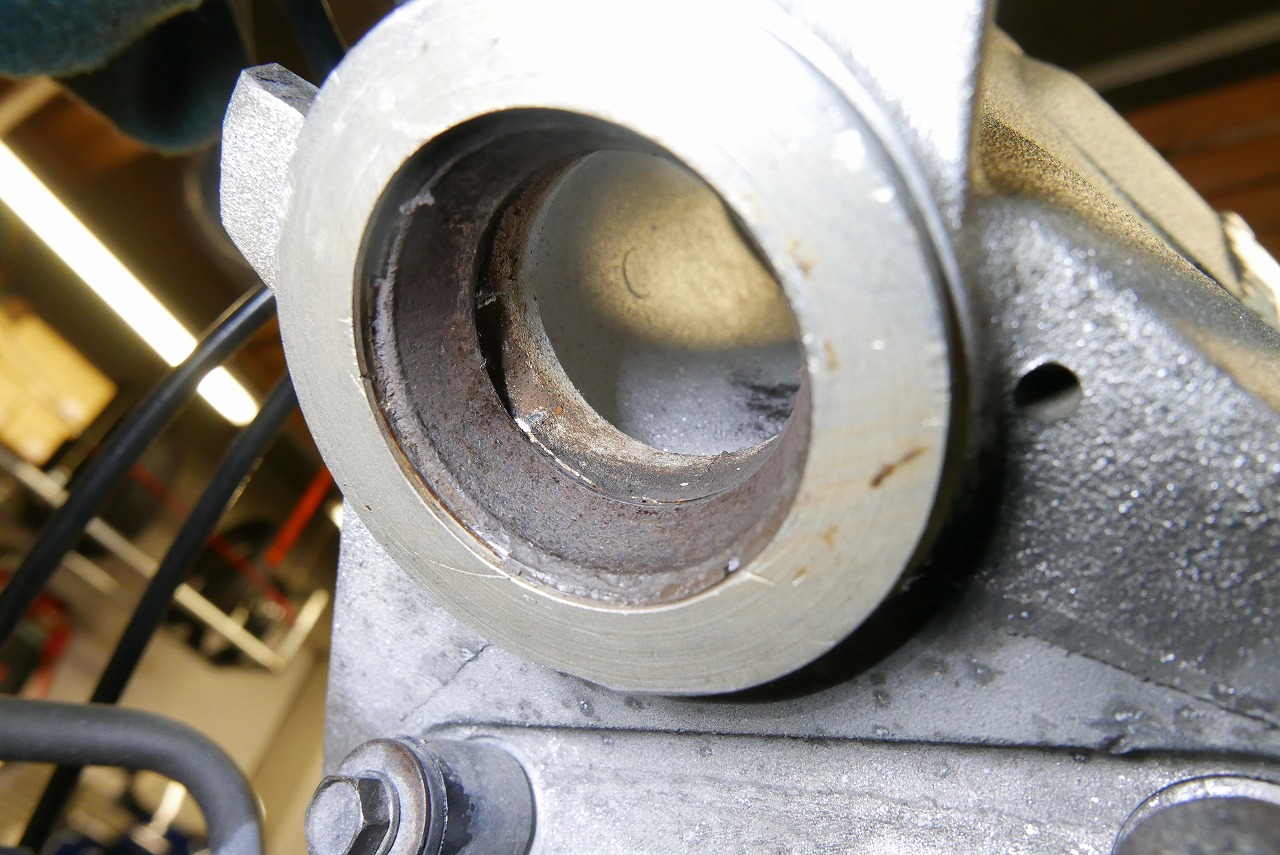
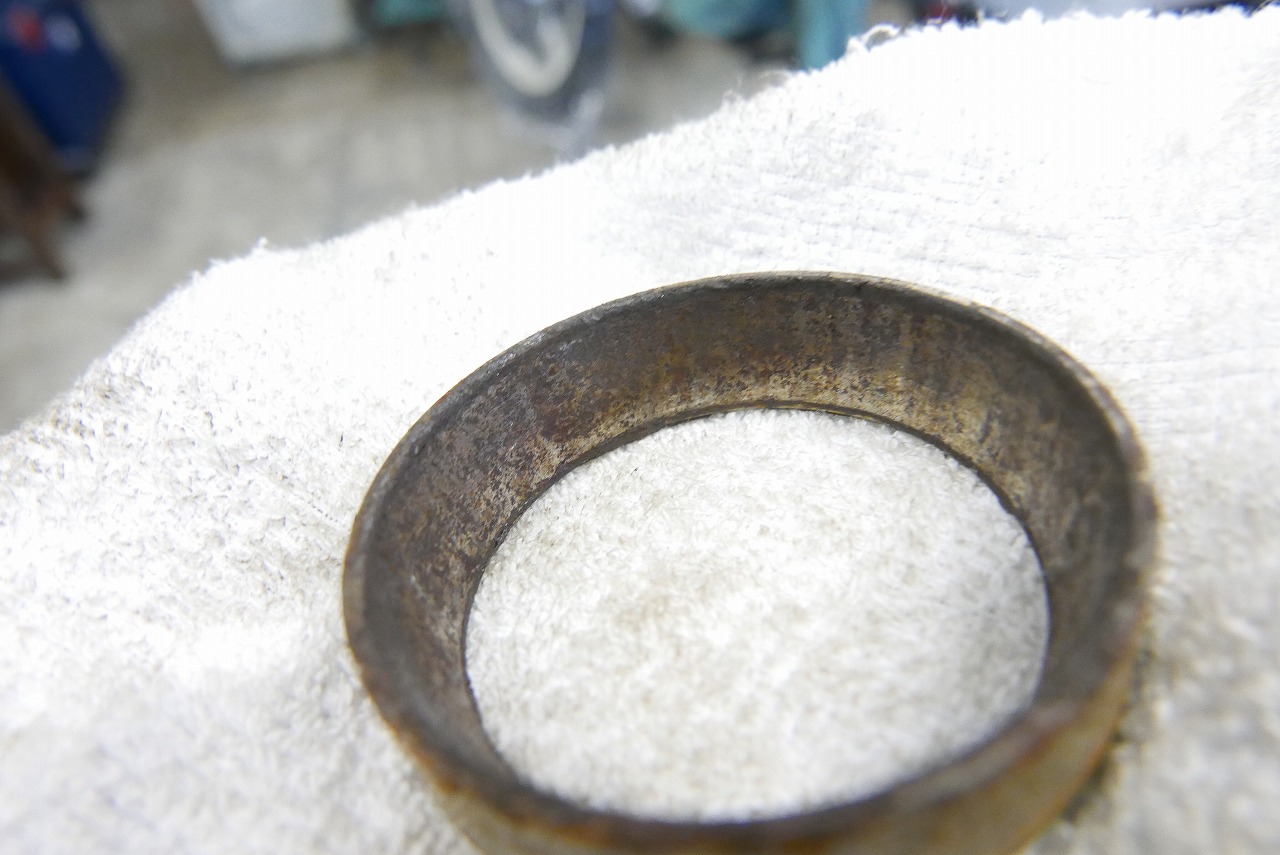
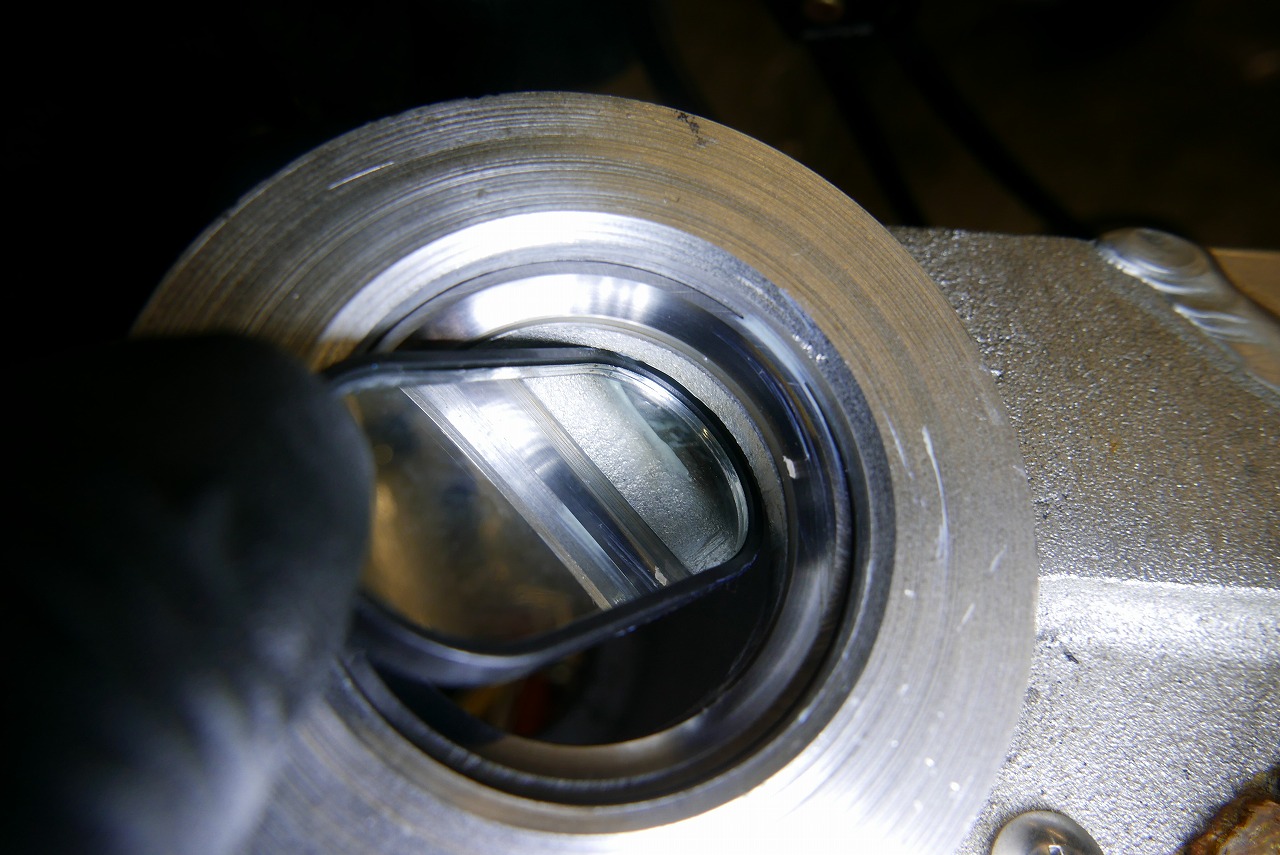
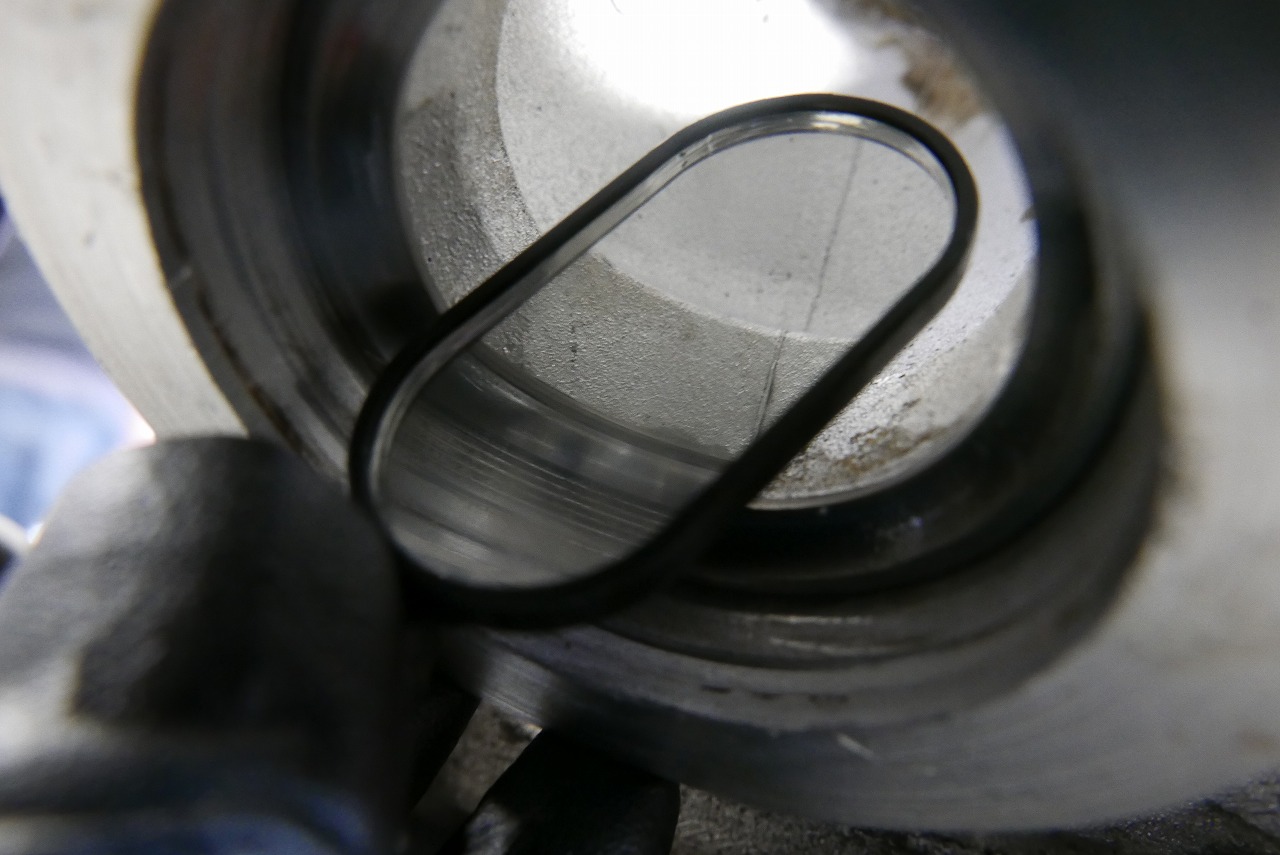
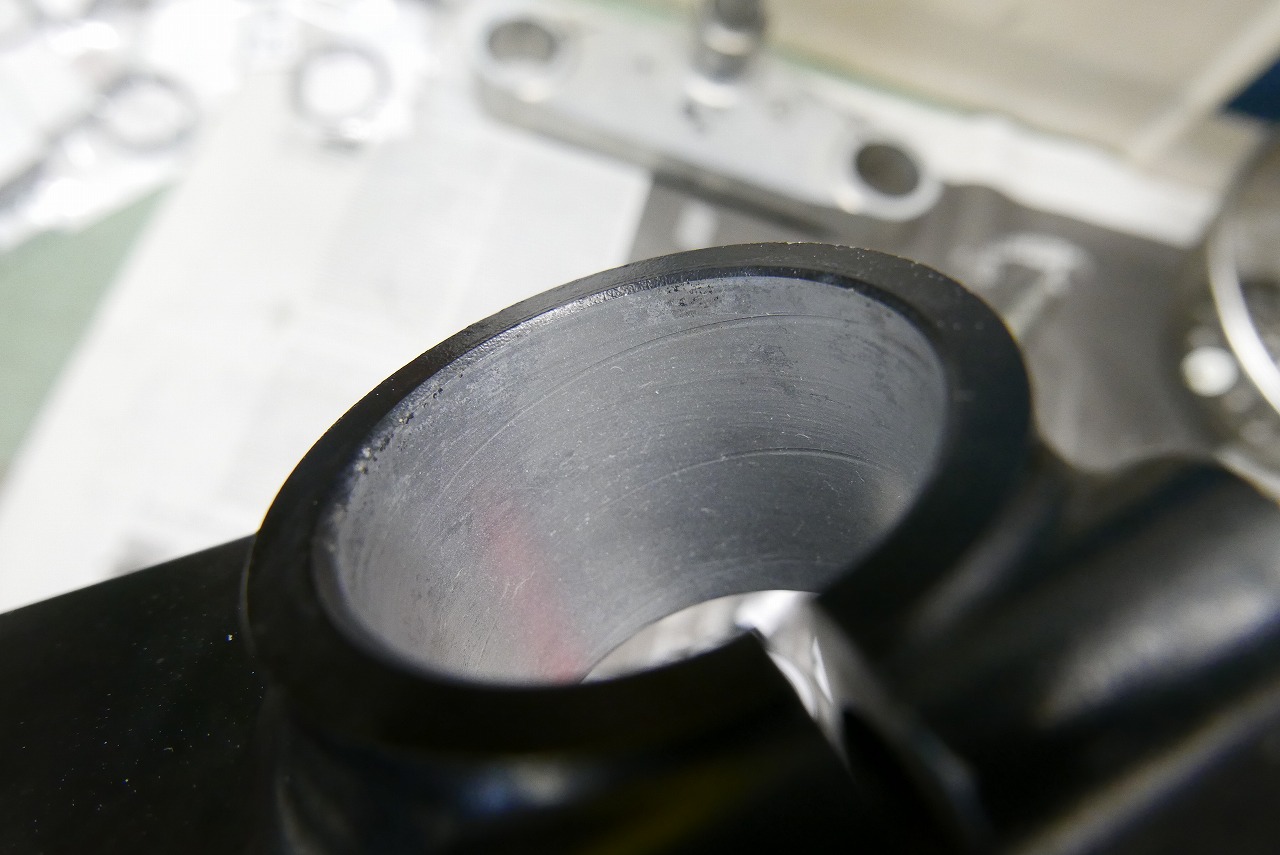
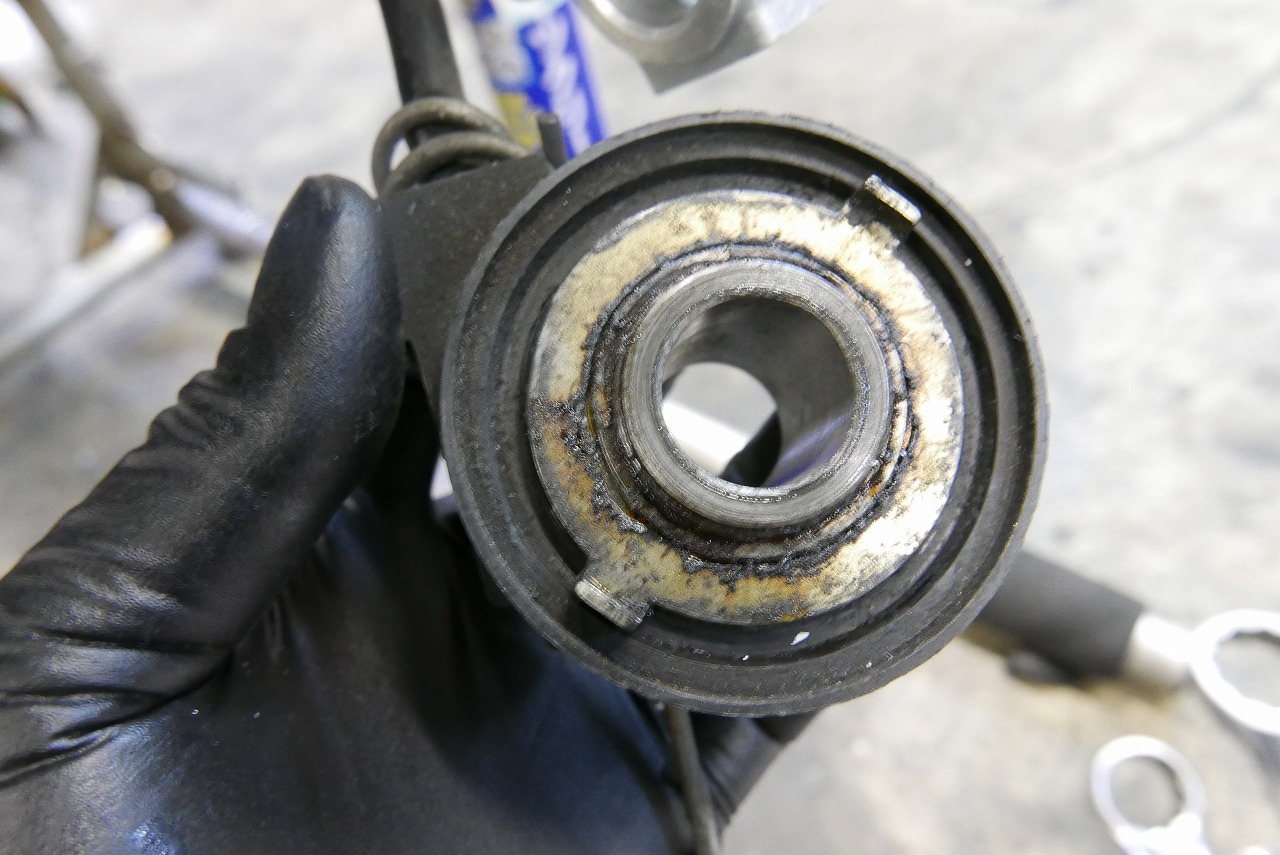
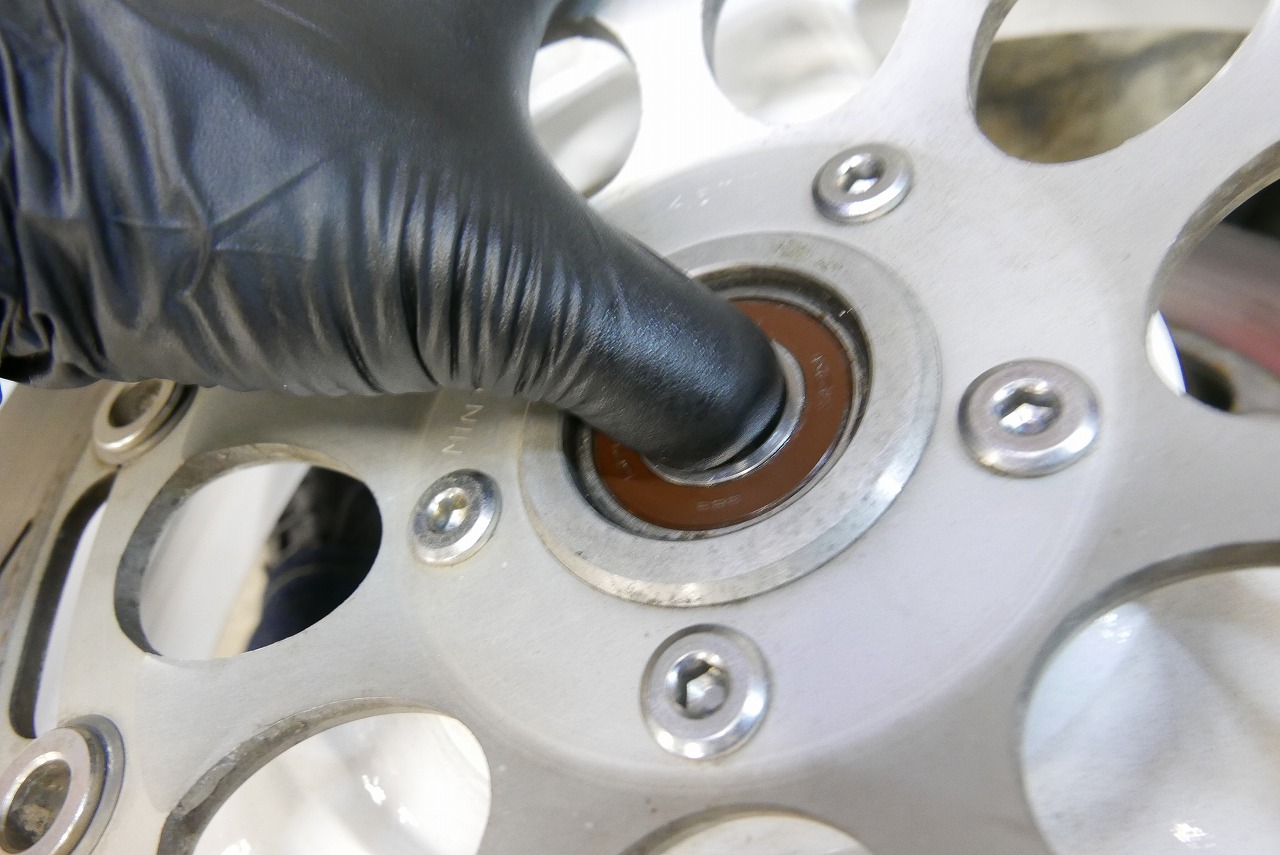
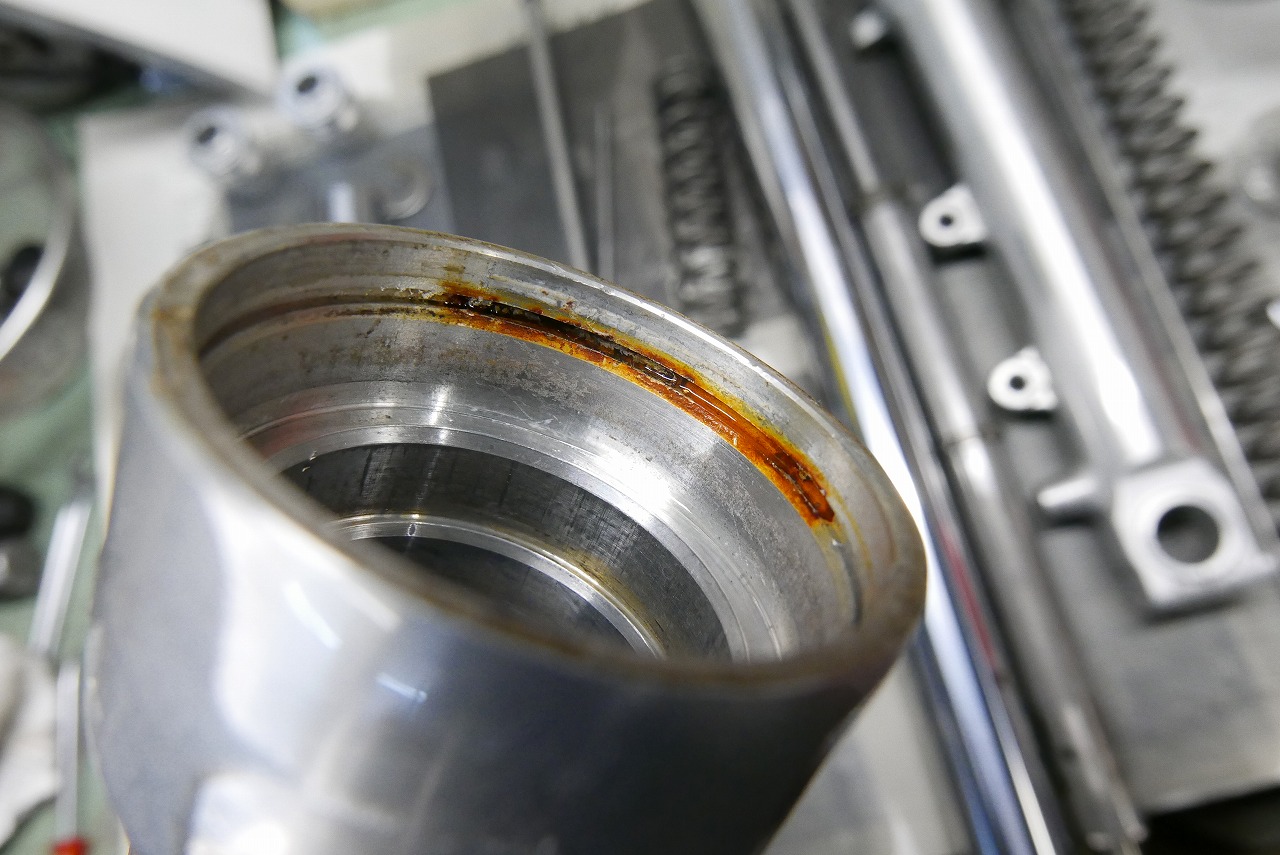
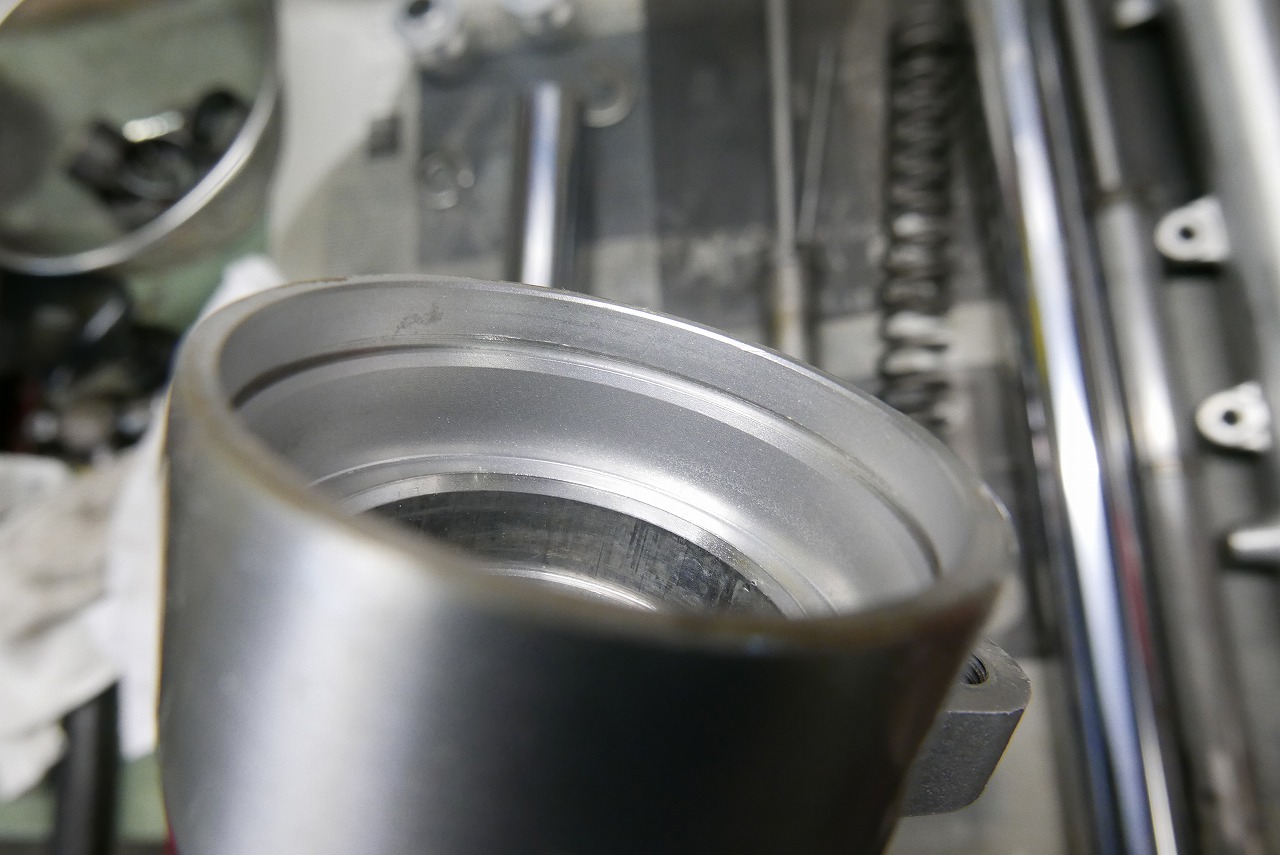
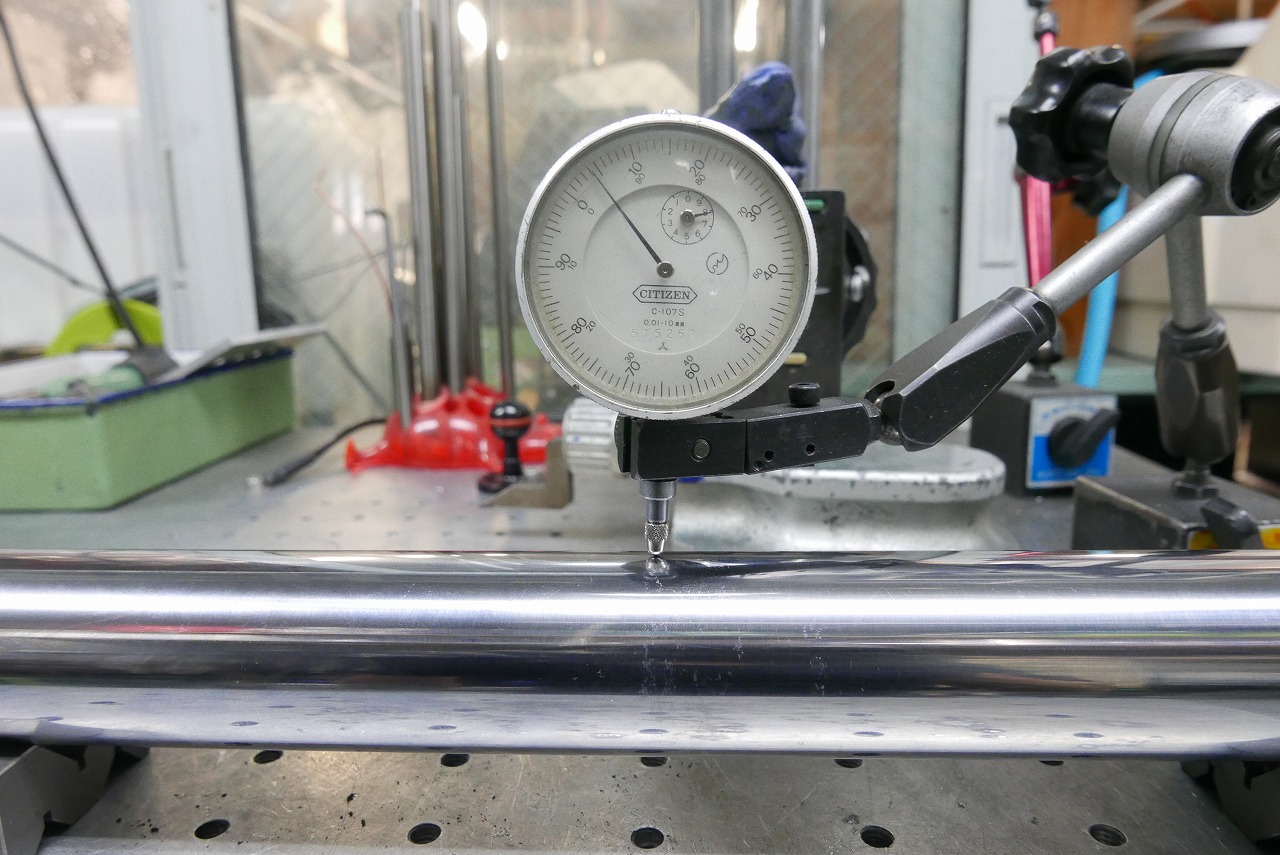
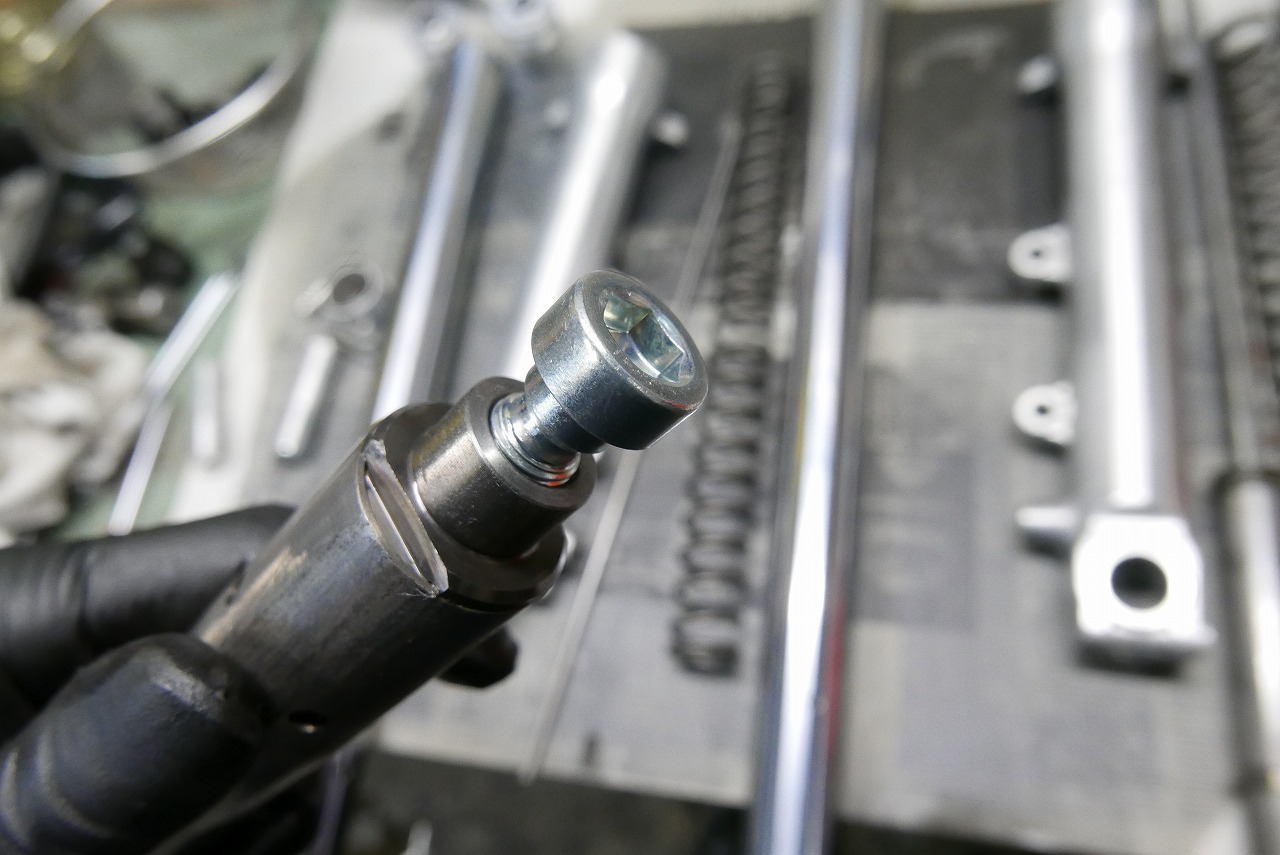
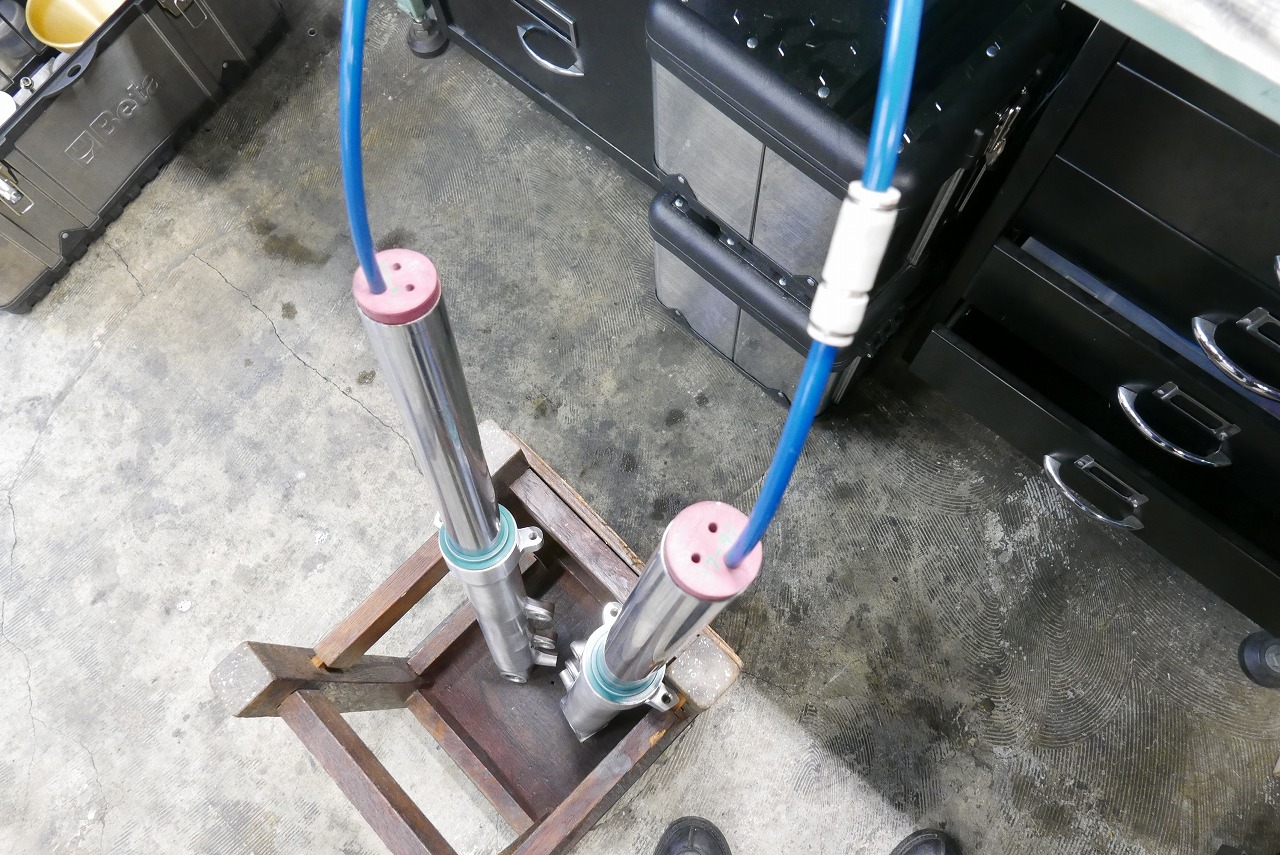
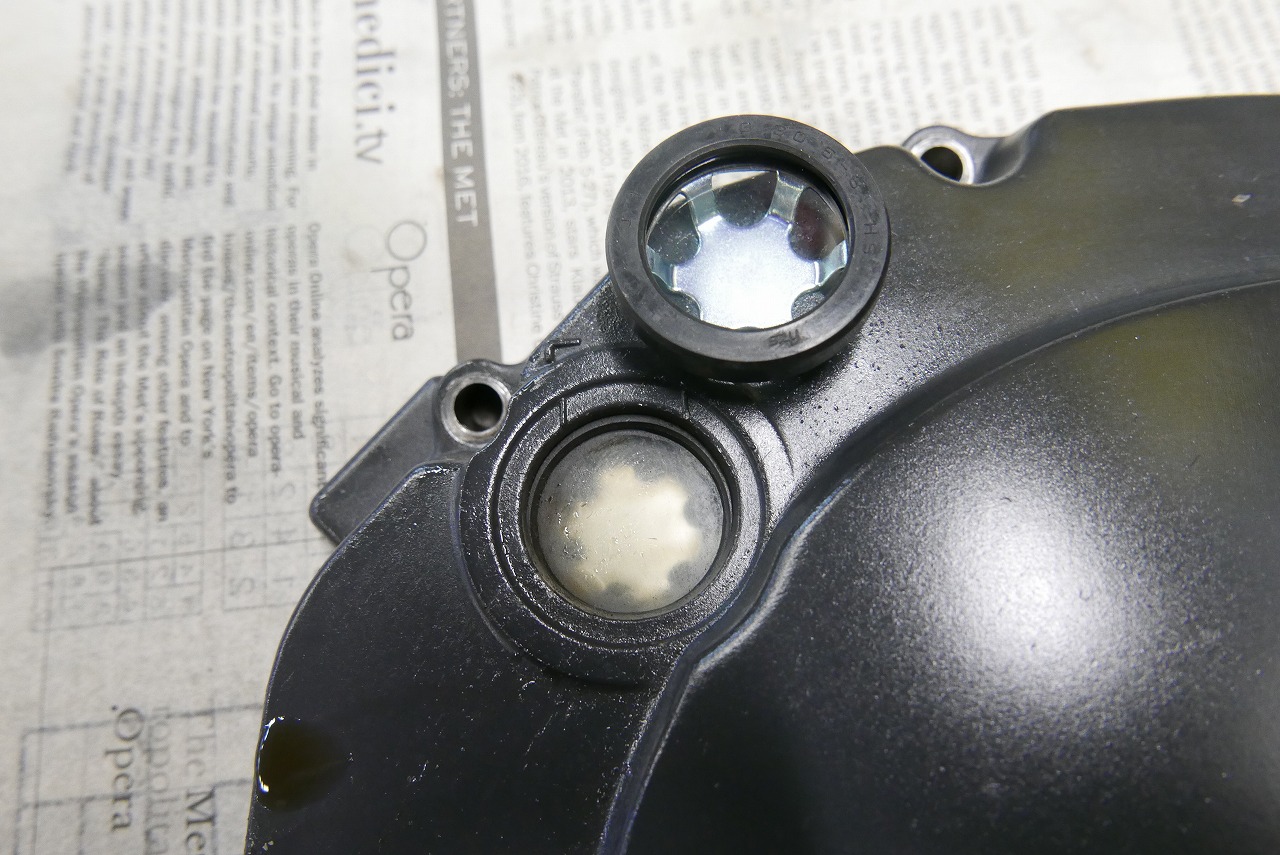
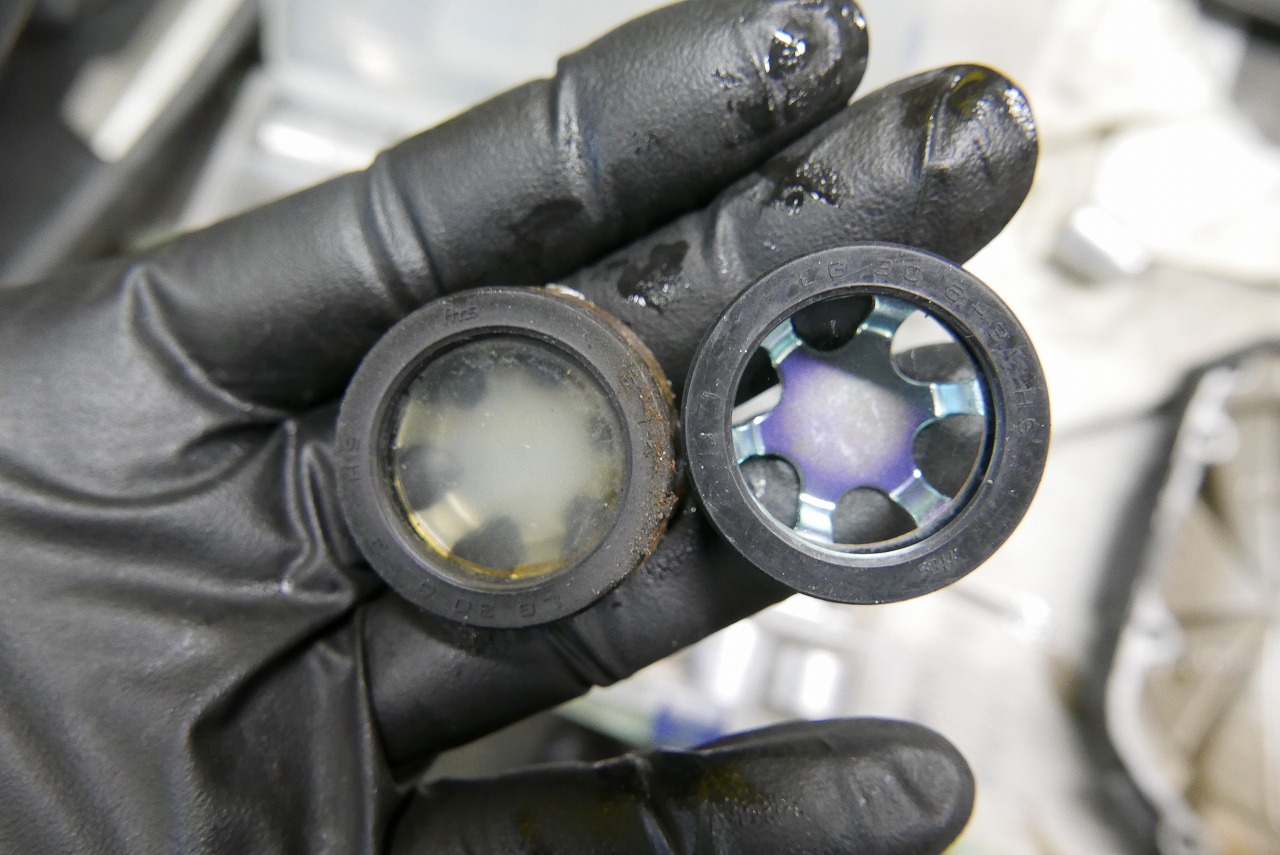
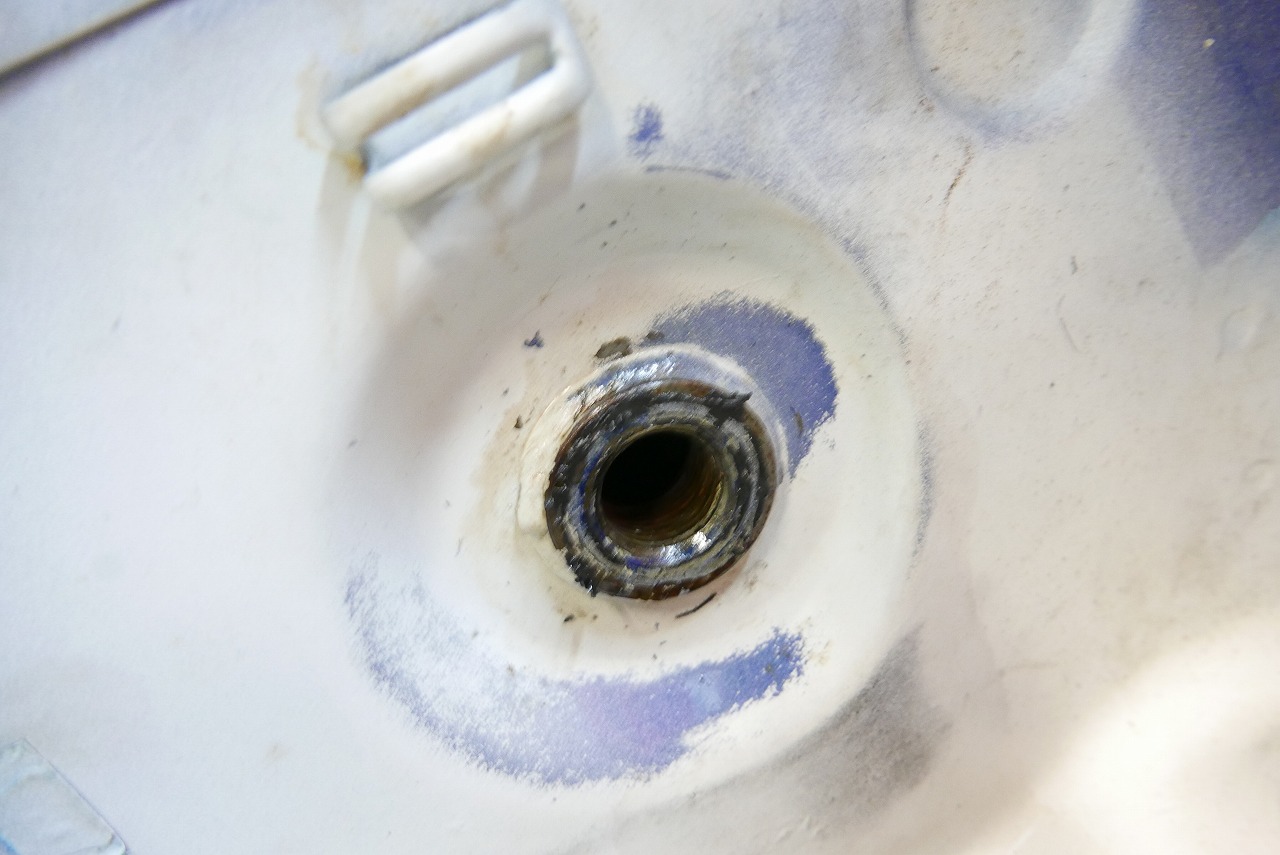
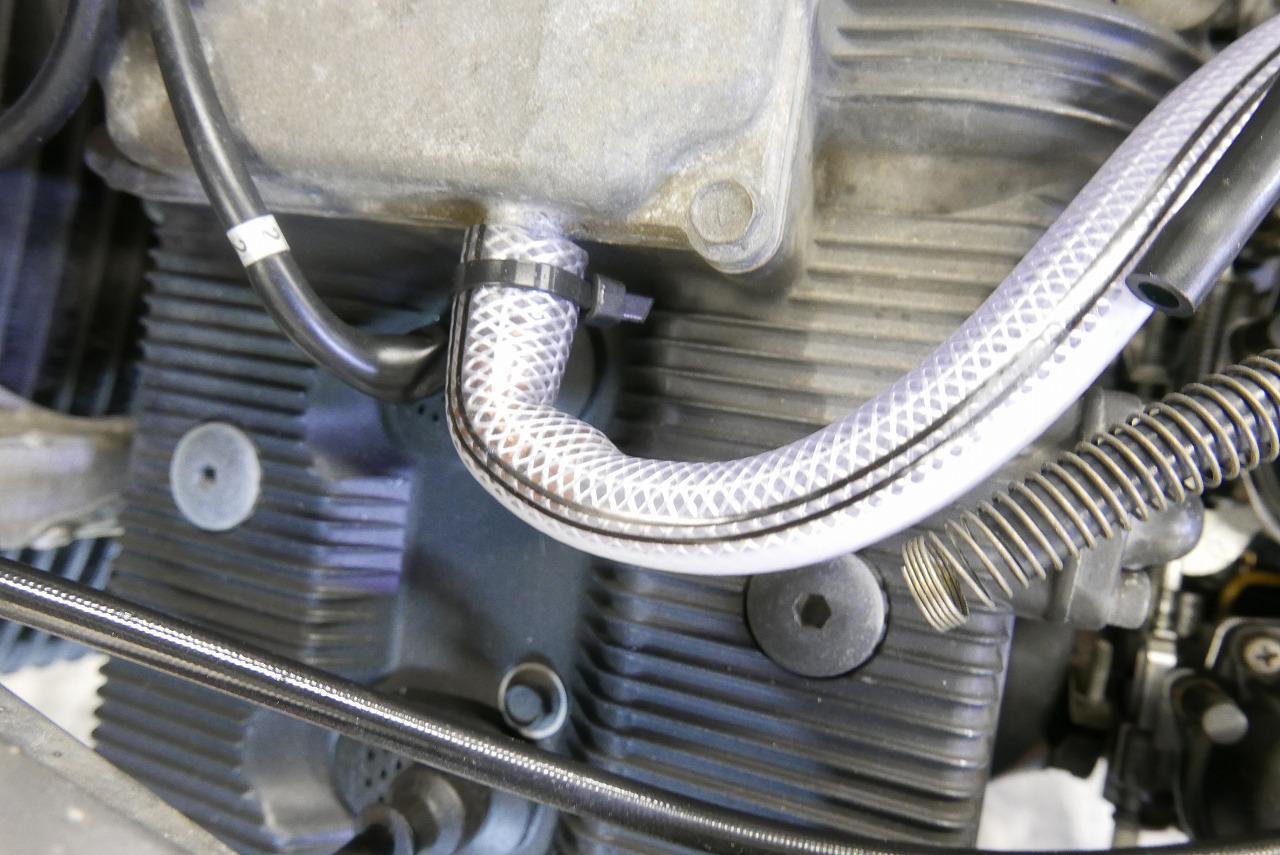
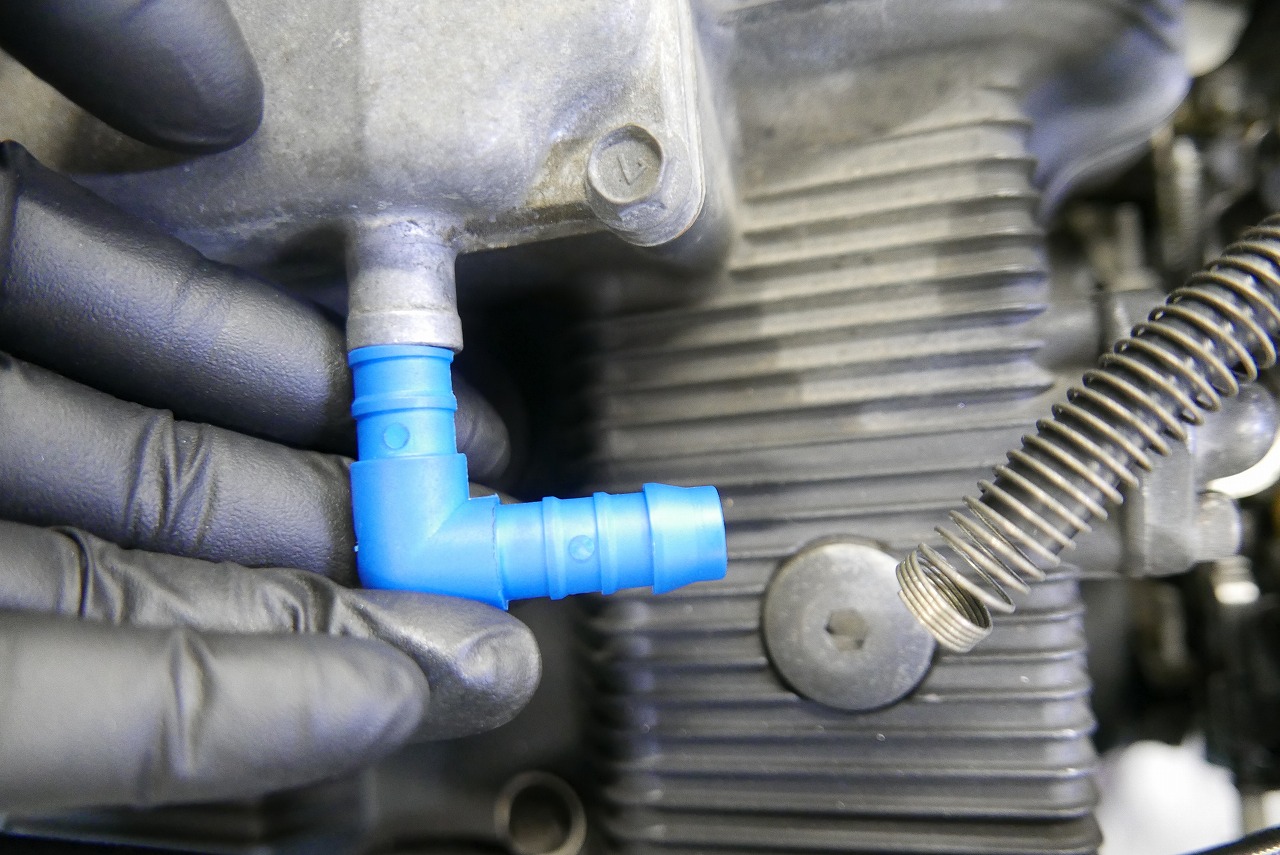
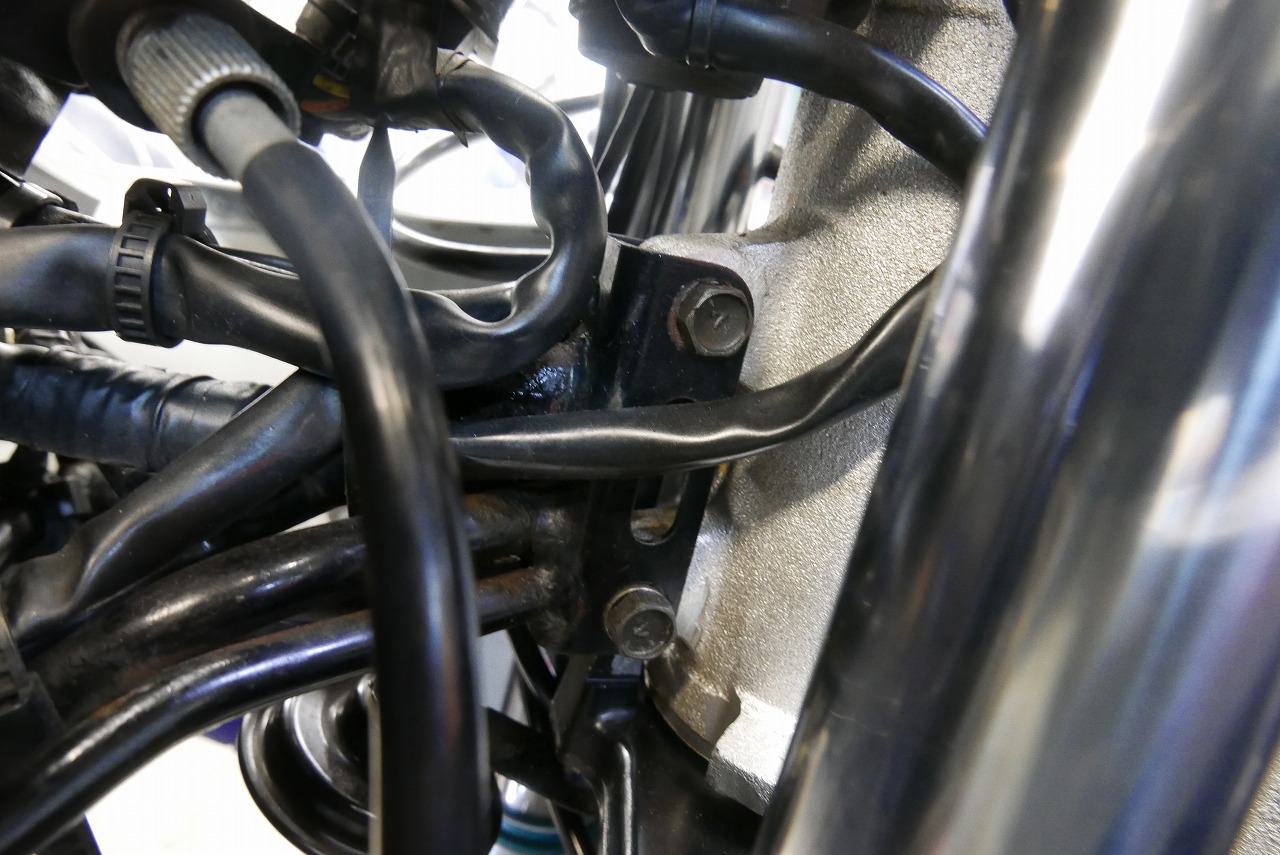
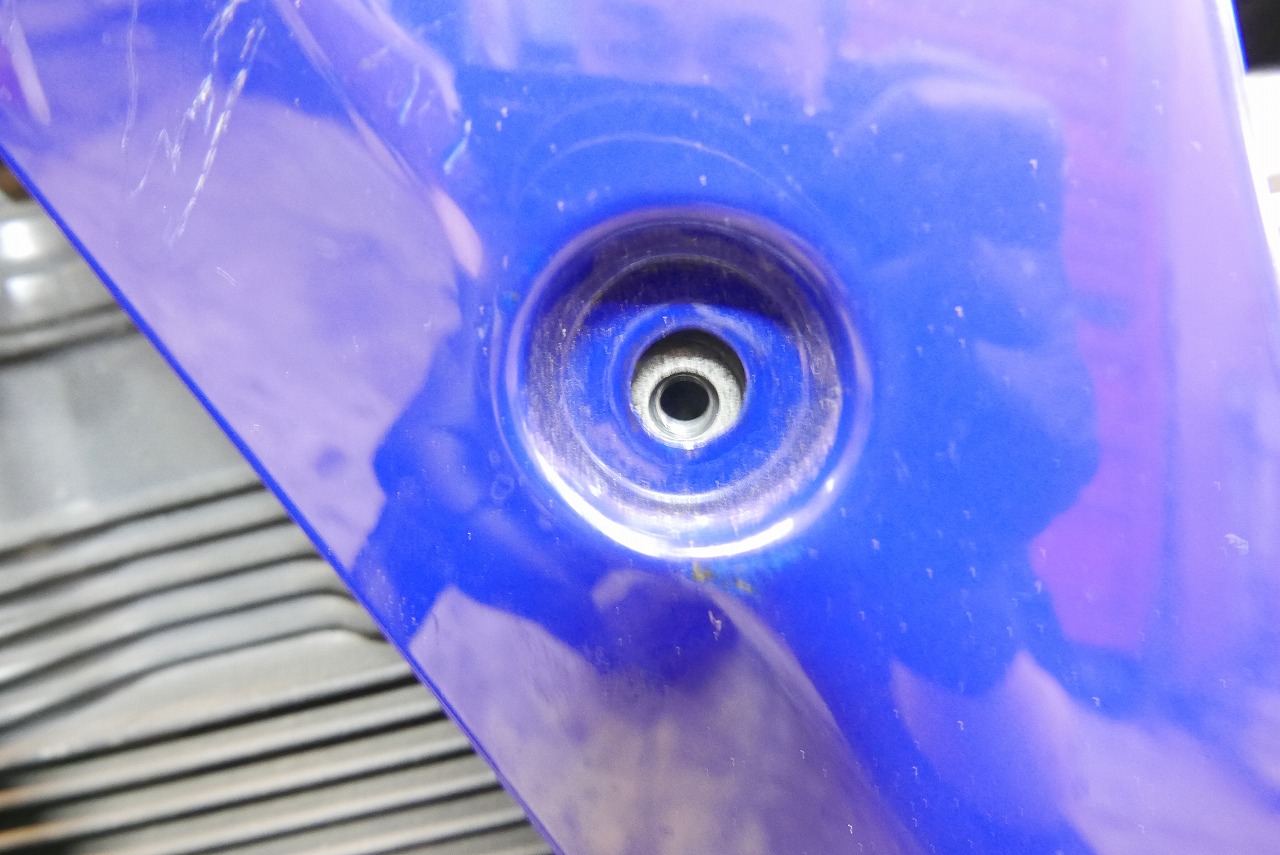
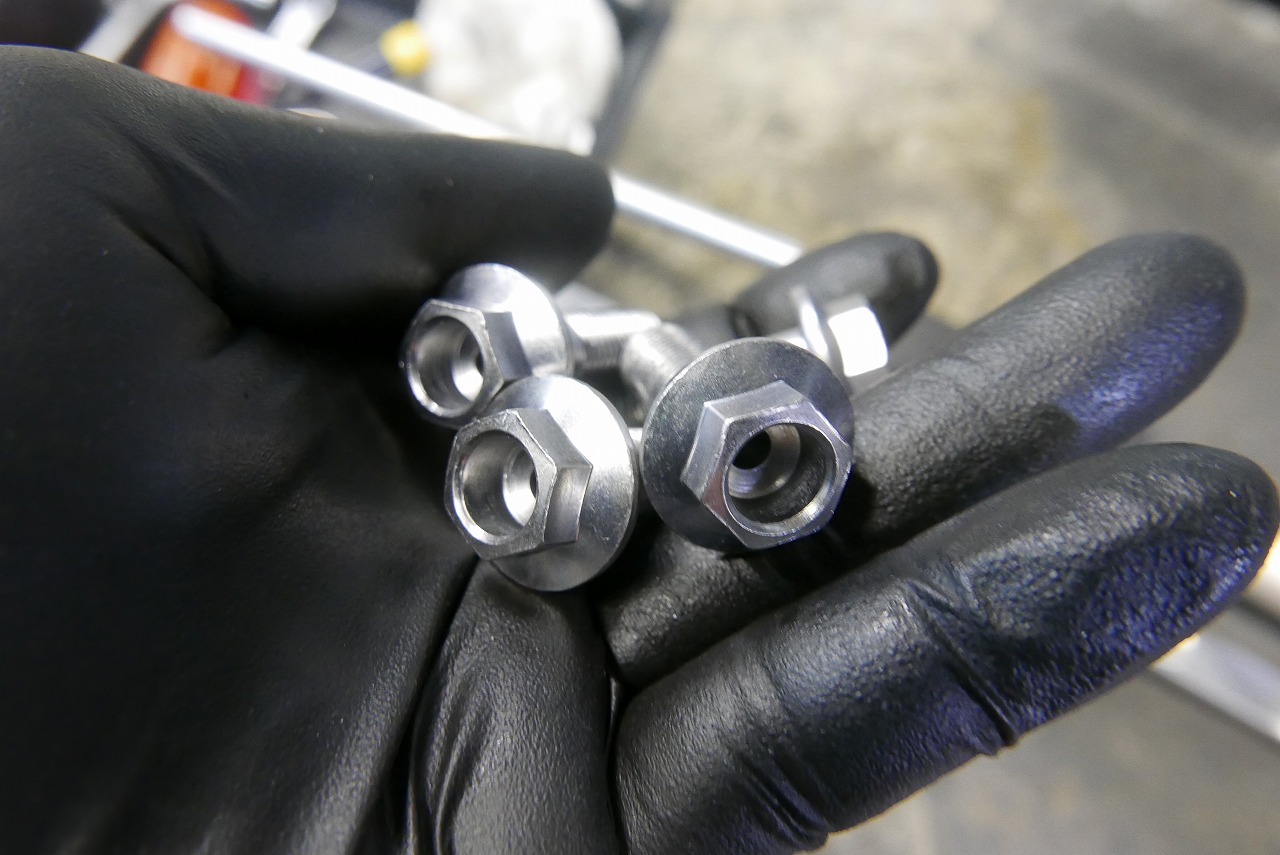
Let’s make a clutch menu! Let’s do it. We drained the oil and checked the oil pan and strainer. It looked like it had broken down quite a bit, which is scary. When it comes to clutches, FCC is the way to go. I believe in their latest surface treatment and friction material. When we inspected them, there was something different. We quickly handled it with a return. Good thing we didn’t soak it in oil right away. The owner wanted to ride it over Golden Week, so we decided to assemble it with stock parts this time. This era uses a center nut with a conical spring and wire lock. The countershaft engages and disengages with throttle opening and closing, so there’s potential for movement within the spline tolerance. To prevent it from coming loose and falling off, we use the later oil-cooled version and crimp it every time. Solid! We tightened it to spec and crimped it in about four places. Along with the oil change, we swapped the drain bolt for the latest Suzuki one. It’s now 17 mm across flats, which makes the job easier. *It has a magnet. If the side stand is rusty, it subtly kills the vibe, so we paint it with Guncoat. It immediately feels better. When there’s a lot of dirt, your enthusiasm tends to fade. Let’s improve it bit by bit, even if it’s just 1 mm or 1 percent. Front maintenance was also requested. If you paint the small parts with Guncoat too, I think it really perks up the whole look. The axle shaft was fine. It was in sharp condition for the first time in a while. I was worried it might come out of the frame. The grease in the race gaps was all rusty. The power of corrosion is amazing. We have a nice tool for removing races, so it wasn’t too much trouble. After pressing the races in, we checked that they seated properly. As always, we use Newtech NC100 grease. Cleaning the fork insertion area before assembly makes future work easier. When you paint the small areas nicely too, it feels like “oh, that looks good.” It feels good to assemble it. Just having a dirty or sluggish side stand kills the mood. Once you clean it up properly, it lasts longer. It’s good to check the axle shaft when you remove it too. Speedometer gear. Just remove the C-clip, clean it once, and oil it. Don’t glob it on. When you remove the wheel, it’s good to check the position of the bearings and distance collar. The fork oil was nicely dark. I think it was good timing. The press-fit area on the bottom case is pretty critical. Remove all rust and corrosion, then set it up for smooth insertion. I think that’s the way to go. The inner tube was pristine. No runout at all. Cylinder rod bolts are best replaced with new ones. Since they’re special bolts, it’s safer to get them while you’re in there doing the OH. The key is that they should slide in smoothly by hand. The seals are always SKF green. After working the stroke back and forth, we pull a vacuum to make sure all the air is out. Clean up the cap and the fork is done. Going back a bit… the oil level window on the clutch cover makes a huge difference when it’s clean. When you change the oil, it’s easy to tell if you’re looking at “oh, clean oil is nice” or “the oil is dark.” Clean and transparent is good. Fuel sensor leak. We replaced the seal and tightened it properly. Usually we’d bend the pipe, but this time we just connected it with a vent like this. These little parts are surprisingly handy. The center cowl often doesn’t fit well on the engine side of GSX-R models. There are various causes: crashes, assembly issues, and so on. Sometimes loosening the upper cowl mounting bolts and repositioning helps. If you force it, it usually cracks or the damper breaks, so be gentle and aim for smooth insertion. Going back a bit. Yamaha’s hollow caliper bolts are nice. I’ve been thinking lately how good Yamaha’s design is. Used bikes have so many things to think about. The less finished they are, the more “work” there is to do. That’s the niche we fill every day. That’s all for this time.