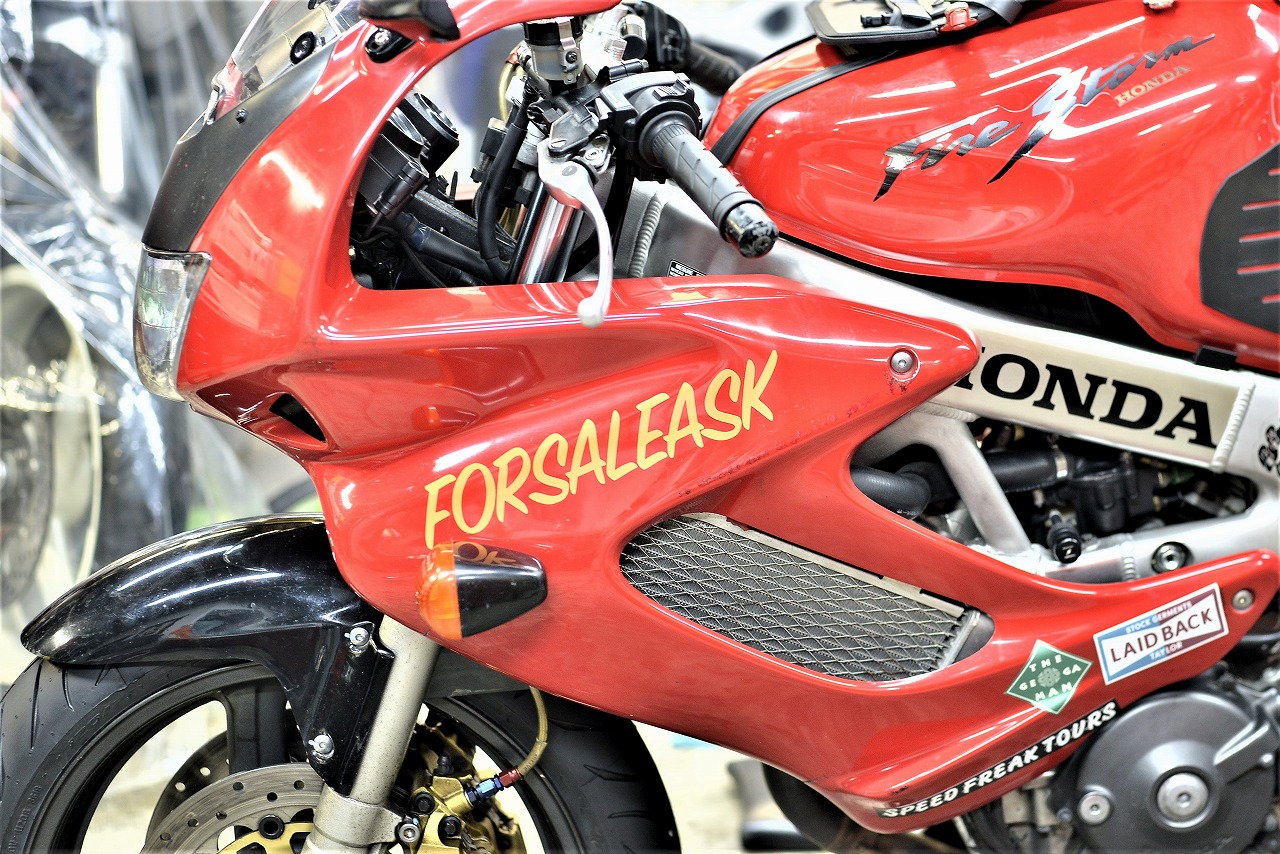
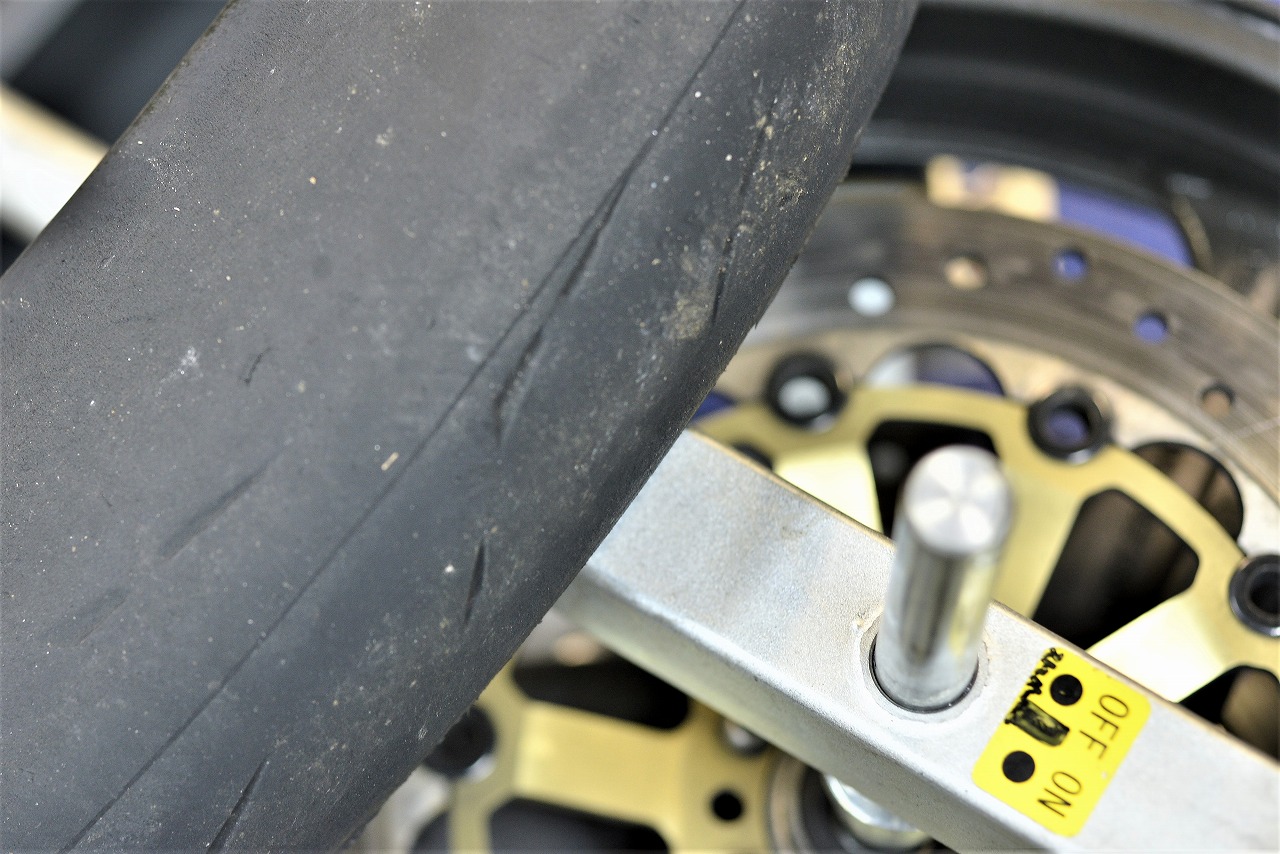
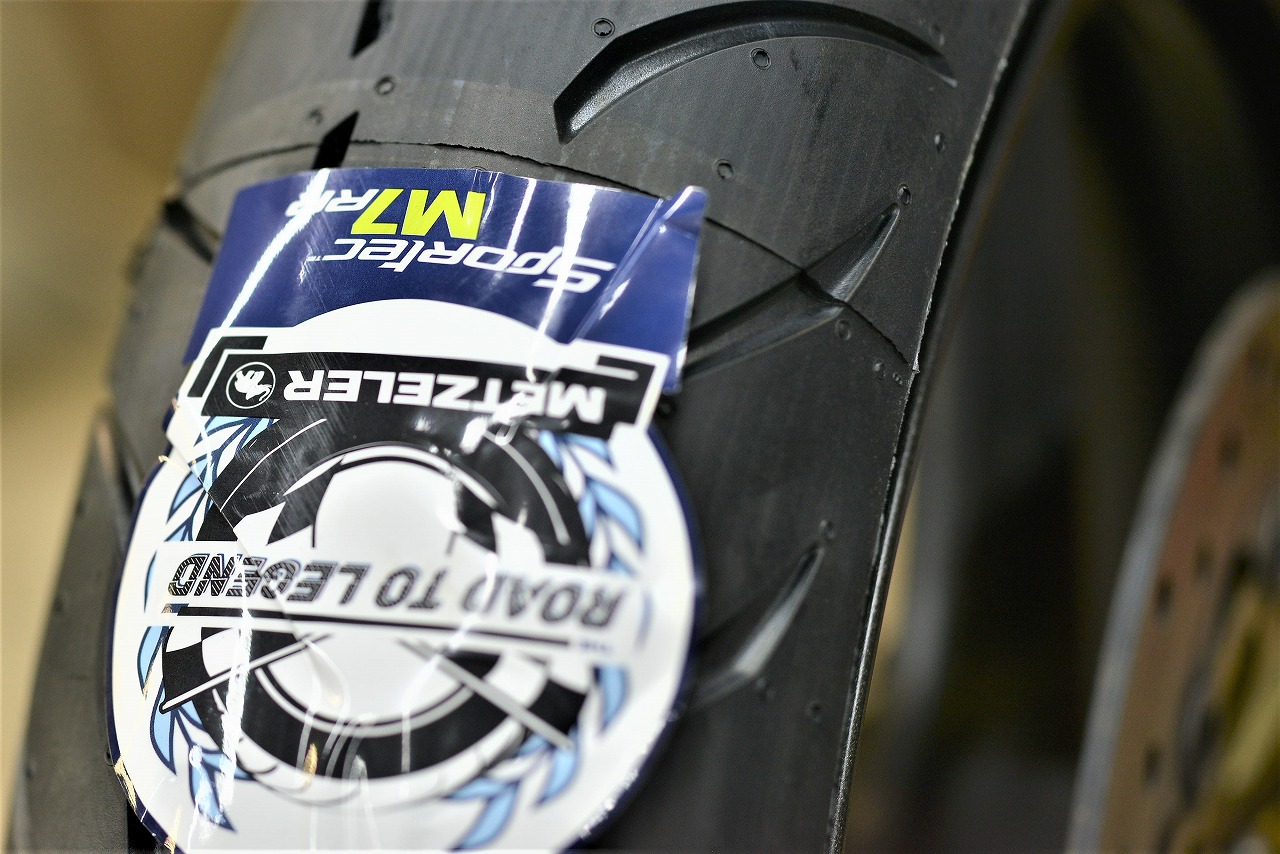
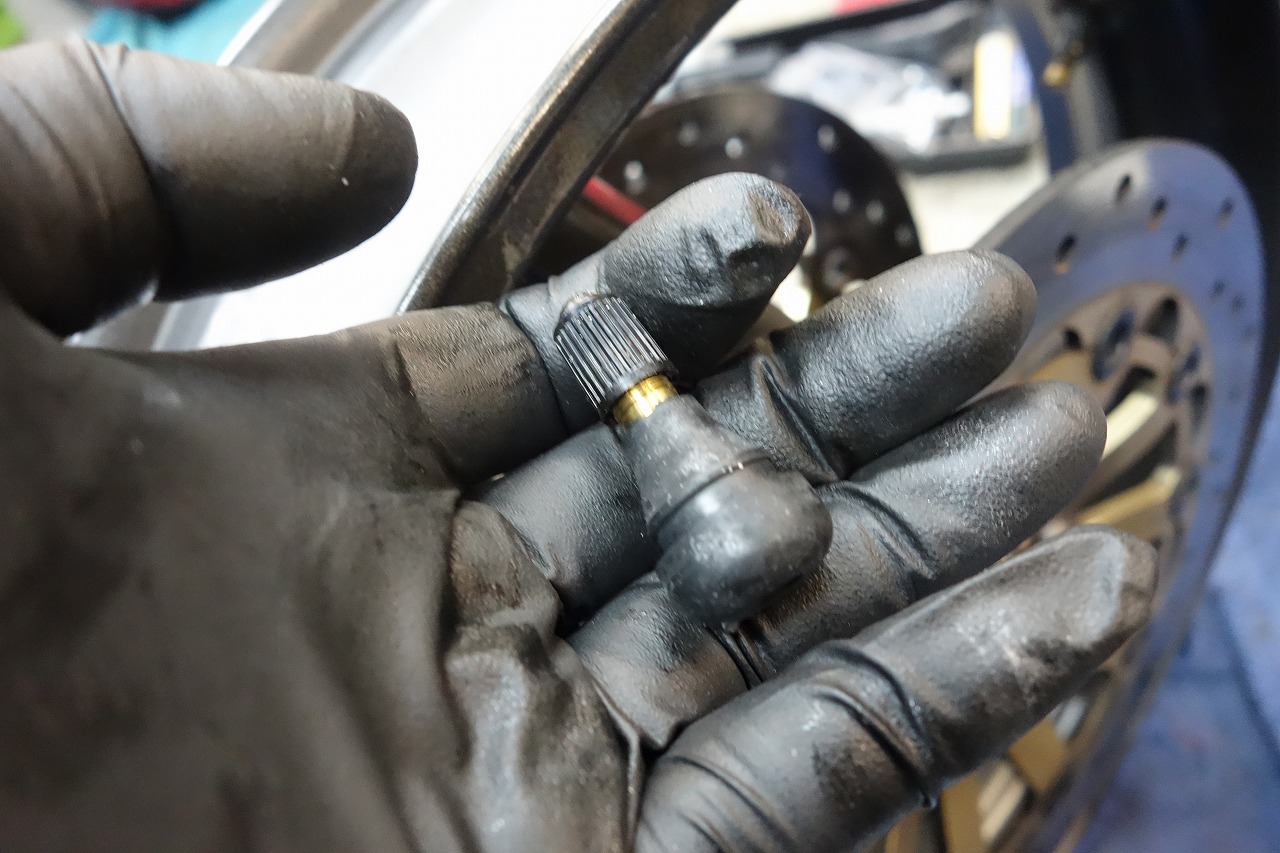
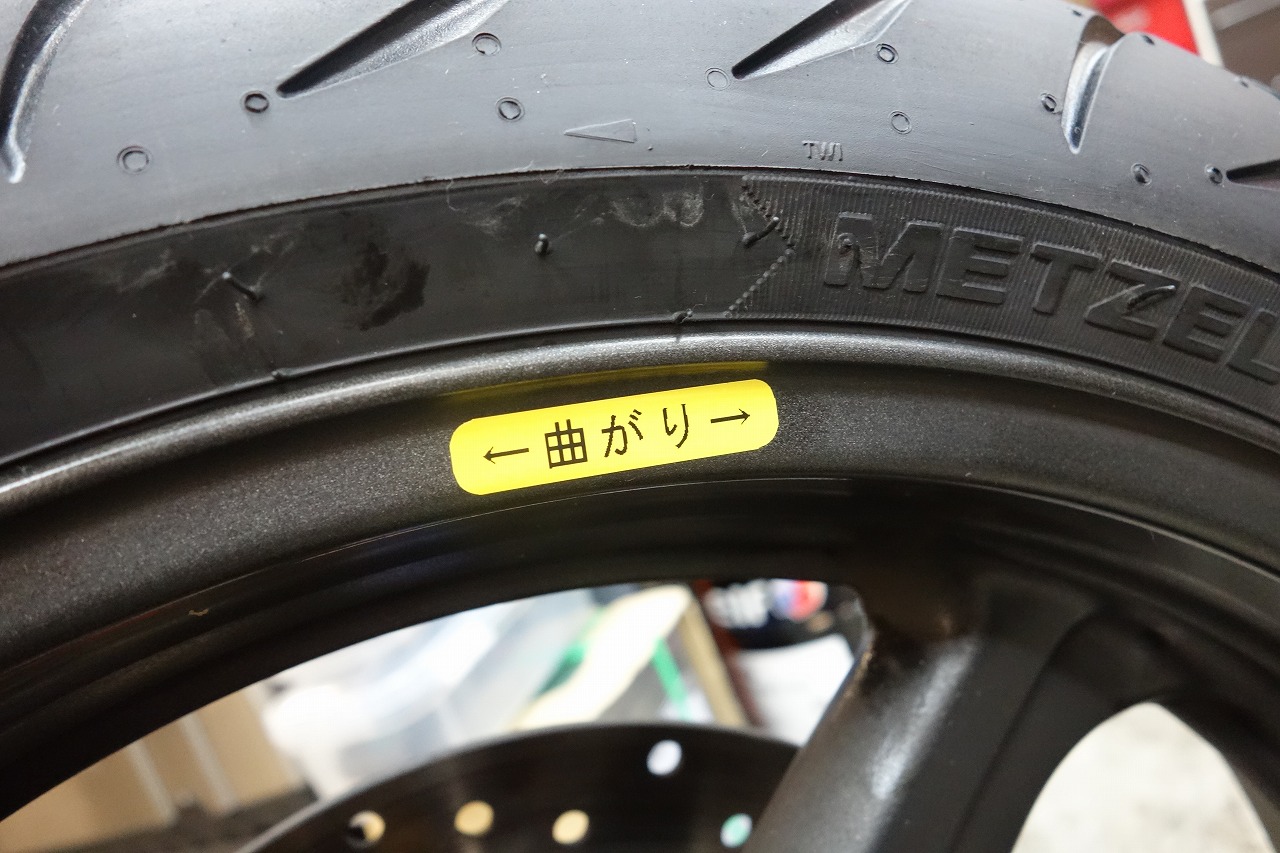
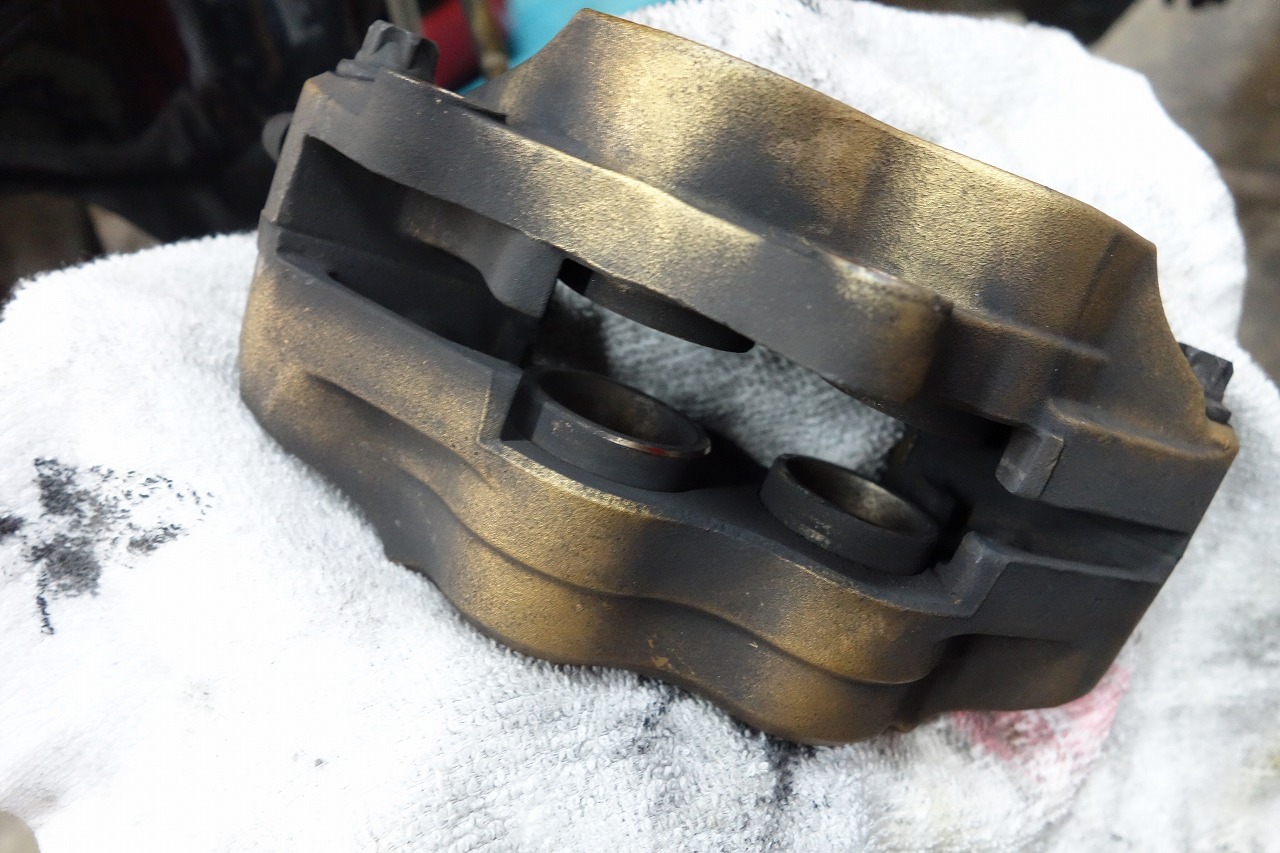
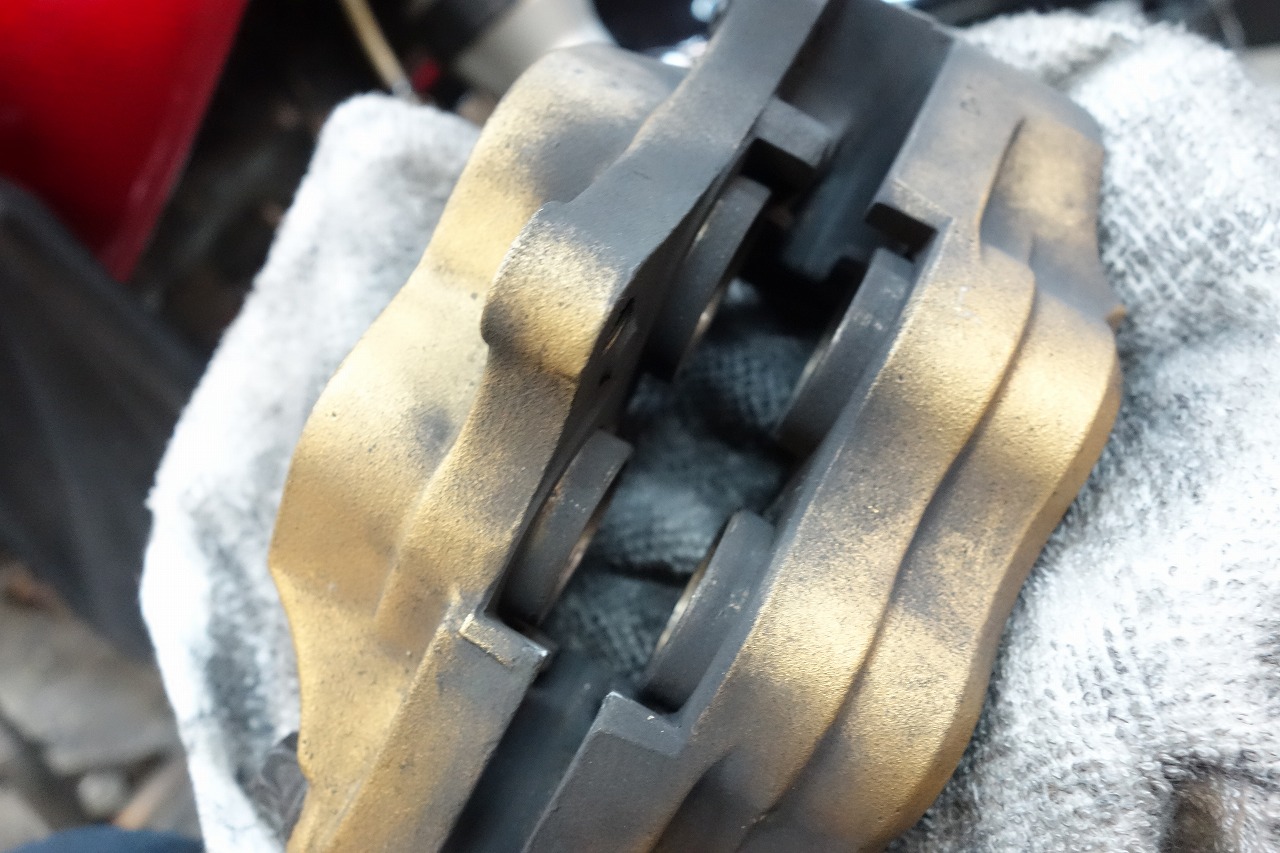
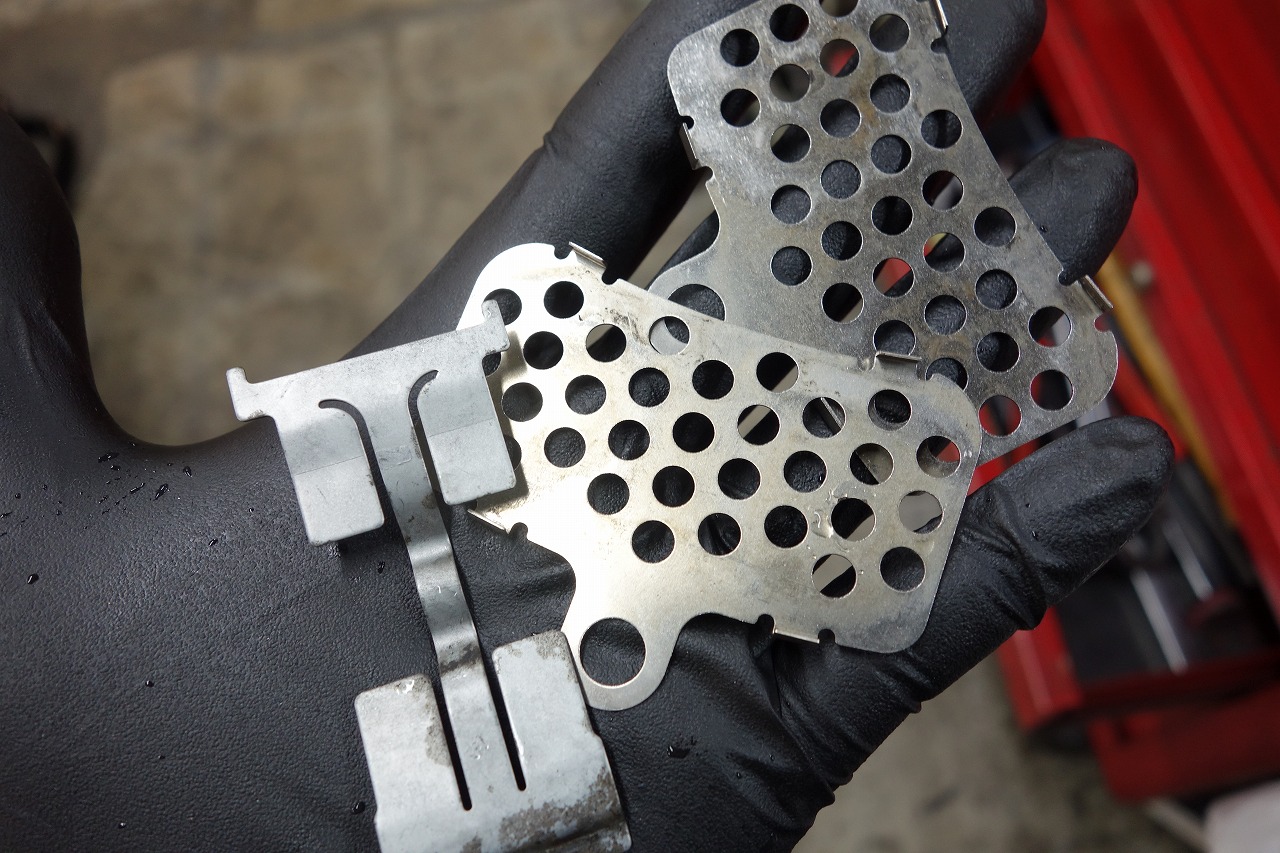
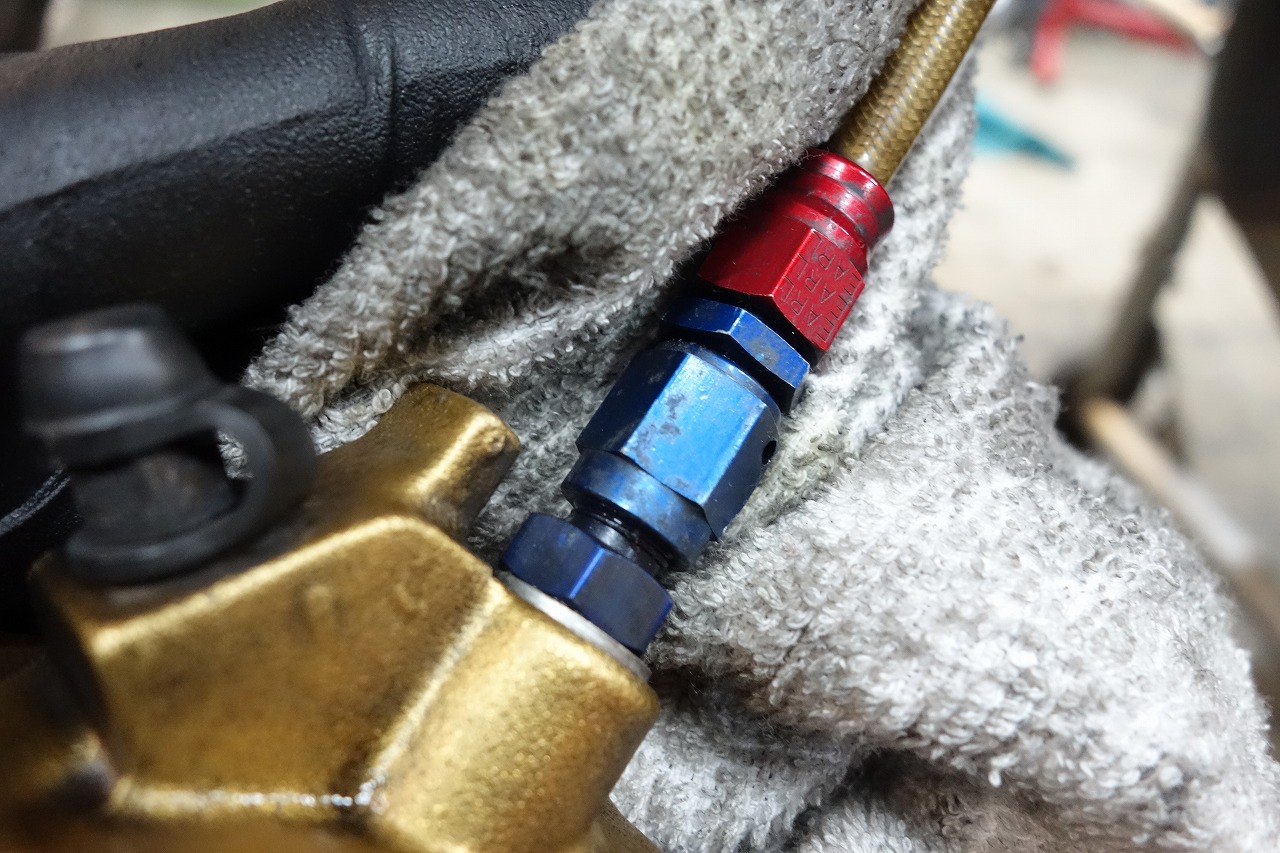
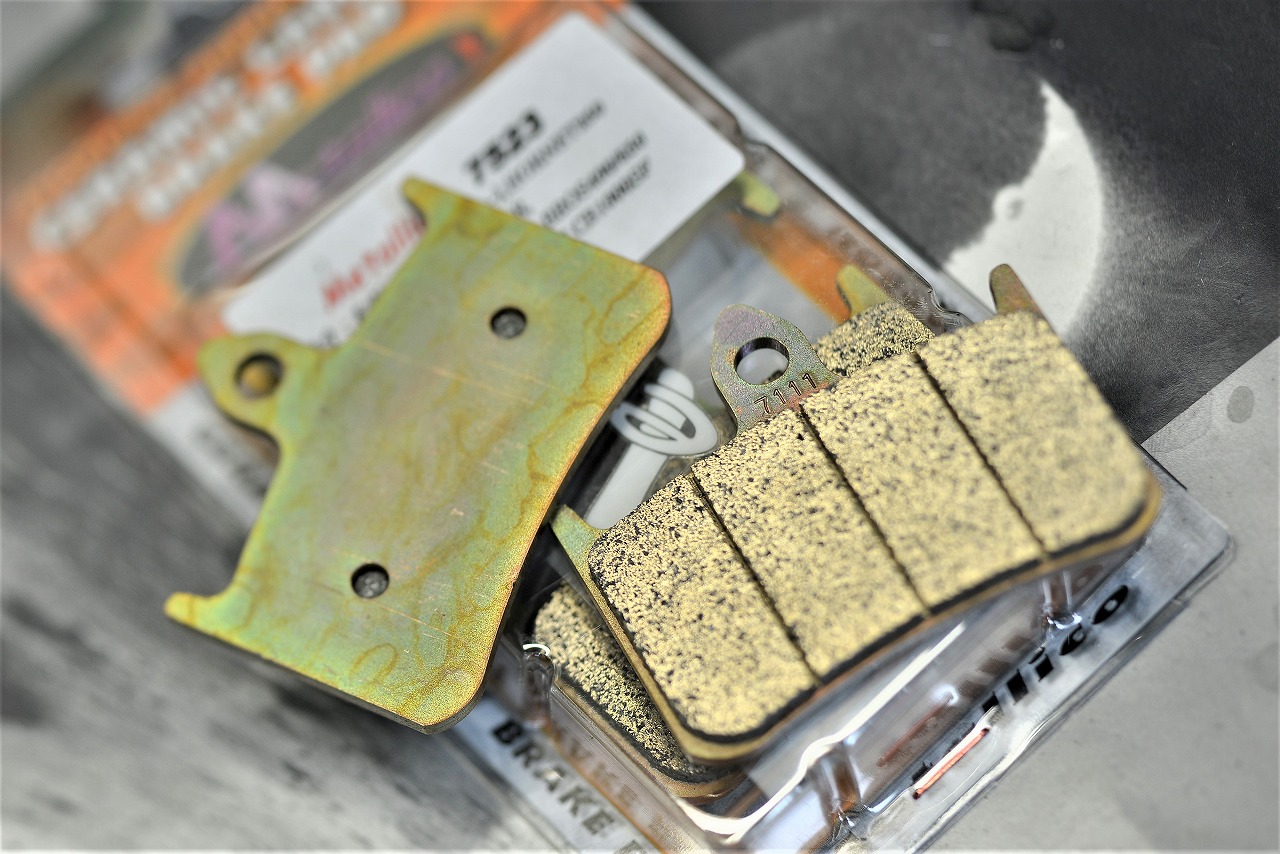
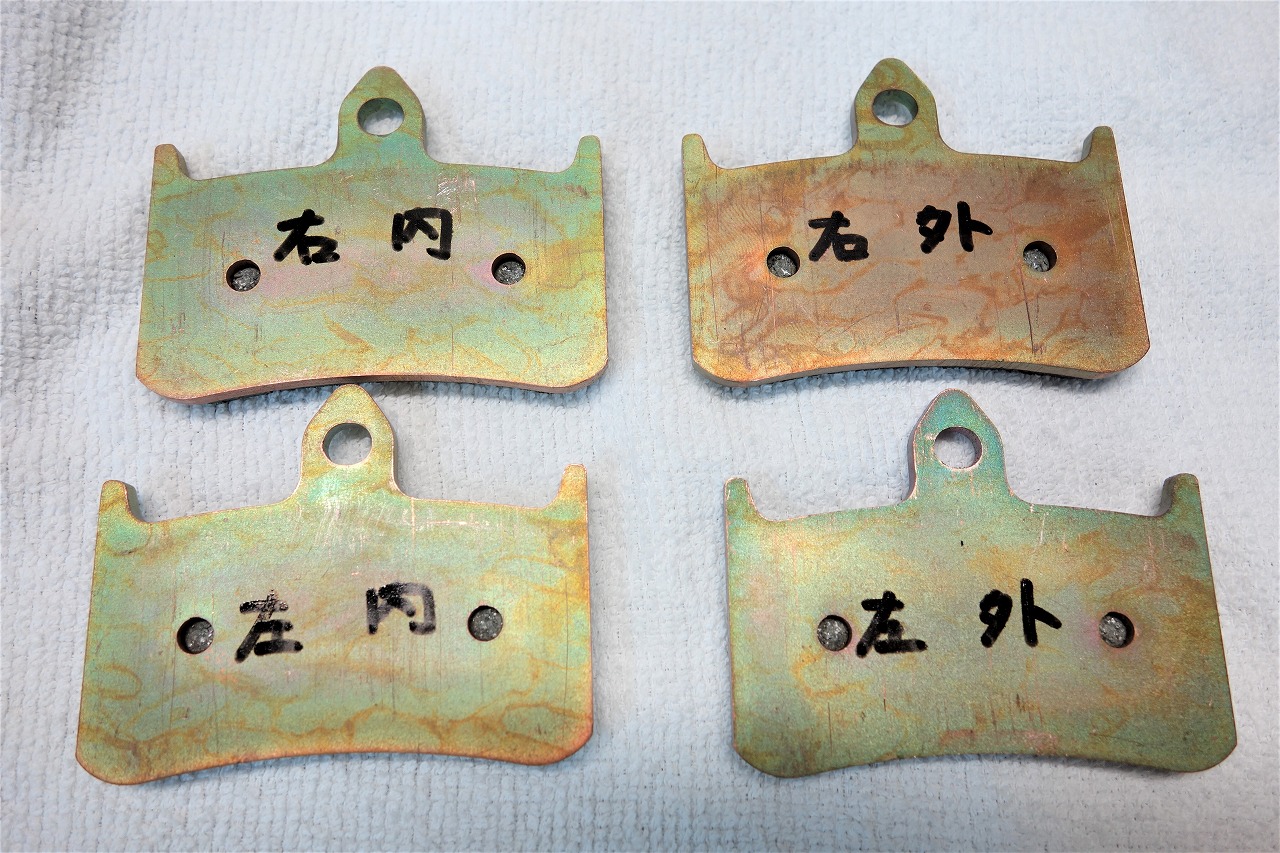
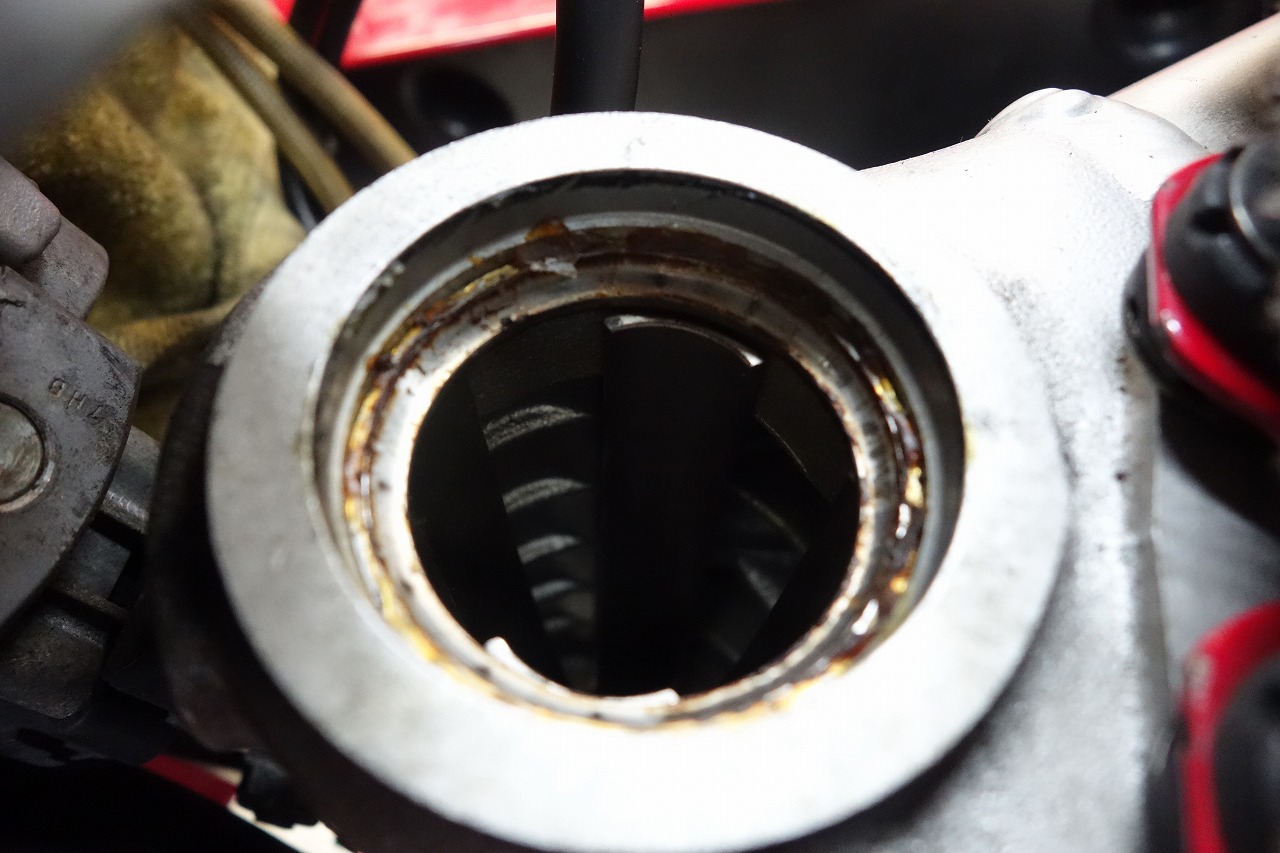
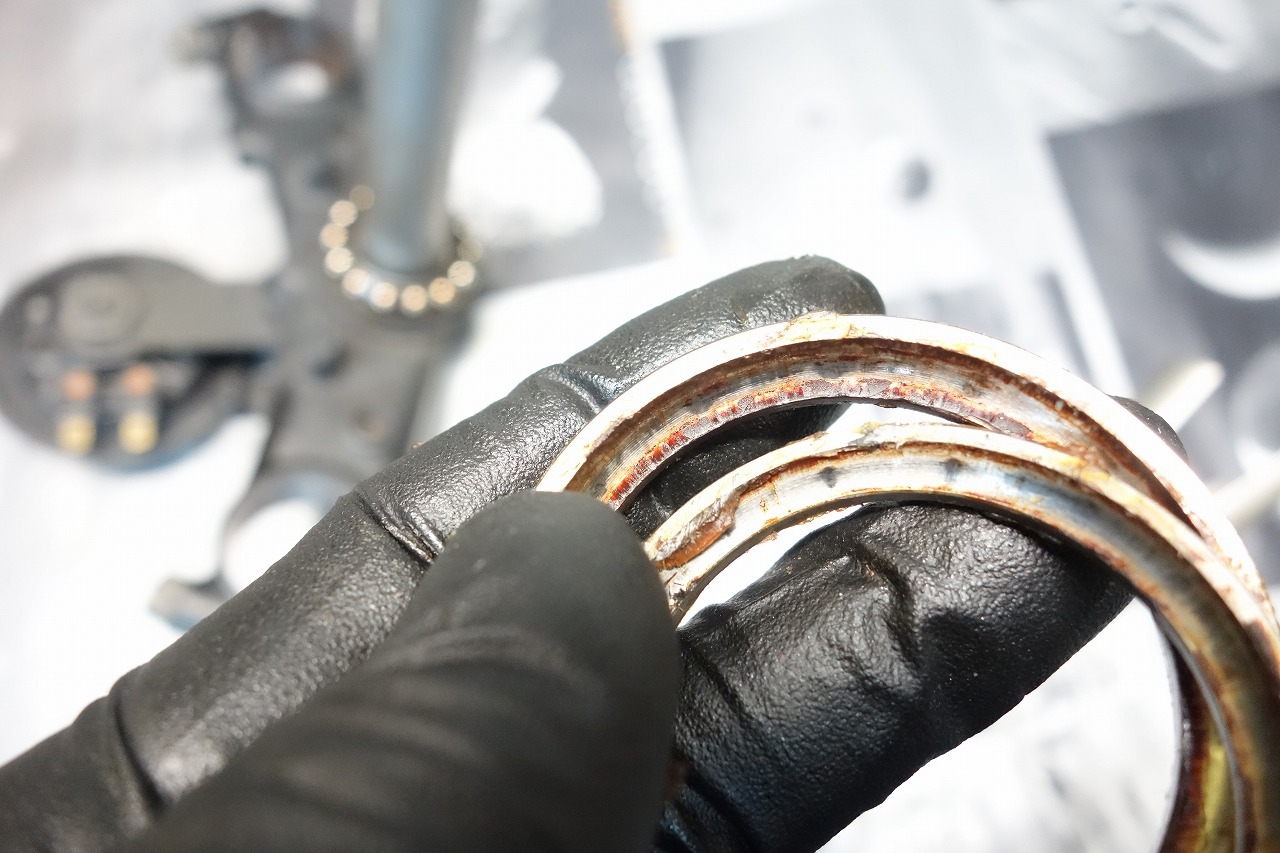
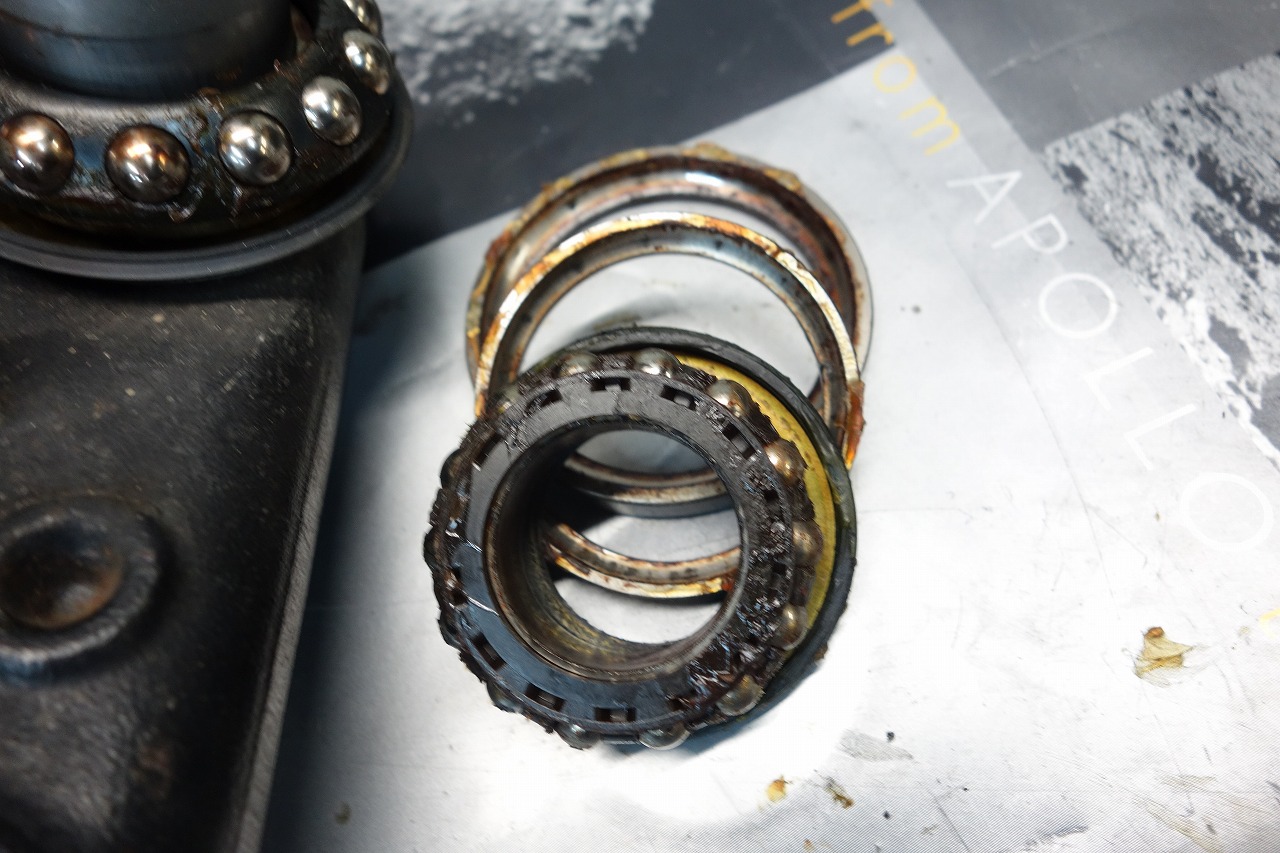
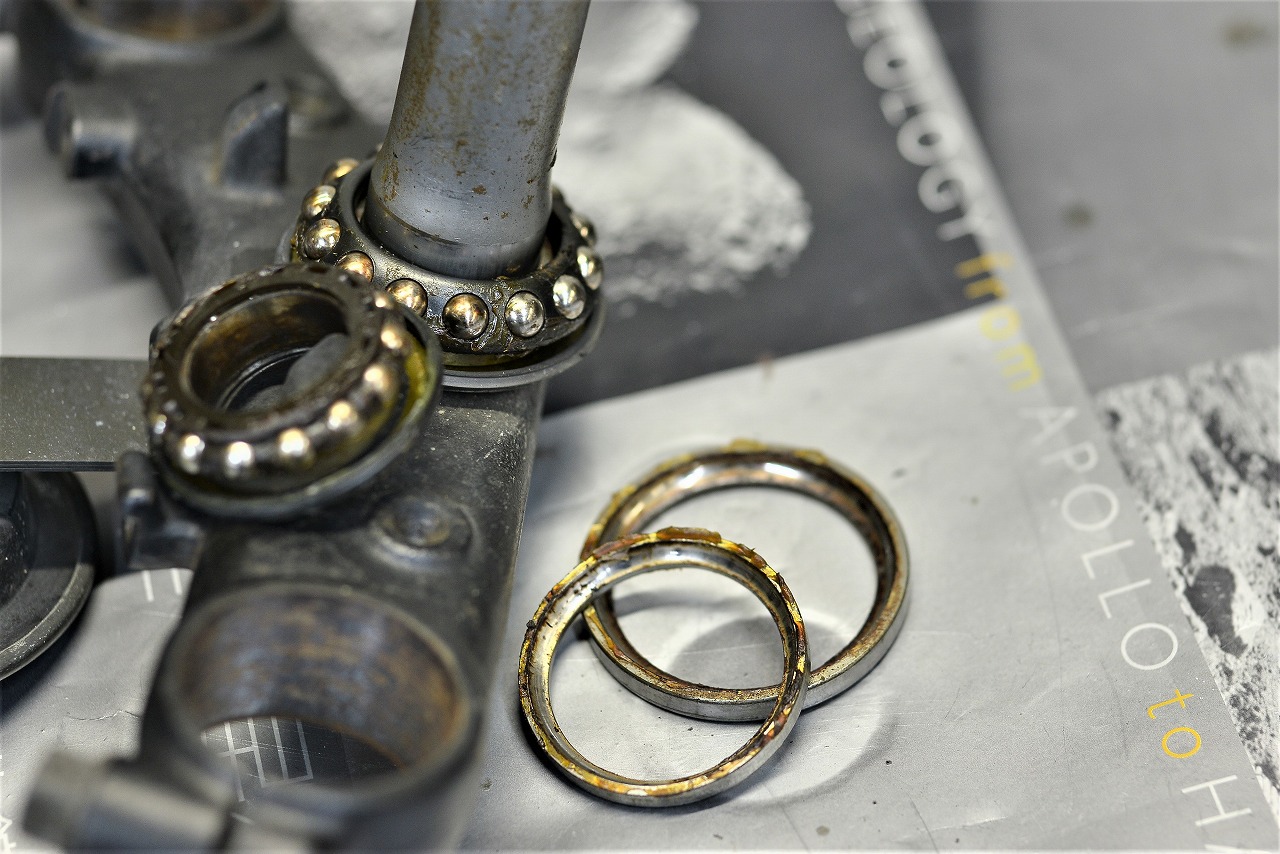
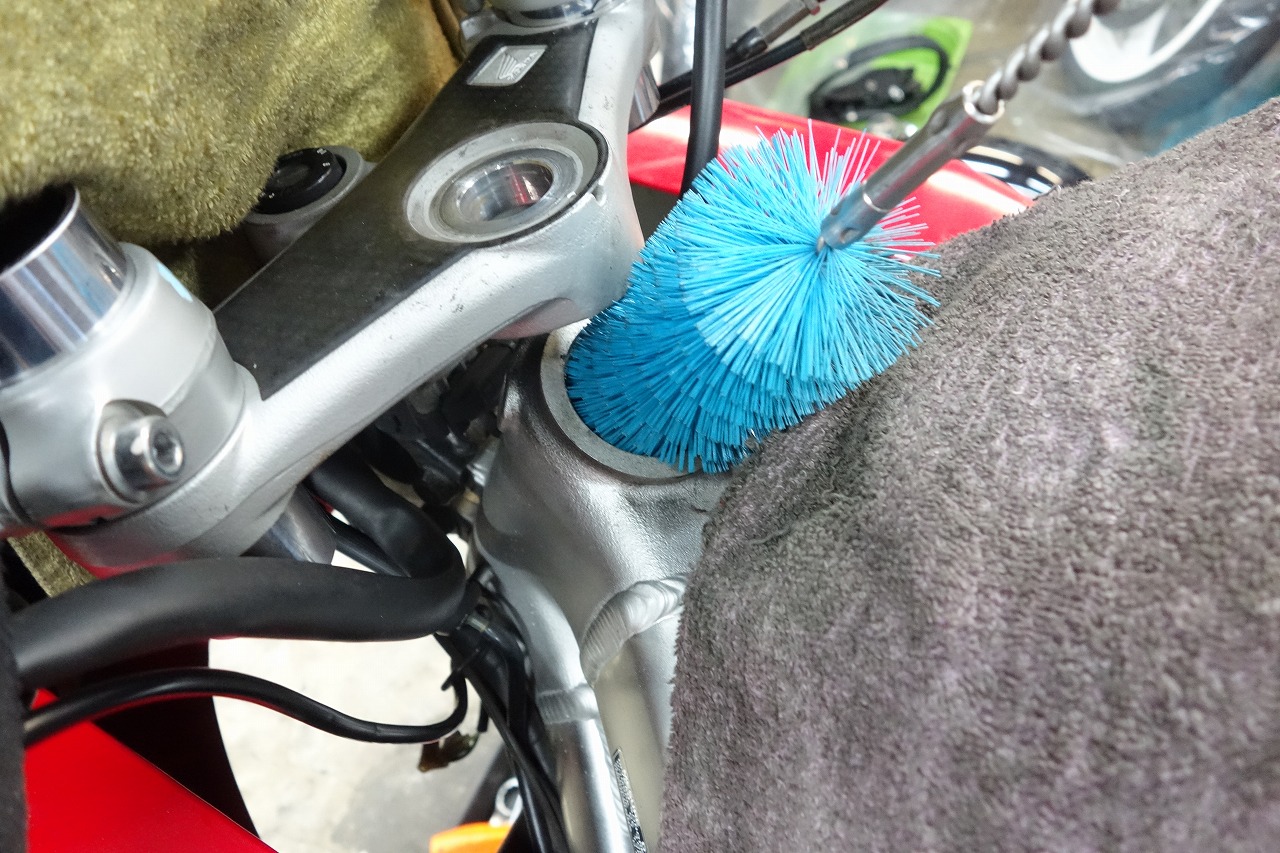
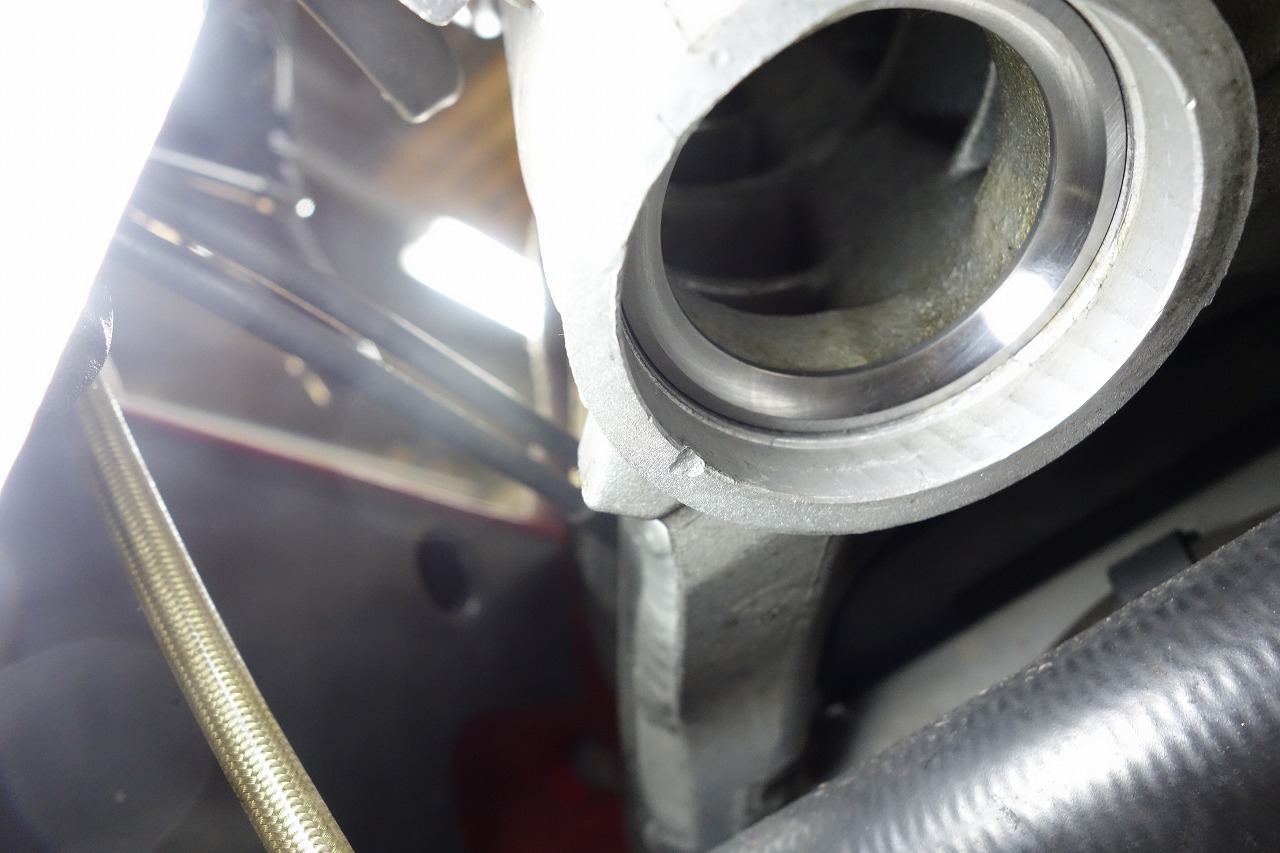
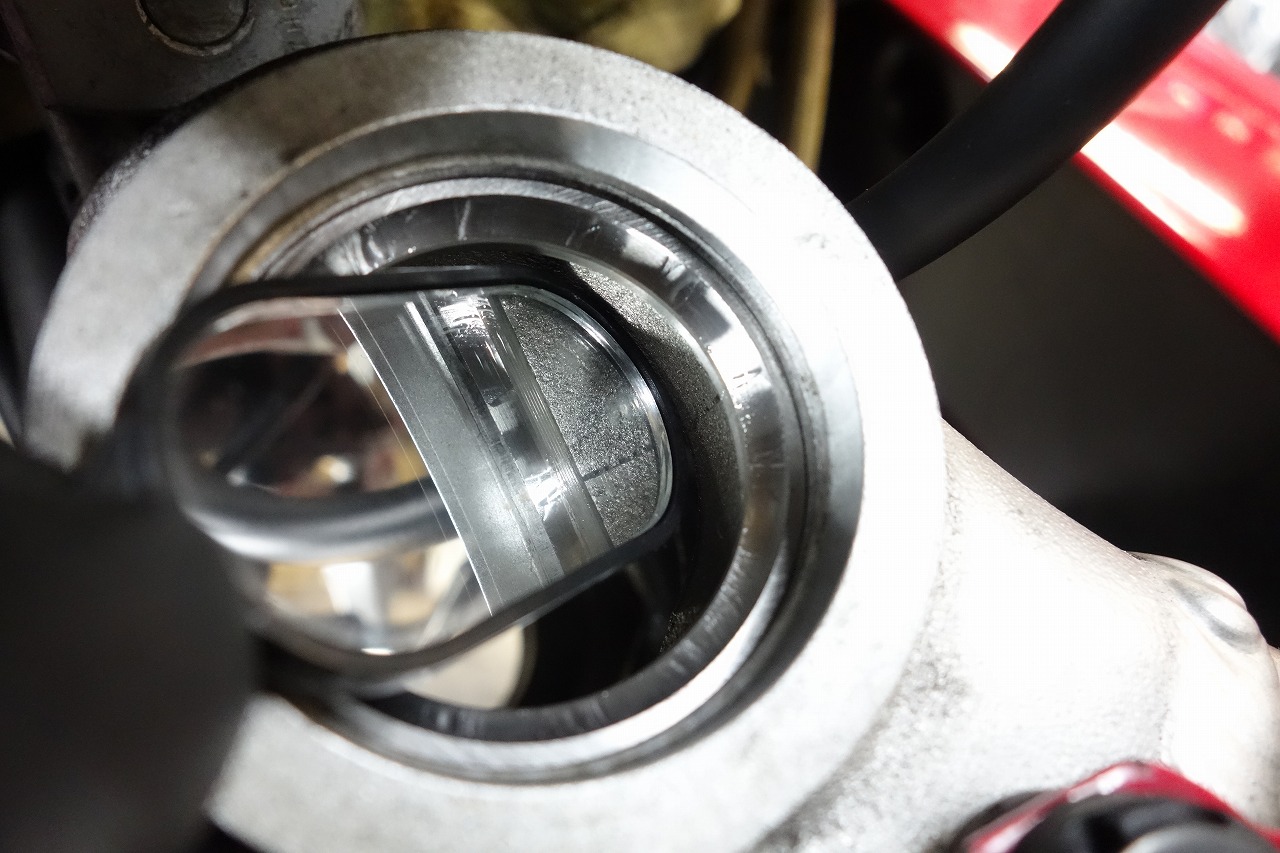
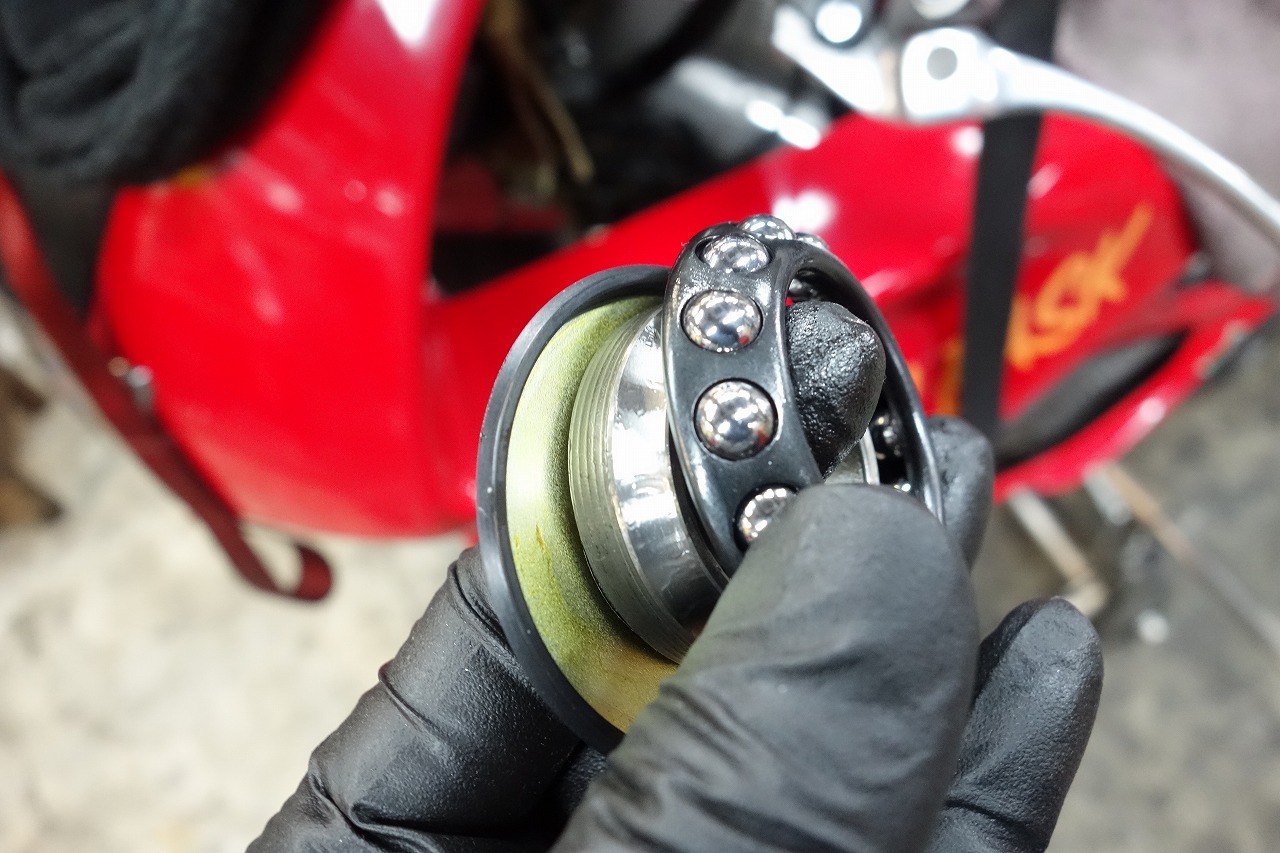
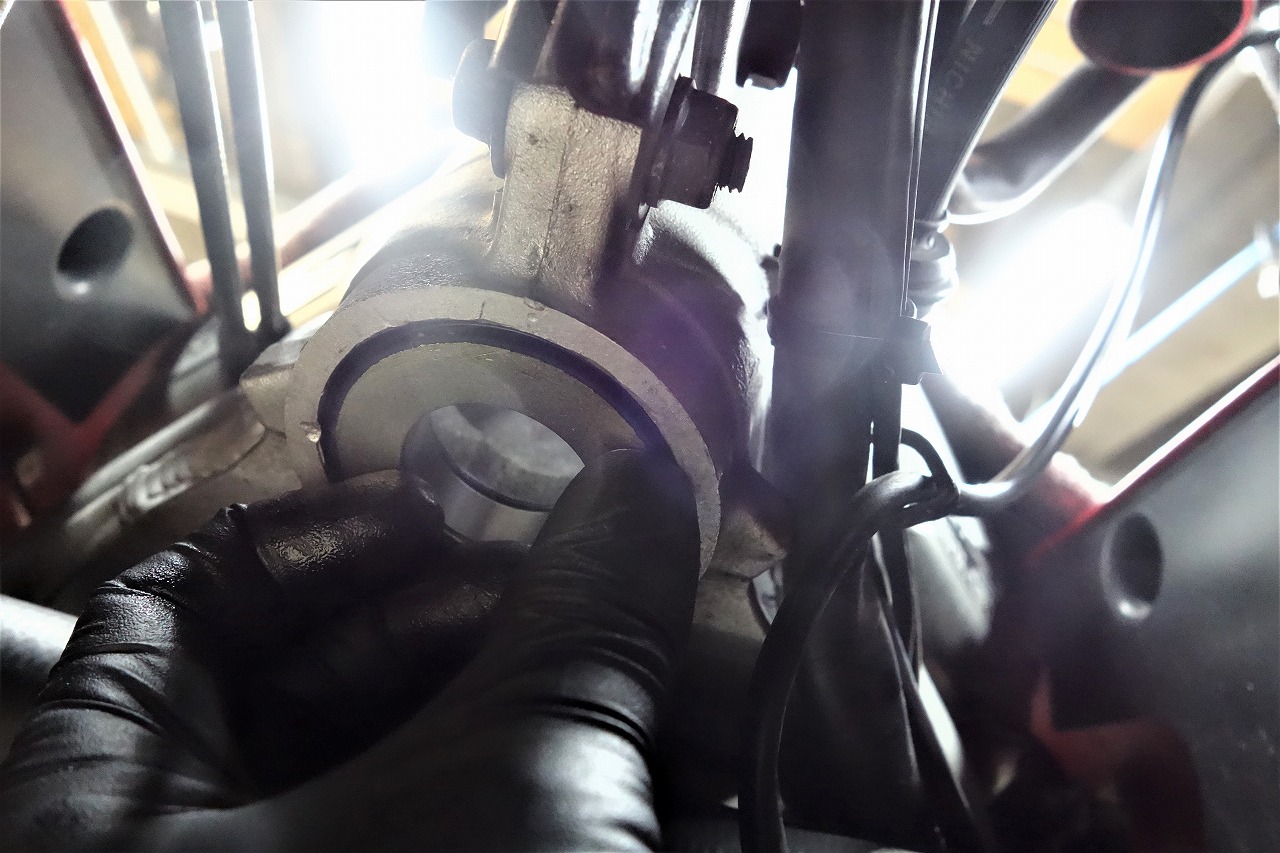
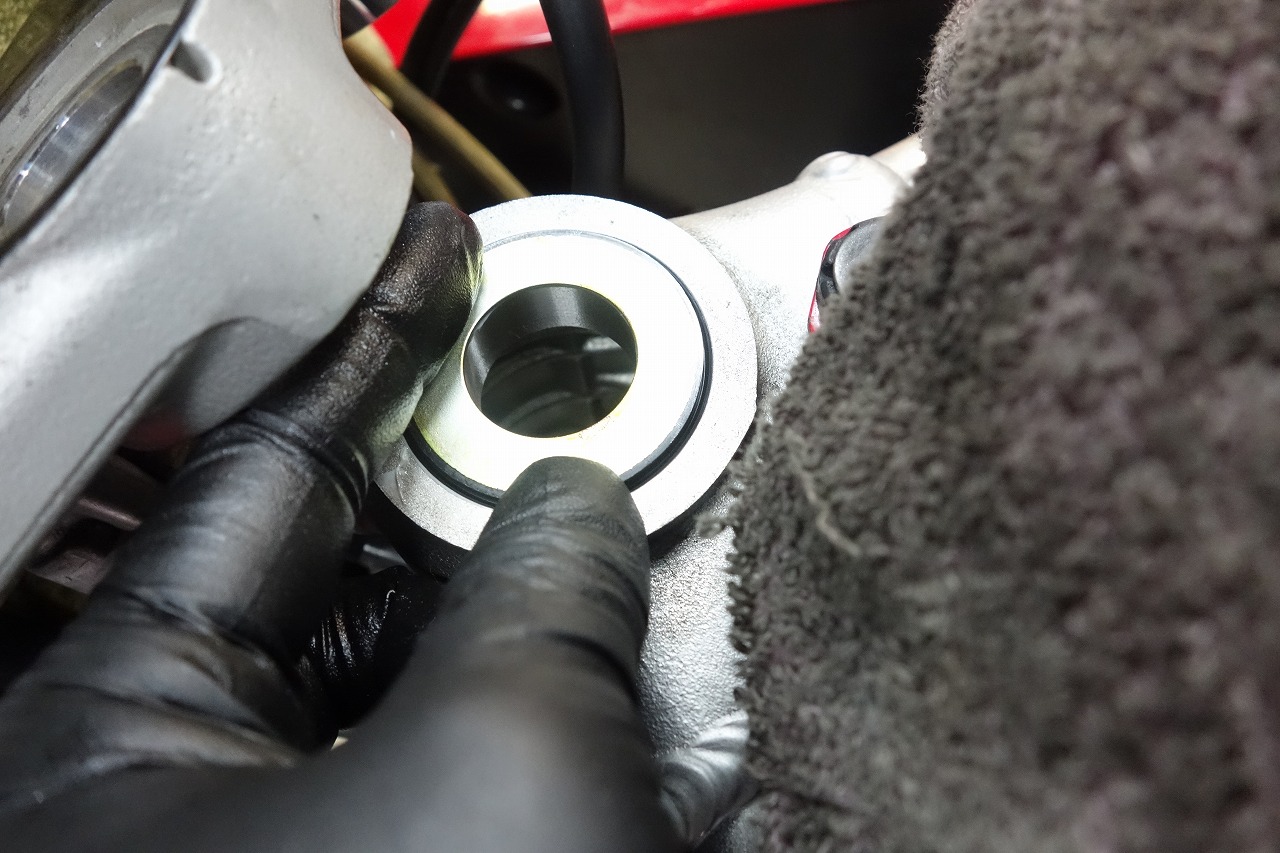
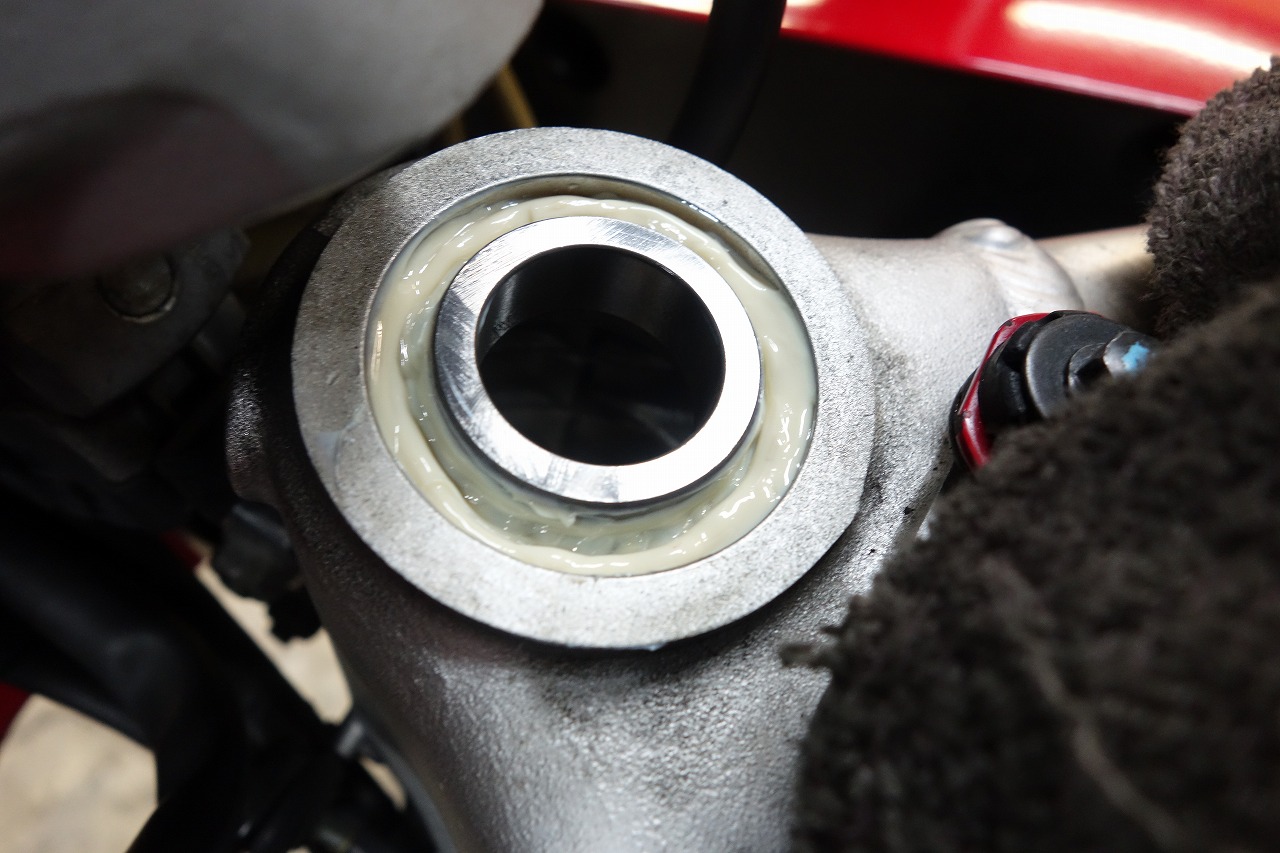
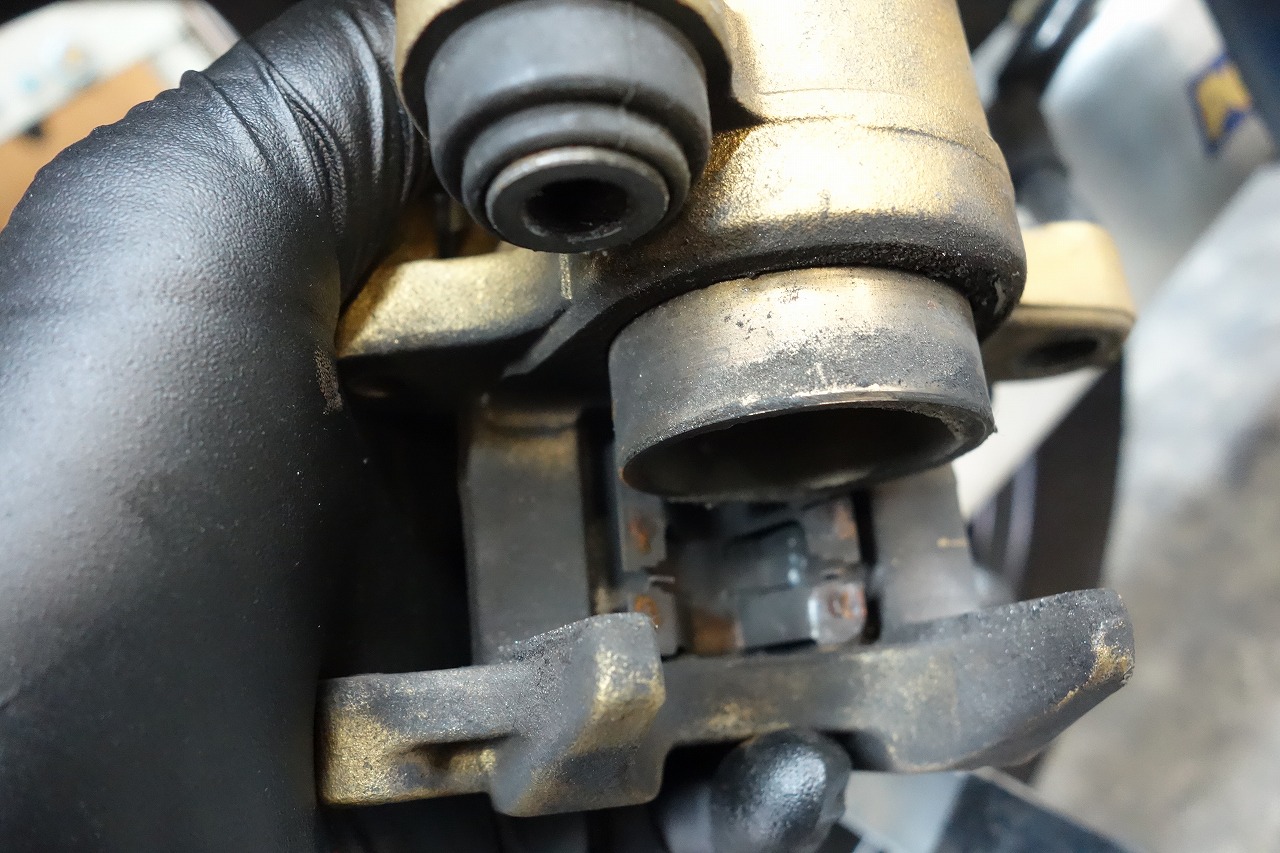
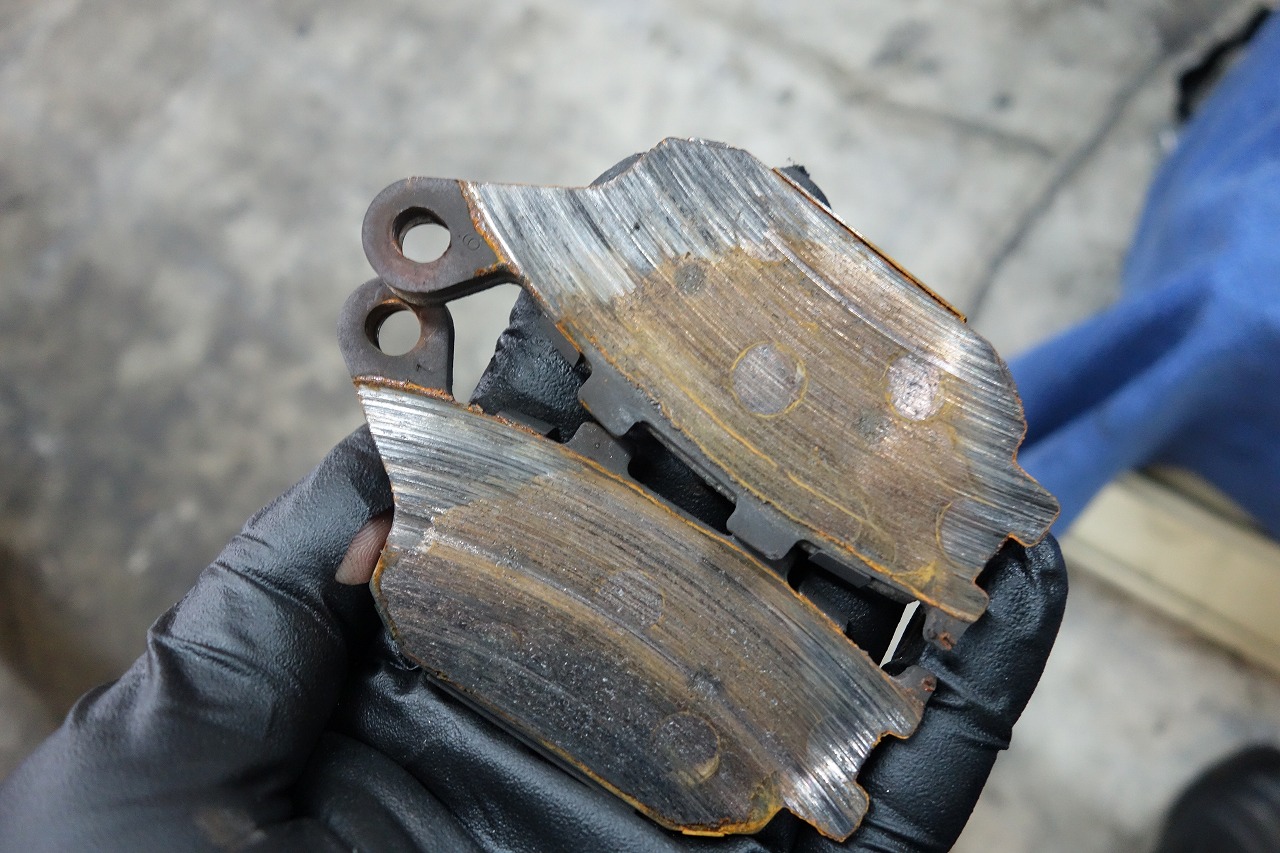
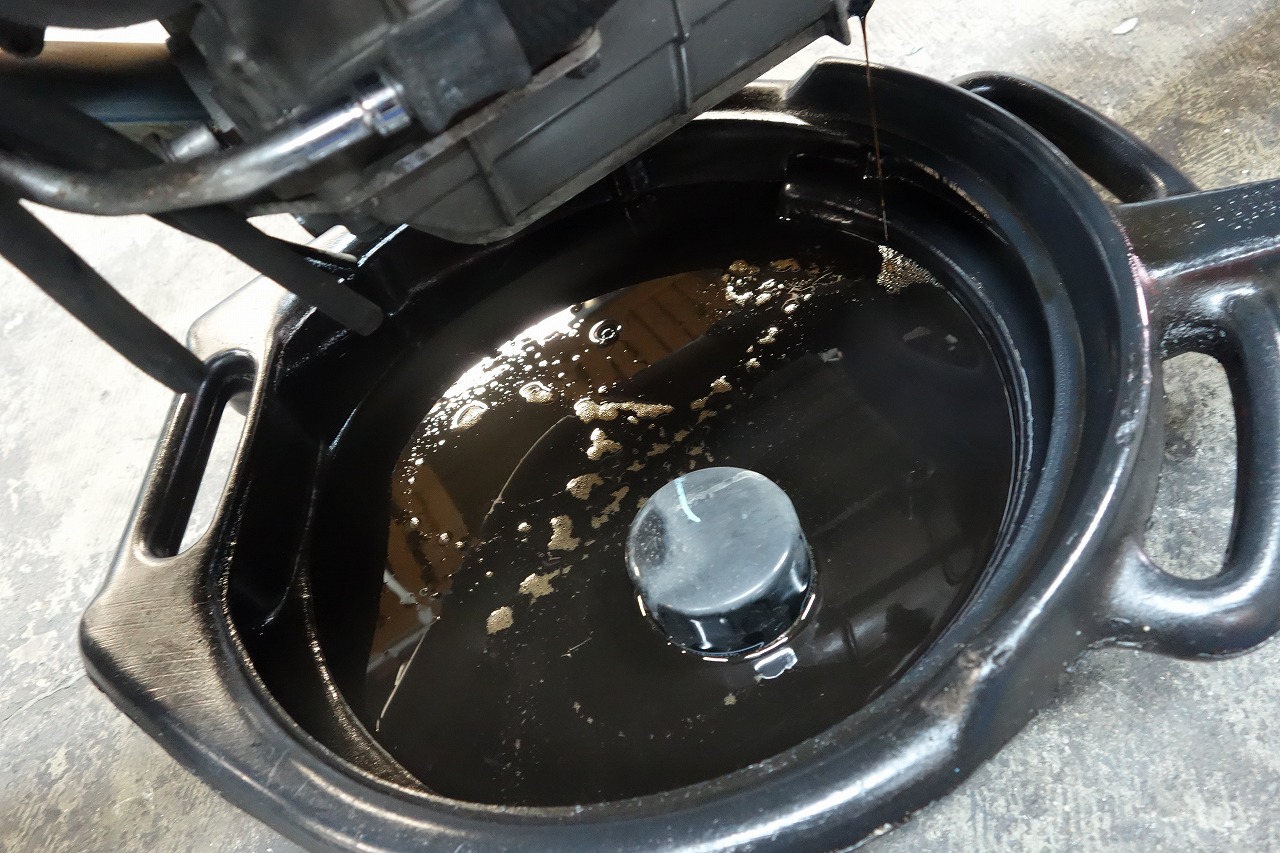
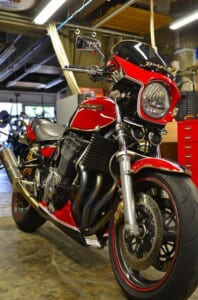
The V-twin continues. The VTR1000F has its radiator mounted sideways. Innovative! That’s the thing! We’ll be doing various angular work. First up is the front tire… wow… this condition. For a moment I thought it was a slick “(,,`・ω・´)ンンン?” Be careful. We’re installing the recently popular Metzeler M7RR. If the air valve is rubber type, replacing it each time gives peace of mind. The front wheel had a slight wobble. The yellow was a bit much, so we went with black afterward. Replacing the pads. The caliper is gold colored, so dirt really shows. The pistons were rust-free and in good condition. If you’re reusing them, cleaning them up makes things easier next time. With aluminum fittings, checking for cracks is essential. Applying rust preventative gives even more peace of mind. They wanted it to bite hard! So this time we went with Metallic (standard). It’s a pad with real punch and clear feedback. Preferences vary. I personally like kanji. At a glance, it sinks in smoothly—fewer mistakes that way. LL-LR / RR-RL also works. The grease was quite dried out. There were impact marks too, so it was as expected. Since we don’t know when we’ll take it apart next, let’s give it a good scrub. There was an impact mark on the frame lower. But the color matches the rest—was it original? We smoothed it out anyway. Checking carefully with a mirror gives peace of mind. Check the lower before pressing it onto the stem. Testing operation with this assembly against the frame gives peace of mind. These kinds of seals barely work anyway, so no worries. It’s good to check the contact on the upper side too. The grease is the usual Neutech NC100 grease. It’s softer than the spec suggests and resists heat sag—especially good for aluminum frames. Every year I think… can’t work be done easier?
I especially hate back-and-forth work, tightening and loosening endlessly.
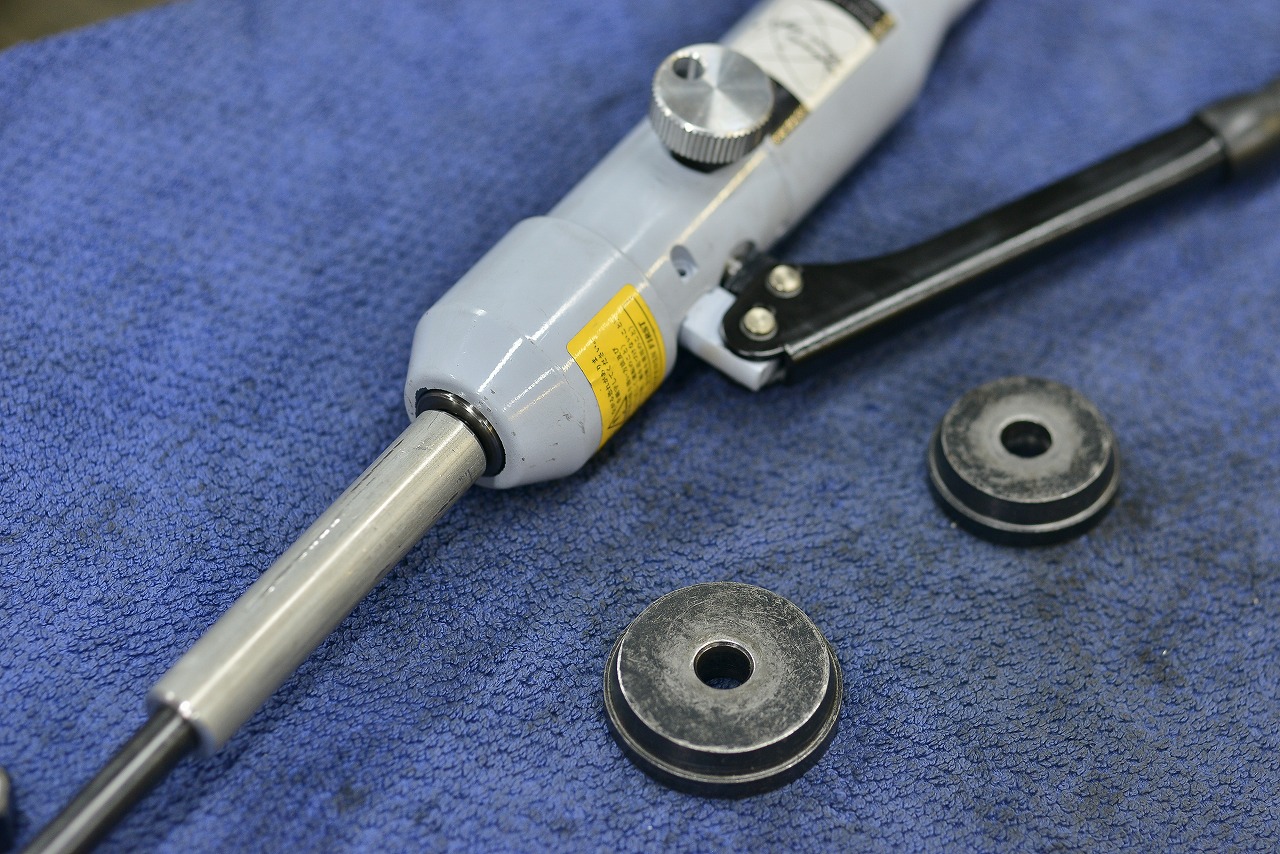
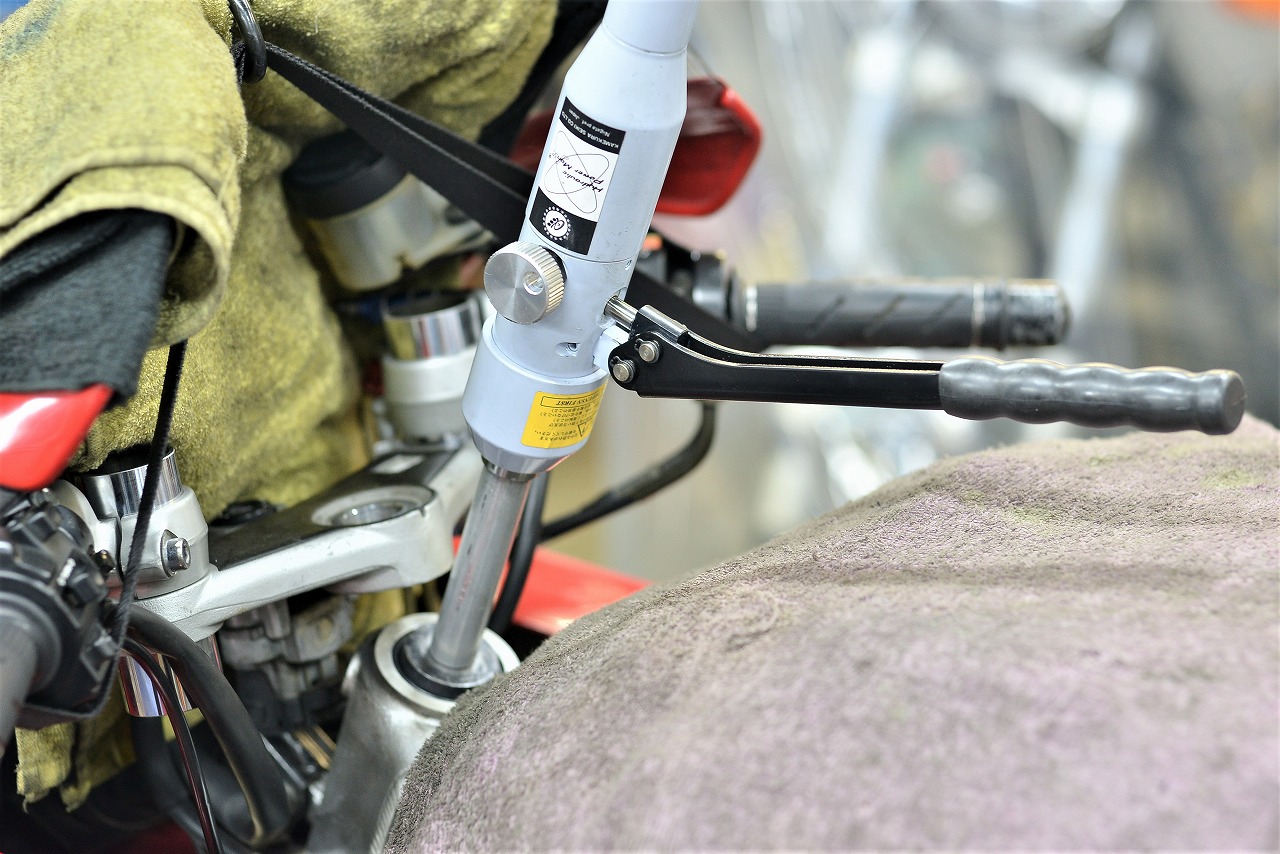
Stem bearings, swingarm—why not just press them in hydraulically? That’s why we’ve been quietly prepping this for a while.
We’ll introduce it later, but it’s just a Kamakura hydraulic punch with a modified OEM shaft. With tools like this, there’s no time for fiddling and loosening… Or you could hammer it in, but then you wonder “Really? Is it going in straight?”
Anyway, it’s incredibly easy. Wish I’d done this sooner. Life’s full of those moments. That’s RACING nobody teaches you. Stem bearing adjustment varies by maker. Even between motorcycle shops, I’d say.
There was that trend years back: “Loose to the point of play.” Looking back, if you adjust that loose from the start, once the upper and lower seals or bearings wear in, play develops.
I once had someone let me test ride a bike that was getting tossed around at high speed. The steering was rattling—once I adjusted it properly, “It’s fixed!”
Light, responsive steering but lacking solidity—that balance is what makes it tricky.
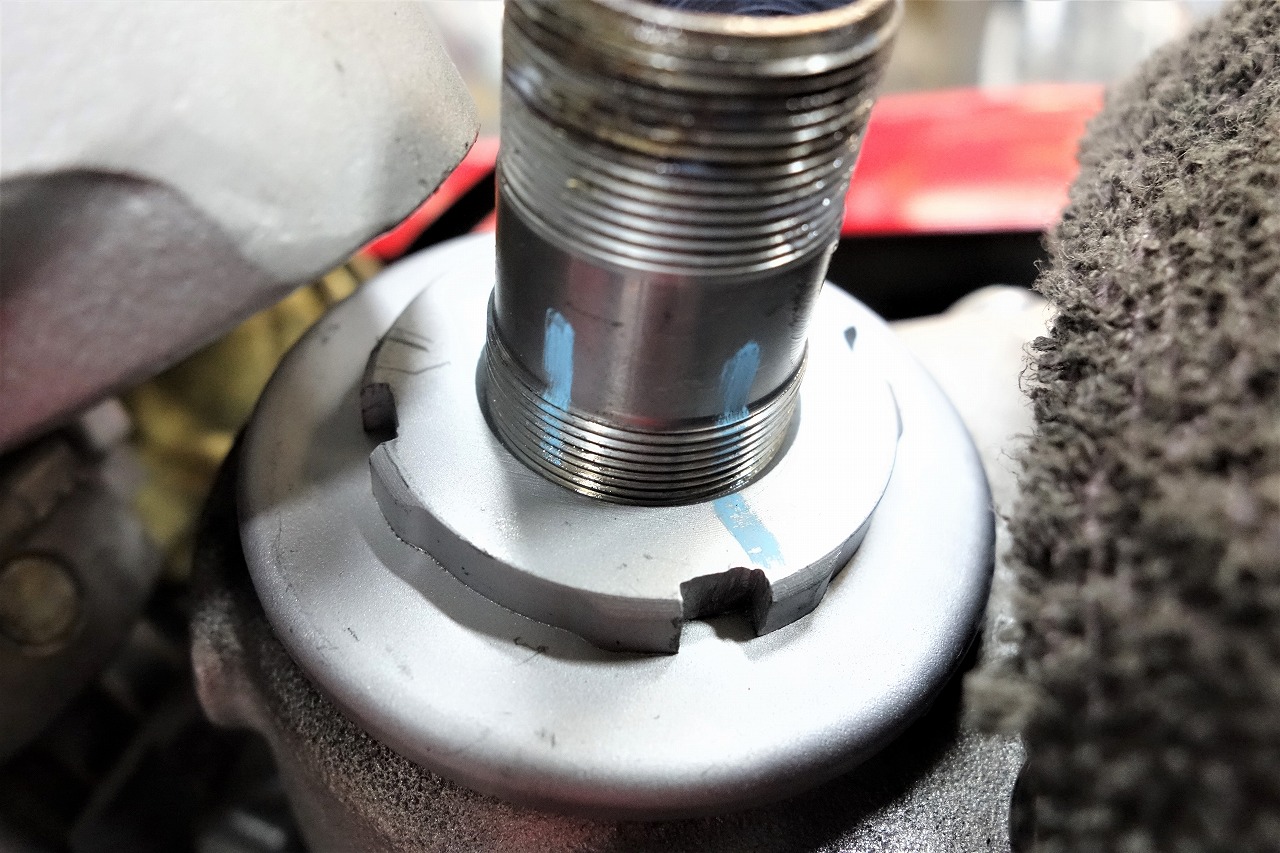
When I disassemble and reassemble, I mark a line. One line is where I tighten hard, crushing the seal while feeling the bearing press (left side). The other is hand-tight plus light wrench (right side).
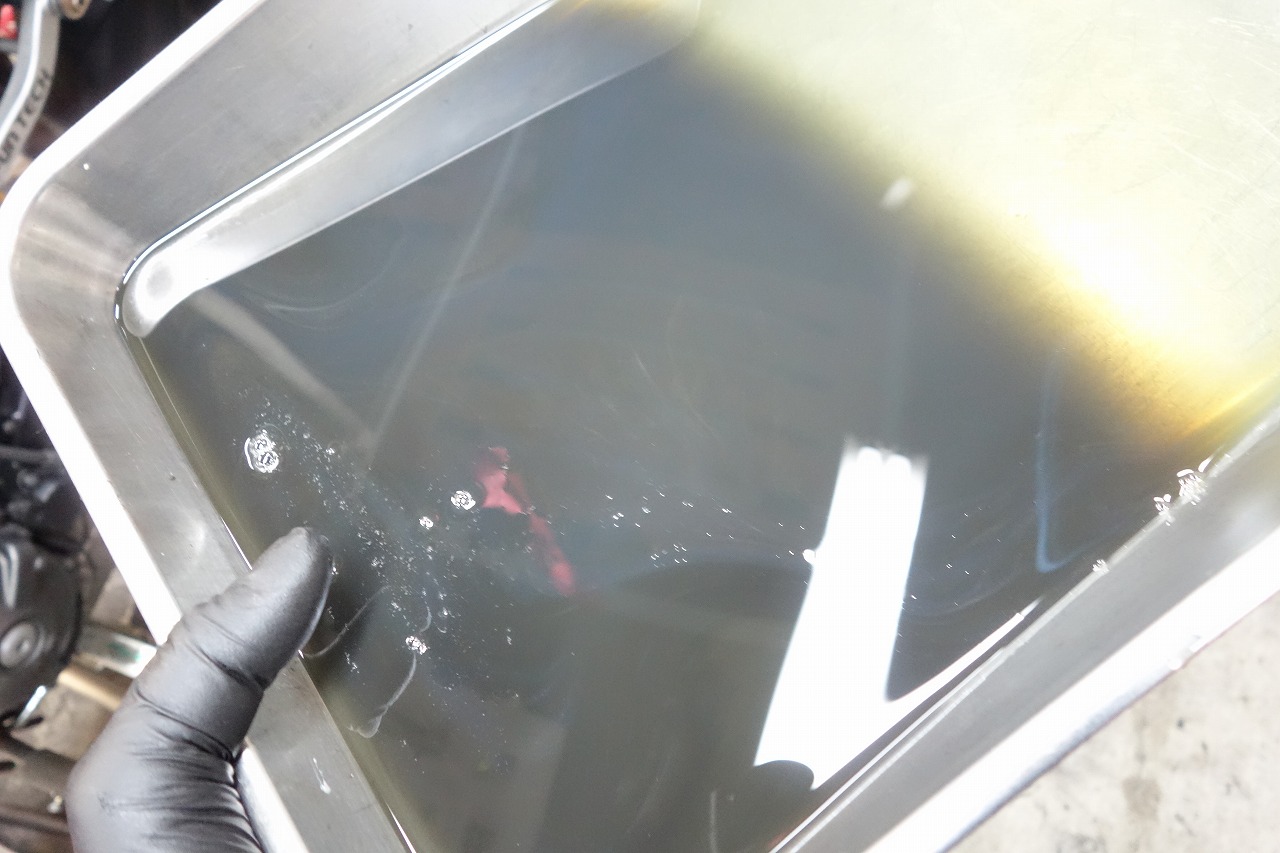
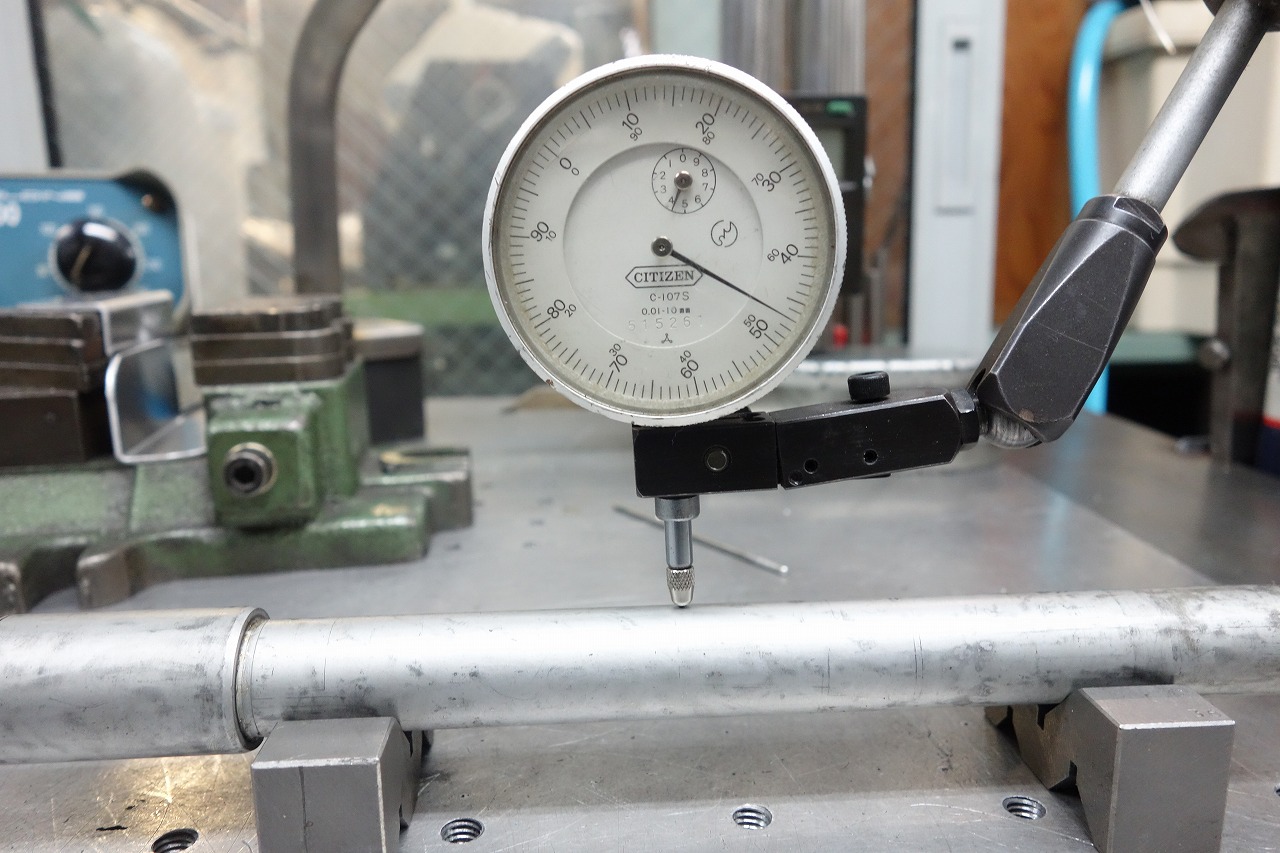
There’s a sweet spot between “impossible tightness” and “wrench-loose.” (The top nut plays a role too…) Looking at the angle, you’re less likely to get stuck. *This is my own method, but I hope it helps. The fork oil had quite a strong smell and dark color. We used Neutech synthetic fork oil with the oil level set to STD + 5 mm. The axle runout should be fine. Along with the rear tire change, we cleaned the rear caliper and replaced the pads. They were full metal pads. We used ELF MOTO4RACE for the engine oil. That completes this service.