The usual August question of “When does Obon break start?”
Same thing happens at year-end too…
Before the break, mysteriously the phone starts ringing off the hook! ♪
Our shop has this strange management style where we don’t accept any emergency work or new customers at all, so please be aware.
= We don’t need to announce our days off.
Maybe even the neighbors? Probably?
They might wonder what kind of shop that place is with the “CLOSE” sign always up?
So that’s why we’re working hard in Obon inspection mode without breaking a sweat ★
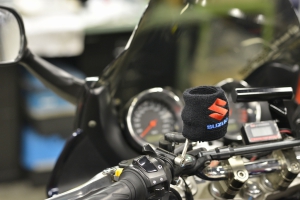
The recent big hit item is Daytona Motorcycle Accessory Power Unit D-UNIT Plus (D-Unit Plus) 16075
installation.
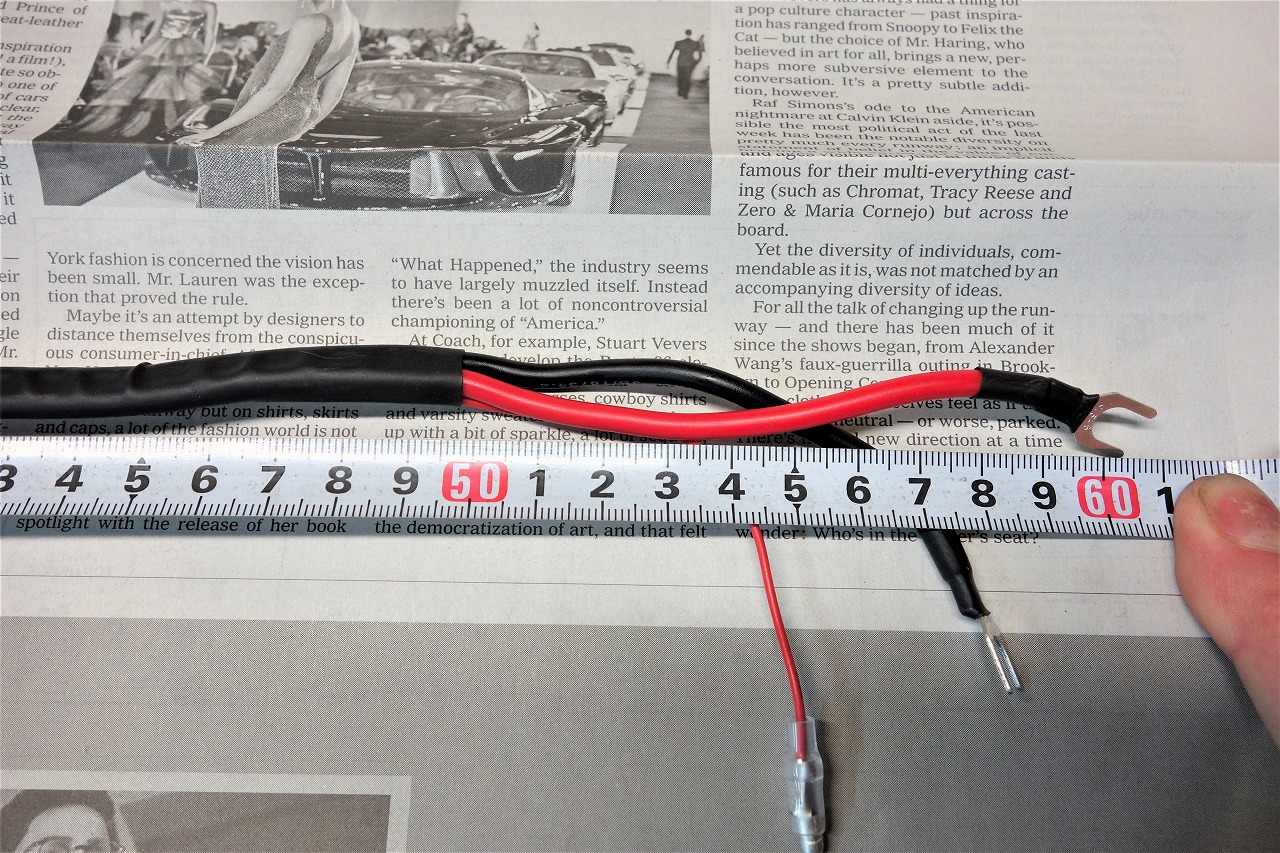
Since we want to keep the wiring as short as possible, the installation range is “within a 60 cm radius.”
Surprisingly, the mounting position options are limited. (Which is actually nice!)
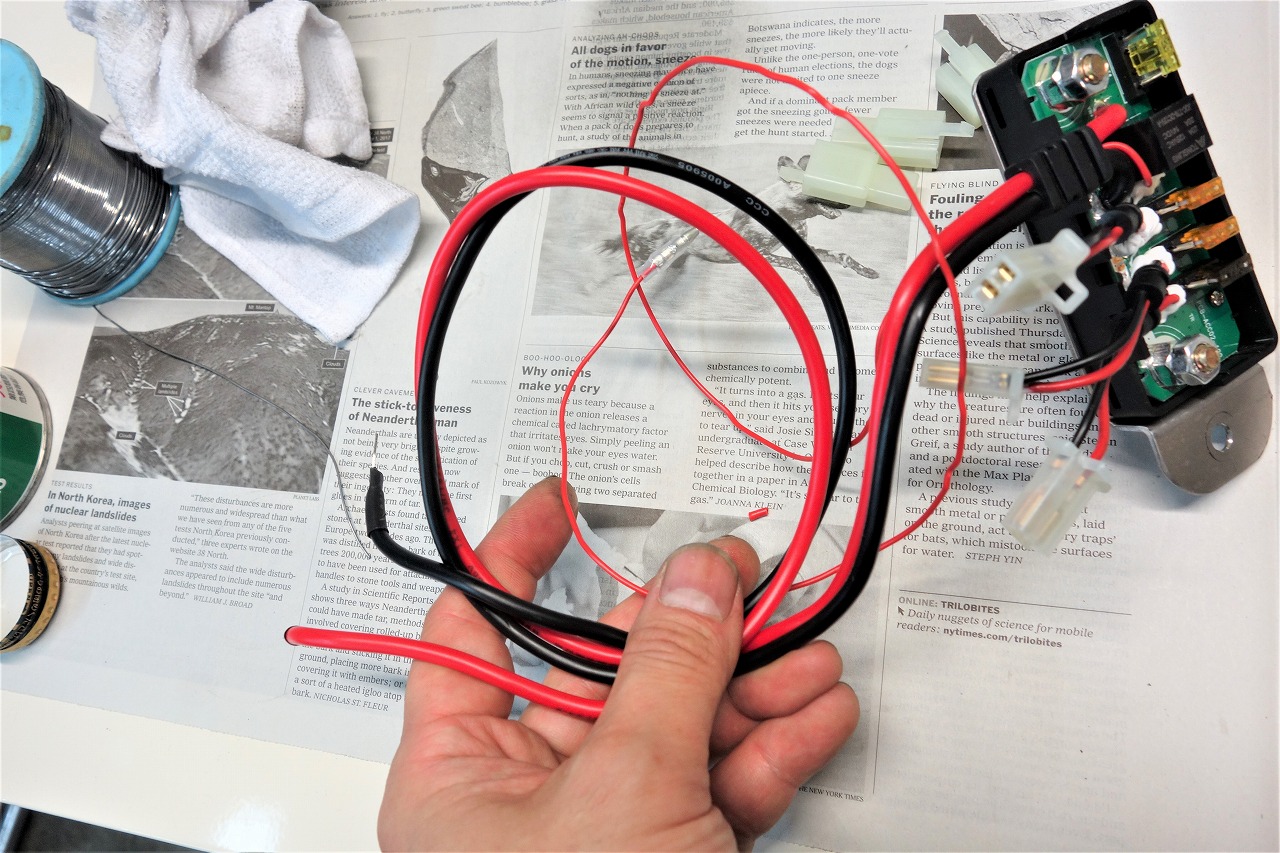
We don’t draw power from the battery, so we strip it away.
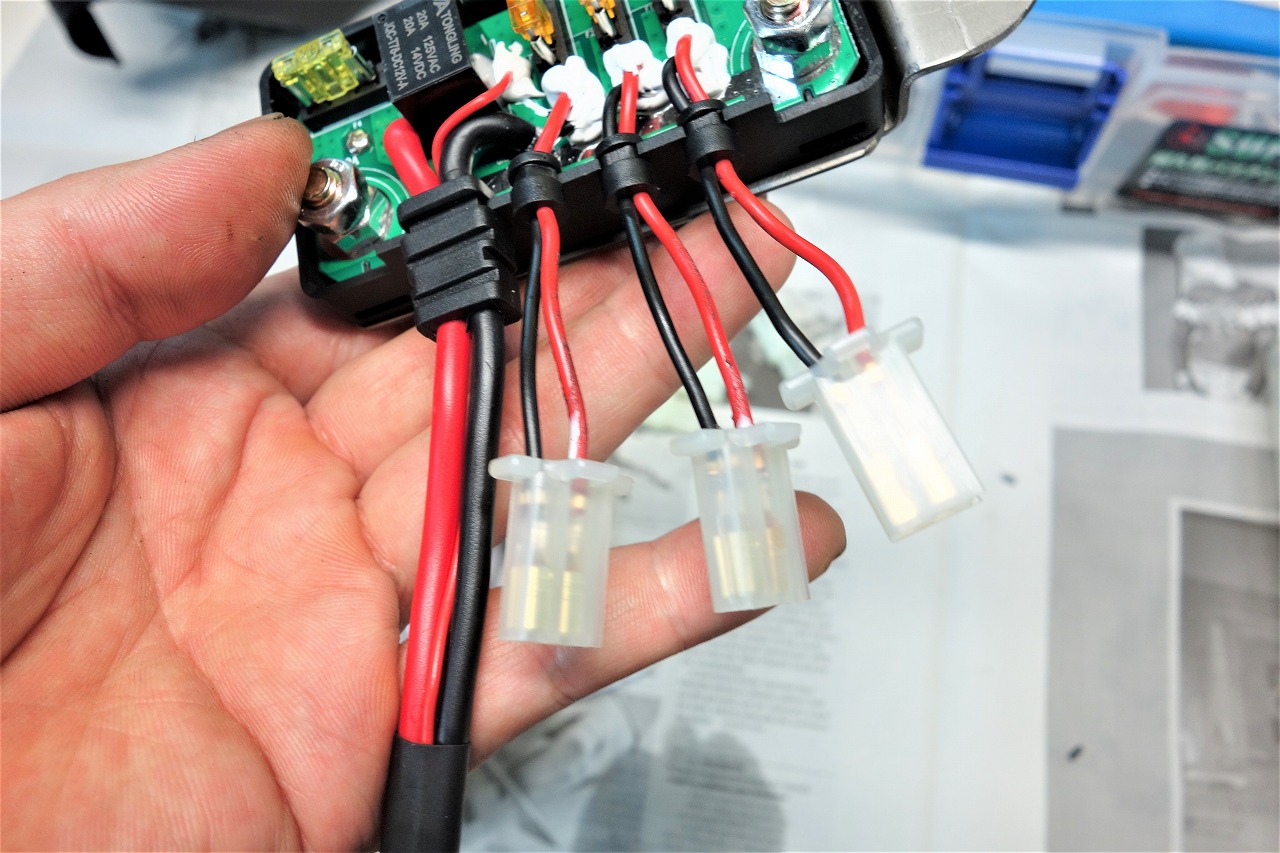
We remove all the spade terminals and switch to 110-series connectors.
This also acts as a pull-out prevention, so it’s secure.
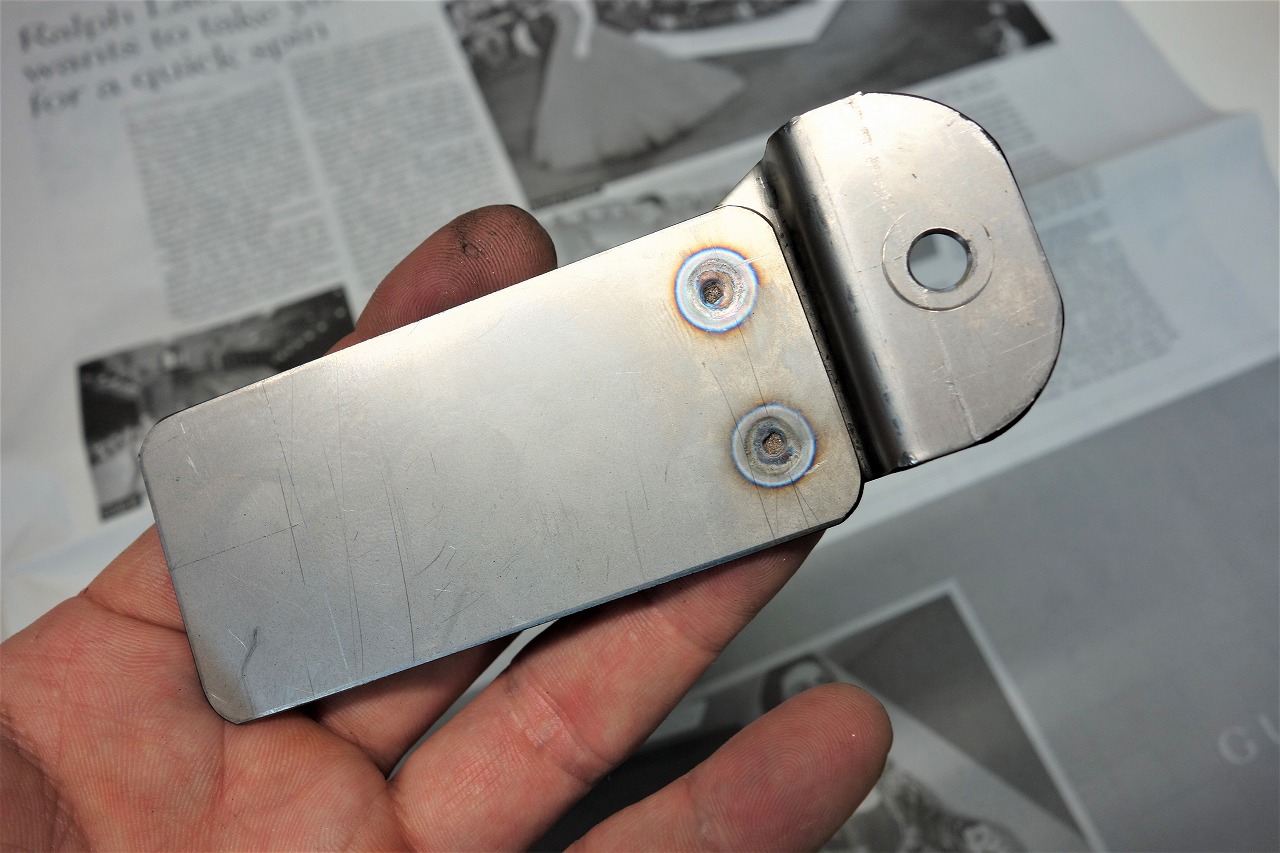
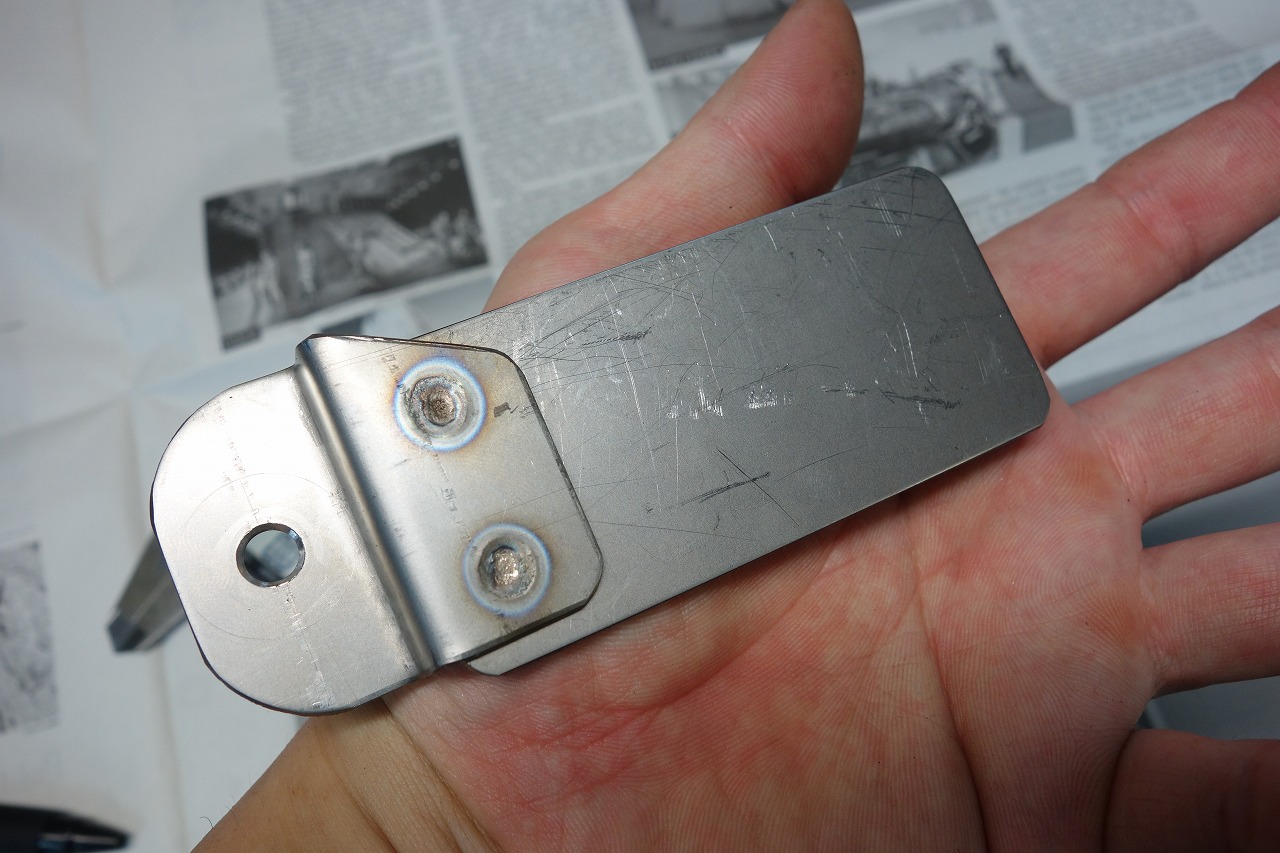
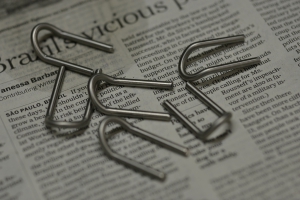
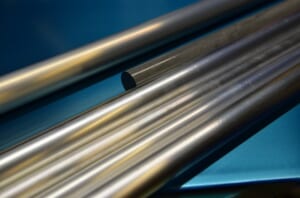
We made the mounting bracket out of titanium. I thought one piece would do it… but considering the possibility of failure, two pieces is definitely more reliable.
(The front-to-back relationship is tight.)
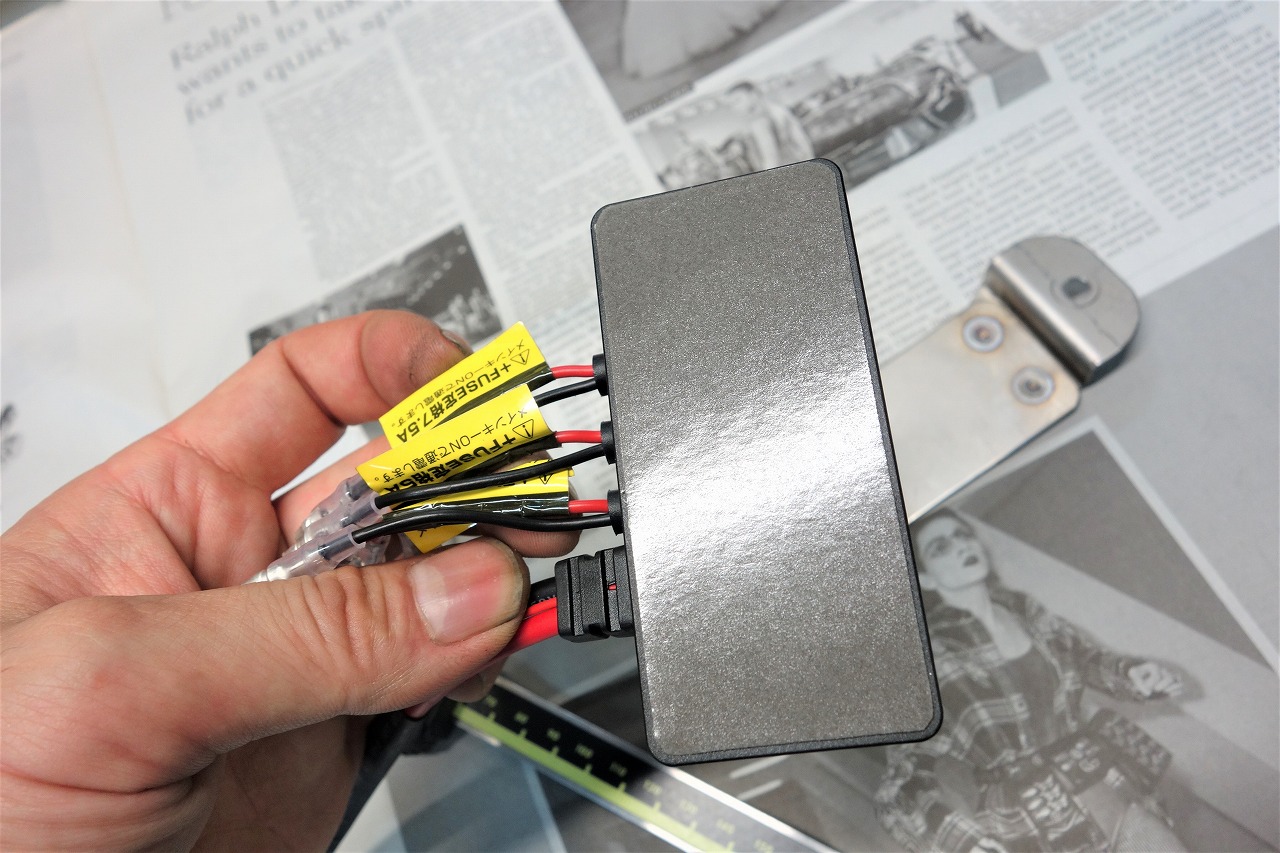
When making the bracket, it’s okay to use adhesive.
What matters is that it’s removable. It’s better to avoid sticking both sides flat to the frame.
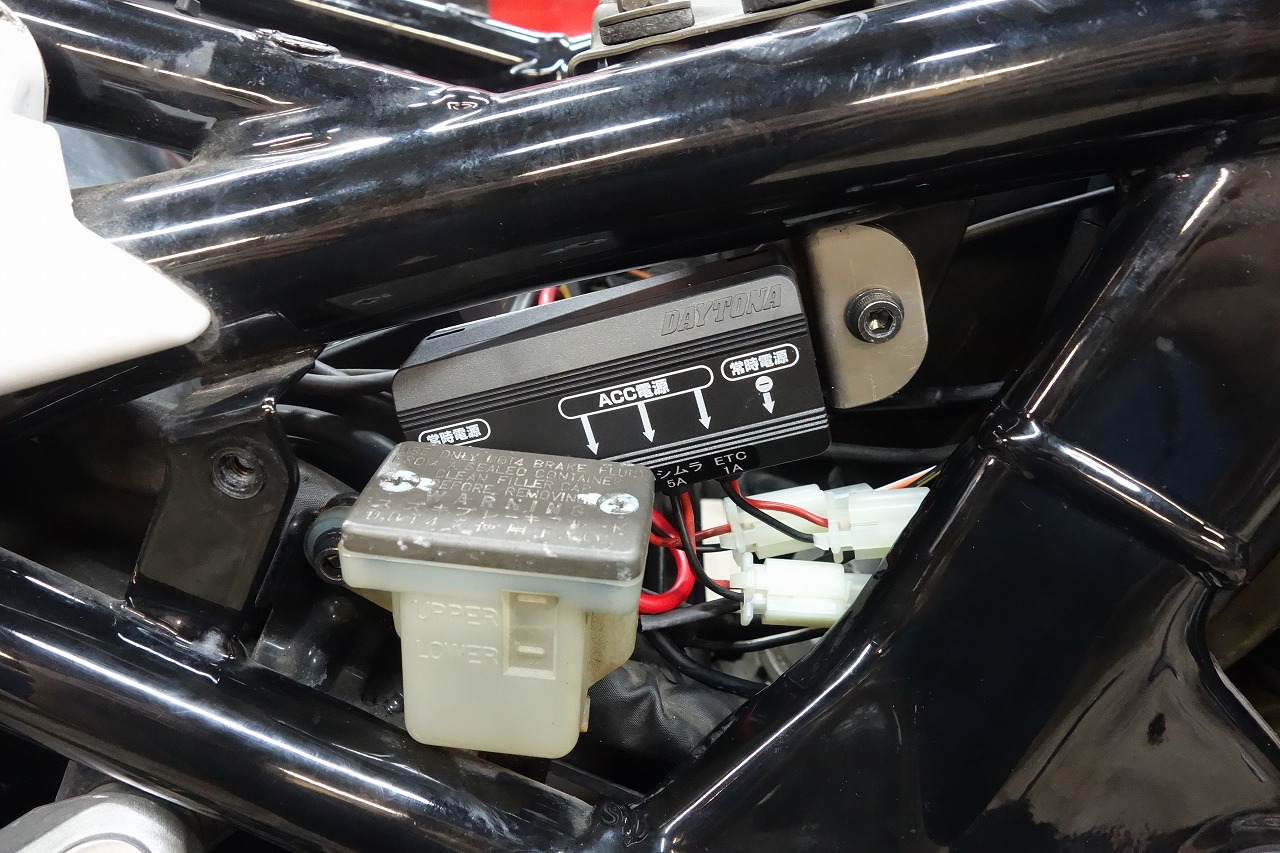
That’s how the mounting is complete.
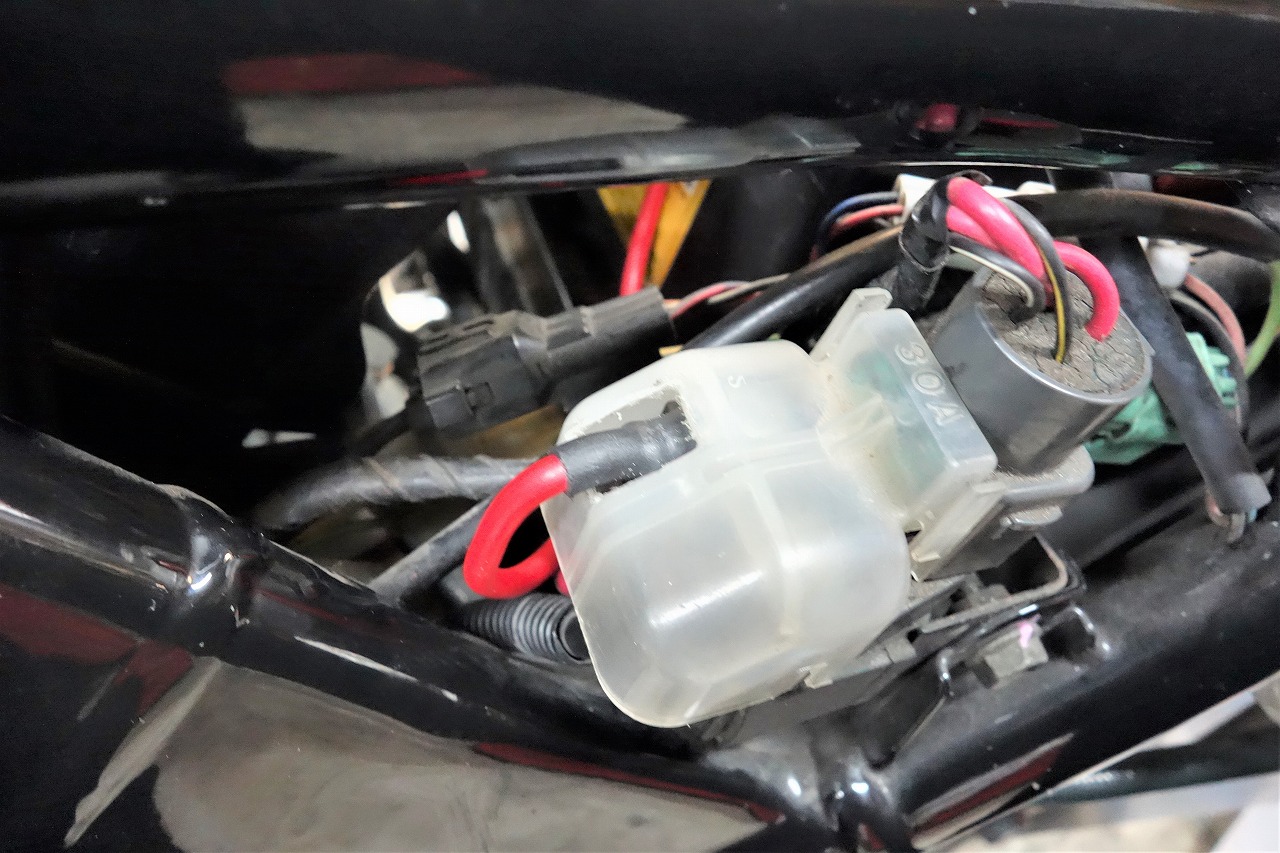
We house the battery positive with the starter relay.
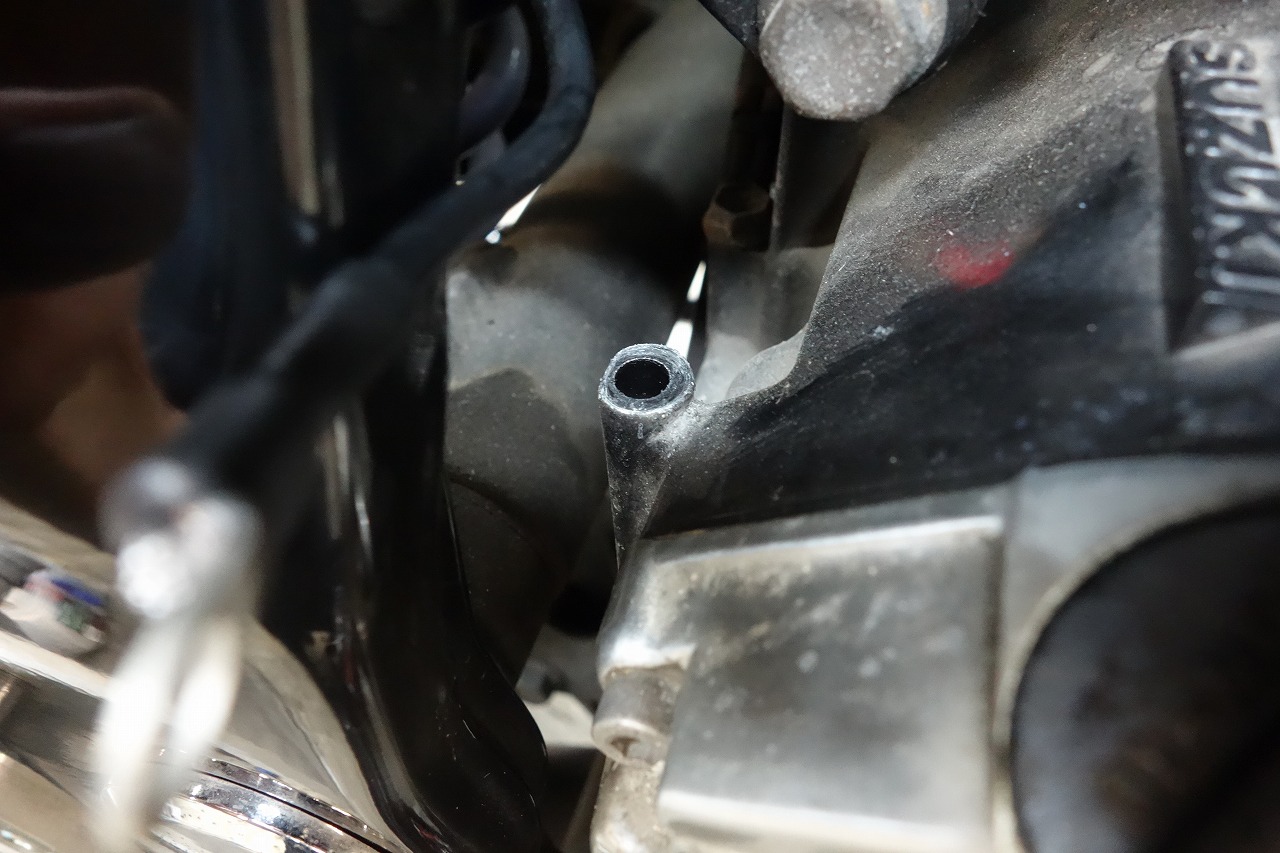
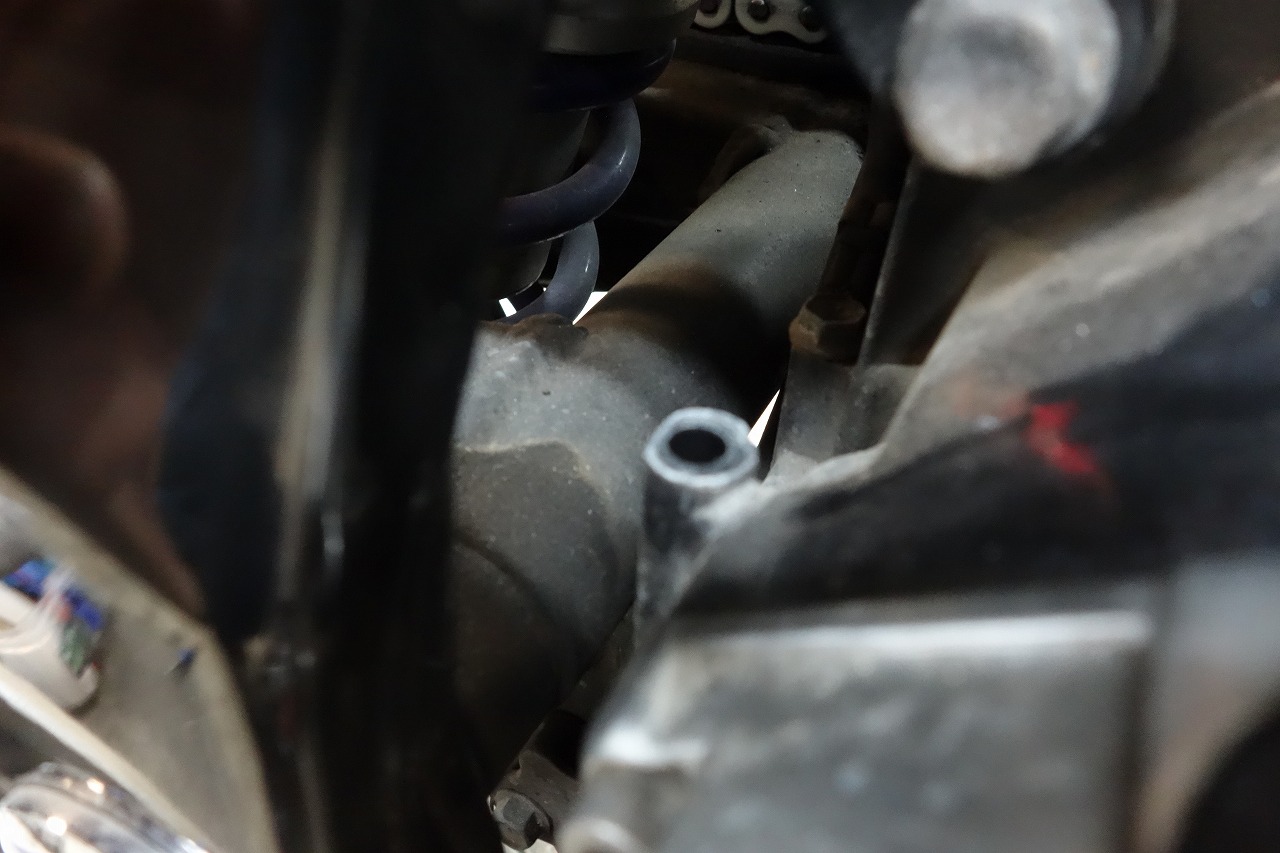
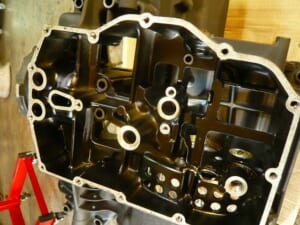
Ground goes to the crankcase. Scraping off the paint can really boost reliability.
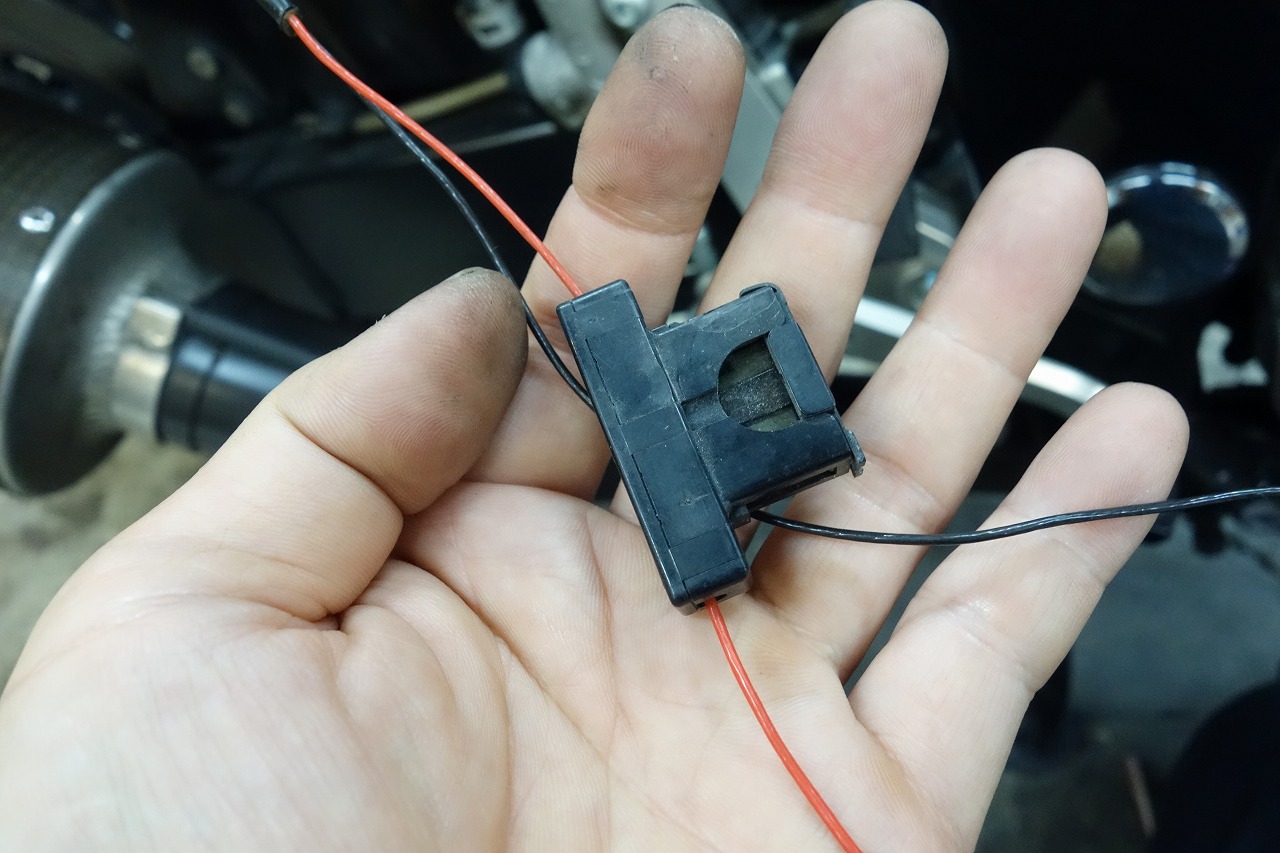
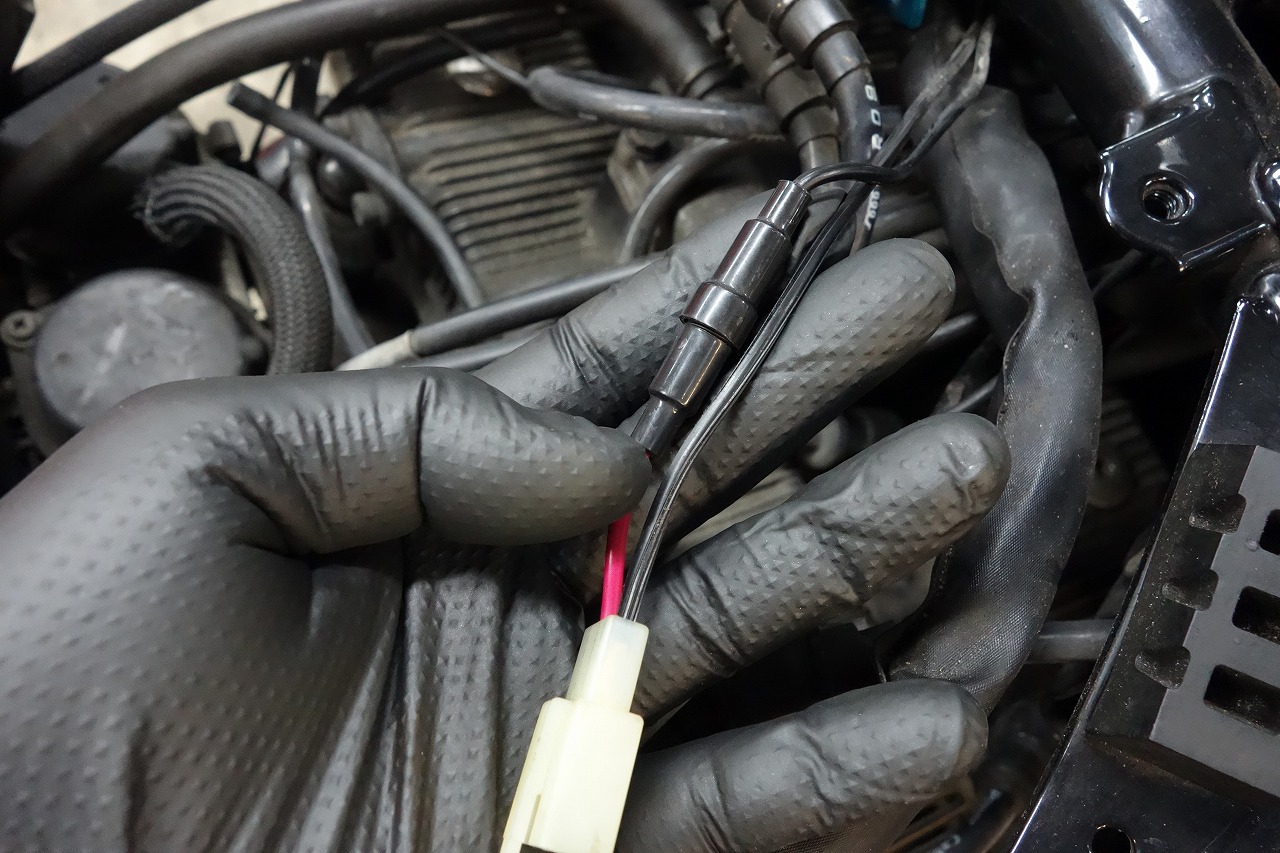
We removed the ETC blade and Yupiteru? tube fuse and relocated them.
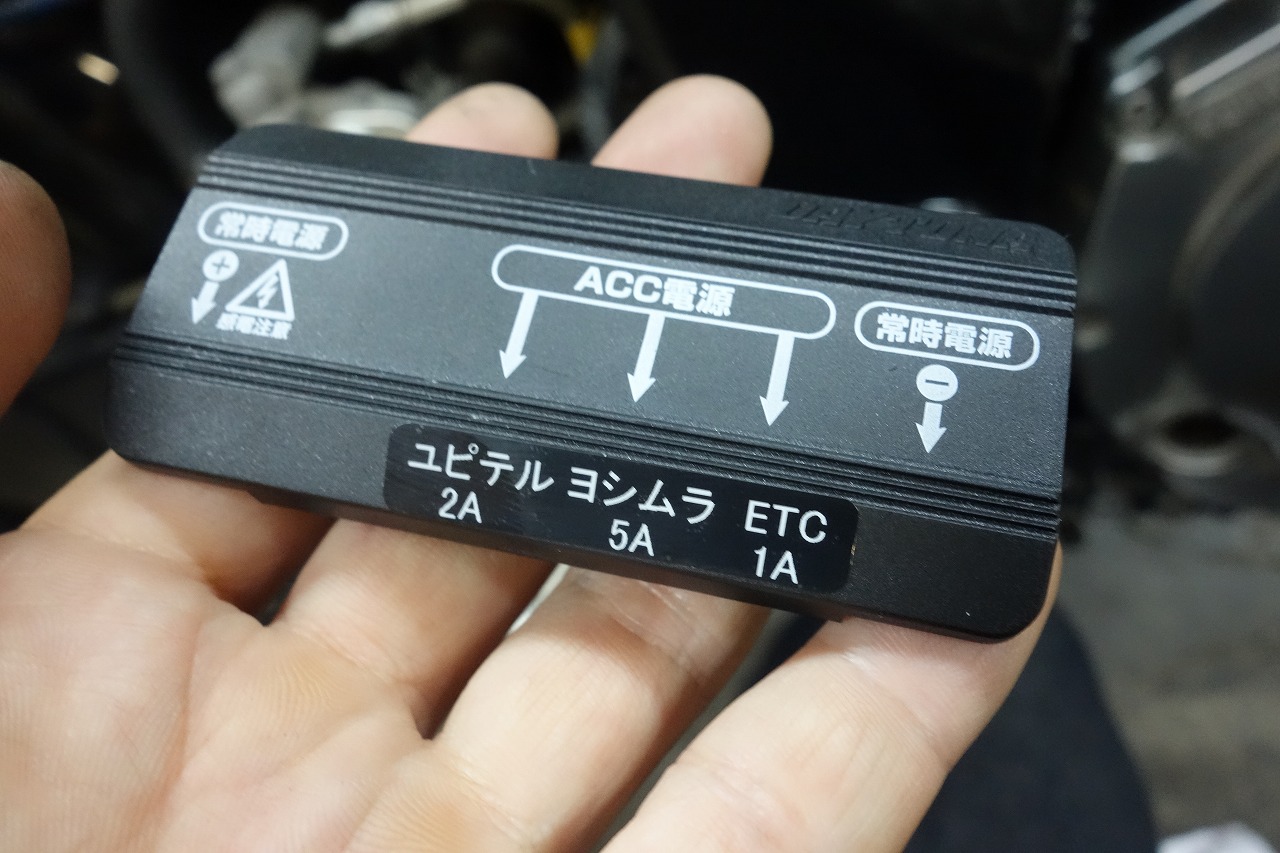
Since we didn’t have the right one, we temporarily labeled it Yoshimura and installed it.
Available as an option too!
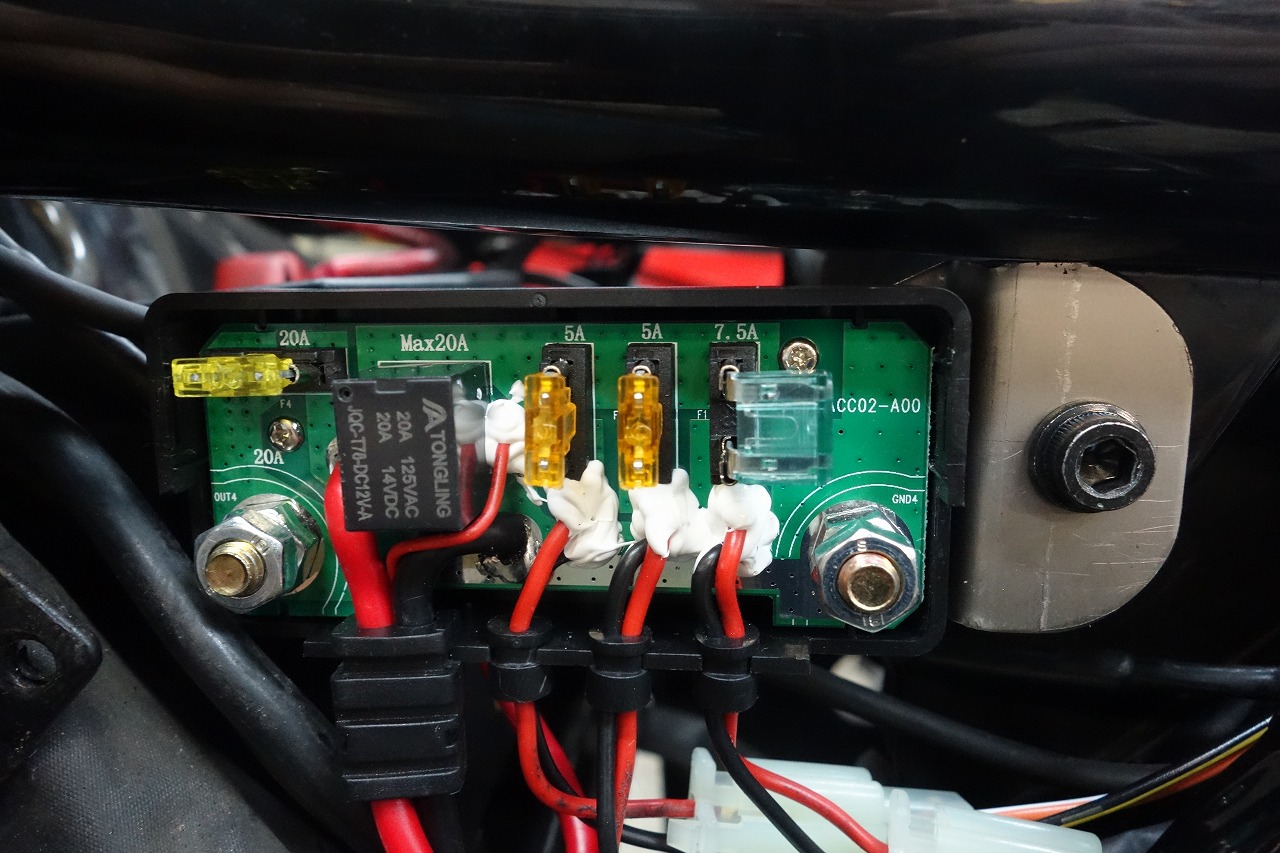
We didn’t have a 2A low-profile fuse on hand, so we temporarily used 5A.
We still haven’t found a 1A low-profile fuse, so we bent it and installed a mini fuse.
An extremely convenient item Daytona Motorcycle Accessory Power Unit D-UNIT Plus (D-Unit Plus) 16075 it is.
Definitely check it out this summer break!
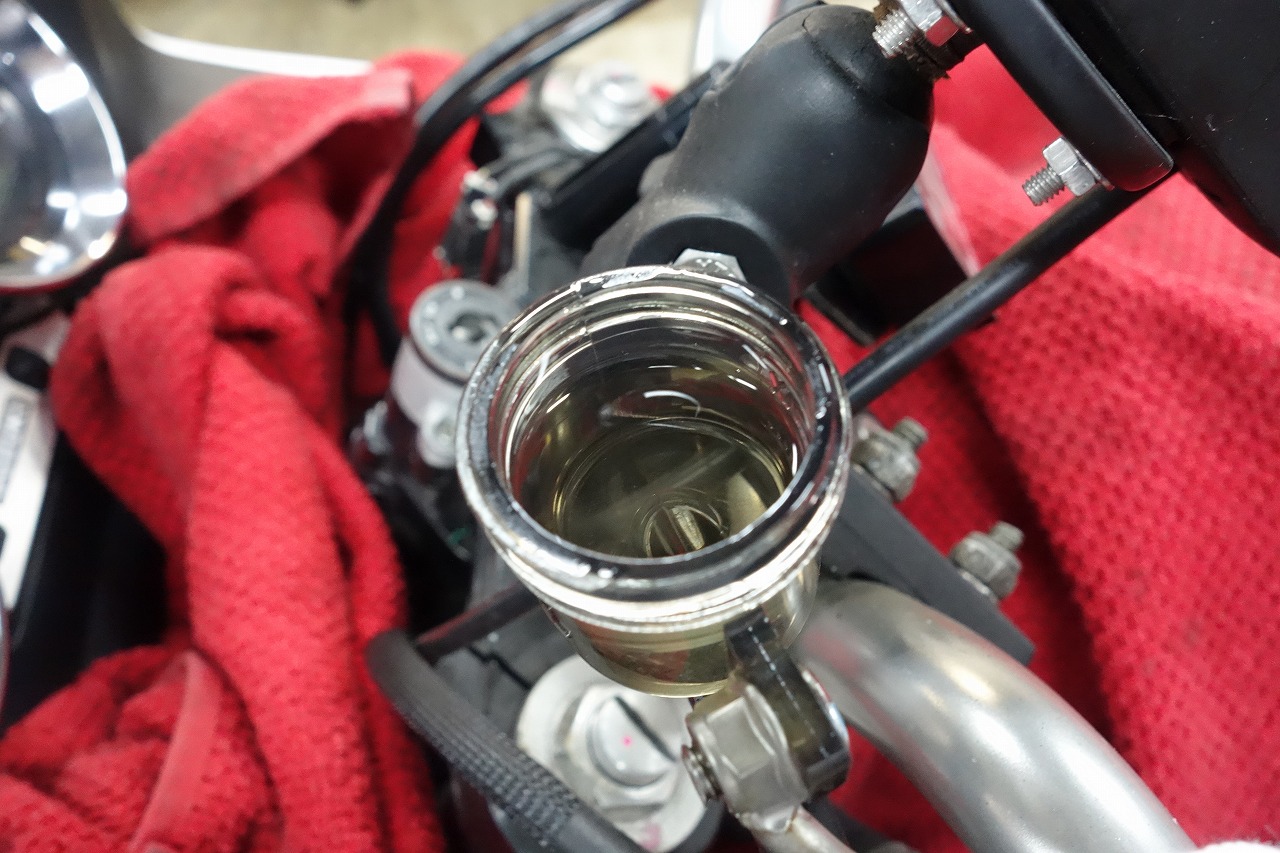
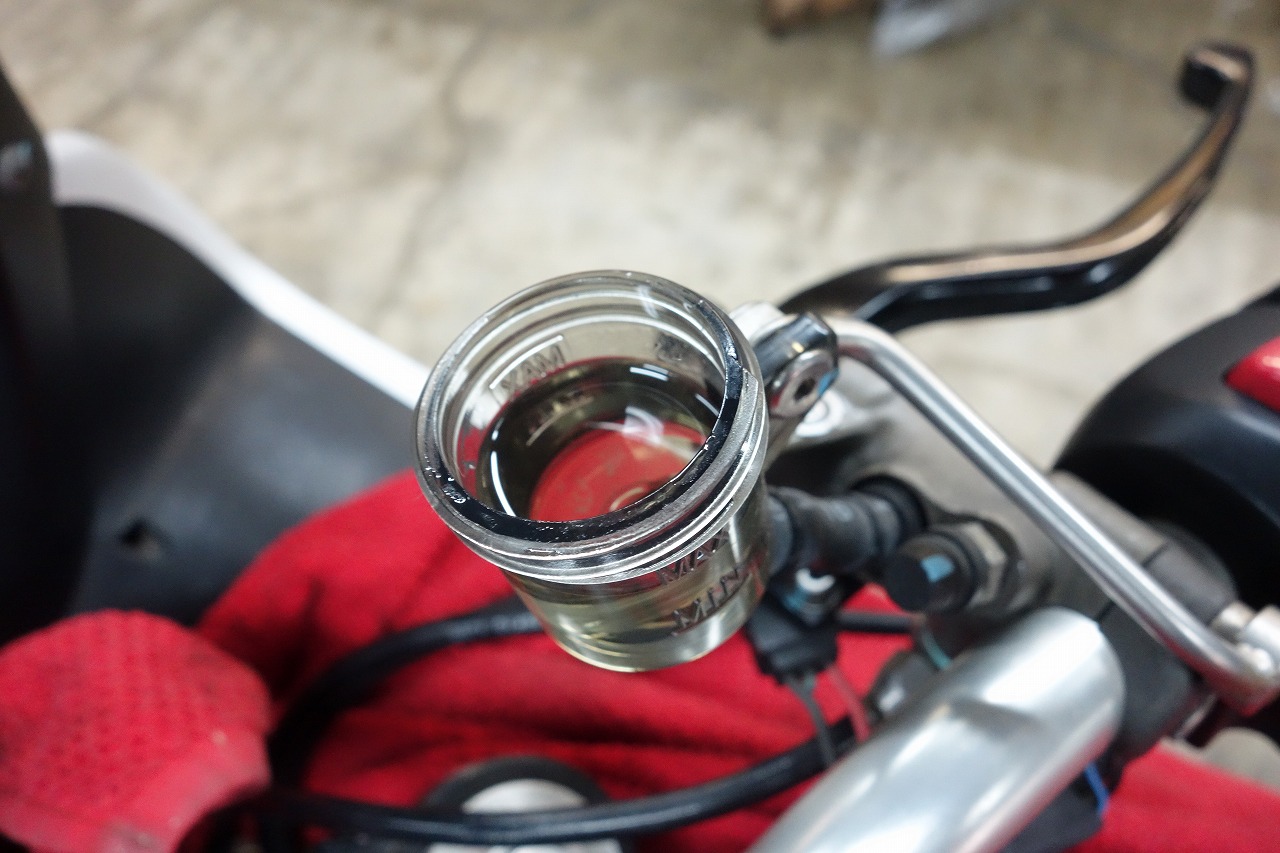
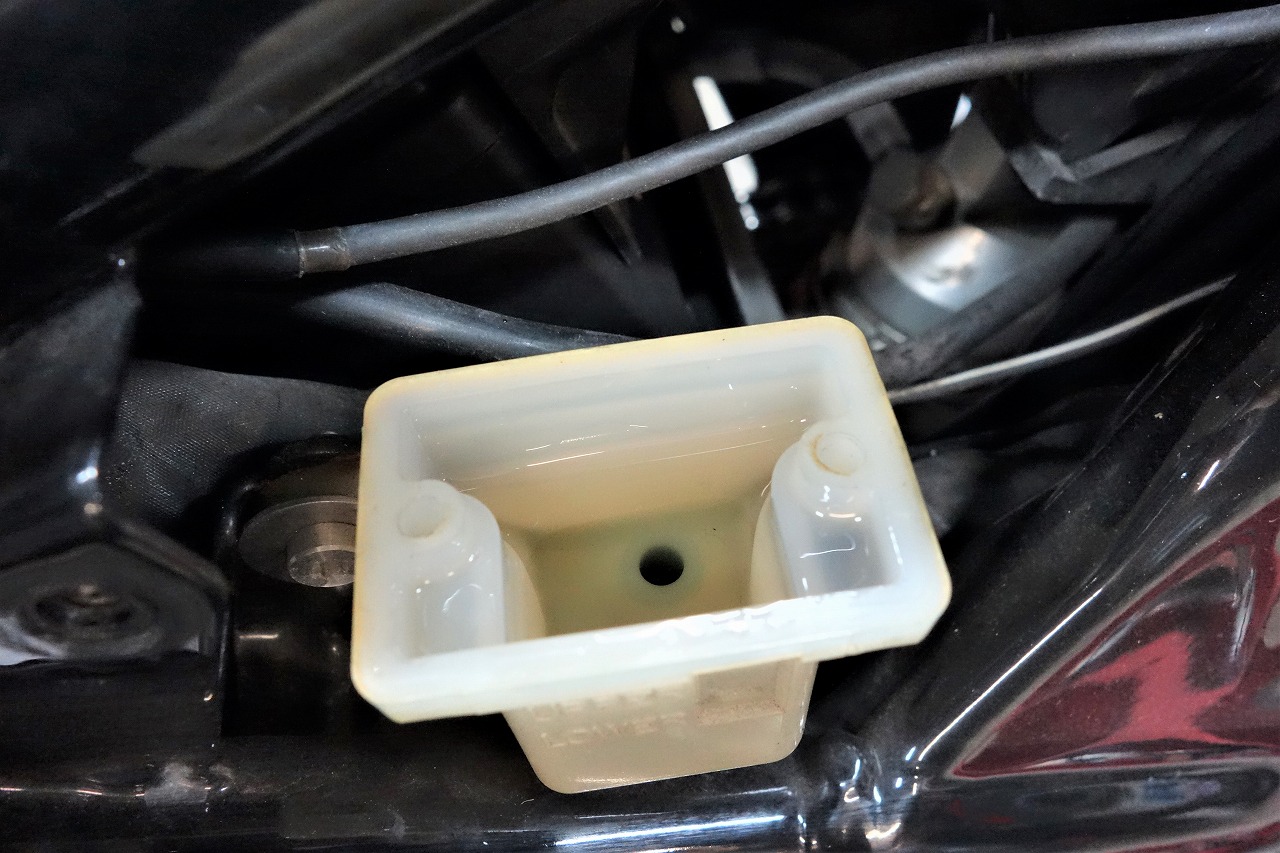
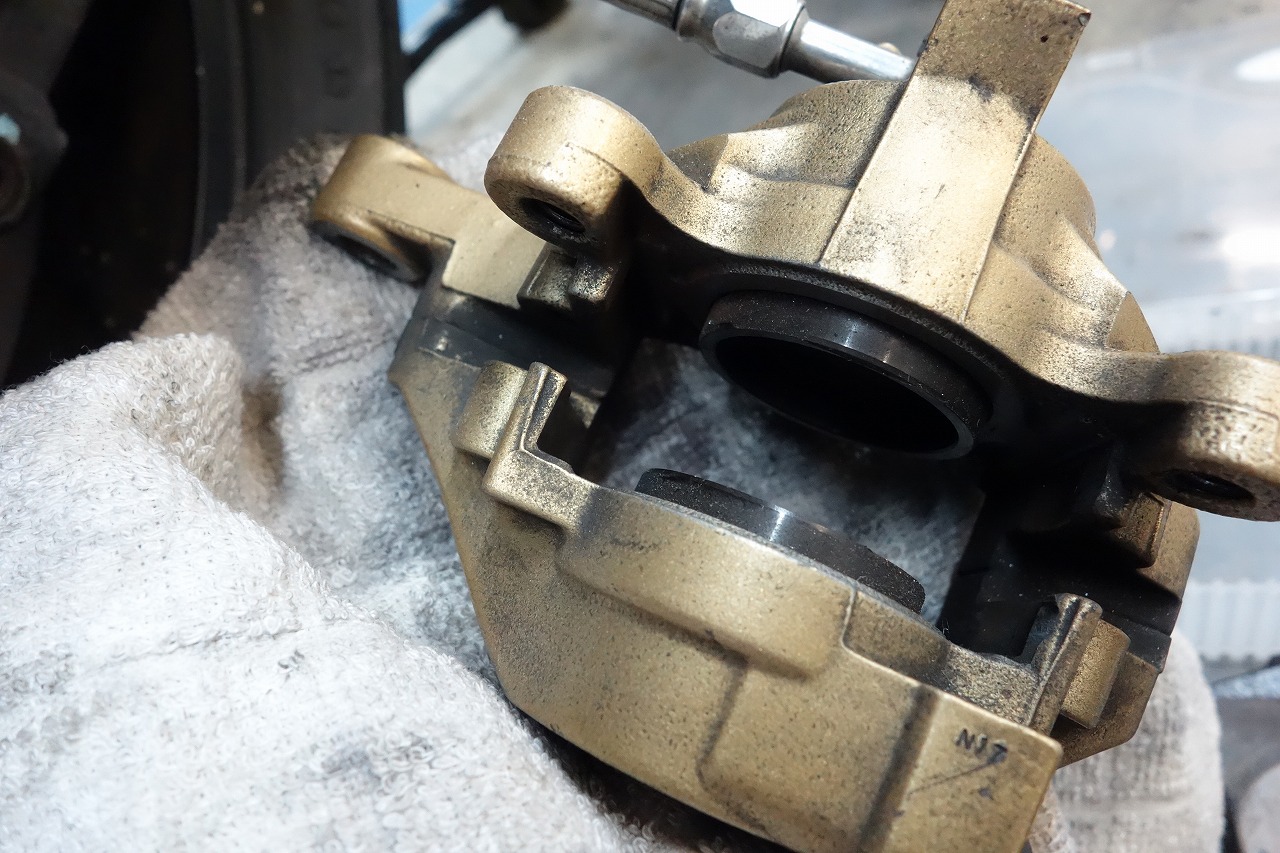
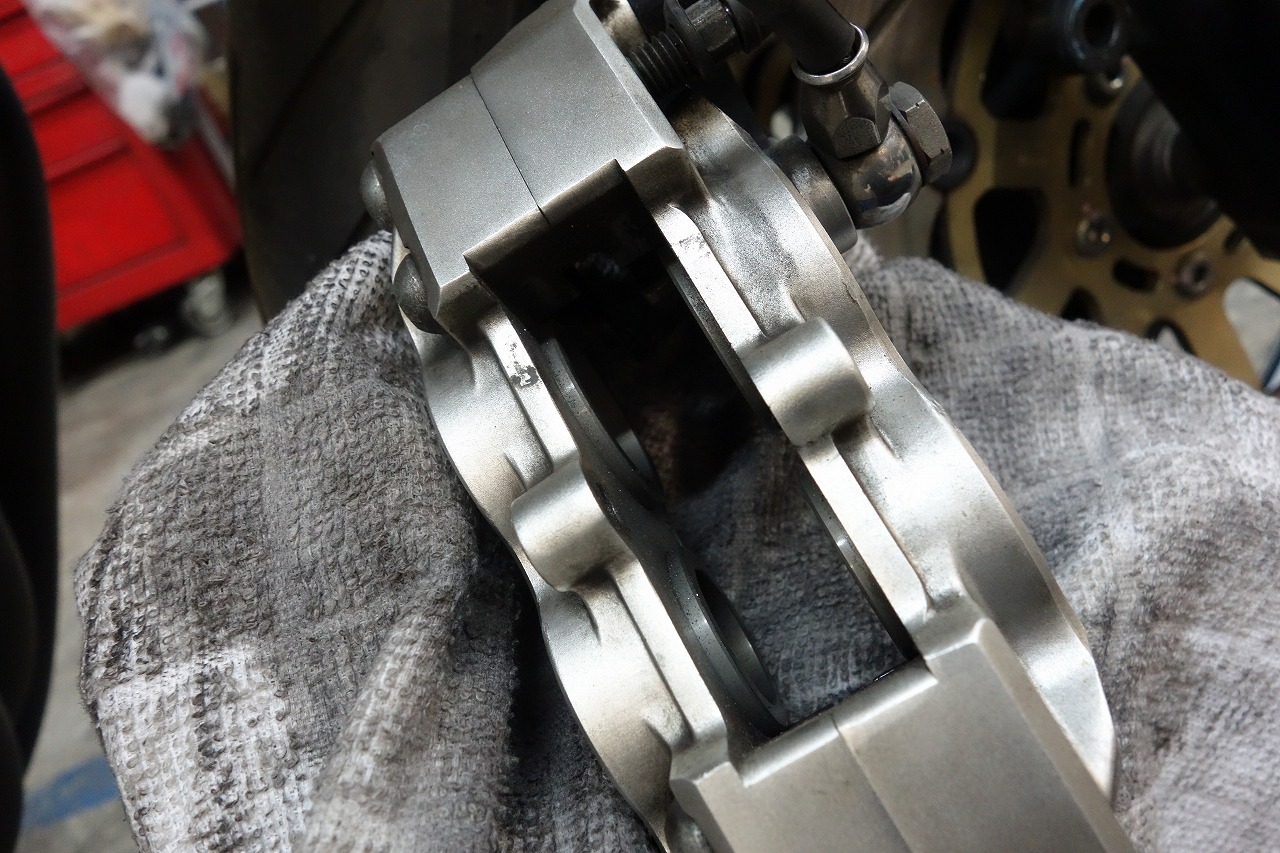
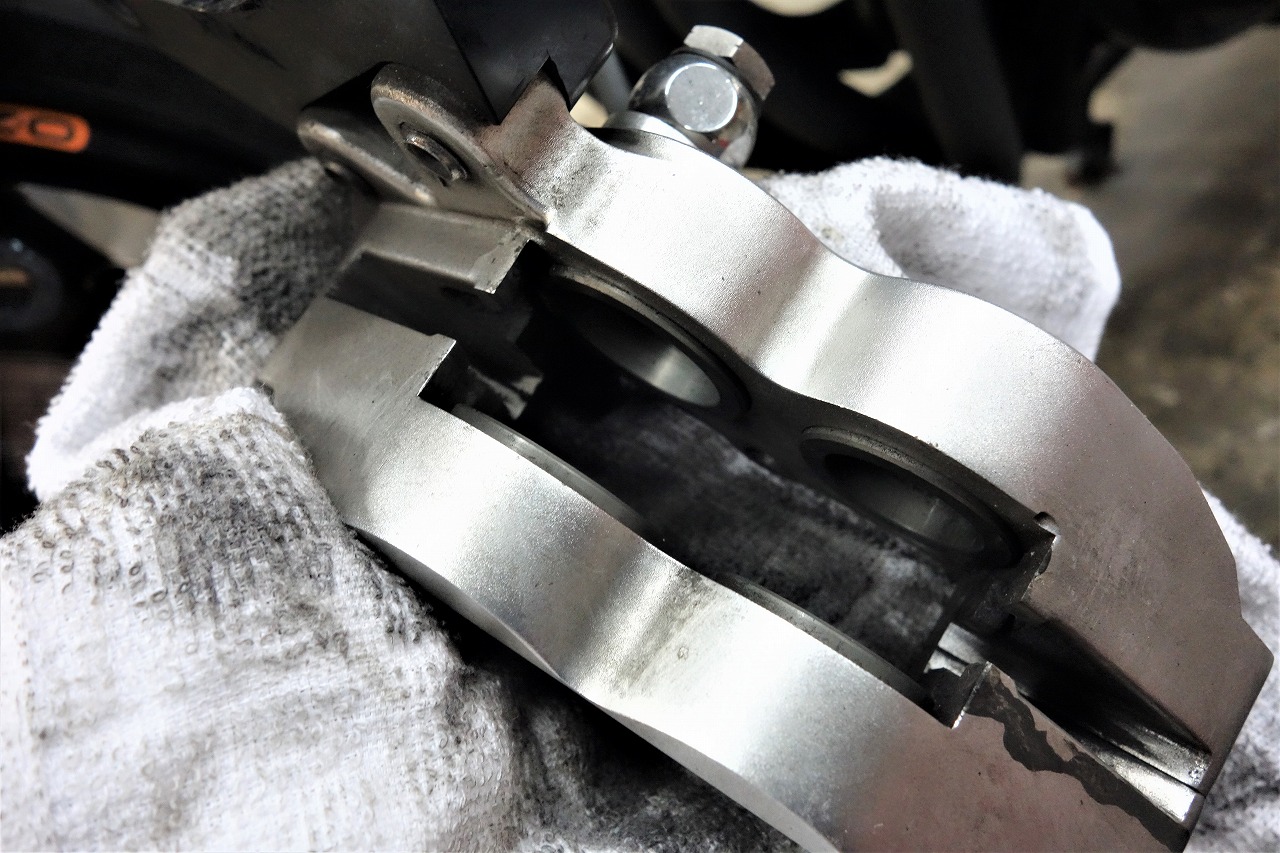
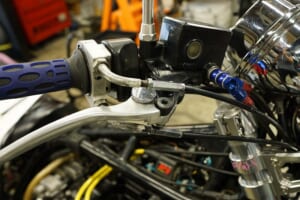
We cleaned the calipers, checked piston operation, and then performed a full fluid change.
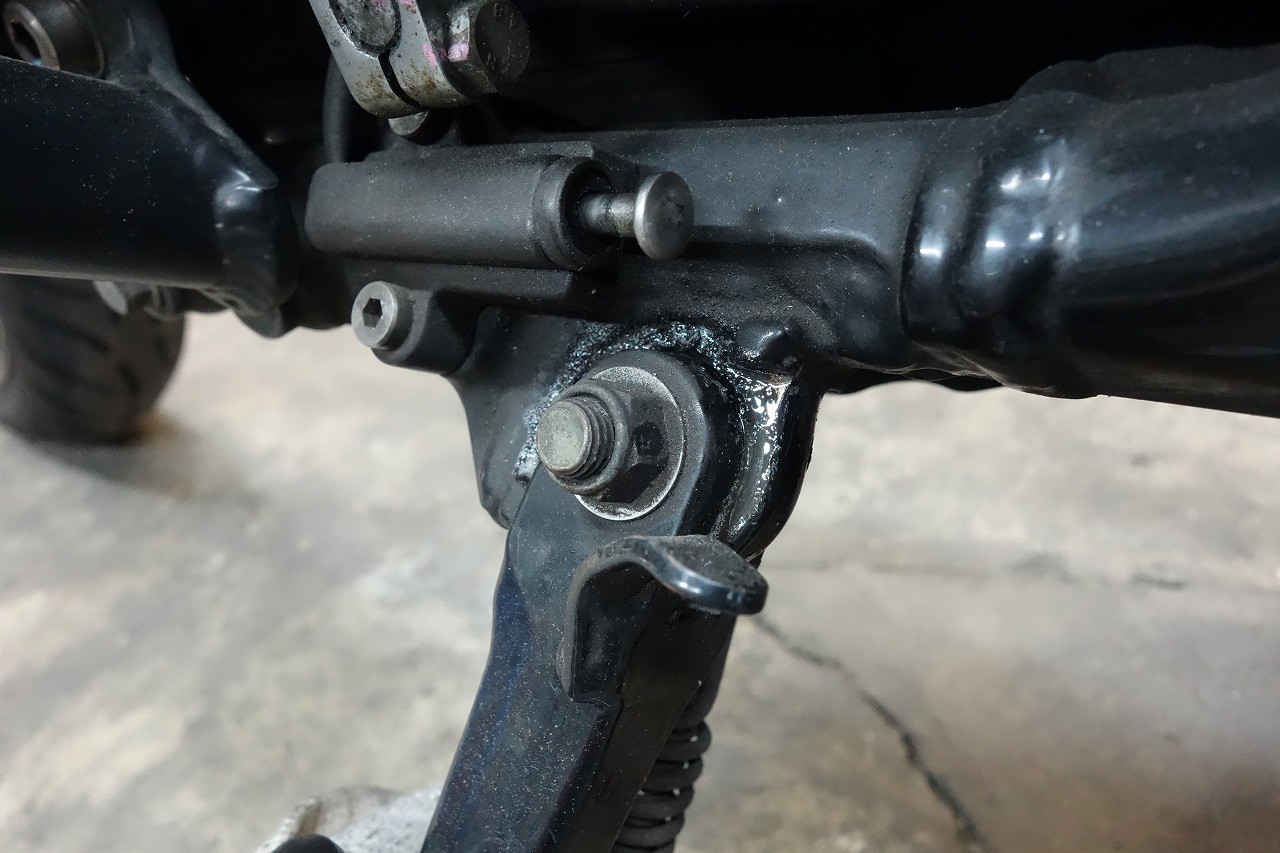
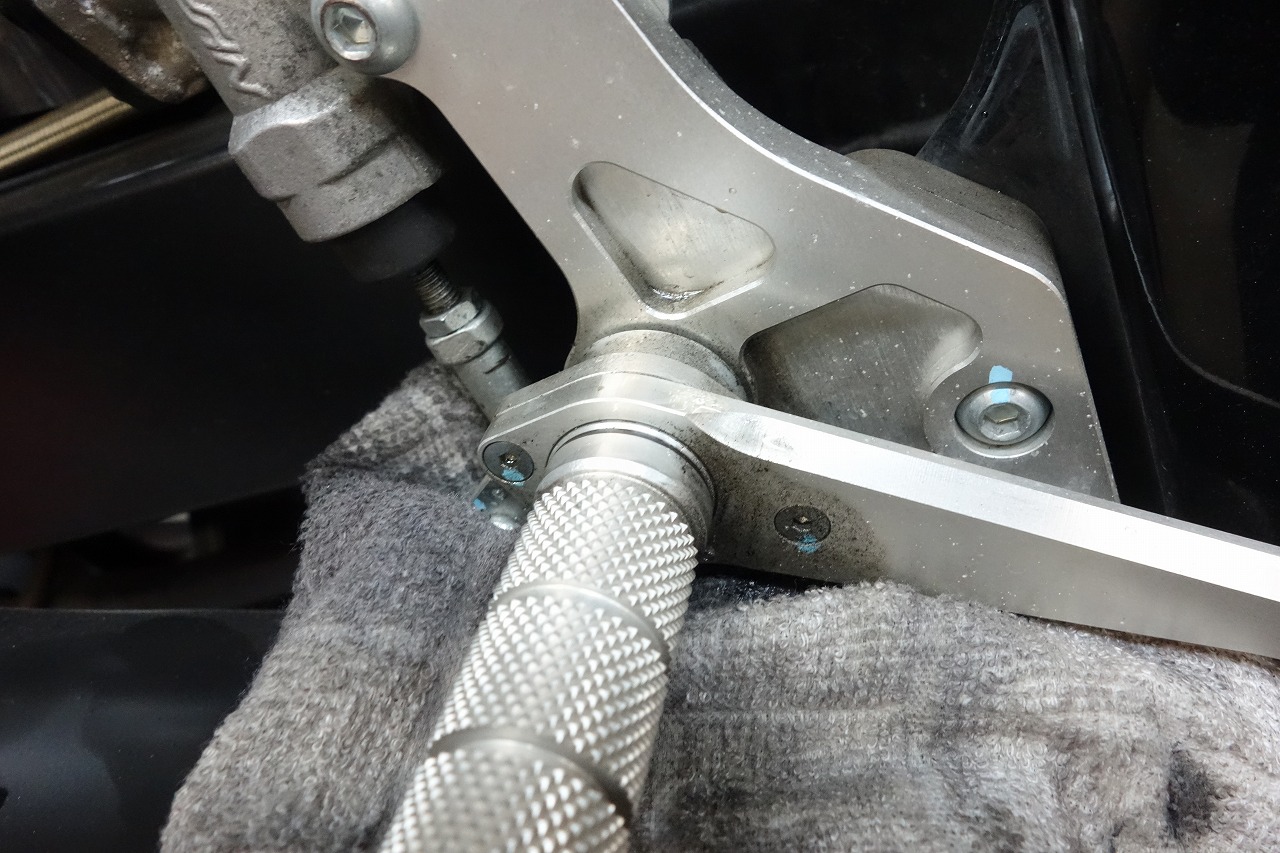
Left and right levers, left and right pedals, stand, and so on—this time we lubricated them externally.
The lubricant is a bit pricey, but we use Bel-Hammer.
It’s smooth to the touch, but the oil really clings to the surface.
It penetrates well and the smoothness lasts a long time—that’s the impression. Pretty sharp, I’d say.
↑If it’s just a one-time thing, it’s available on Rakuten for a special price of 2,200 yen.
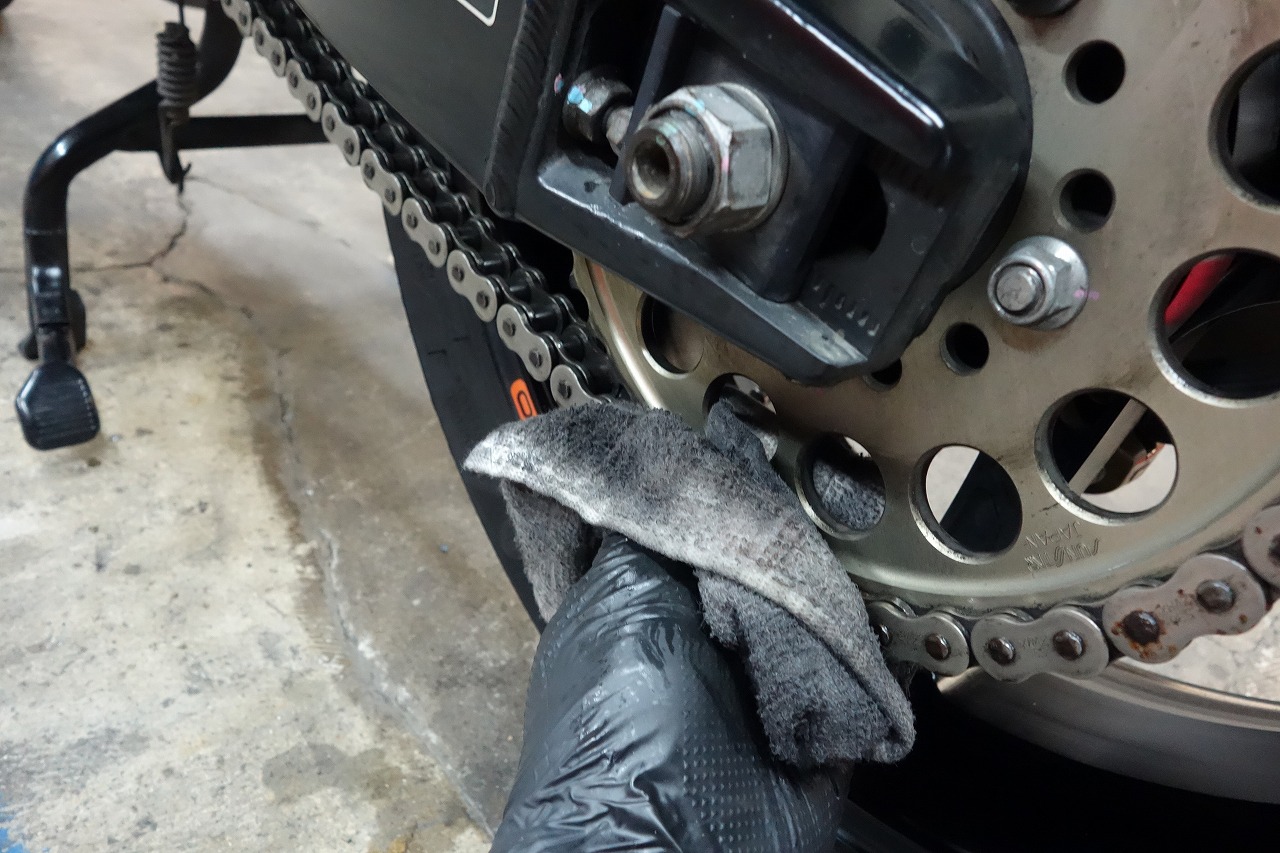
We cleaned the chain and lubricated it.
After that, we change the engine oil and we’re done.