I wrote that confidently, but one of them broke (;∀;)
New or newer ones shouldn’t break… probably…
As they age, plug cords become extremely hard.
Unless there’s an issue with the cord itself, replacing it won’t produce “any dramatic effects,” I think.
However, by replacing it, going forward
“cord problems become less likely to occur” and “maintenance becomes significantly easier.”
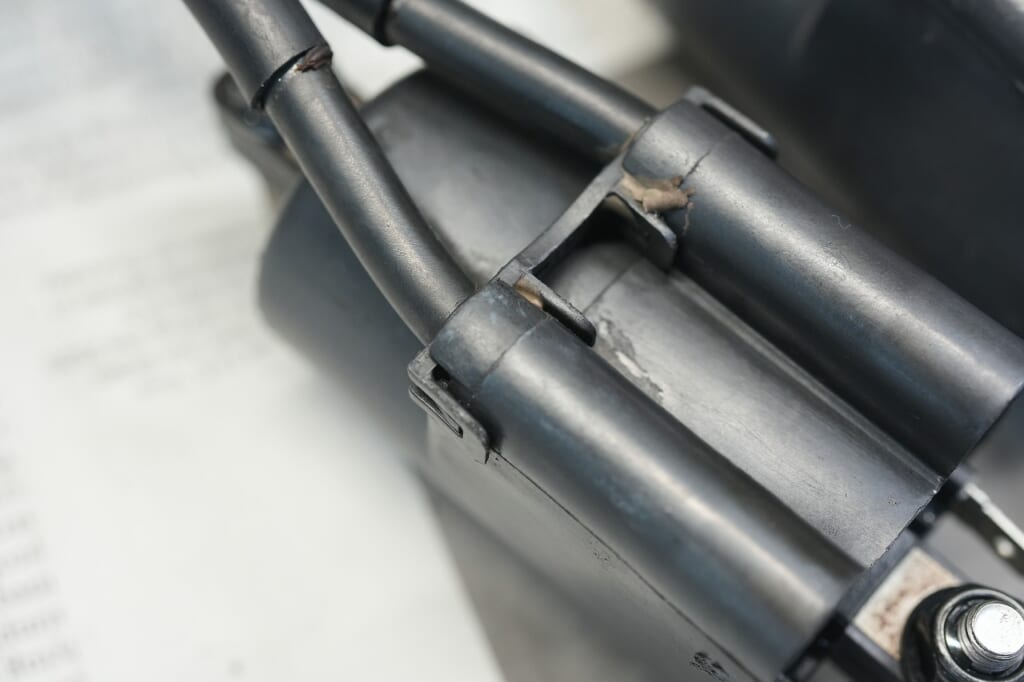
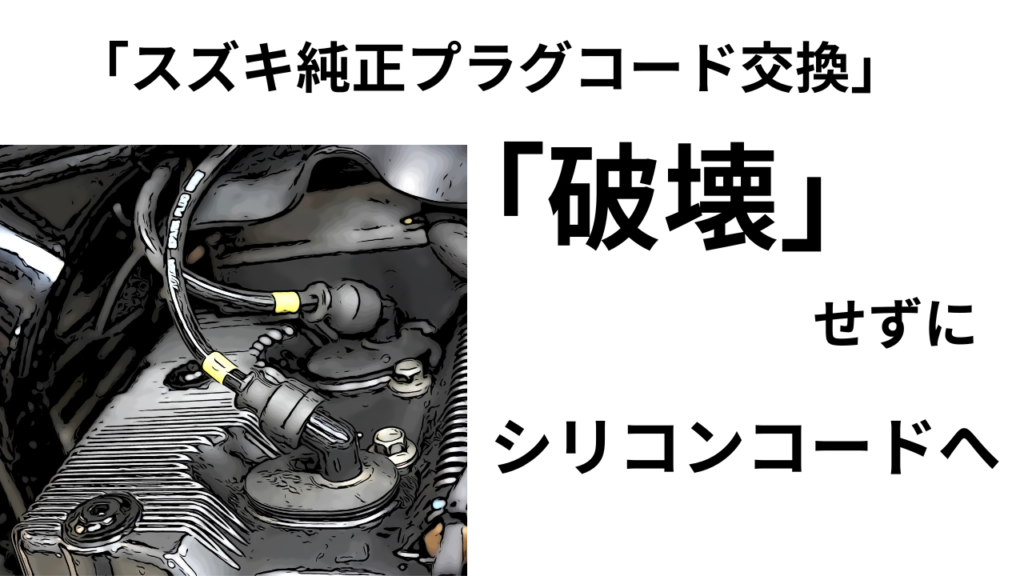
This Denso cord’s design that prevents removal.
It’s basically saying “don’t remove this.”
Unfortunately, when you try to pull it out, it usually breaks.
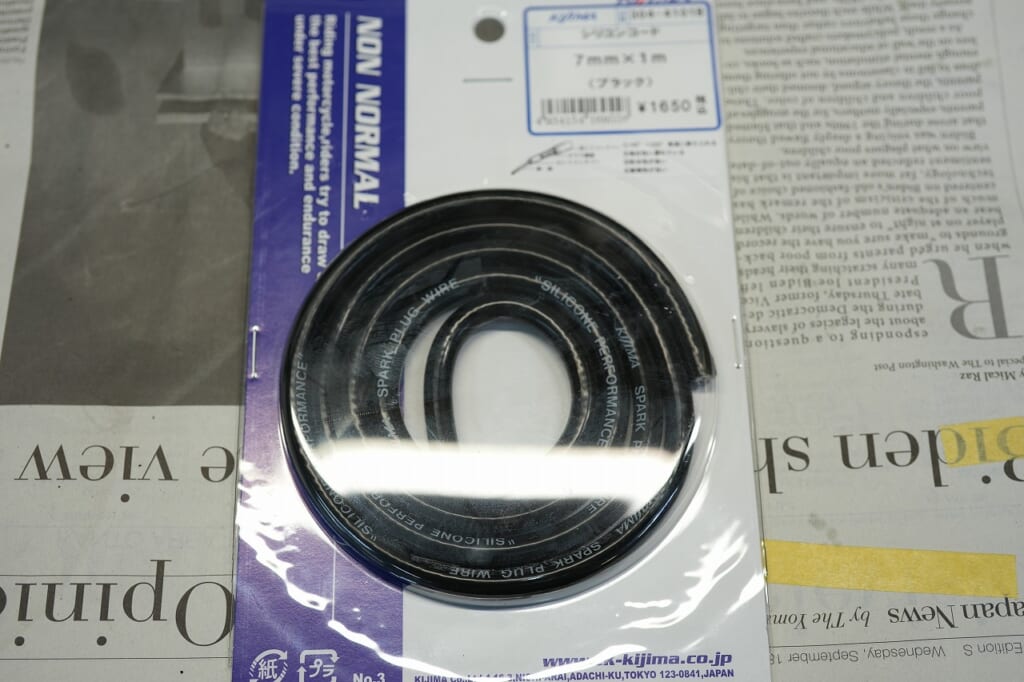
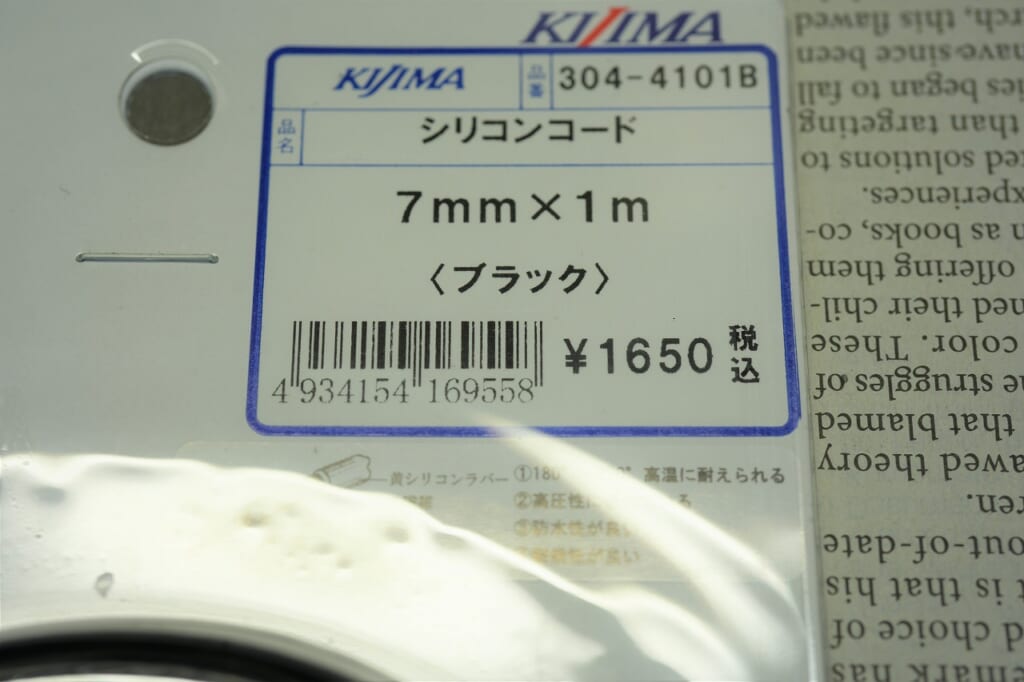
This time I’ll use Kijima cord with reasonable? price and quality?
By the way, I need two of them (*´ω`*)
Kijima Silicon Cord
1m Length Black 304-4101B


 ポチップ
ポチップ
By the way, the breakage probability is 50% (our estimate) – it’s surprisingly heavy work.
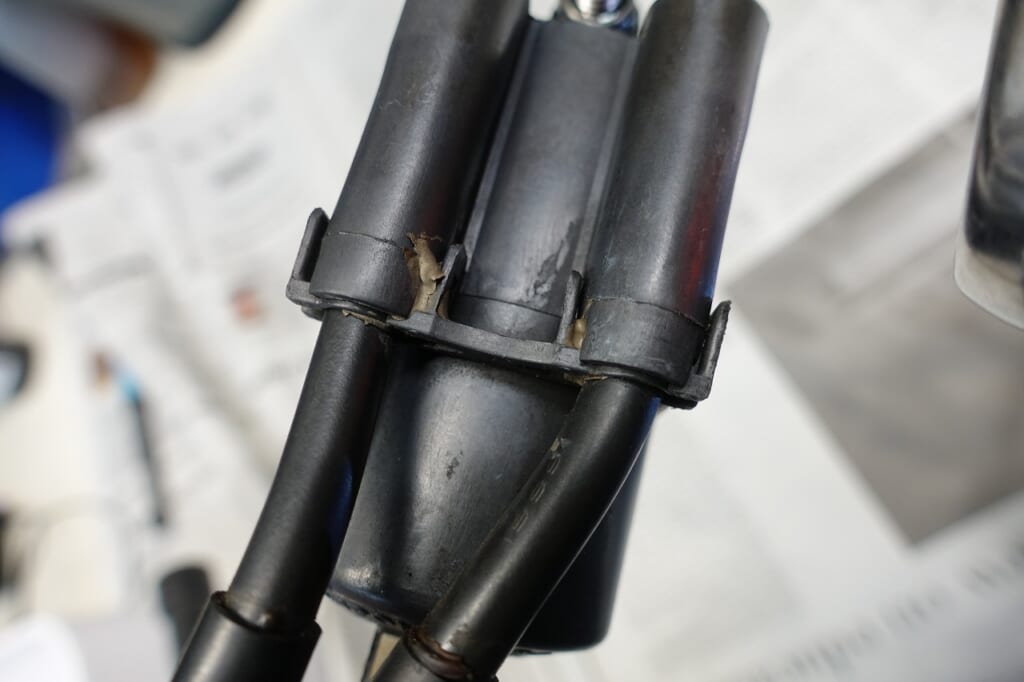
As shown in the image, it’s fixed with clips on top and “connected left and right.”
If you “cut this connection” and make them independent, the success rate goes up.
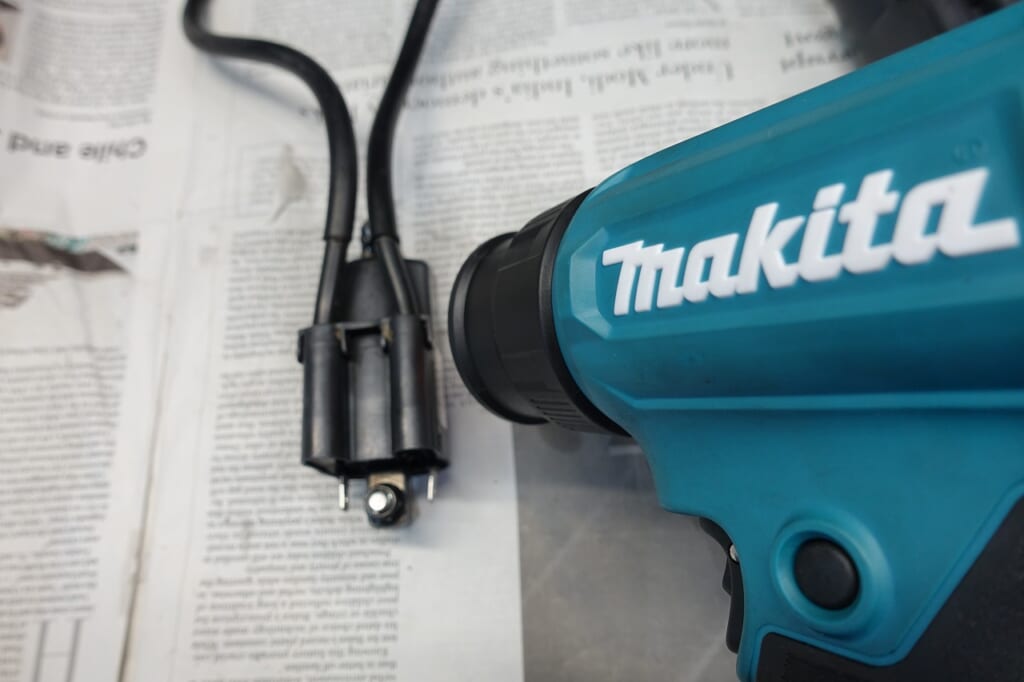
The most important thing is to “heat it up.”
That’s all there is to it, nothing more, nothing less. “Heated” = “flexible” becomes.
When heated, “it won’t break so easily.” *Though it can still break sometimes.
You need to get it really hot?
The heat gun is Makita! Makita! Heat Gun HG181D
 ポチップ
ポチップ
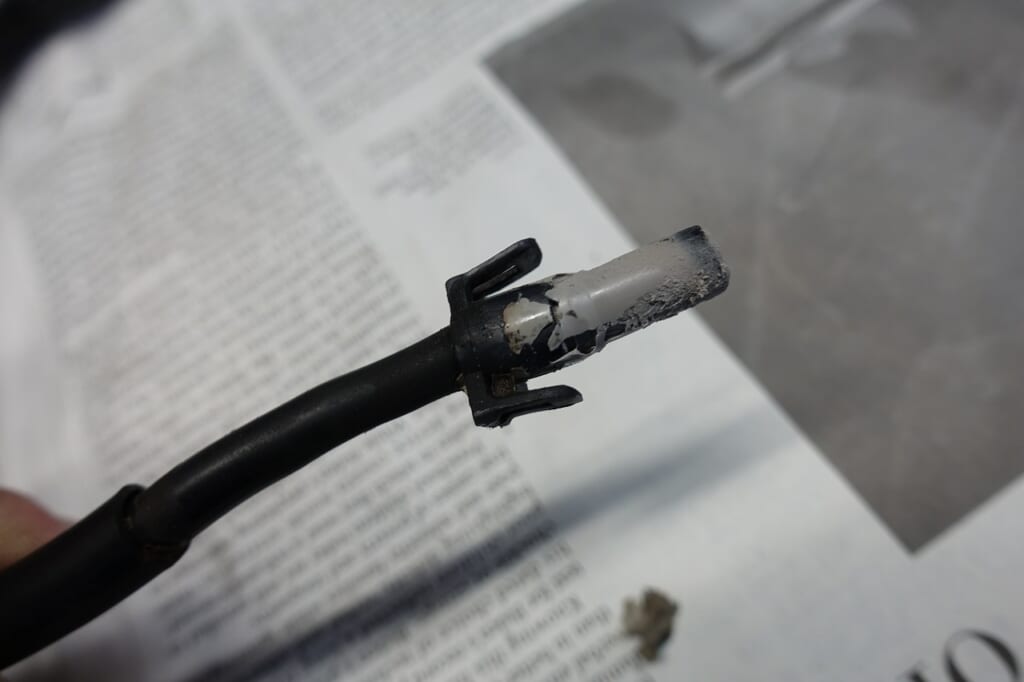
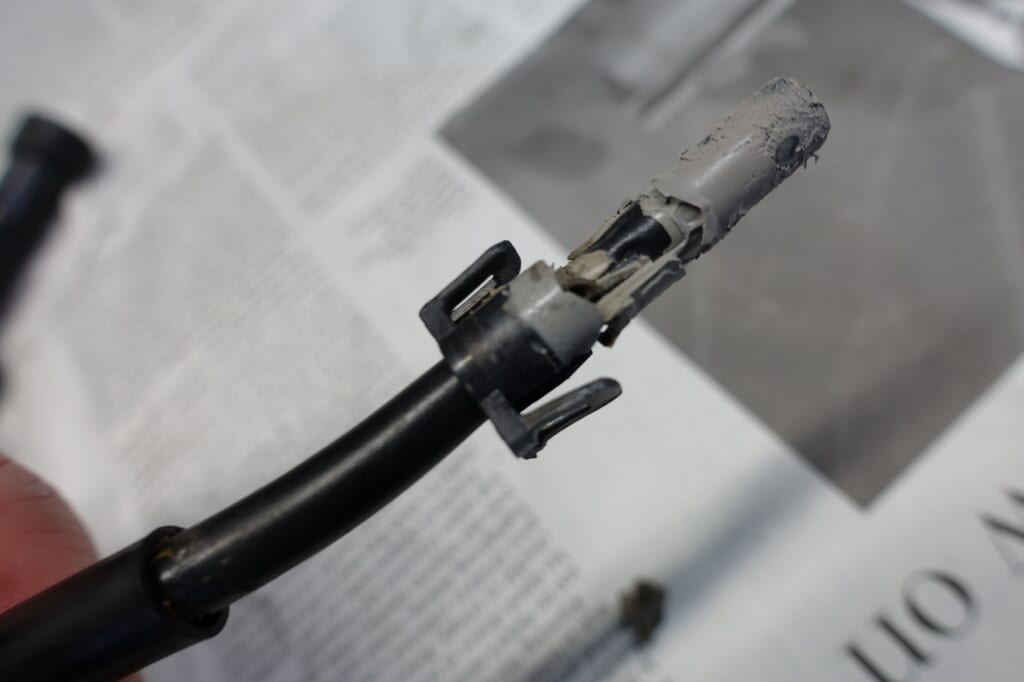
Pull the cord while “removing the clips one at a time.” That’s it.
But “No way! Absolutely not! Brute force” mindset is important.
Rushing will almost certainly break it. Be careful.
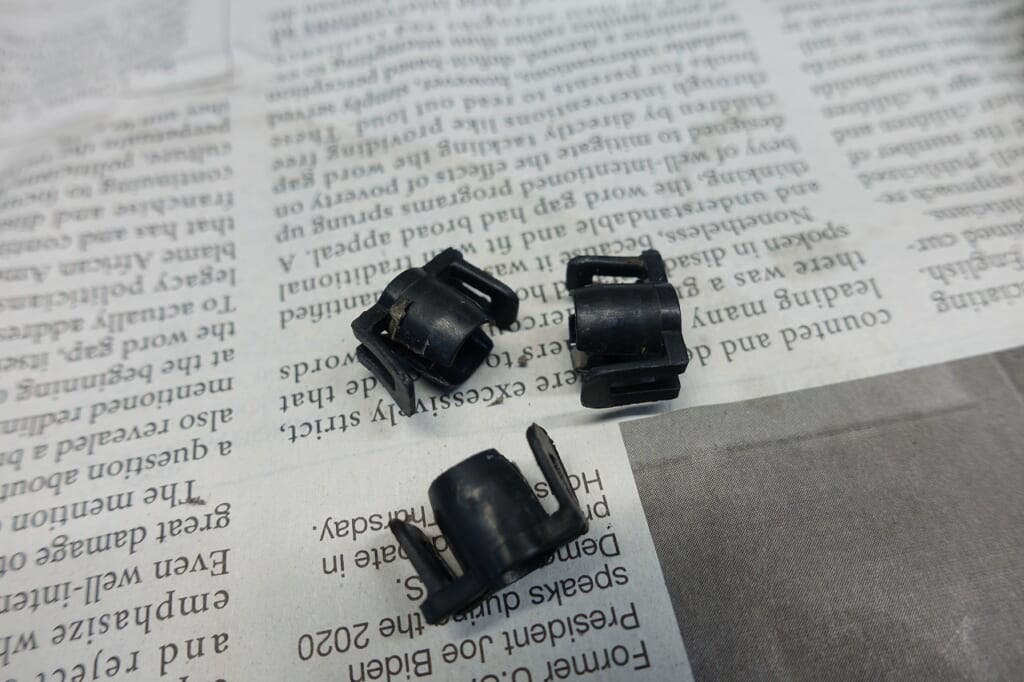
Three of them can be reused, but…
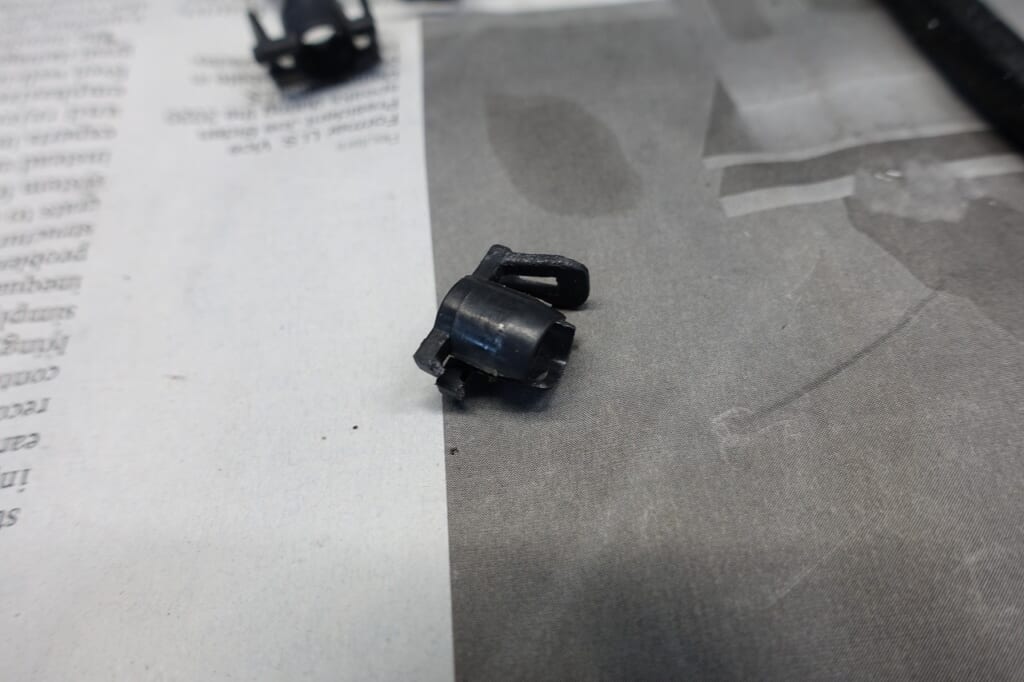
One unfortunately…
When the clip breaks, the cord’s “holding force” is cut in half, so “adhesive fixing” becomes necessary.
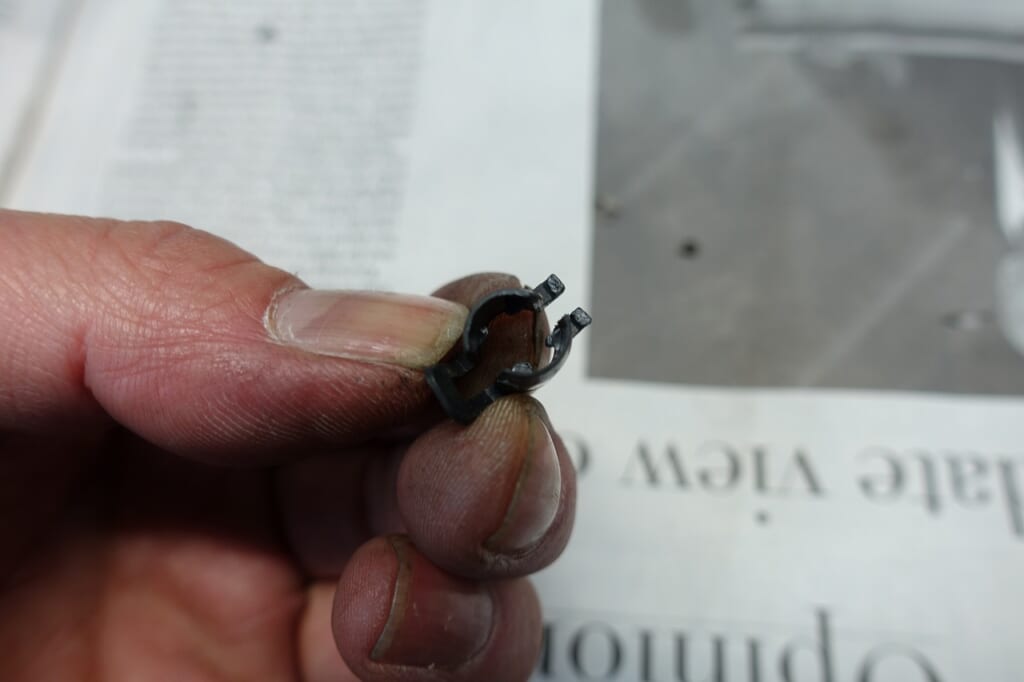
It’s actually a very well-designed structure…
It’s not designed to break easily; it’s just unavoidable.
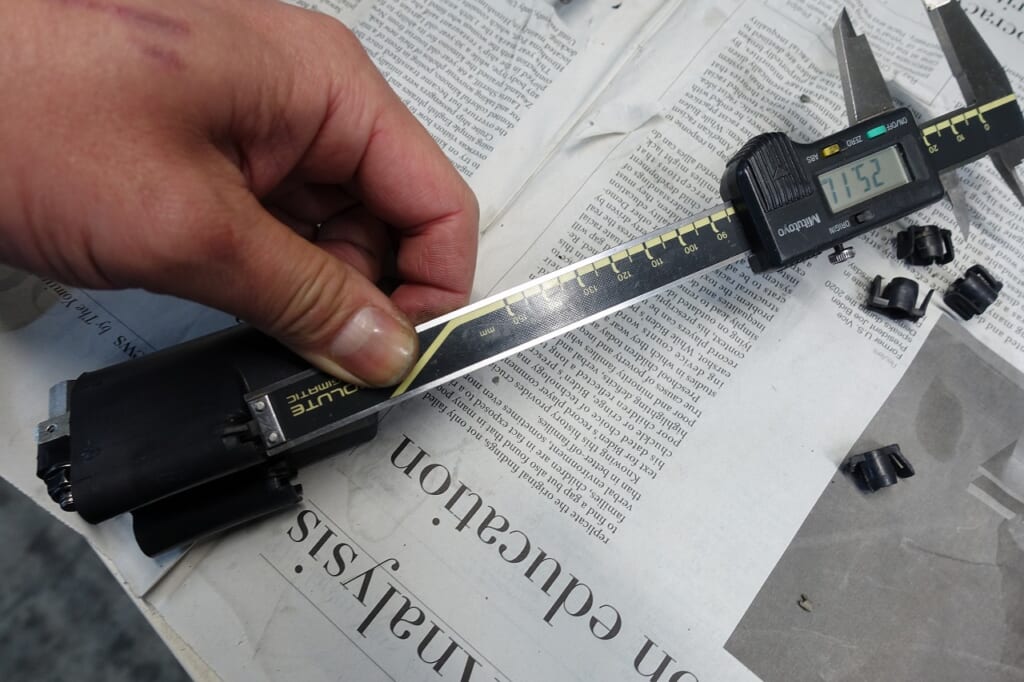
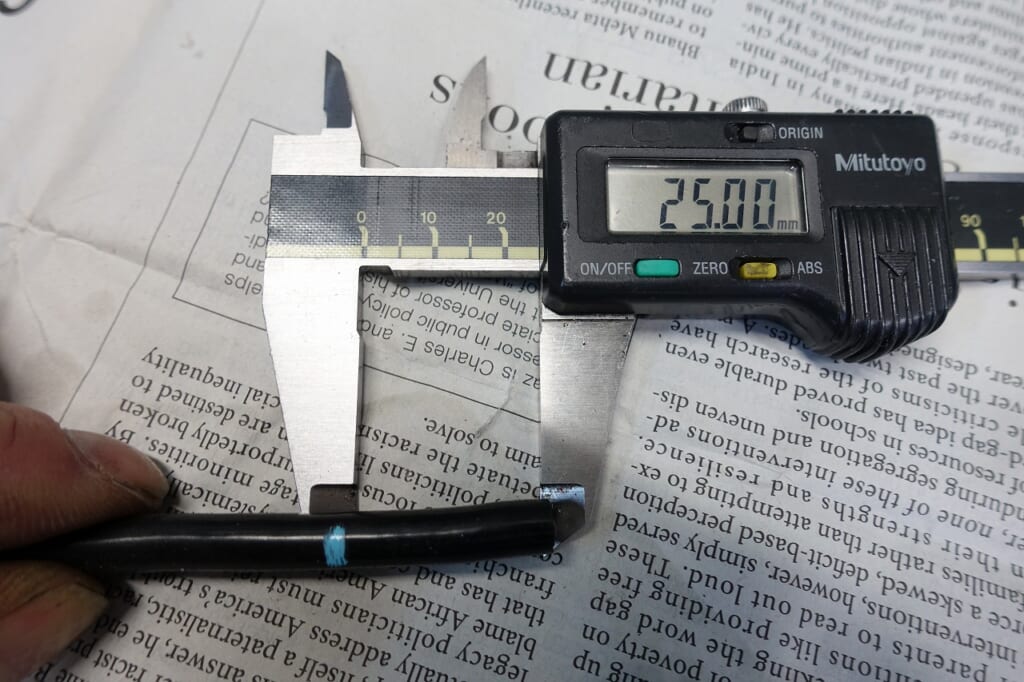
Always check the depth and proceed with work numerically.
By confirming numerically, “ambiguity is reduced.”
If you later encounter subtle issues, “the cord is probably in there, right?”
Post-work doubts and uncertainties are unnecessary.
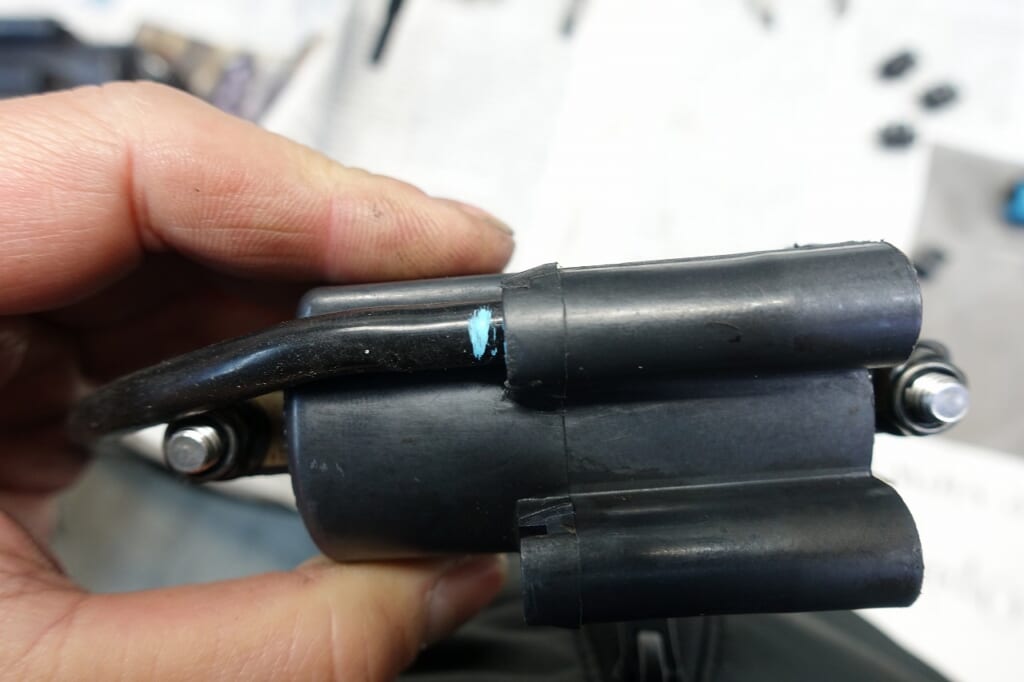
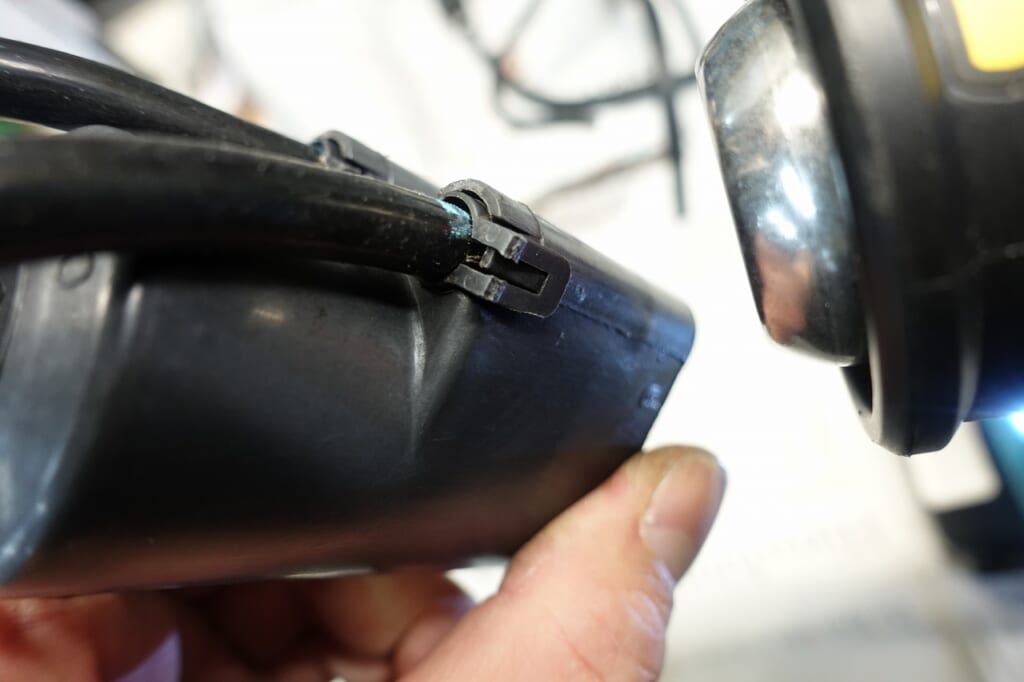
Insert firmly to the mark, lock it, then heat to correct the clip shape.
*The clip is already looking questionable though…
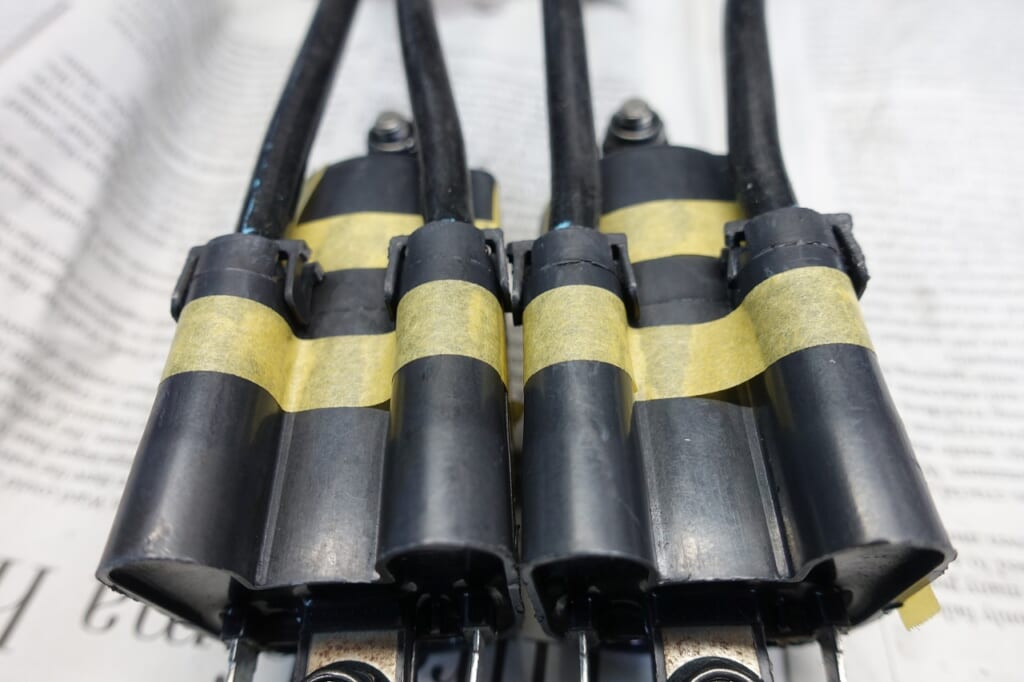
Since it won’t be removed anyway, I’ll fix it with “Megmix.” Epoxy or liquid gasket works too.
I just chose this chemical because it
hardens “super fast” and “won’t come out even if pulled.” I think that’s good.
*The image is before application.
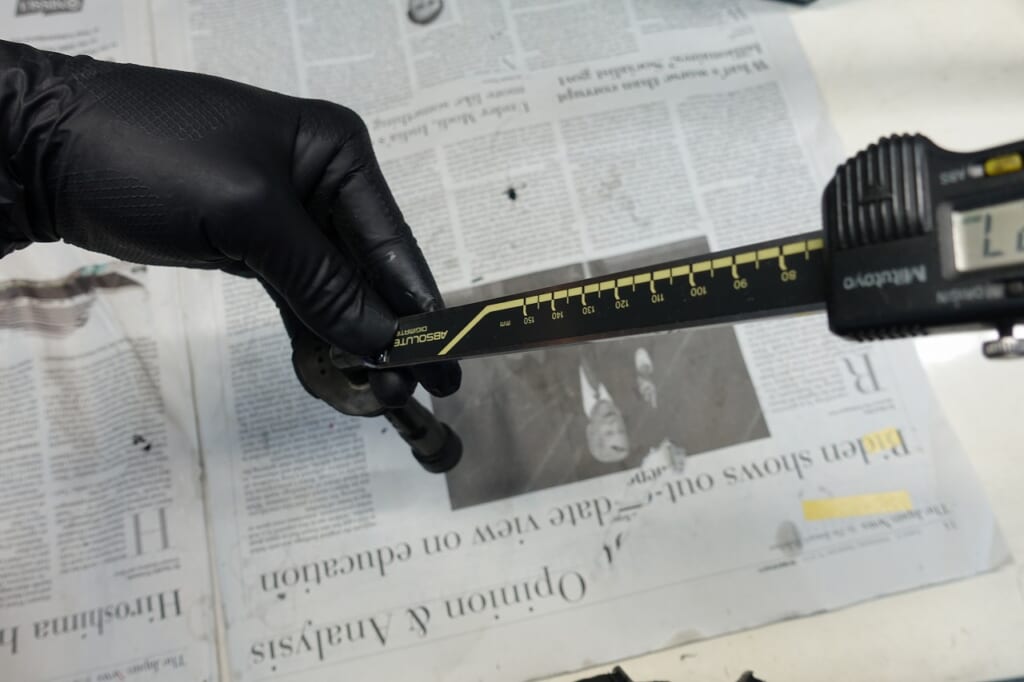
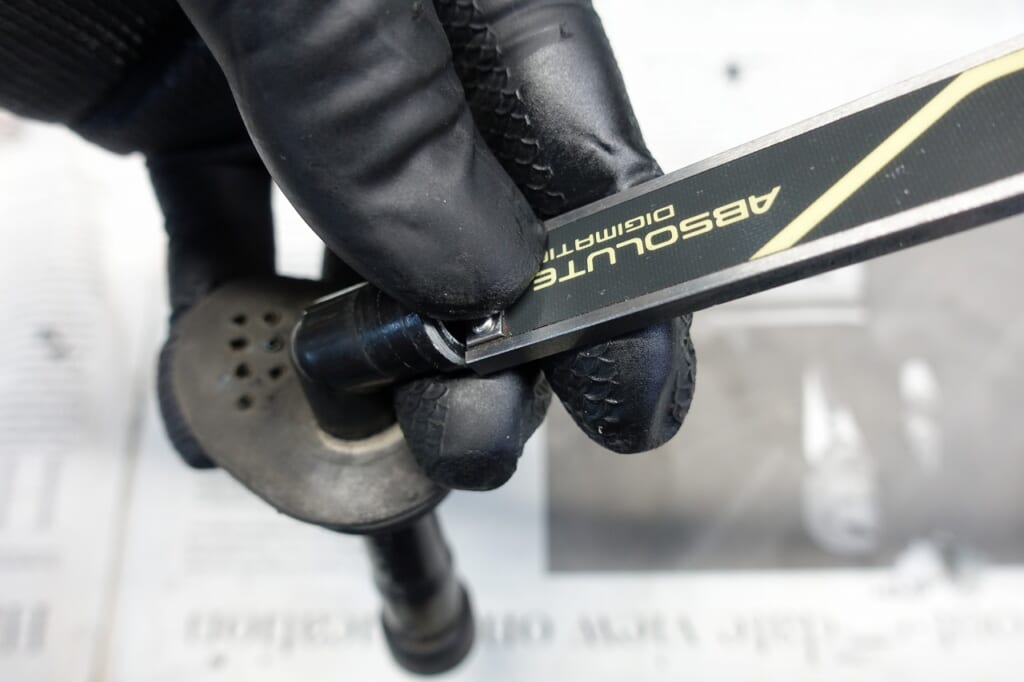
Temporarily fix the coil to the vehicle body, then install the plug cap side.
Check the depth of the plug cap the same way as before.
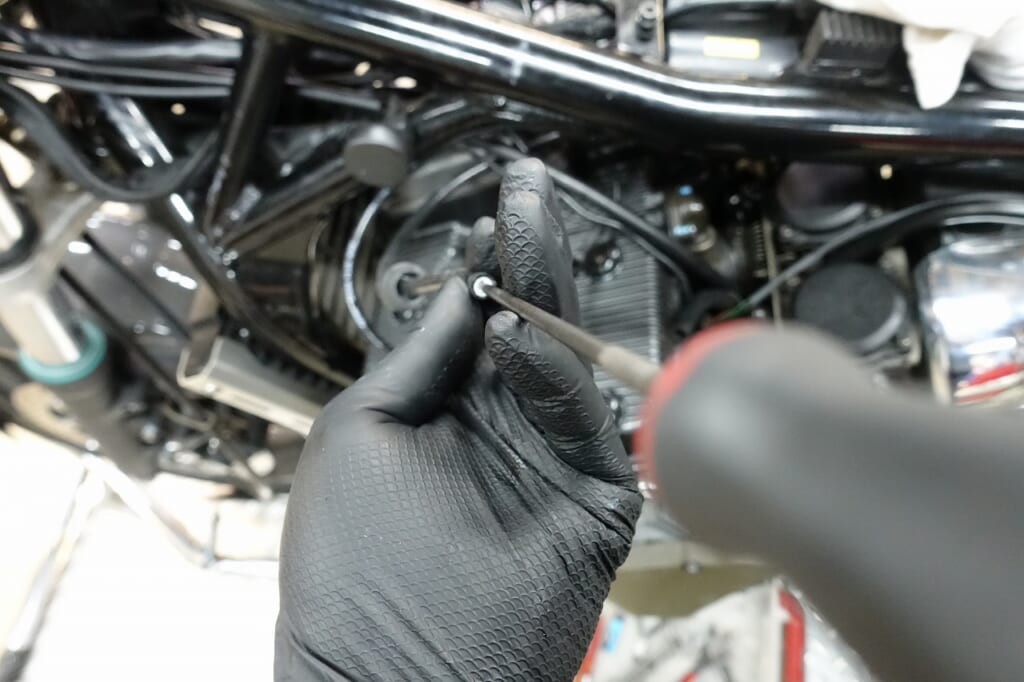
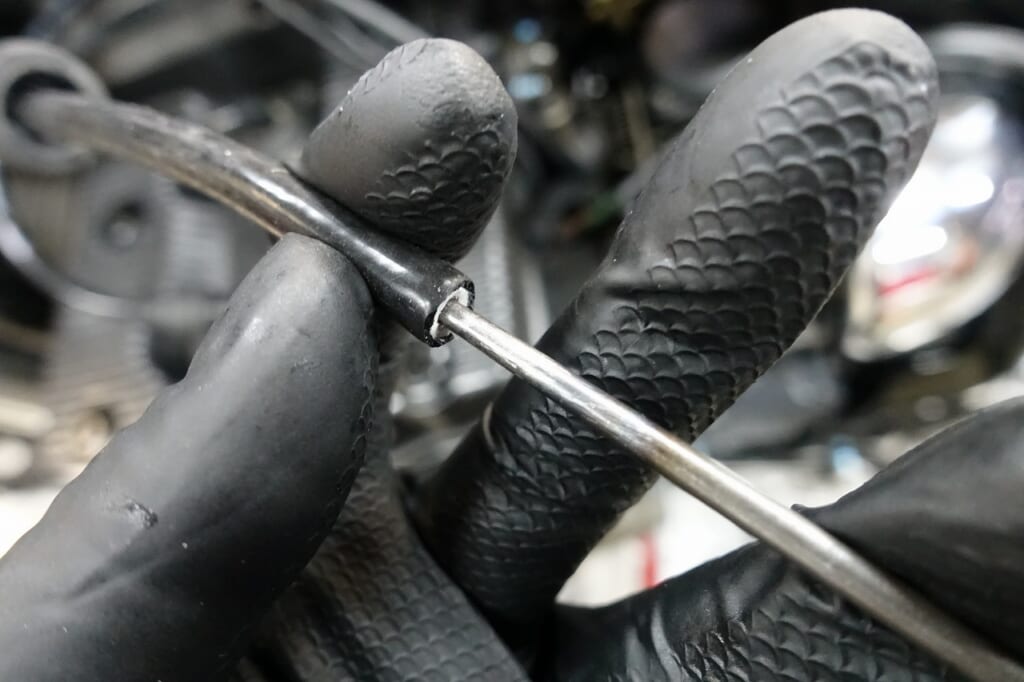
The plug cap side is threaded, so if you “drill a pilot hole” with something like a drill bit, you can screw it in quickly and reliably.
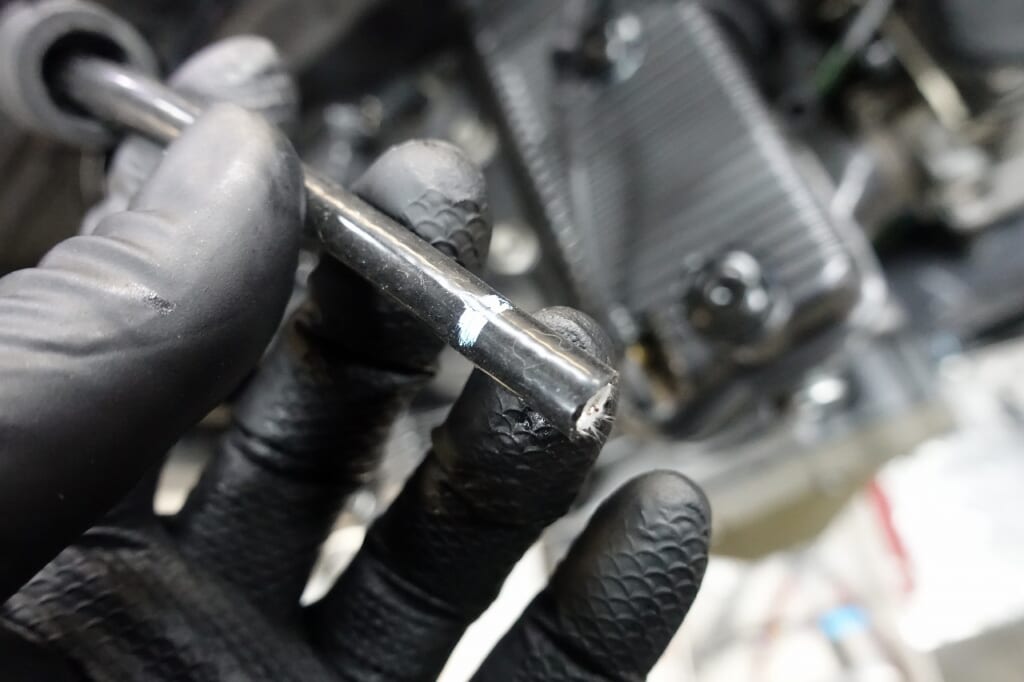
Be sure to mark the depth clearly with a marker.
“Ambiguity is reduced.”
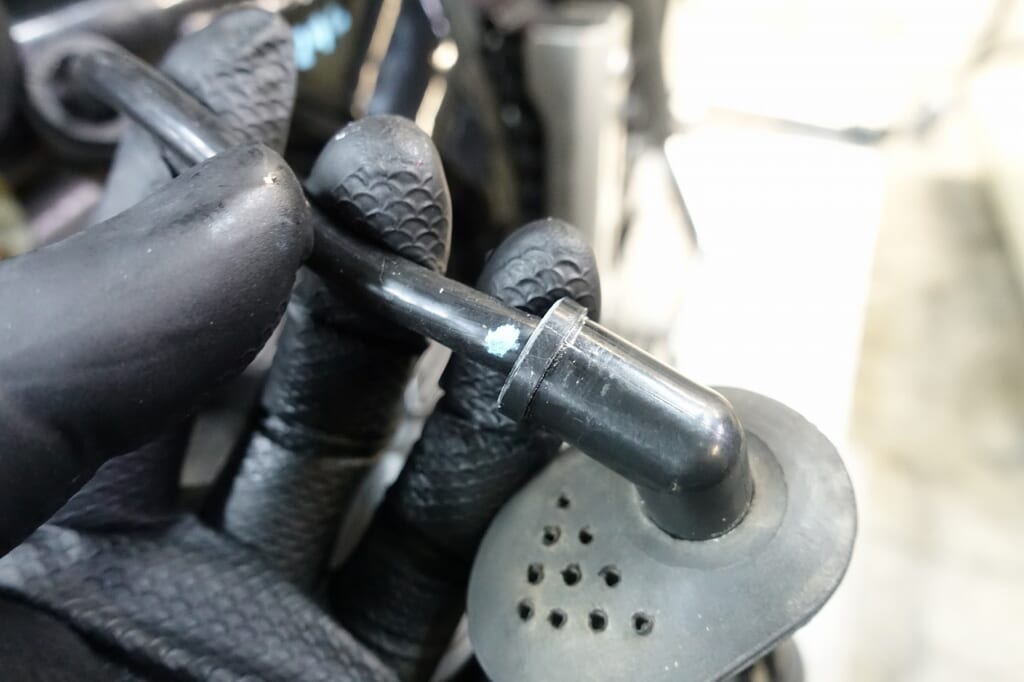
Once it’s inserted near the mark, you’re done.
Silicon cord is soft, so it’s hard to screw in.
If I forced it all the way to the line, it would put stress on the cord, so I left a few millimeters.
*Proceeding without putting stress on parts is also very important.
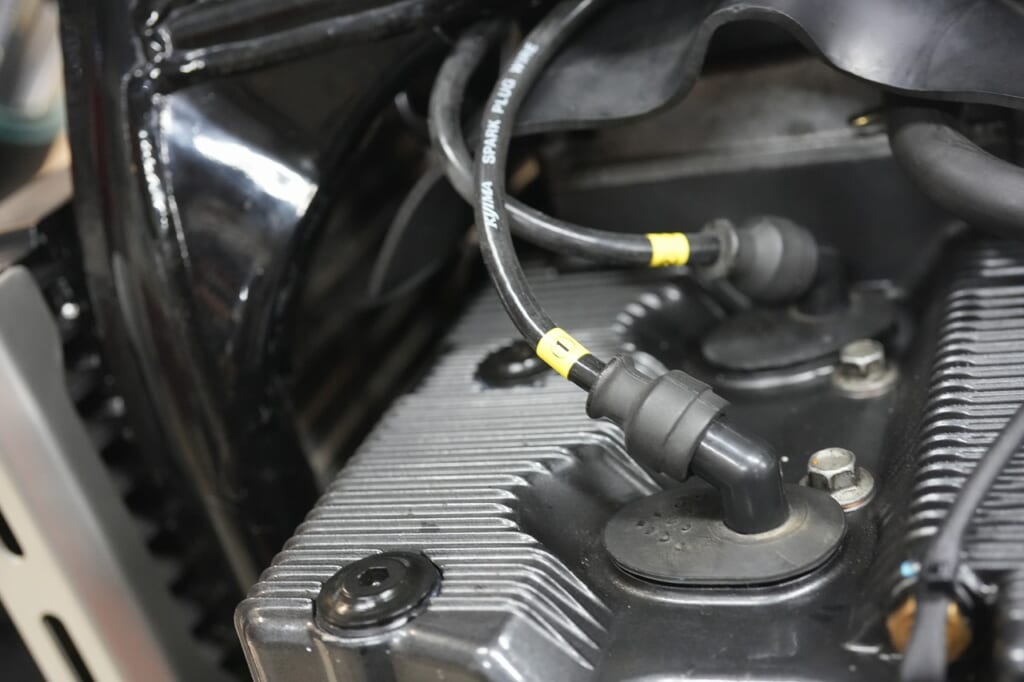
I prefer to route plug cords “slightly longer with a relaxed layout.”
Plug cap/coil removal becomes easier and work efficiency improves.
Even if the plug cap threading loosens, you can cut and re-thread it.
In other words, work efficiency is good and recovery is easy.
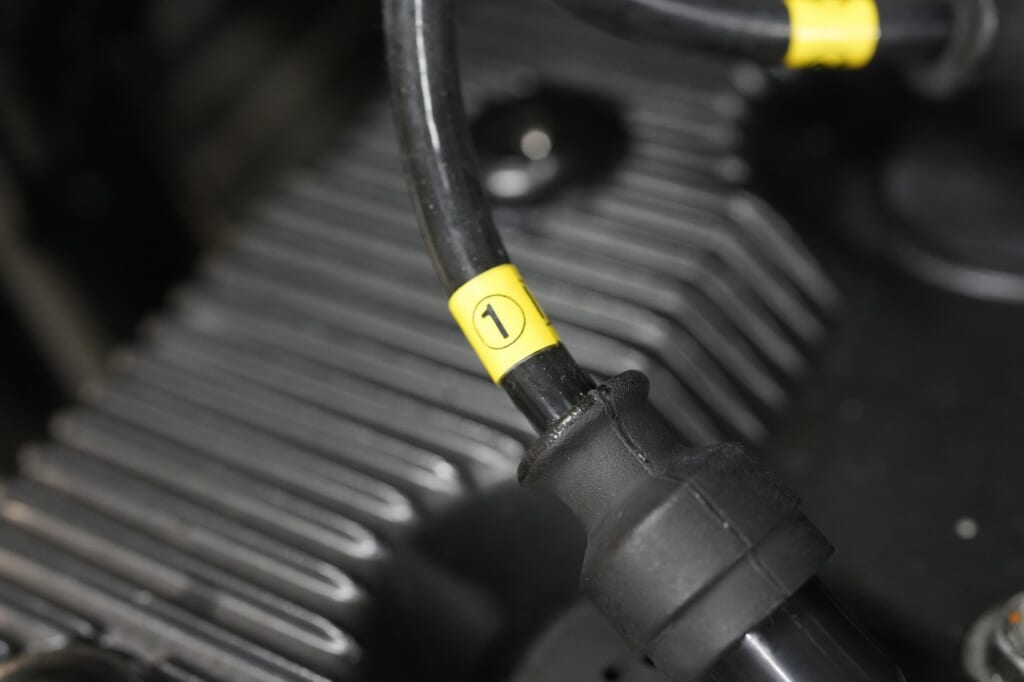
And finally, P-TOUCH it for perfection.
The trick to prevent peeling is to make it long and “apply tape over tape.”
For items to distinguish, I intentionally “don’t use black.”
“Pop!” Being able to recognize it at a glance “improves work efficiency” and I think that’s important.
I say it over and over, but having a P-TOUCH is seriously useful.
 ポチップ
ポチップ