So when I test rode it the other day, “rod-like handling” really turned me off.
Surprisingly, there are quite a few people who come to our shop who feel the same way.
When I say “Huh? I’m fine with it,”
“Oh… I see…”
It’s different for everyone.
We’re closed Mondays and Tuesdays.
What’s going on with maintenance day…?
Hmm?
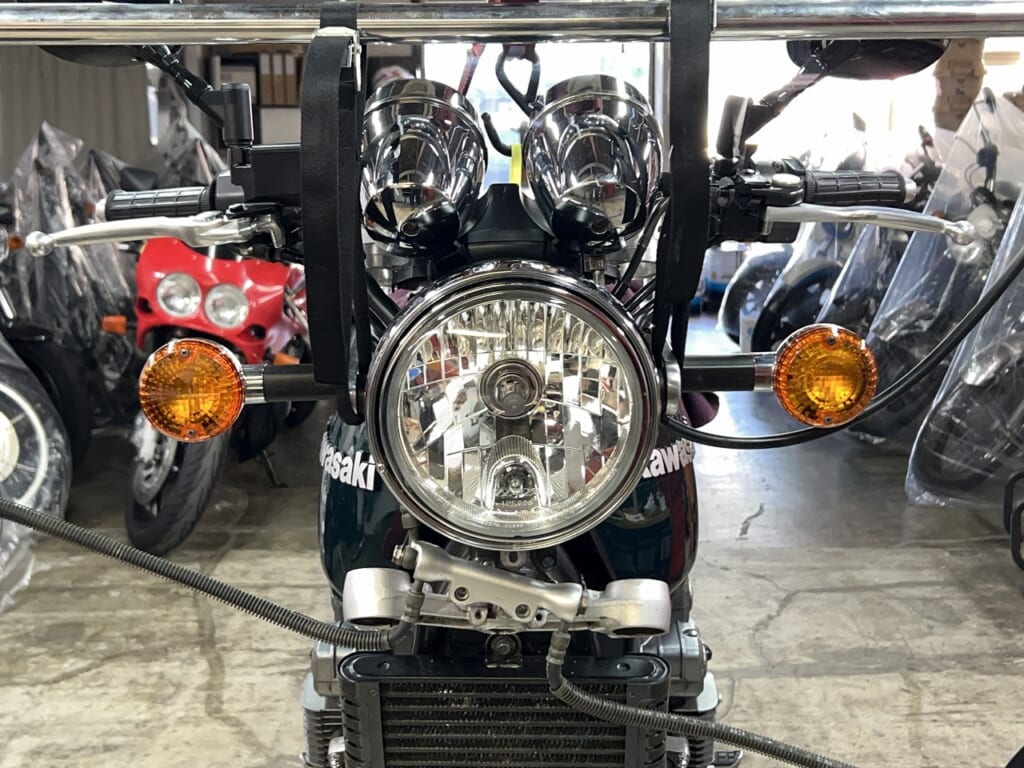
Working with the hanging rig (Version 1).
I want to keep it safe and easy without removing the headlight, gauges, and such if possible.
I’m hanging it from above with some Ethos stand, but it’s a bit in the way…
I’ll think about it a bit more…
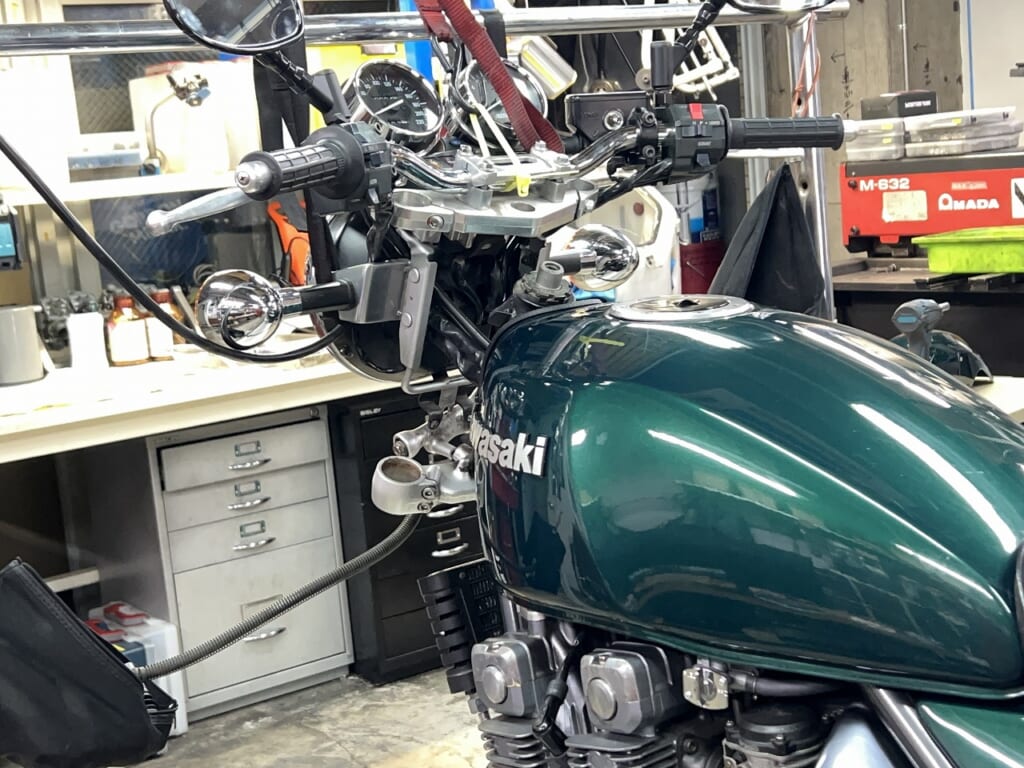
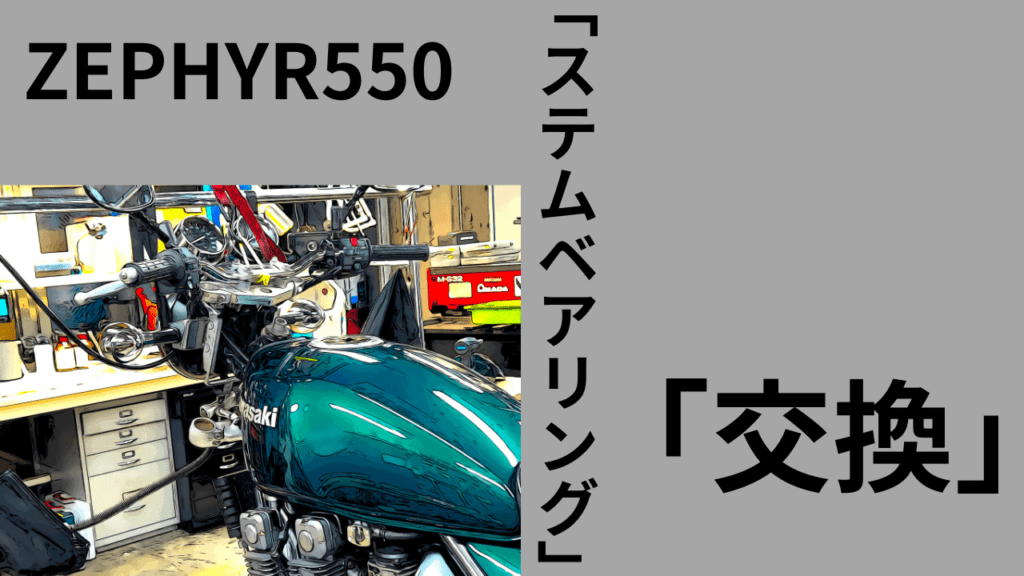
For customer bikes, we remove the fuel tank as a matter of course.
When the stem area configuration is close to the fuel tank, we basically remove it.
We don’t want any trouble.
If we can reduce risk with just a few minutes of work, that’s definitely the way to go.
Conversely, the benefit of not removing the fuel tank is “only saving a few minutes,” so to speak.
It would be nice if the work could be easier.
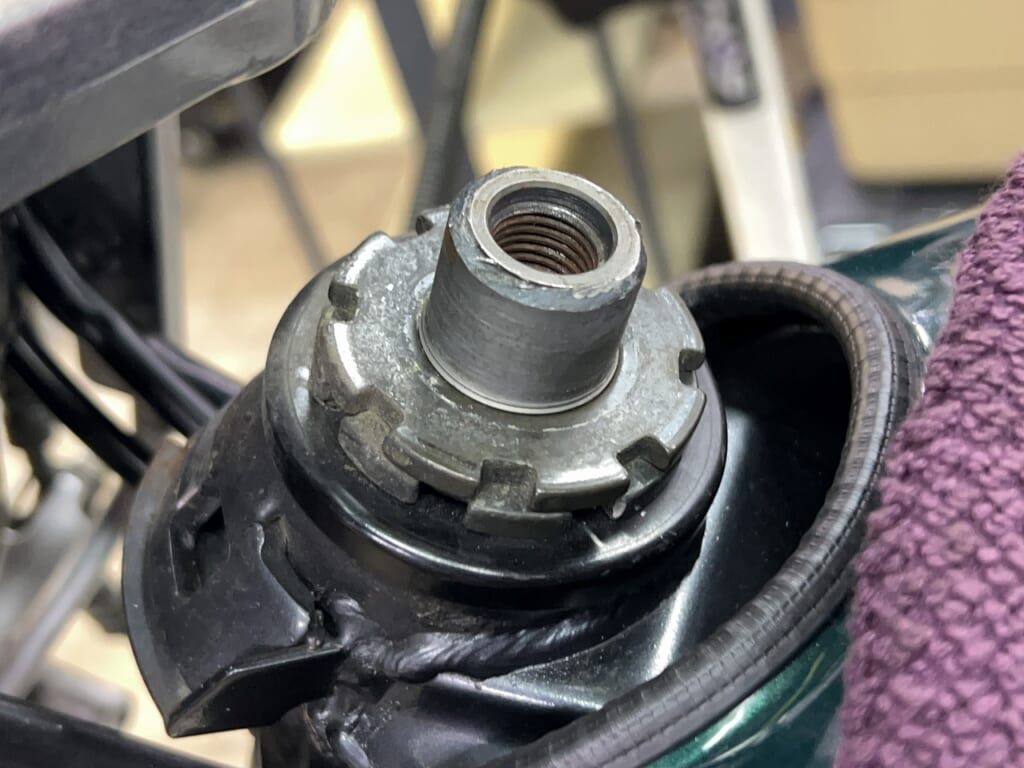
Kawasaki also uses double nuts (*´ω`*)
The shaft thread diameter and pitch were M25 P1.25.
For reference.
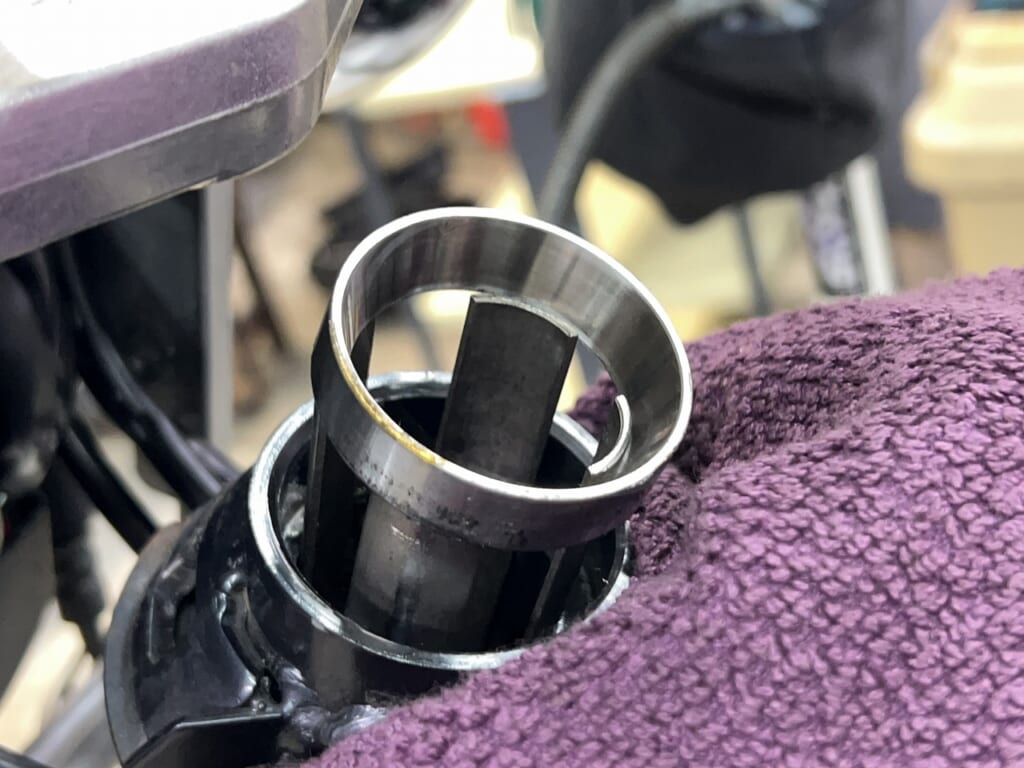
The upper side came off easily with the RT-2.


 ポチップ
ポチップ
It’s definitely a tool worth having.
It’s no exaggeration to say that work is determined by tools (;・∀・)
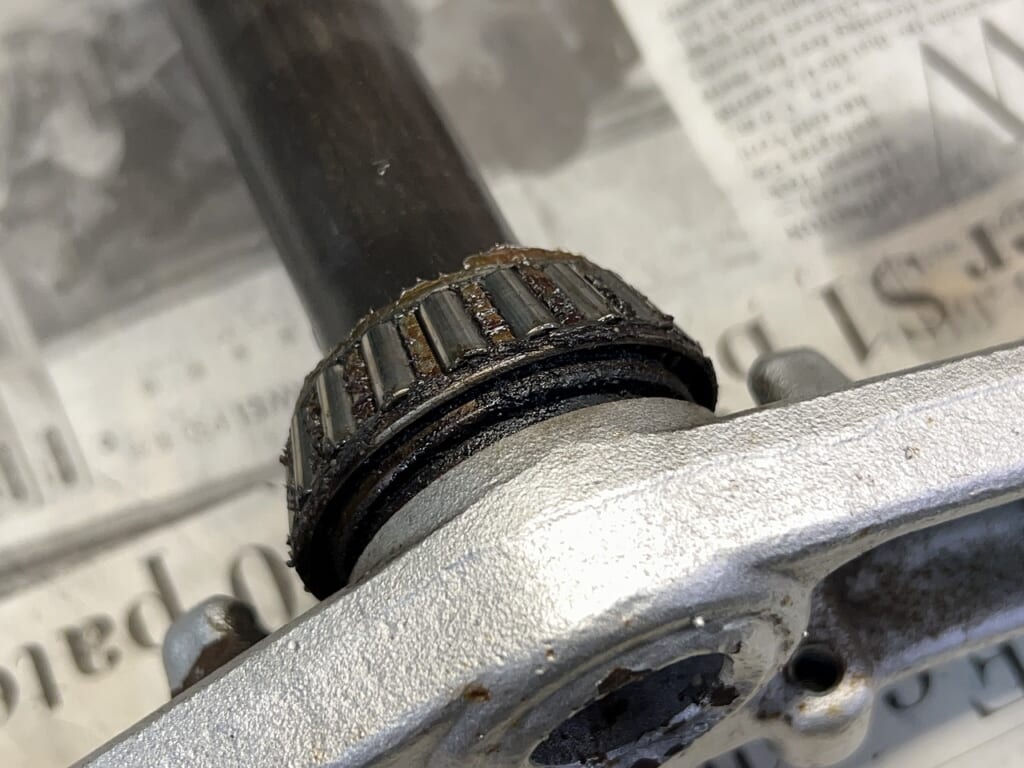
No seal… That’s so Kawasaki
Since the seal doesn’t exist in the parts list,
I thought a sealed tapered roller bearing would come, but…
No seal, huh? That’s so manly~
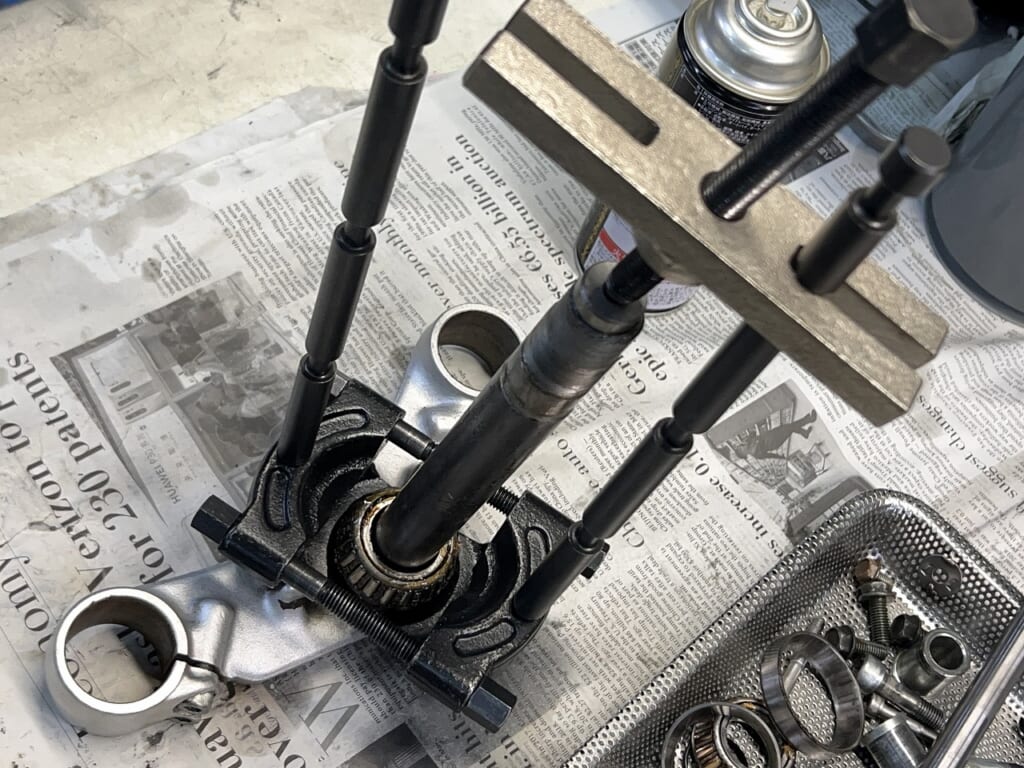
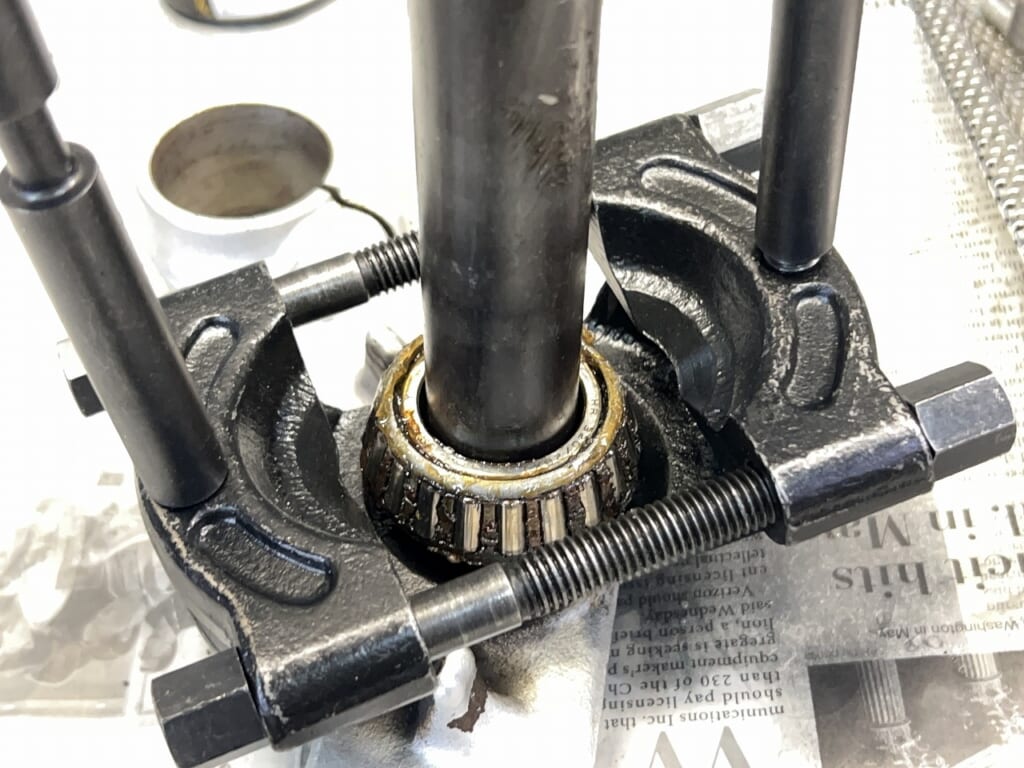
Since there are lots of gaps, I’ll pull it out with the puller I made before.
Of course, sometimes it works smoothly and sometimes it doesn’t.
This time I was able to remove it smoothly (*´ω`*)
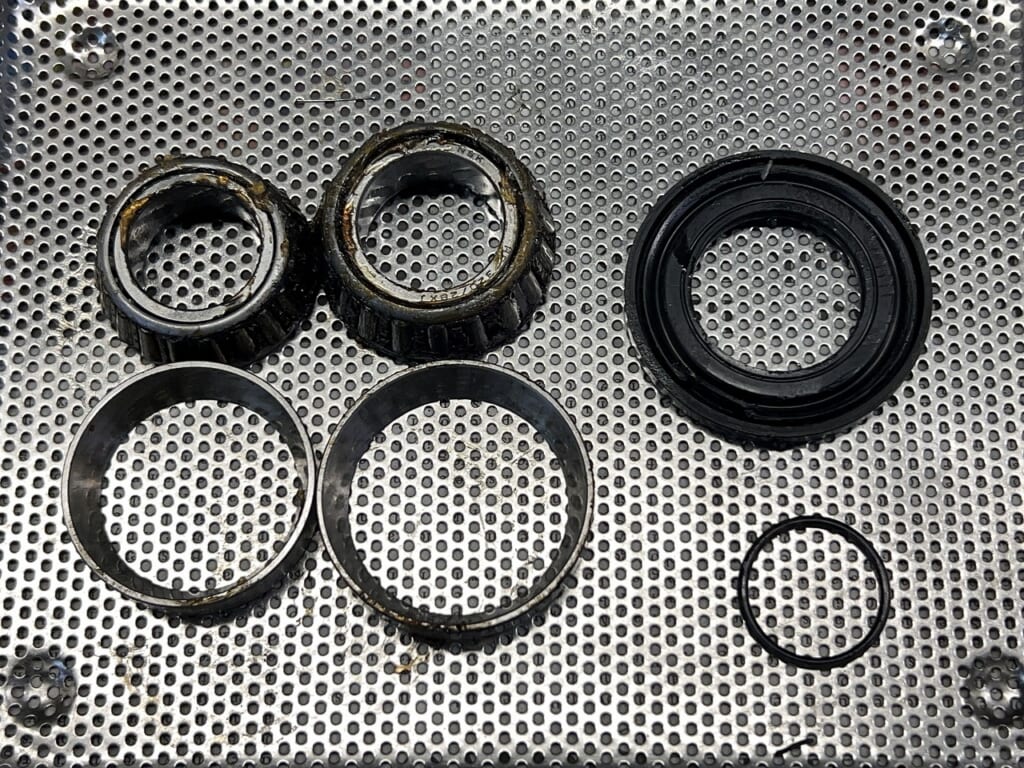
Kawasaki-specific configuration.
*There is no lower seal this time.
Basically, the sealing effect of the upper and lower seals is extraordinary.
When assembling new parts, “Is this really okay?” You’d think.
The center O-ring is also in there to seal things up nicely…
I think only Kawasaki does this kind of thing…
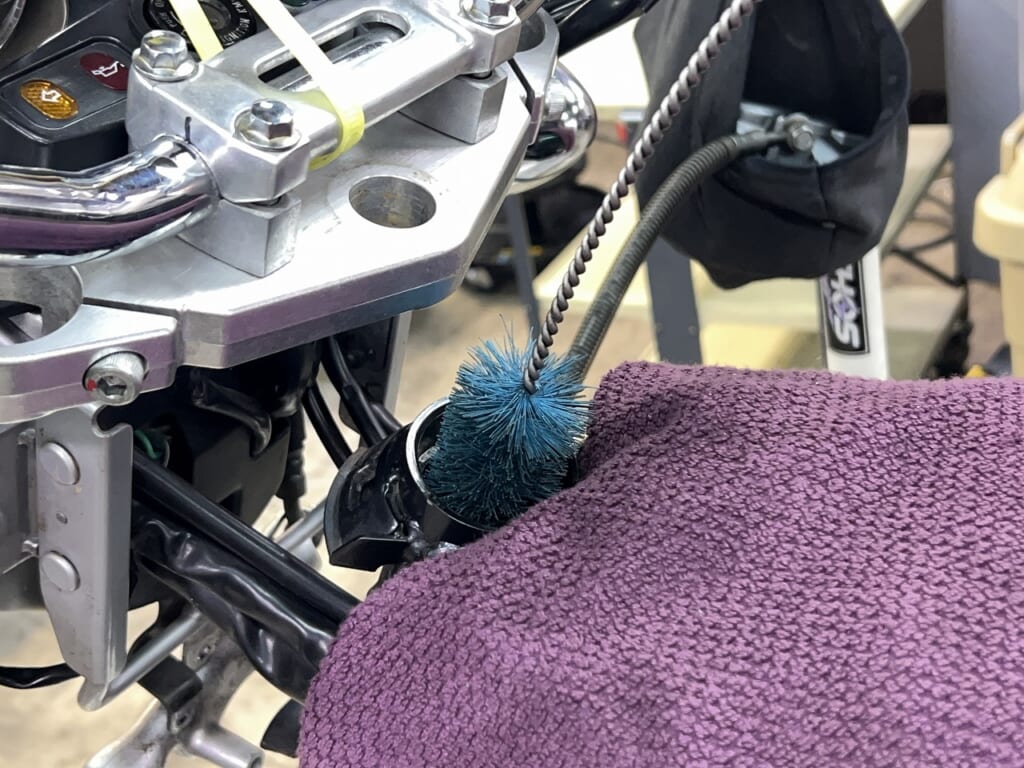
If I’m not careful, there’s a possibility I might never open it again, so I clean it with that in mind.
Always ready for a “once in a lifetime” moment (*´ω`*)
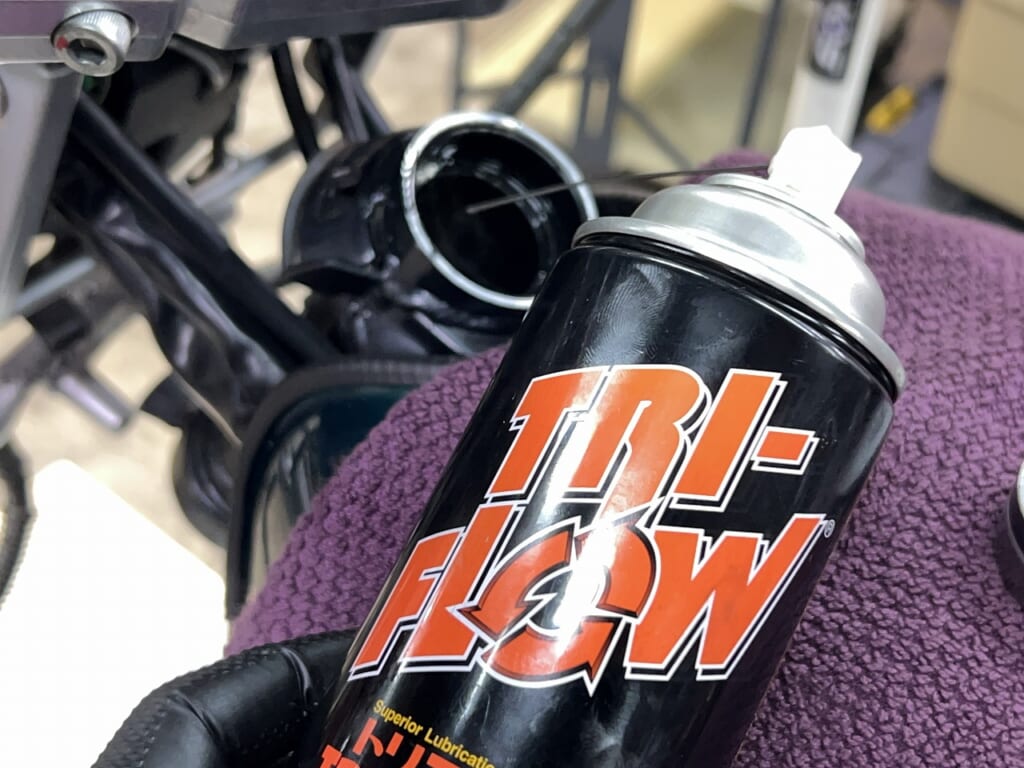
If you want it to slide in smoothly, use lubrication.
Without lubrication it might go in more firmly,
but there’s a risk of damaging the other part (frame).
I think it’s best to work as smoothly as possible.
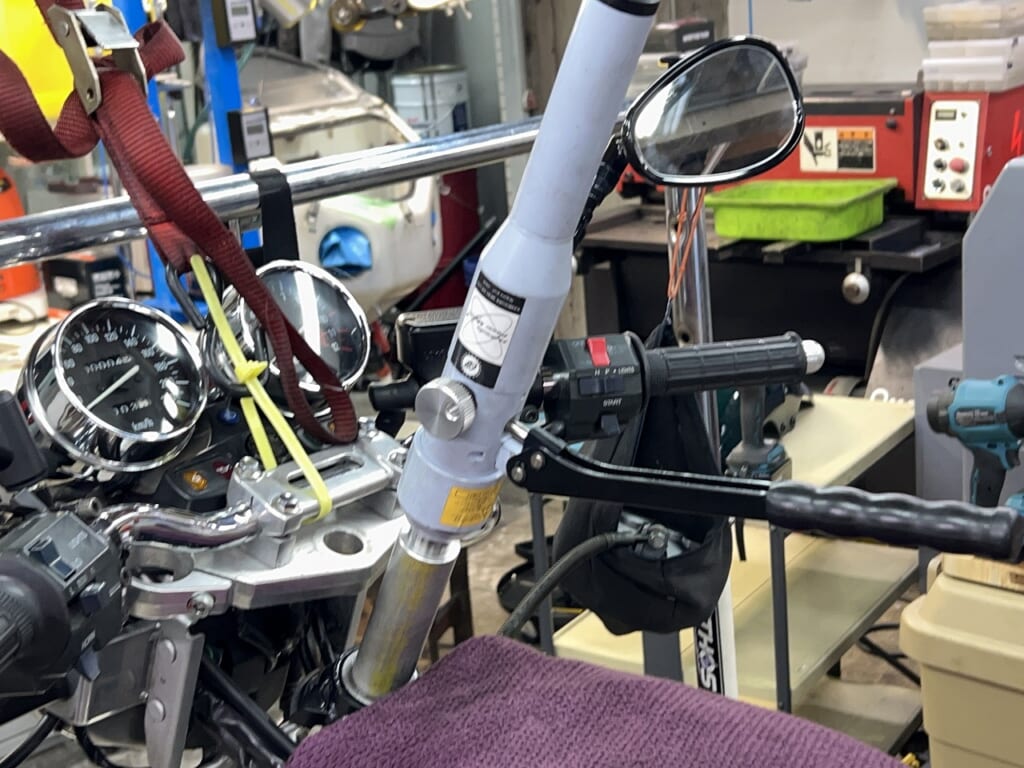
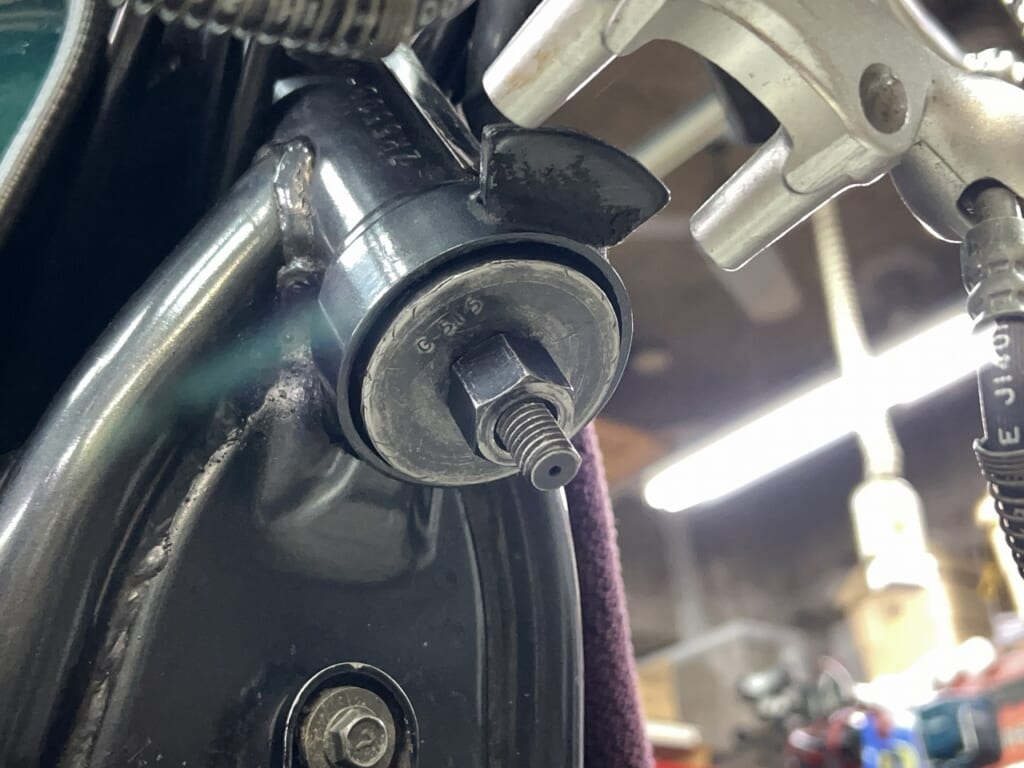
I press it in using a hydraulic punch (modified).
Since I press it in using one side as a reference, the chance of it bending is extremely low.
*Since it’s hydraulic, careful and slow operation is necessary
Doing it by hand “tap tap… tap tap”
Work that doesn’t require tricks or techniques is the best.
Even after 1000 times, the same quality is needed, right?
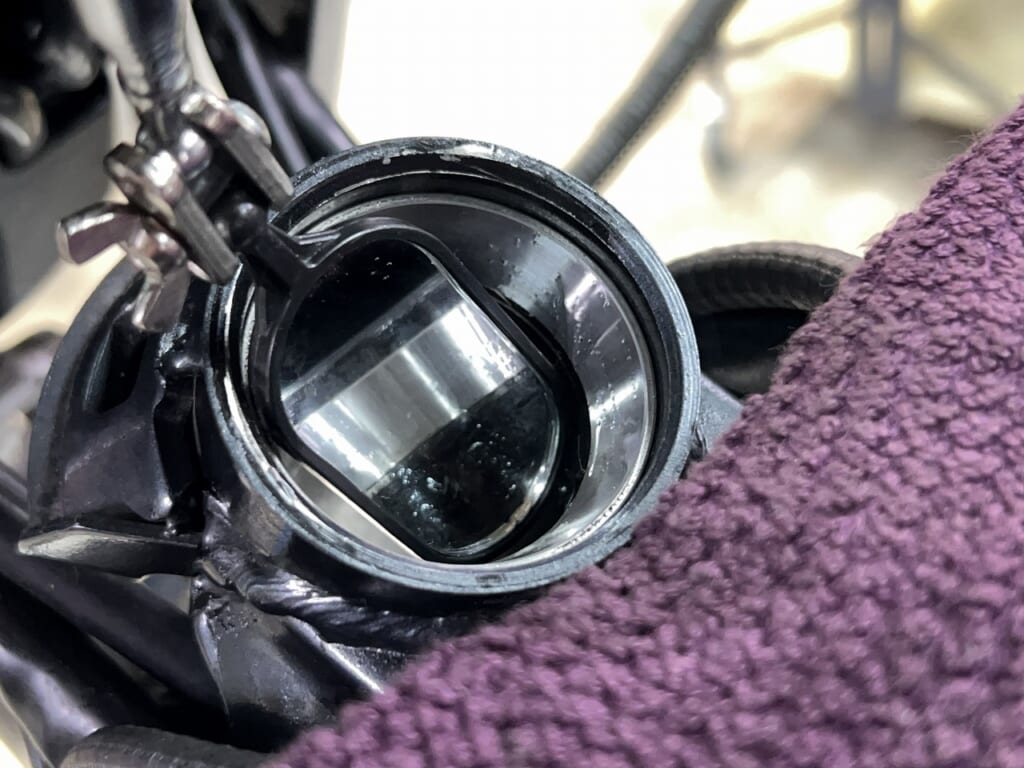
After pressing in, always check with a mirror.
I realized I haven’t been using a mirror much lately,
because I have an “endoscope.”
In this age of inexpensive and special tools being readily available, there’s no reason not to use them.
 ポチップ
ポチップ
*The price has dropped sadly… ( ;∀;)
A dual camera with a thin probe is nice.
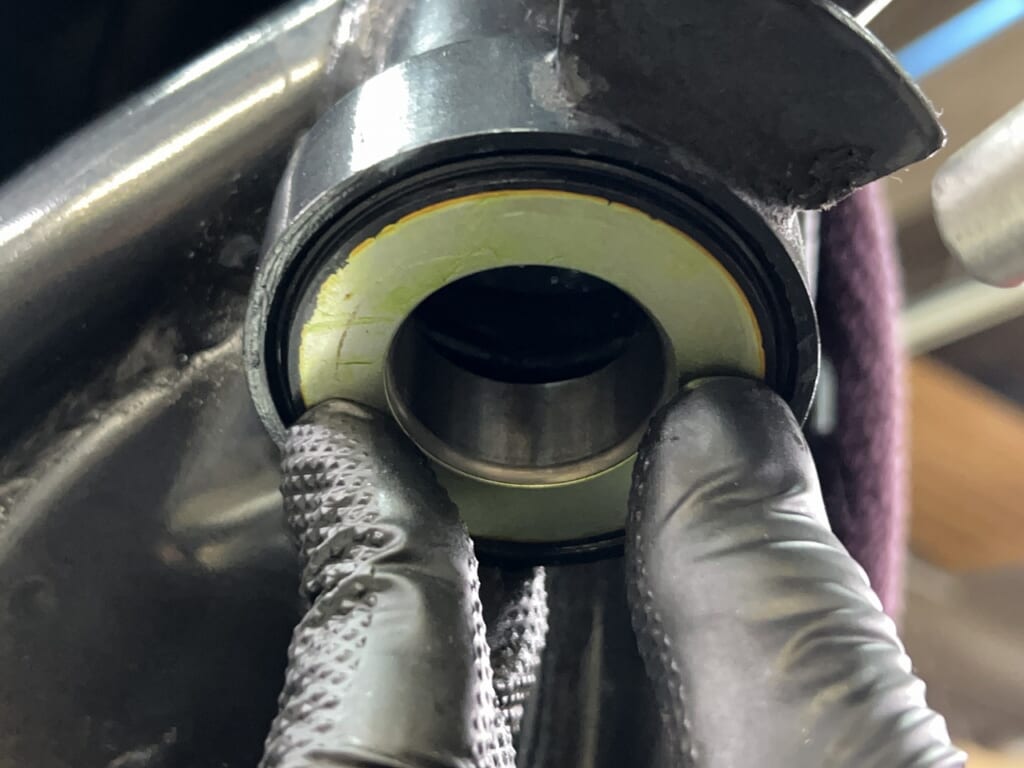
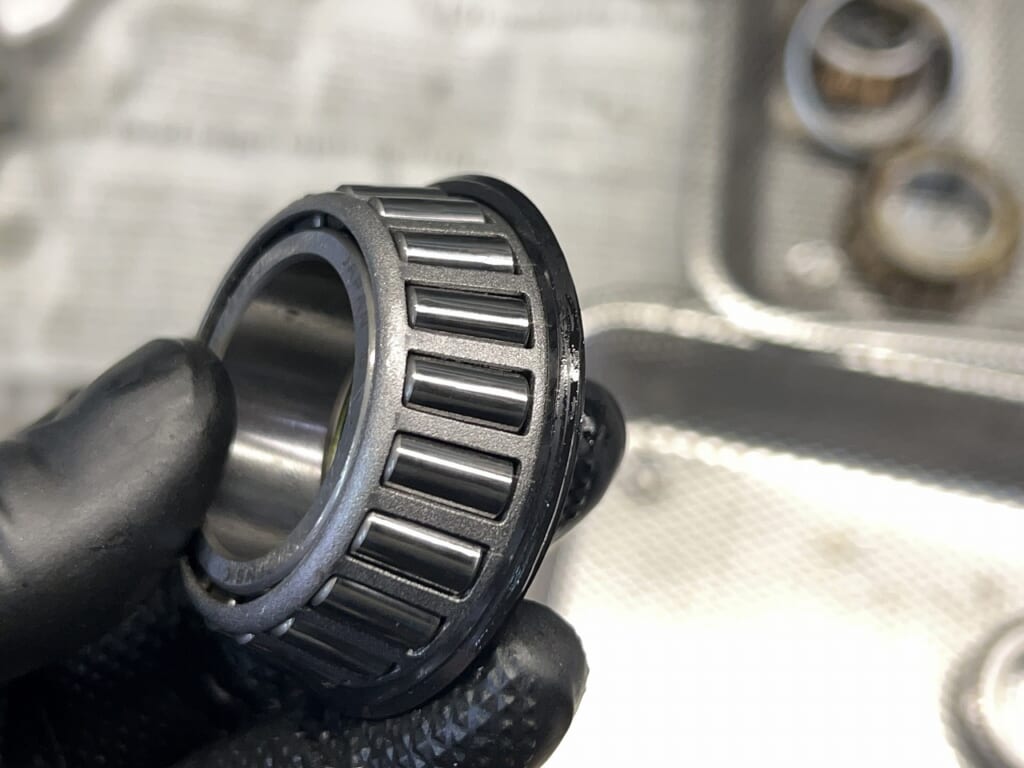
For the lower seal, I’ll use one that works with Honda.
I won’t write down the part number.
Since the seal inner diameter doesn’t match perfectly, installation requires a “trick.”
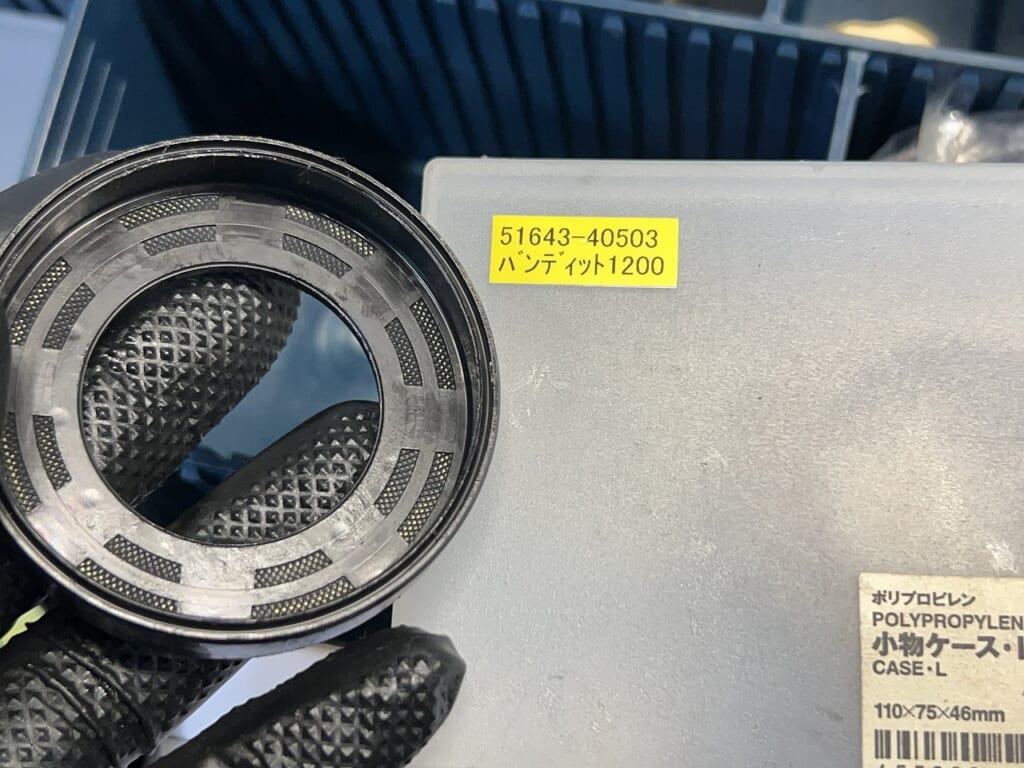
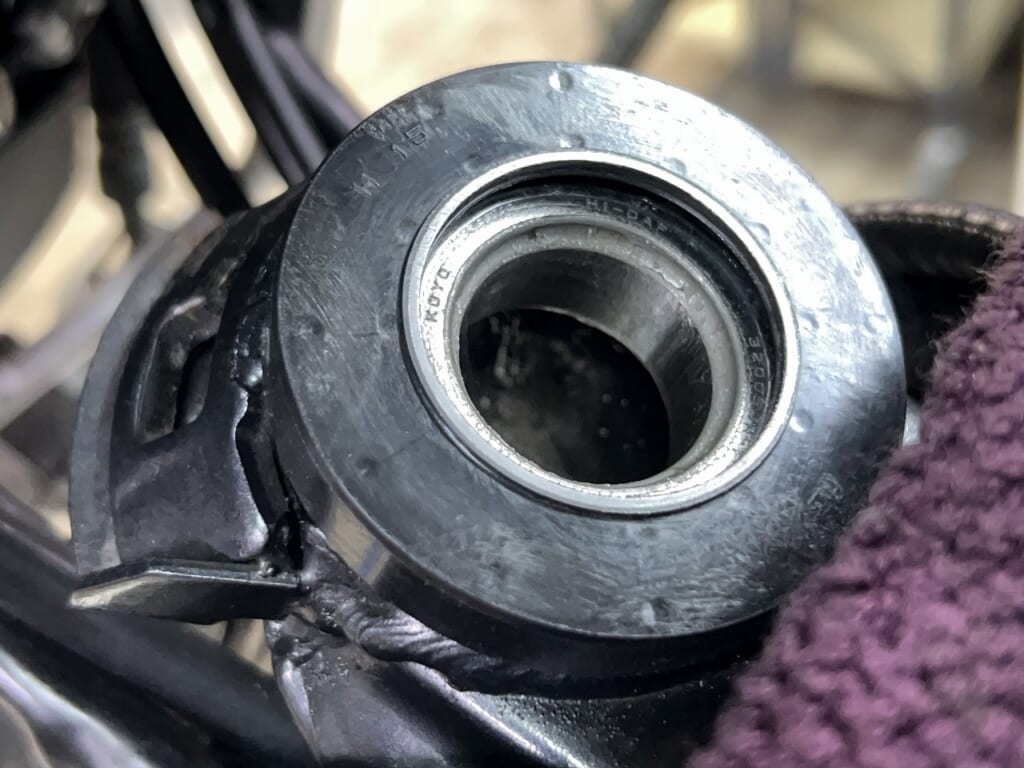
For the upper side, I use one from a Bandit 1200 and such.
This one can’t be used as-is either.
The center protrusion gets in the way and the adjust nut won’t bottom out on the bearing.
I adjusted it by grinding it down with a belt sander.
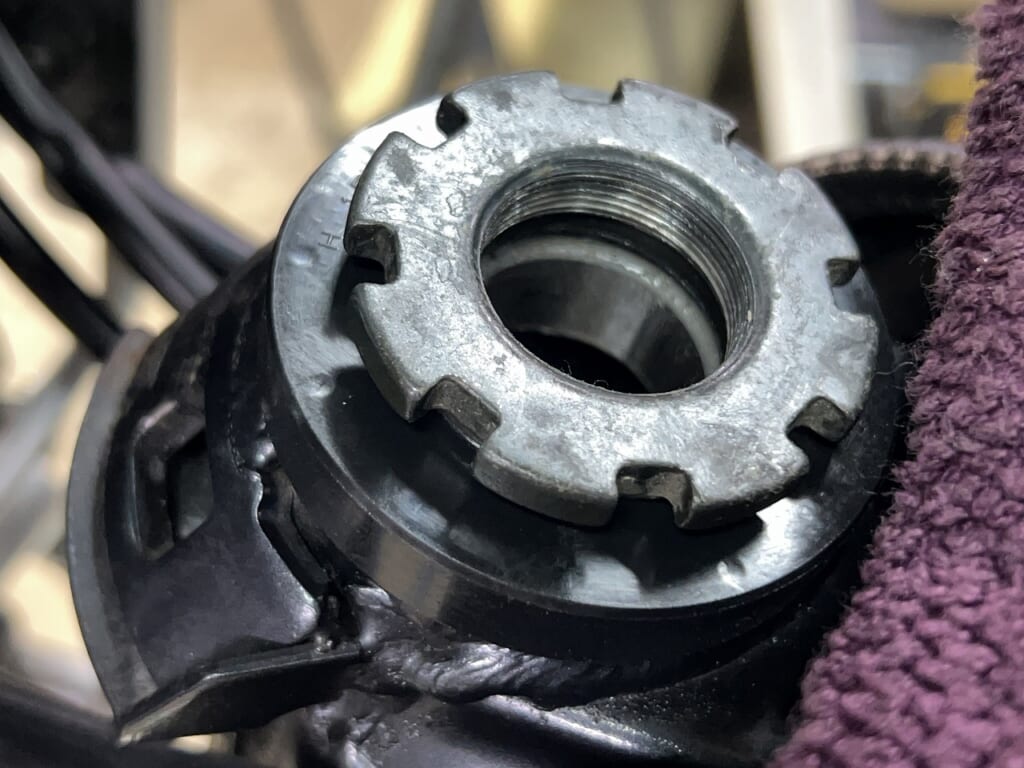
The adjust nut needs to bottom out on the bearing
while the seal remains free.
In other words, with this type of seal,
seal friction won’t affect handling.
The best option is no seal at all.
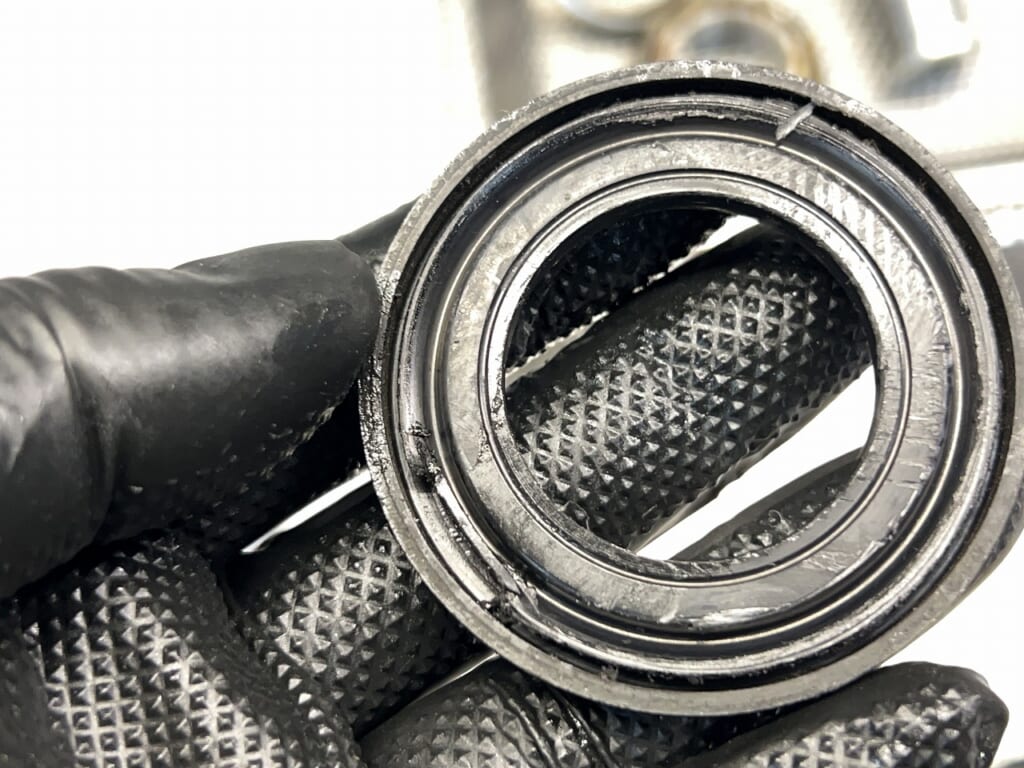
The Kawasaki OEM upper seal I removed.
It’s a bit deformed, isn’t it?
The lip must have bent when it was assembled.
Kawasaki seals are pressed in so firmly that adjustment is a bit tricky.
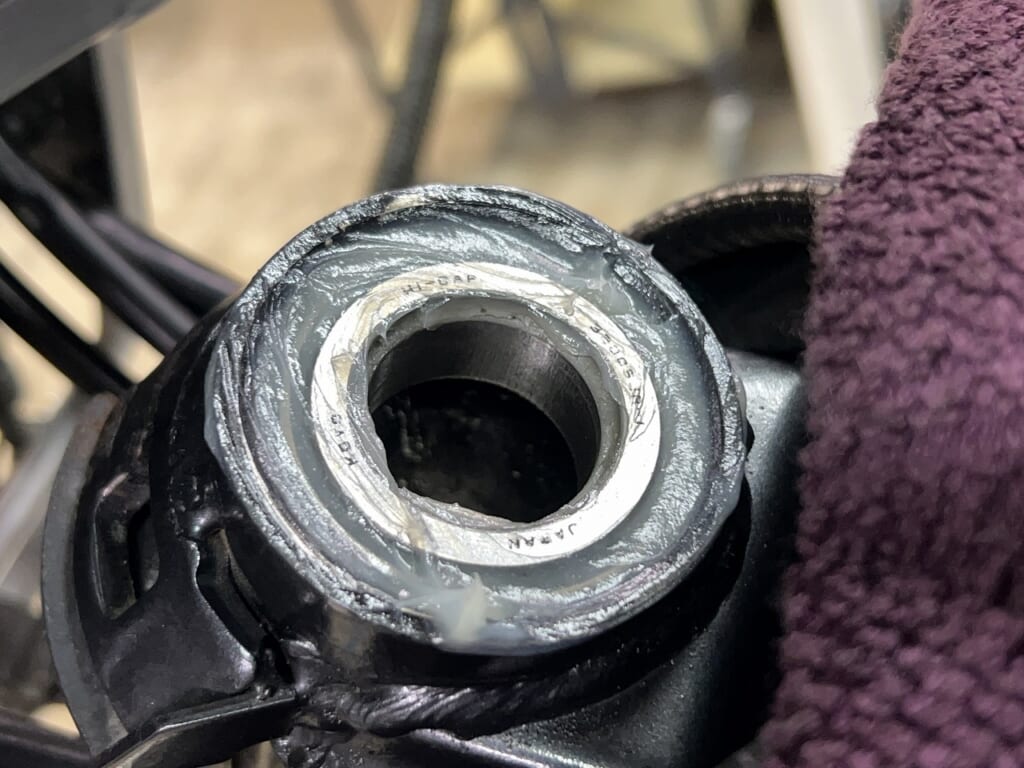
Finally, I apply plenty of Bell Hammer grease and we’re done ♪
 ポチップ
ポチップ
I took it out for a ride in the heat, including testing the cooling vest, and it was really great.
Huh?
The cooling vest? The stem bearing?
Both (*´ω`*)
That’s all for this time~