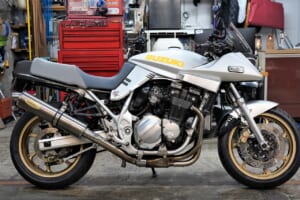
Well then, continuing with the electrical components series.
If there’s no air cleaner box, it’s very EASY!
This time we have the box, so I have a feeling the layout might be somewhat challenging…
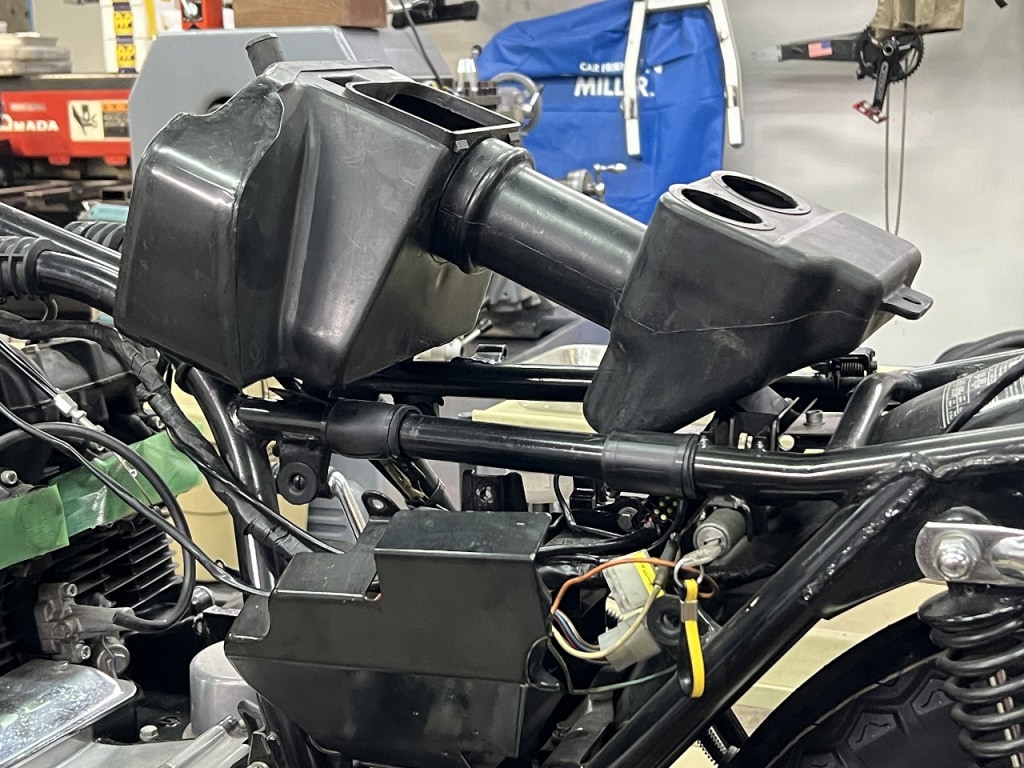
This long, loooong air cleaner box.
It’s a split design with well-thought-out detachable structure.
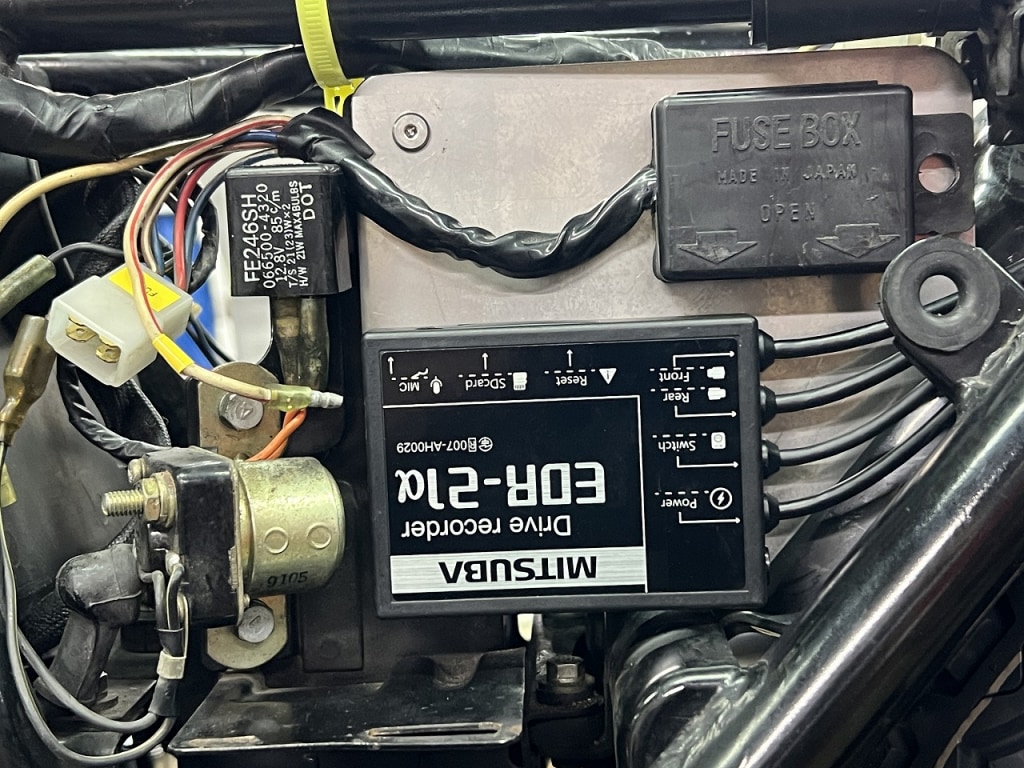
Excellent! Craft paper →
I’ll add feet to the craft paper to allow for adjustments and workarounds.
After deliberation, I’ve decided to remove the “left cover?” and pack stuff in there.
This way I can use both the “tool case” and “document case” and might achieve a more original feel.
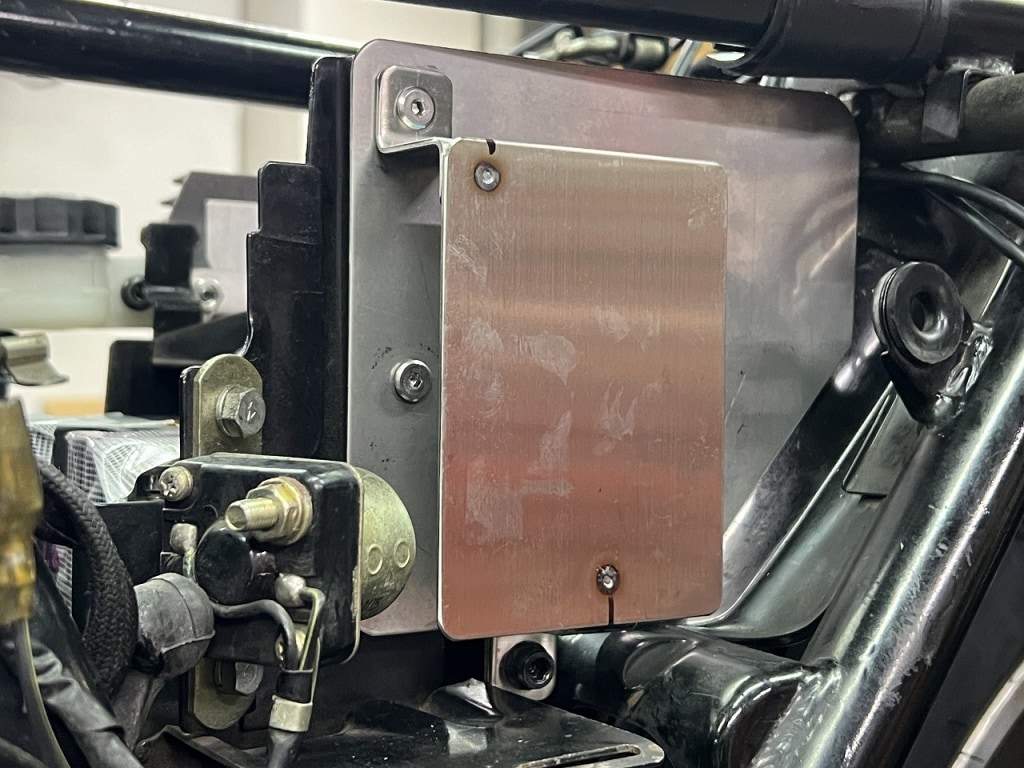
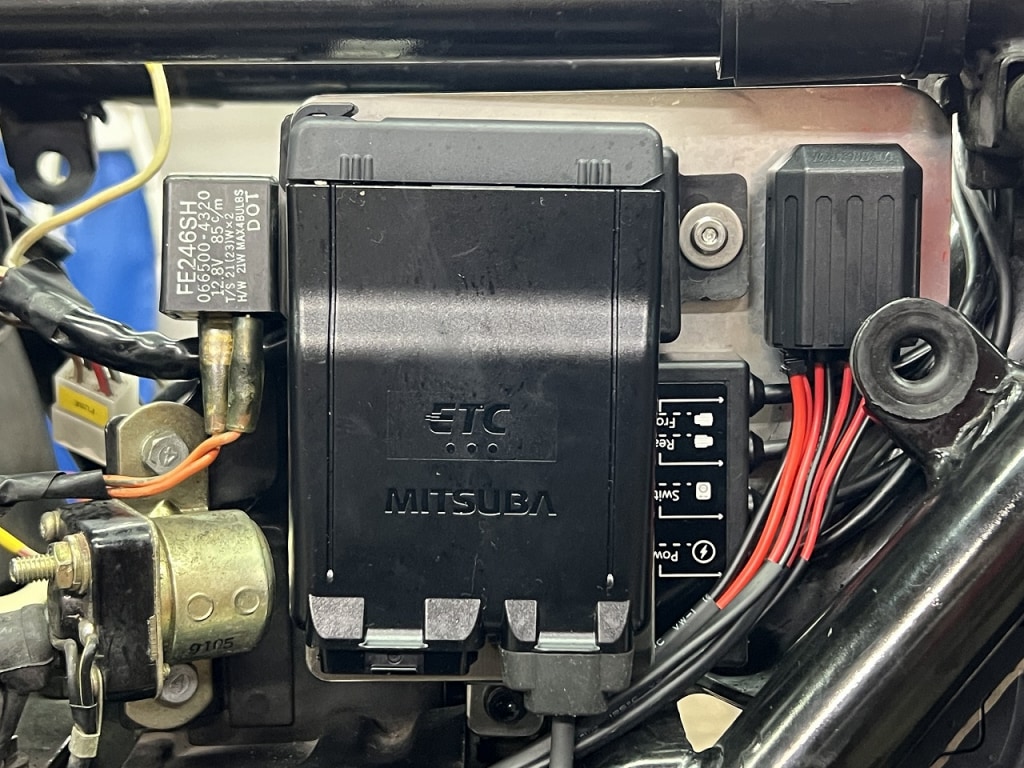
Temporary installation complete like this.
There’s still more to install, so weight reduction will be another day.
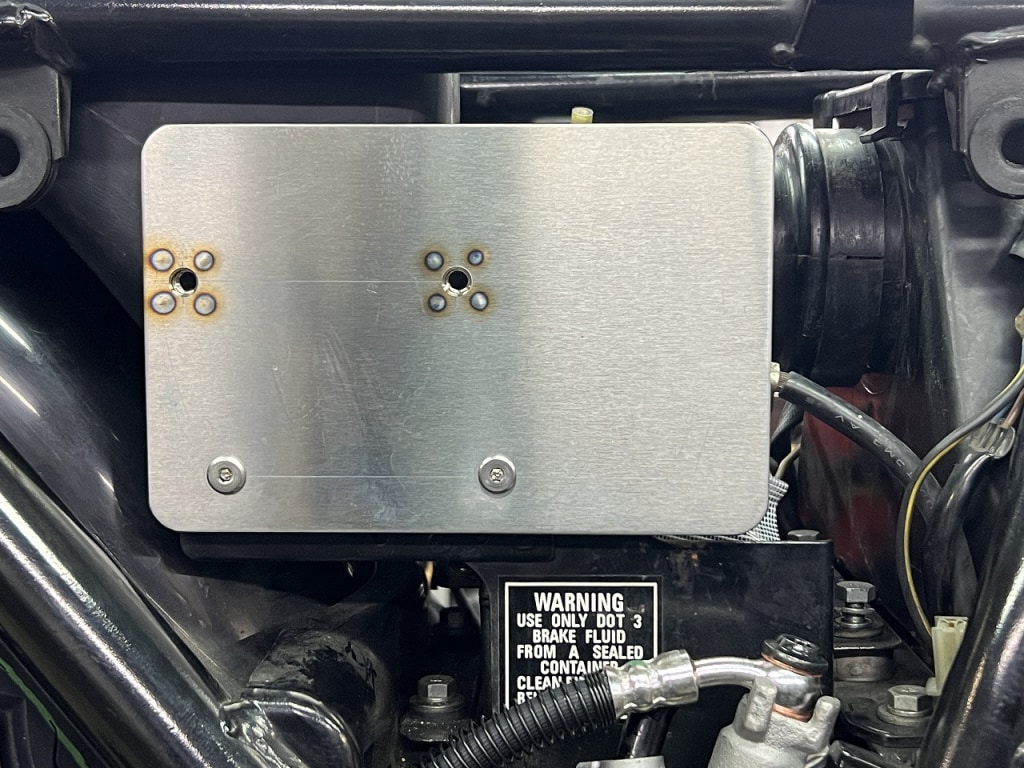
Moving to the right side…
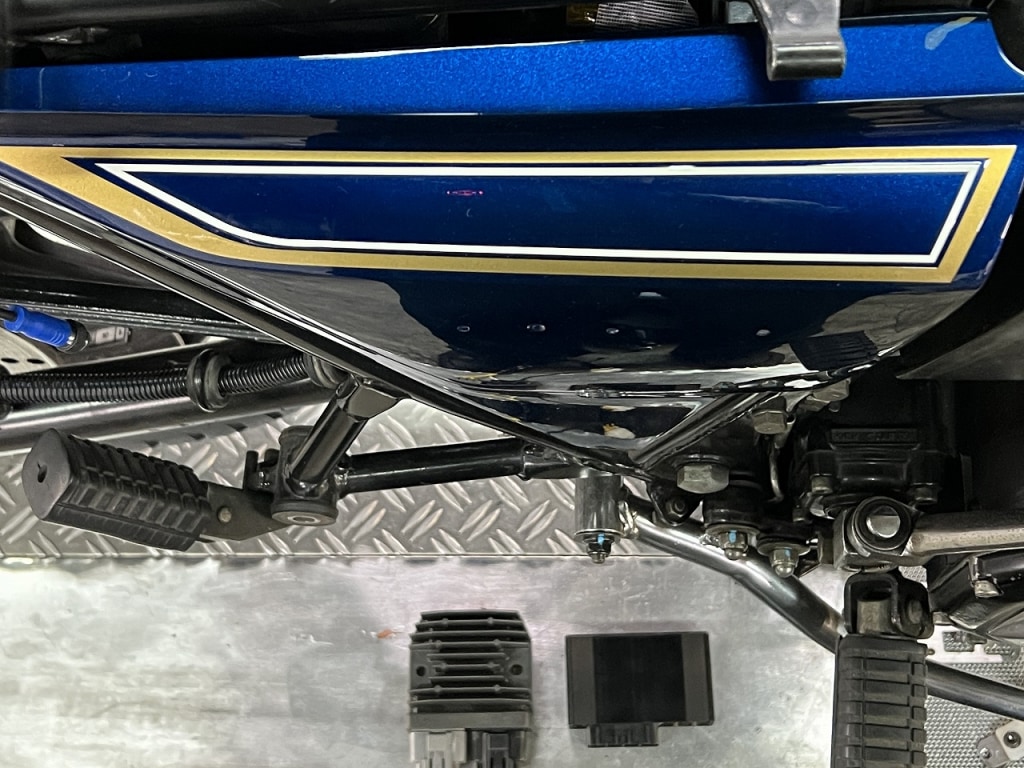
On the right side, I’ll mount the regulator and Watanabe unit.
I need to move the regulator closer so it fits, so it’s relocating too.
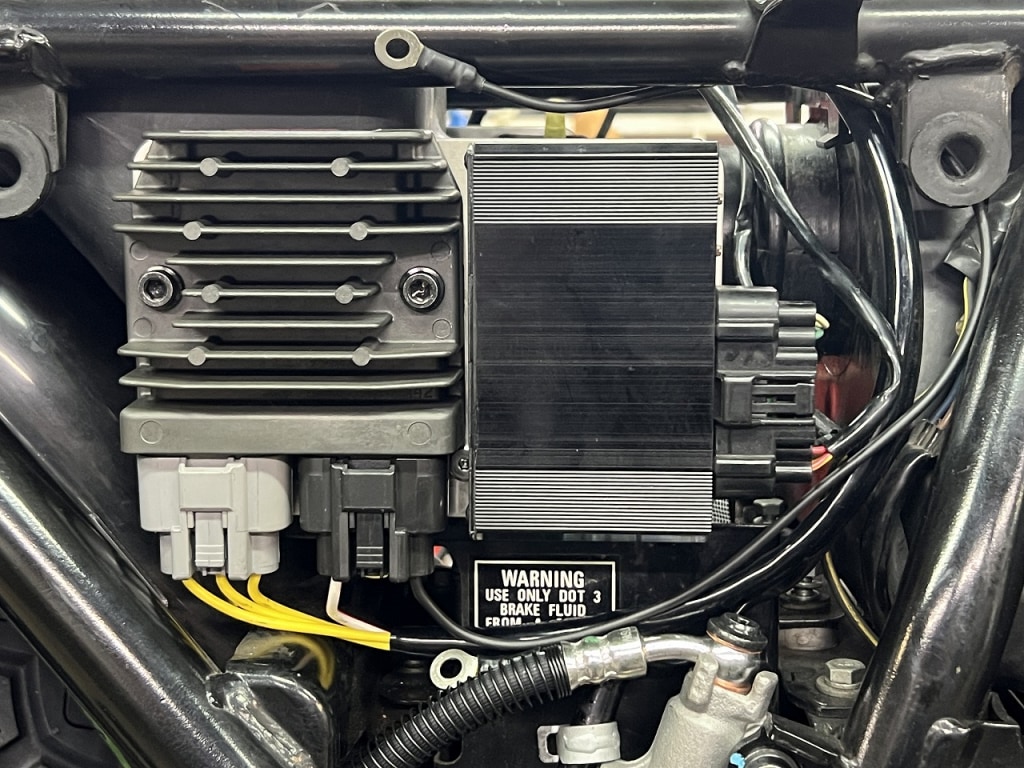
Everything fits nicely and the side cover can be mounted with plenty of room.
While it’s important that the unit fits, it’s equally important to ensure the wiring doesn’t get stressed.
We want to avoid electrical troubles if possible.
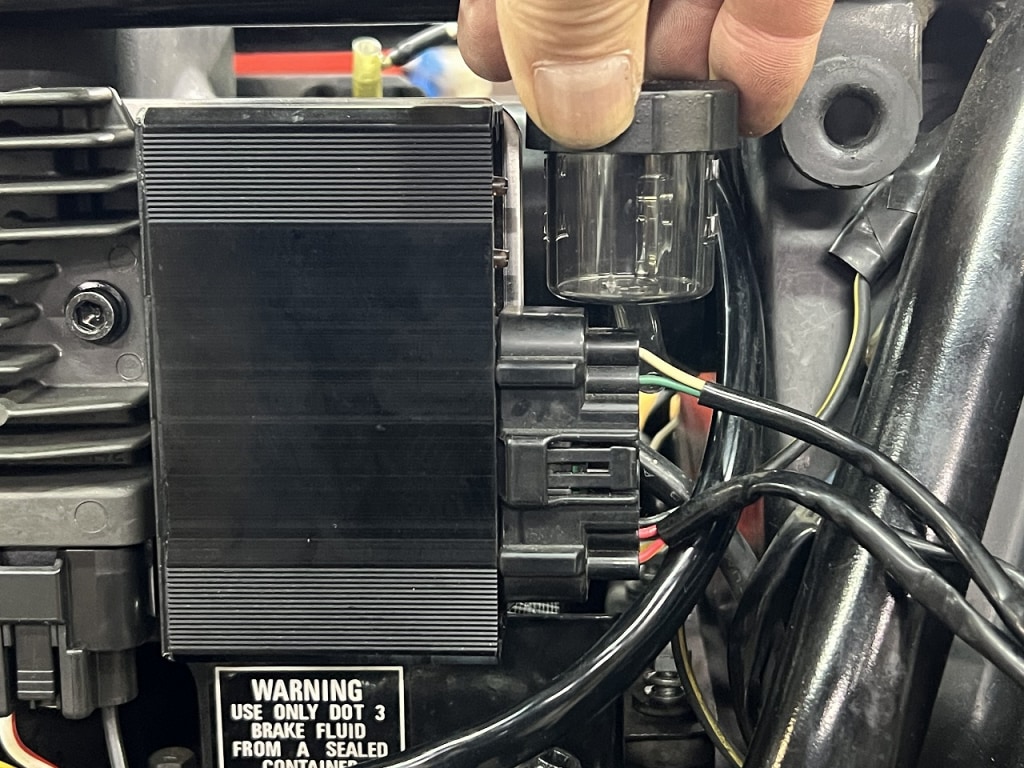
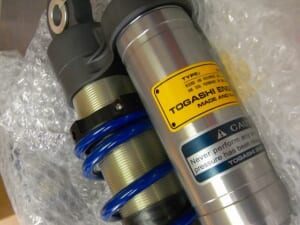
I still need to install the rear reservoir tank.
I’m choosing a smaller one with a straight outlet, so this is on hold for now (*´ω`*)
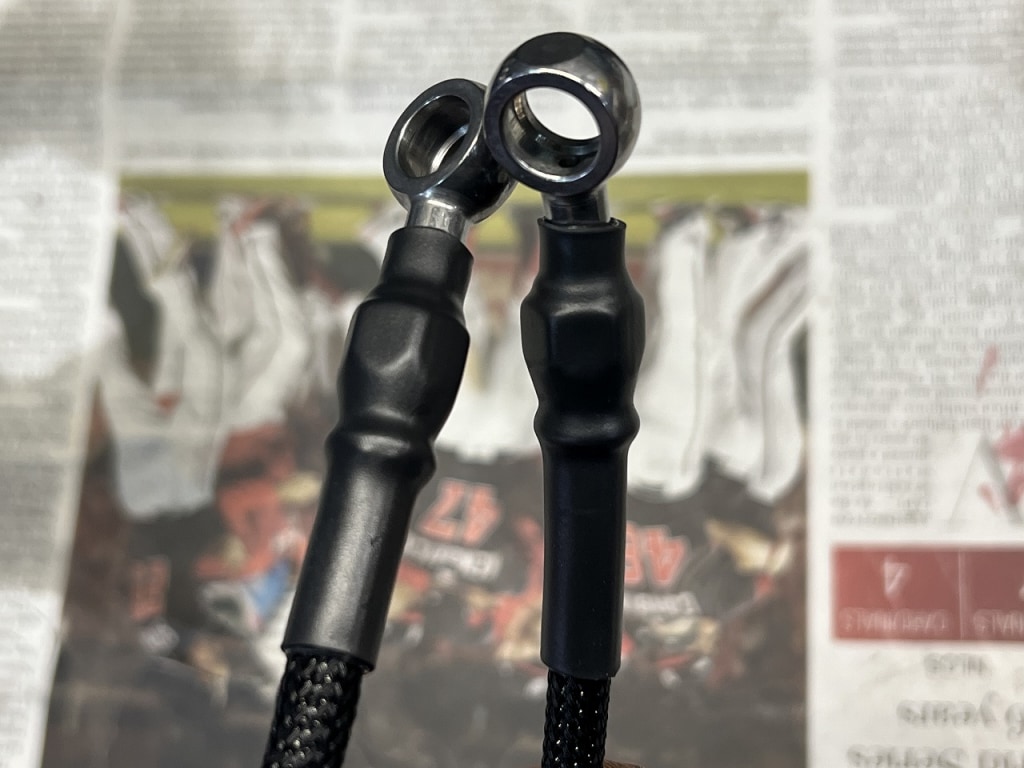
New hose on the upper side only.
Since I’m reusing the master, the length and angle didn’t match, so I installed a new one on the upper side only.
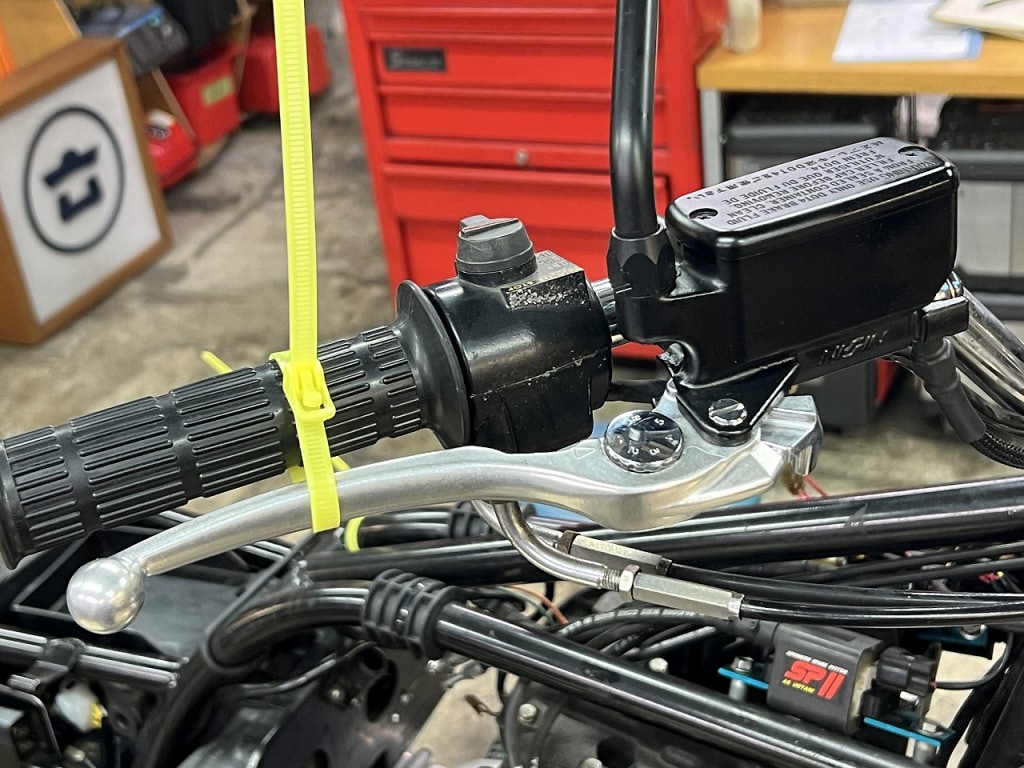
Applying hydraulic pressure and checking for leaks is important.
You can feel the master’s response and it’s perfect for checking for seepage.
When disconnecting hoses or overhauling calipers, checking gives you peace of mind.
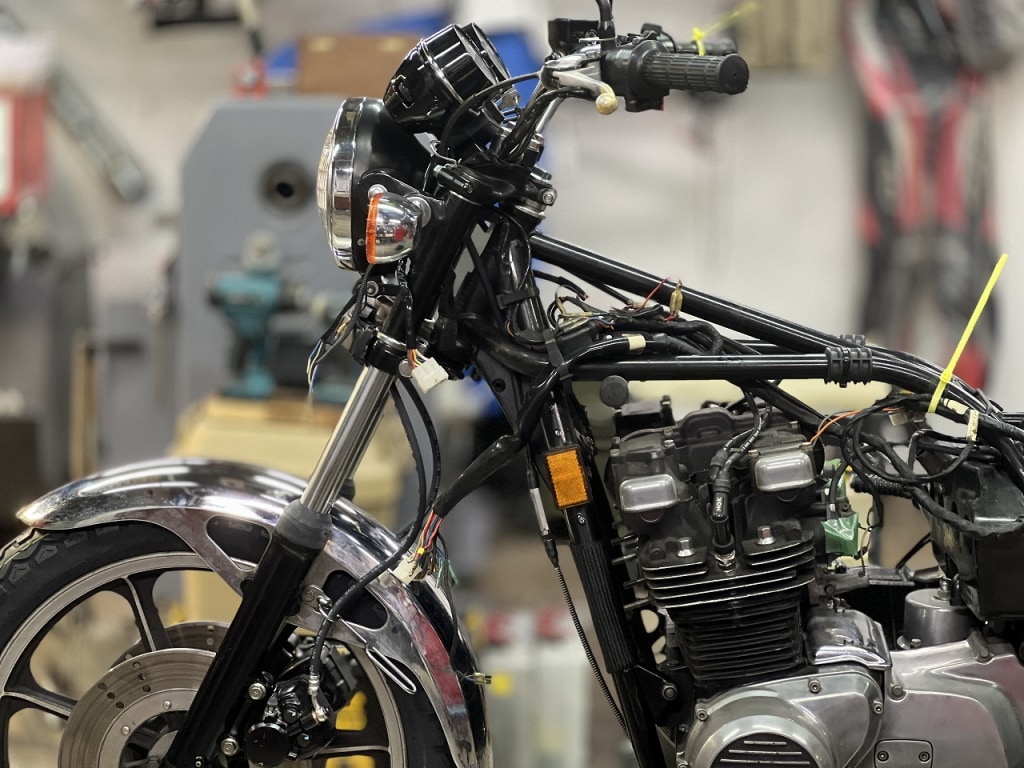
Now the brakes are working.
We’re making solid progress!
Oh no, here we go again with a motorcycle gem product introduction.


 ポチップ
ポチップ
 ポチップ
ポチップ