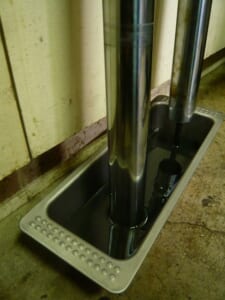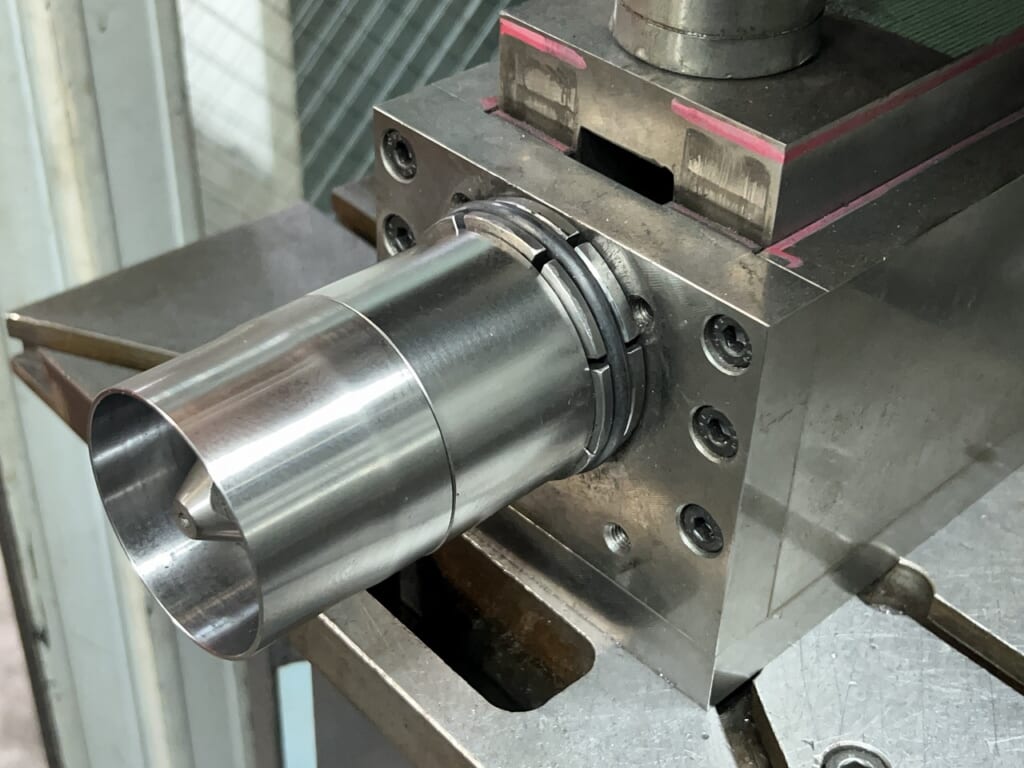
The insertion is really loose. . . . .
The materials and parts have arrived, so I’m thinking about it. . .
If I cut the gasket, it should fit, right? That idea ended in failure (;∀;)
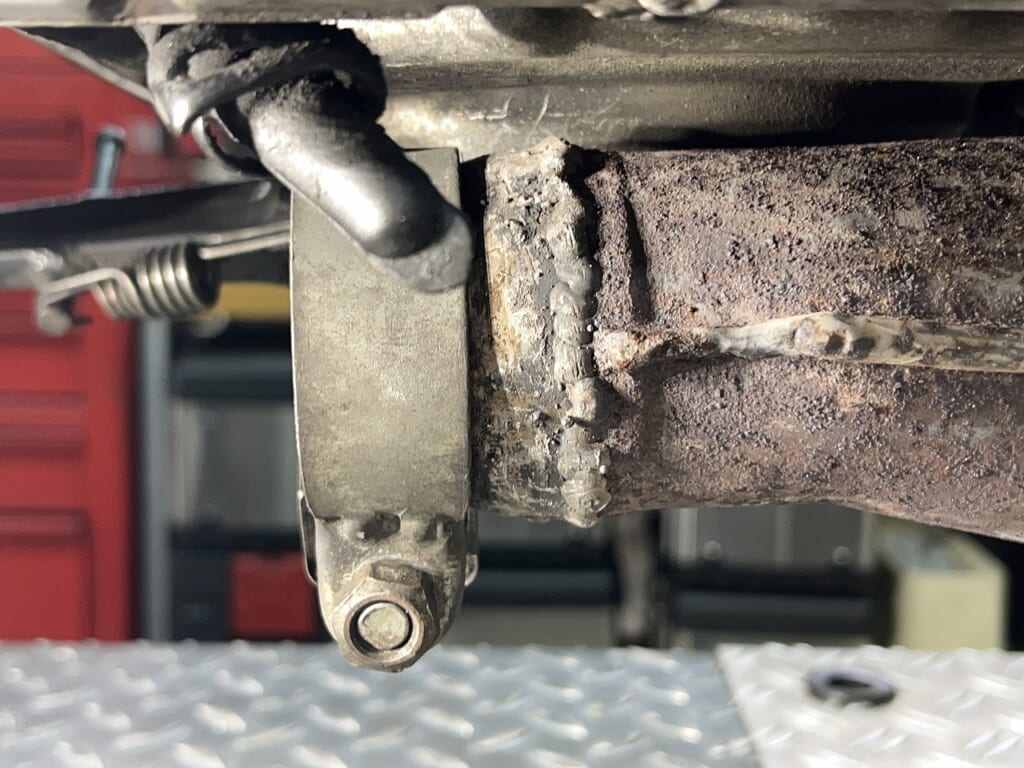
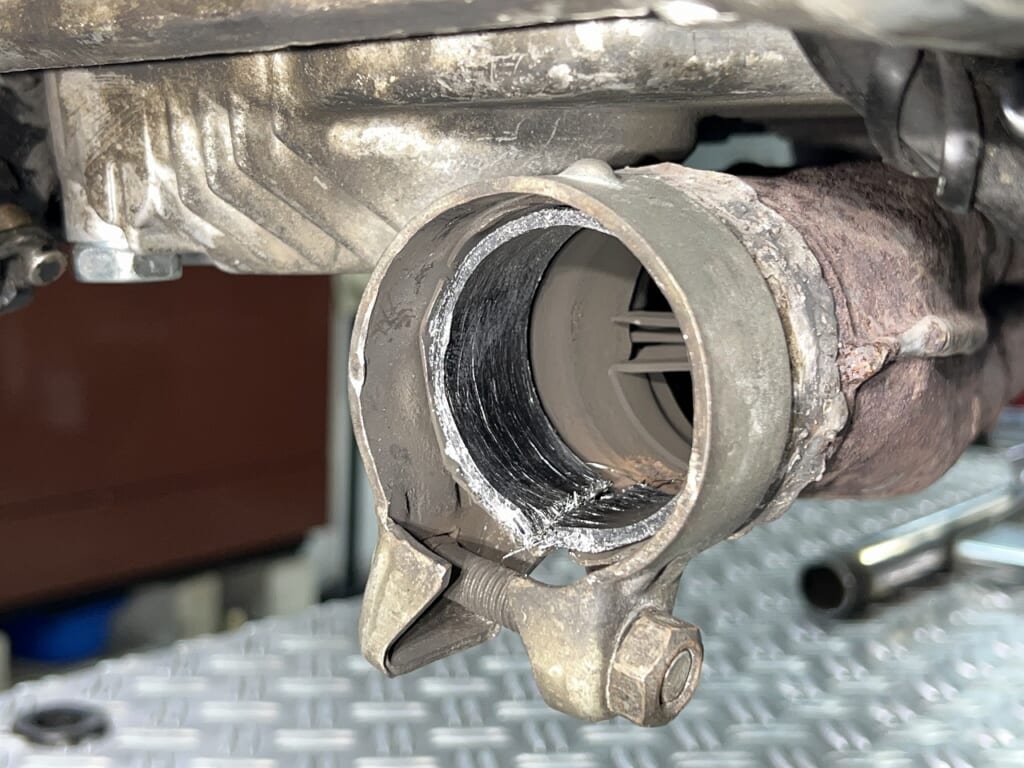
There are already signs of intense? modifications. . .
The plan to cut the gasket with metal scissors and insert it.
Genius! I thought, but it still wouldn’t fit. . .
This insertion seems kind of distorted? . . .
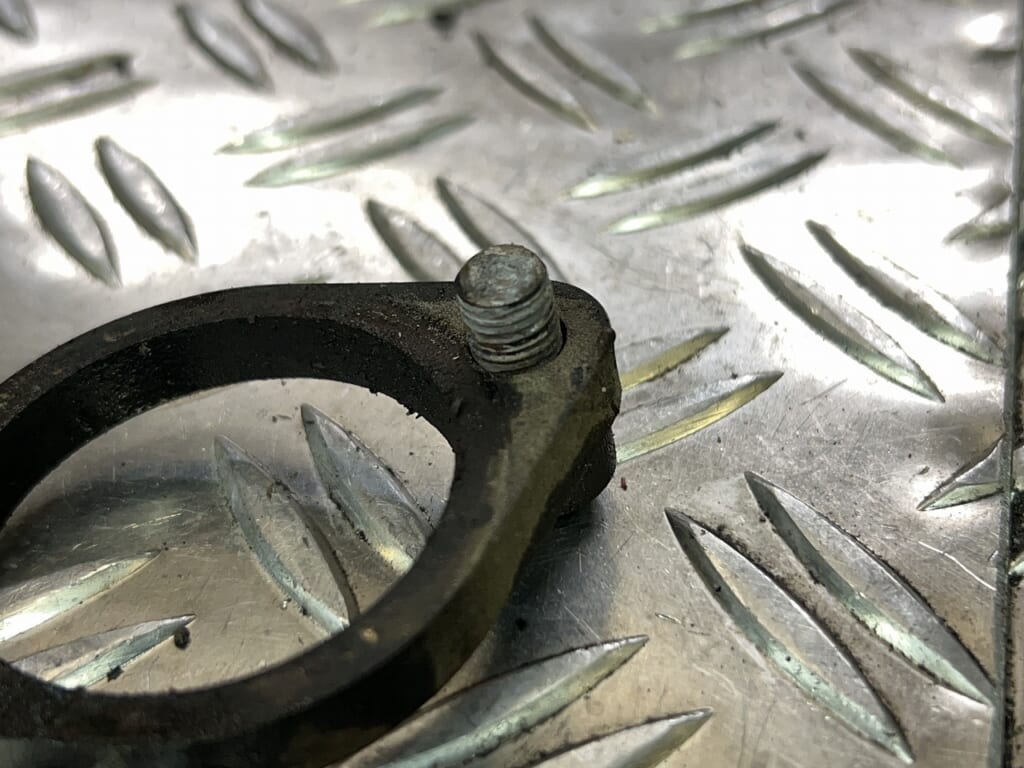
Hoping the exhaust pipe bolt doesn’t break and comes off.
Safely? . . .
There was no sensation of it breaking. . .
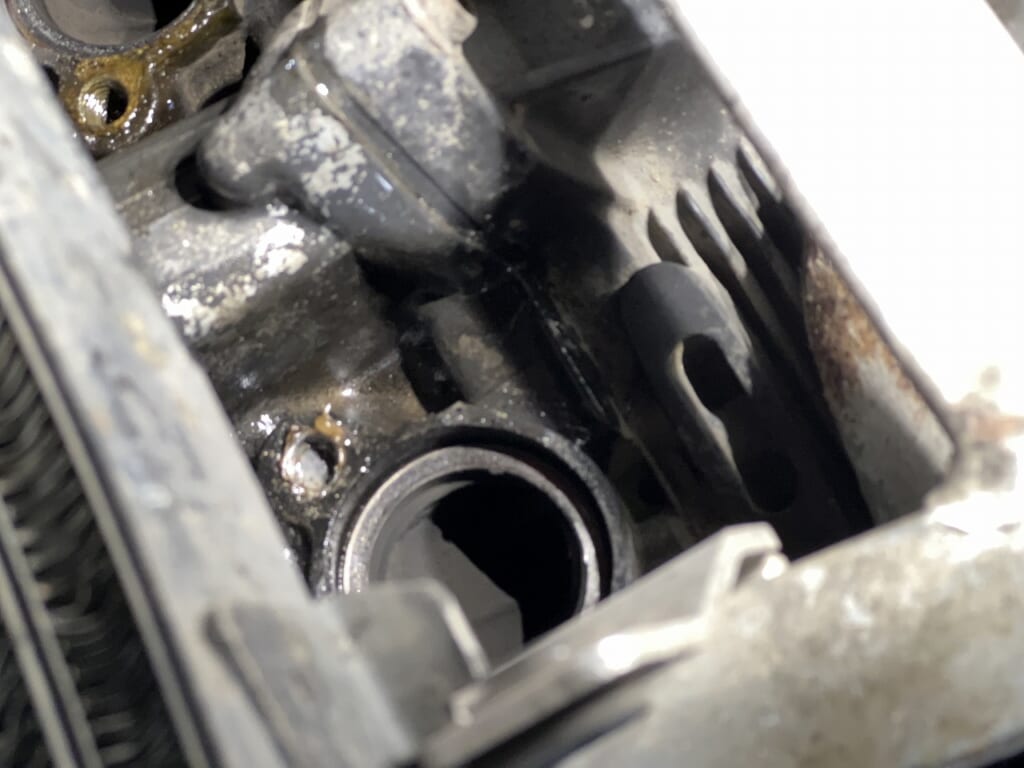
It was already broken and I was deceived. . . that’s the trap. . .
Well, that happens.
If I try to remove it seriously, just for one bolt. . .
“Expensive labor costs required” is the situation.
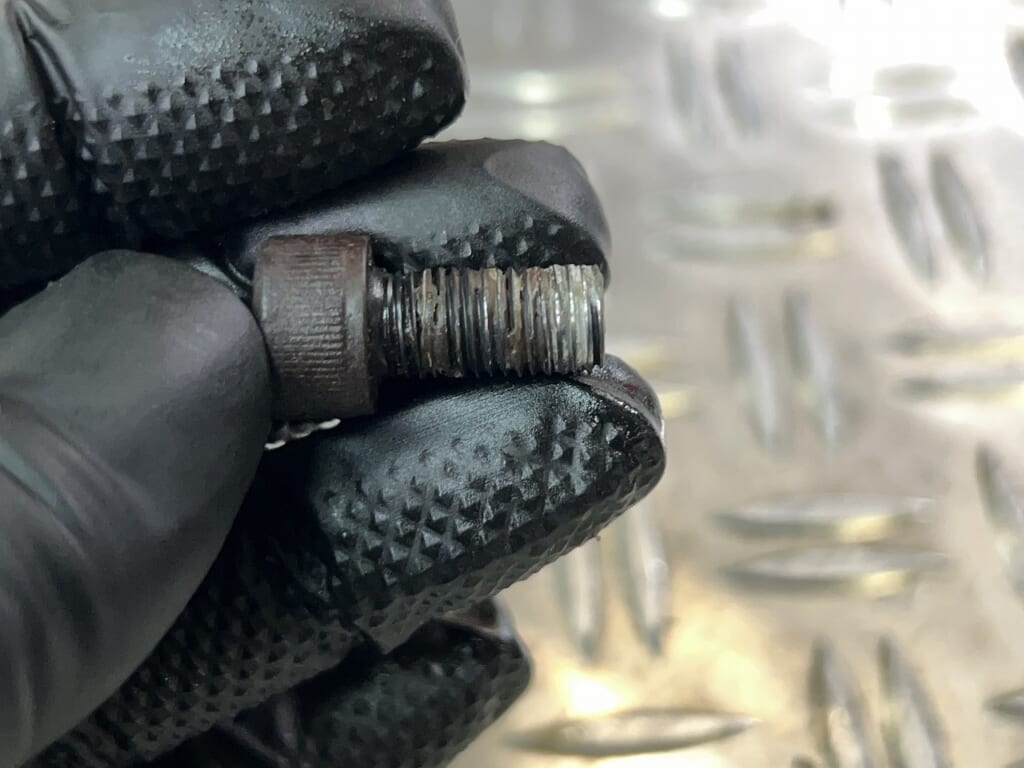
Mystery M8-P1.00 &Thread locker
The method of applying thread locker and forcefully screwing in the fine thread. . .
Oh, it’s new. . . but this is not the time to be impressed.
Should I use the same technique to put it back, or pay the expensive labor cost? . . .
I’ll leave it to you (;∀;)
It’s definitely work I’d rather not do.
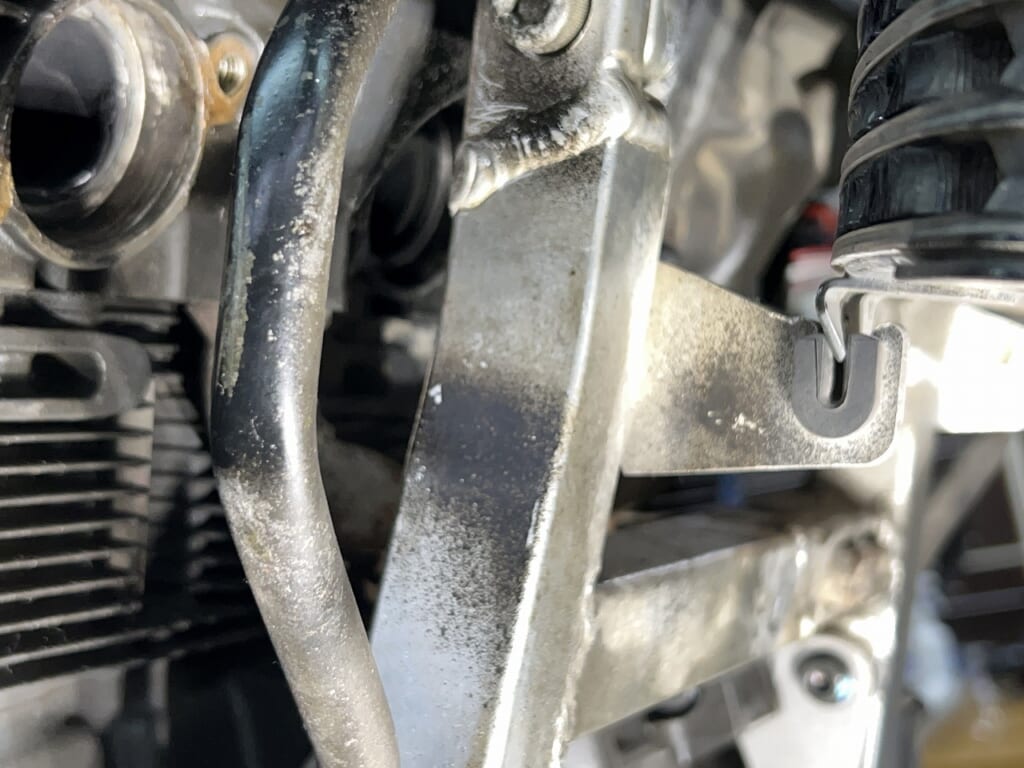
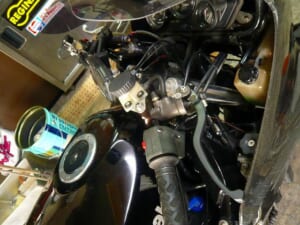
The oil cooler hose got paint all over the frame. . .
I scrubbed it clean.
I thought, wouldn’t a touch-up pen work? . . .
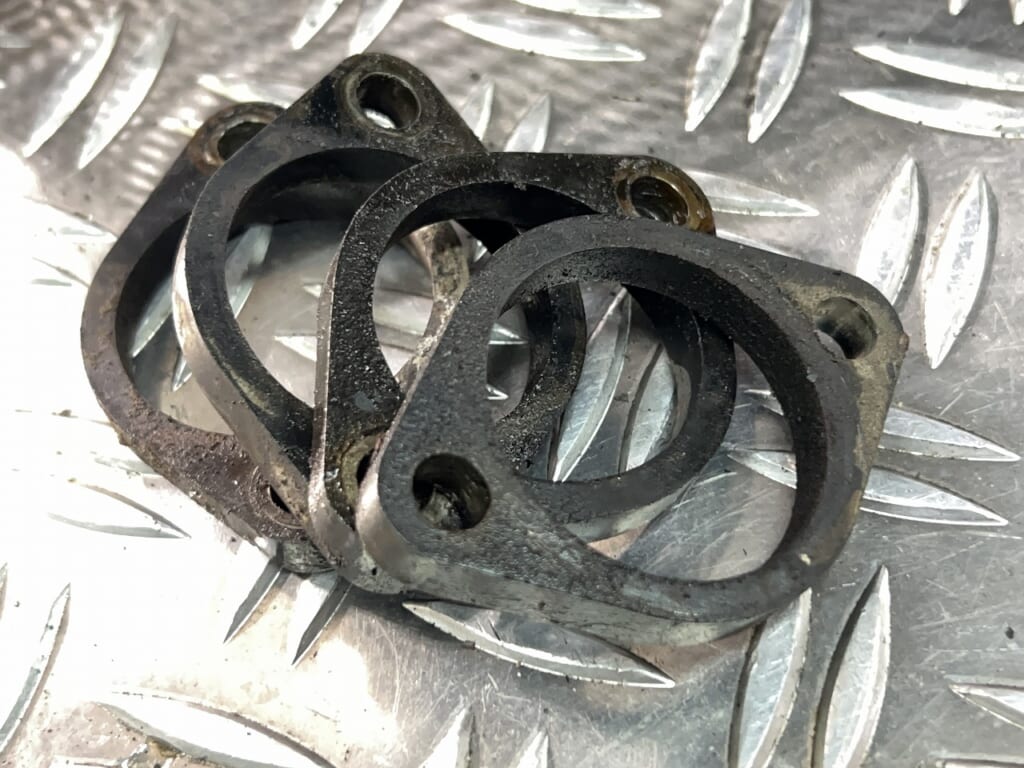
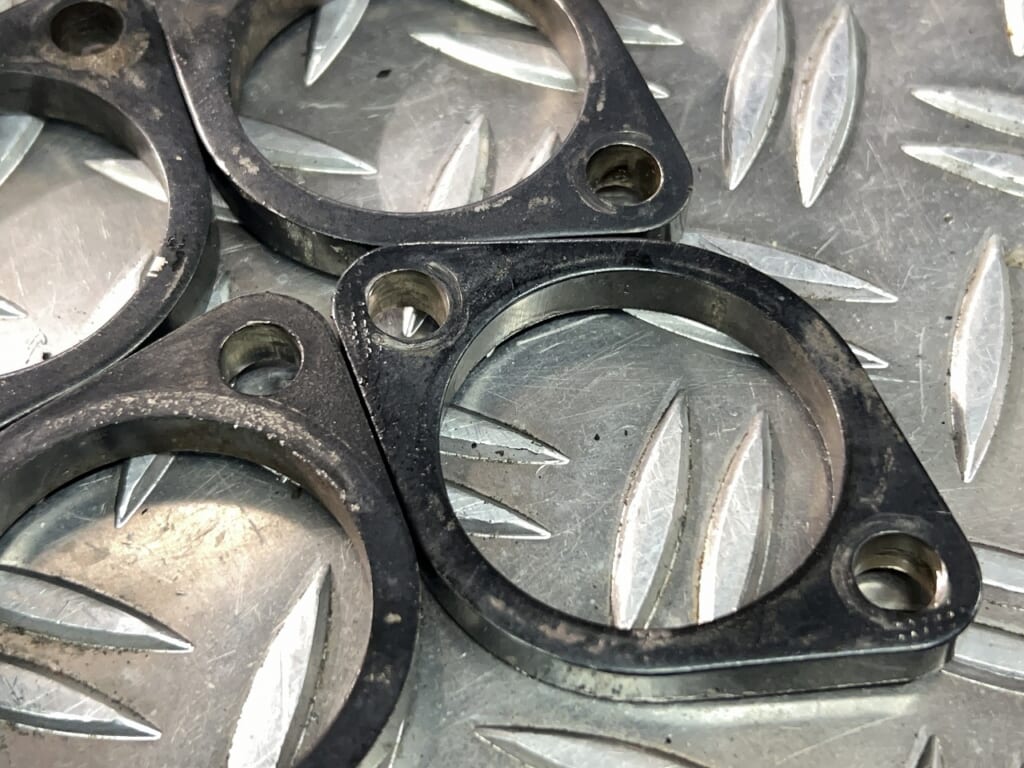
I’m the type who doesn’t want to touch parts I’m going to use unless they’re clean, even if it’s a lie.
I believe that these accumulations are what finish a motorcycle.
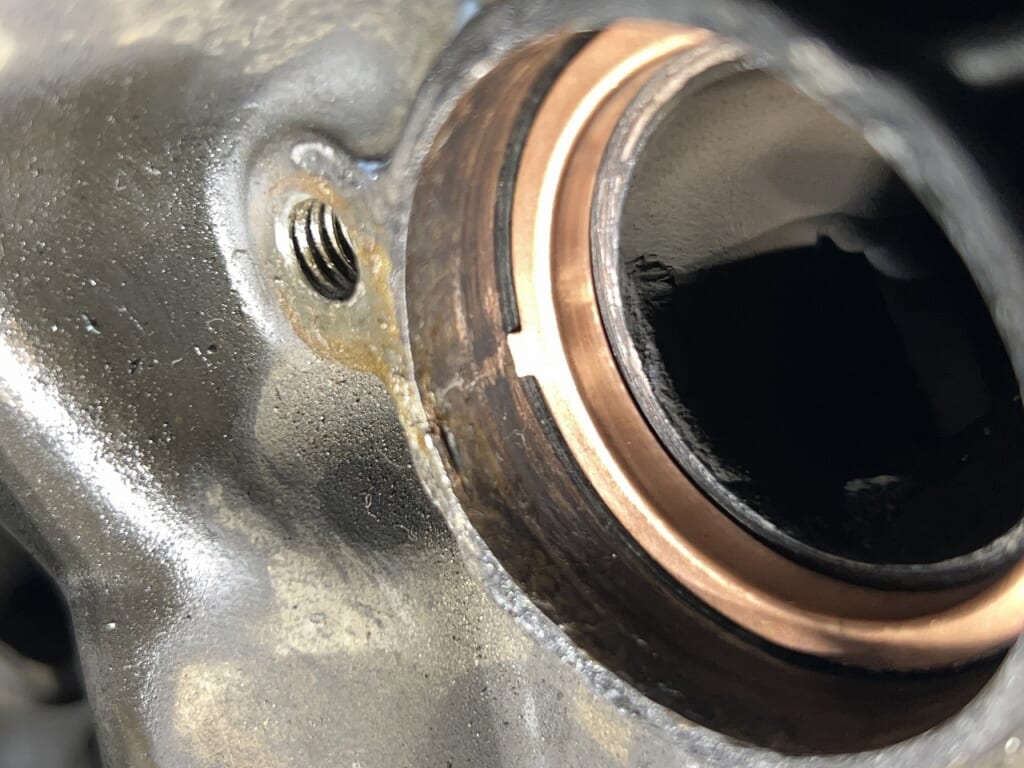
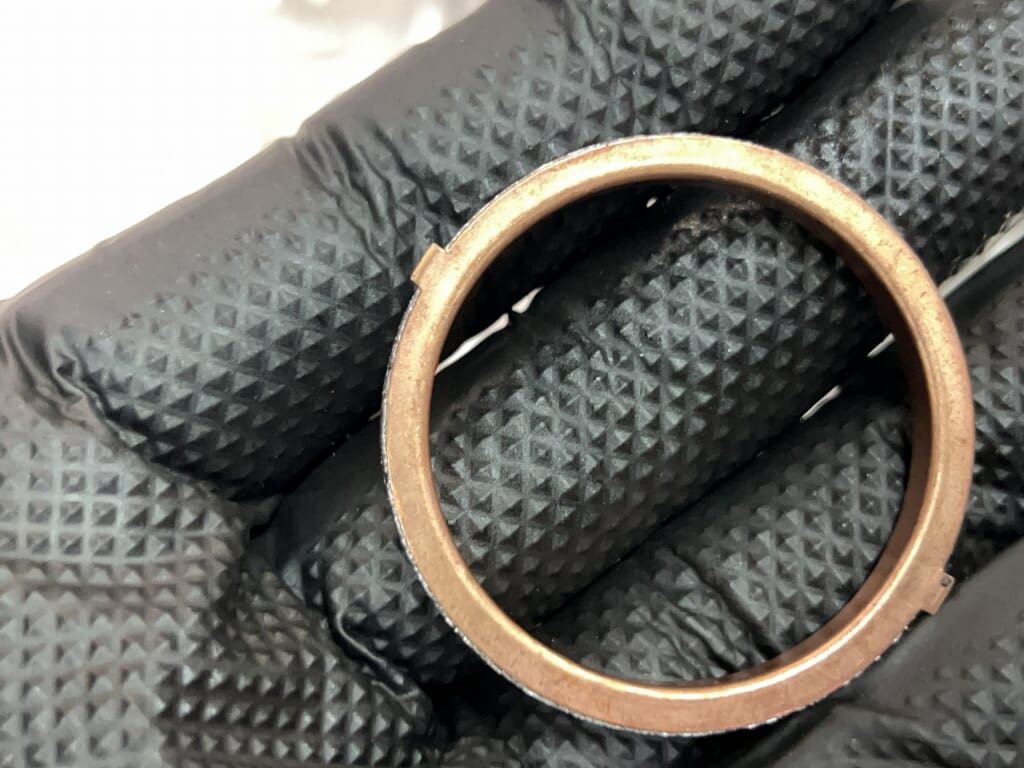
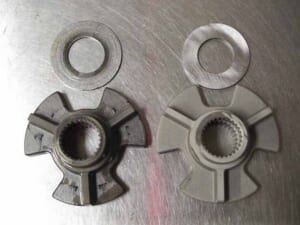
Suzuki’s exhaust gasket is the best♪
It’s truly a wonderful part.
It has a flange that prevents it from falling off,
and with its sandwich (clamping) structure, it can be reused multiple times and still recover.
*The manufacturer doesn’t recommend it; they want you to replace it every time.
Well, I really felt nostalgic thinking about what a wonderful part they were making.
Make sure the flange faces outward.
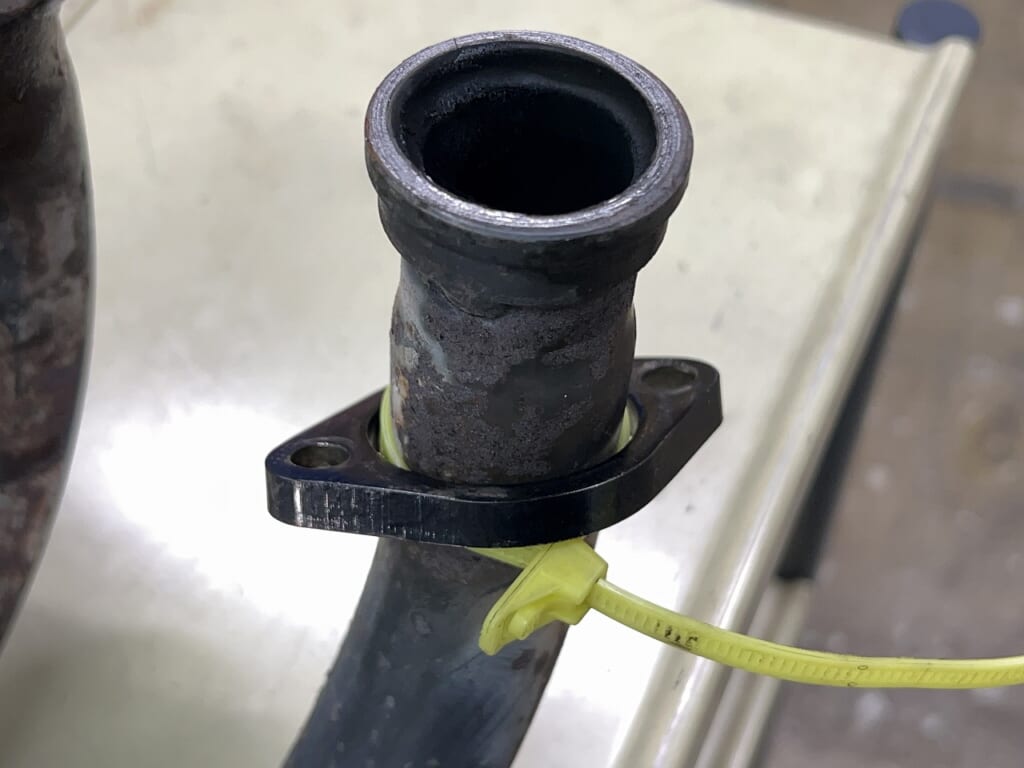
Flange secured with repeat tie to prevent falling off
The thickness of the repeat tie and repeated use are extremely efficient.
Since it rattles around, please feel free to use it.
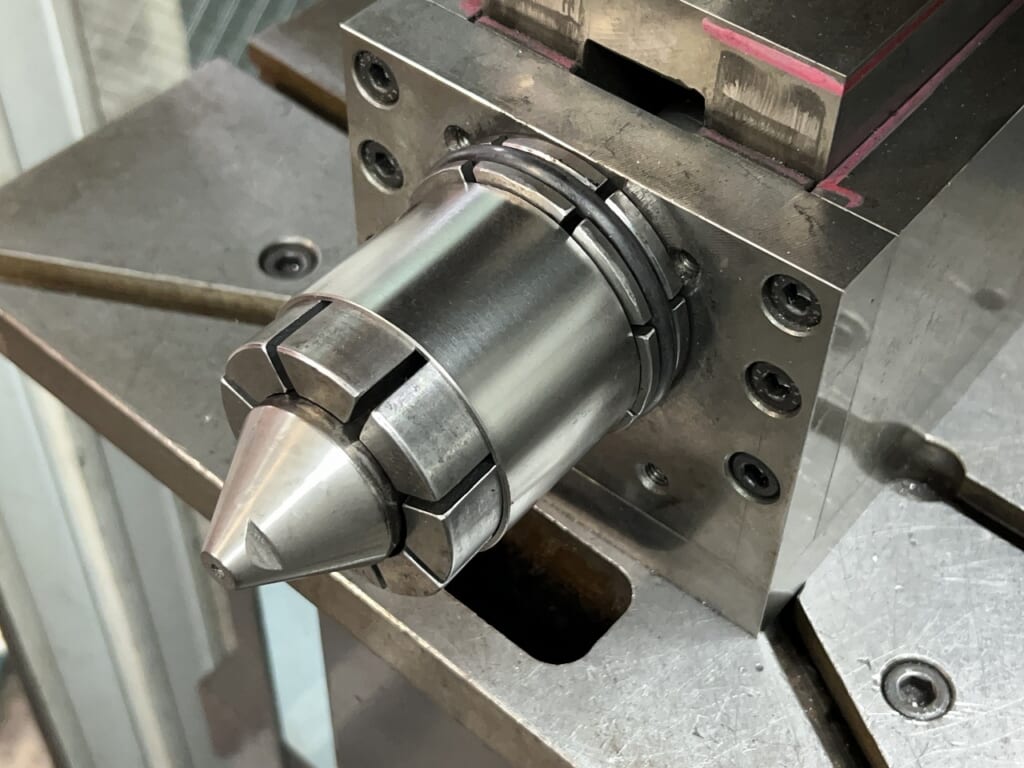
I’ll slightly bulge the pipe insertion that you sent.
Since there’s a specific length requirement,
I temporarily inserted a pipe to reach the bottom.
This way, when it “bottoms out,” I can just expand it.
To avoid failure, I’m taking it step by step.
I bottom it out like this, then “gently” expand it gradually.
If I overdo it, it won’t work, so I repeat the same process multiple times.
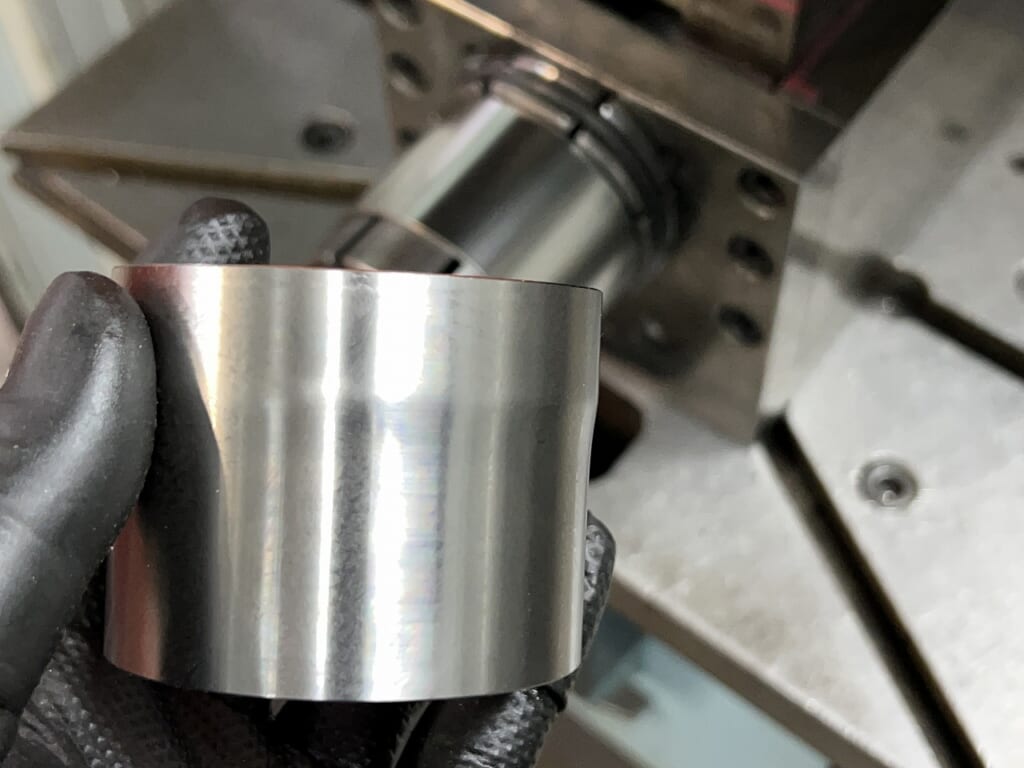
I was able to create a clean flare like this.
The reason this kind of work is necessary is. . .
The subsequent welding becomes easier, and I don’t have to build up weld material.
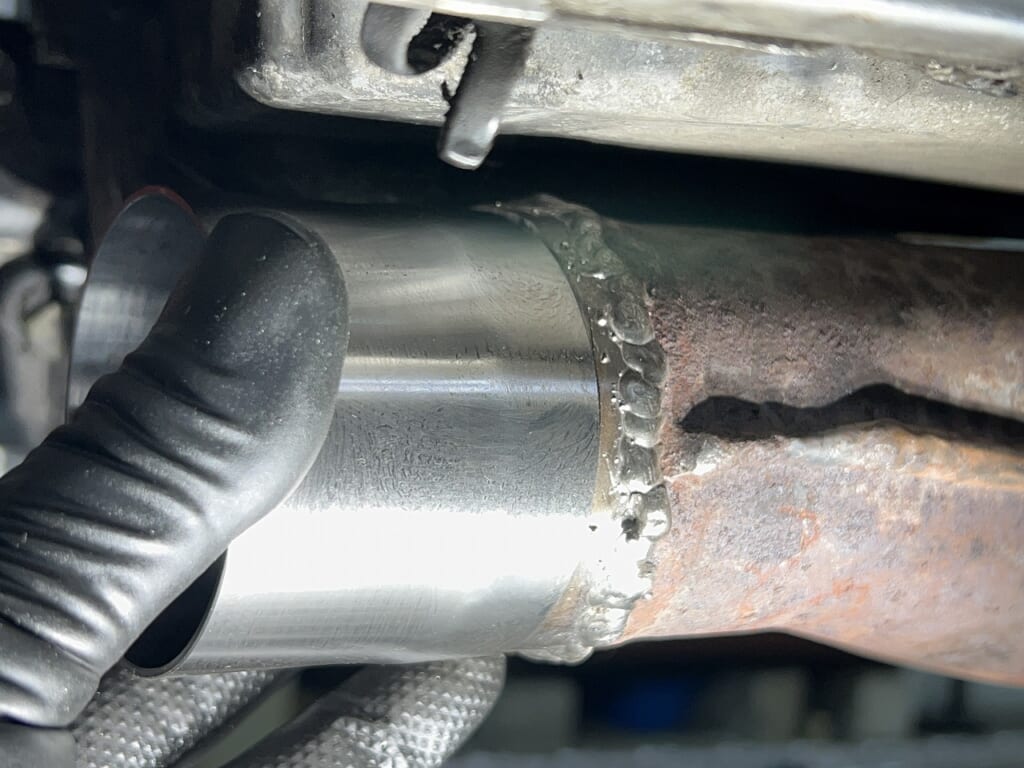
The attachment came together like this.
The other side is slightly distorted.
I’ll bend the other side with pliers to fit it,
then fit-check it again before welding.
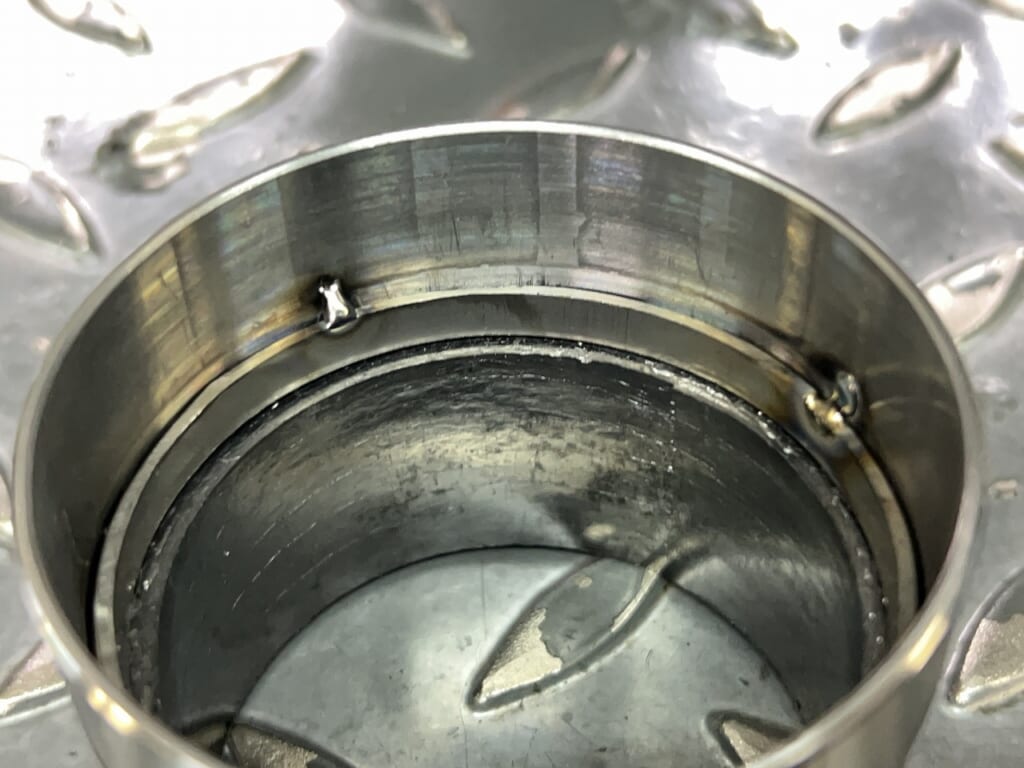
Since the gasket would go flying,
I tack-welded a stopper ring.
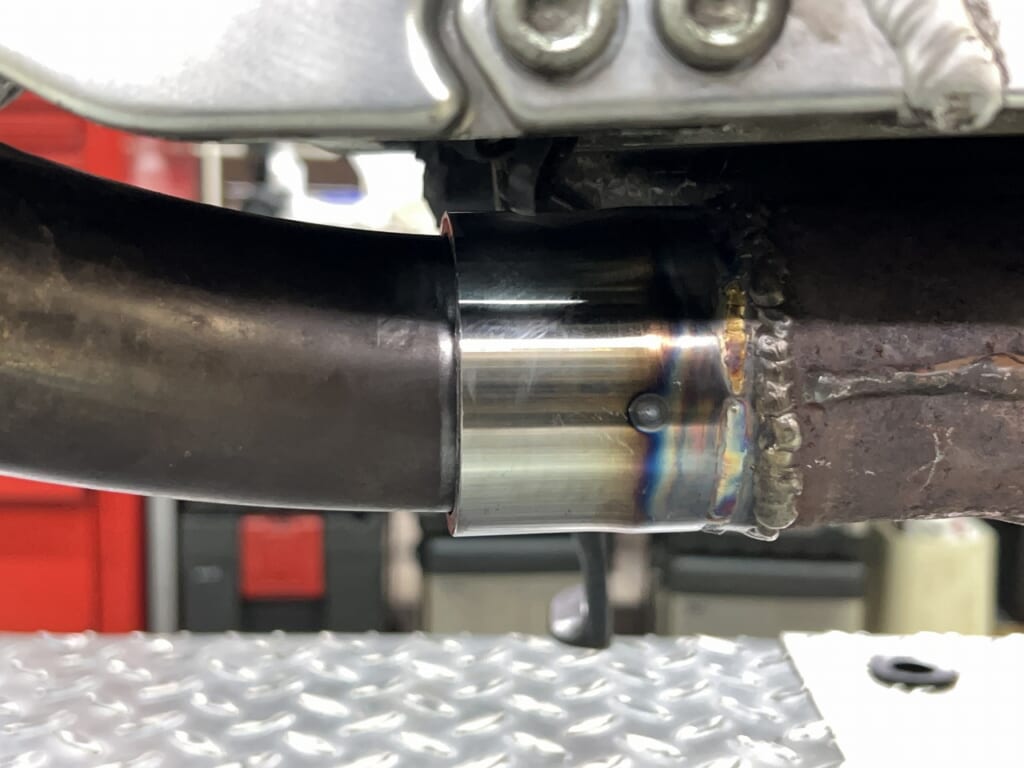
Since it’s an exhaust pipe assembly, it’s extremely difficult to weld. . .
*The workshop is small. . .
I’ve completed the installation with perfect angle and position.
(‘Д’) Outside is in summer vacation mode?


 ポチップ
ポチップ
 ポチップ
ポチップ
 ポチップ
ポチップ