So, what’s next?
I was thinking about making a brake hose, but…
“After all, this routing”and I ended up abandoning it.
I think it’s better to do things now so you don’t regret it later (‘ω’)ノ
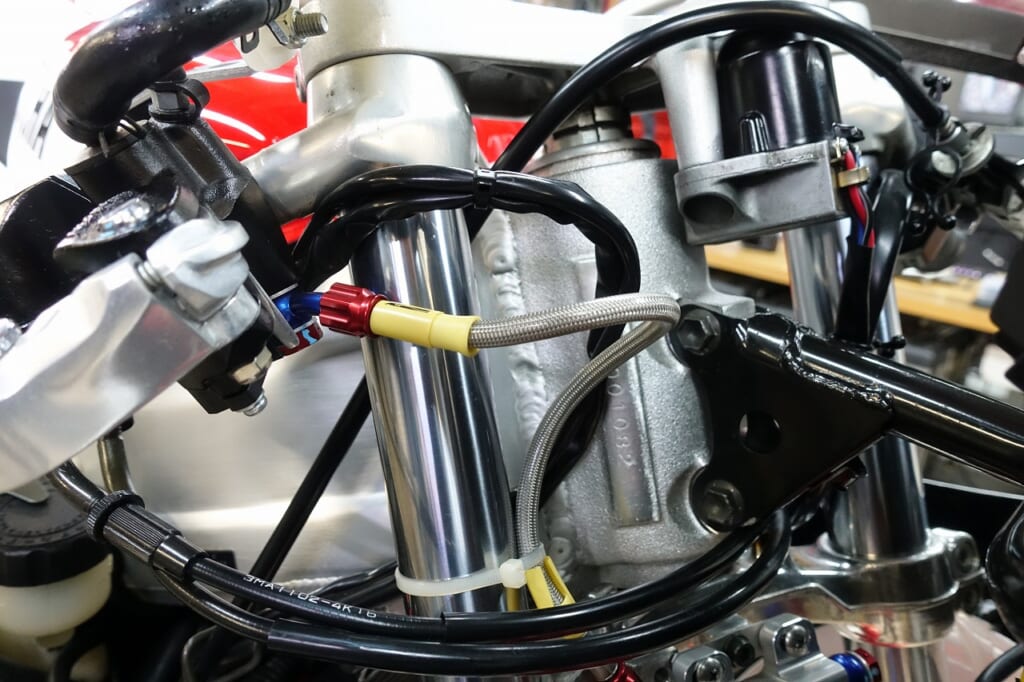
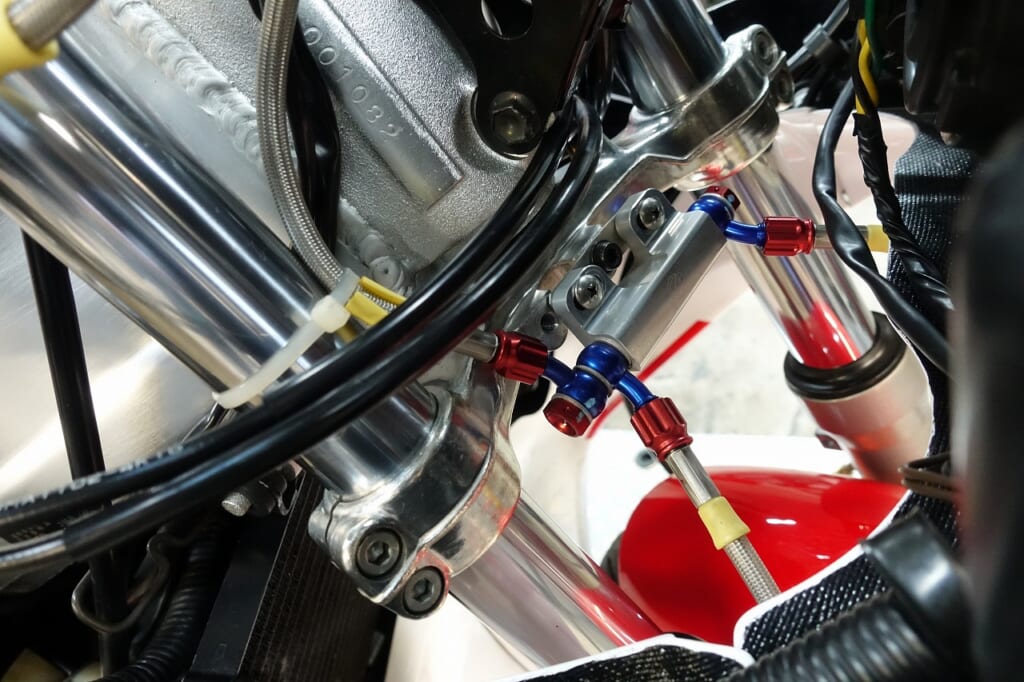
That’s quite a sharp routing…( ;∀;)
It’s a common issue with off-the-shelf brake hoses“If it’s too short, it won’t reach”so“Go with the longer one!”
Recently“You can choose the length freely”there’s such a service, but….
I’d say“It’s absolutely difficult”I think.
Fittings and hose length“Confirm the routing with the actual parts”it’s a difficult task if you don’t.
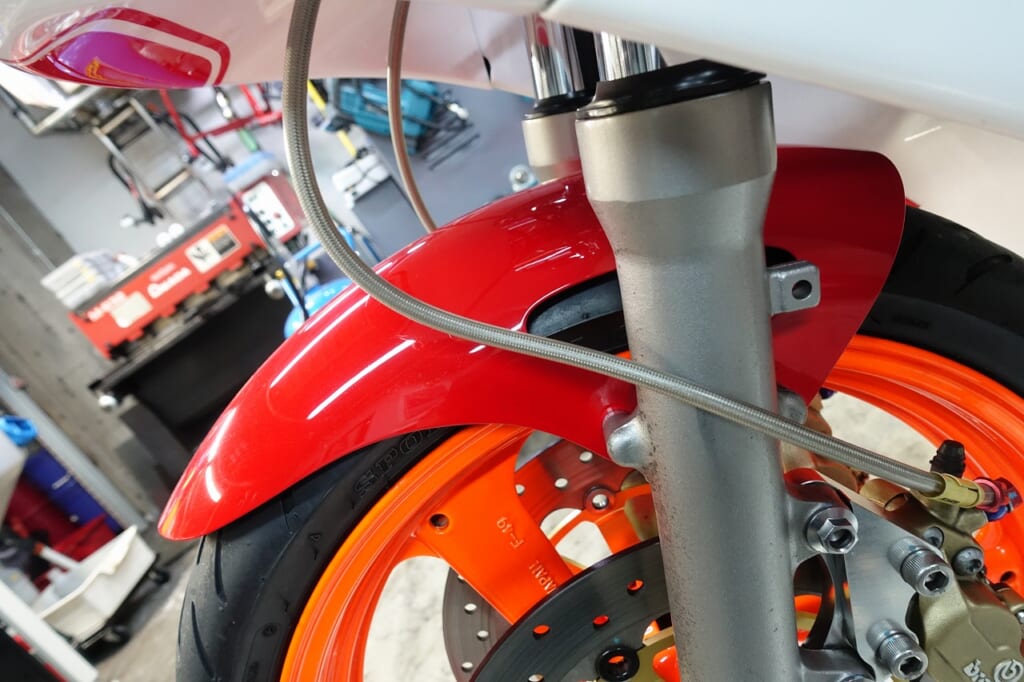
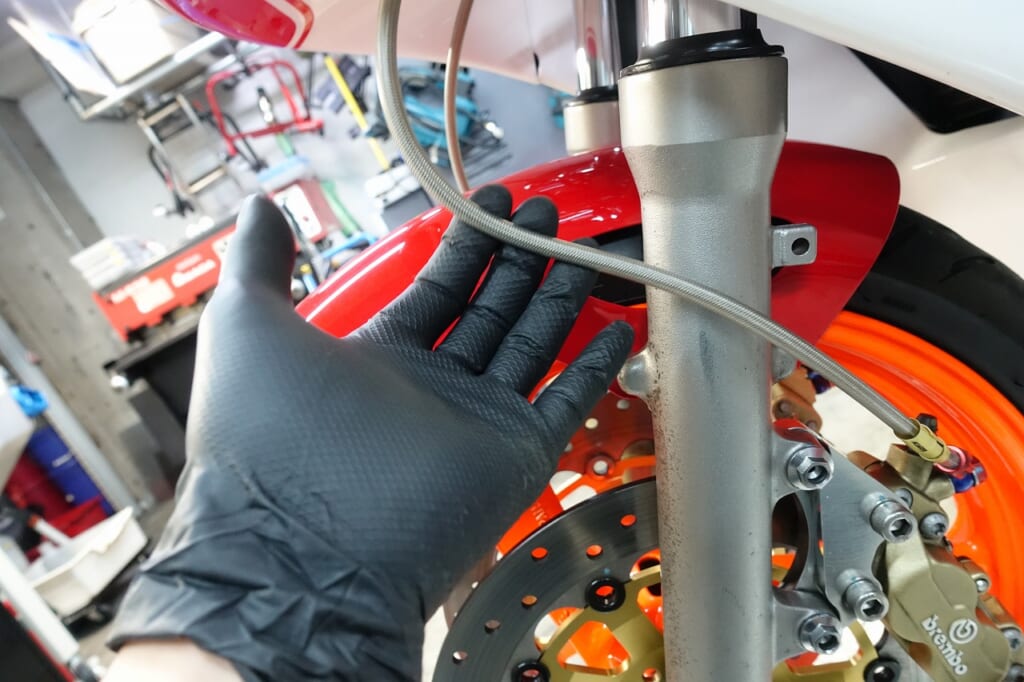
It’s twisted and locked, so the hose is“Taut!”Indeed.
With a swaged line, this“Taut!”state“Tension in the loosening direction”is applied, so extra caution is needed.
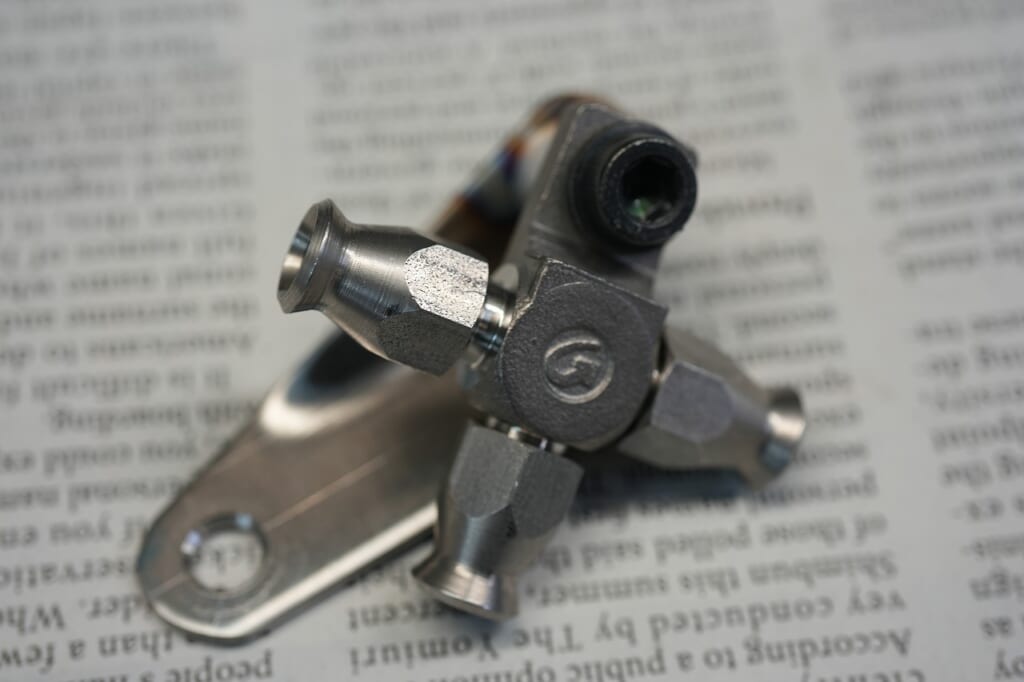
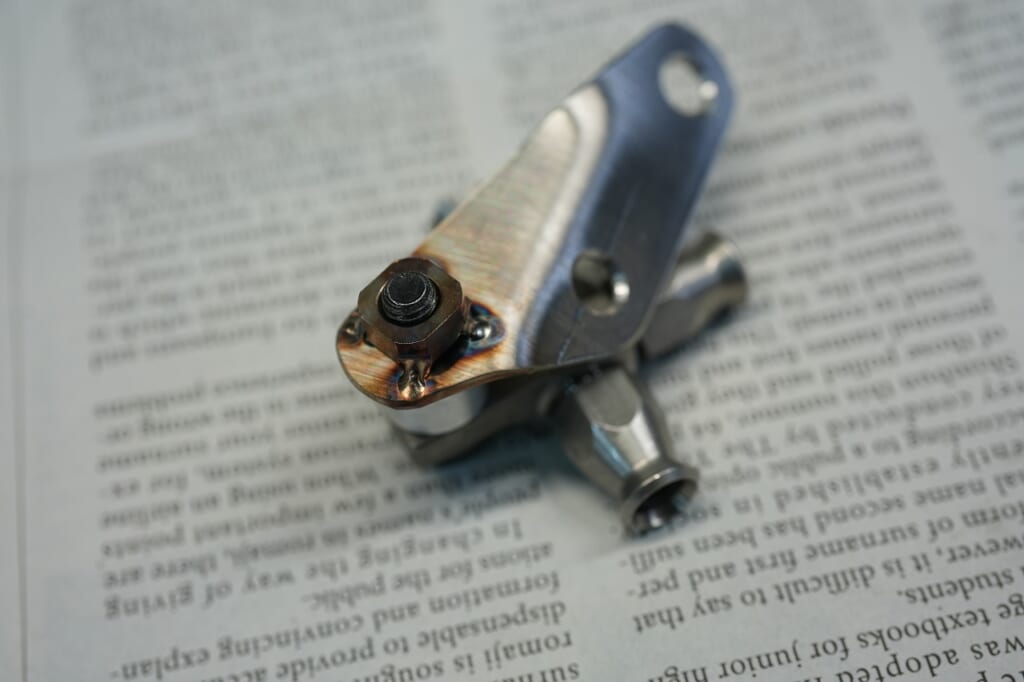
We install it securely with a TEE-FIT lug.
I remember someone saying“Floating”when they fixed it with cable ties back in the day~
Nostalgic (‘ω’)ノ
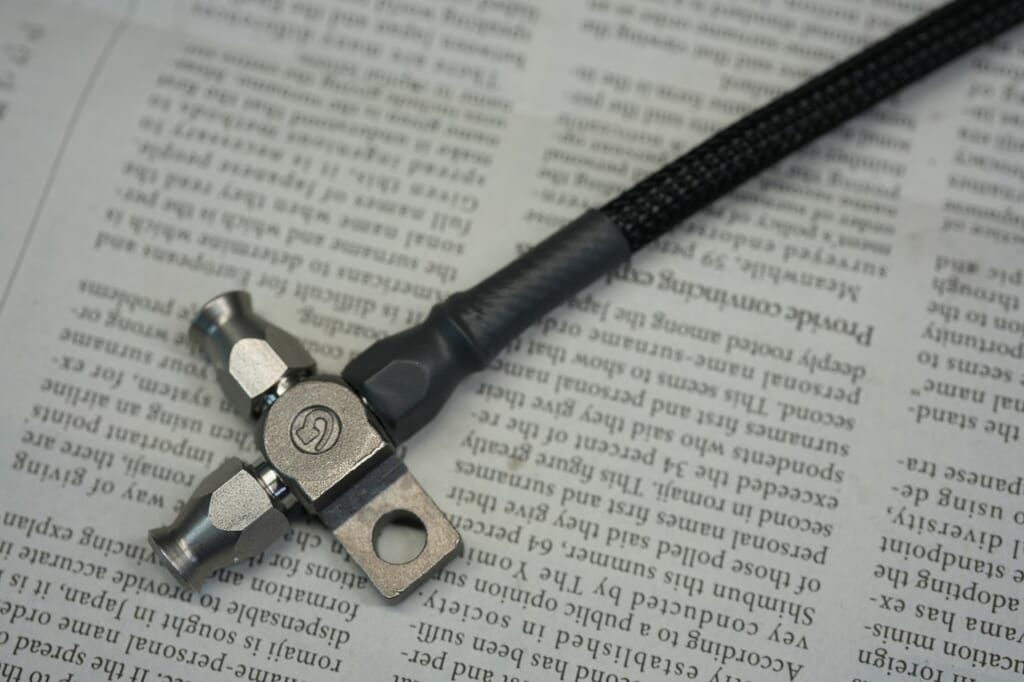
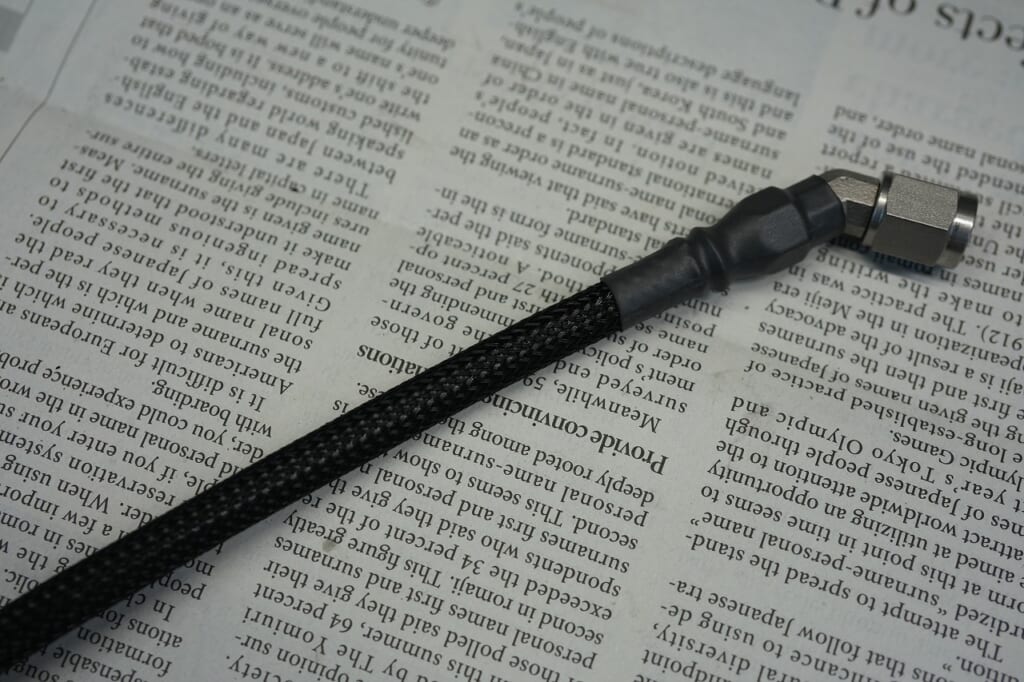
That’s all for now due to material constraints.
I noticed the hose on the caliper side is“Close to the tire”so“Safe and smart”I’m planning to make the layout that way.
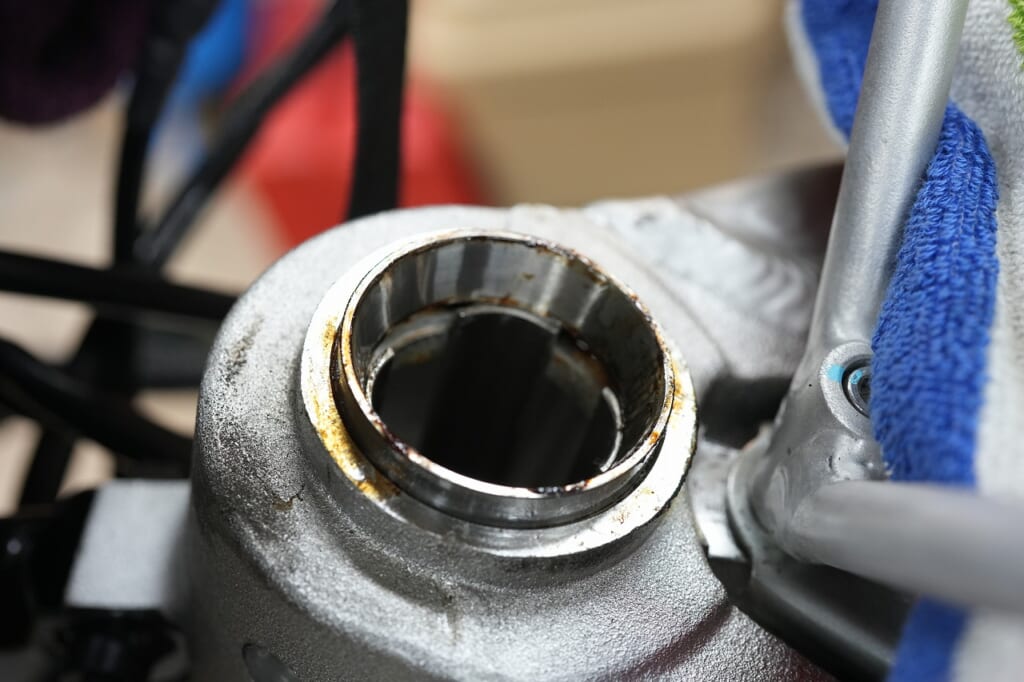
Now let’s move on to front maintenance.
Removing the races from the aluminum frame is“More cautious with each passing year”for me.
“Using brute force on the press fit”is a no-go. It’s best to minimize the risk of breaking things
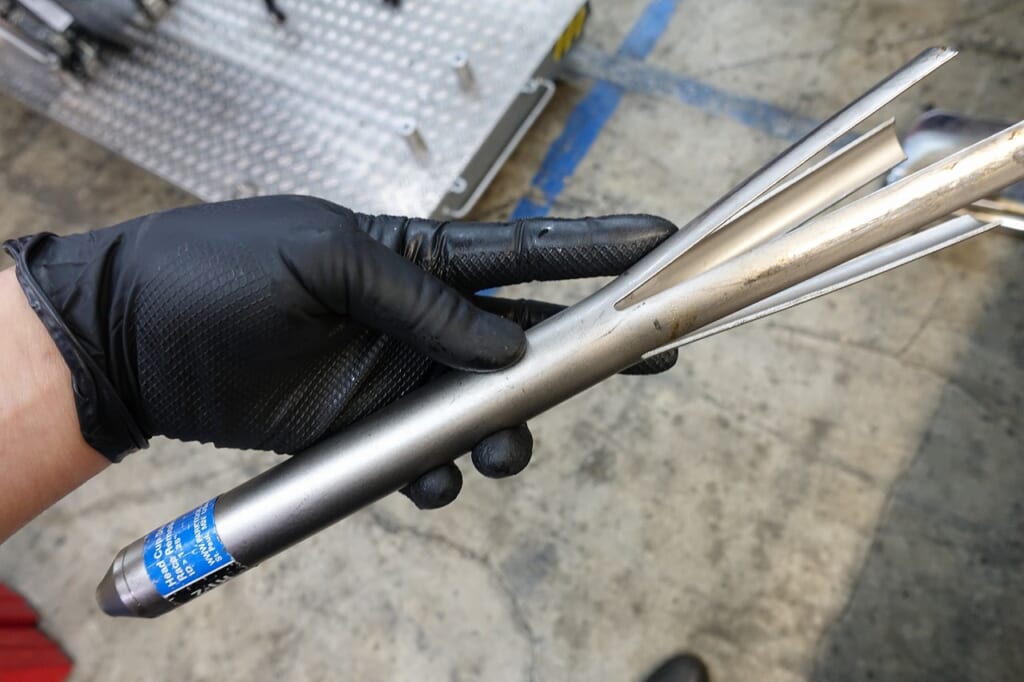
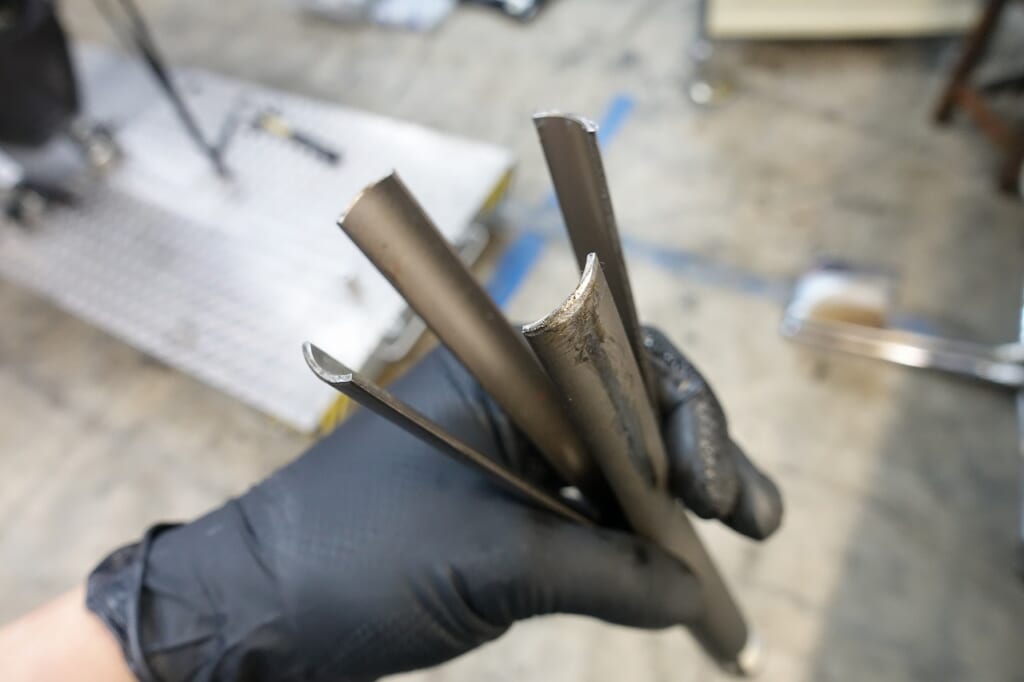
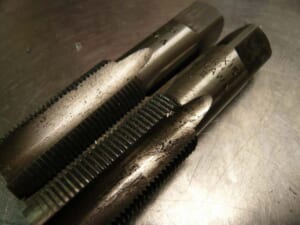
Not universal, but “good to have” tools
It’s quite excellent among stem bearing removal tools.
By the way, Park Tool’s bike version….
It’s surprisingly moving to find things from outside the bike world.
Park Tool RT-1 Park Tool RT-2
For those who use it for work“I recommend having both just in case”
You can make do with RT-2 if you push it, but“Tension”is quite strong, so it can be scary.
“Full preparation”is the best approach (*´з`)
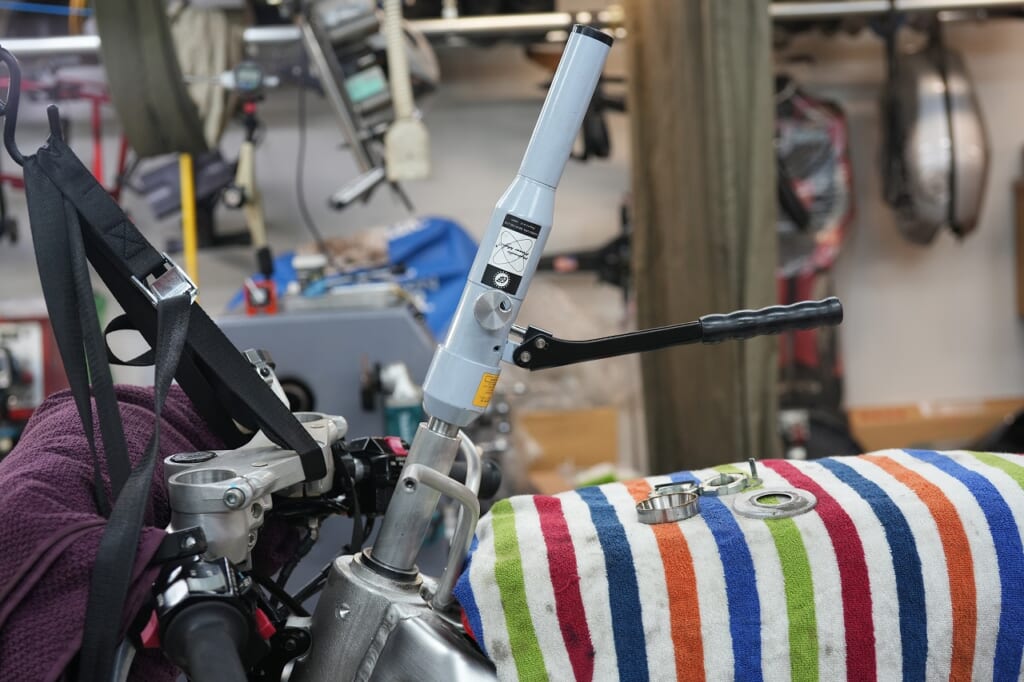
The press fit is done using the bottom or top as a reference with“A hydraulic punch”.
With this tool“Guesswork?”relying on“Bang bang!”tapping is unnecessary, and you don’t need to endlessly tighten nuts like with OEM special tools.
The work is“Smooth and reliable”that’s super important.
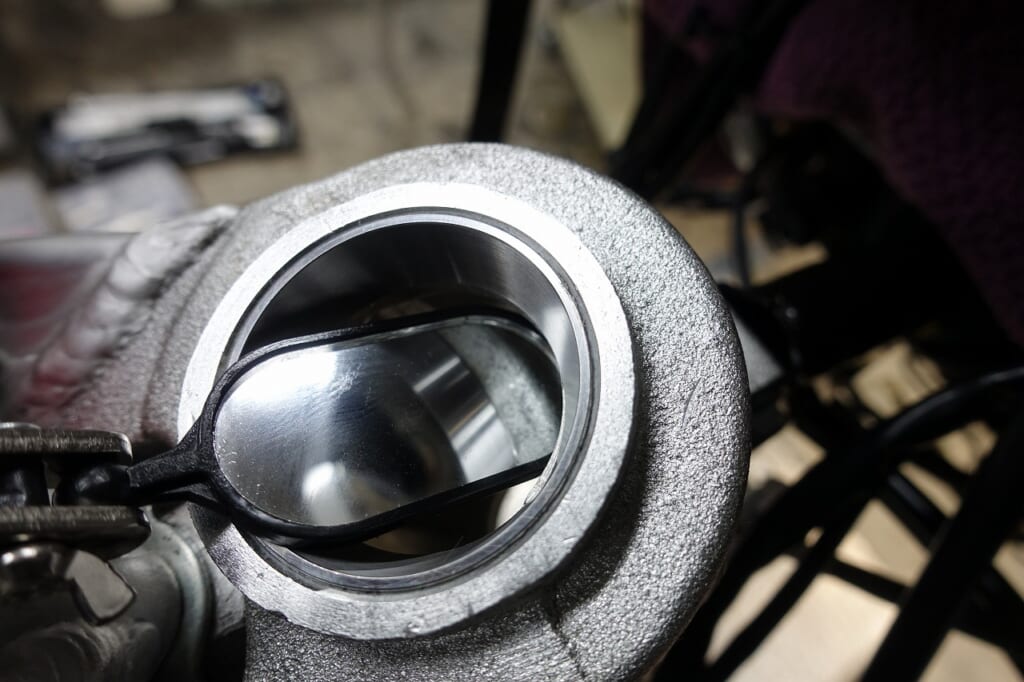
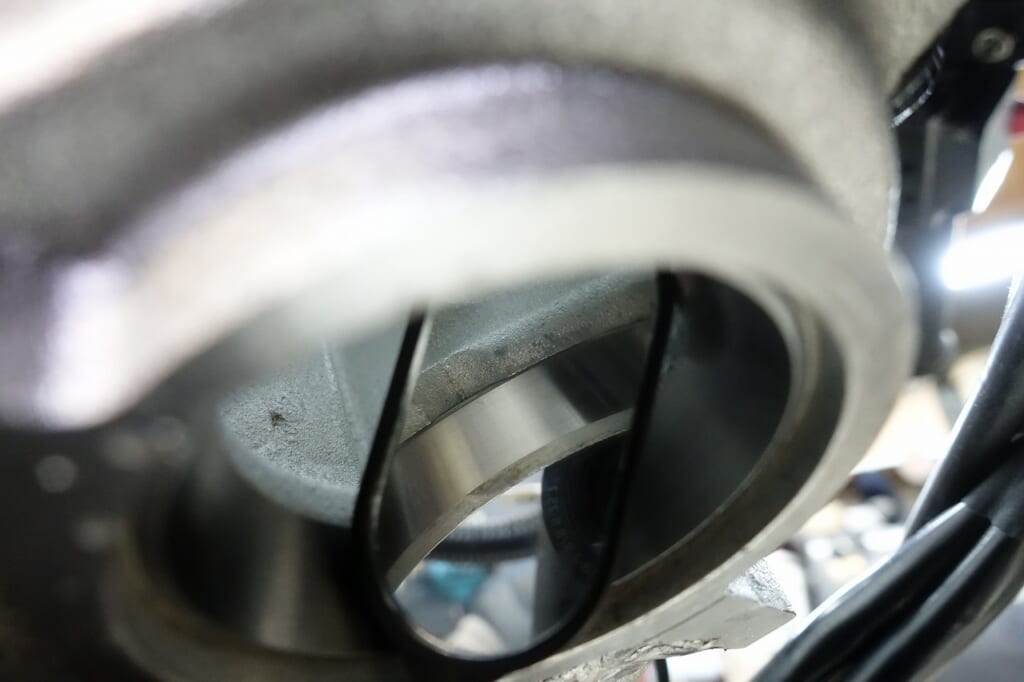
After confirming the races are properly seated and reassembling, the stem is done.
Oh
“Vehicles with double stem adjustment nuts”are really nice~
Experts“Even Suzuki models are converted to double”and I was really impressed.
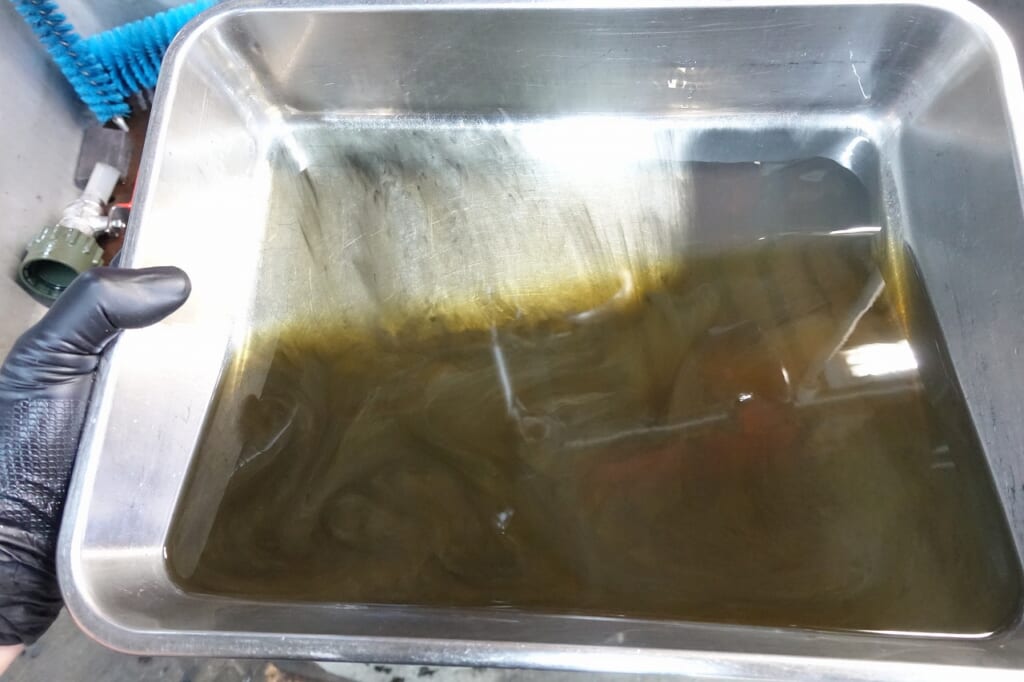
Now let’s move on to the fork.
The dirt was moderate and it was pretty clean.
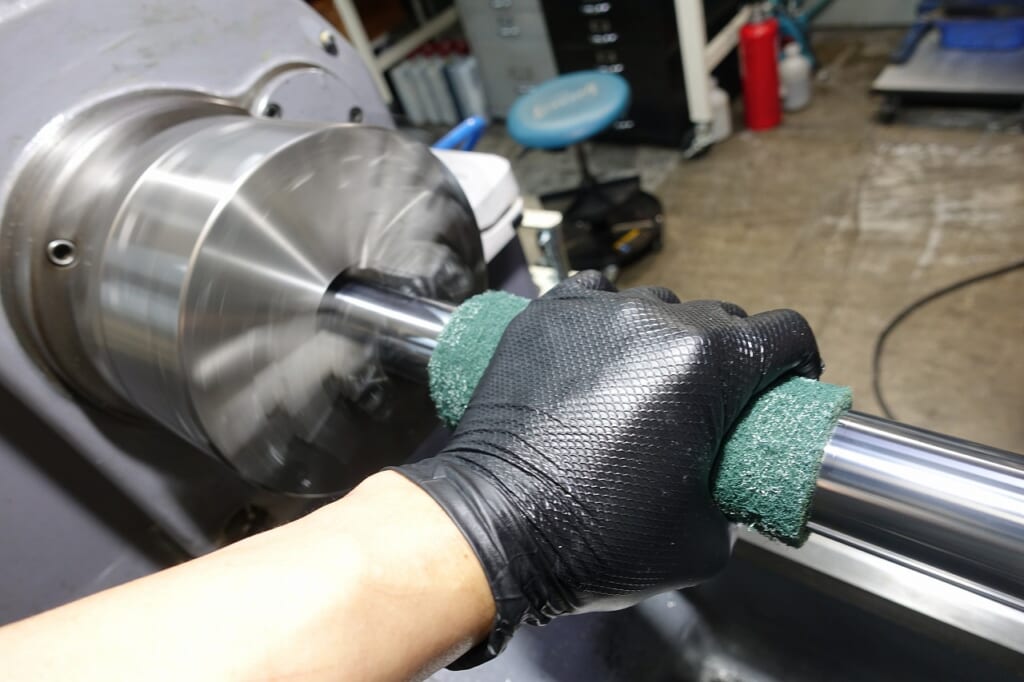
We polish the“Shine☆”on the inner tube to break it in.
I think this is really important.
Whether you do it or not“The probability of leaking from the seal”drops significantly, I think.
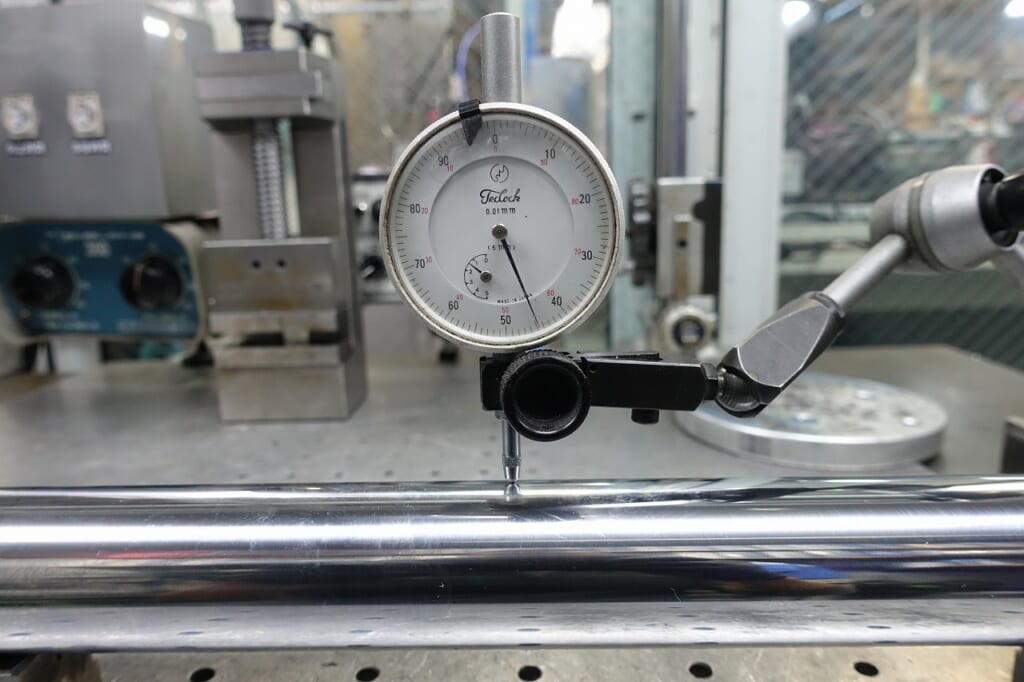
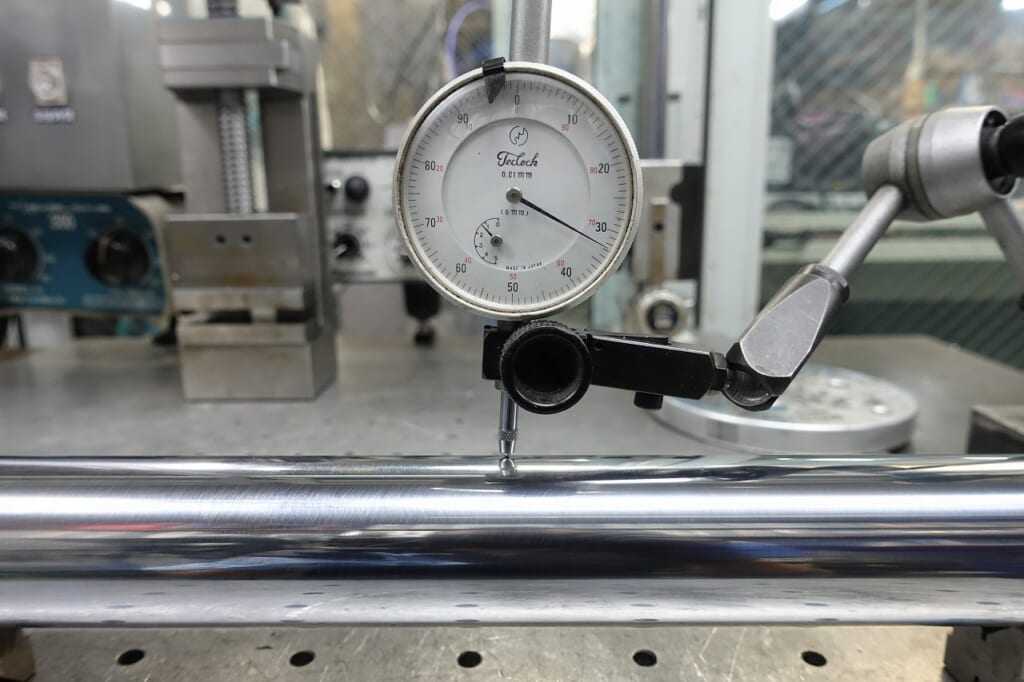
The runout on the inner tube was…“P-E-R-F-E-C-T”indeed.
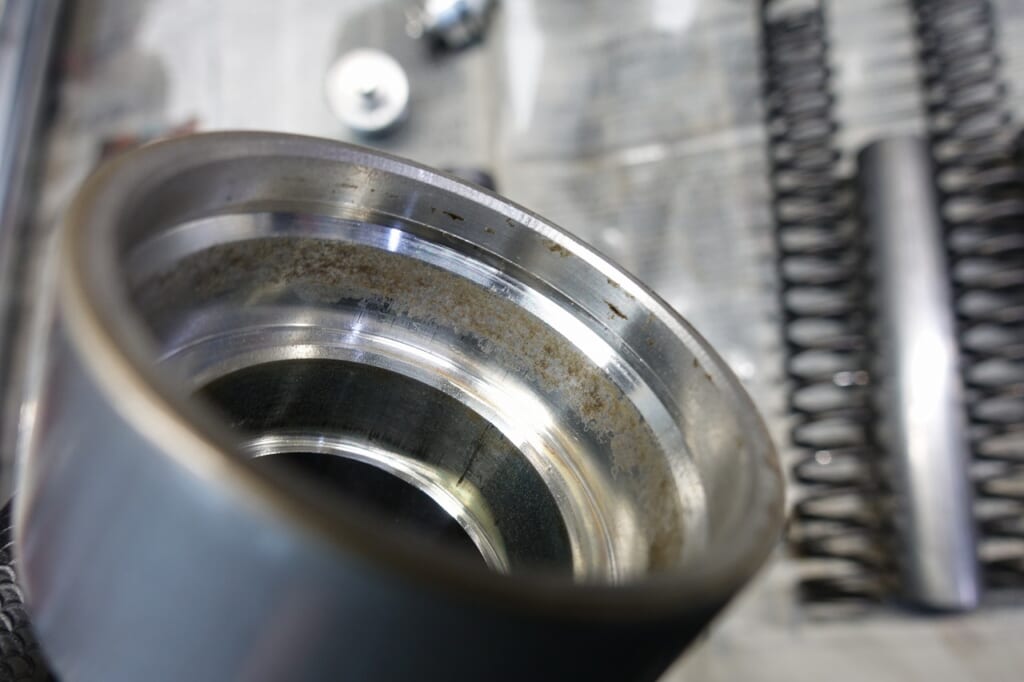
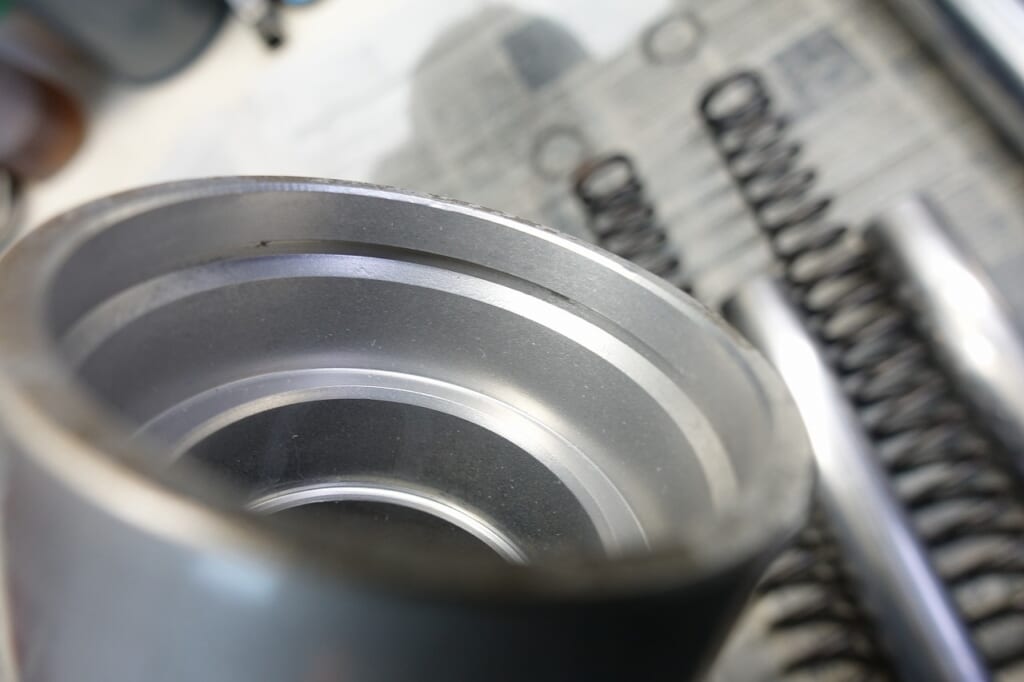
The press fit clearance for the fork seal is really important.
Once it’s in, you can’t see it, but“Definitely smooth”you want to press it in.
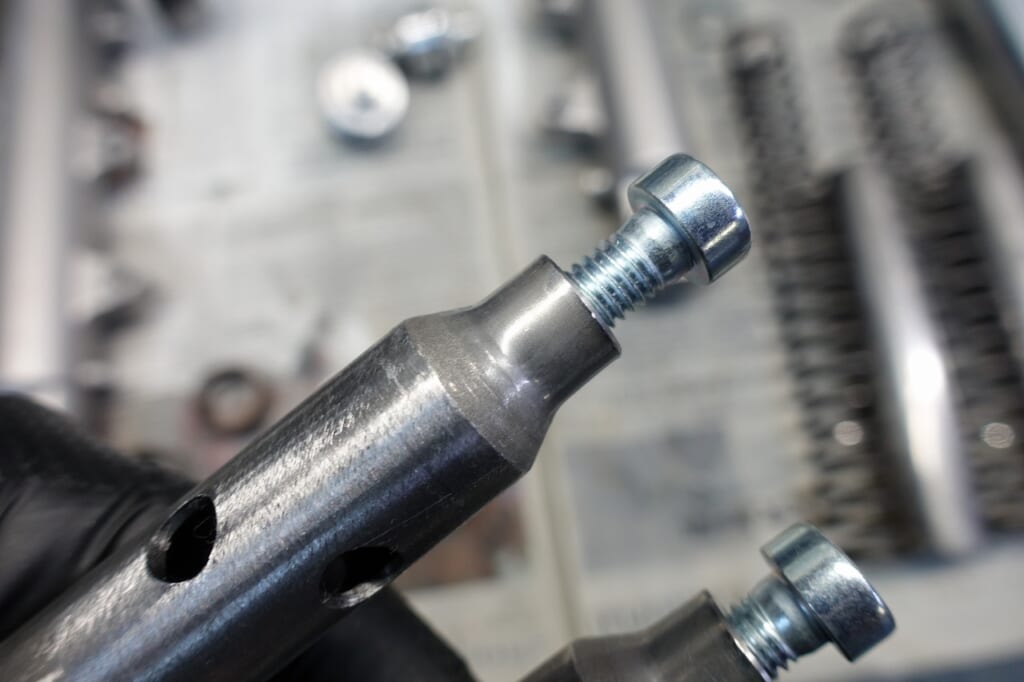
Make sure the cylinder bolts slide in smoothly by hand.
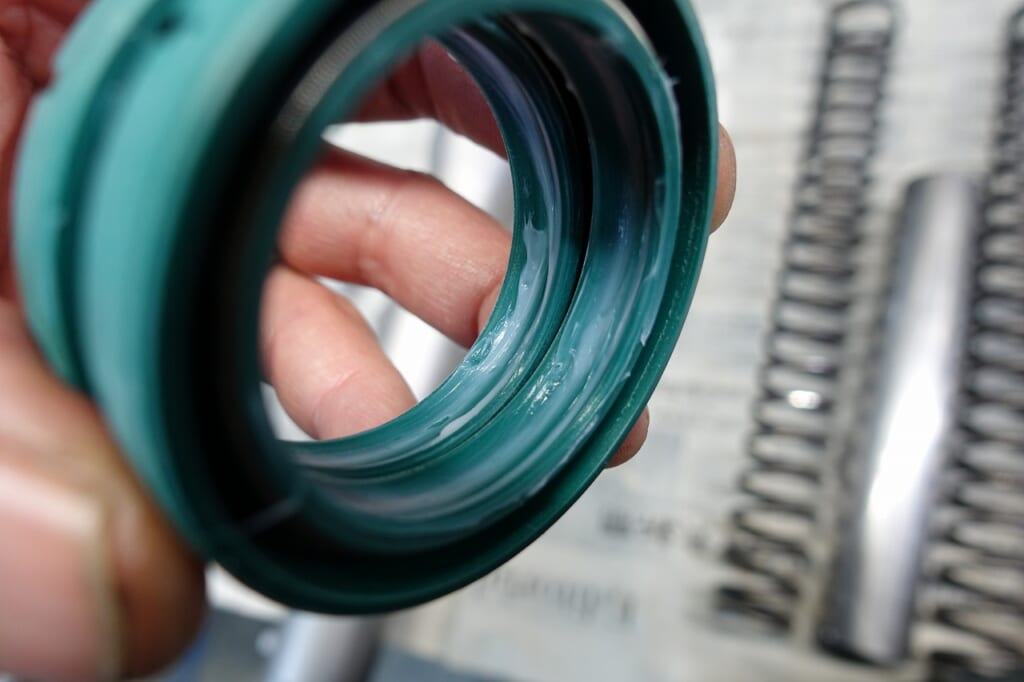
I apply “fluorine grease” to the oil seal lip.
With excellent lubricity and durability, and since it doesn’t allow oil to pass through, leakage resistance is doubled.
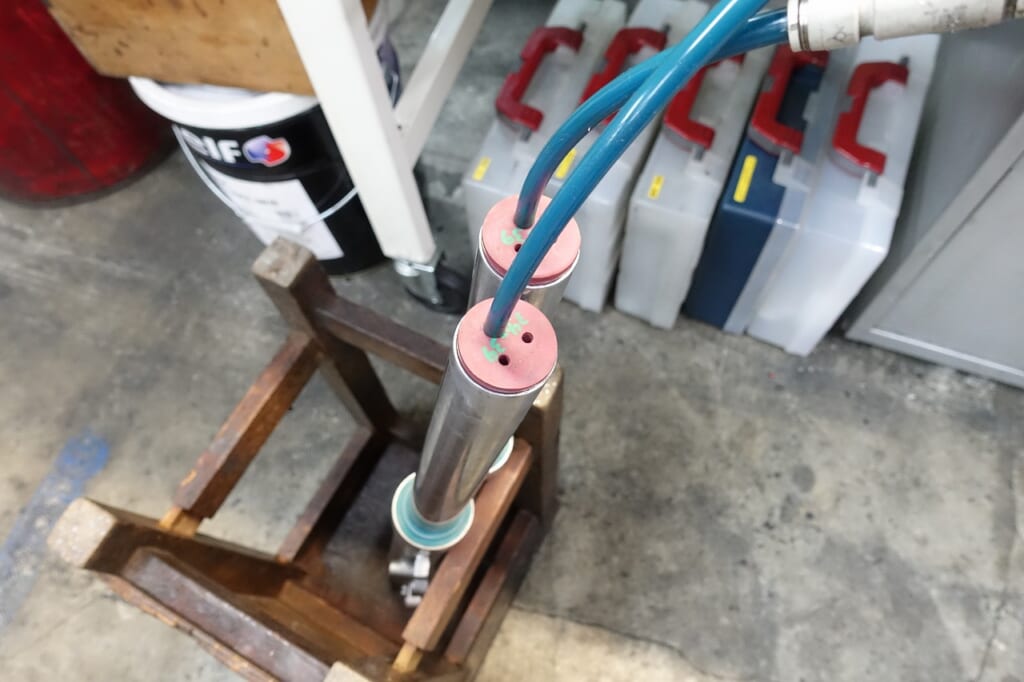
The fork is definitely“Non-cartridge”. The work is super easy and great.
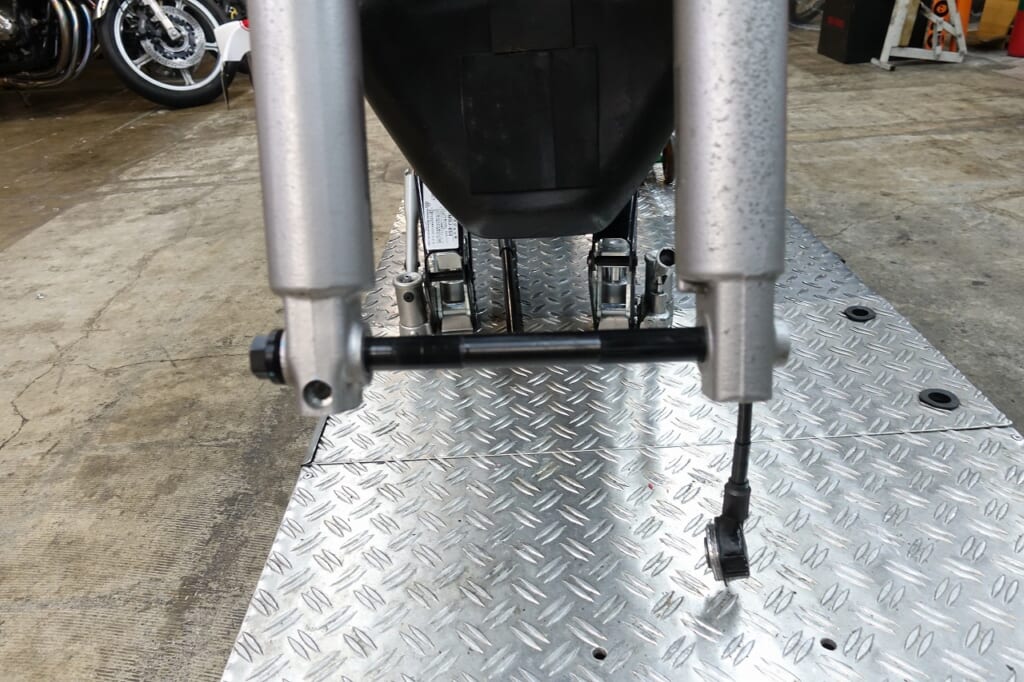
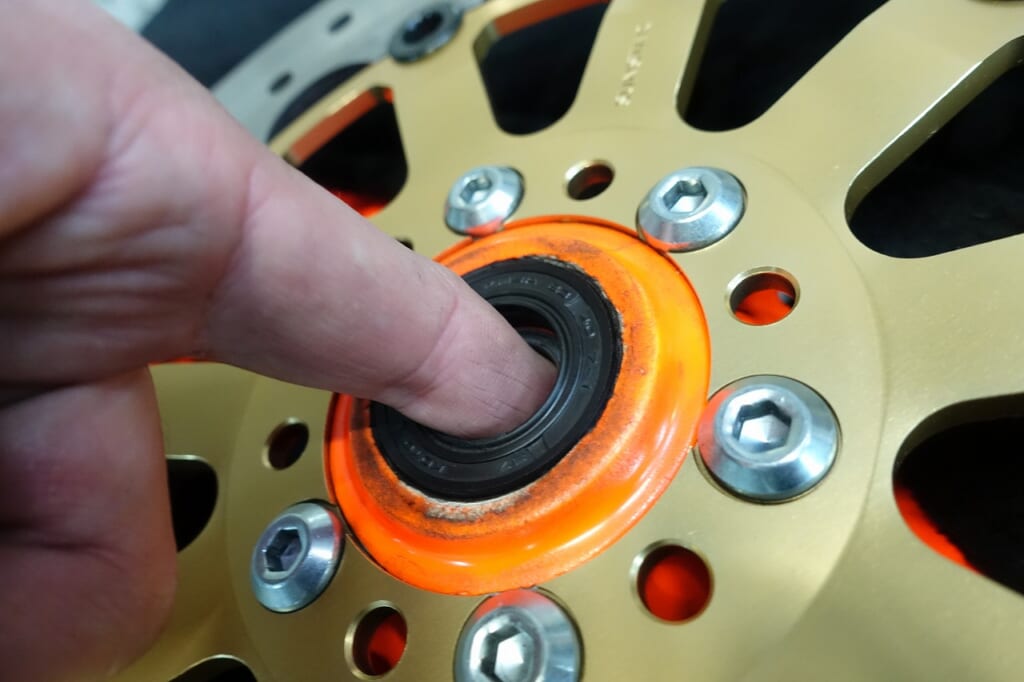
After checking each part, I reassembled it.
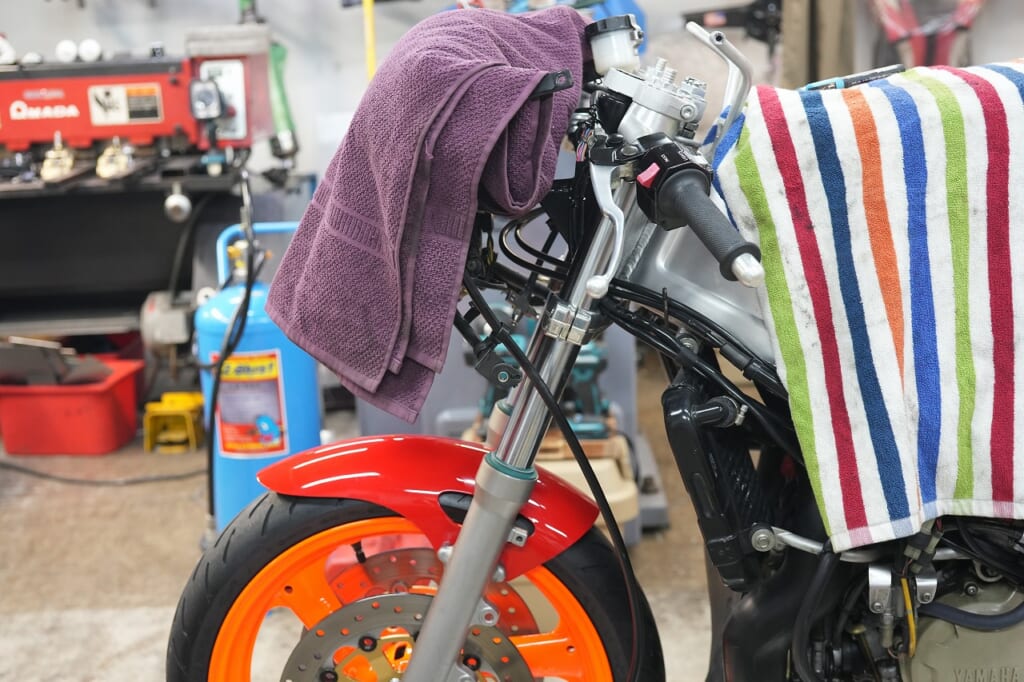
That’s all for today~(*´з`)
To be continued.
“Things introduced today”
PARKTOOL(Park Tool) Head One Remover Head One Punch for 27~38mm Bearing Races RT-1
PARKTOOL(Park Tool) Head One Remover Head One Punch for 38~55mm Bearing Races RT-2


 ポチップ
ポチップ
 ポチップ
ポチップ