I’ll get it done while I have the chance.
My fabrication and machining skills are still pretty wobbly. The main thing is to keep it simple, avoid mistakes, and make sure nothing breaks.
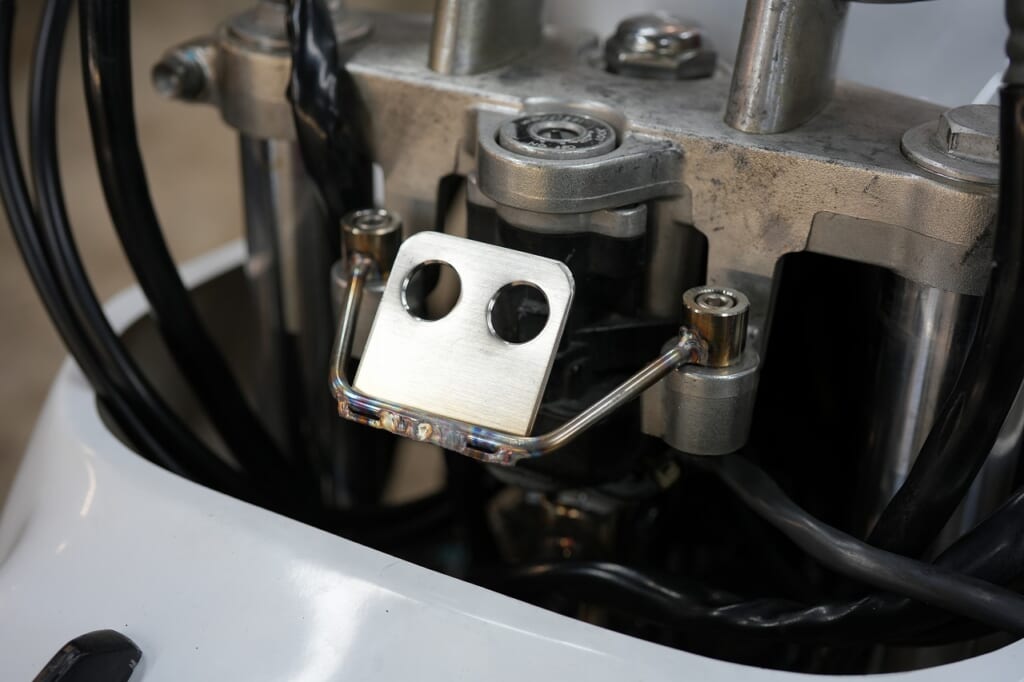
I’ll go with my usual A+B+C strategy.
Color + round rod + sheet metal gives me super flexibility.
The appearance seems decent enough, I think. Since I can refine it as I build, it’s really enjoyable for me.
As it is now, it’s pretty weak, so I’ll add some reinforcement.
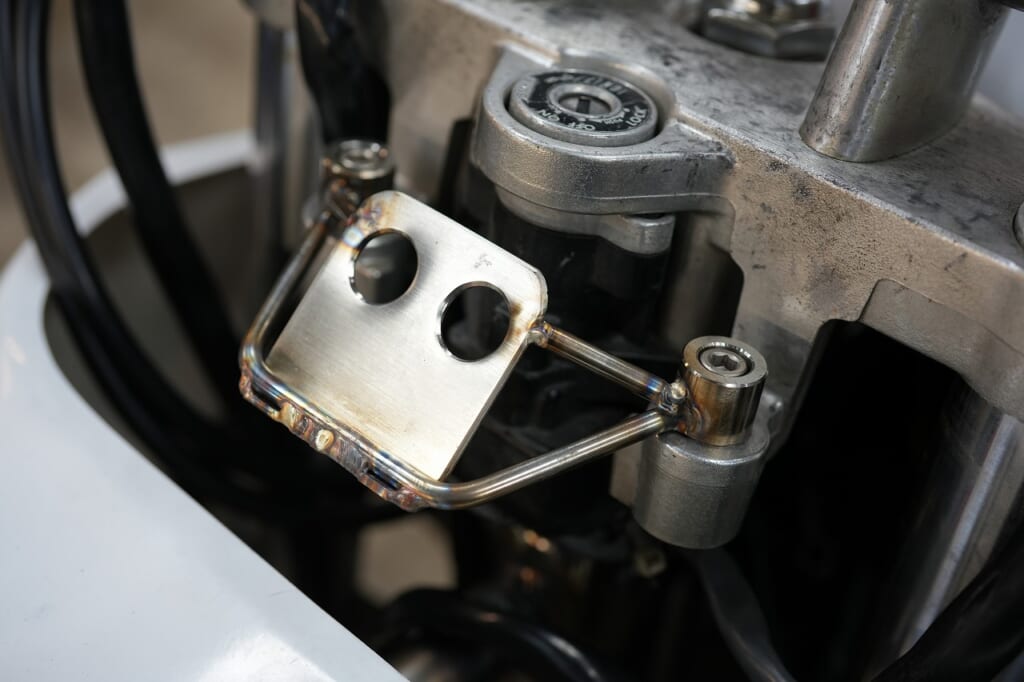
I added two reinforcements and integrated it with the top bridge.
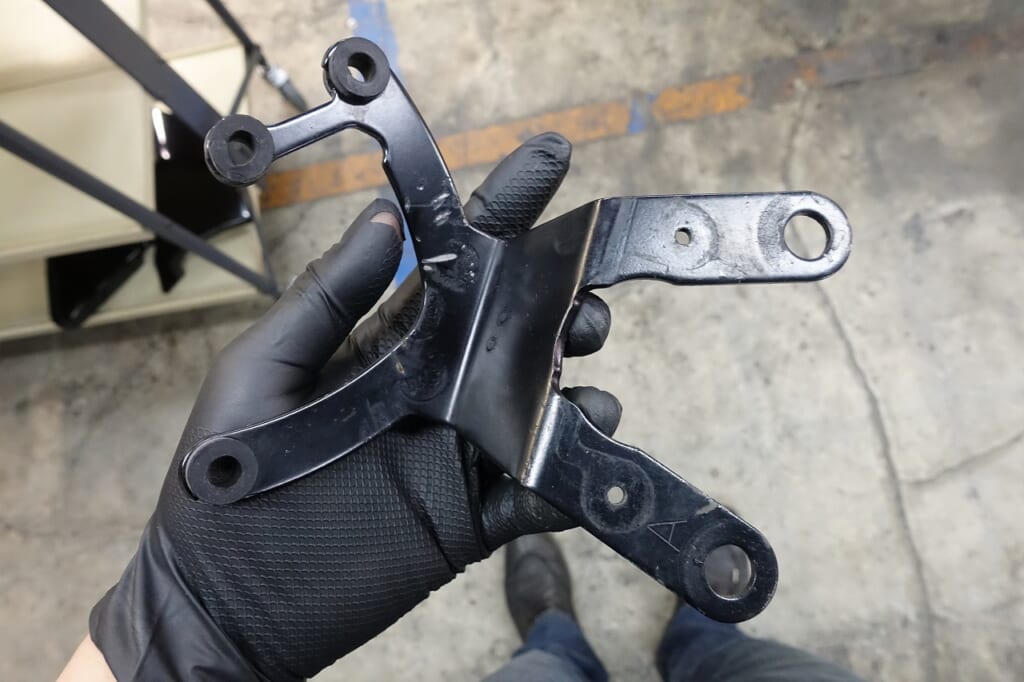
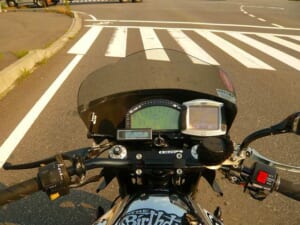
Next up. I’ll do some minor machining on the meter bracket.
Basically, it’s better to avoid anything tedious. Fewer steps means fewer mistakes.
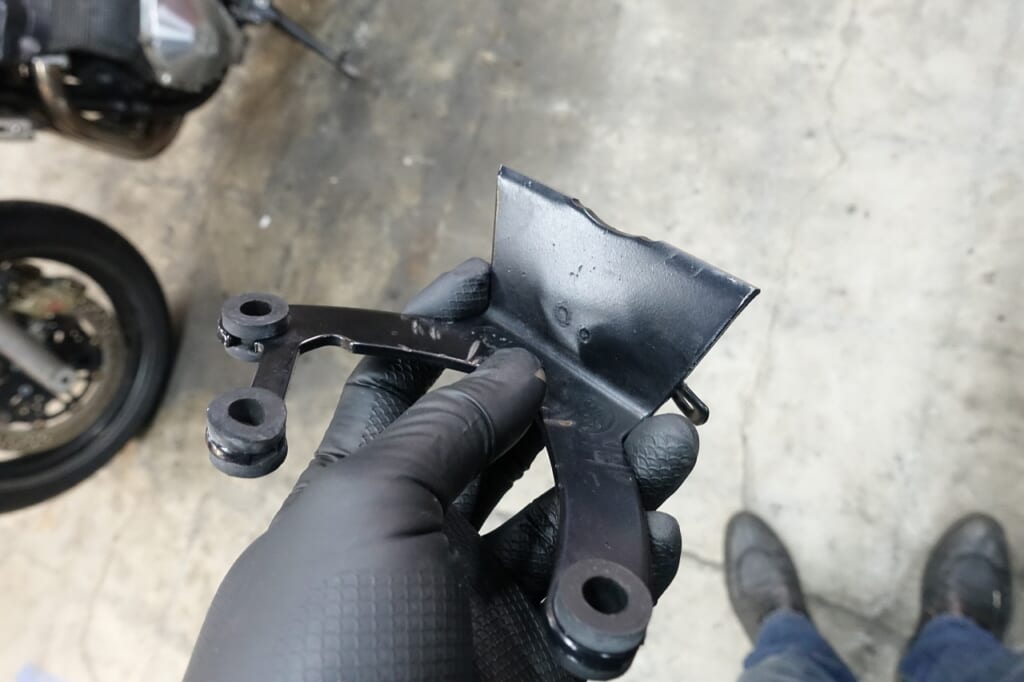
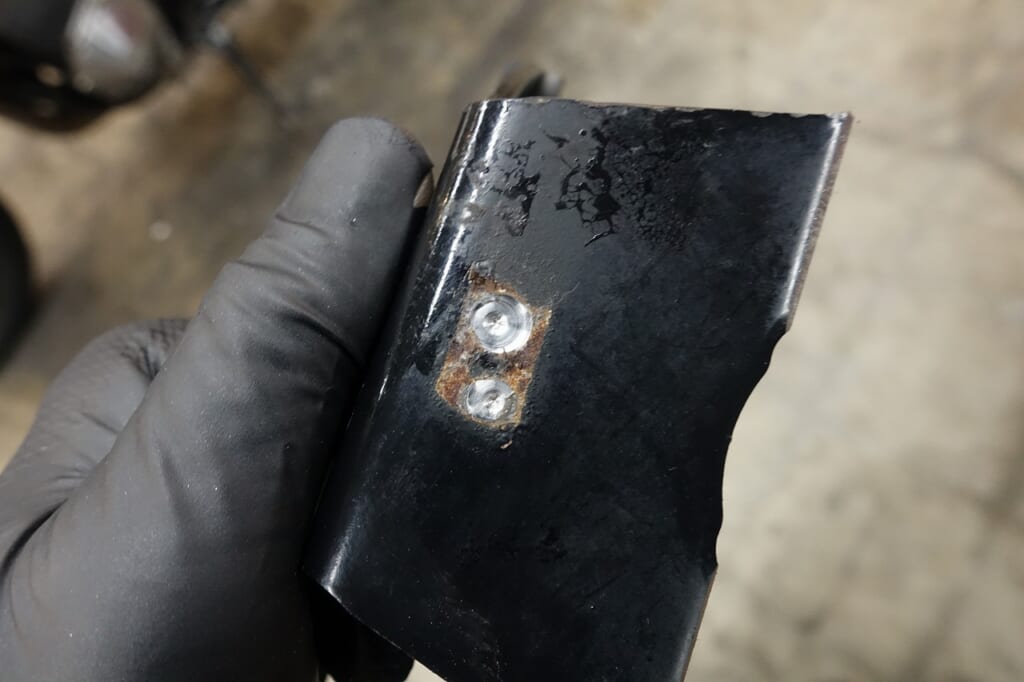
I cut it without mercy and removed the burr with a spot cutter.
A spot cutter is really handy to have around.
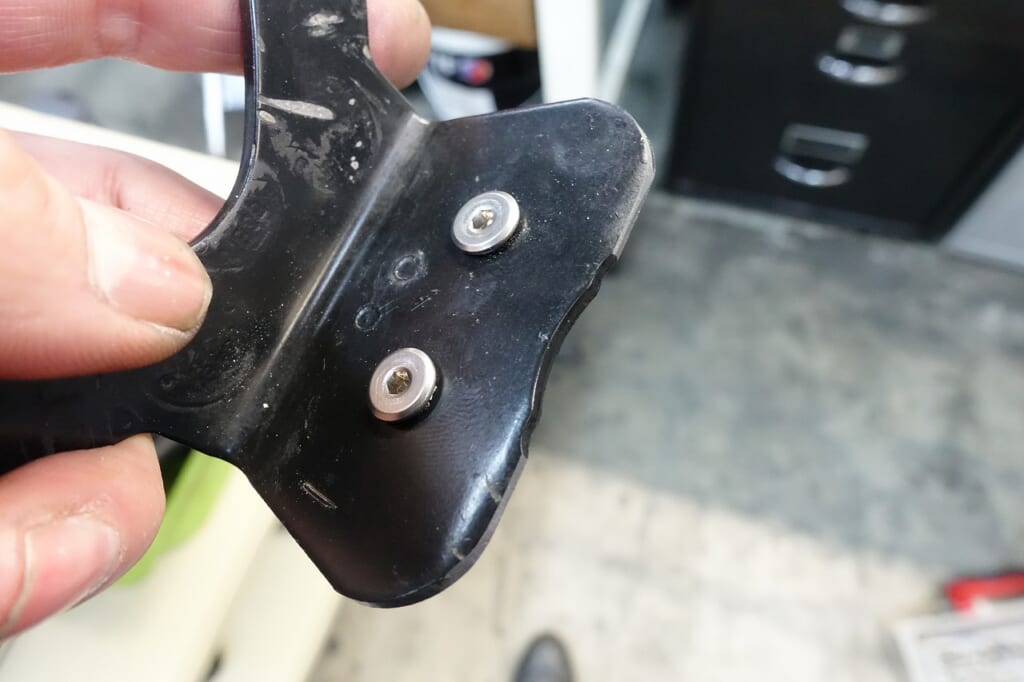
Depending on the location, cutting threads into sheet metal can prevent parts from falling out and dramatically improve serviceability.
I did it this time too.
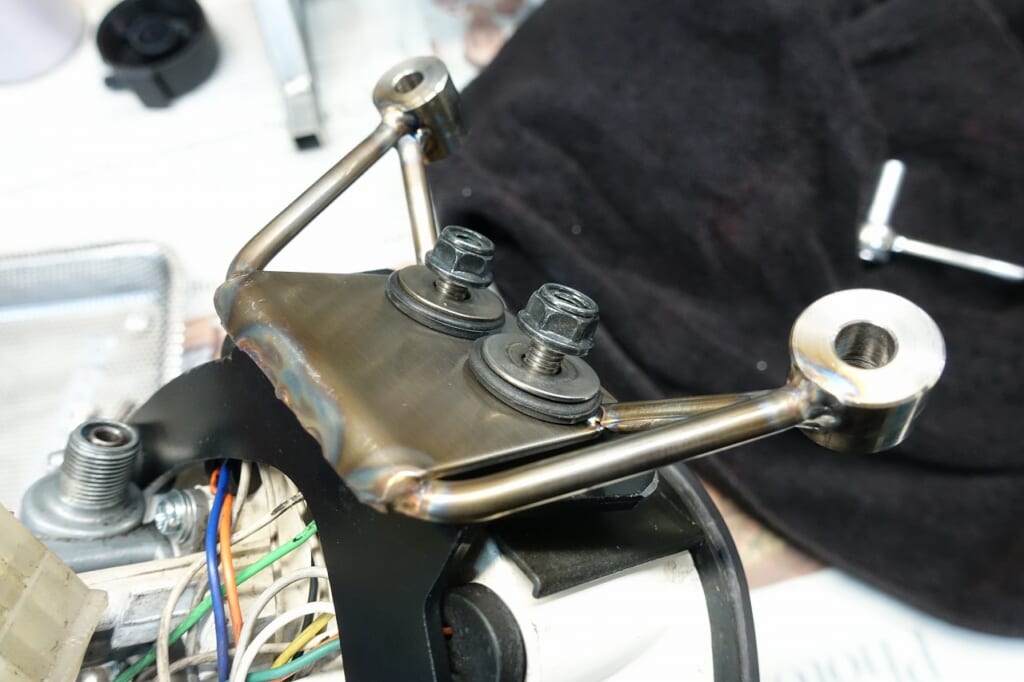
With this setup, the meter can be removed. It’s a bit borderline though…
If I went with through-bolt mounting, I’d have to remove the meter from the bracket.
Meter cover bolts × 3, speedometer gears × 2, bracket nuts × 2
It’s just a minor detail, but it only takes tapping.
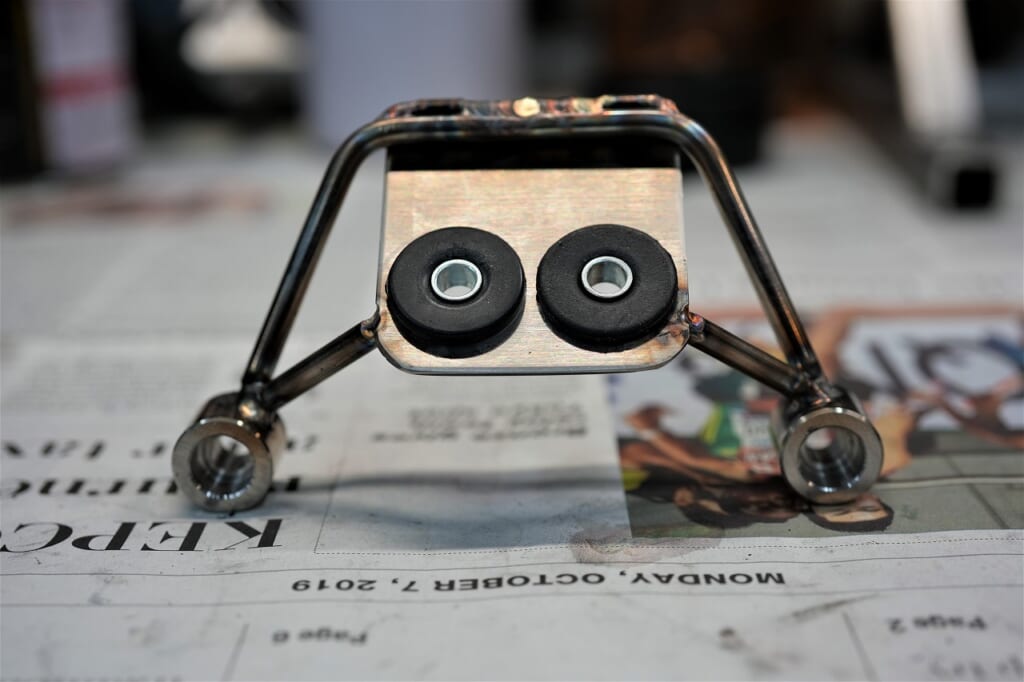
And so the meter bracket is complete (^_-)-☆
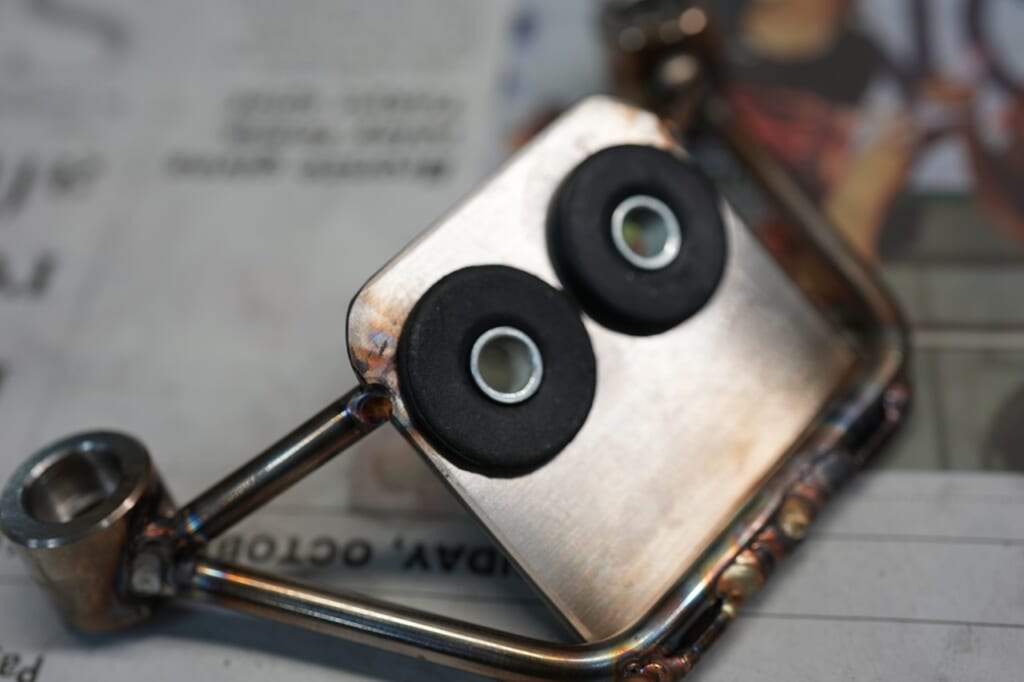
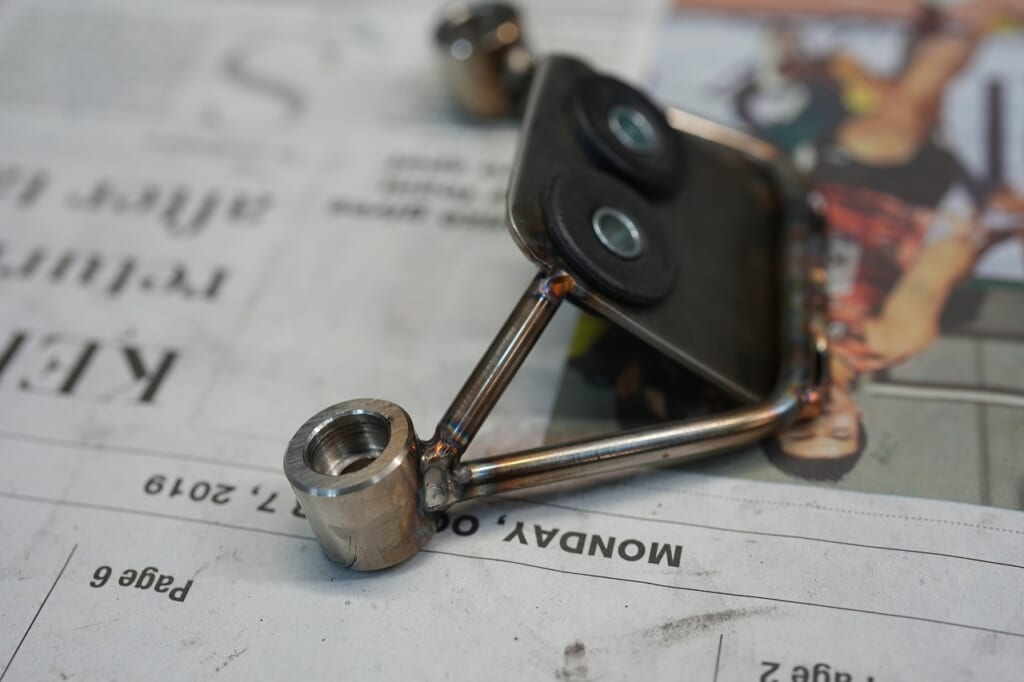
I’ve installed two dampers. The vibration can be adjusted by the sleeve length and tightness.
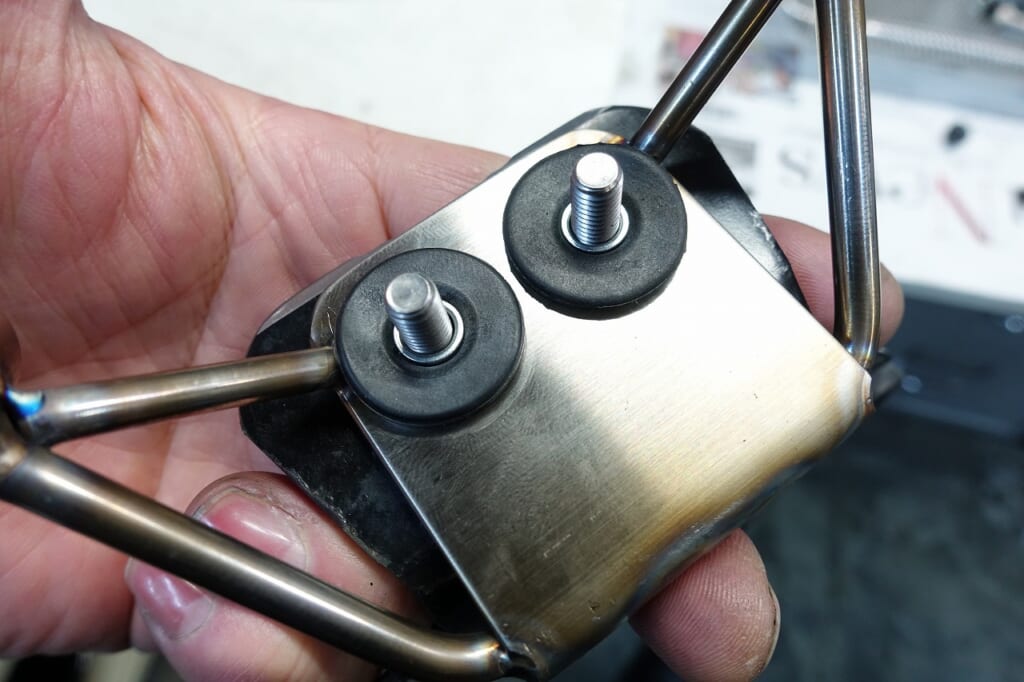
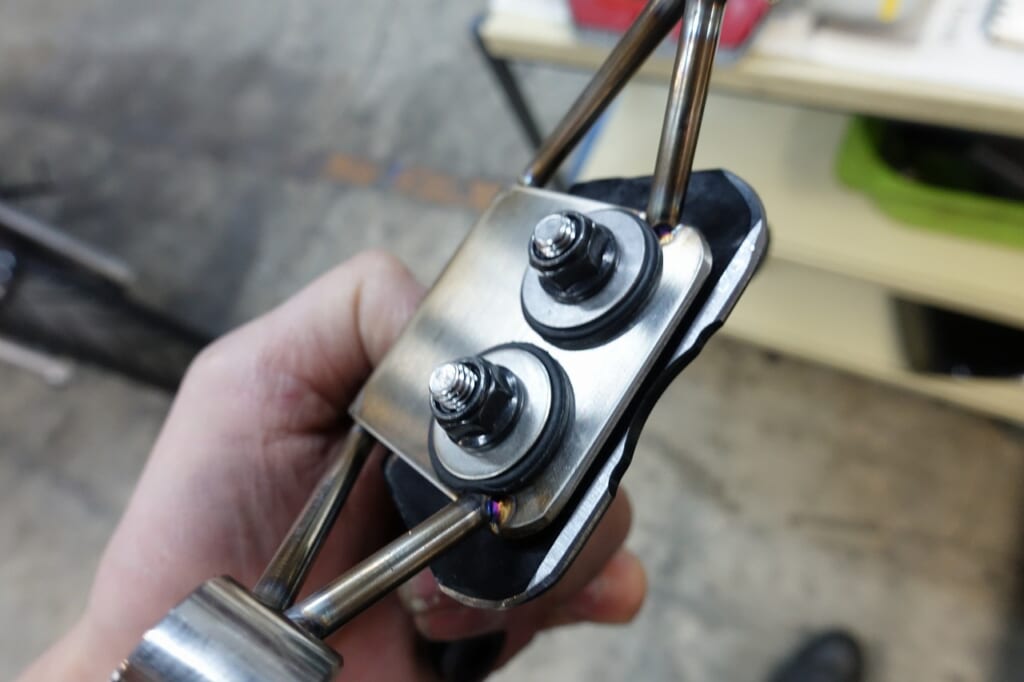
With this kind of structure, I can adjust it later too. This is where the threads come in handy.
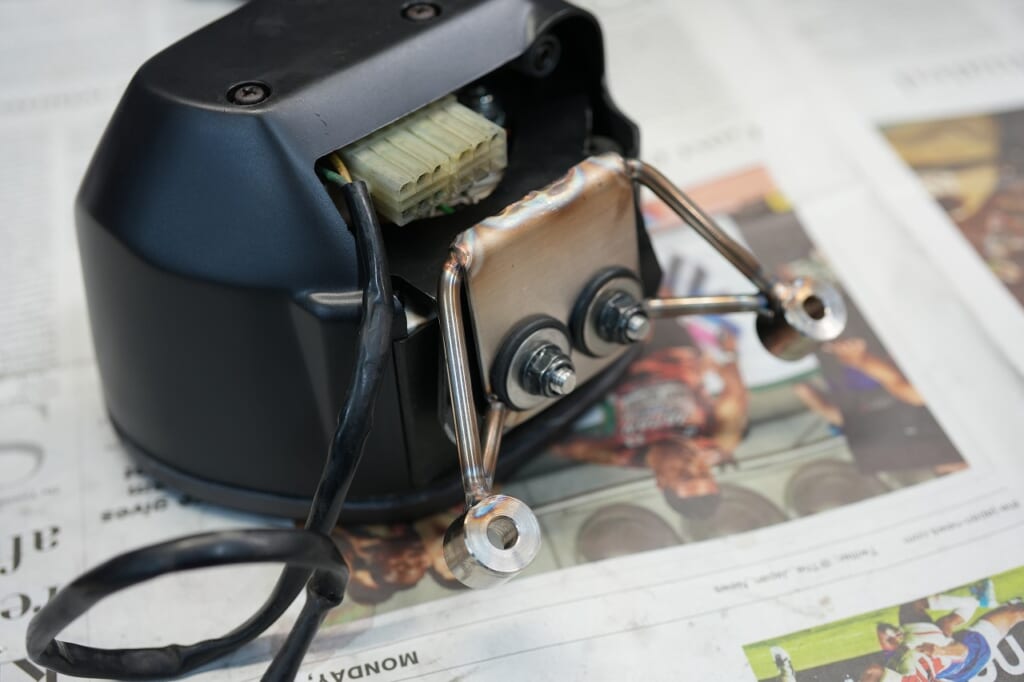
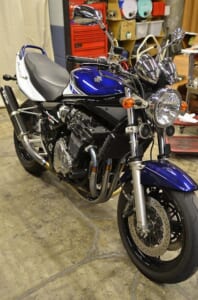
And so I’ve made it mountable on the Inazuma 1200 top bridge.
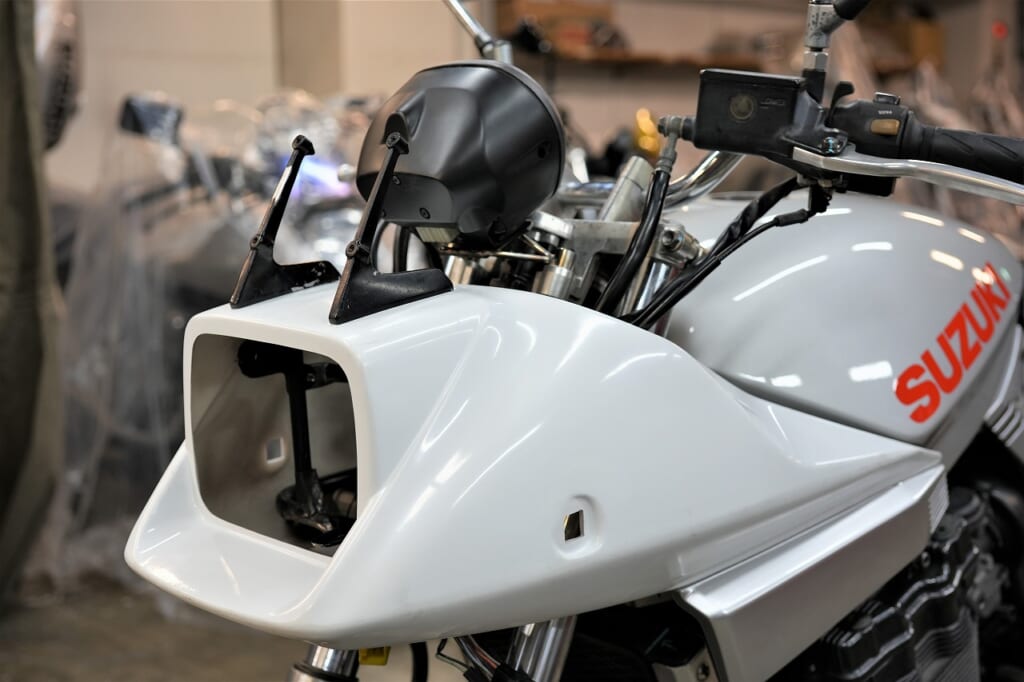
It turned out like this.
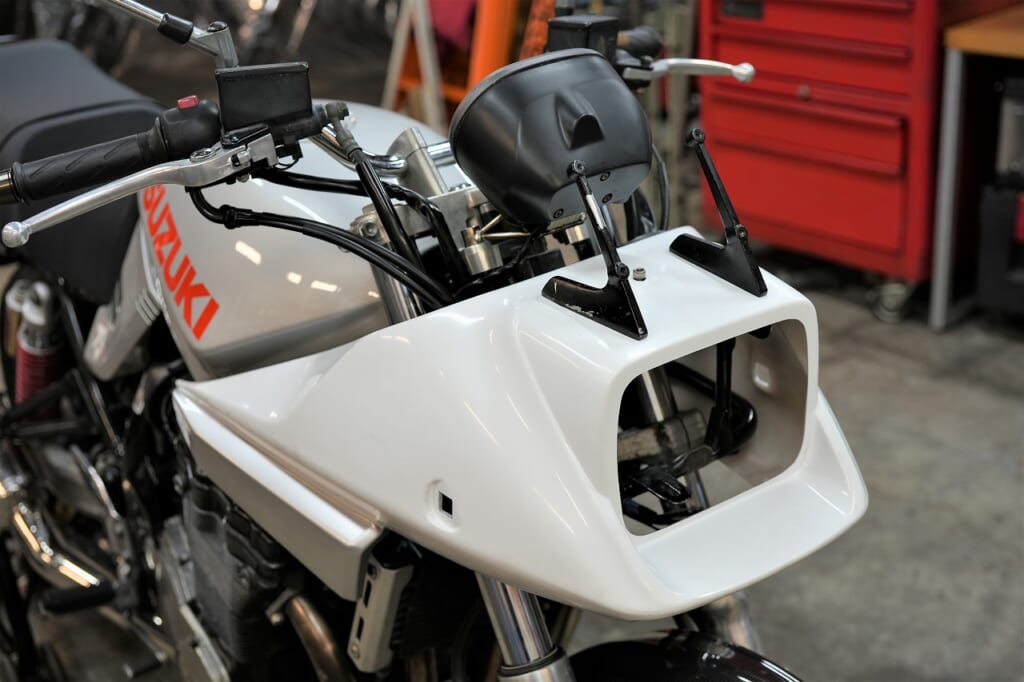
The meter position on the Katana is extremely tight. True to my nature, I went with the safe option.
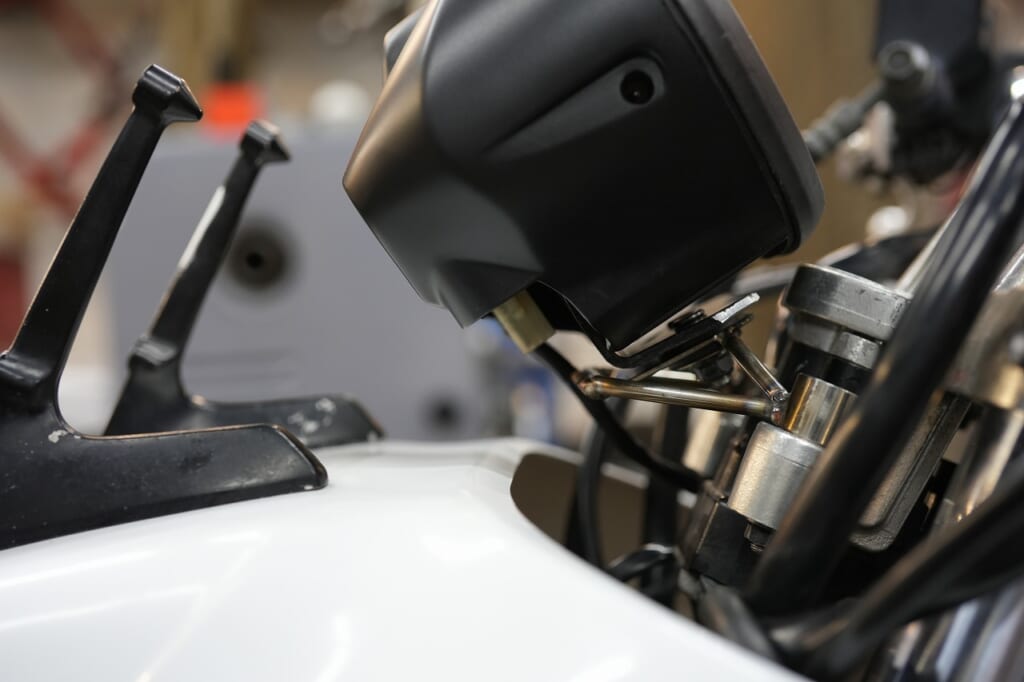
The speedometer cable and meter harness are extremely close to the fairing.
Surprisingly, many bikes have them rubbing badly, and I just can’t get behind that.
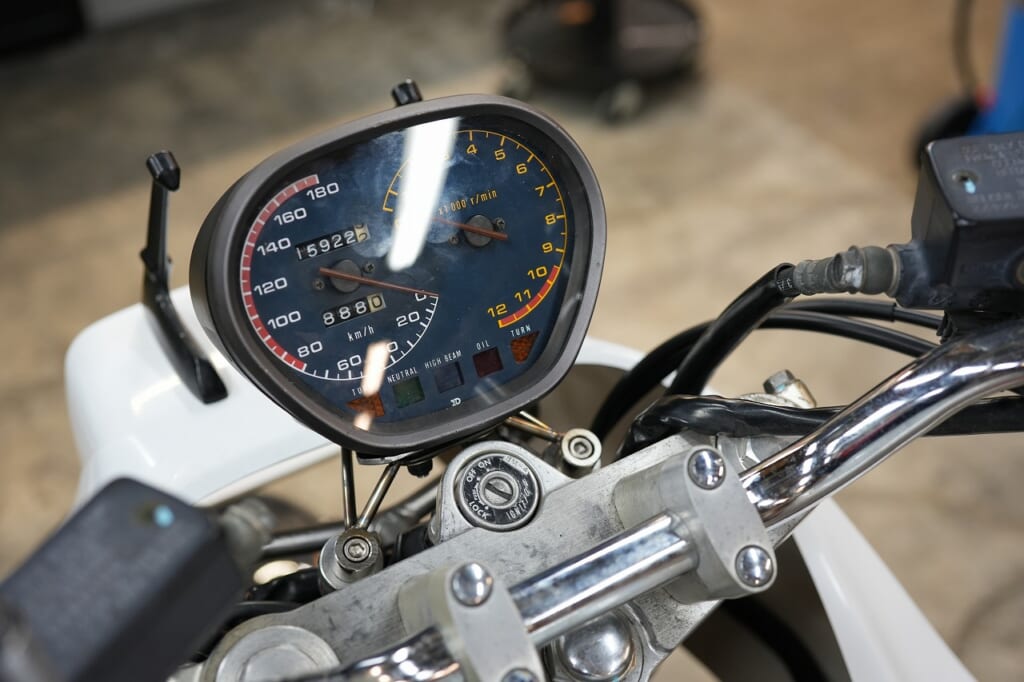
That’s how it is.
Pretty mundane stuff again this time… To be continued.