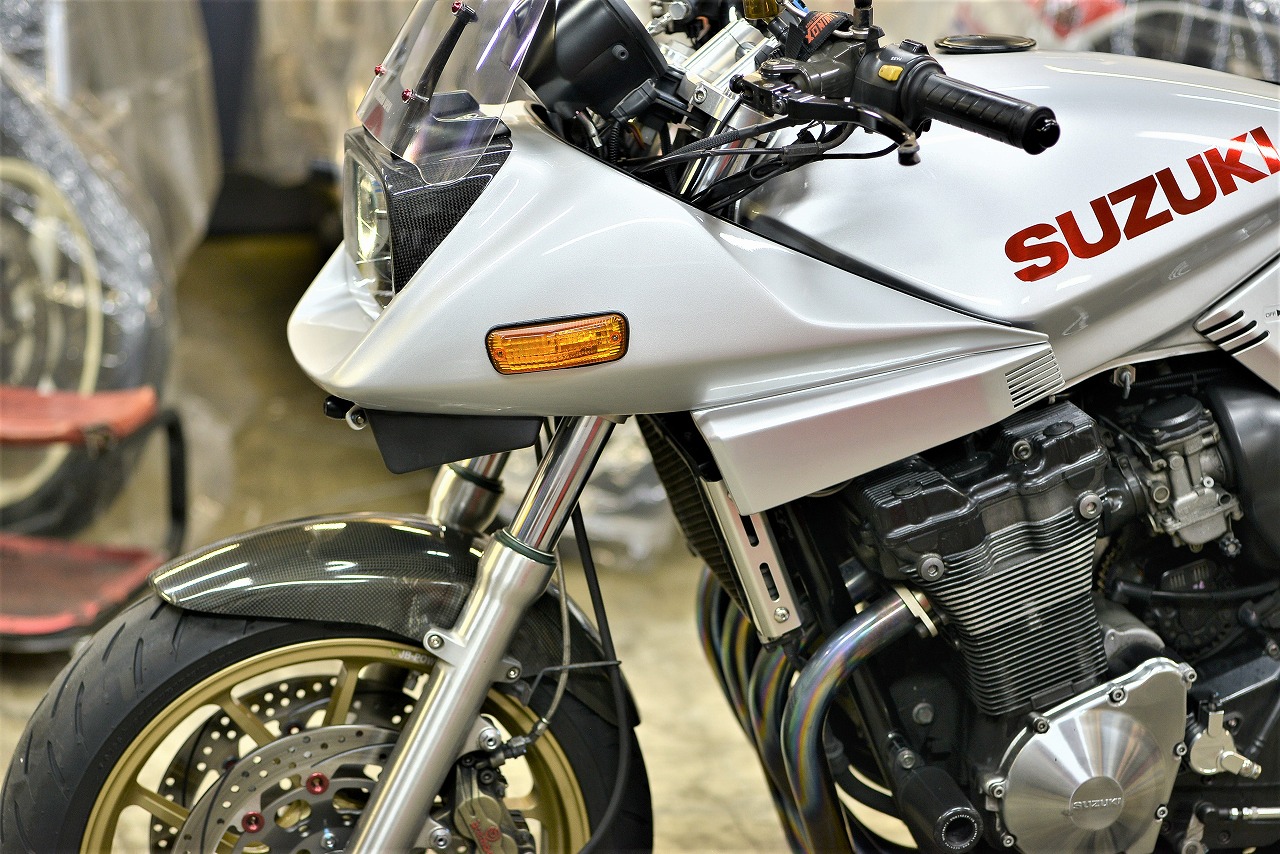
The Wuhan coronavirus has pretty much become the Tokyo variant now, it seems…
Tokyo is feeling pretty awkward about it. Well, we do have a large population…
People taking precautions
People not taking precautions…
We’ve been getting a lot of rain lately, haven’t we?
I think that’s actually been a blessing in disguise.
If the sunny weather had kept up… just imagining it… well, that would be rough.
First and foremost, I think it’s most important not to catch it yourself and to stay healthy.
I still can’t bring myself to go out and take that kind of risk… ( ;∀;)
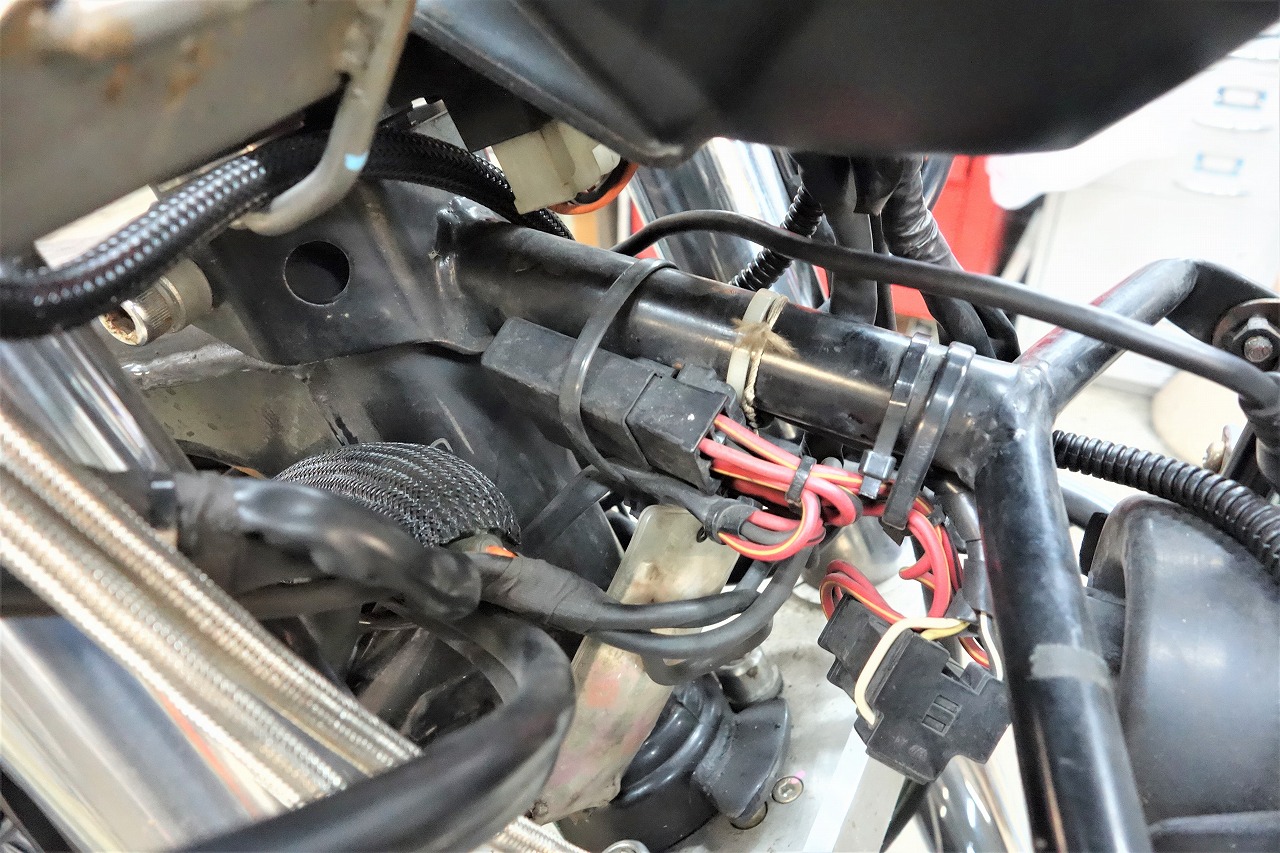
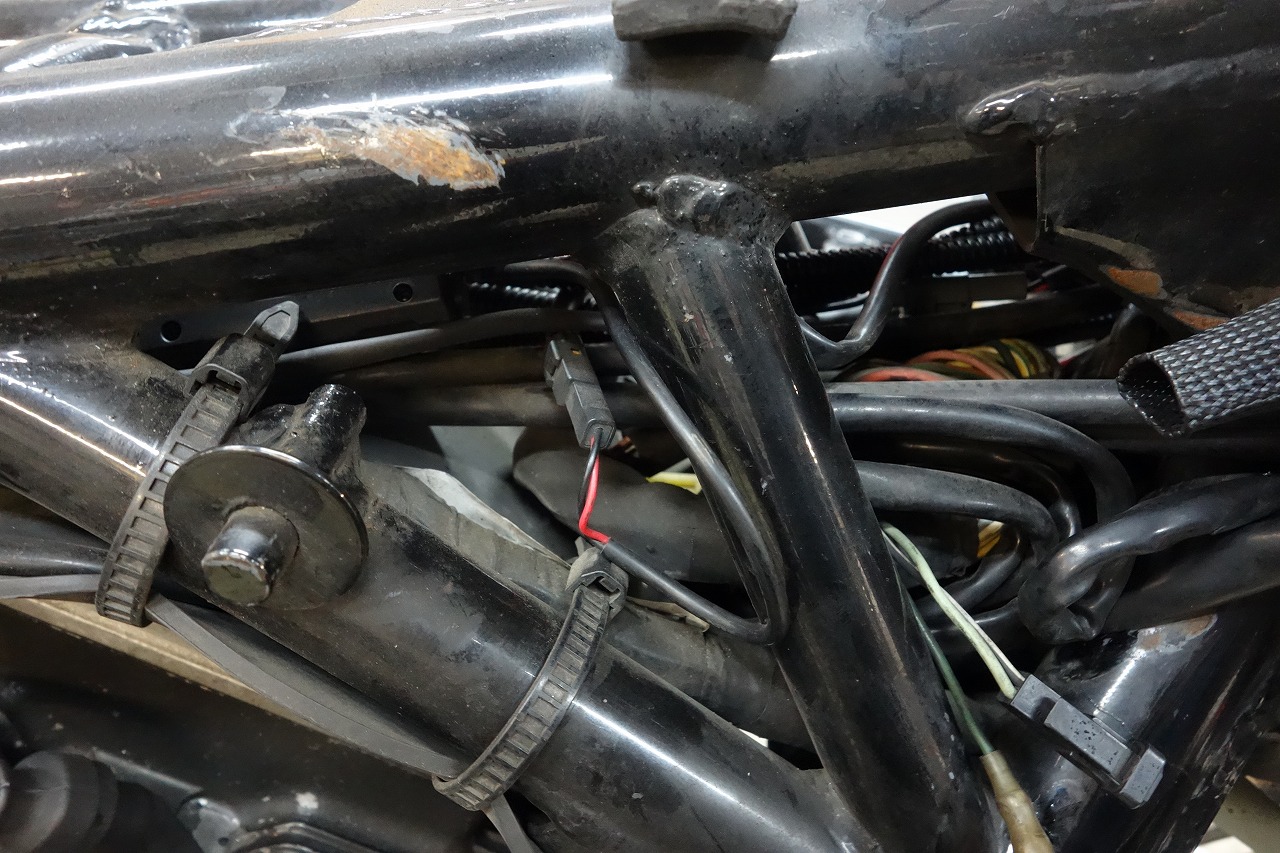
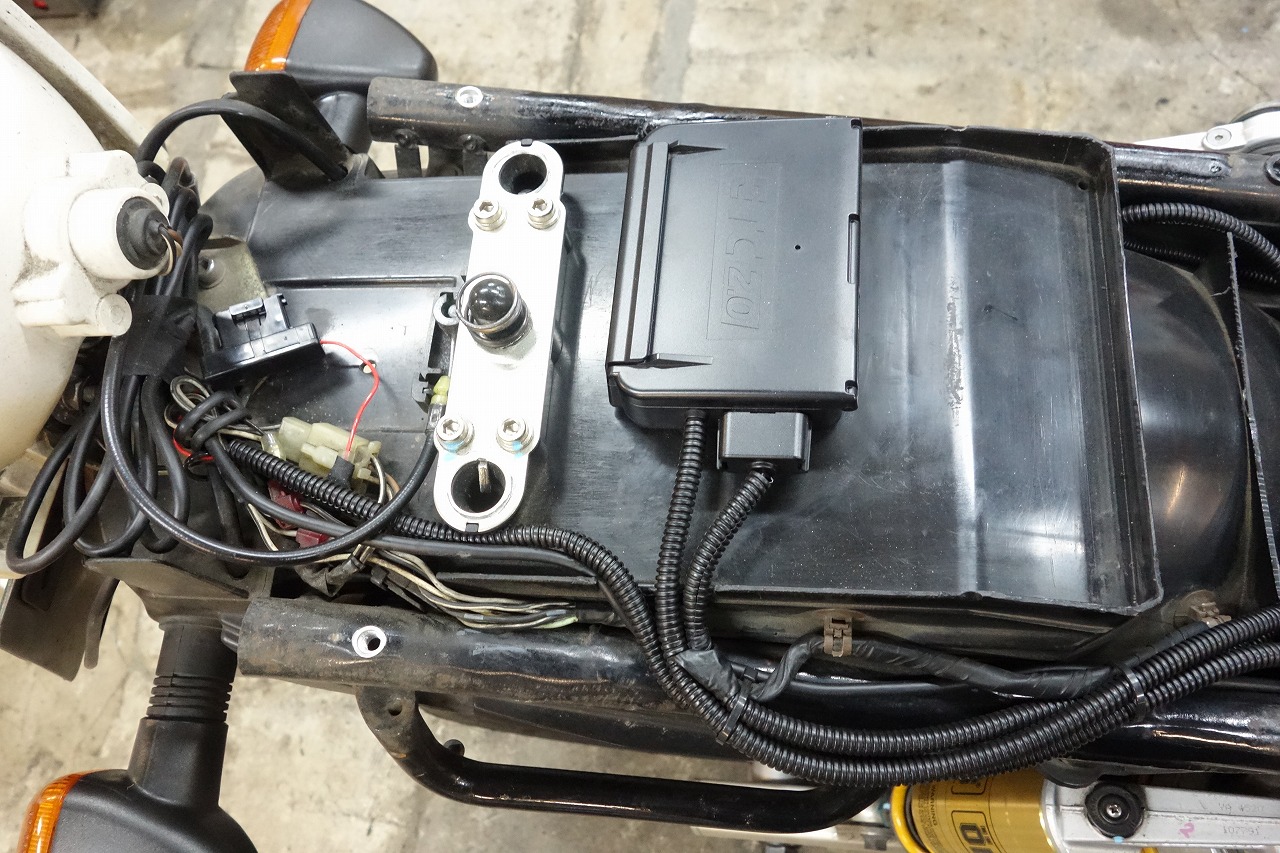
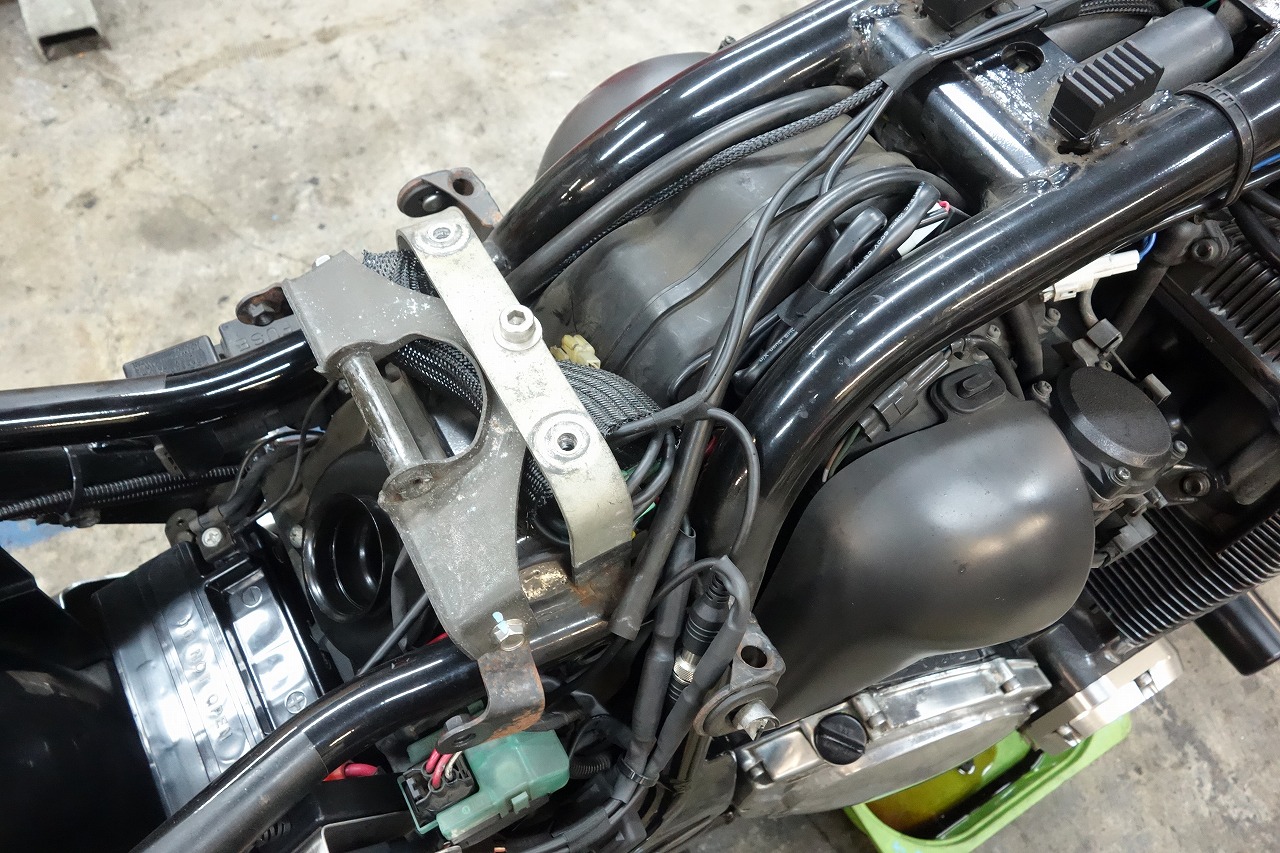
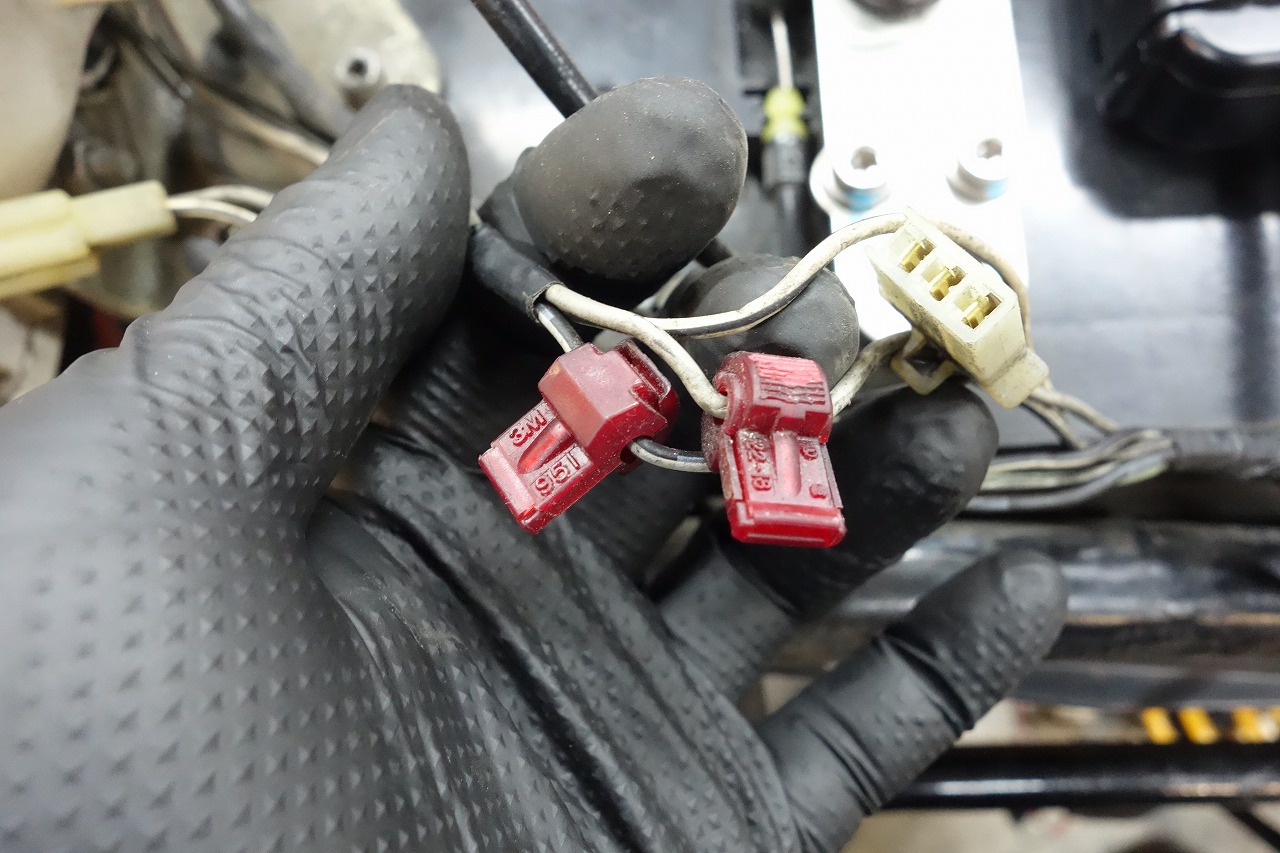
I carefully checked everything as I took it apart.
I’m pretty sure the Inazuma is the most labor-intensive oil-cooled bike for harness replacement! That’s definitely no exaggeration.
You have to remove the carburetors,
and you can’t get the harness out without reverse-routing (my own term for it).
Every time I do this, I honestly think, how did I do this again?
But it might be easier than doing a Z harness… right?
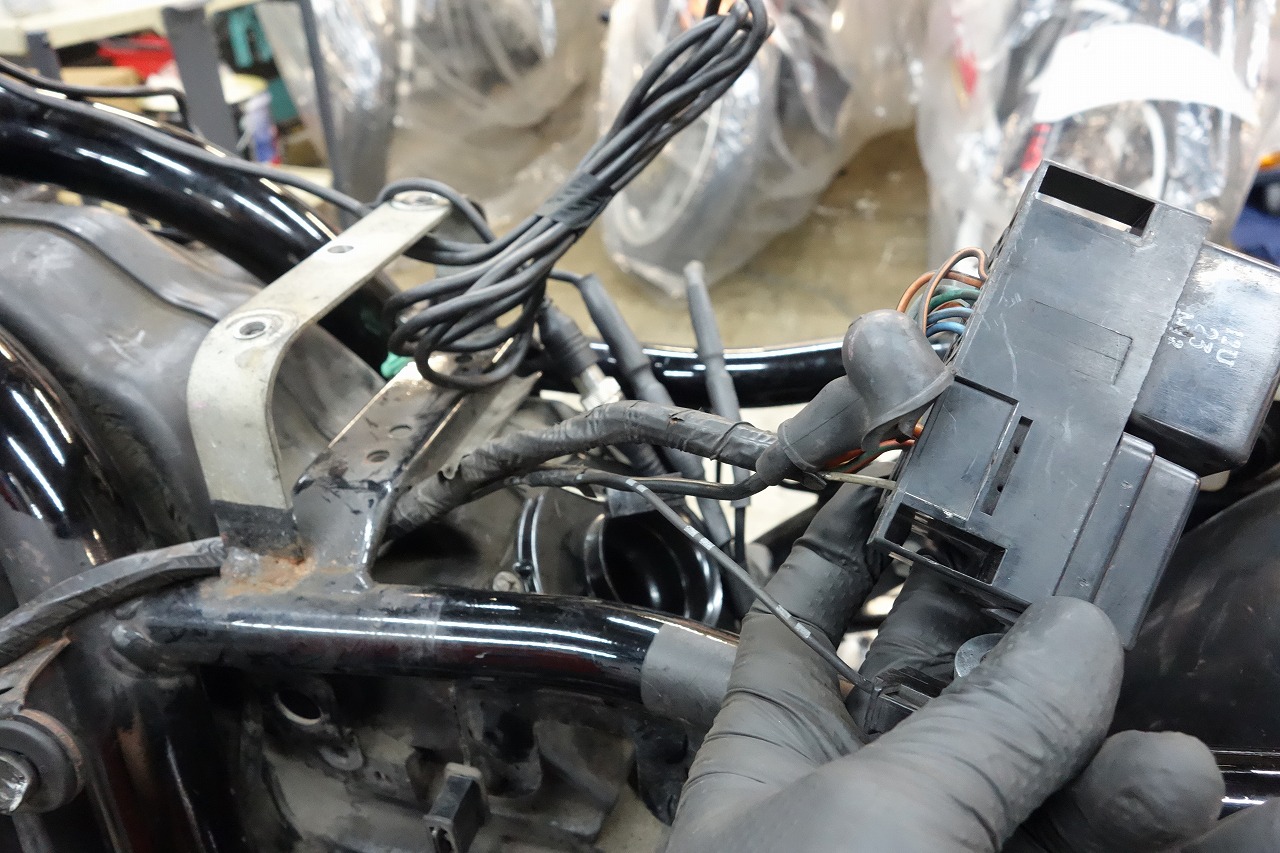
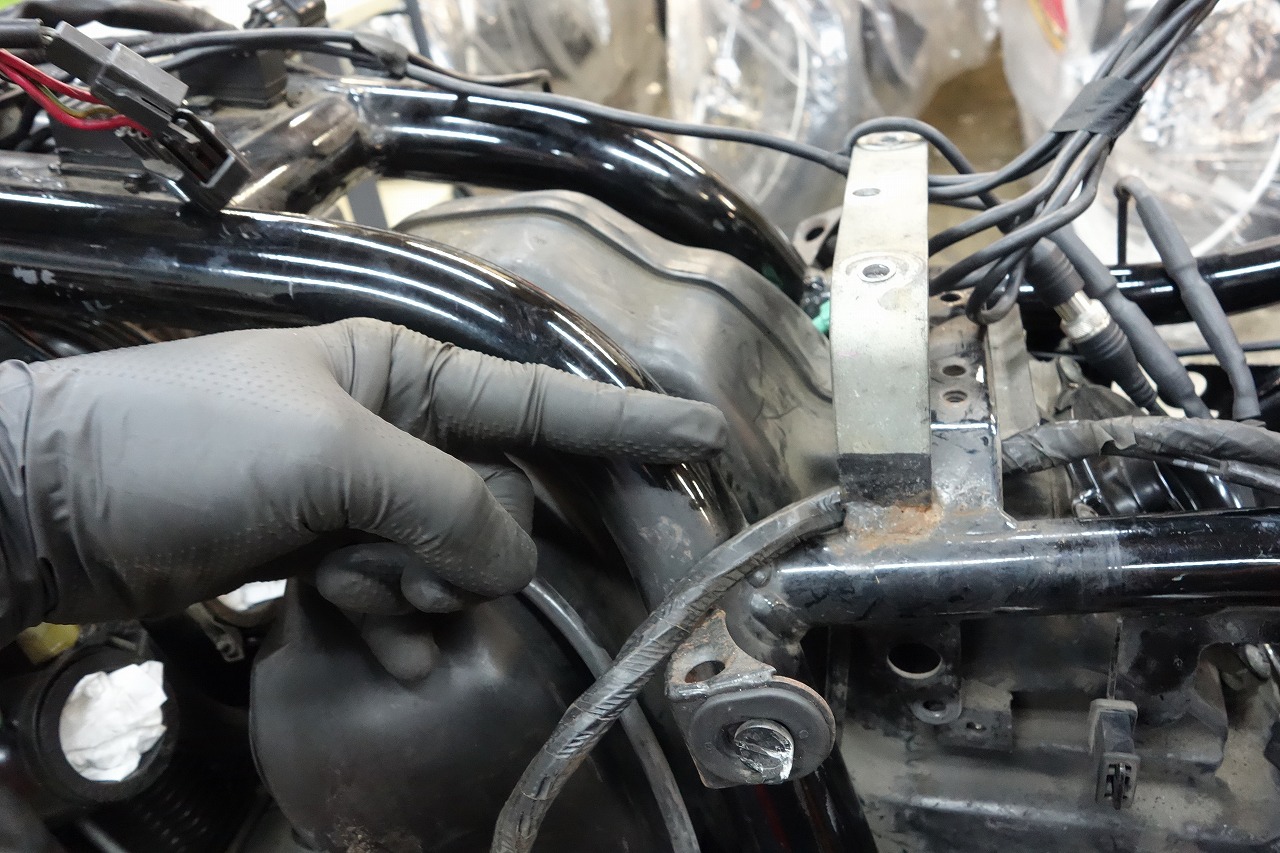
*Unfortunately, the side cover tabs are broken on both sides.
Reverse-routing (my own term).
In this case, the fuse box is the starting point, and I route everything from there.
With a normal harness replacement, you just lay it out and you’re done.
With the Inazuma, you secure the fuse and route everything else through the air cleaner gap…
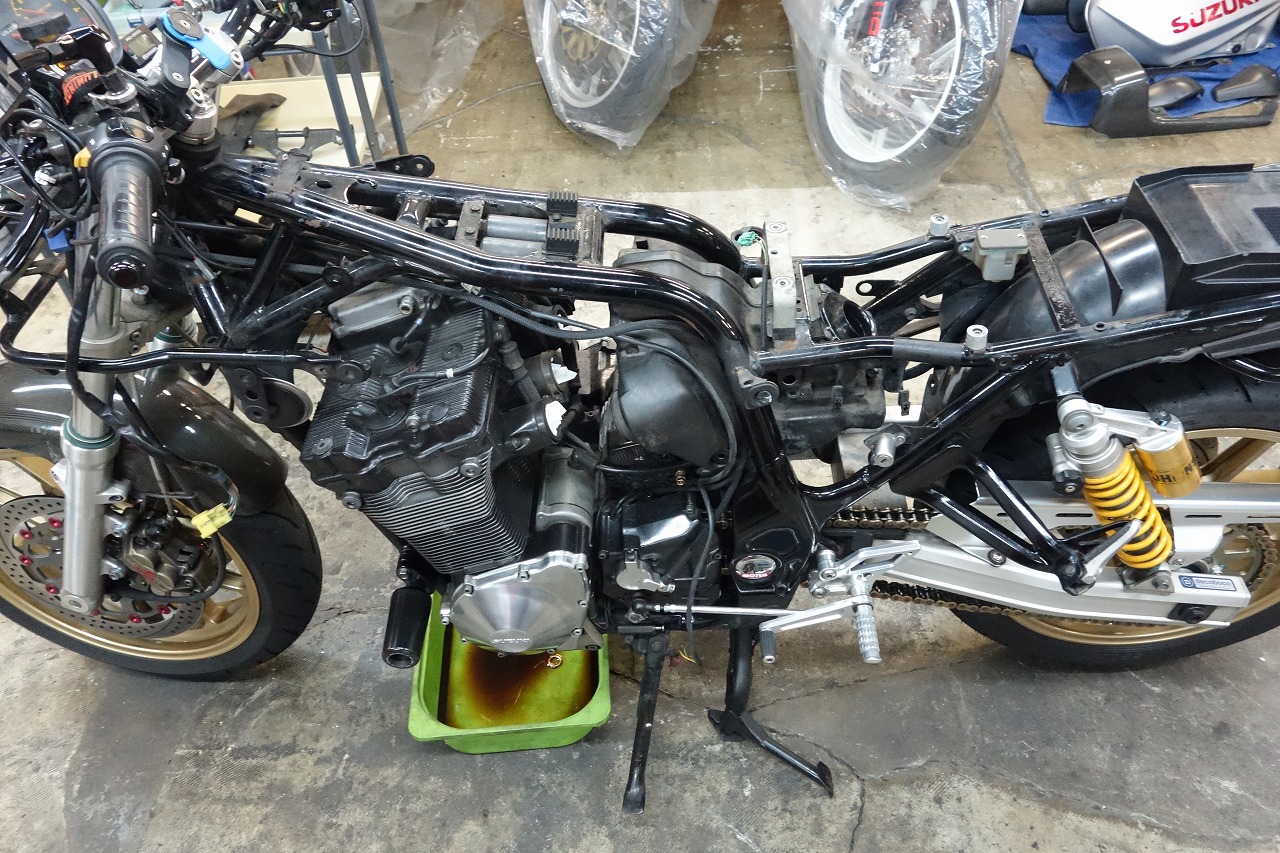
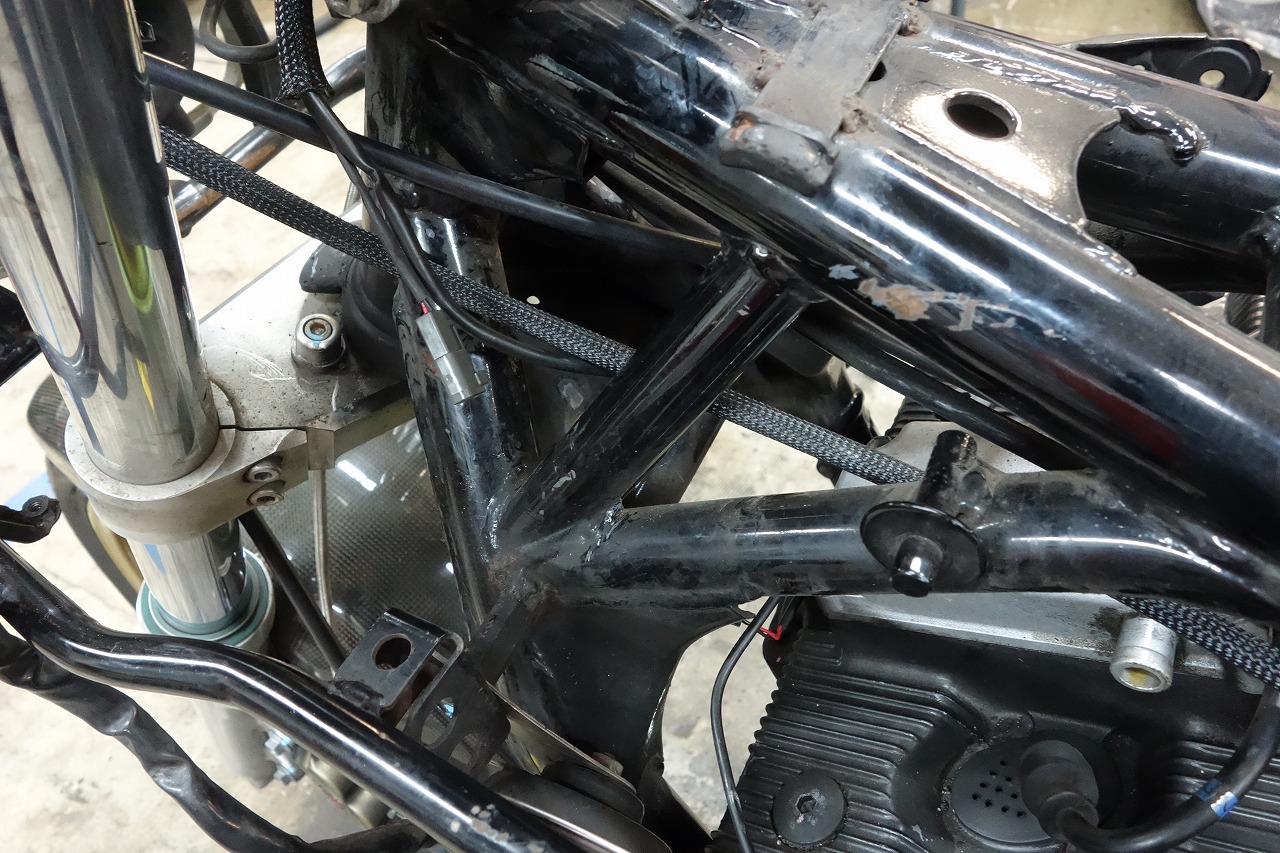
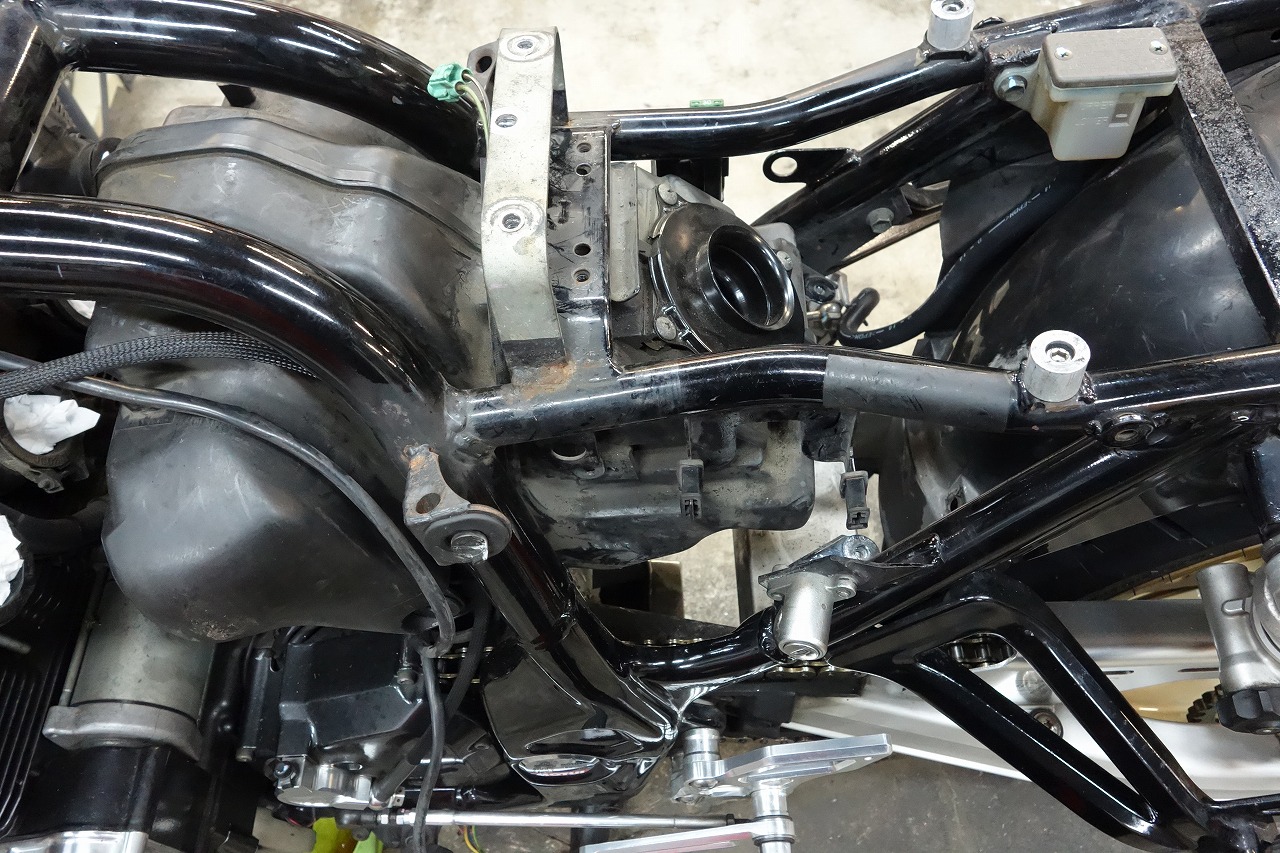
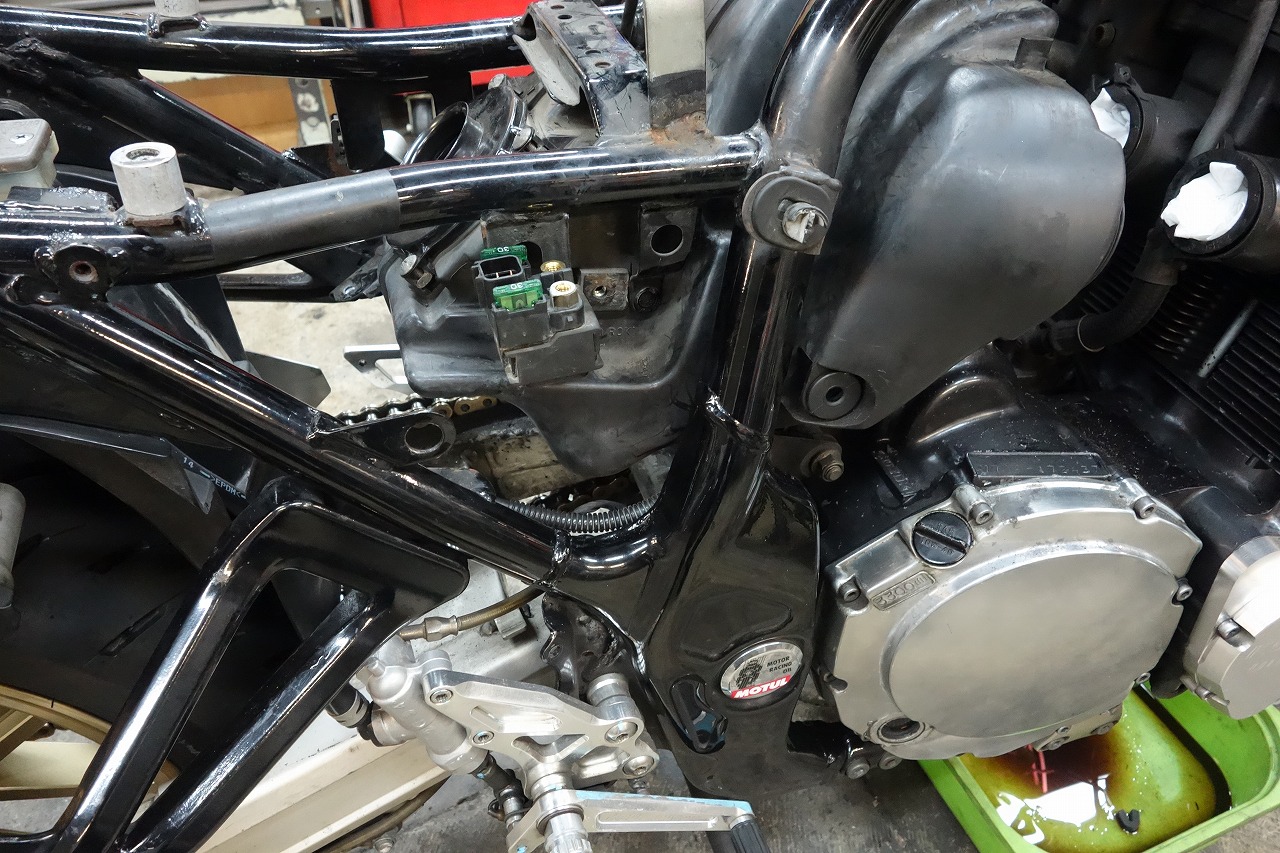
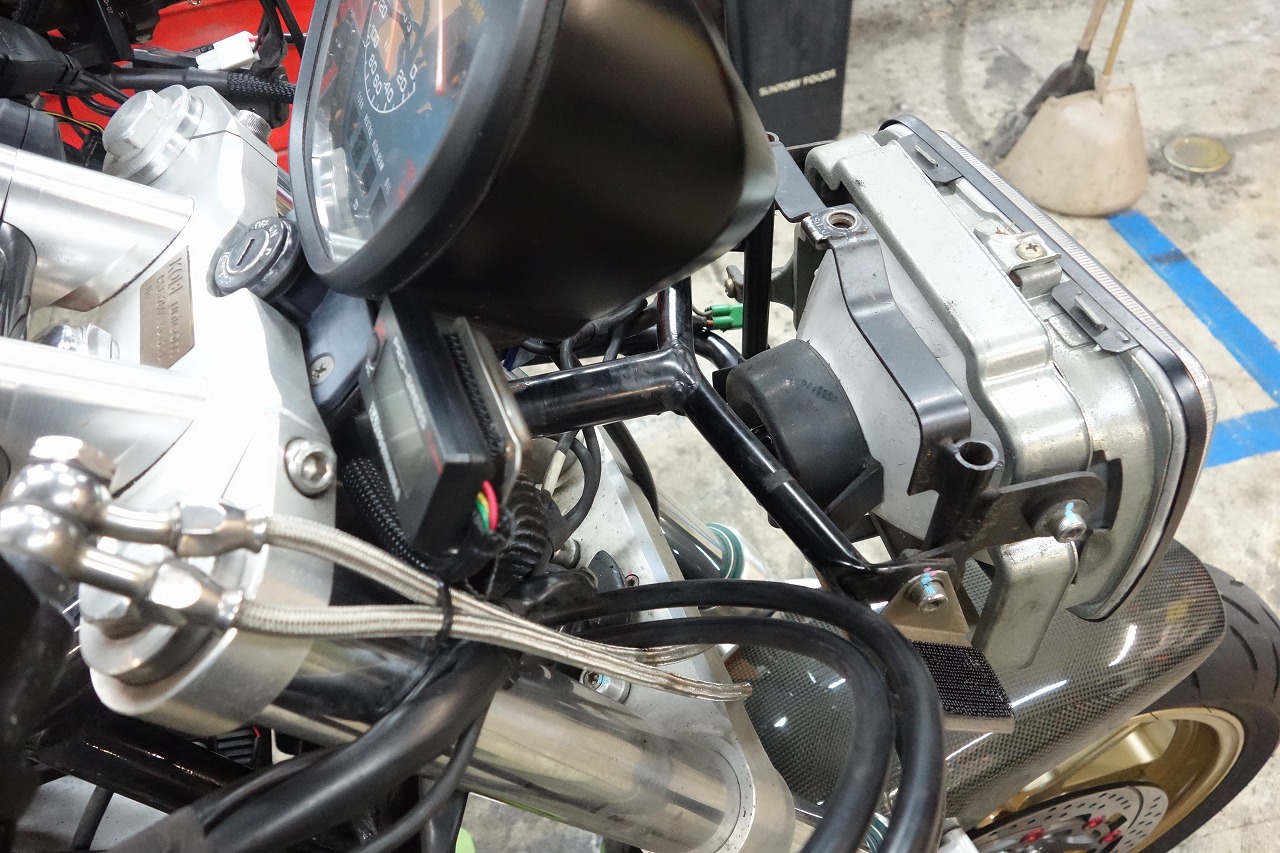
And that’s how I pulled it out.
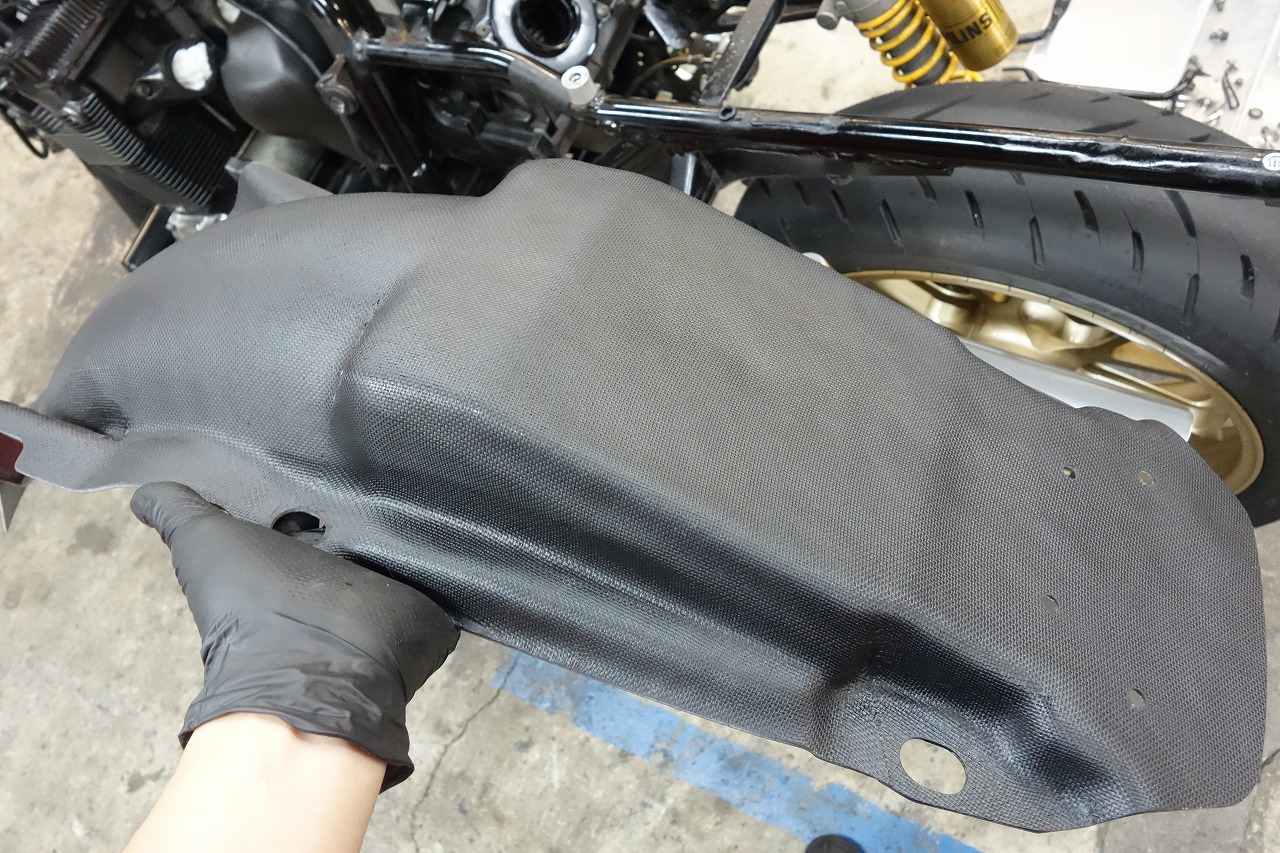
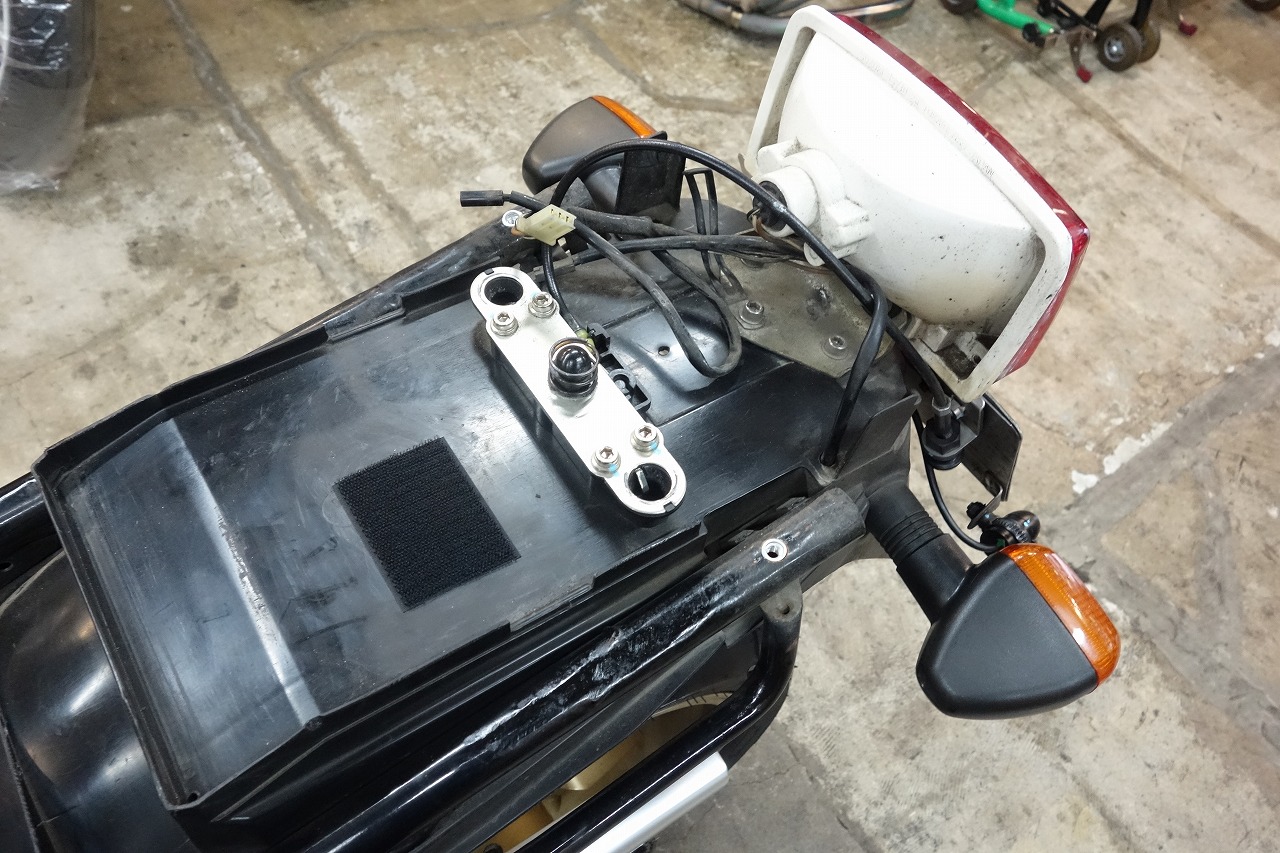
Here’s an FRP fenderless.
Don’t expect too much from FRP parts. Usually they don’t fit right out of the box (tears).
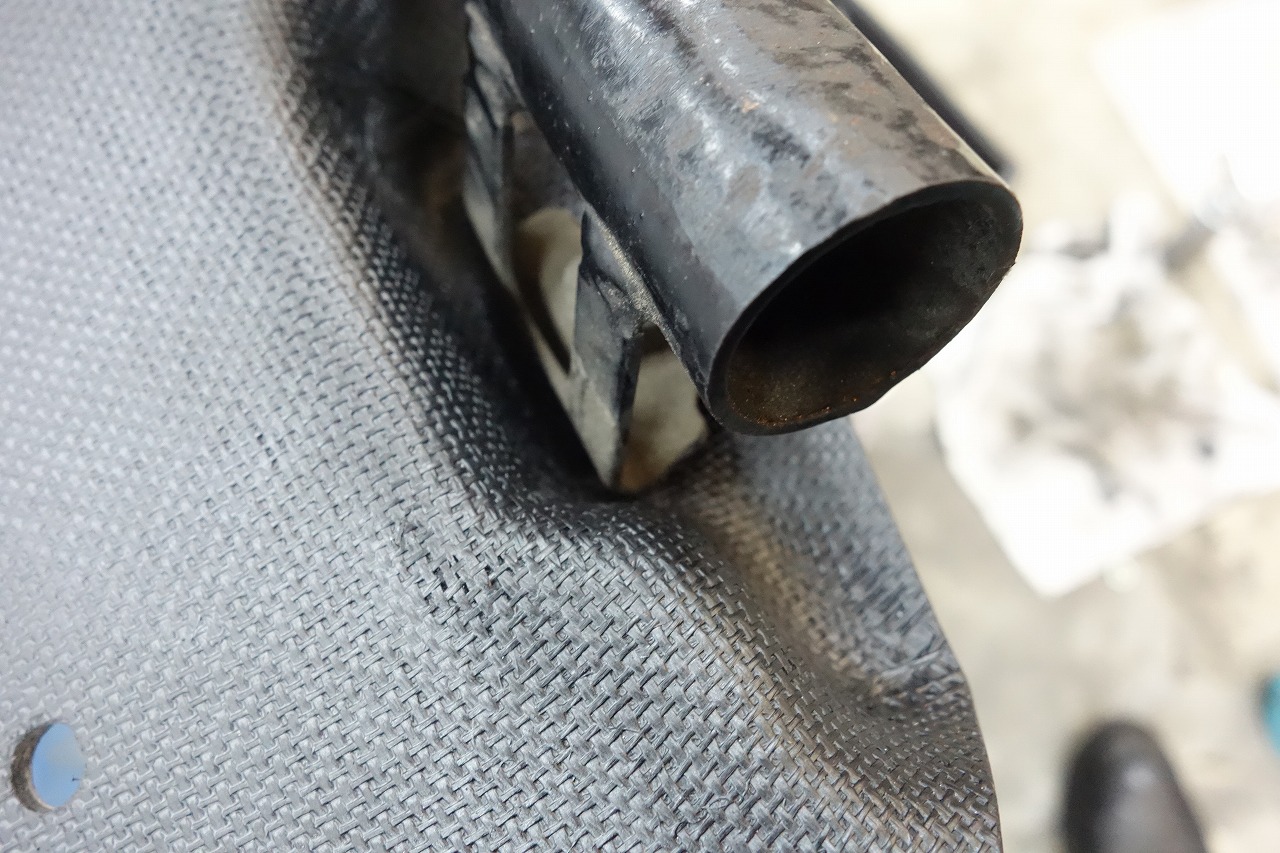
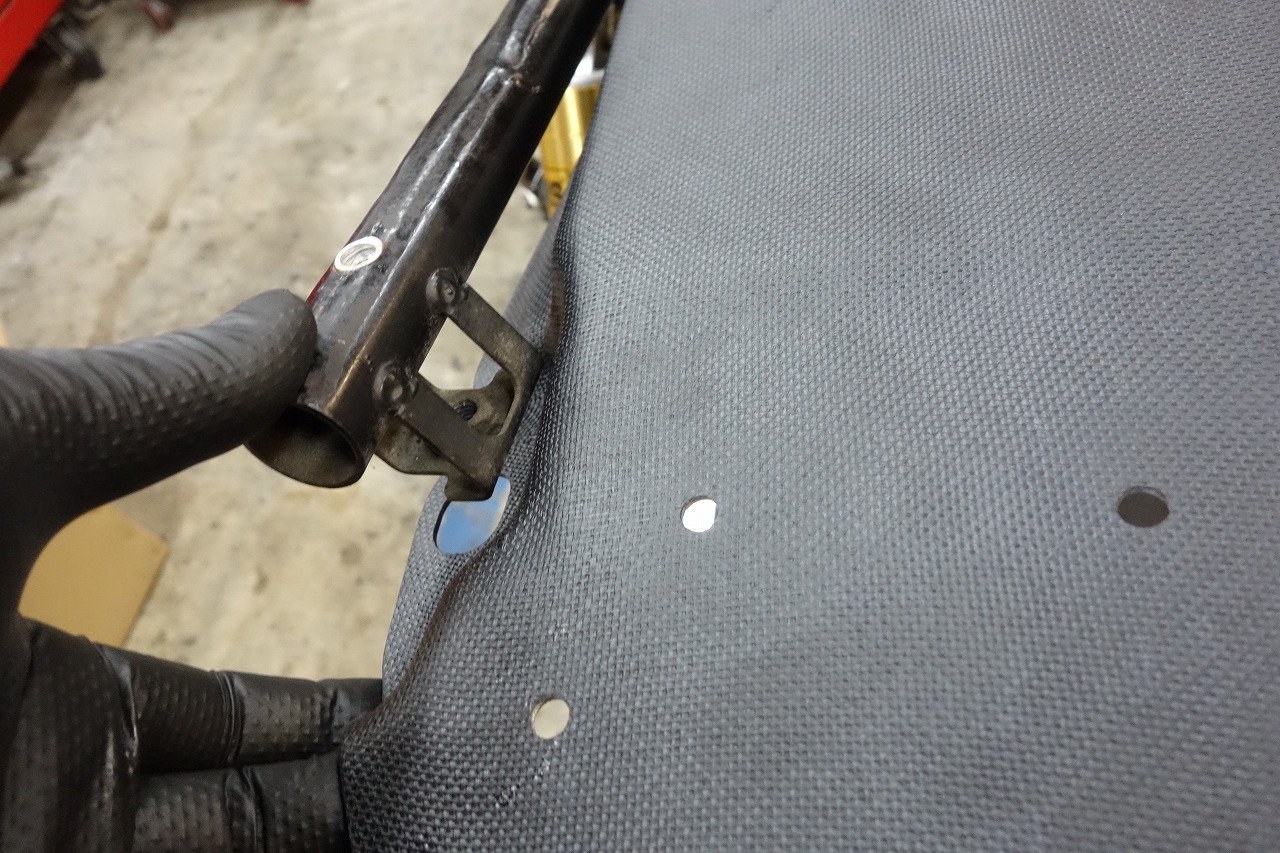
It was in heavy contact and wouldn’t fit, so I ground down the frame side.
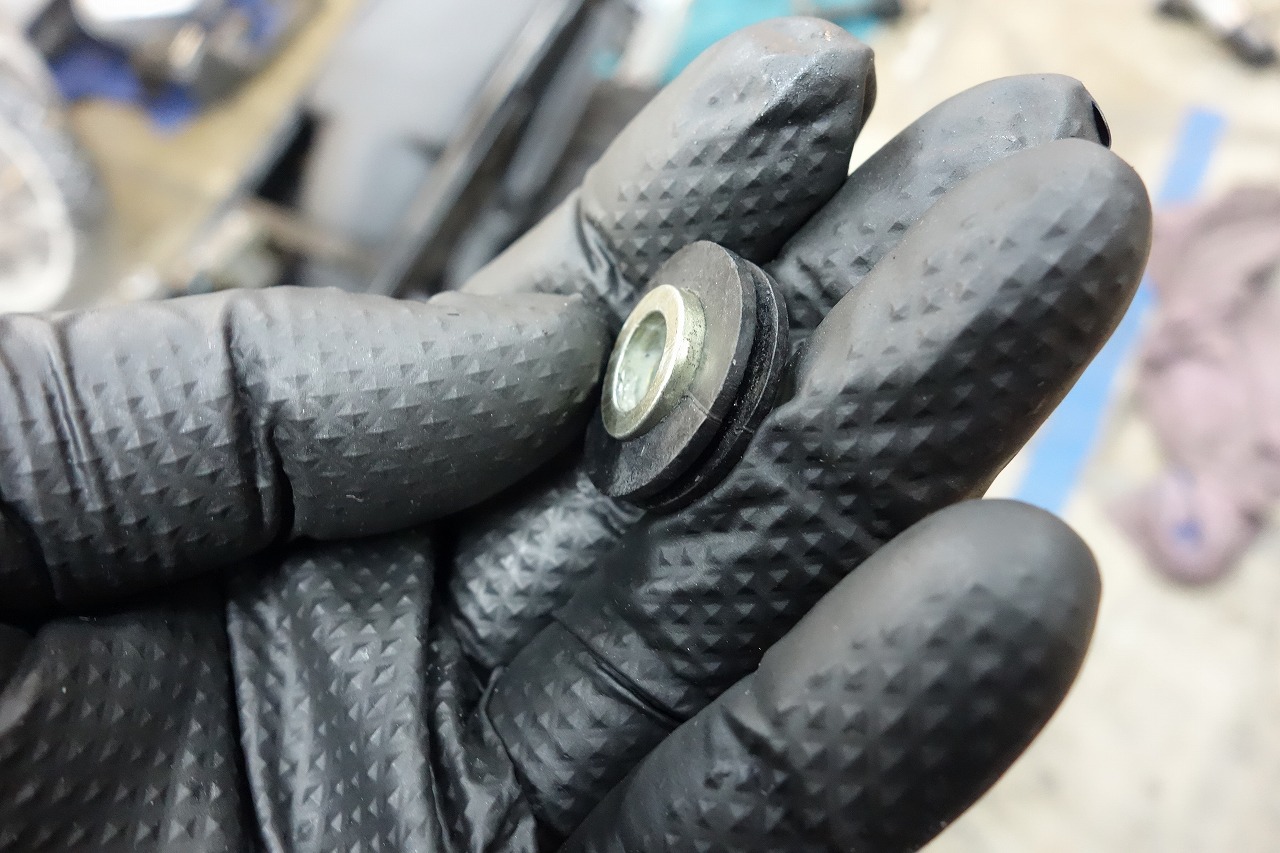
The fender wall thickness changes and gets bumpy, so I put some rubber in there to smooth it over a bit.
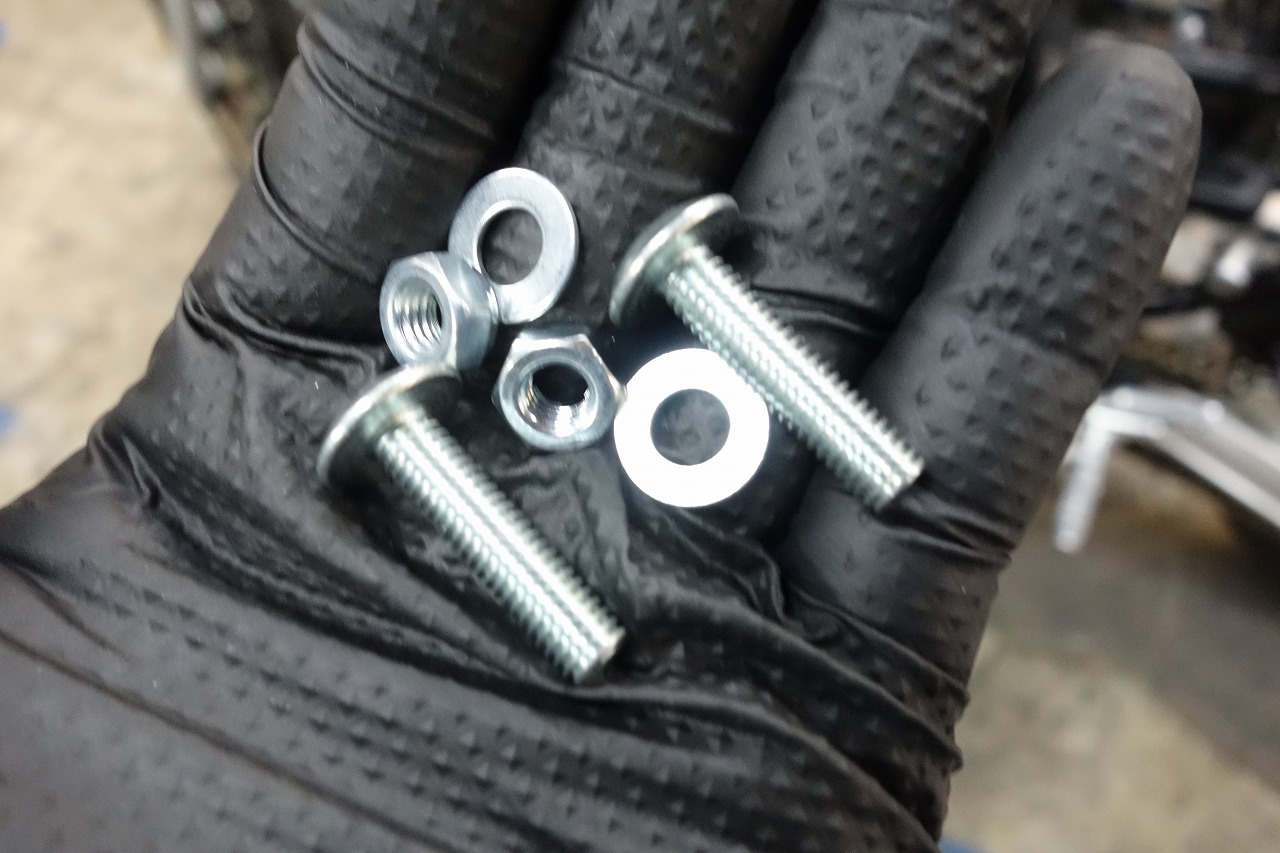
The bolts that come with it… I’d say there’s a 98% chance you won’t use them. Kind of wasteful.
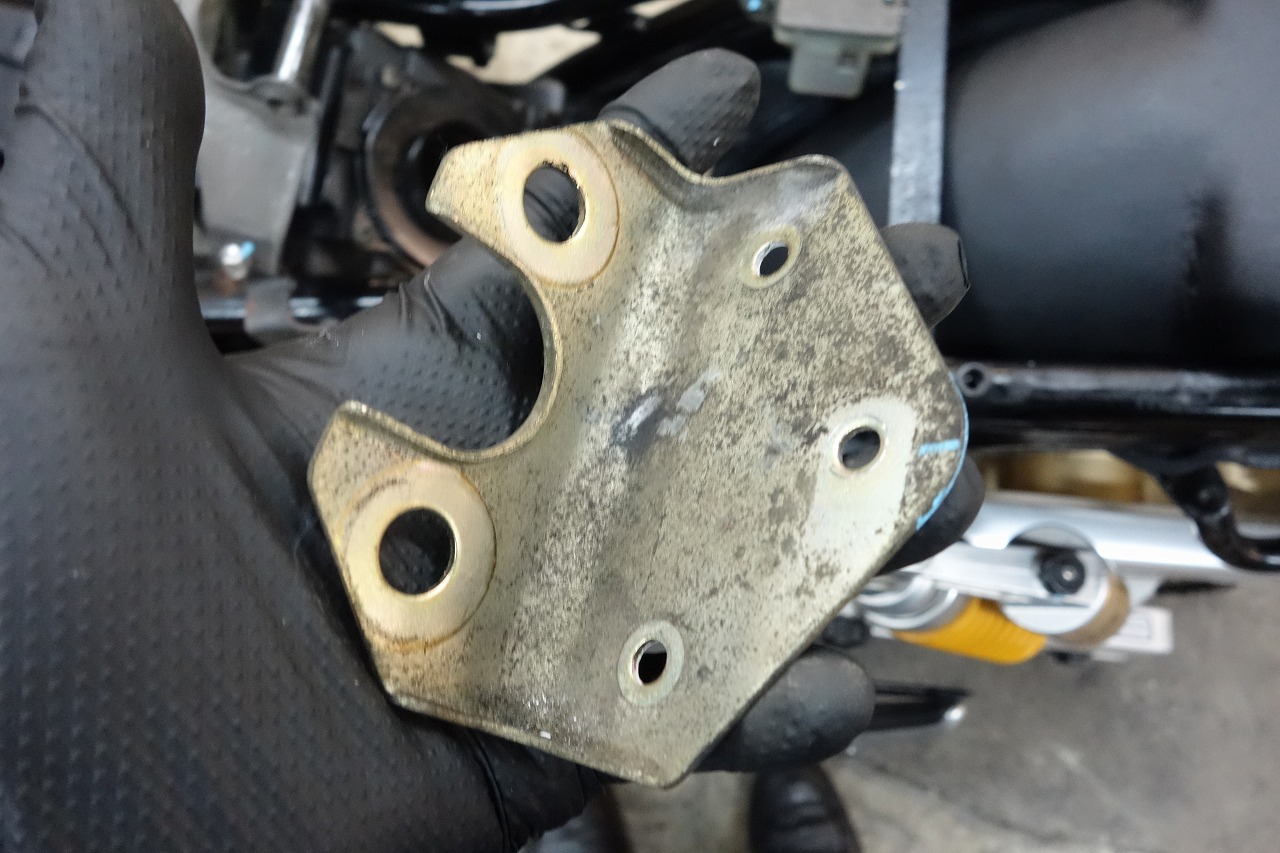
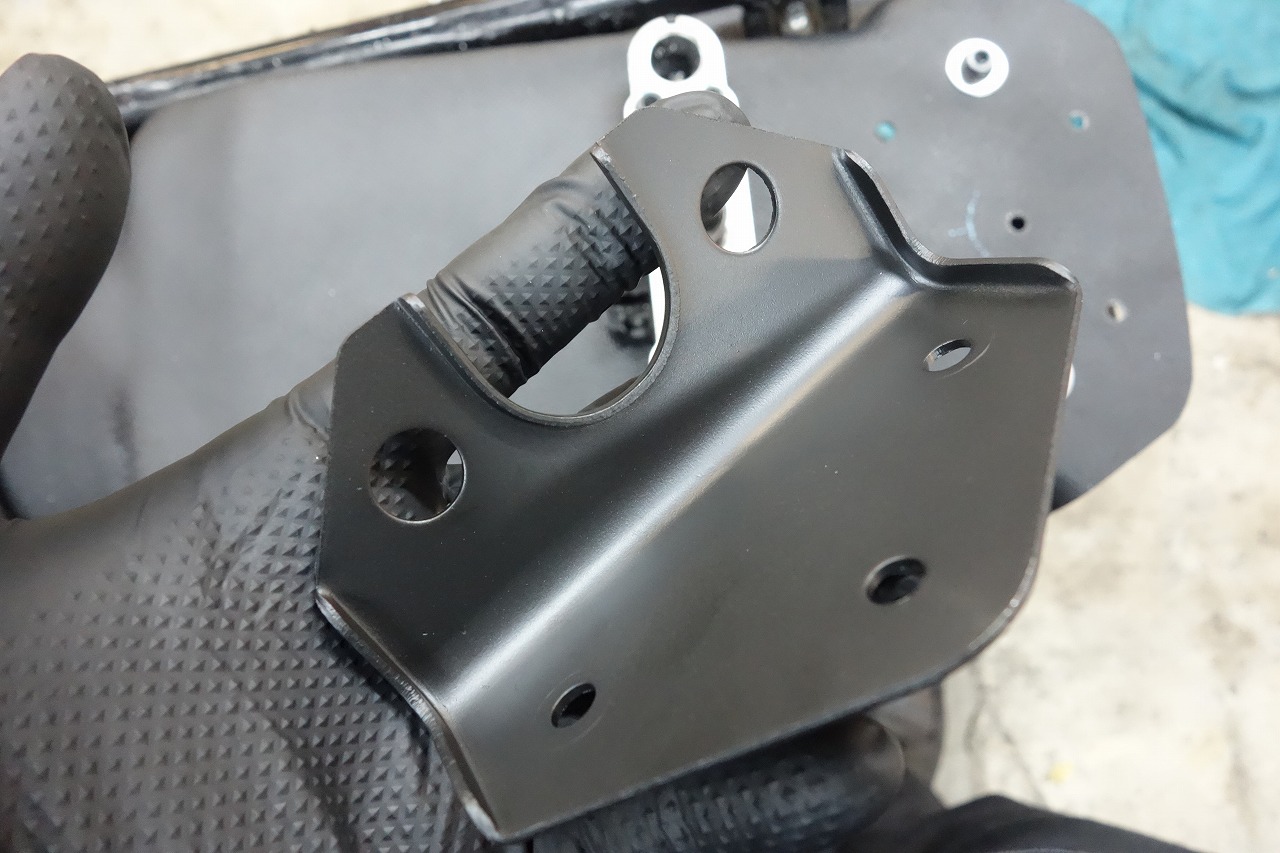
It was a bit dirty, so I polished it and applied gun coat. Even the hidden parts deserve Italian-made quality!
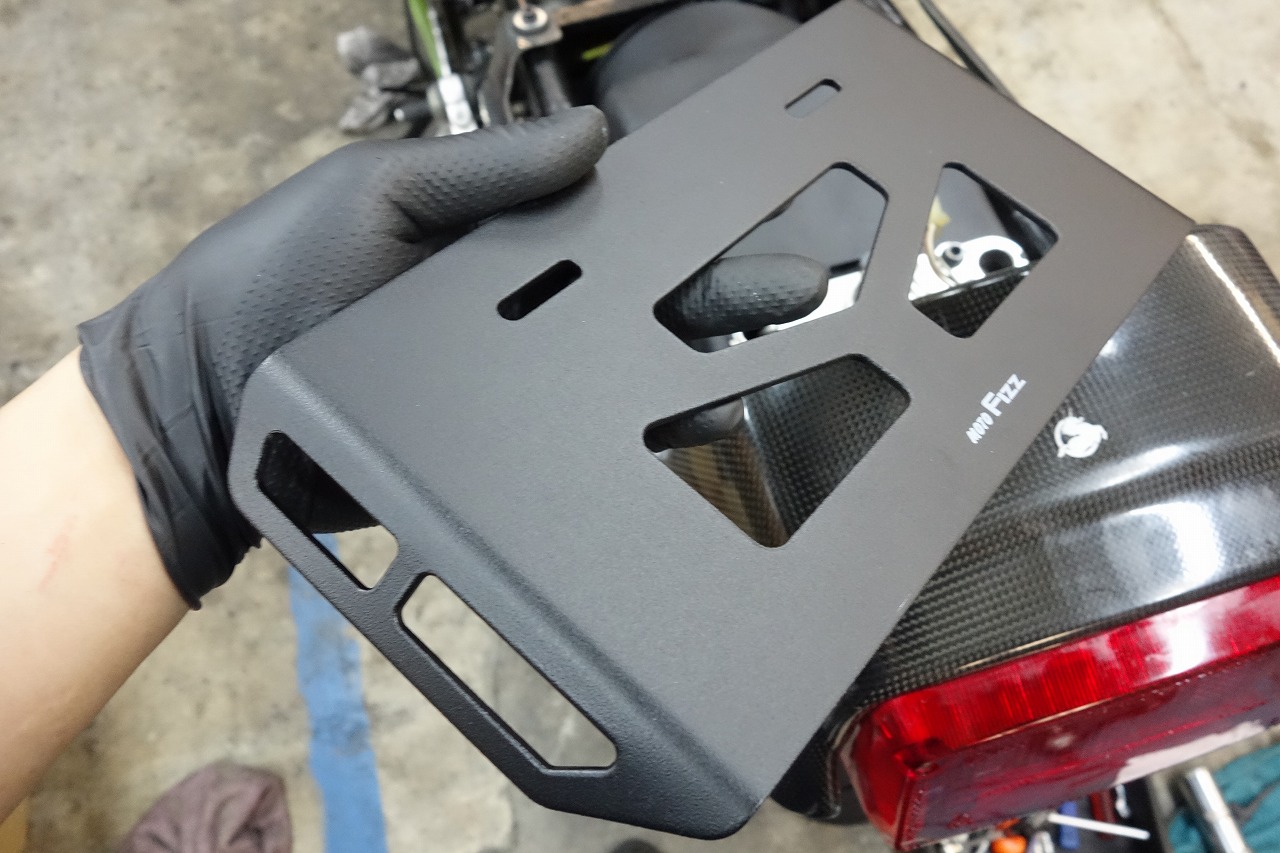
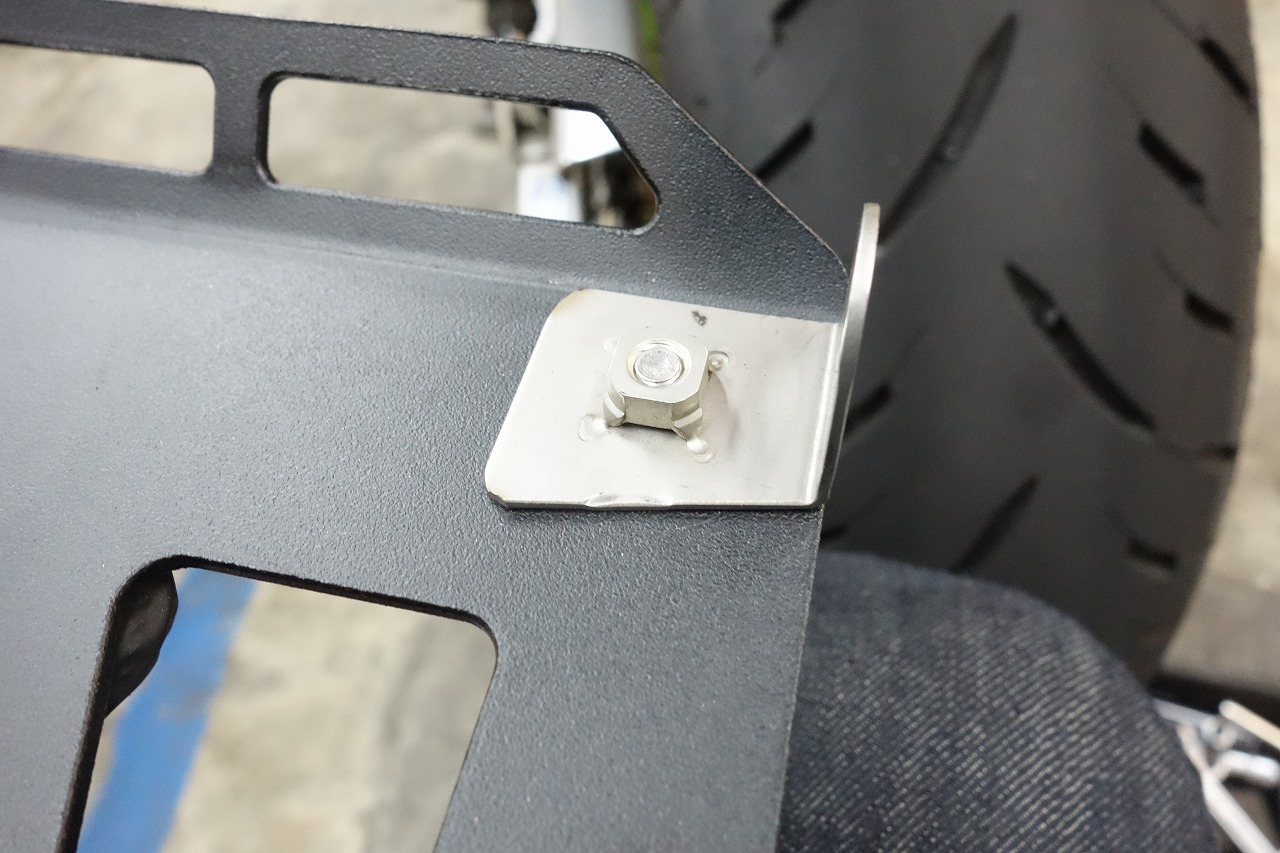
They want a cargo hook-style license plate holder installed. Don’t tighten it too much or you’ll probably break the fenderless, so please use a soft one-two.
We reused the seat lock base.
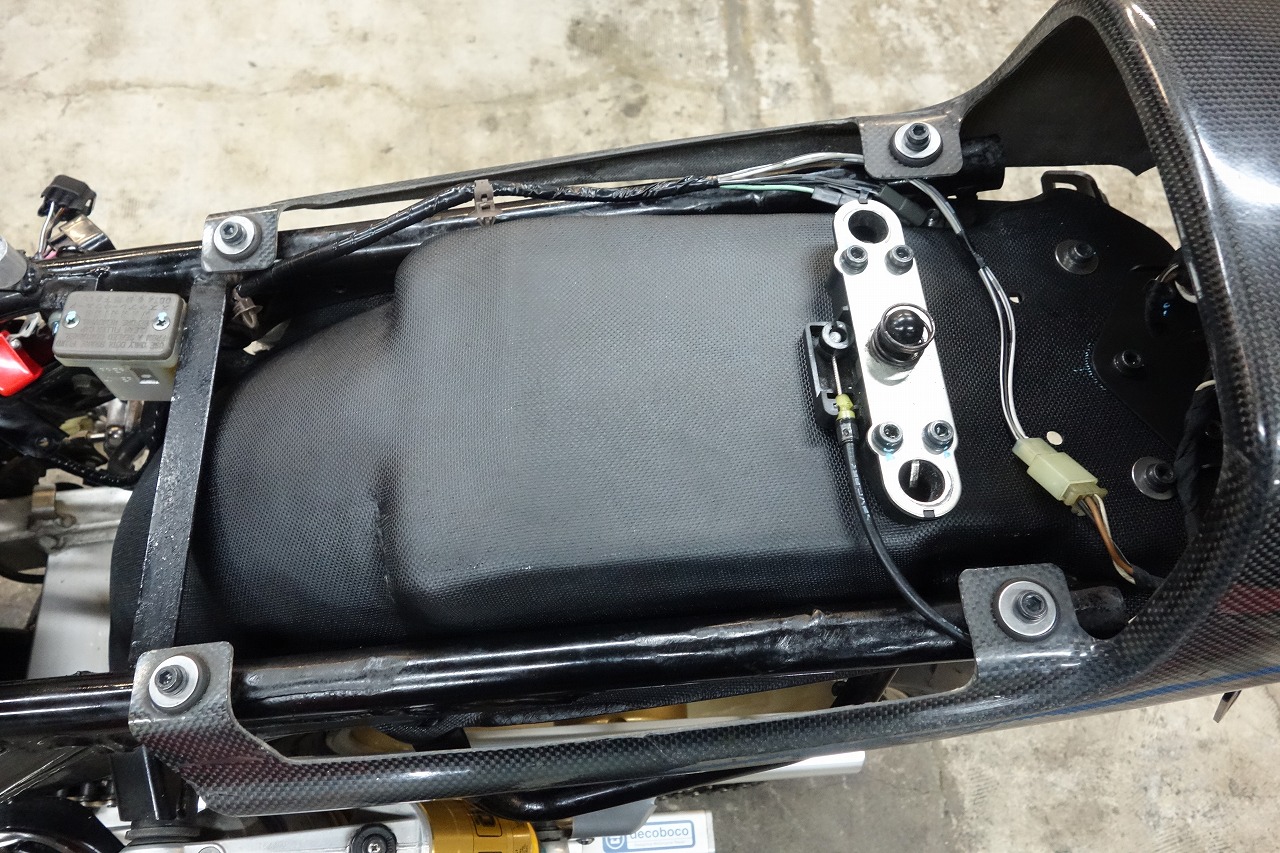
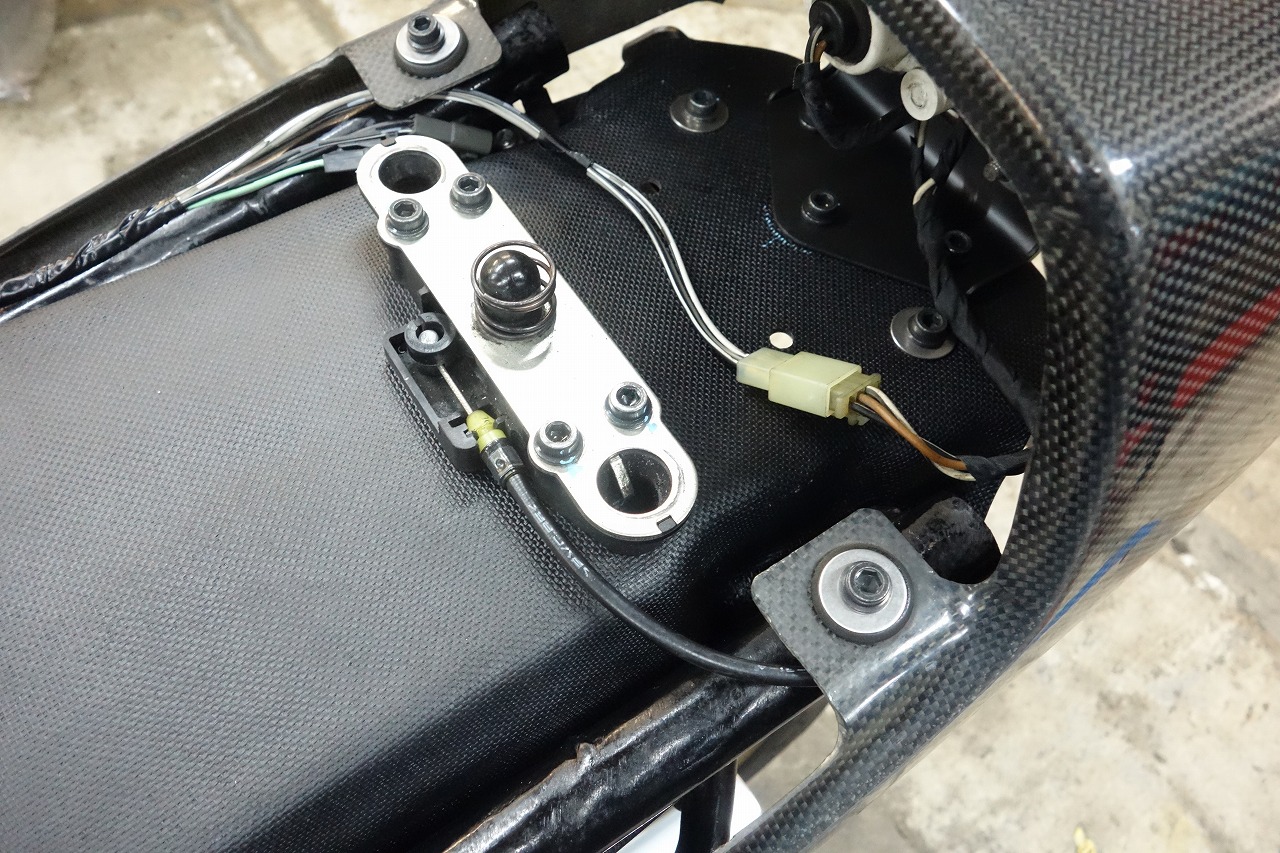
That’s how I drilled the holes and installed it. (Tail light and seat lock.)
The Inazuma 1200 oil-cooled Katana has the seat removal butterfly bolts right underneath…
It’s easy to remove, but isn’t it a pain to put the bolts back in? Right?
We’ve got about three of them with locks at Decoboco.
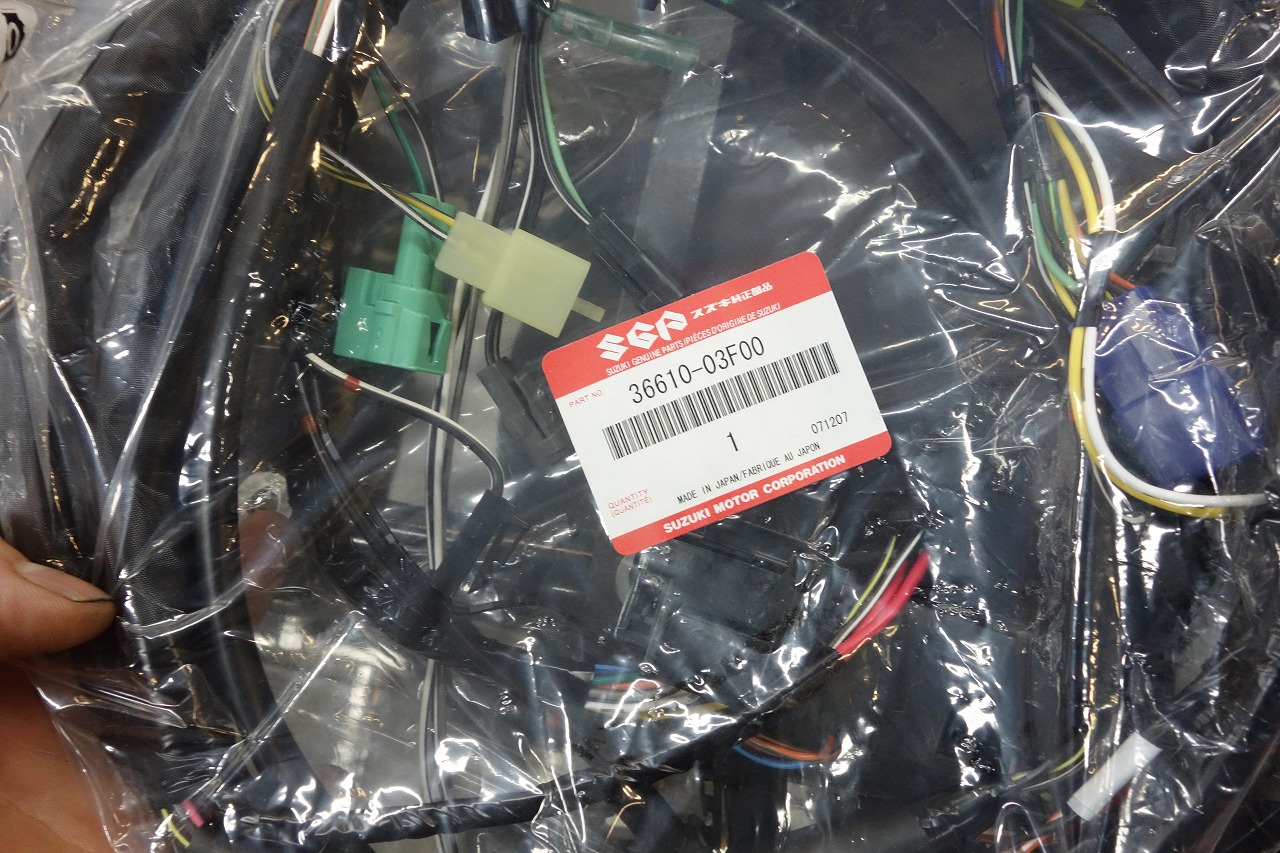
By the way, the Inazuma 1200 main harness is discontinued.
The late-model Inazuma 400 (with TPS) is also discontinued… so I’m going to use the plain Inazuma 400 harness.
36610-03F00 The compatibility is about 98%, which is really fortunate.
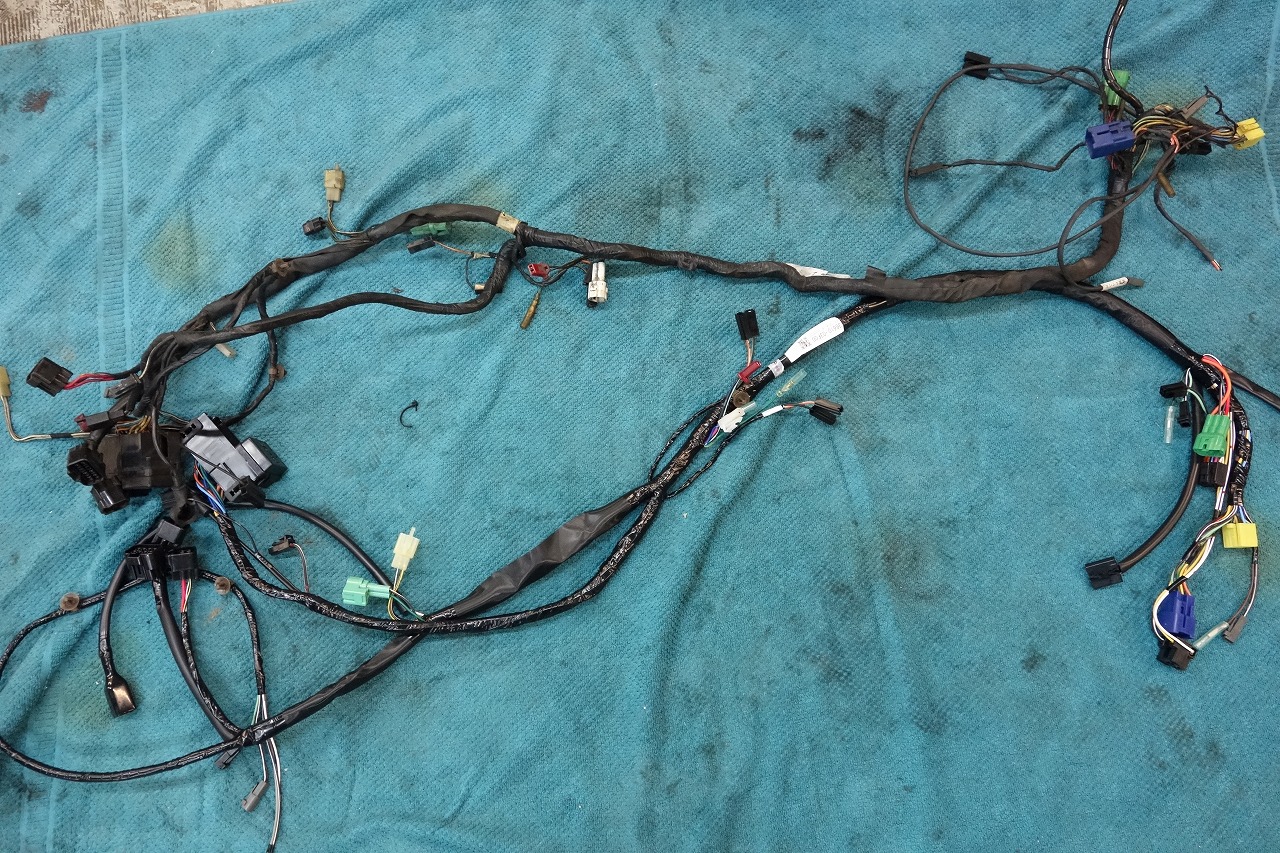
As always, I lay out the old and new side by side and check everything from head to toe.
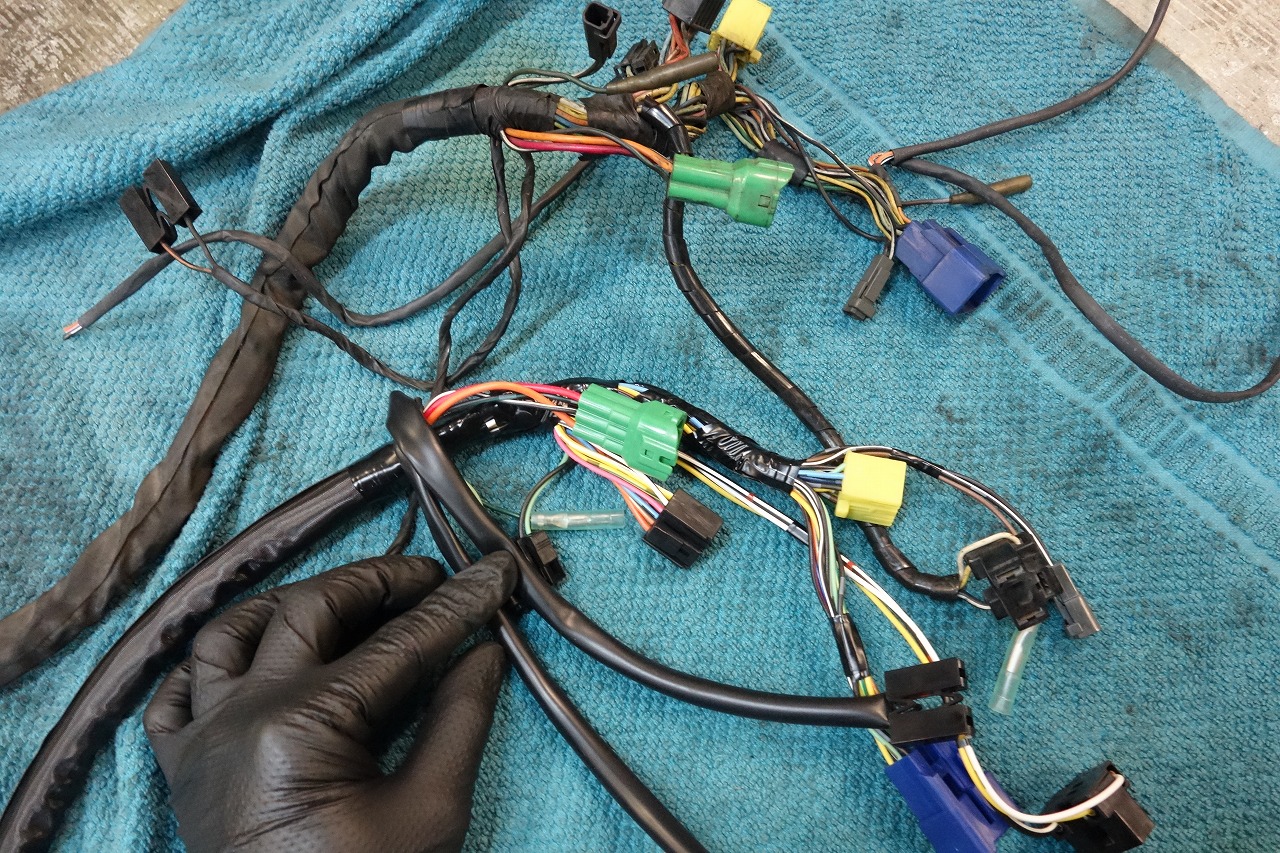
[Same] The very front is completely identical.
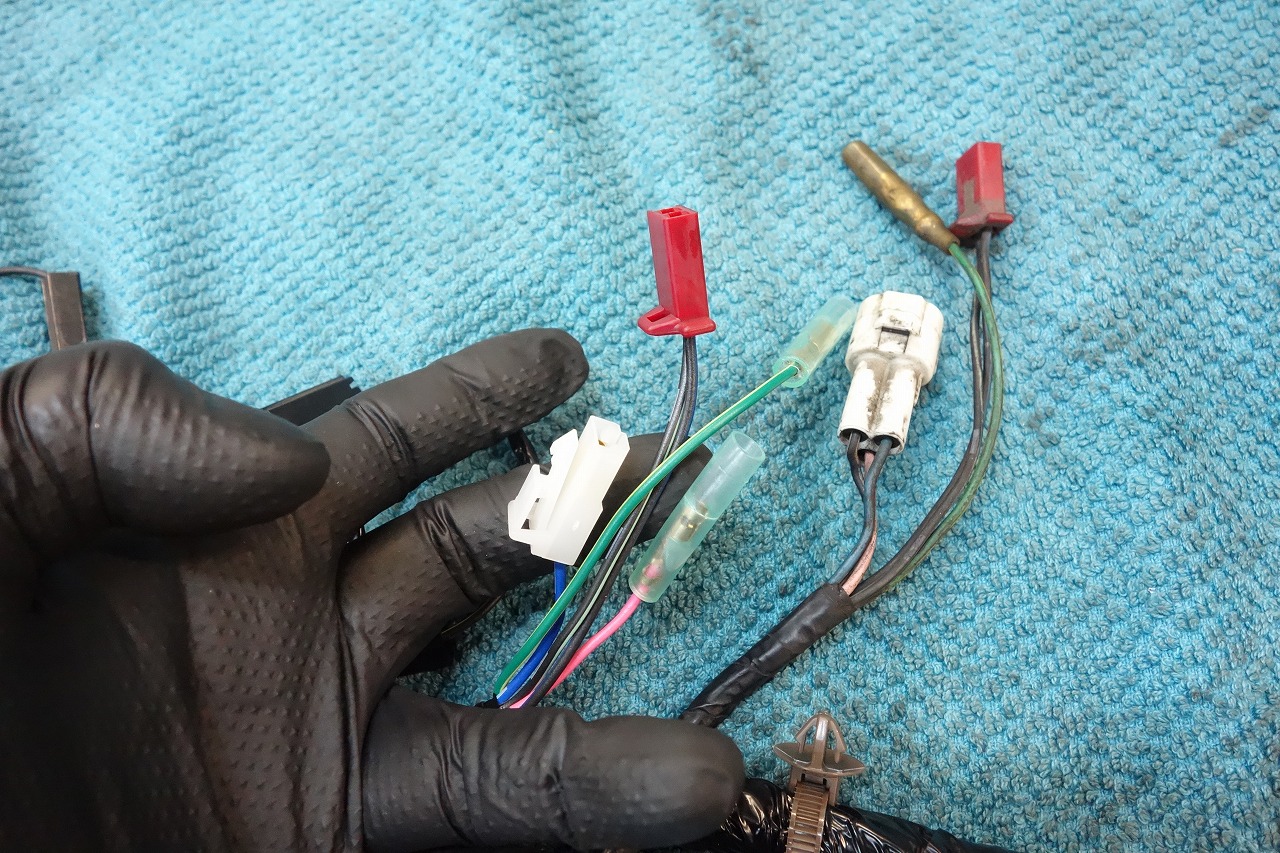
[Slightly different] Second level: The neutral switch shape and a bit less ground are the only differences, so basically the same.
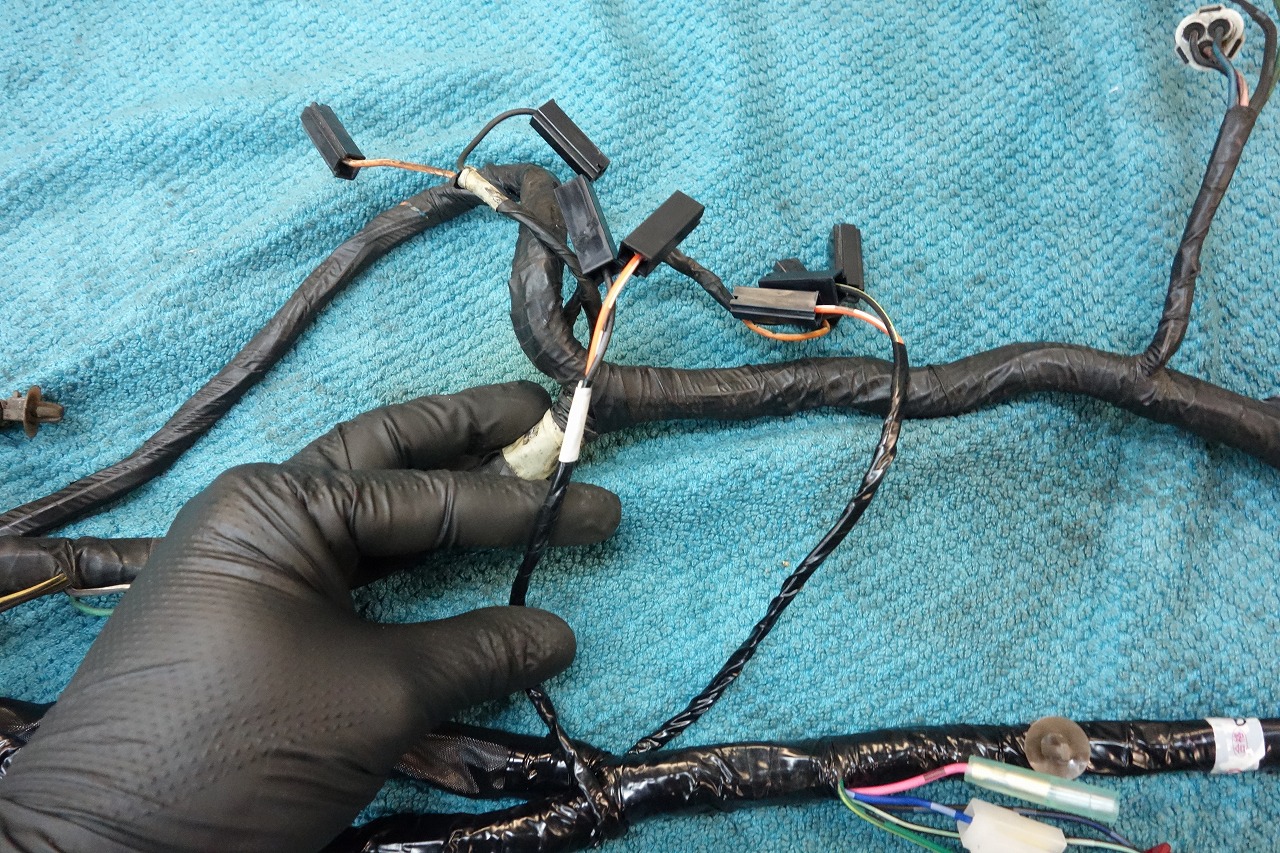
[Same] Third level: Ignition coil area—same.
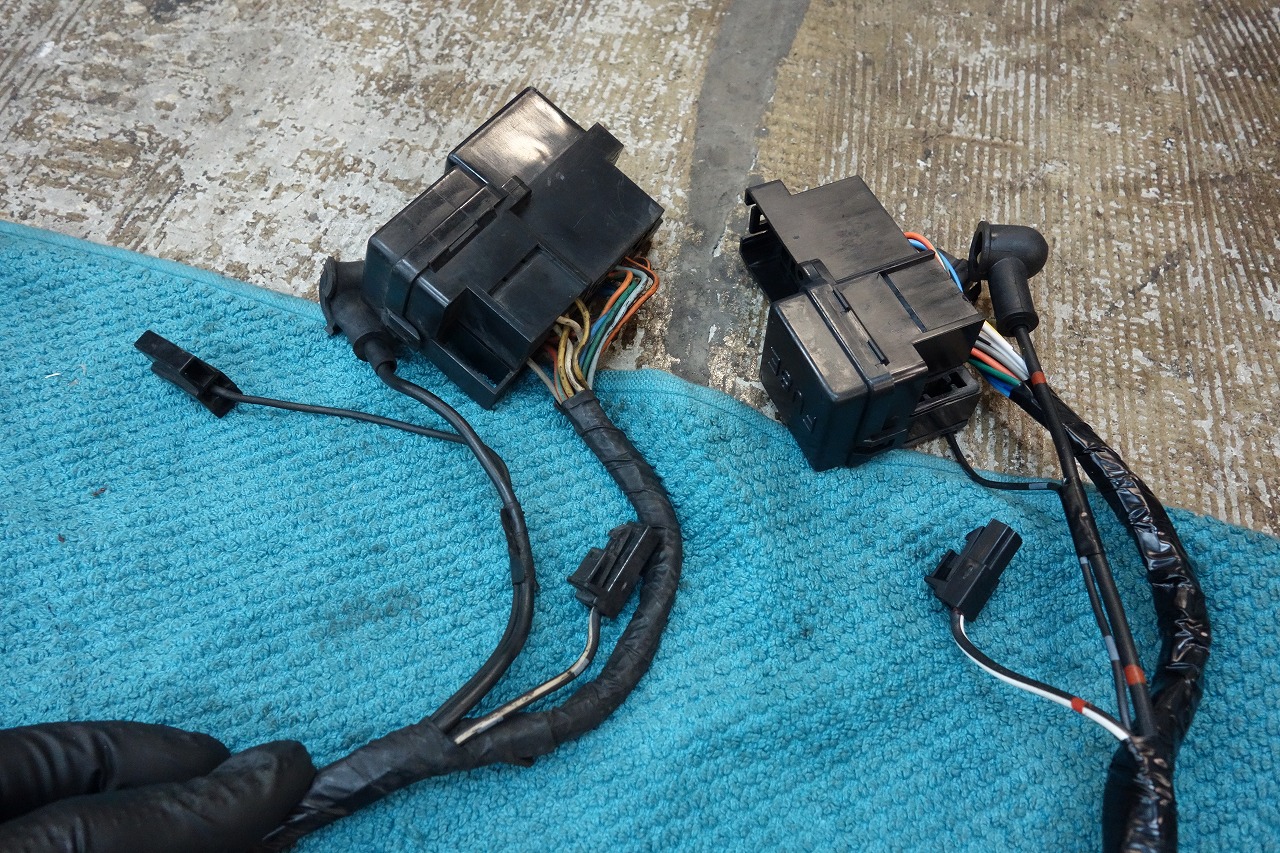
[Same] Fourth level: Fuse box area—same.
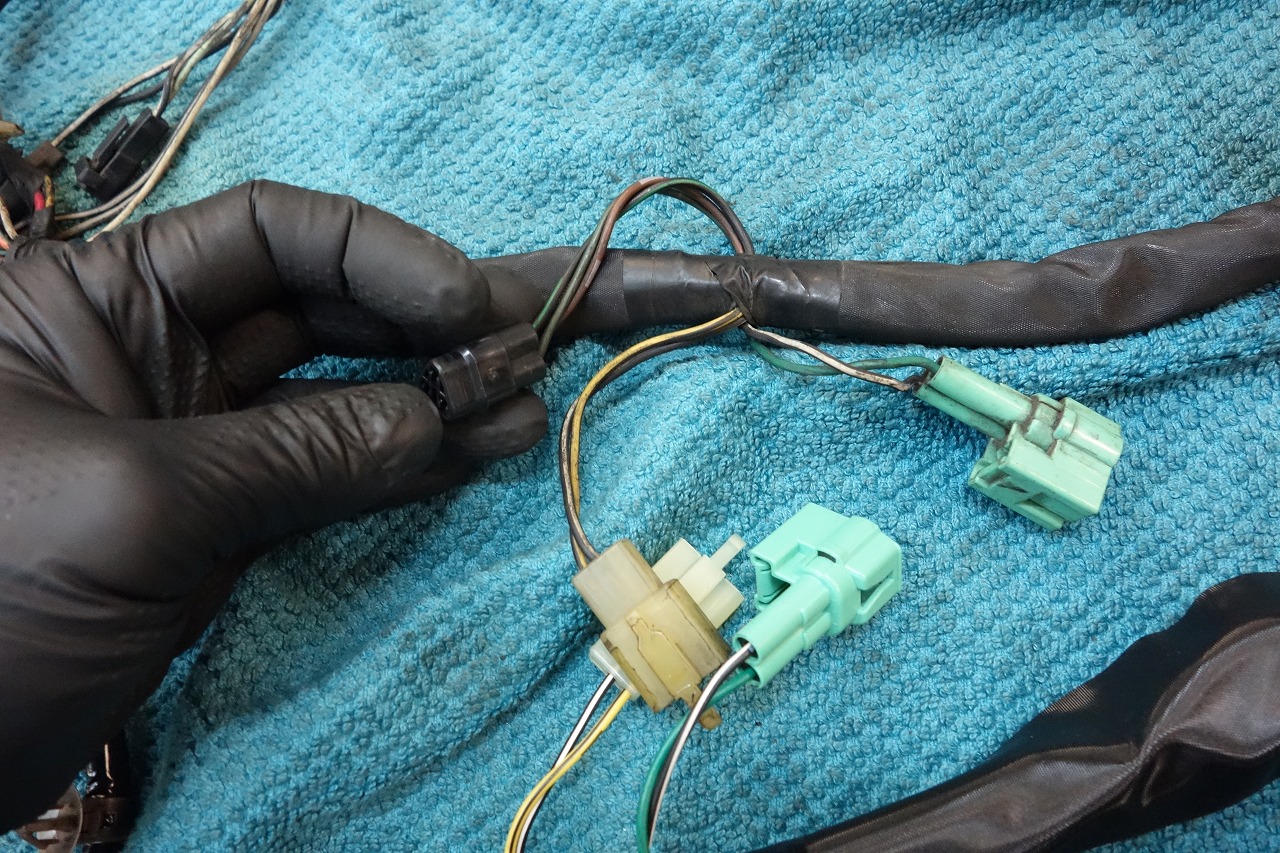
[Same] Fifth level: Side stand switch and fuel gauge—same.
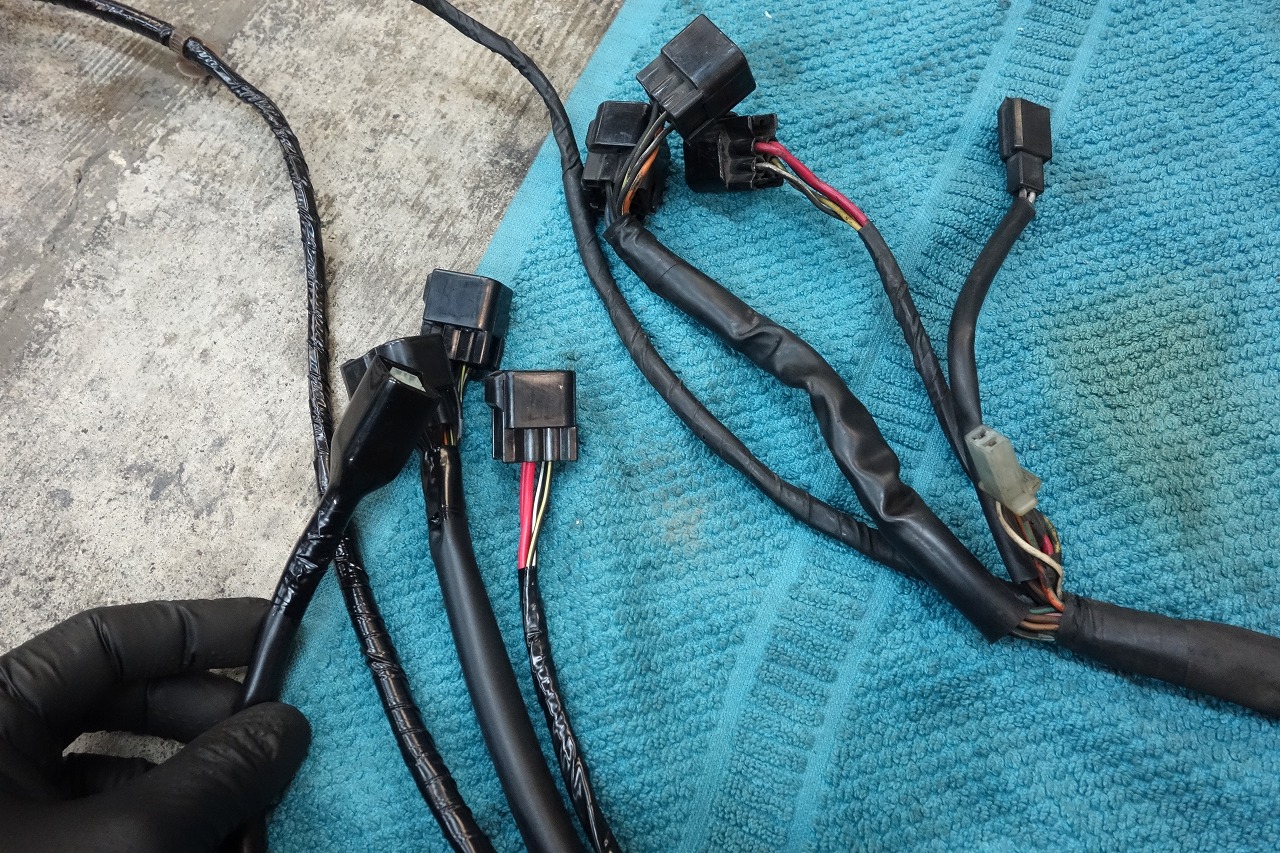
[Somewhat different] Sixth level: Igniter, fuel pump, and rear brake switch
*The TPS line to the igniter is missing, so we need to add it.
*Fuel pump present or absent—different. We’re removing it this time, so we won’t add it.
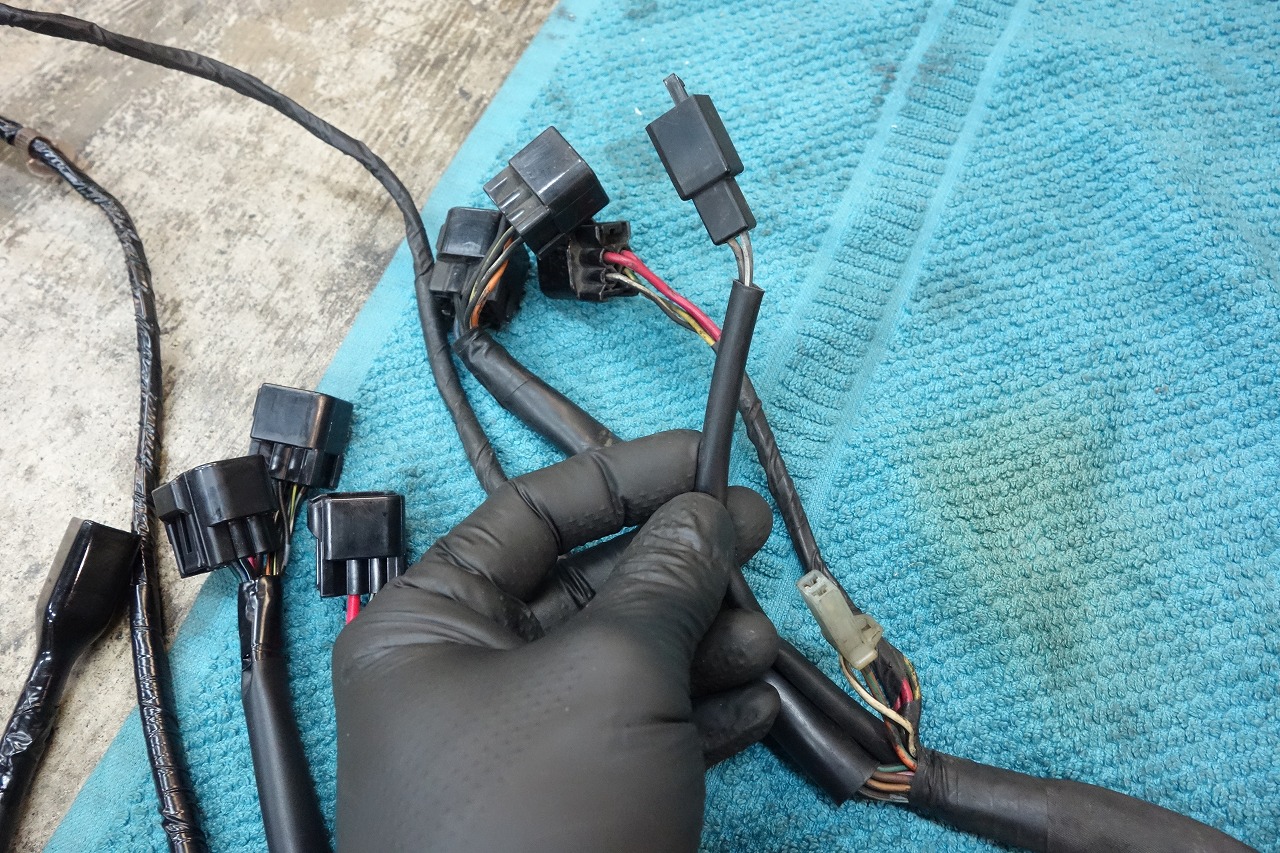
This black 110 connector is the fuel pump.
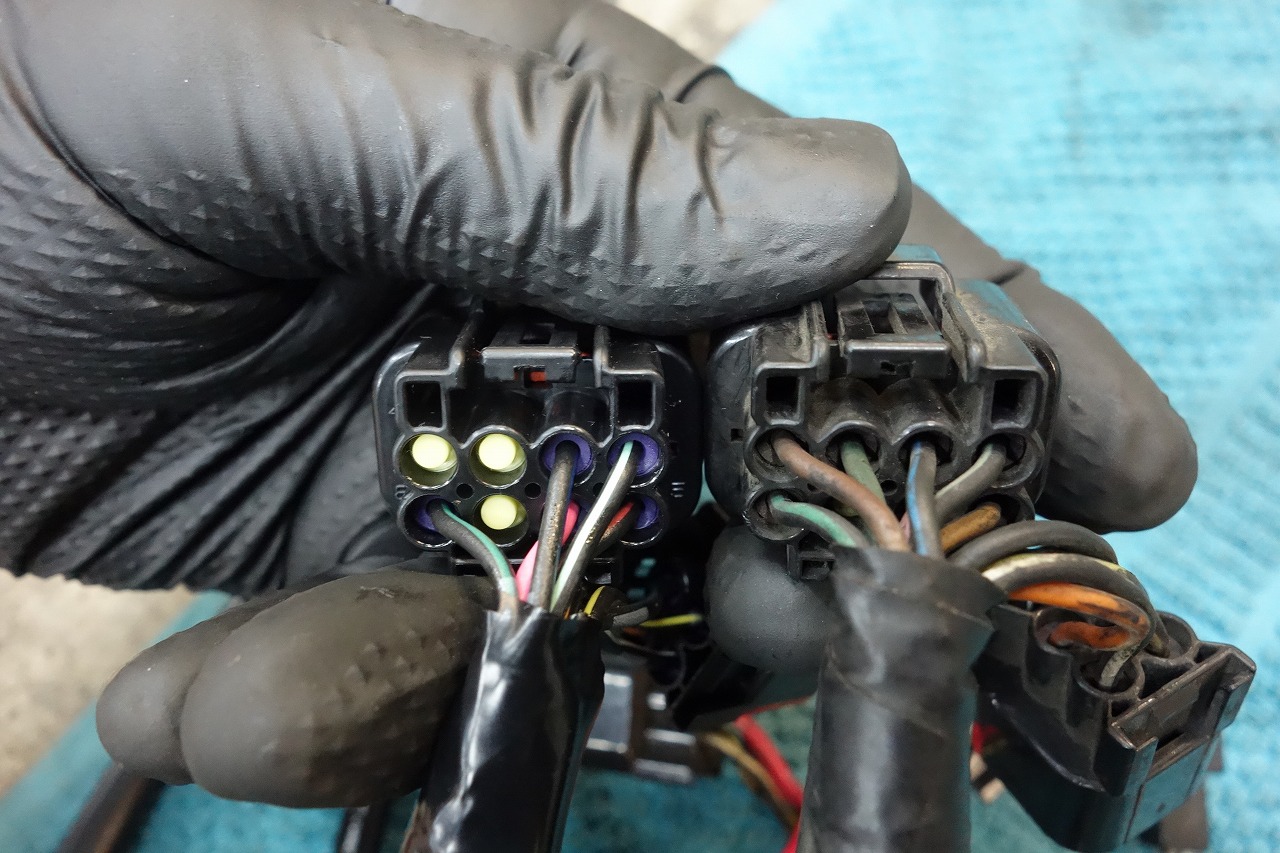
Left is 400, right is 1200. We need to add the brown and dark green.
*Requires waterproof connector terminals on the igniter side and waterproof connectors on the TPS side.
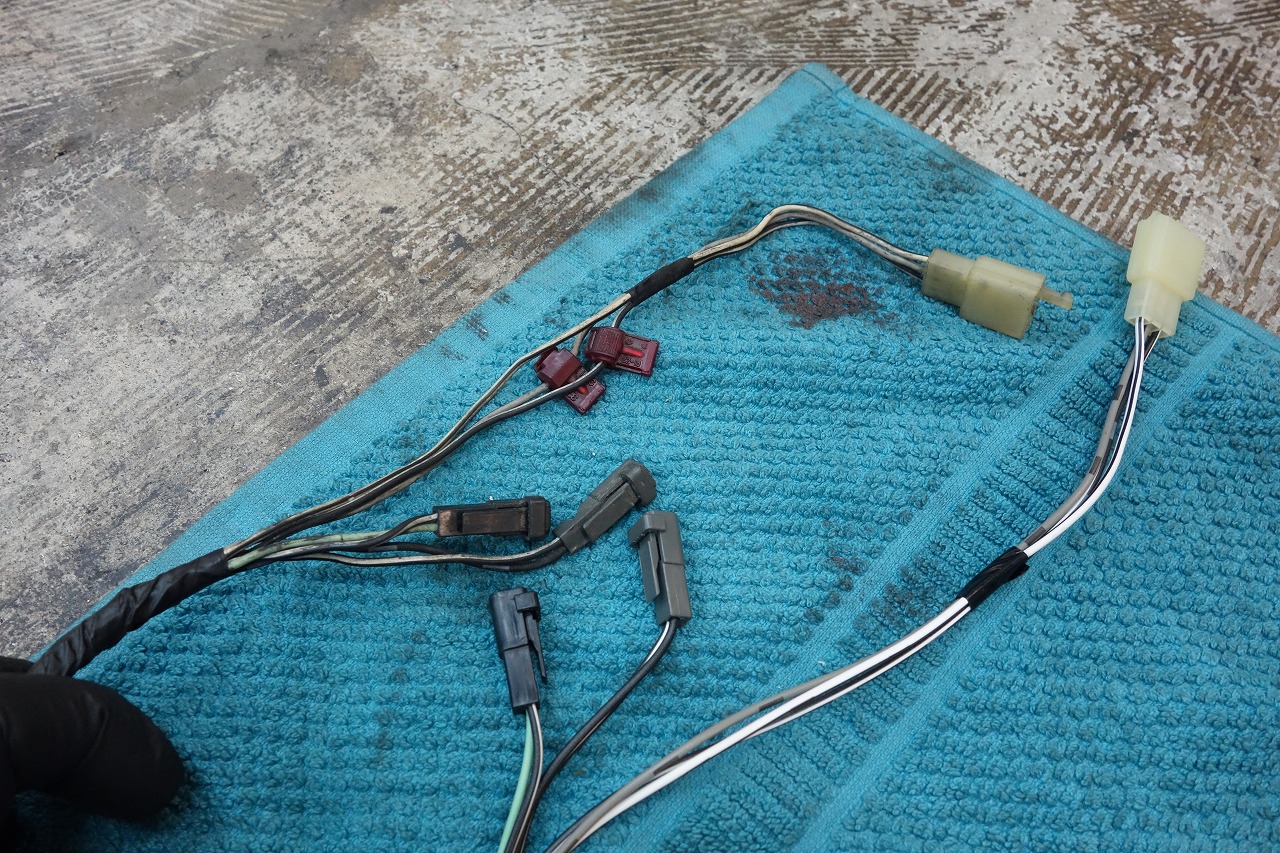
[Same] And here’s the very rear end. Same.
Usually it’s pretty much the same. The length is identical too, so it’s really fortunate.
To be continued.