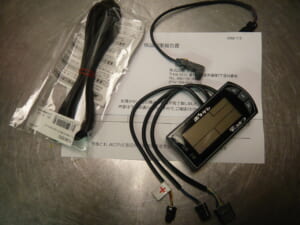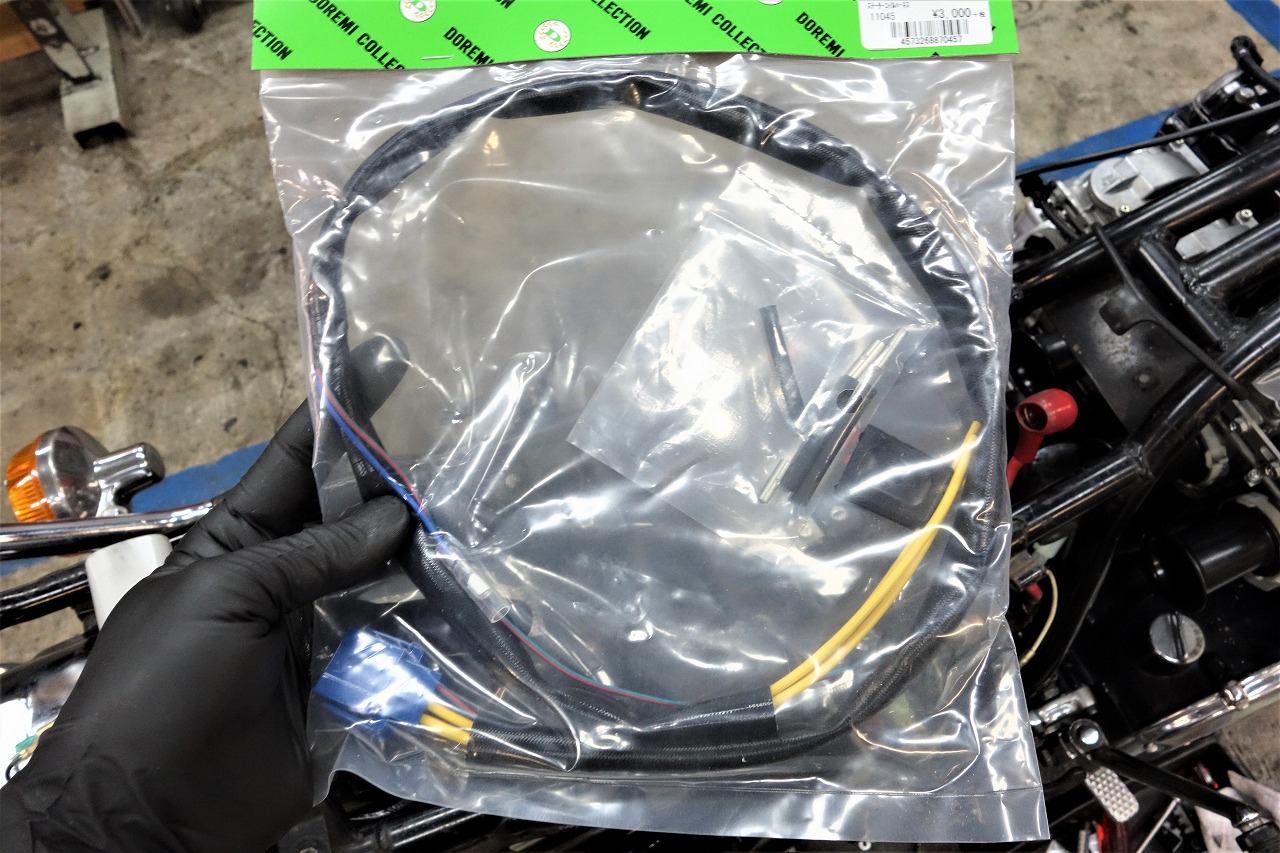
As expected, parts availability is still not great.
After experiencing that convenient speed, this lead time is a real letdown.
Forgetting even one item can make things pretty rough.
I forgot to order one connector, so this might be on hold.
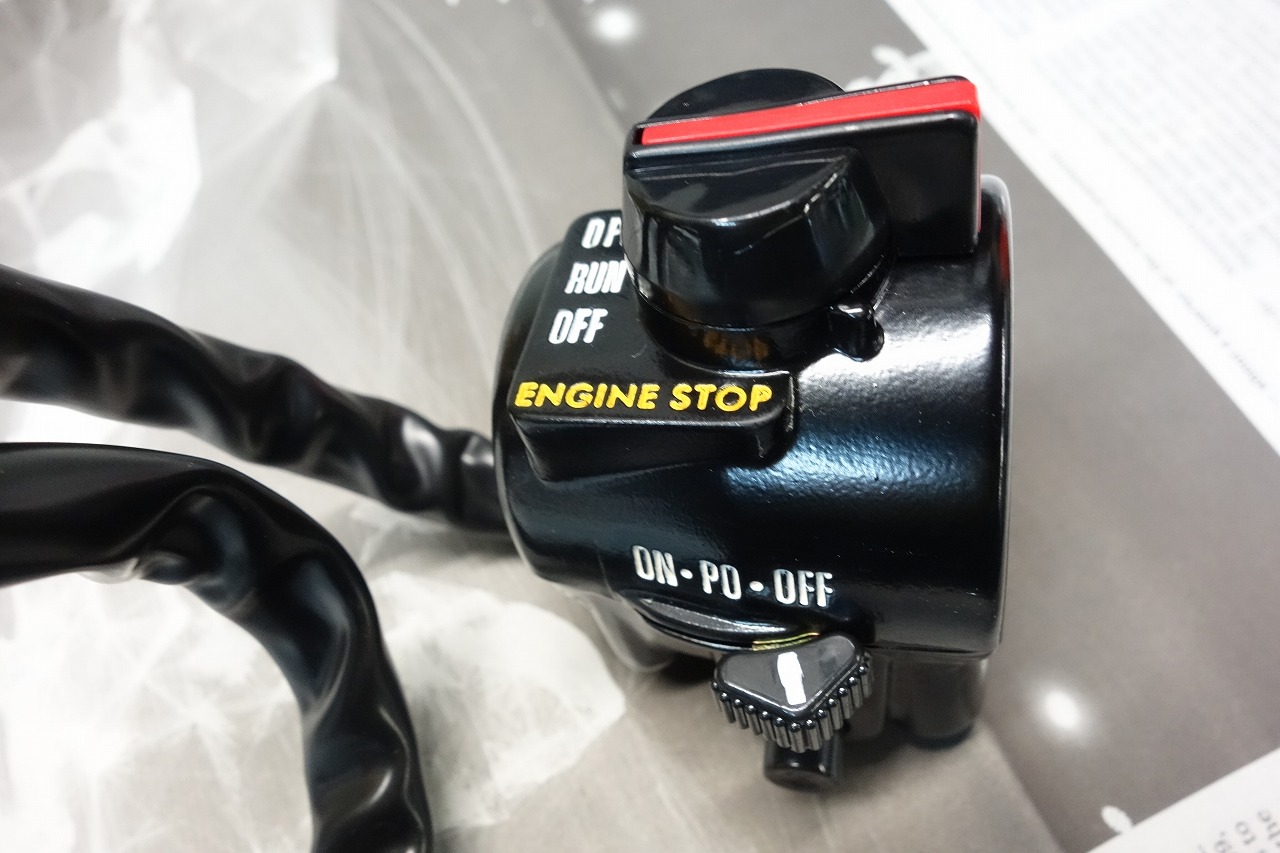
We’ll be installing a repro switch from a certain maker.
At my level, I can’t really tell if it’s repro or what.
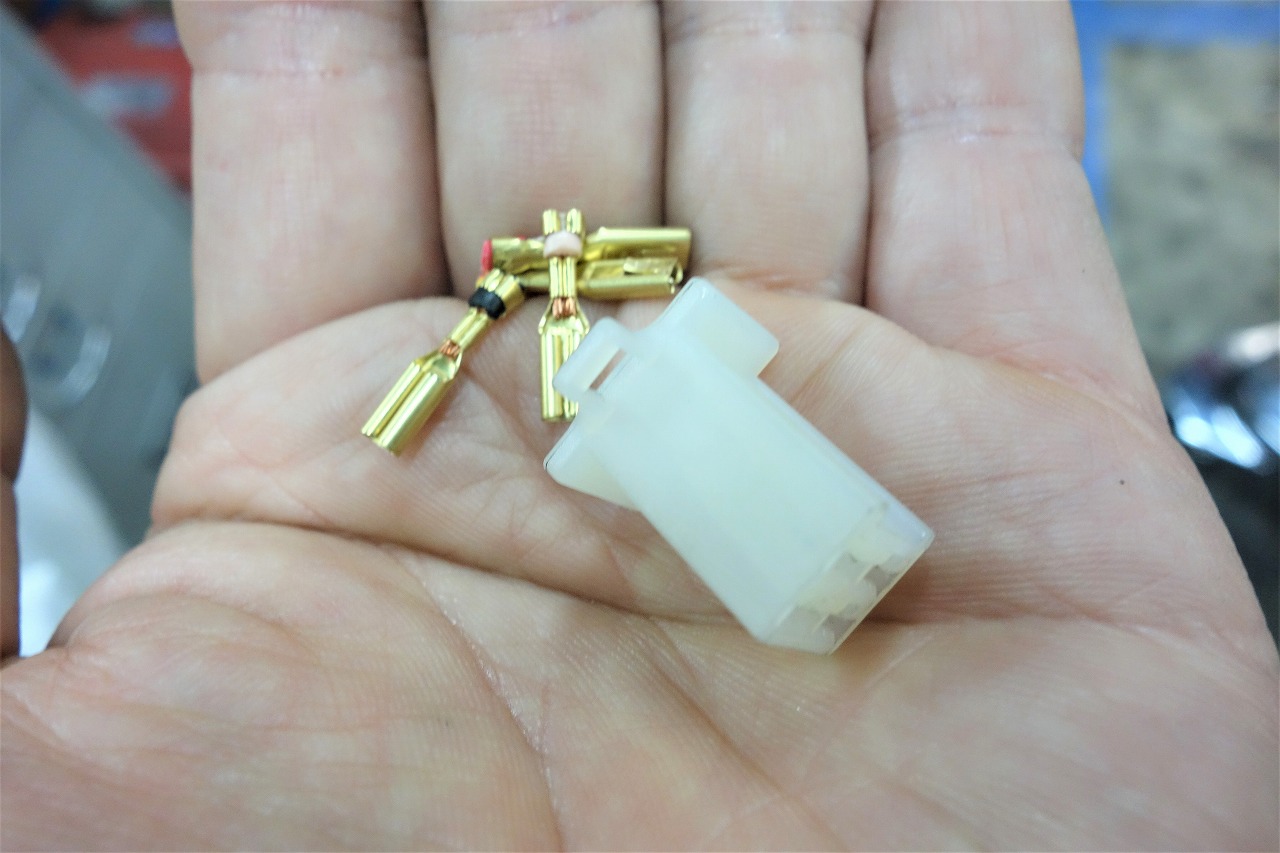
It wouldn’t go in right away, so I had to redo it. They look similar, but maybe it’s a bit smaller?
When something feels off, it’s time for some brute force.
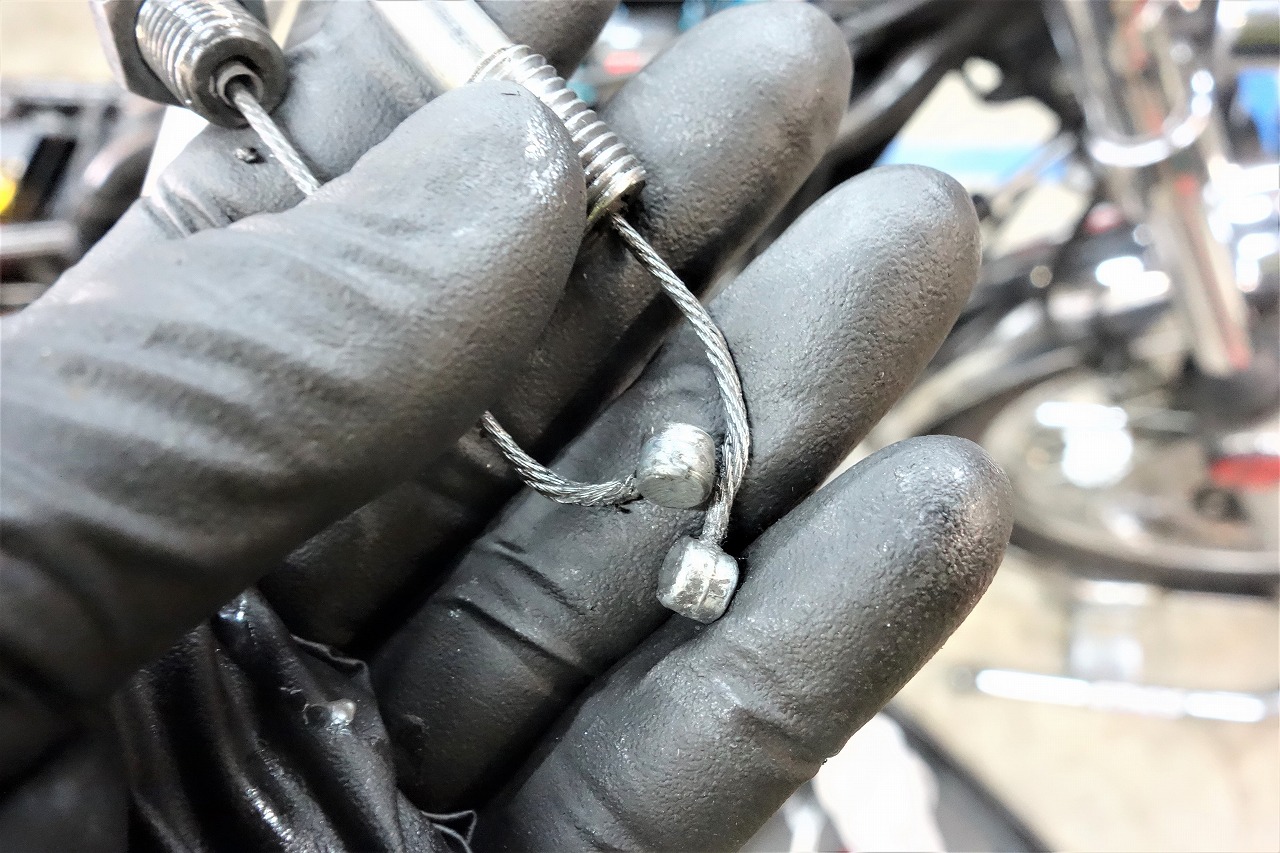
The throttle cable is pretty worn, so let’s replace it.
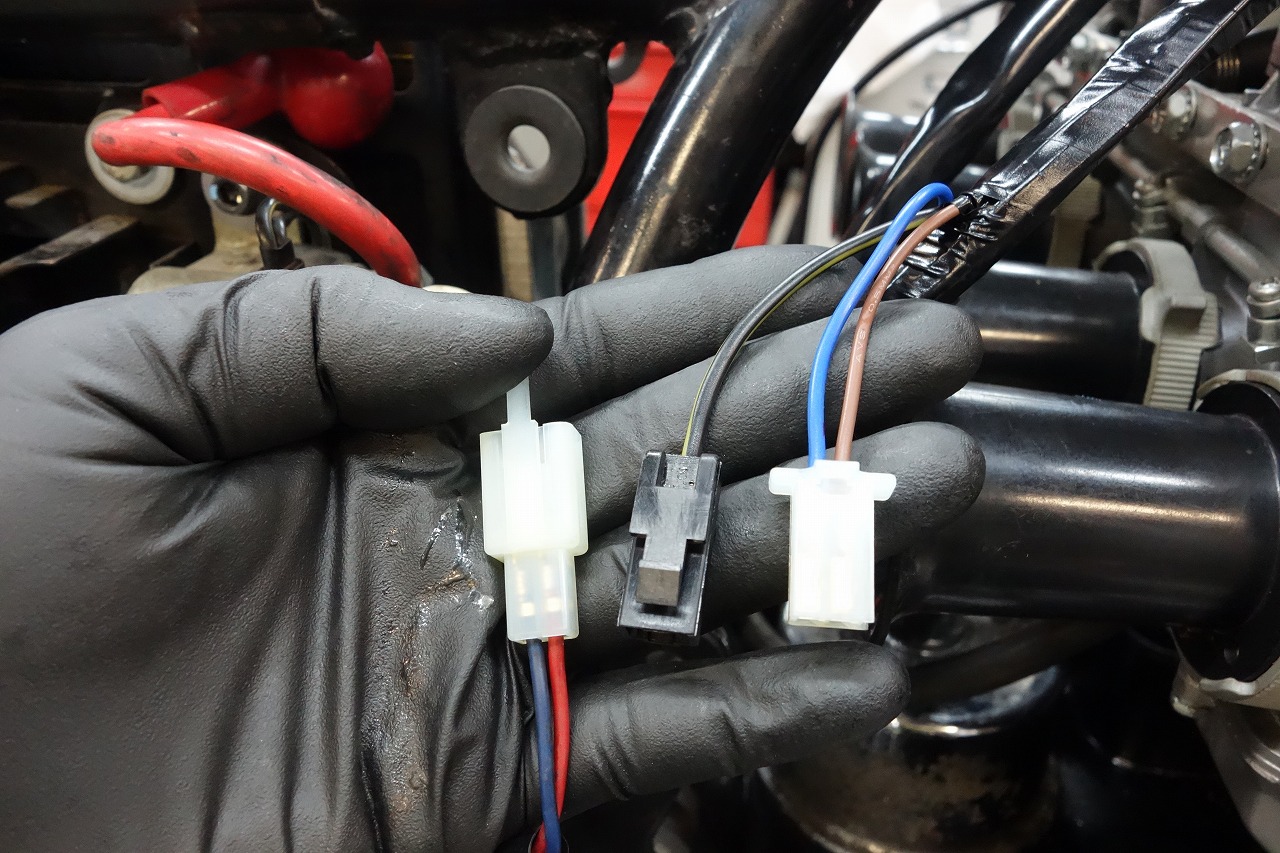
The main ground is a 250-type single-pole connector with a locking tab. I was surprised that Aemon is actually pretty good.
Monotaro might be easier to buy from.
I also switched the brake switch to a 110-type connector.
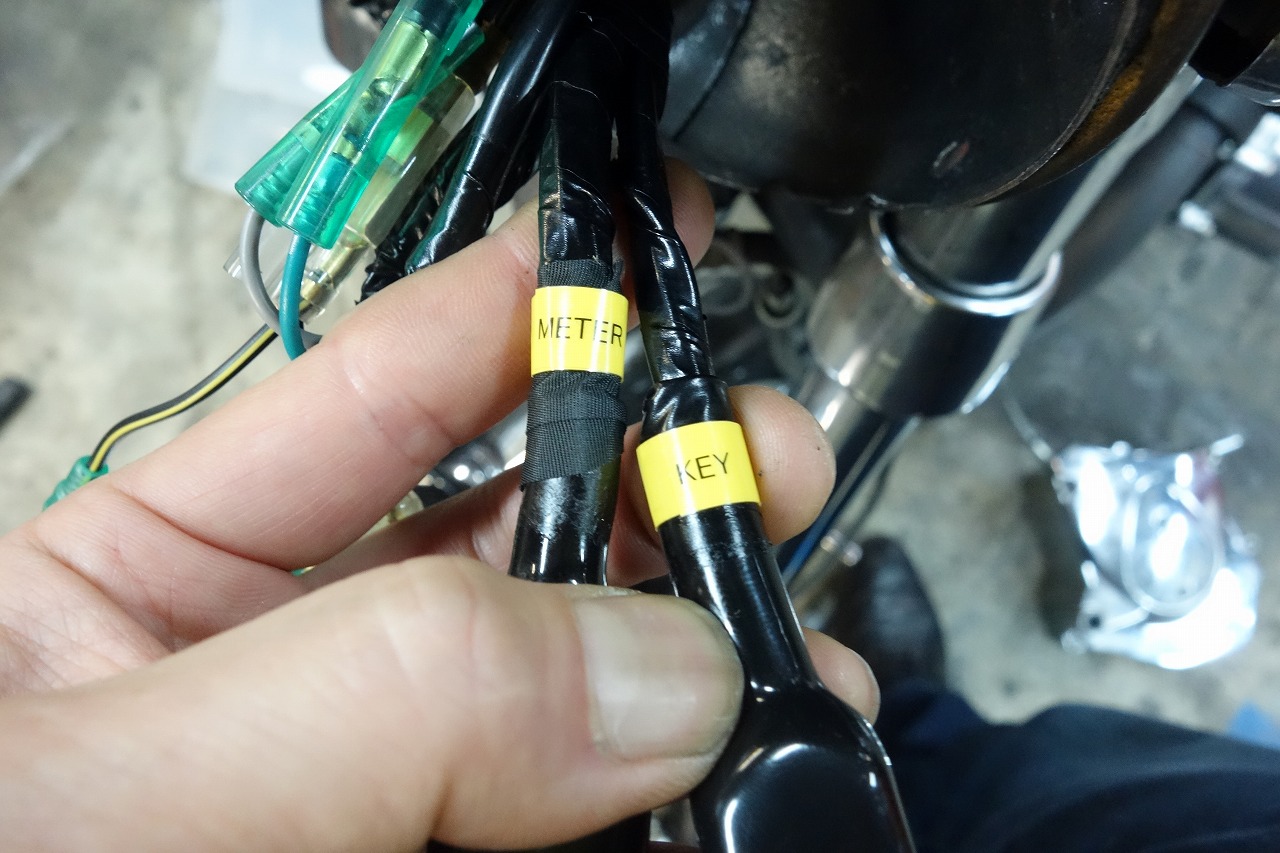
It’s handy to mark things when you remove them so you won’t be confused next time.
I think it’s better when someone else can work on it without any trouble.
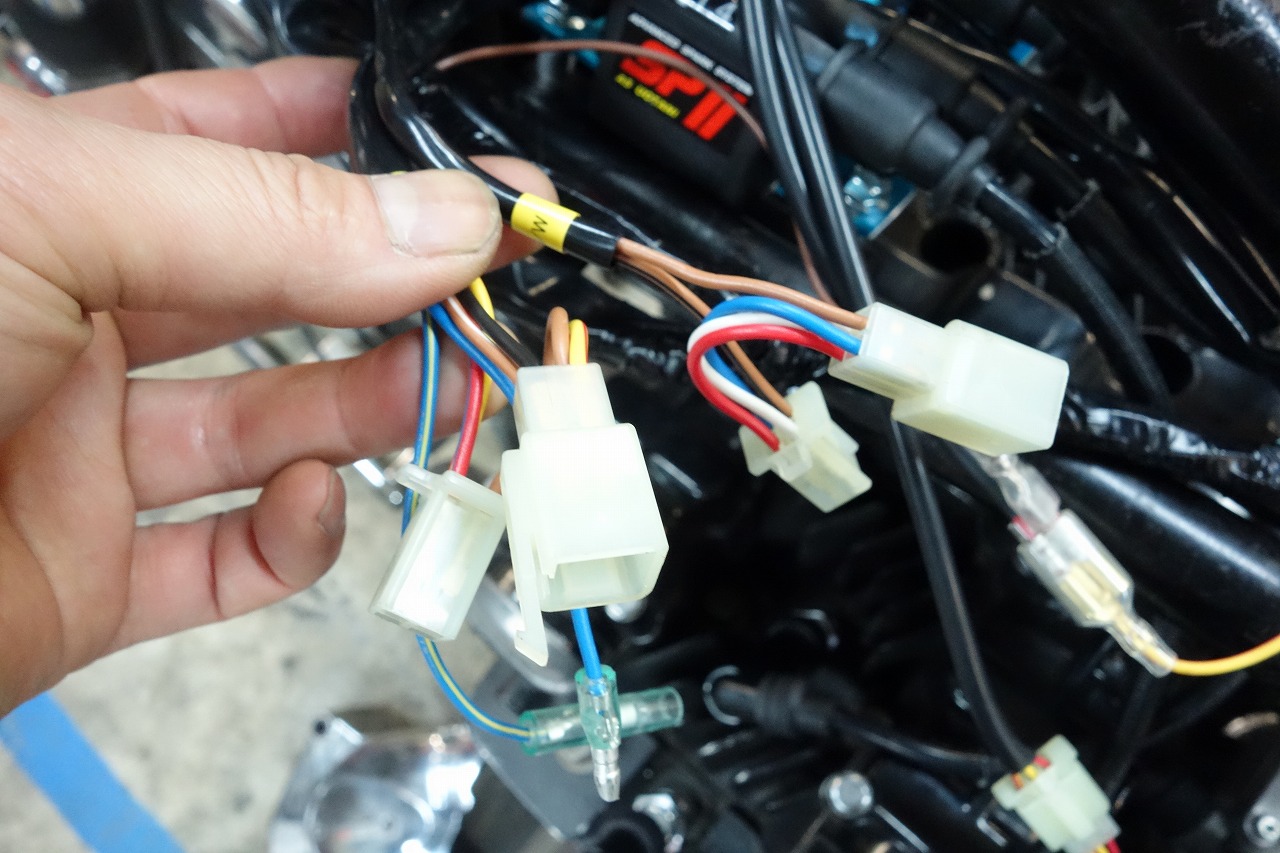
I don’t think anyone would make a mistake, but since they’re the same shape, a little care might be needed.
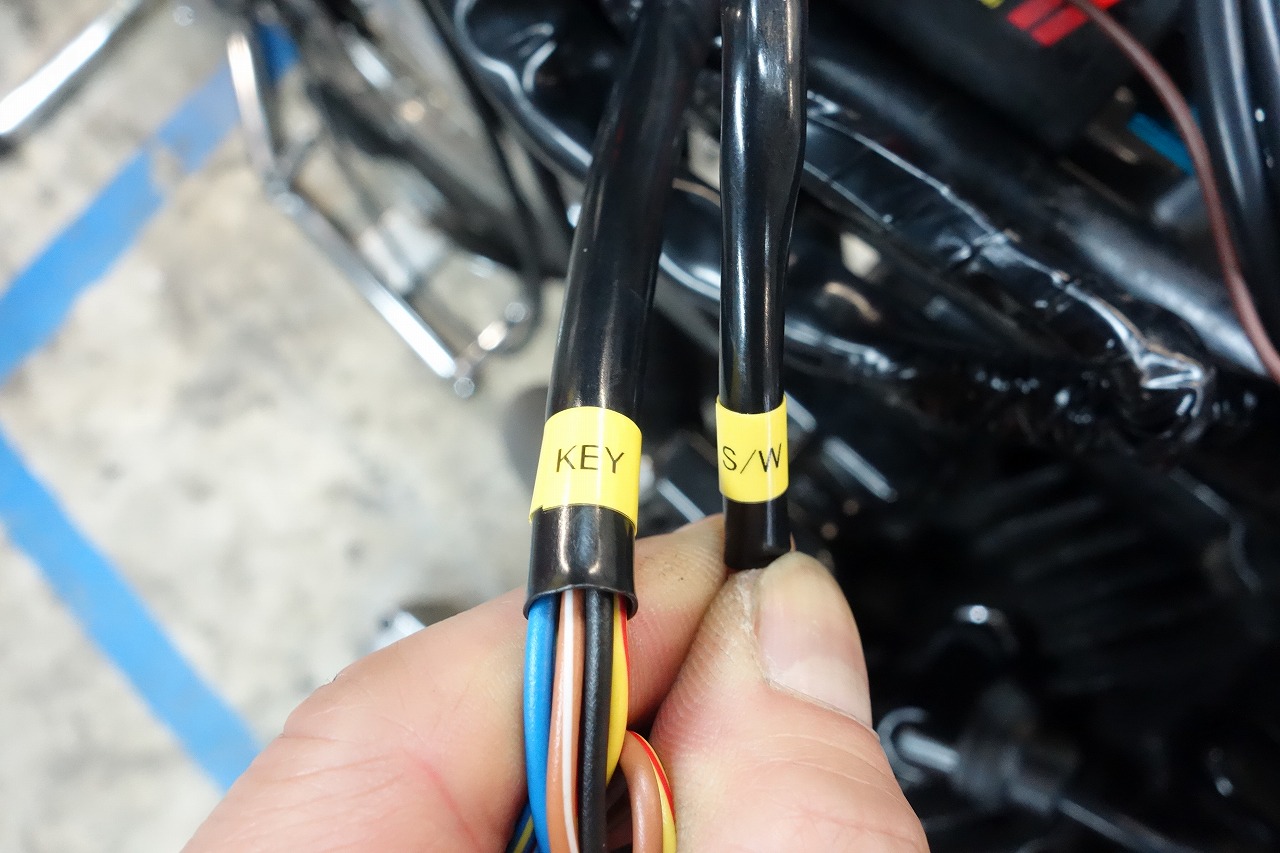
You need to set things up so you can assemble and reassemble without looking at instructions, or you’ll get stuck next time.
I’m constantly reminded of how wonderful the original design is—you can put it back together without any notes.
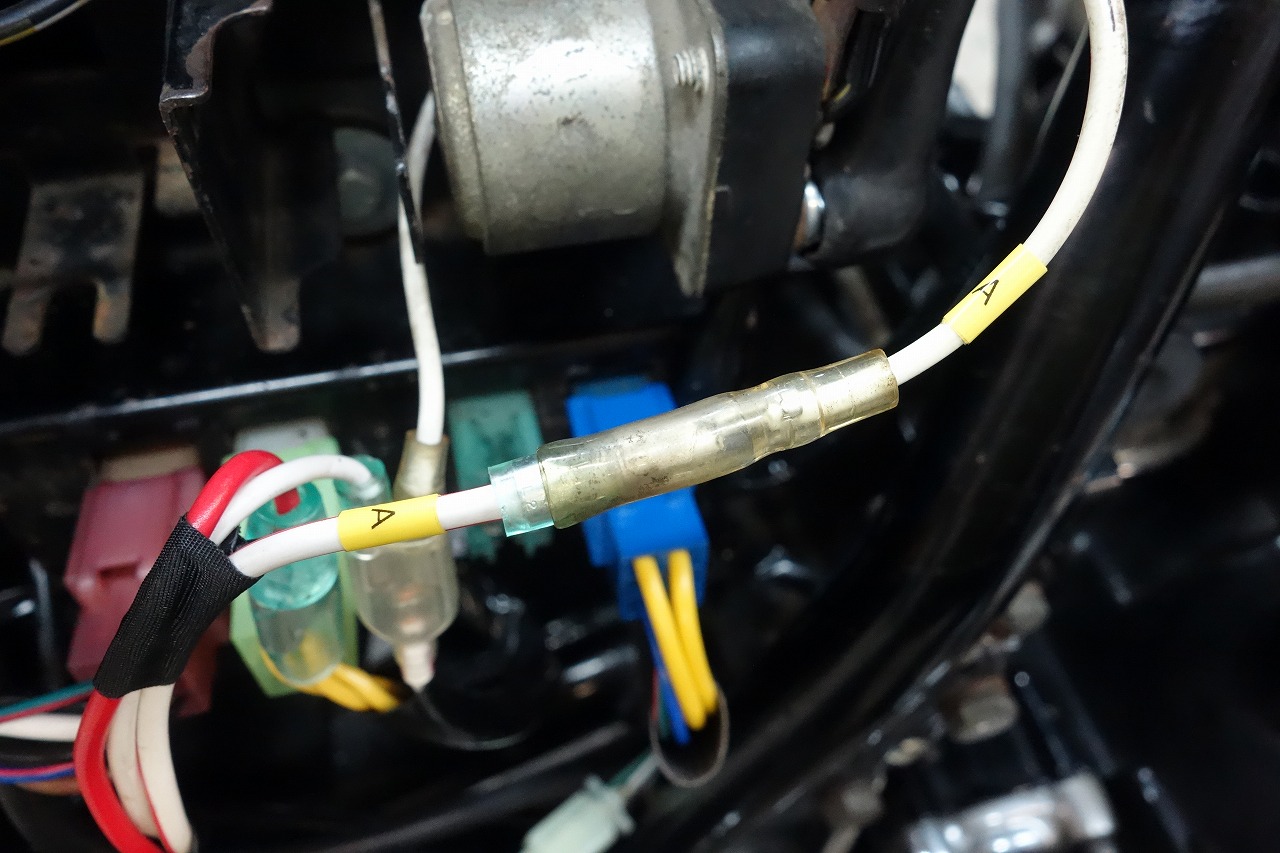
I keep reading the manual carefully to avoid mistakes.
I always think that manuals and instructions take time to understand because you have to read them.
Words can be confusing depending on how you interpret them, so I think color and pictures are fastest after all.
When I think I might do this job again, I make my own handwritten manual, which takes time.
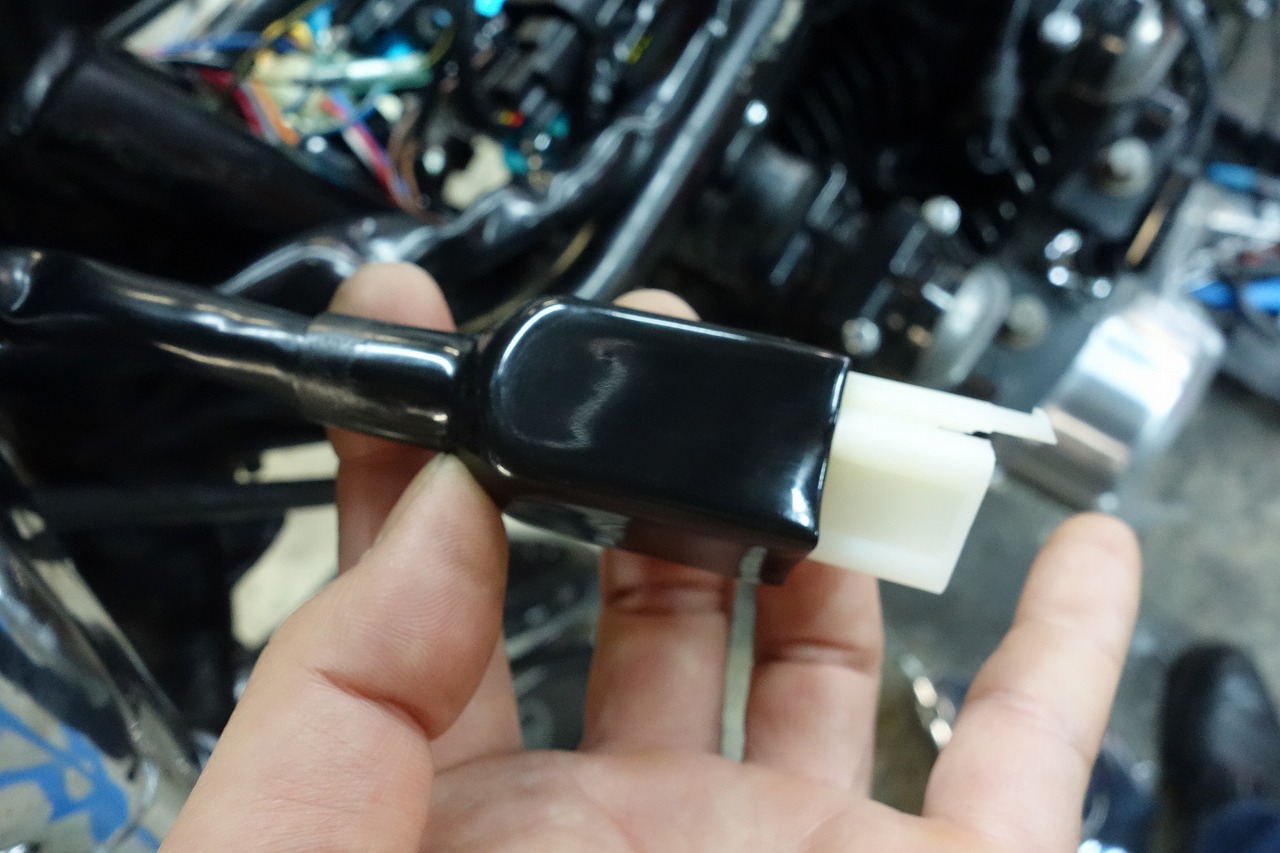
It’s a remnant of when they tried hard to waterproof things back when there was no waterproofing. Remove the tape at the base and keep the cover loose so you reduce misalignment mistakes.
Make sure to push it all the way in and keep it easy to service.
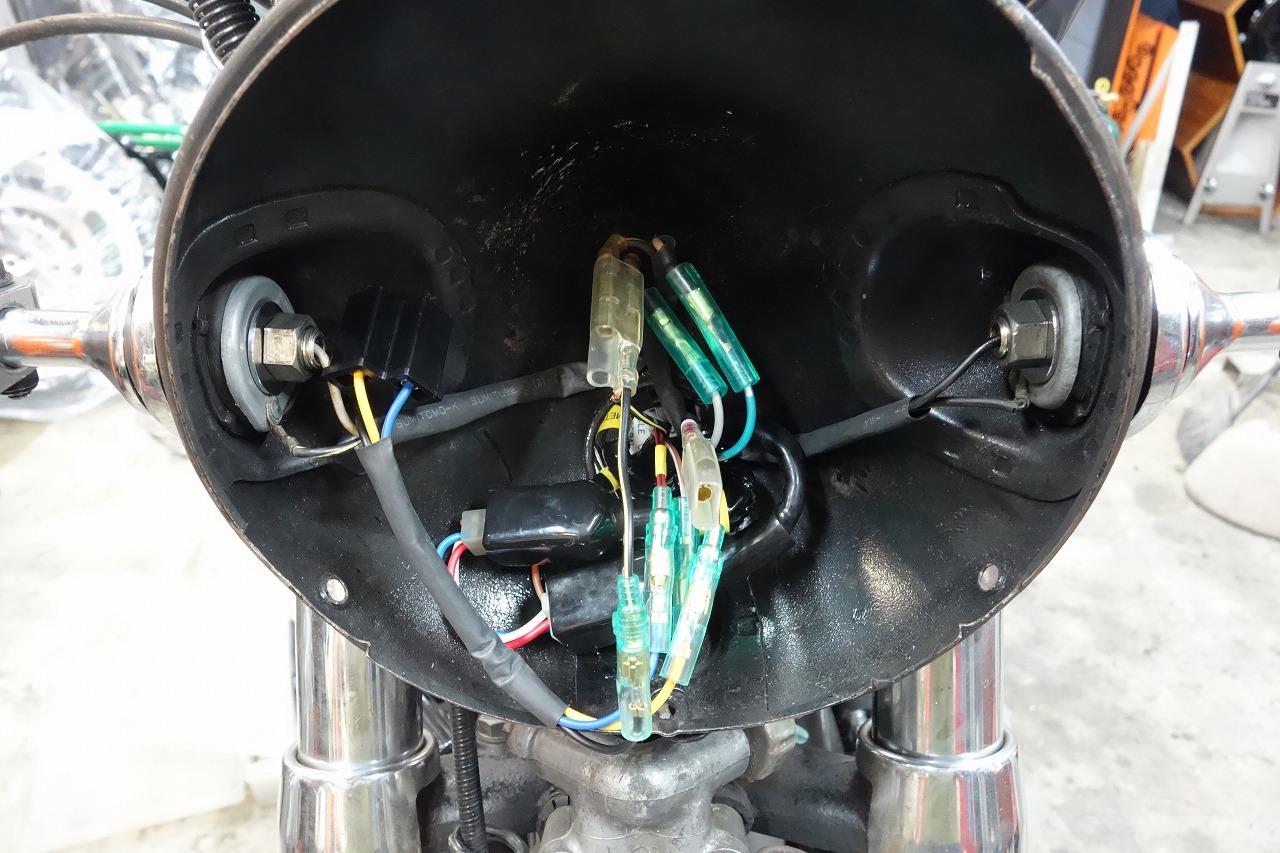
This is what the inside of the headlight looks like.
The problem with harnesses from this era is that connectors and terminals are all clustered in the same spot.
If they staggered the positions a bit, it would be thinner, but since they’re all in the same place, it just bulges there.
Weird aftermarket gauges are the same way—it’s easier if they offset things a little.
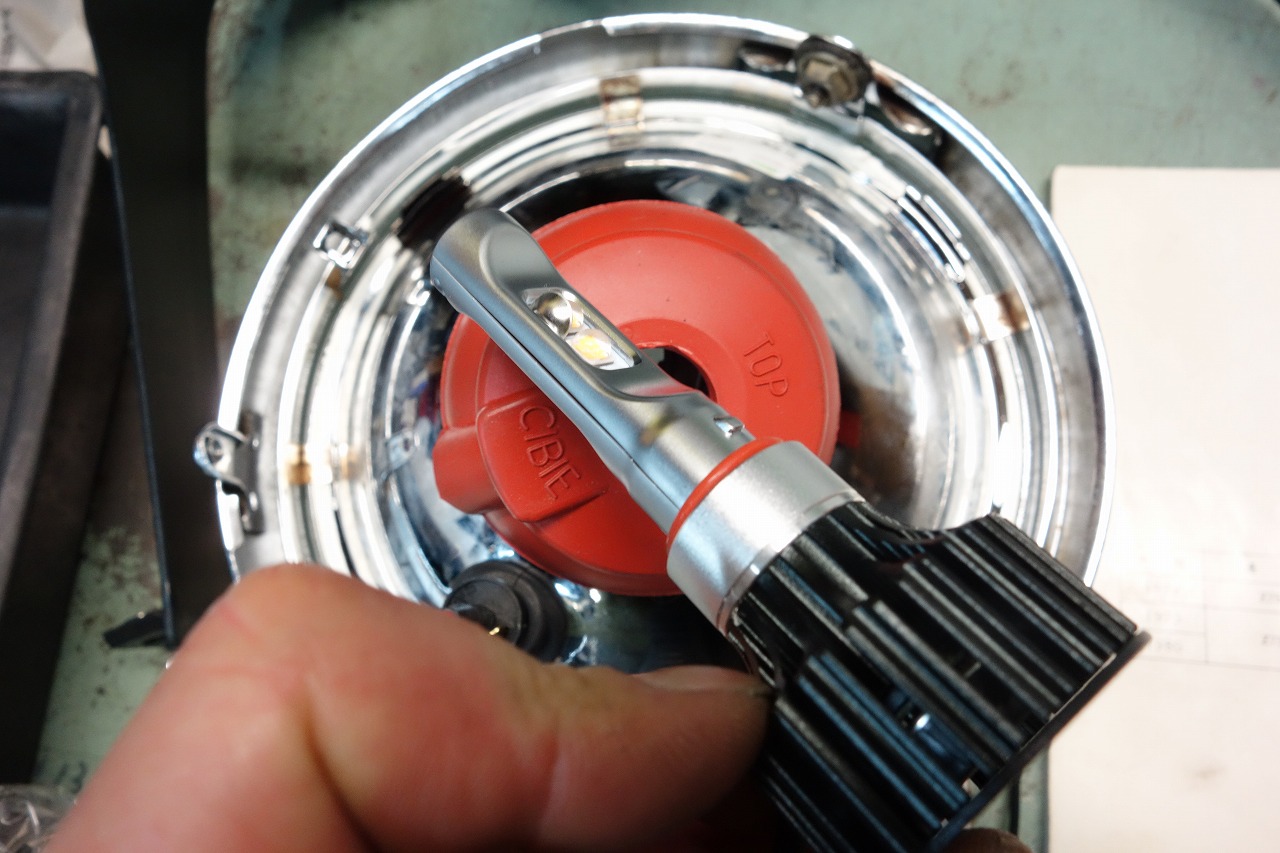
The request is to go LED. First, there’s no rubber cover, and the module is small but close to the bulb—meaning it goes inside the tight headlight case.
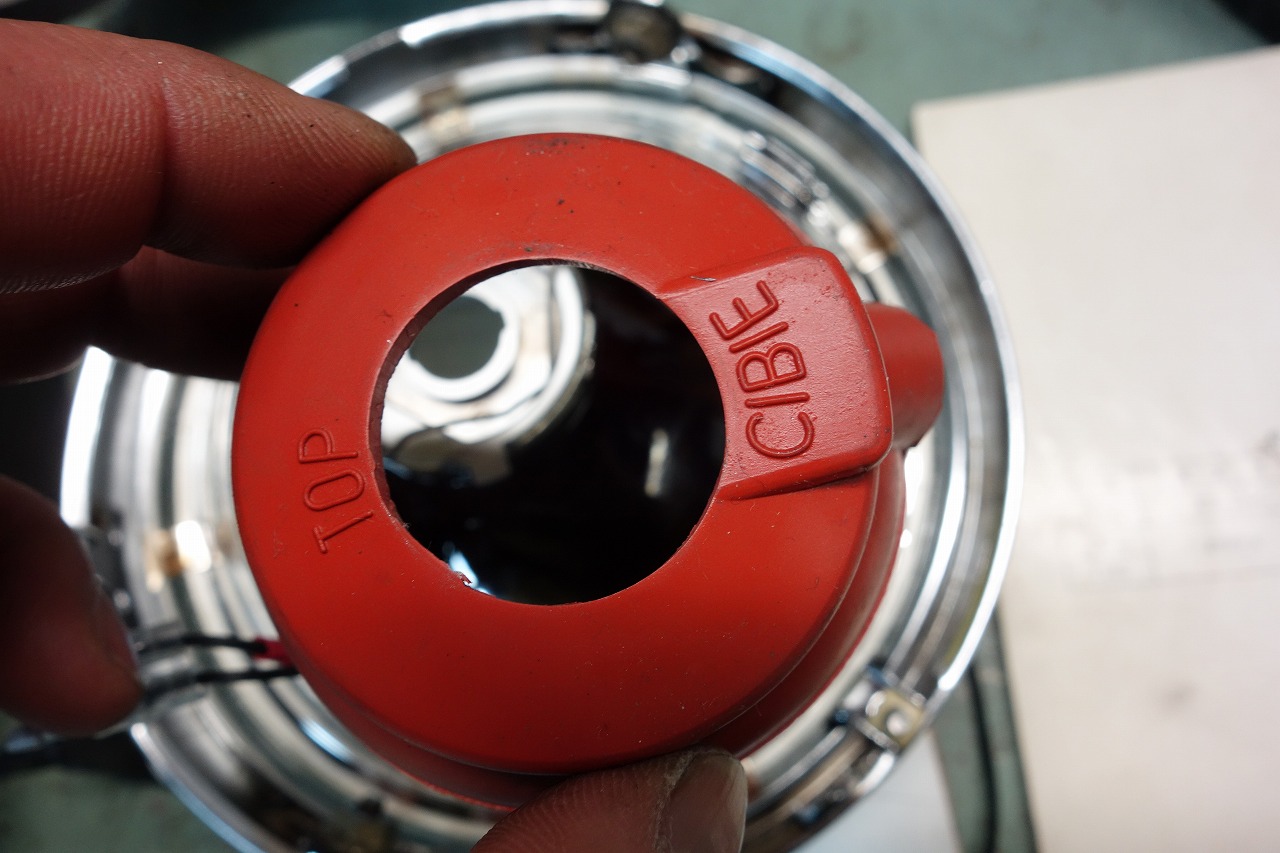
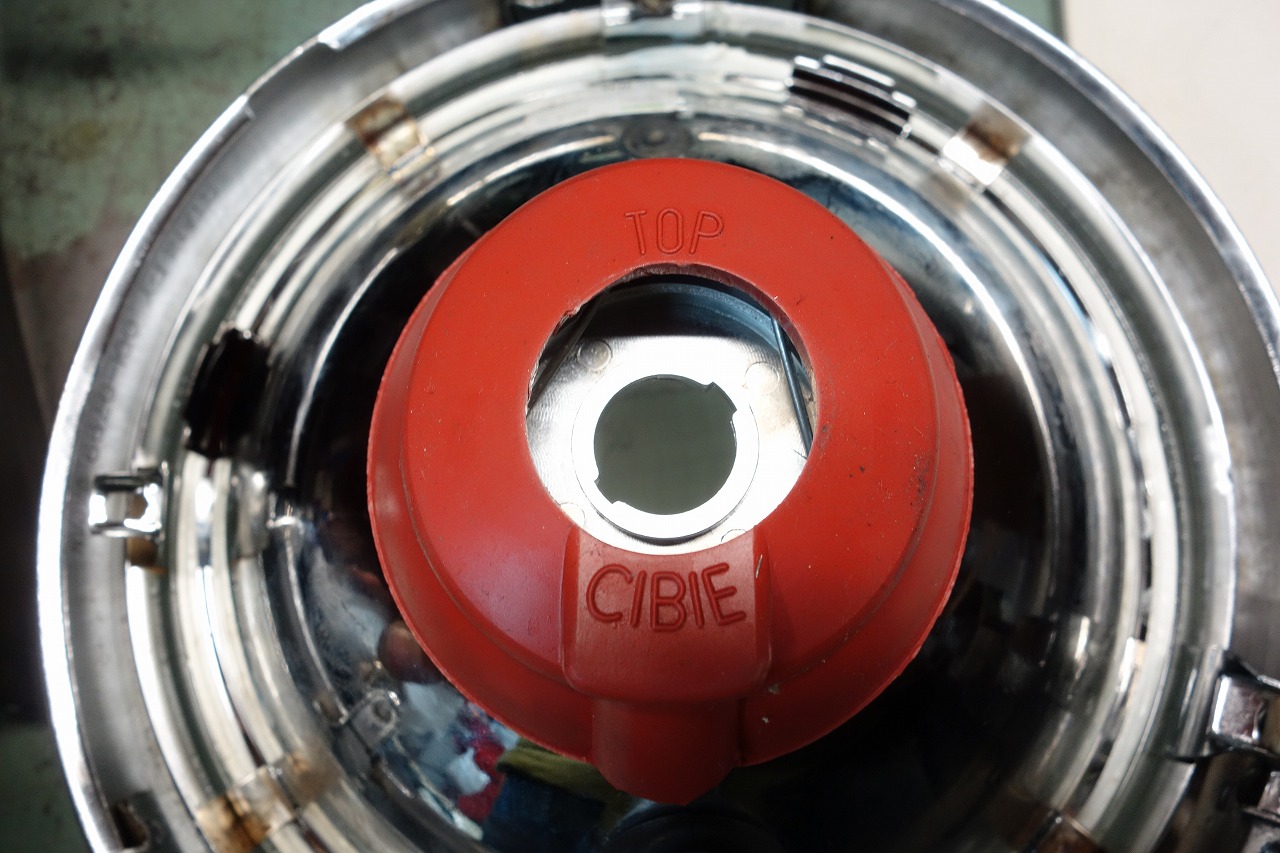
There’s a lip on the inside, so you have to cut down to it.
A punch cuts it cleanly.
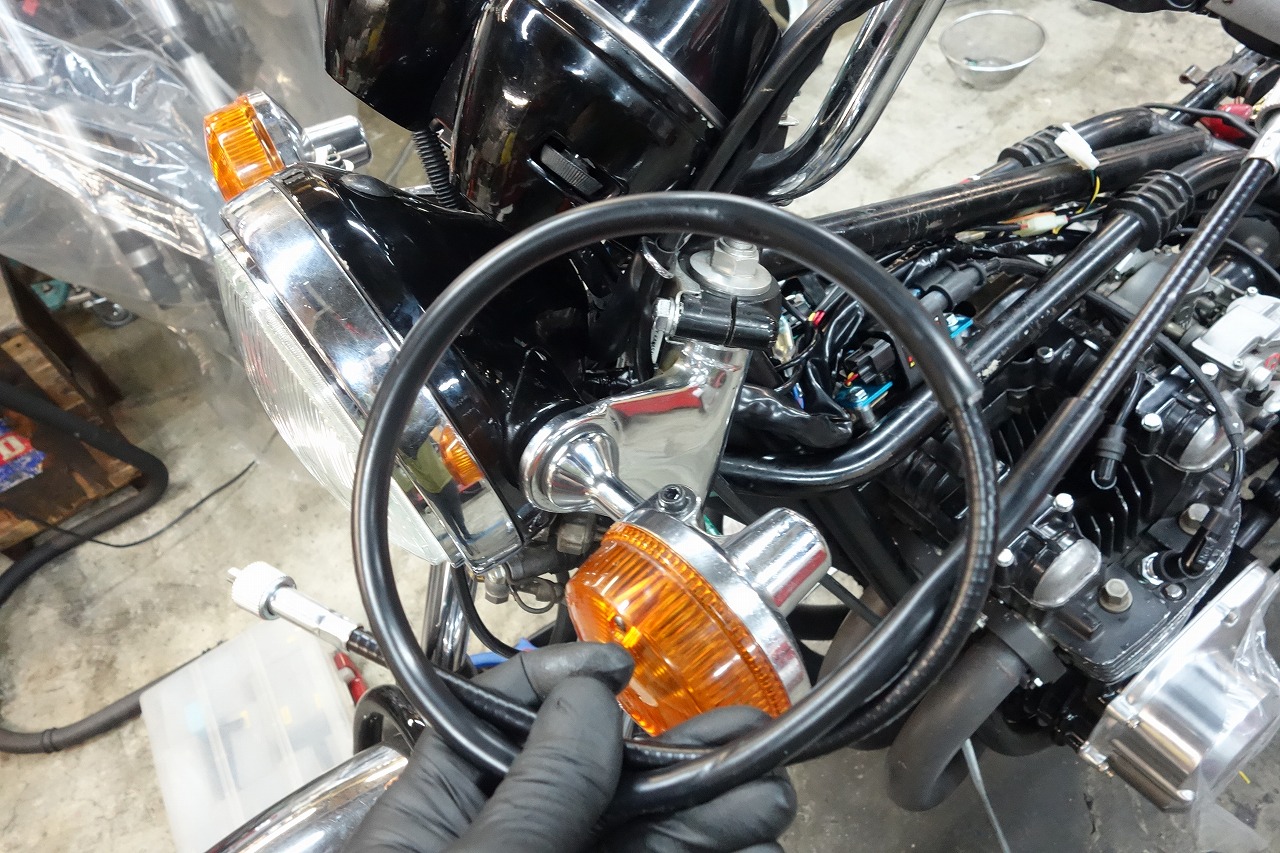
I replaced the speedometer cable too.
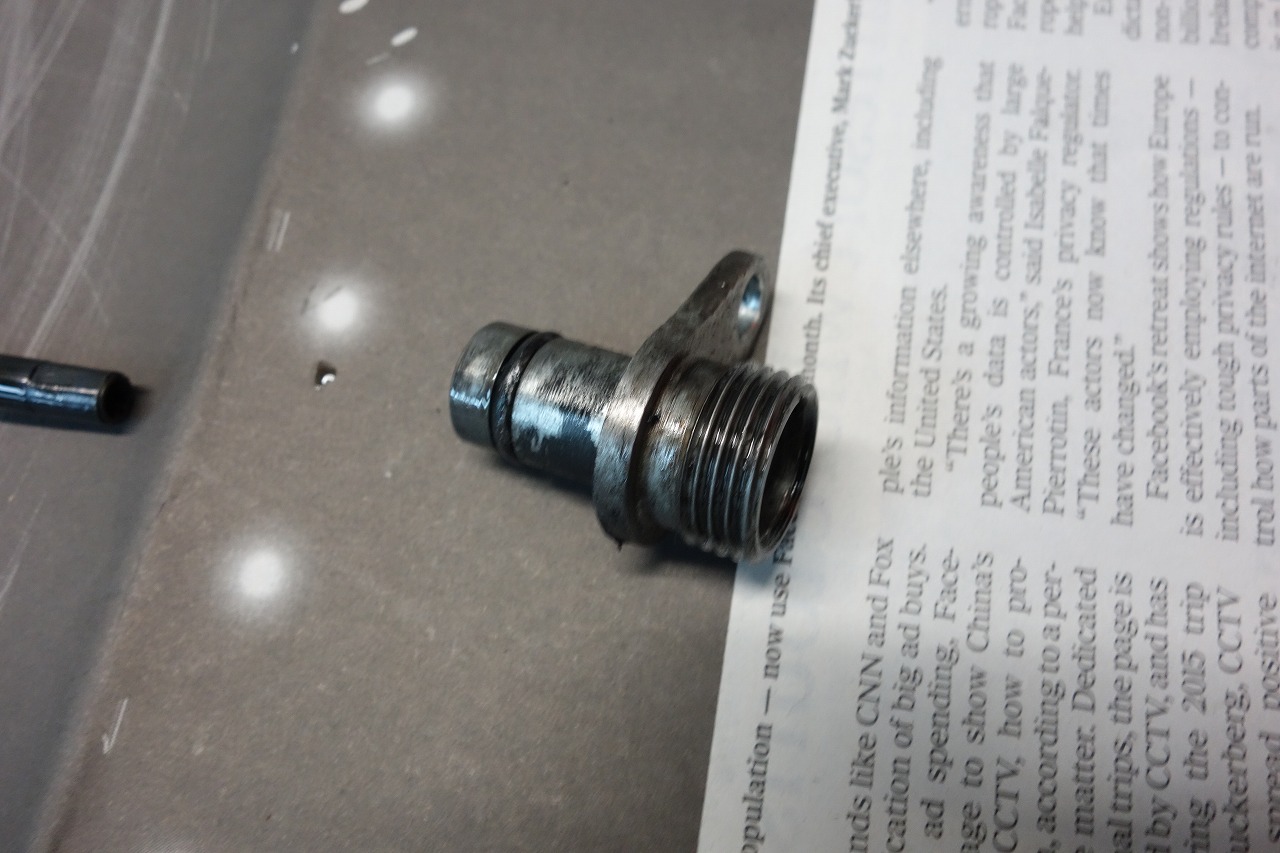
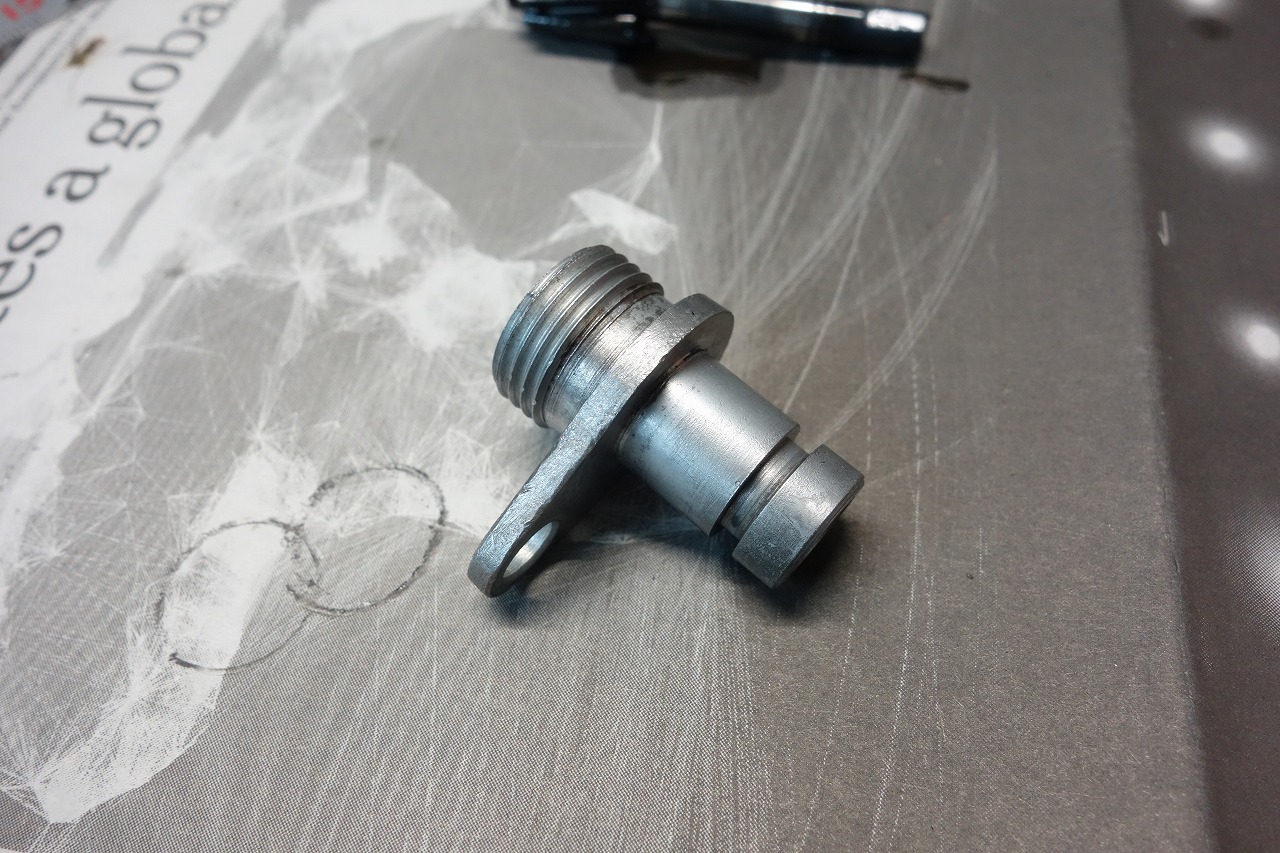
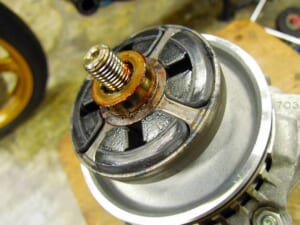
I replaced the O-ring and seal on the tachometer cable pull-out as requested.
Let’s polish it clean before assembly. Adding restoration elements to the work should keep the bike looking great as we go.
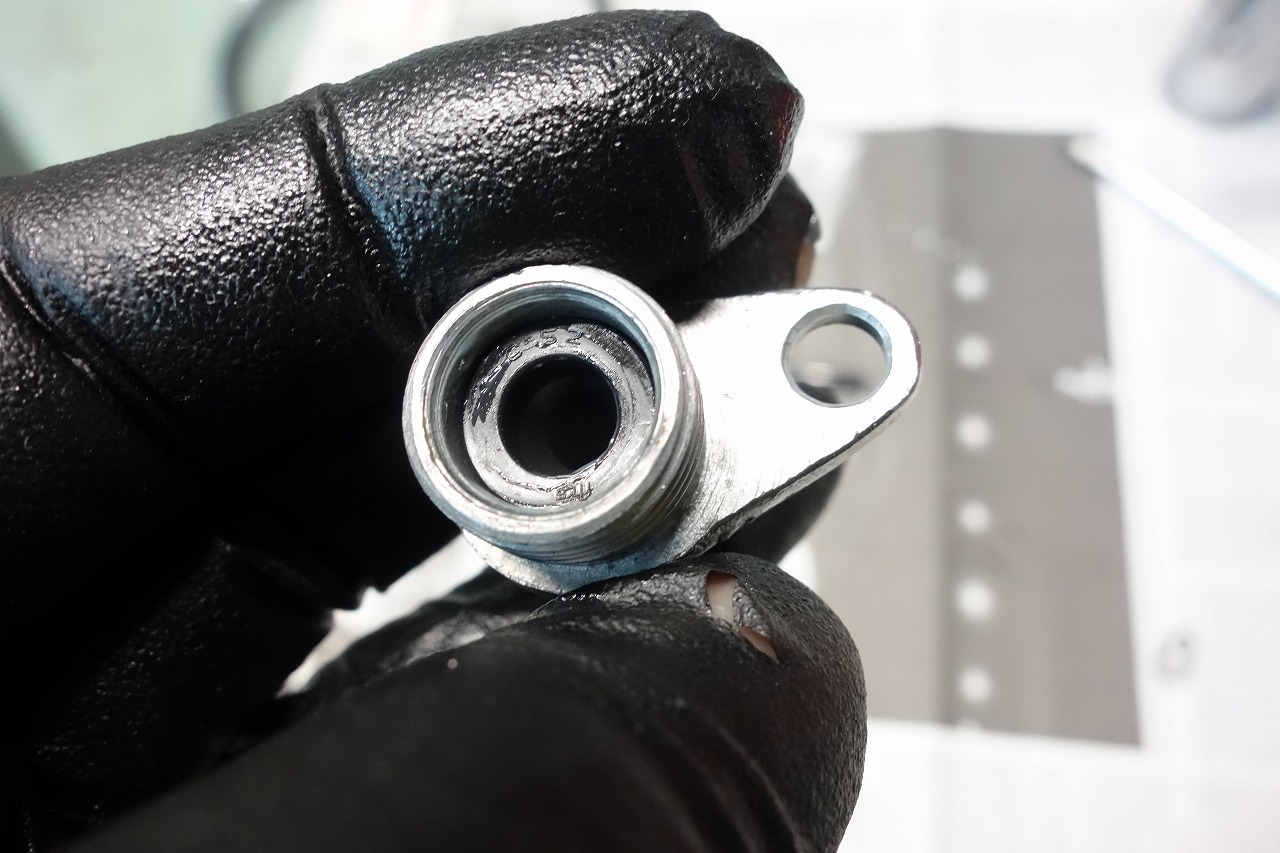
Oil seals basically go in by hand.
No need to hammer away—just gentle and smooth.
【Work Progress】
●Harness removal
●Headlight swap
●Clutch cover inspection and installation
●Watanabe pulser installation
●Plug gap adjustment
●Gauge disassembly, parts ordered
●MOSFET regulator installation
●Left handlebar switch replacement
●Fuse and Watanabe electrical plate fabrication
●Front turn signal short bracket replacement
●Tail lens polish and LED bulb replacement
●Tail light wiring management
●Rear turn signal wiring management
●Front turn signal, tail lamp wiring management
●CR remote control installation
●Watanabe coil bracket cut and installation
●Ground lead decision GS1200SS
●Alternator wiring management, grommet replacement, cover swap and installation
●ETC unit bracket fabrication
●Gauge assembly (LED bulb/gauge harness replacement too) 4/29
●Gauge installation 4/29
●Harness layout 80% complete 5/1
●Various harness marking 5/1
●Harness partial connectorization 5/1
●Speed and tach cable replacement 5/1
●Tach pull-out gear O-ring and seal replacement 5/1
●LED headlight installation&H4 connector fabrication 5/1
●Right handlebar switch handle hole drilling 5/1