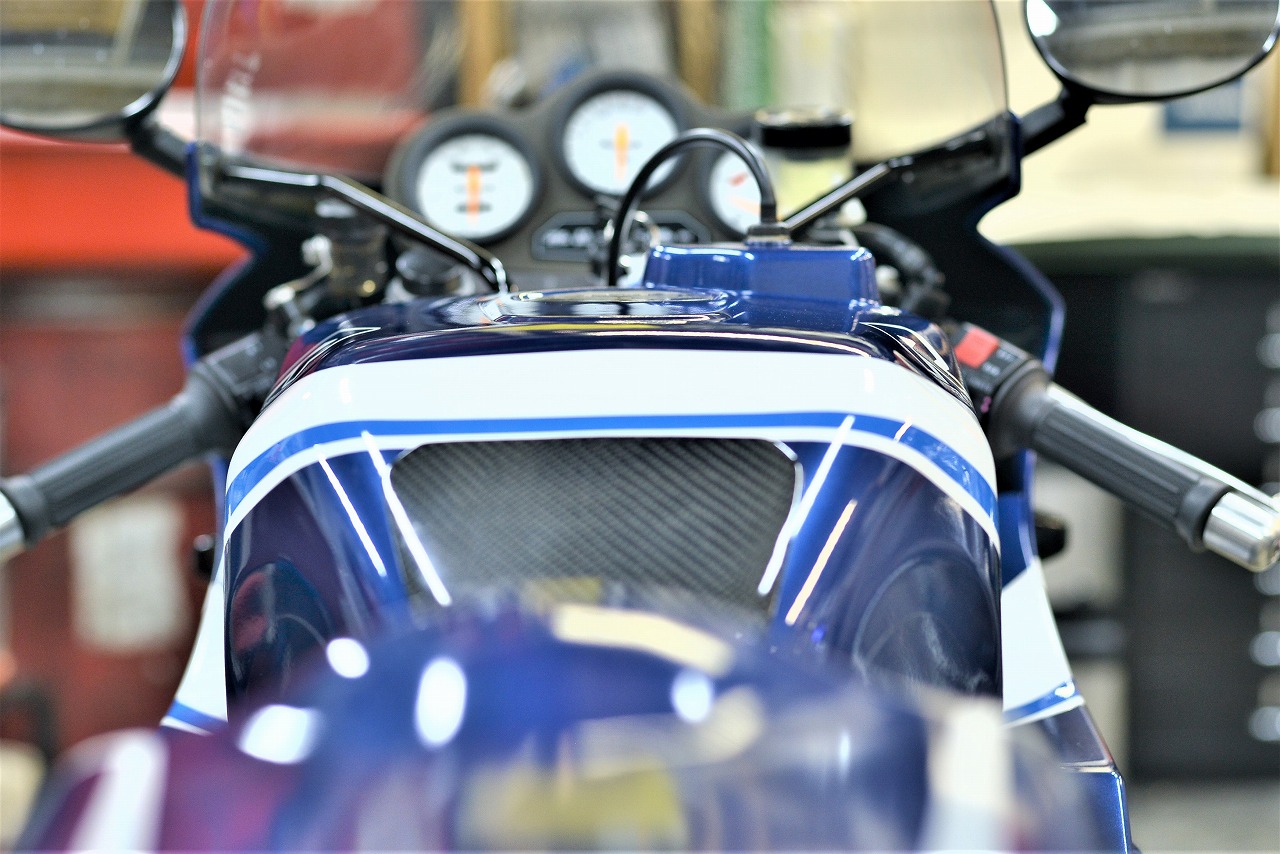
The GSX-R750 GR71 has been discontinued for a while now. But really… how old is it?
About 33 to 34 years old, I’d say. It’s already a proper classic! A bike you ride while thinking about its history—it’s reached that age.
So today it’s maintenance time.
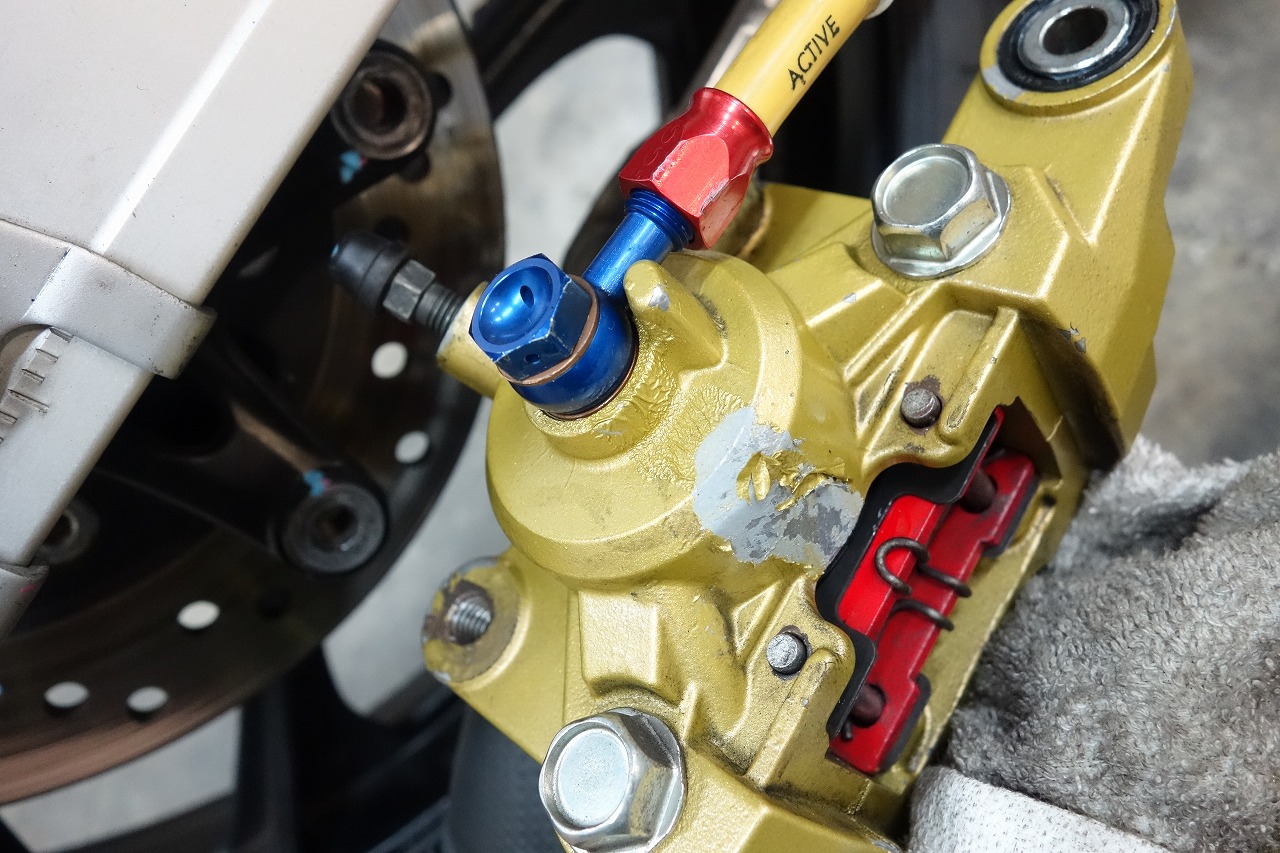
It looks like it was seeping gradually. When I touched it, fluid came right out.
The banjo bolt wasn’t loose, but it wasn’t tight either.
Well, at least we found it…
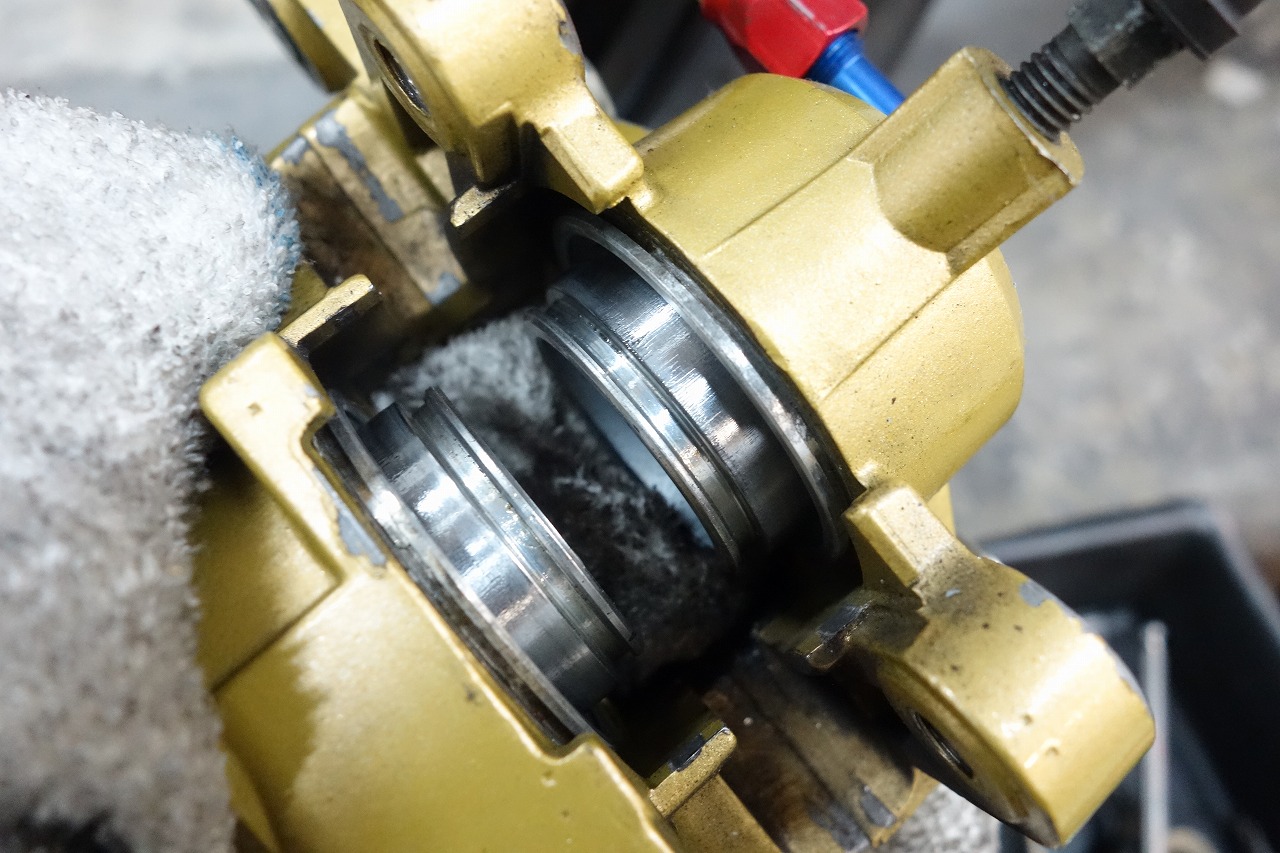
The piston condition was good. Operation was standard.
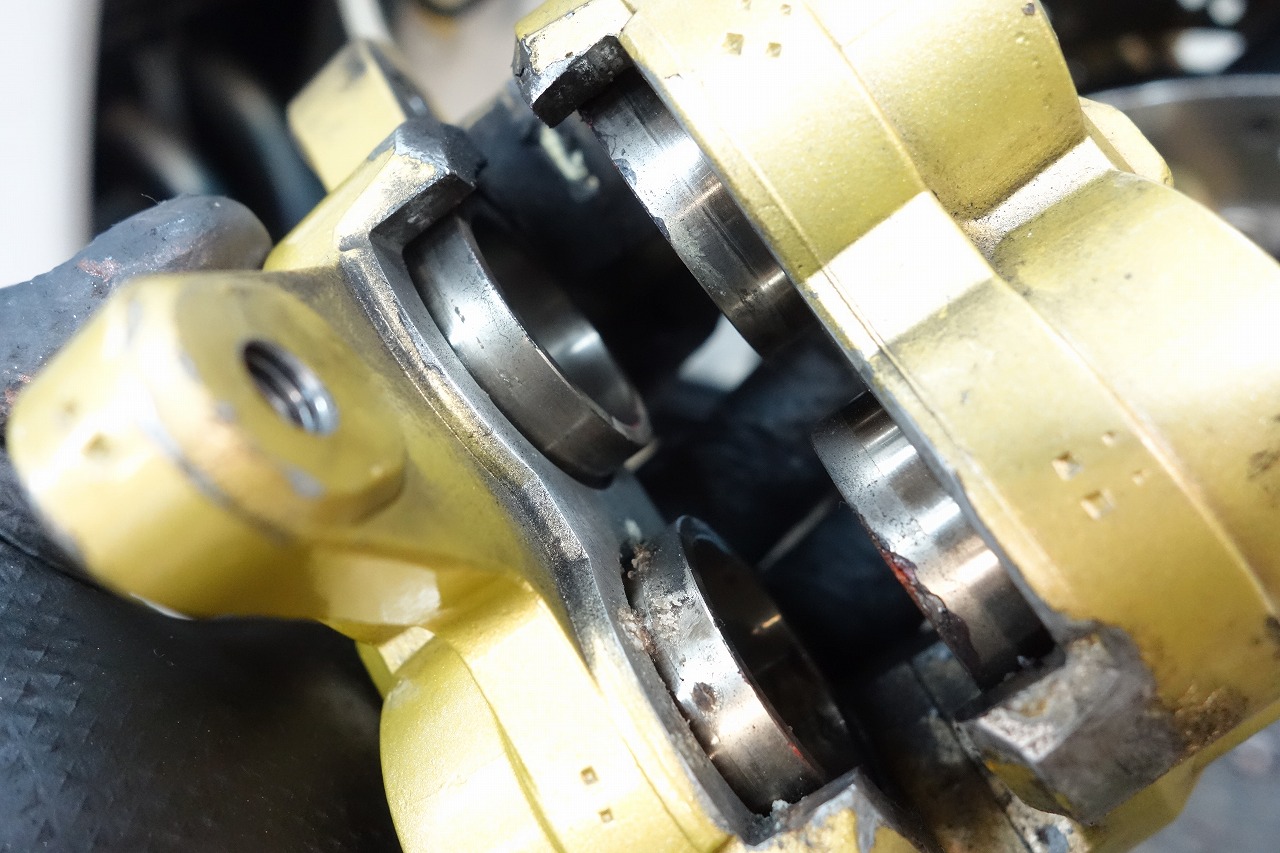
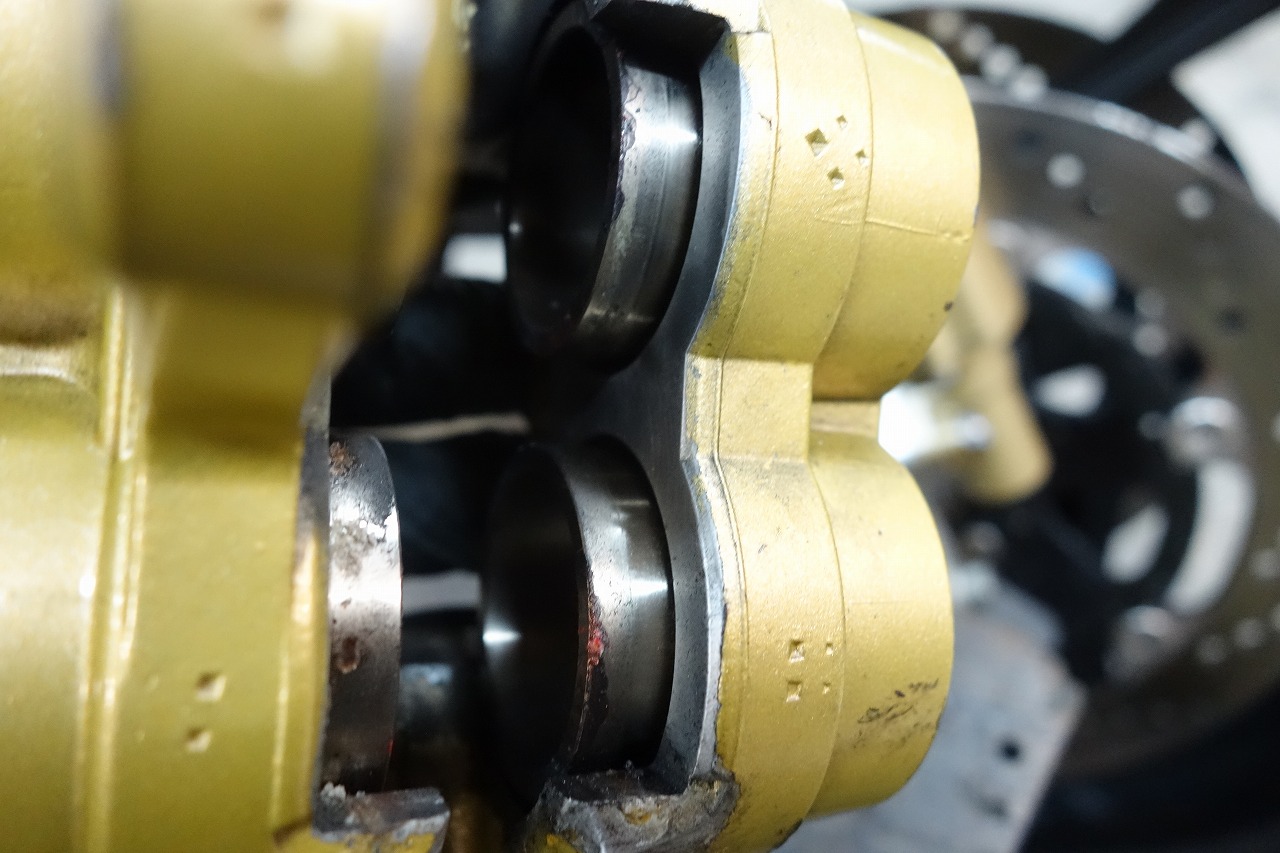
It was a bit rough-looking, but in good condition. Operation was excellent.
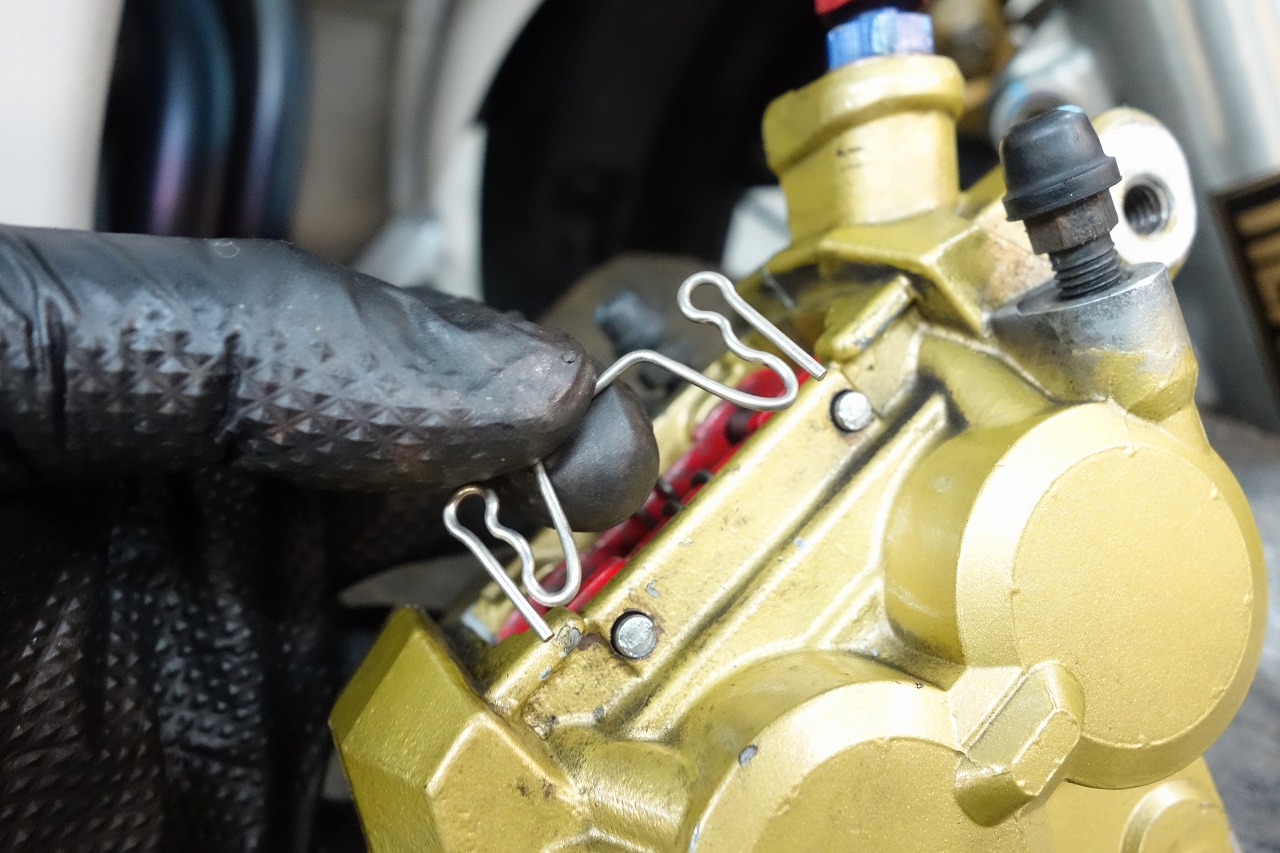
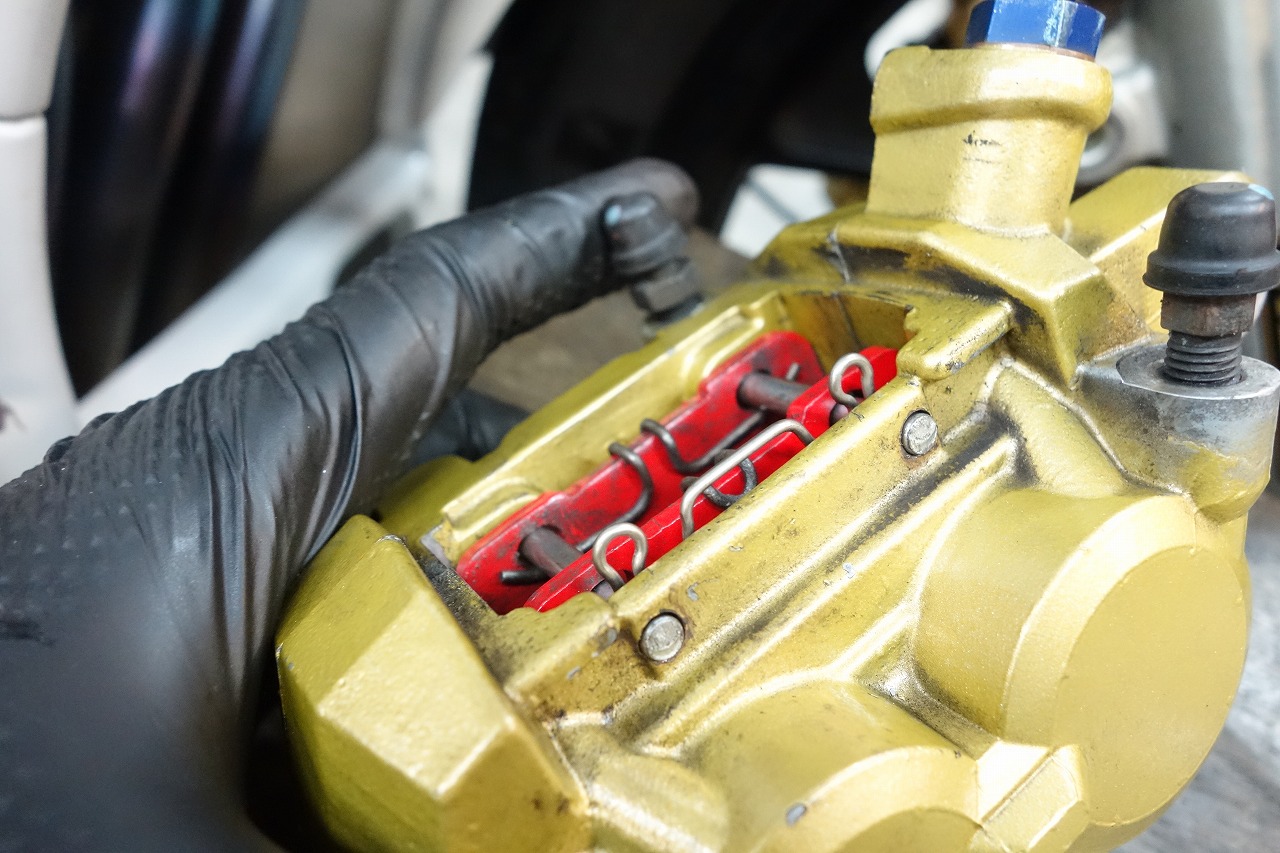
Actually works on big pistons too
69142-46E01 Pad clip ¥330 (before tax) as of 12/19/2019
Subtly improves workability. Aesthetically, we’d prefer Italian-made underwear.
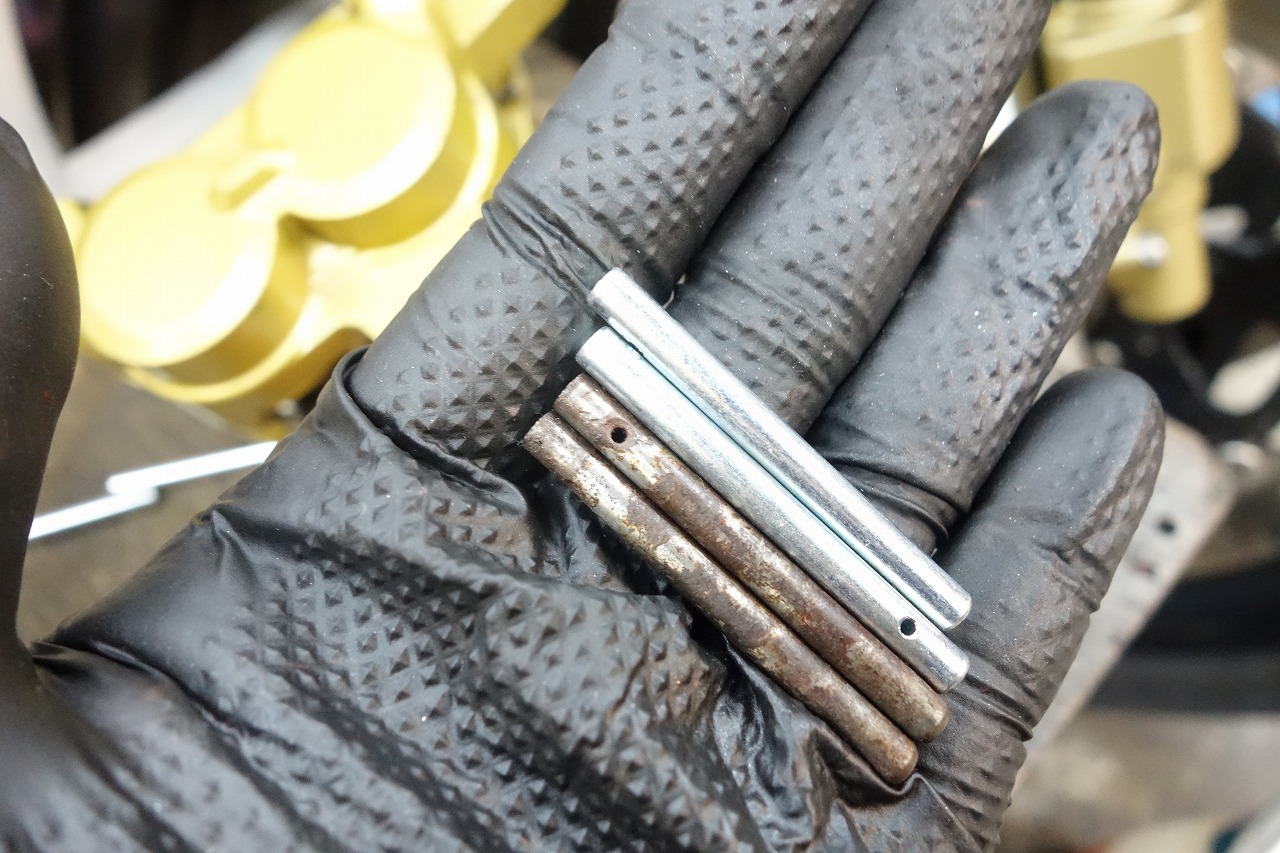
The pad pins were also due for replacement, so I swapped them out.
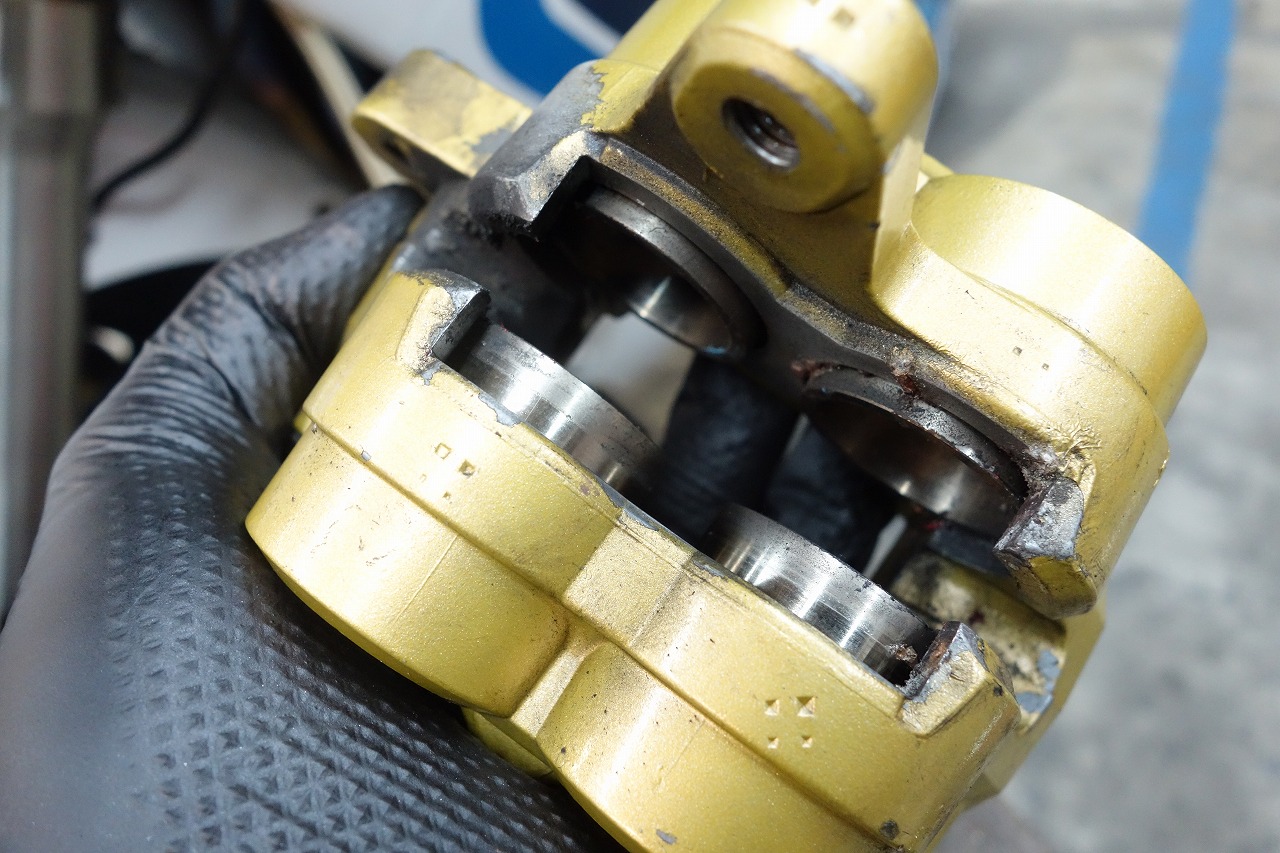
The left caliper was also fine.
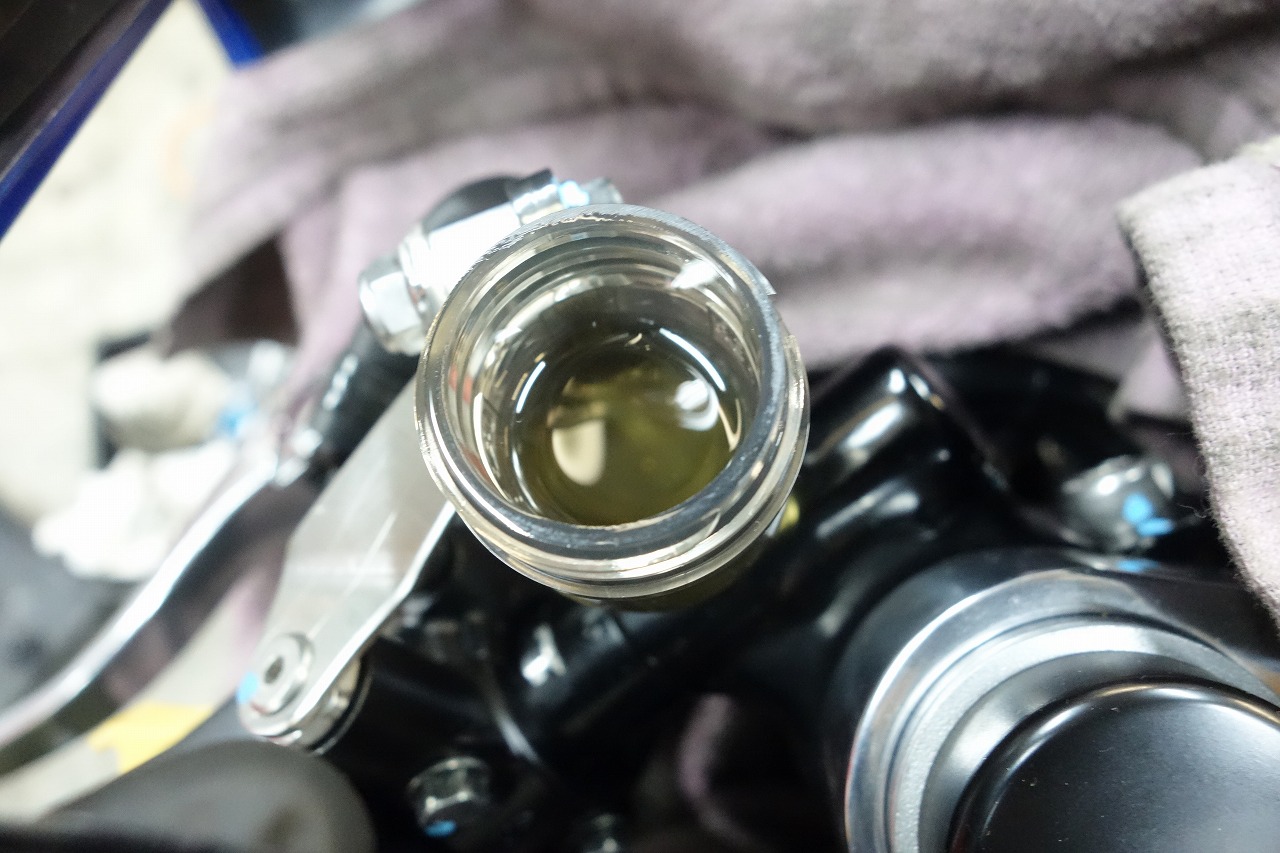
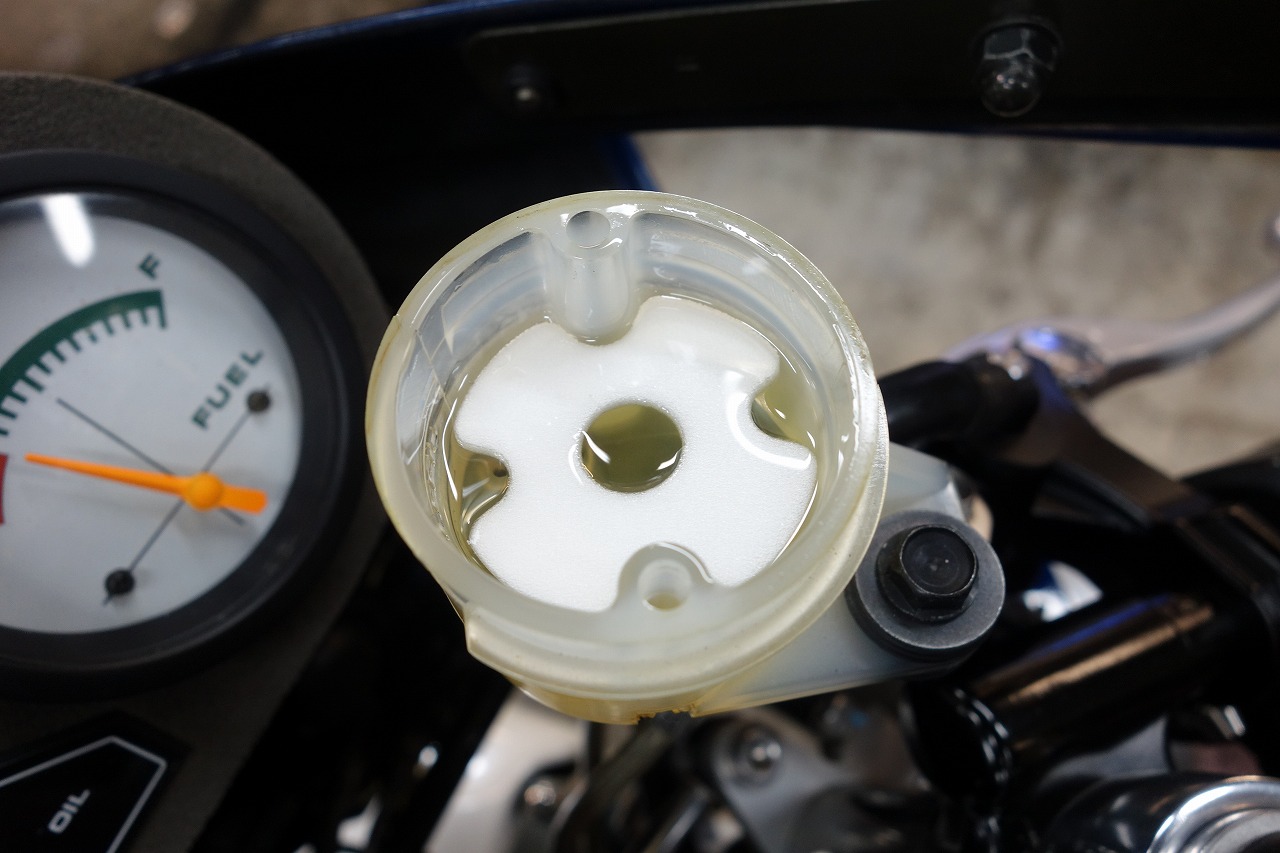
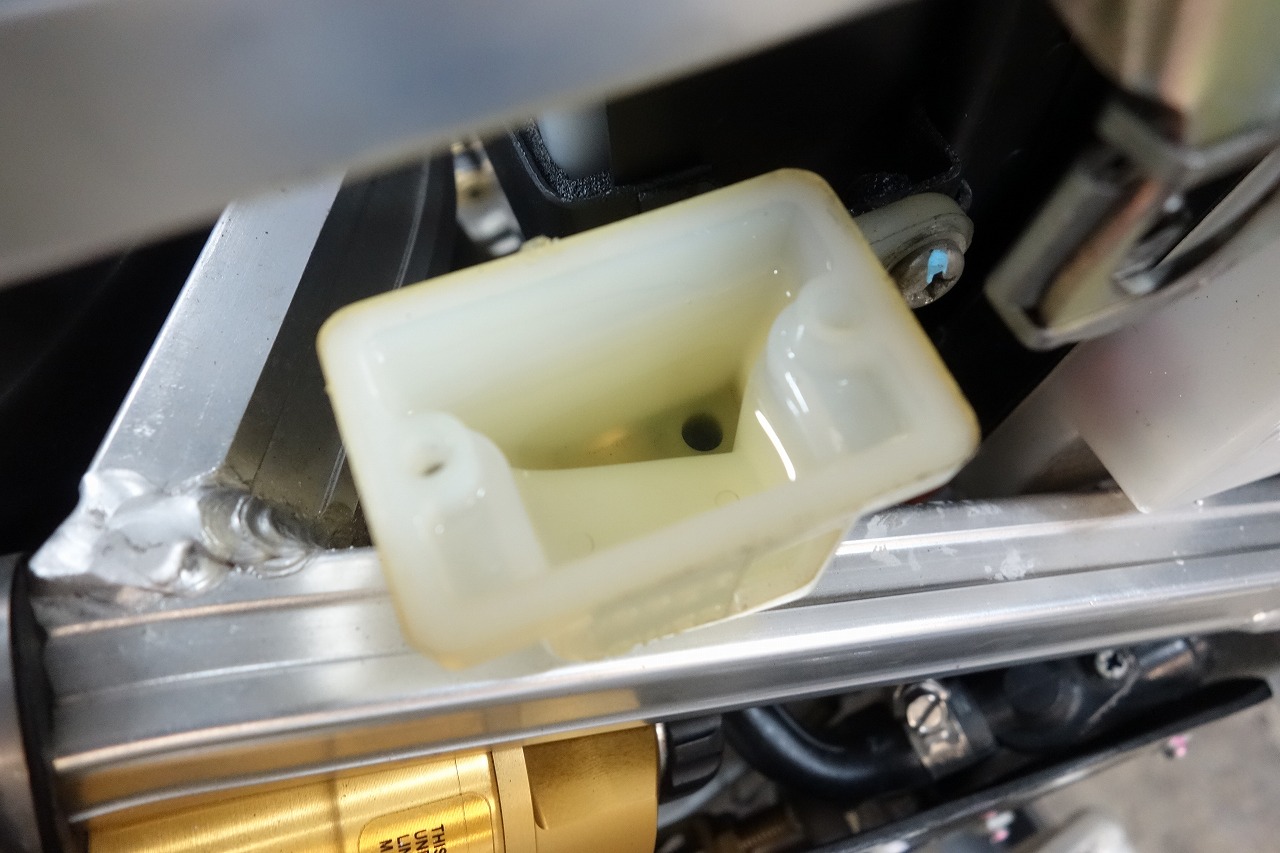
We replaced the brake fluid with Golden Cruiser DOT4.
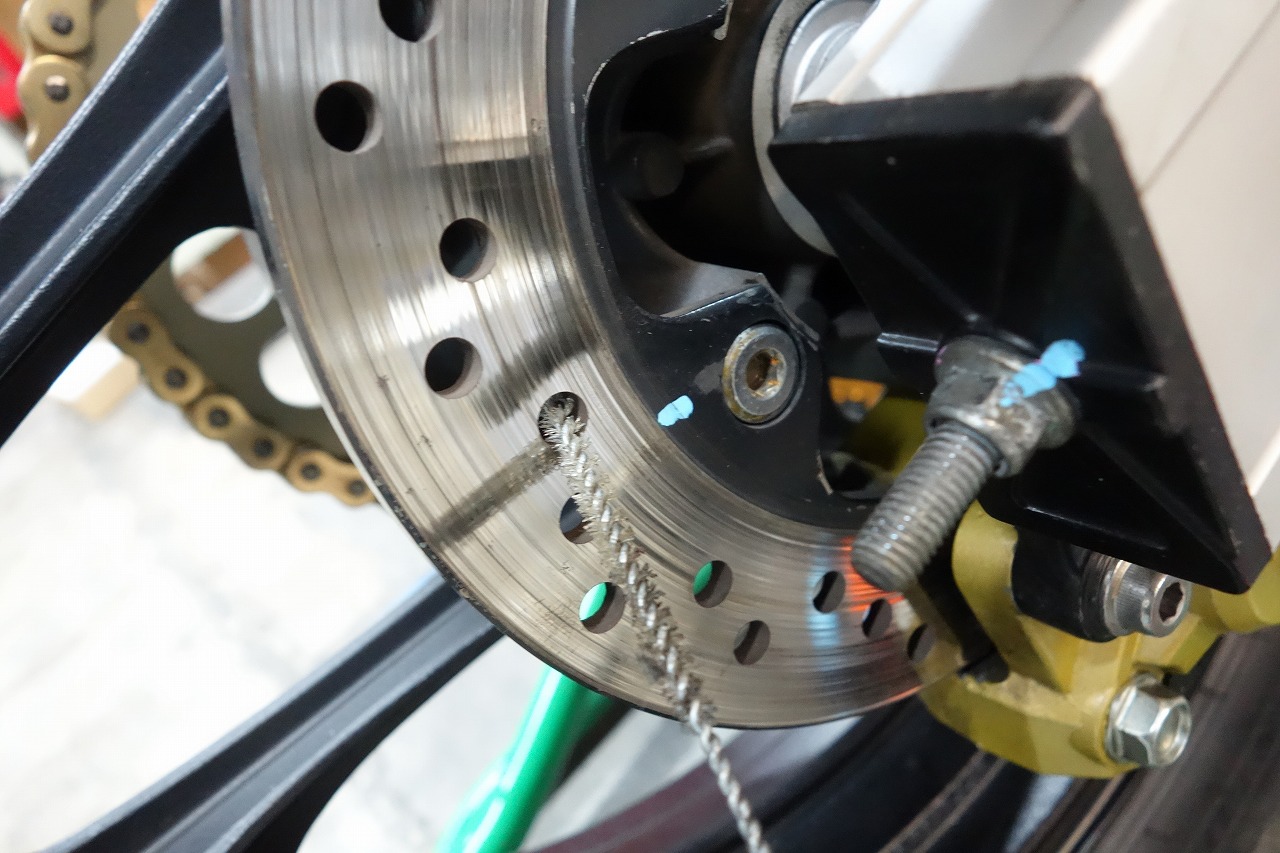
We cleaned out the three brake discs.
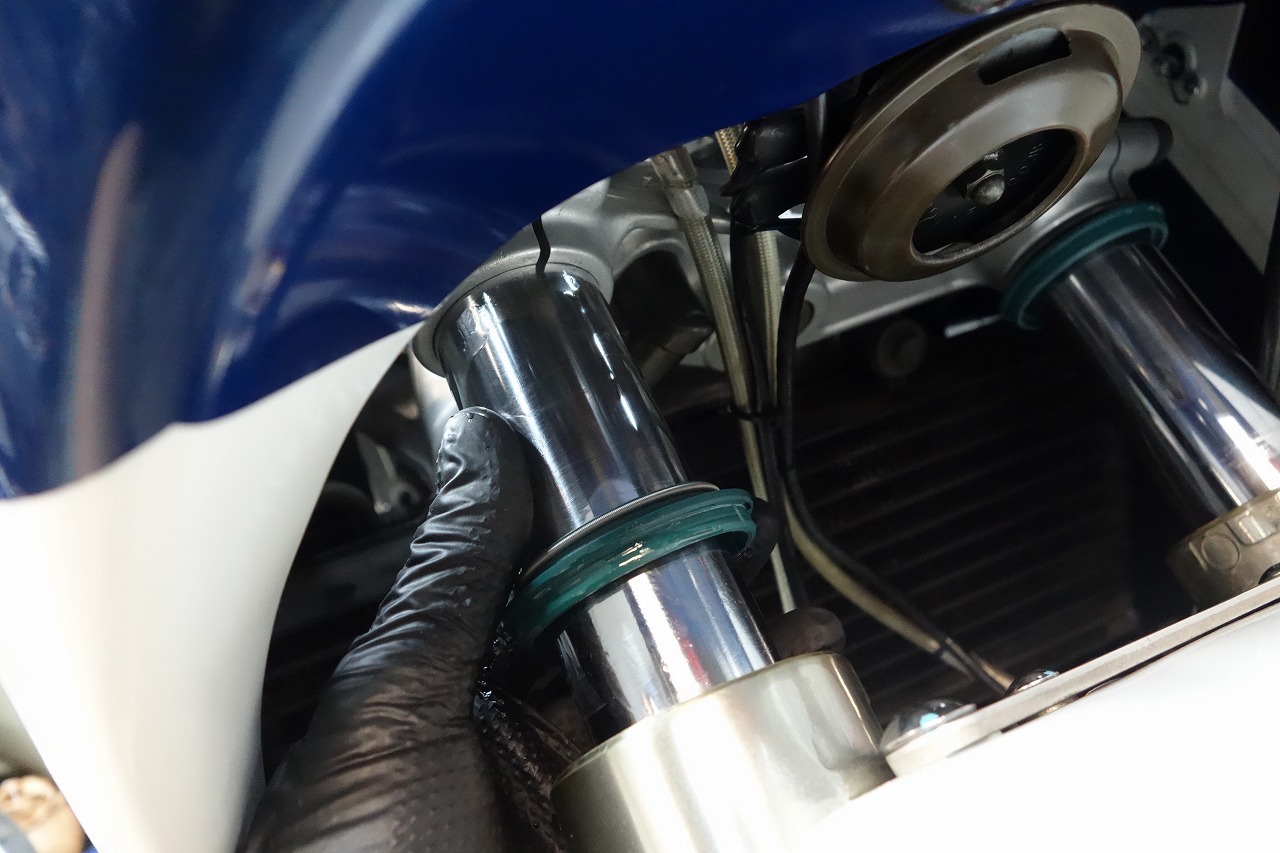
We oiled and rust-proofed the front fork.
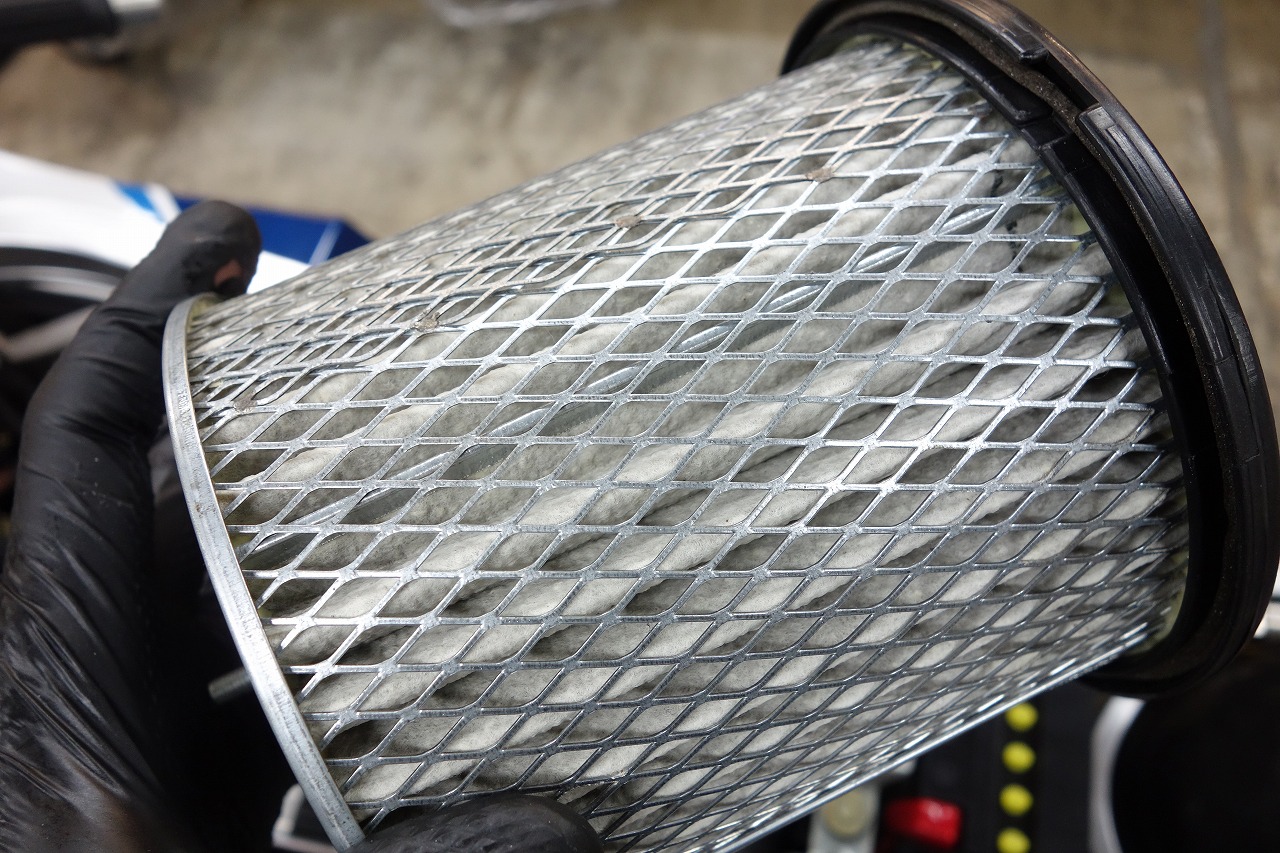
It looks dirty in the photo, but it’s actually whiter than that. This time we’re keeping it in service.
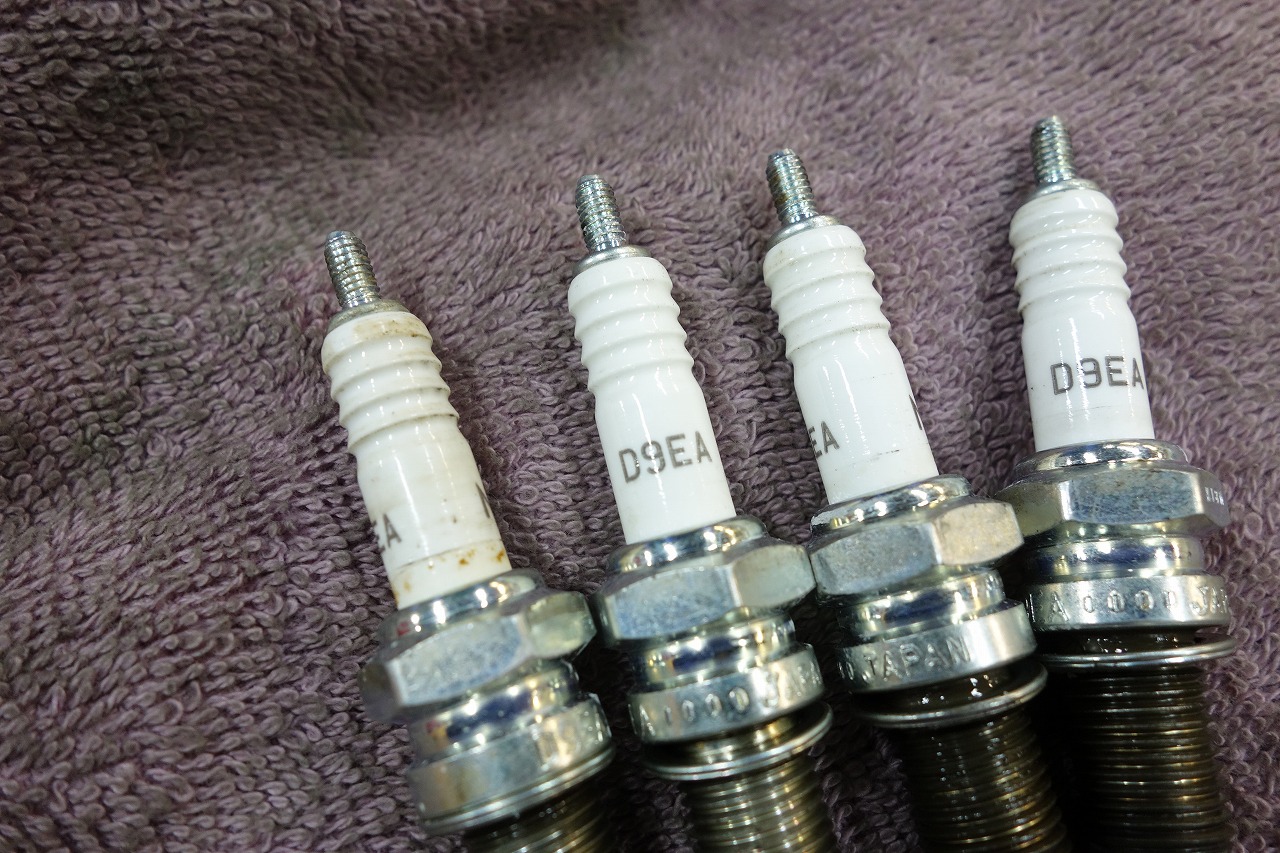
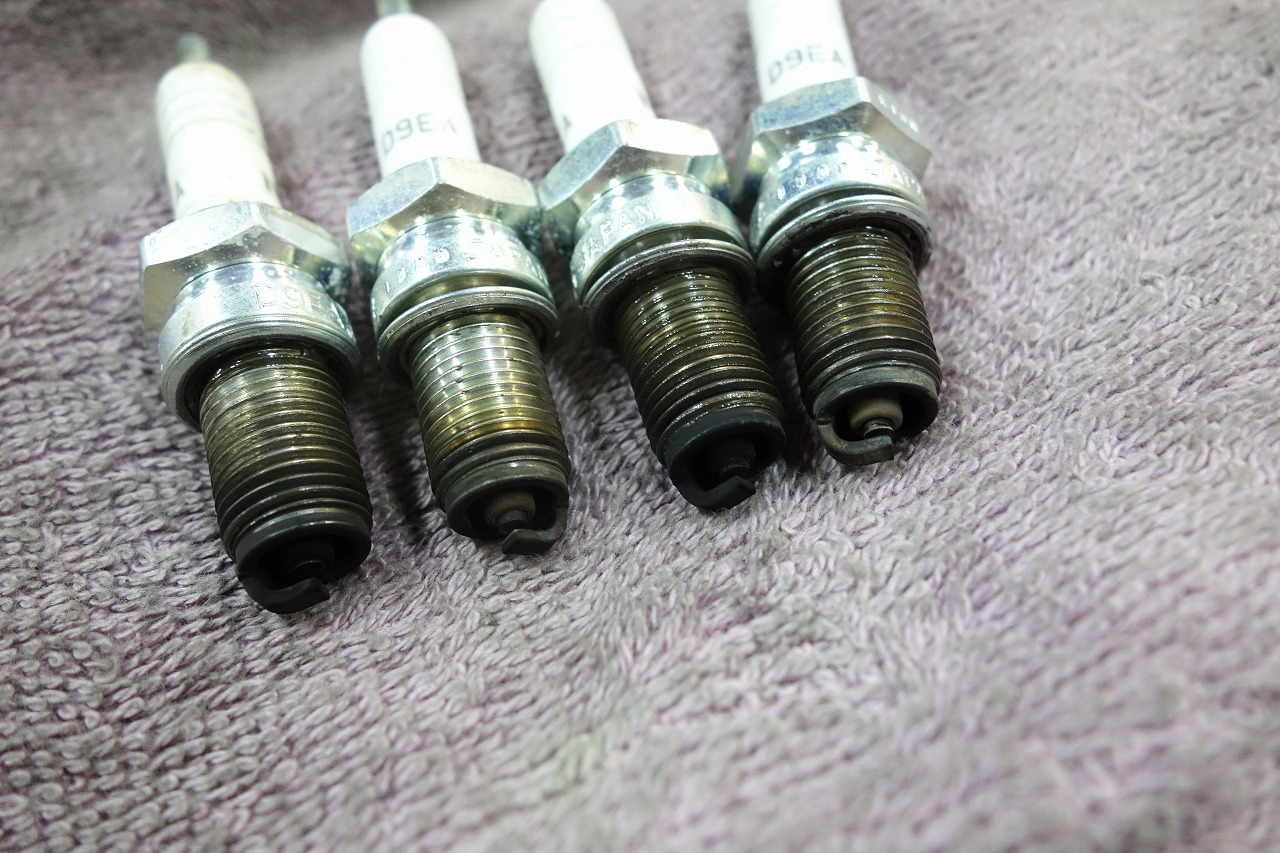
No resistance = factory spec.
DR9EA/JR9B &C are compatible plugs.
Based on the burn condition, we could drop the heat range if needed.
Actually, we did drop it this time to JR8B.
Adjusting heat range based on usage is a valid approach.
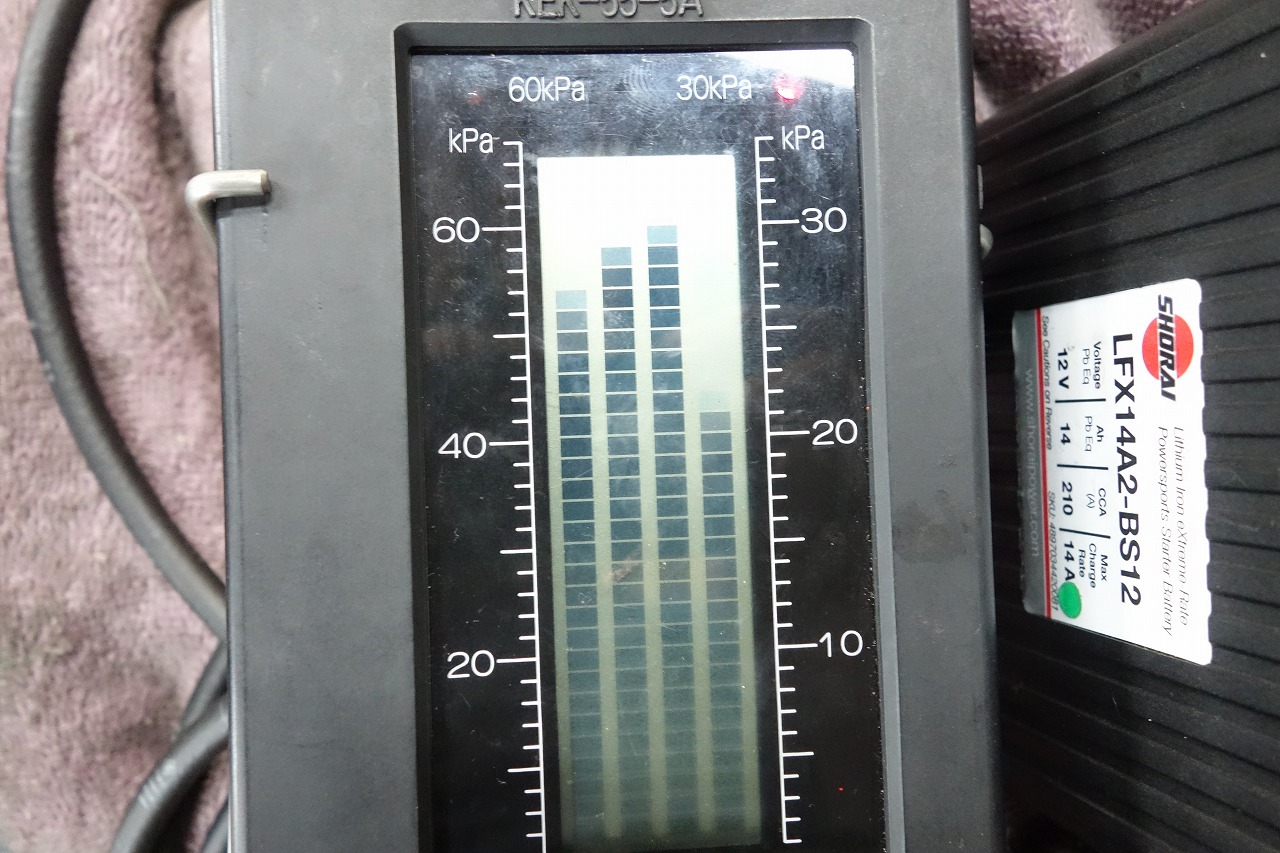
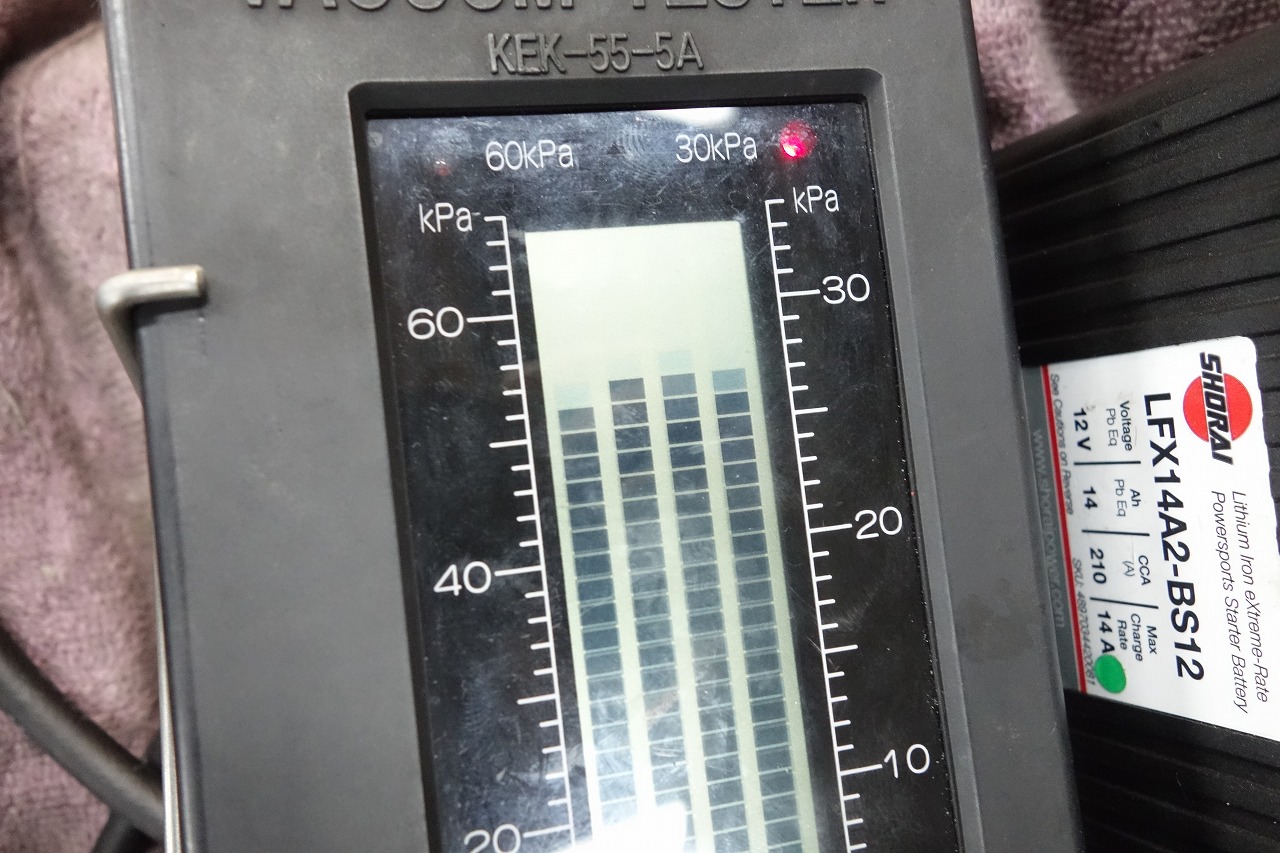
We adjusted the carburettor synchronization.
I thought it sounded okay, but it was actually pretty far off.
Carb sync always drifts with use, so a reasonable adjustment is fine.
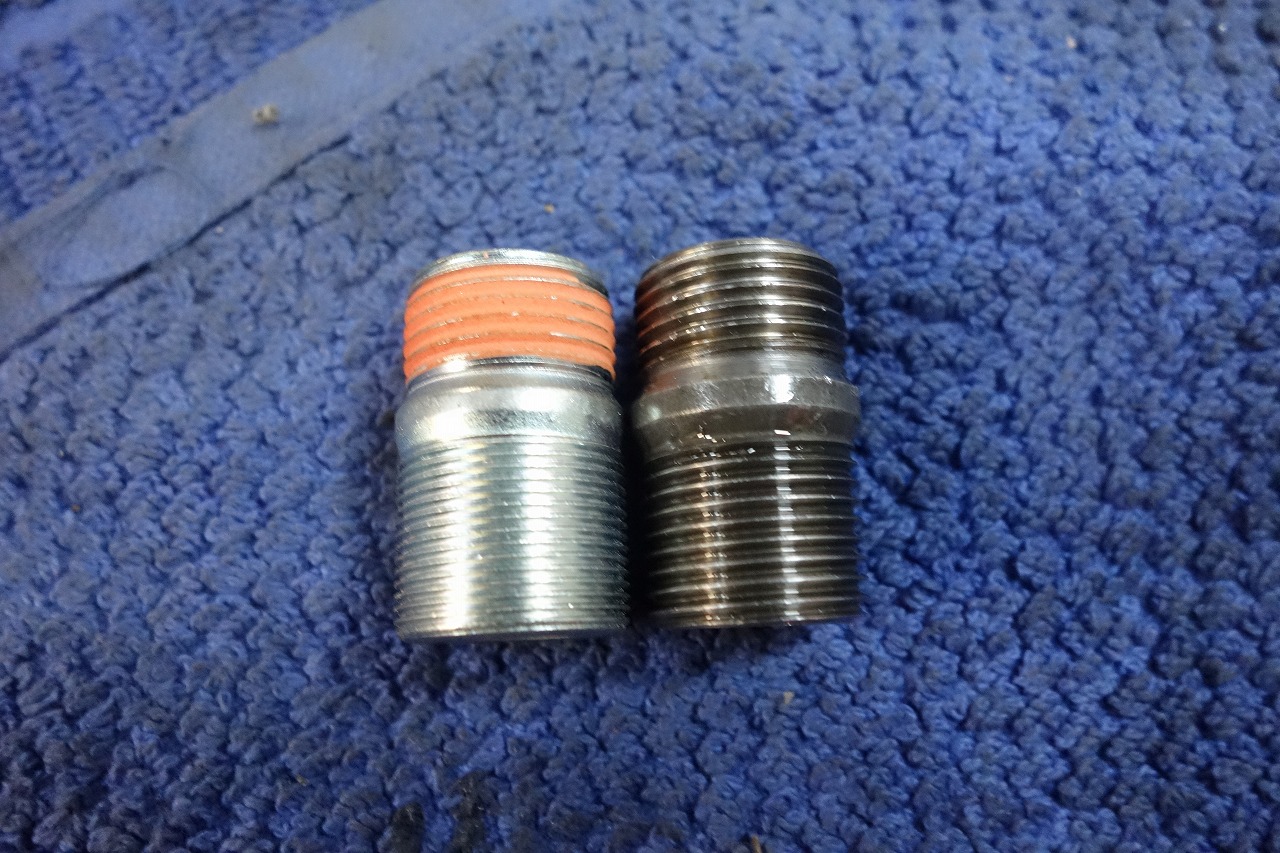
The GSX-R750 GR71 uses a special oil filter (just with a larger outer diameter and different thread pitch)
I really think this filter will eventually disappear or get expensive…
My inventory goes down one, workability improves, so anyone who has us do their work gets a mandatory replacement.
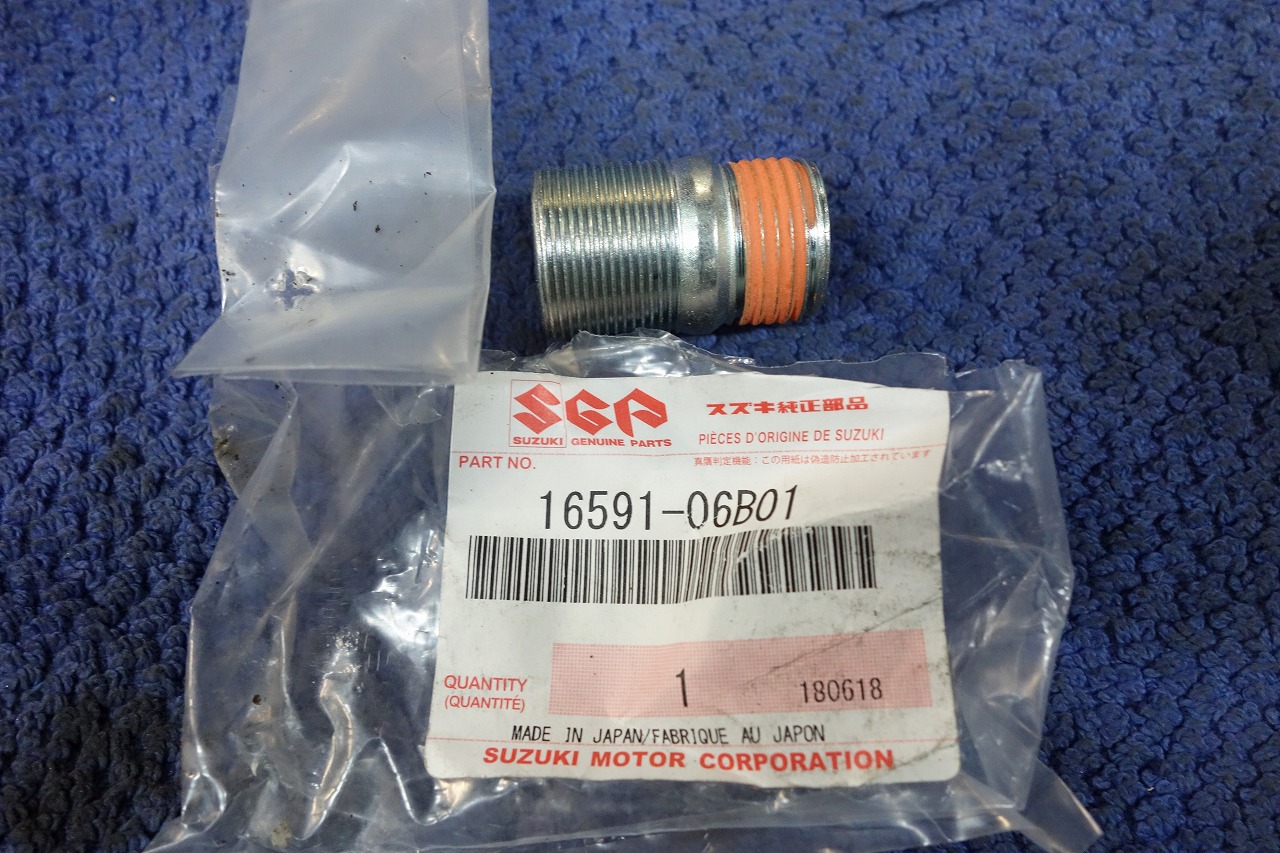
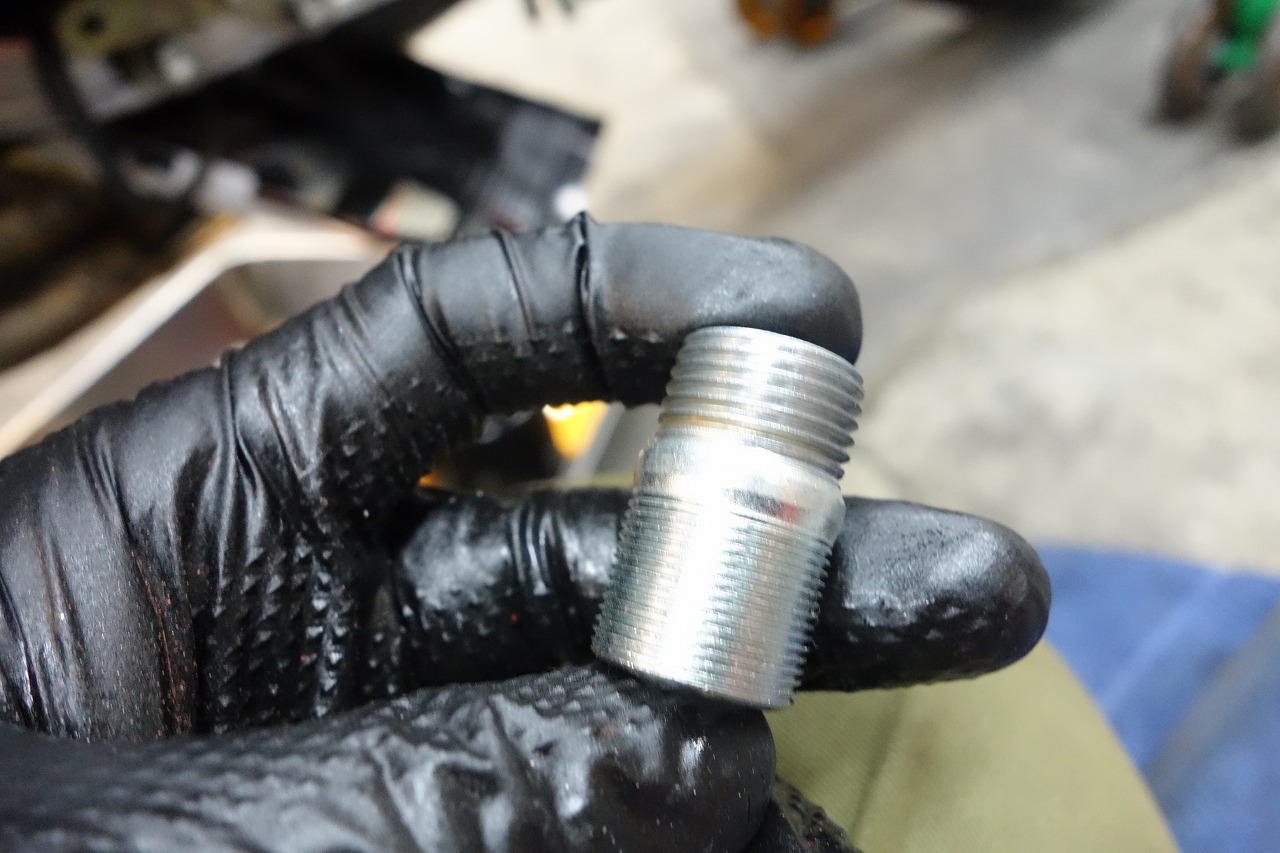
1100/1200 union 16591-06B01 ¥350 before tax, as of 12/19/2019
It’s safer to remove any thread locker that might remain in the oil line.
If you tighten it properly, it won’t loosen.
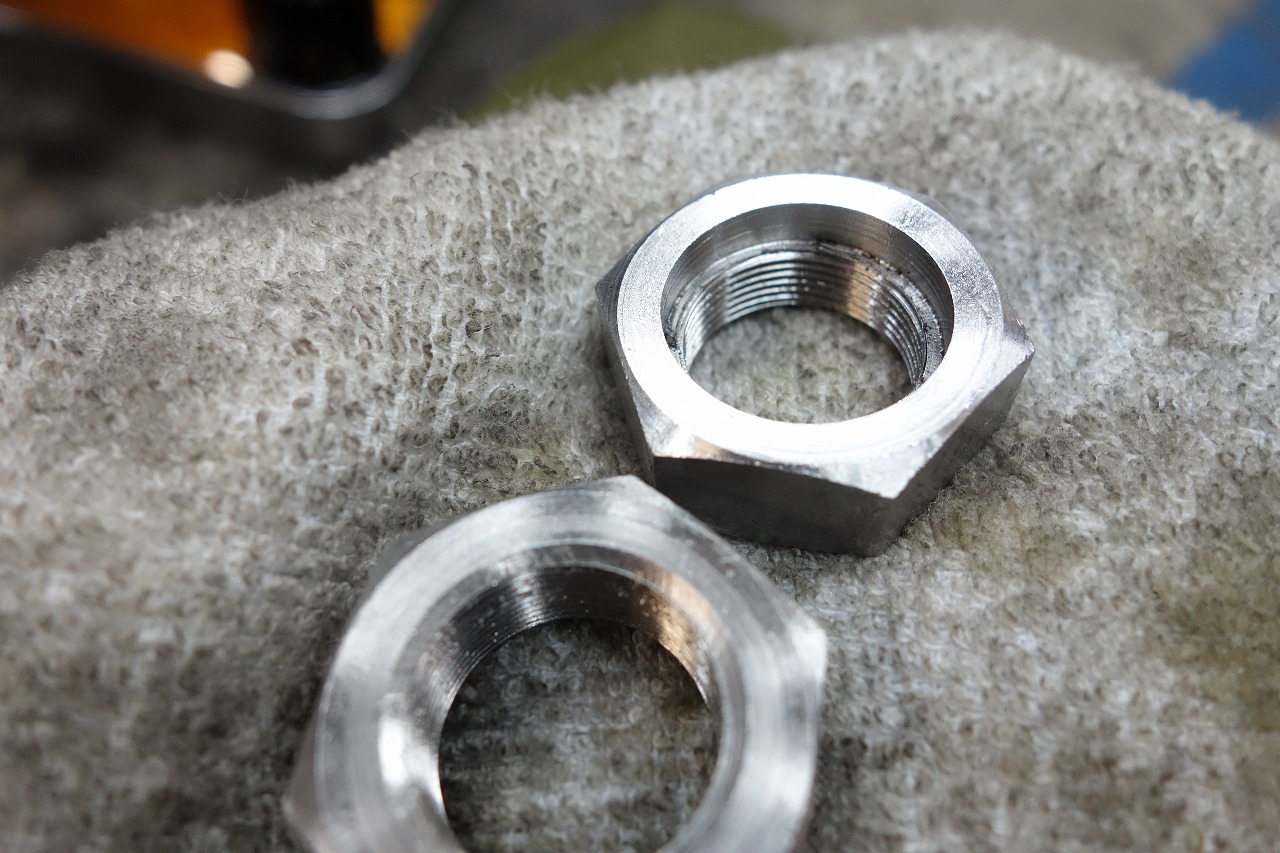
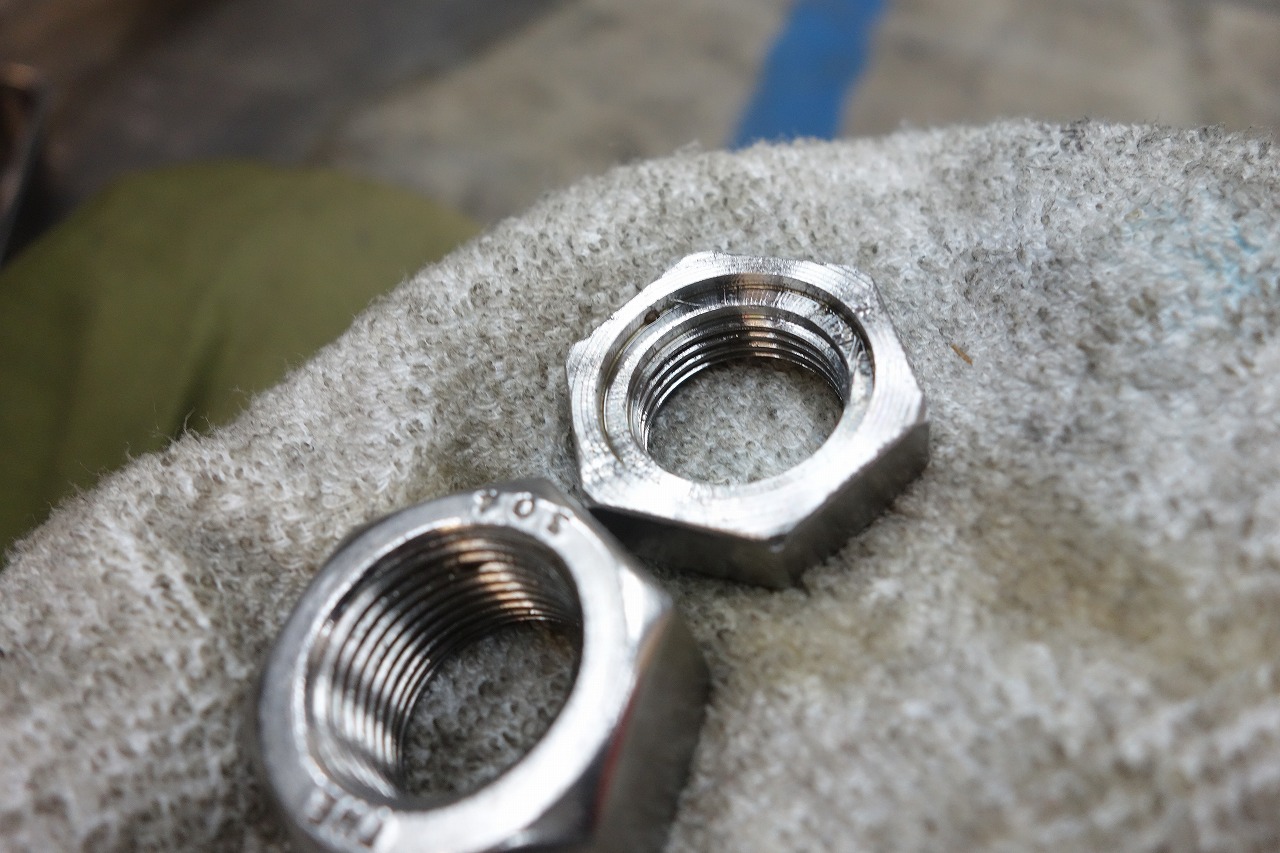
Some people wonder how we get it off—it’s just a double nut setup.
But with such a large thread diameter, we need to thin the nut on a lathe and cut clearance for the seat.
The double won’t fit otherwise.
If you have a lathe, it’s no big deal.
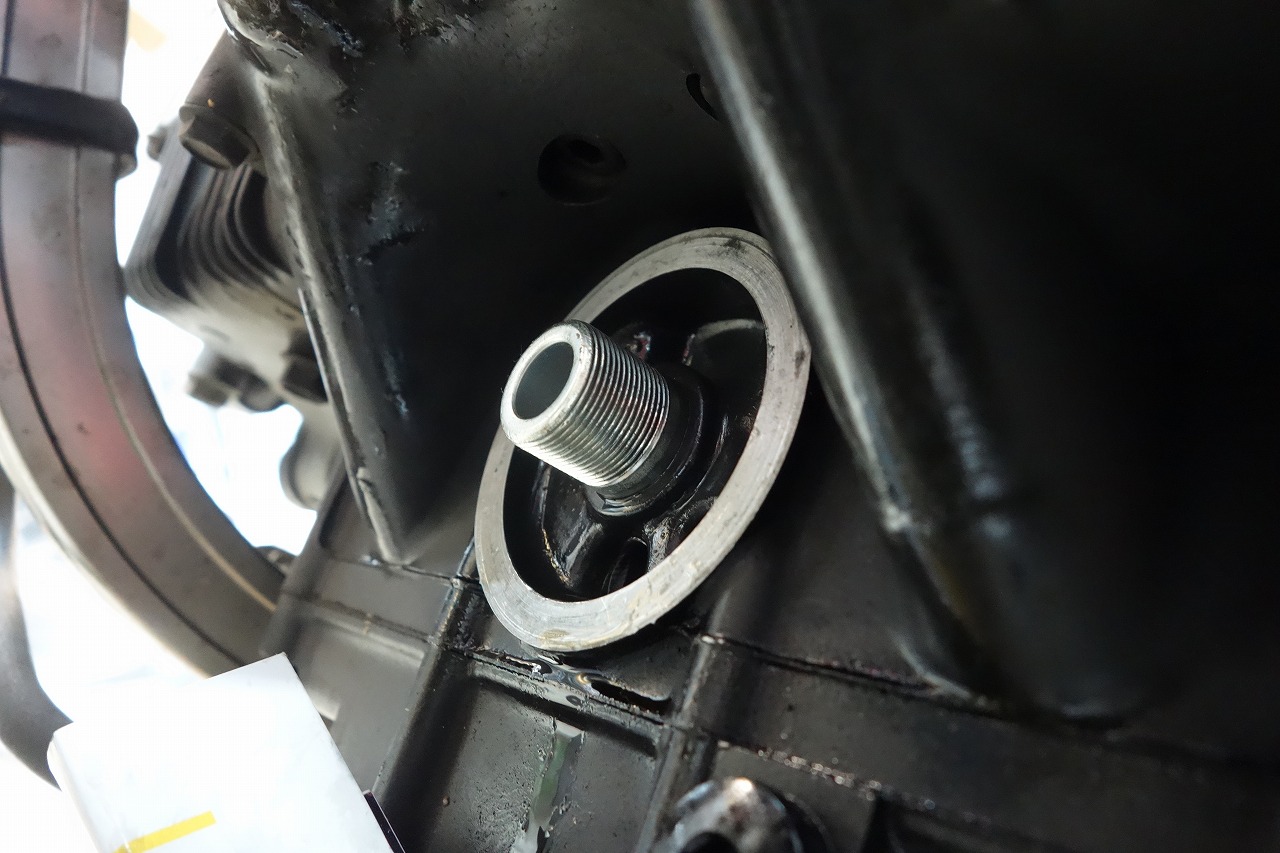
Swap it in and we’re done.
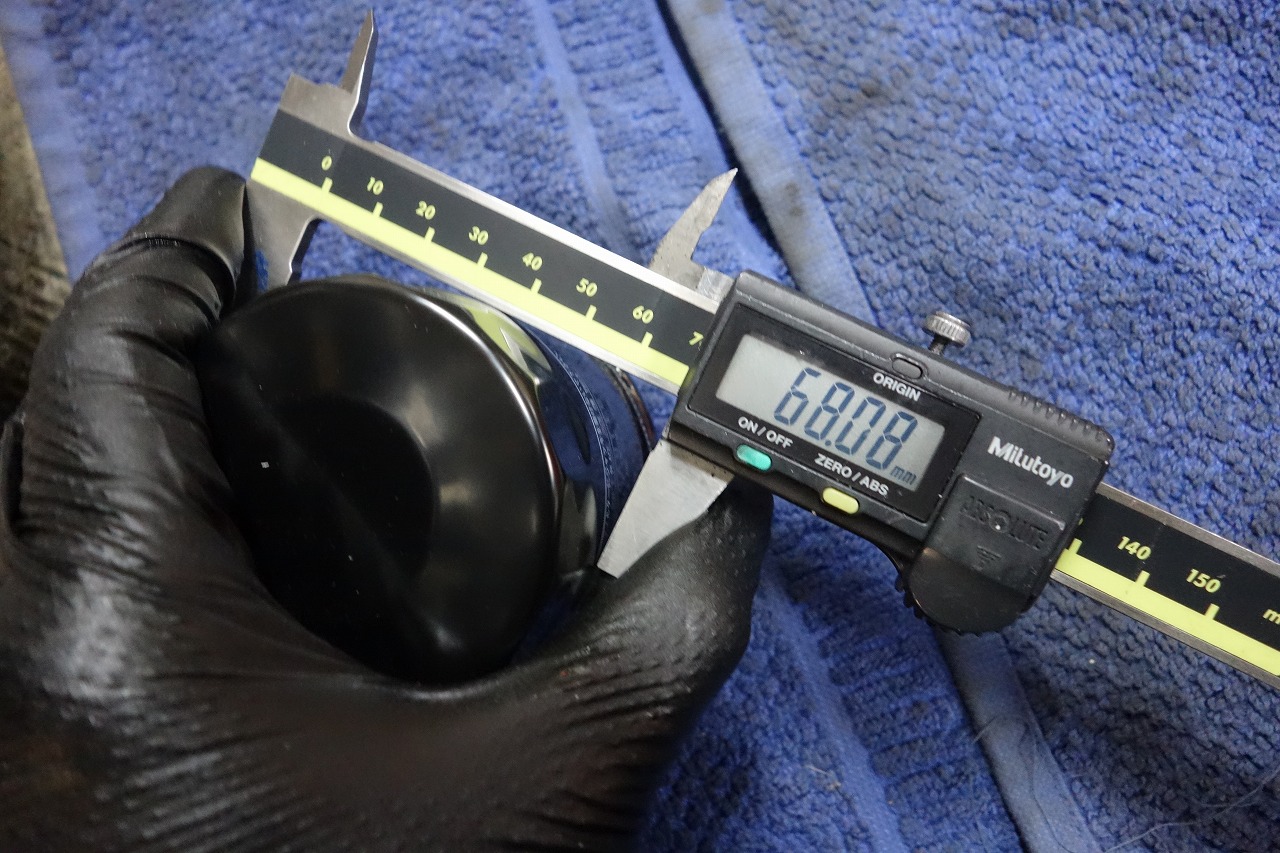
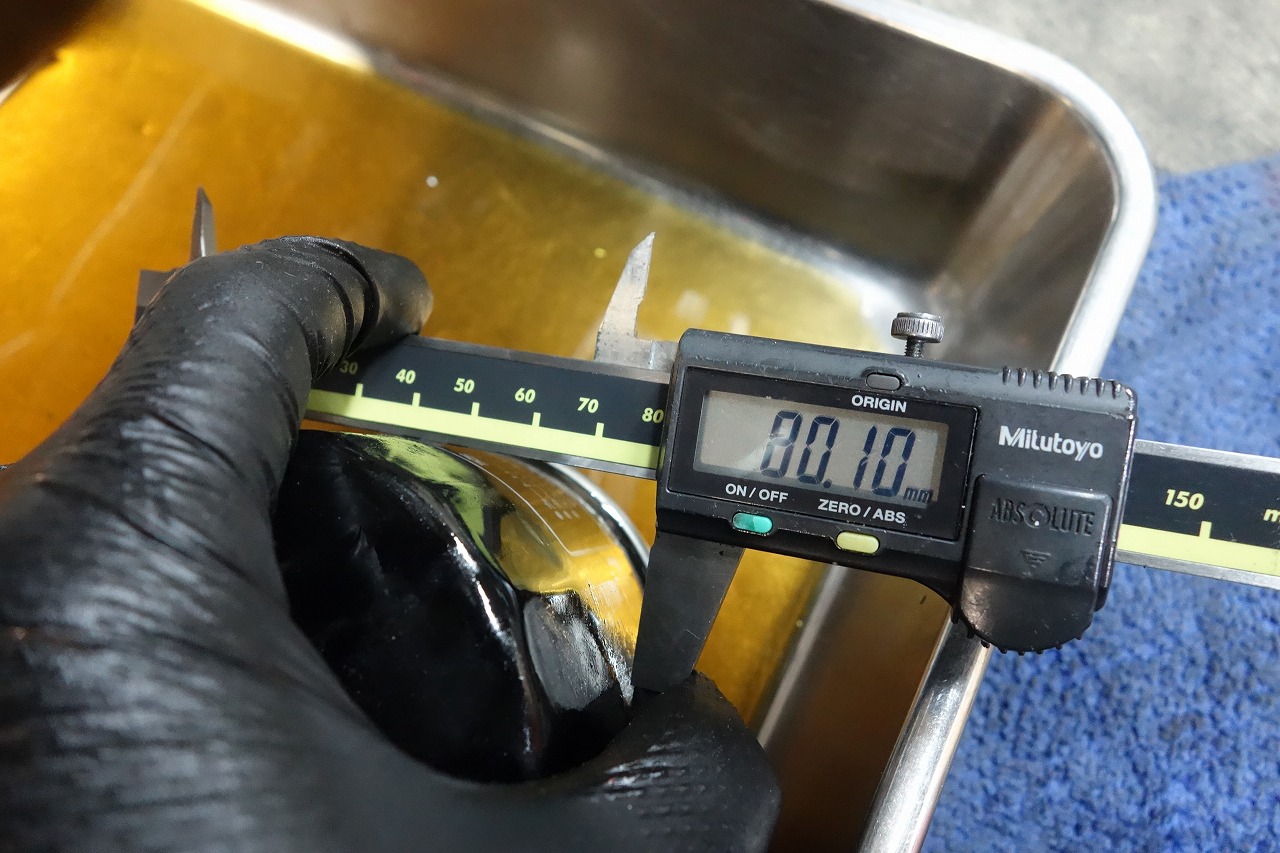
About 12 mm slimmer on the outside diameter.
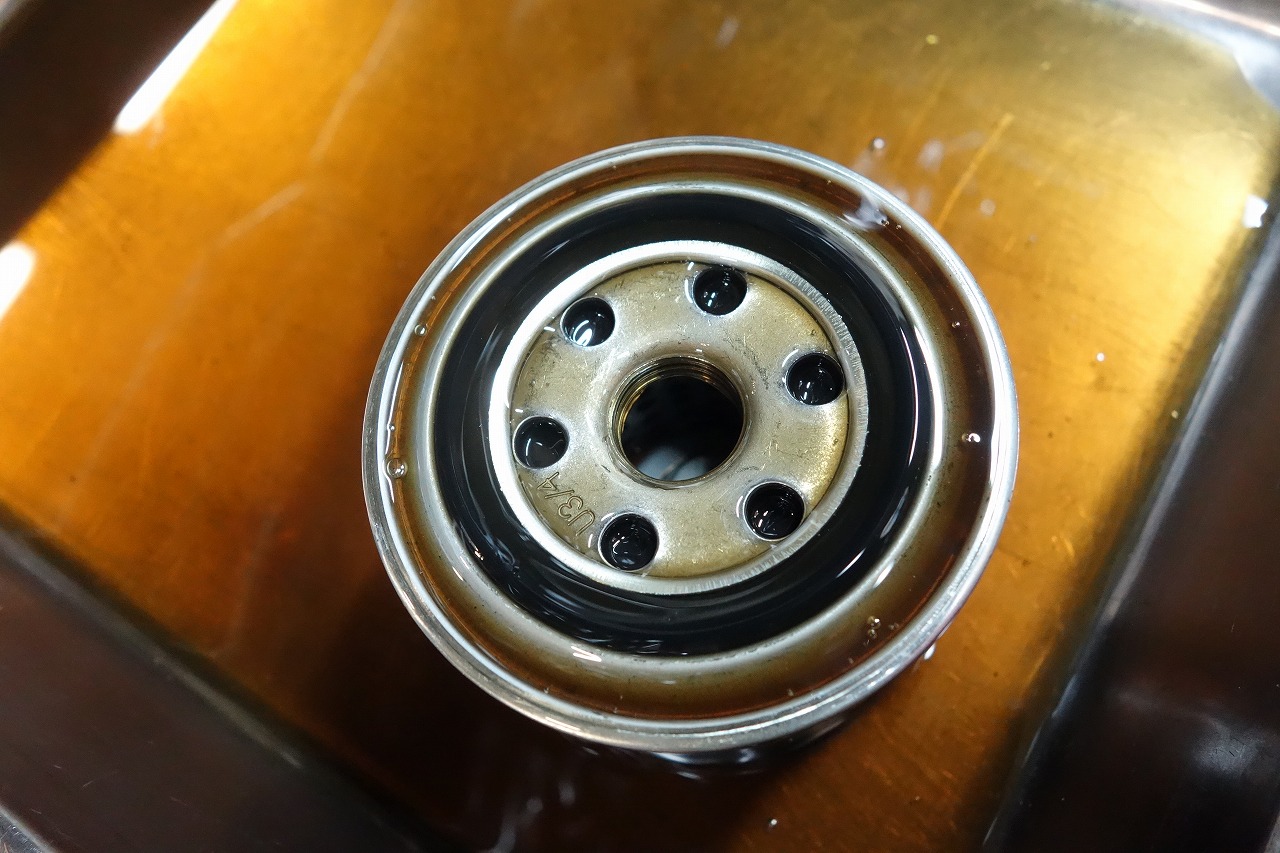
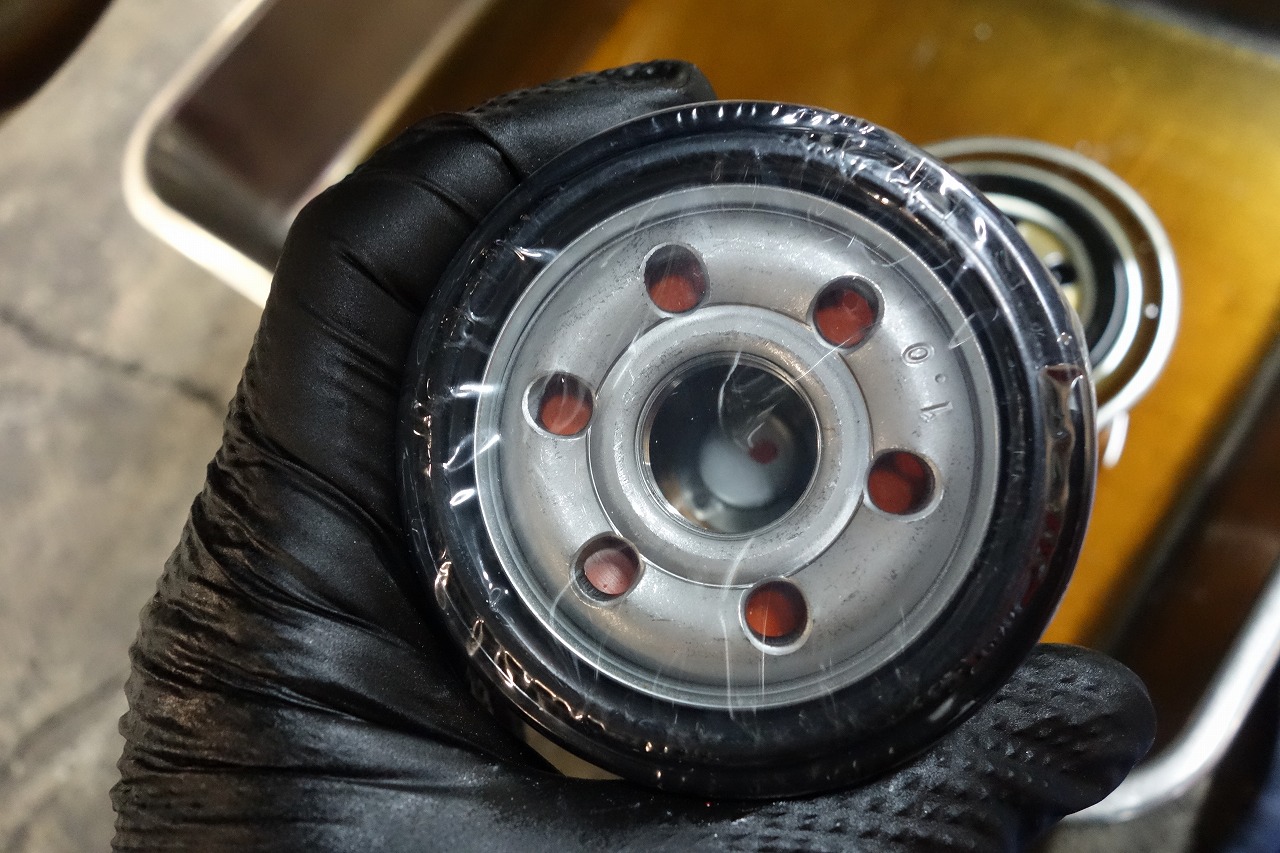
By the way, the case seating surface and O-ring dimensions are identical.
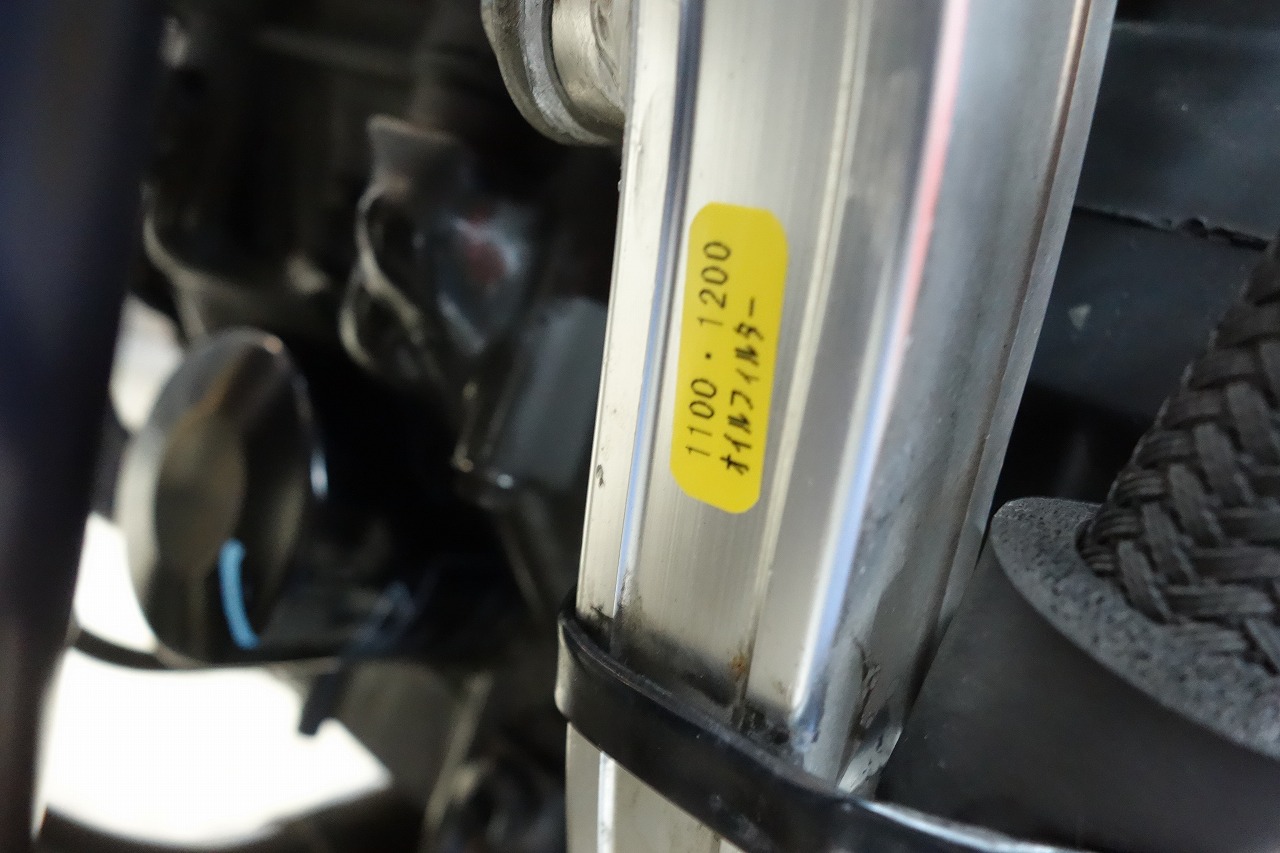
Marking it prevents mistakes for me and others.
Hmm, the label tape is crooked… let me re-apply it.