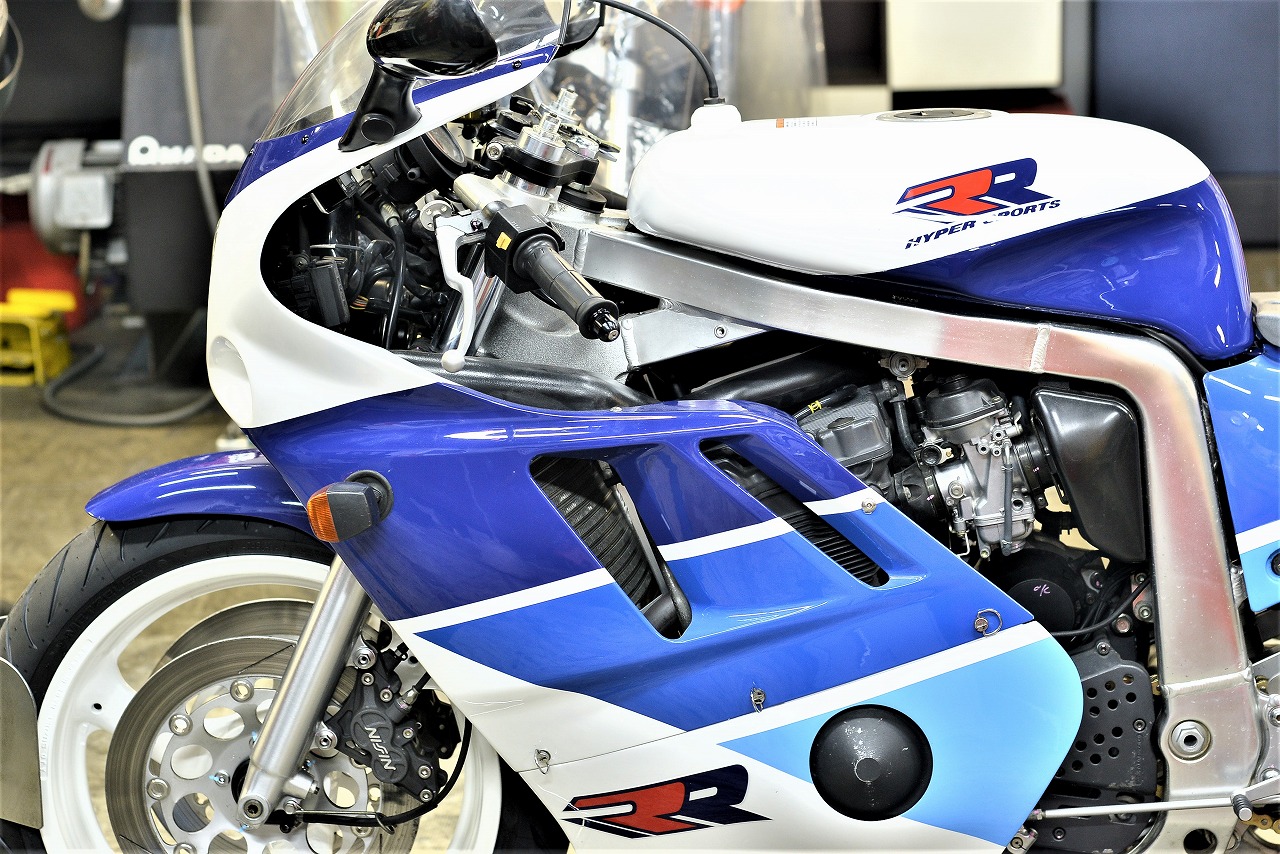
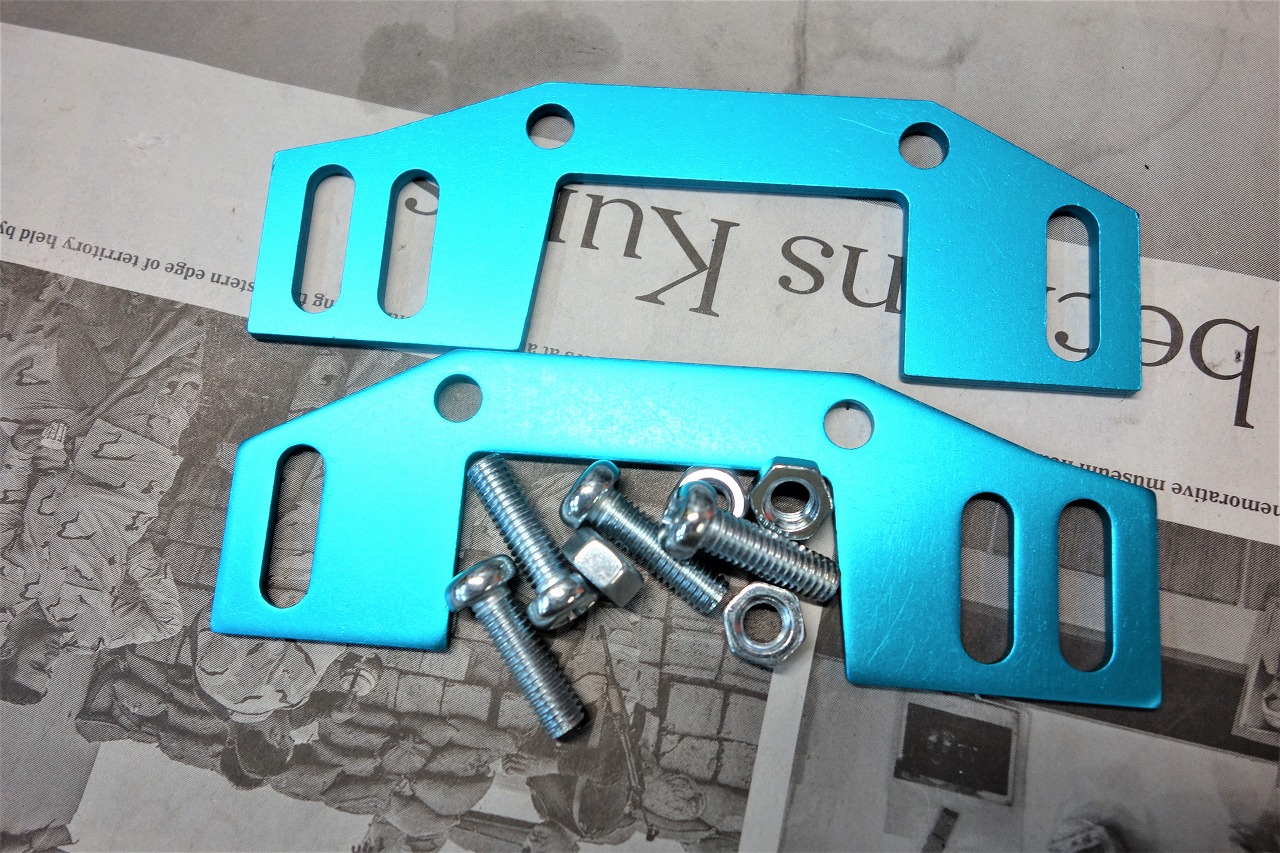
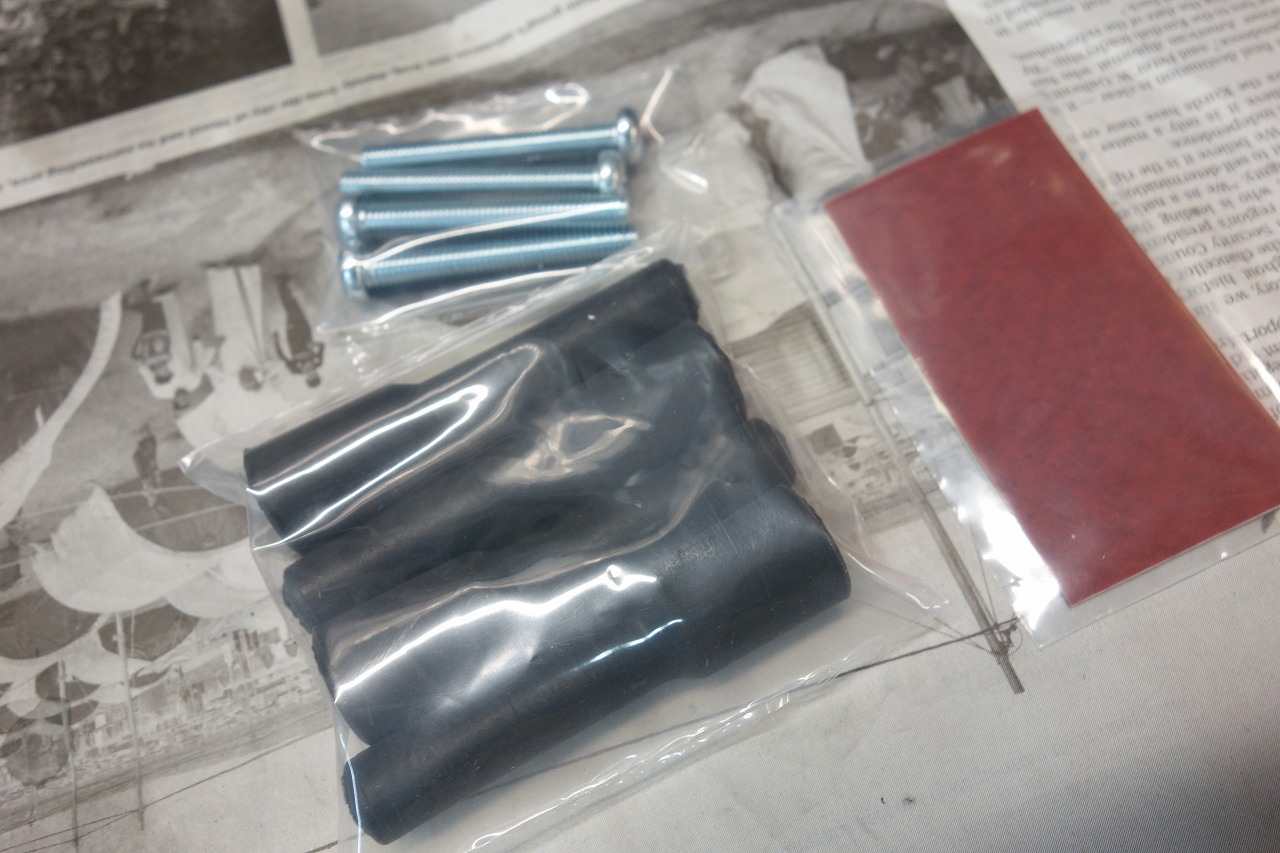
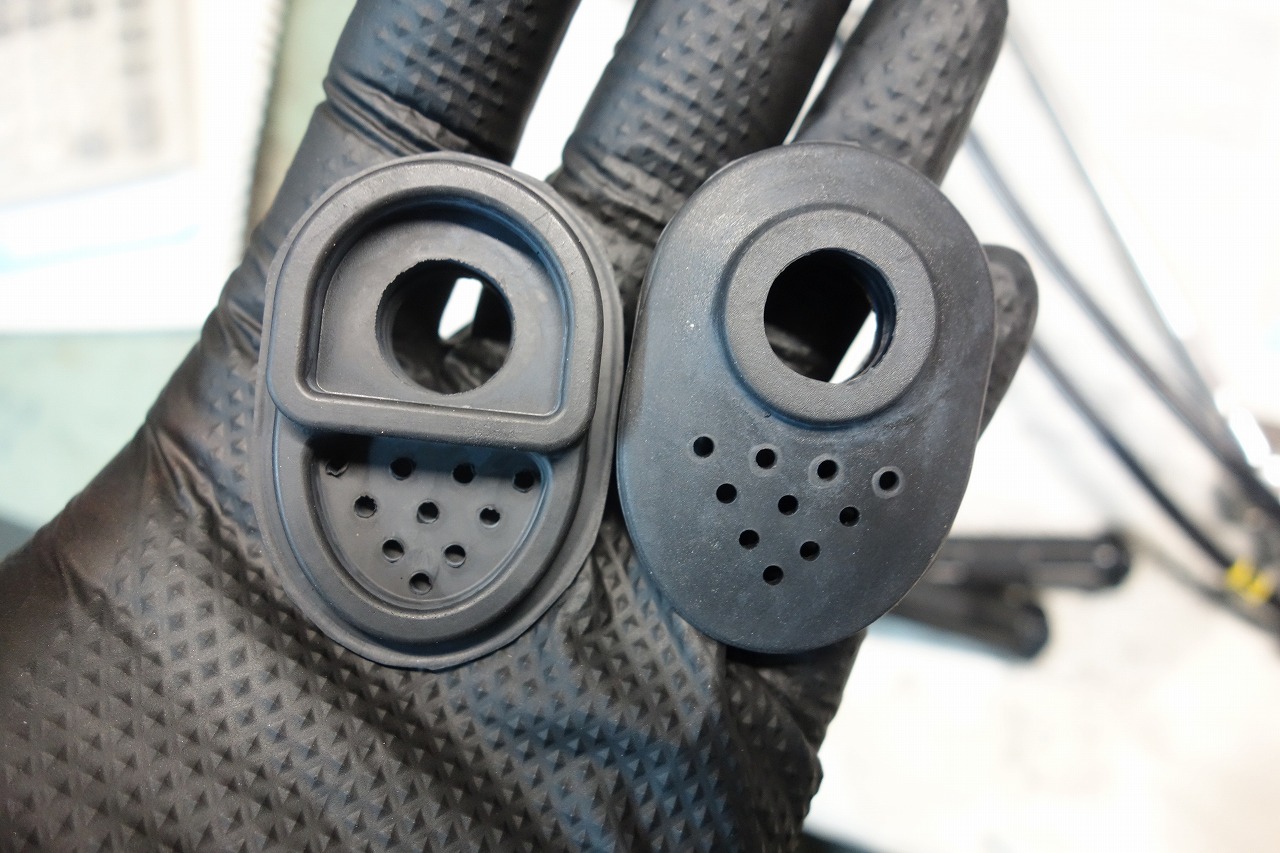
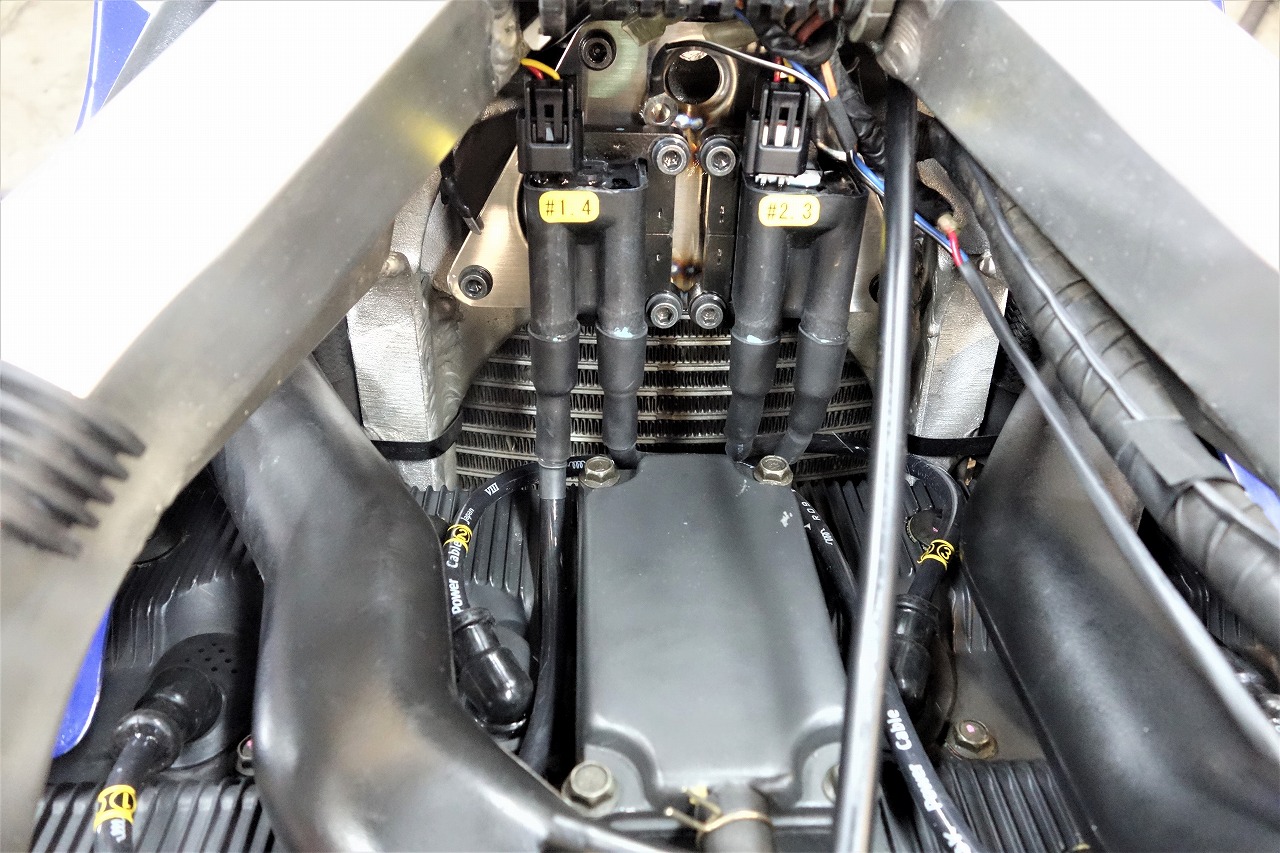
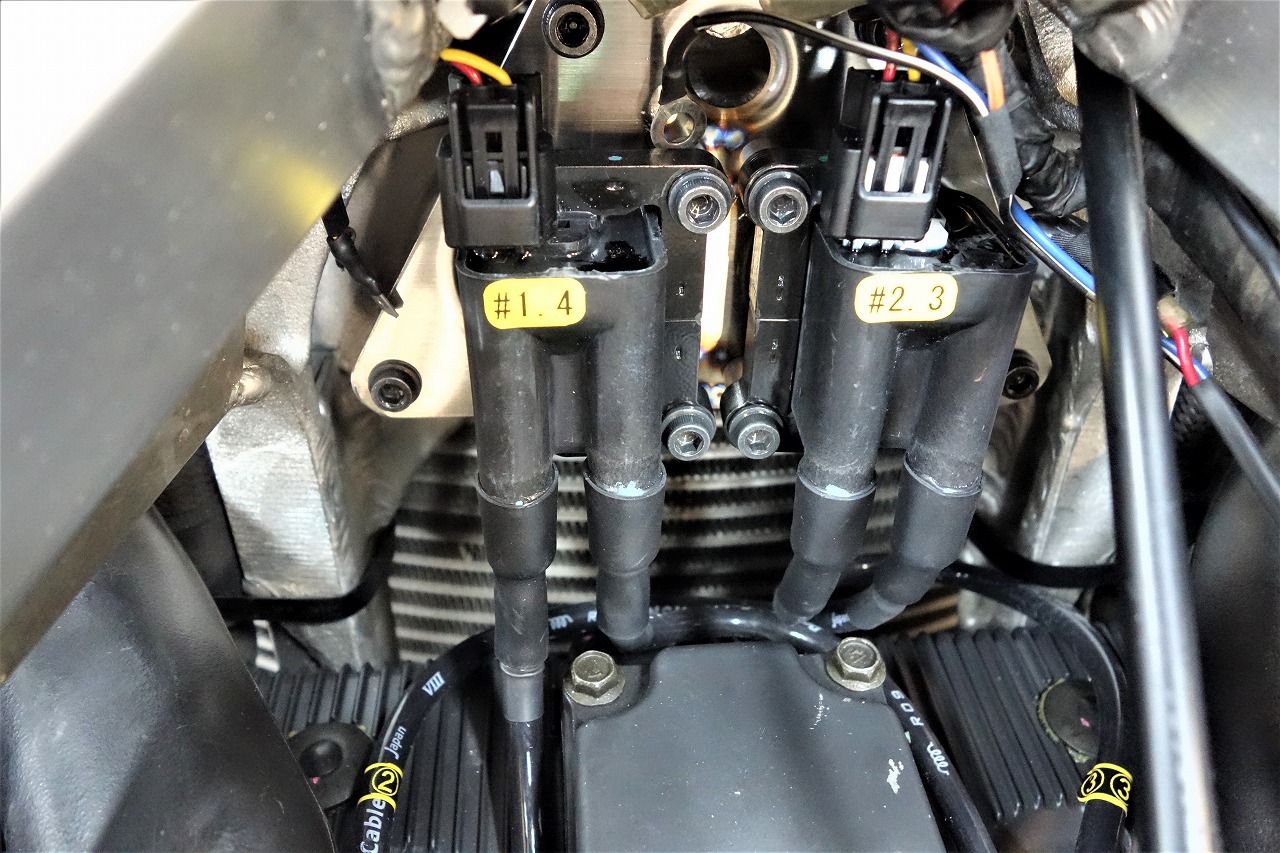
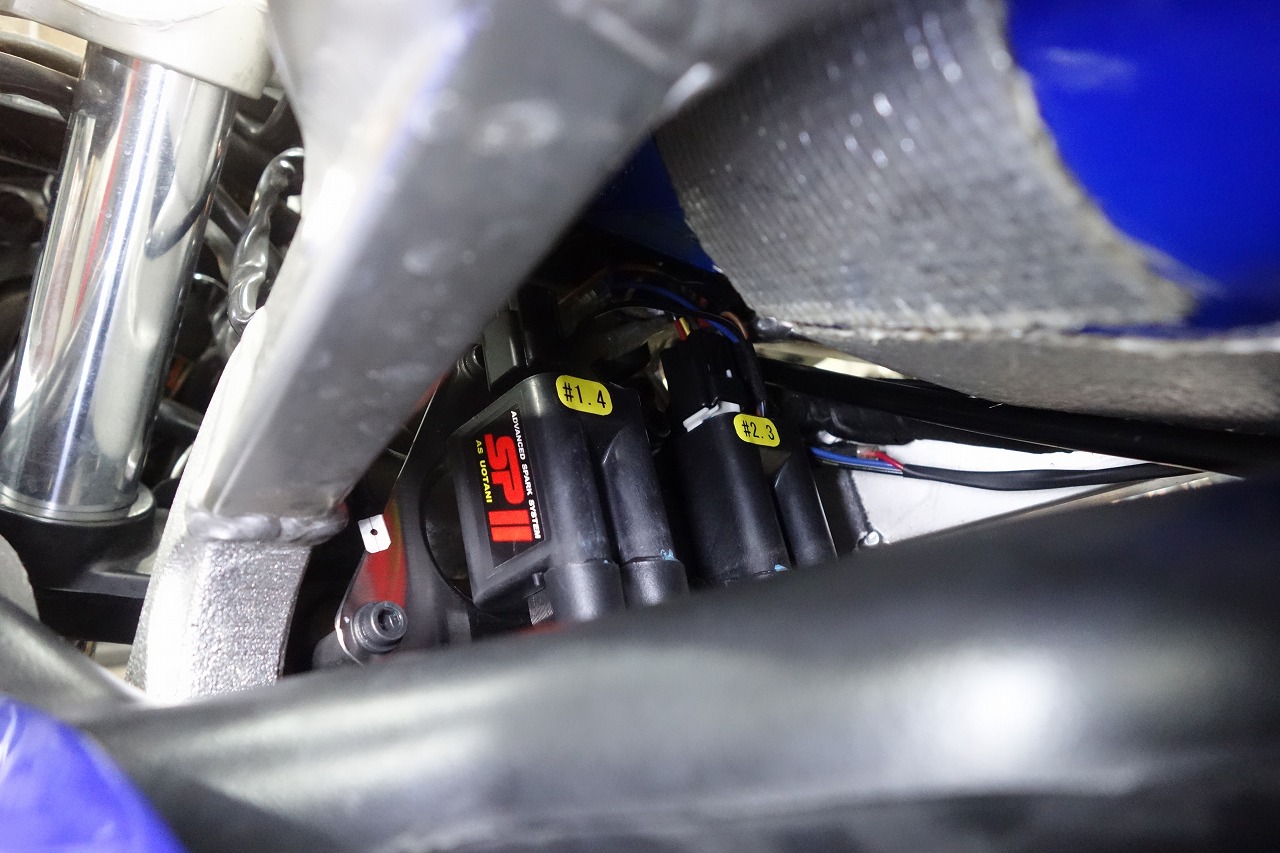
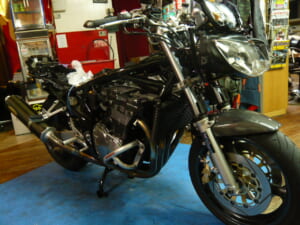
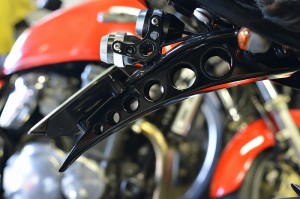
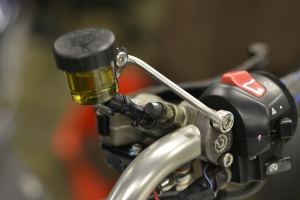
We’re getting advance bookings for next year already in 2020—isn’t that early? I find myself thinking that lately. But there’s no way we can finish this year, right? Impossible! Which means it all rolls into next year. Ah, it’s getting cold. So, everyone, here’s the continuation of your favorite GSX-R750RK. The included bracket has excellent versatility. The usual blue one and screws. It’s bolt-and-nut fastening, and I’m not good with Phillips heads. I’ve broken them before, so I basically don’t use them. Recently—or maybe not—the spark plug wires have rubber covers, which is kind of nice but also kind of not. I’m leaving this part alone too. It warps a bit. I set up the coil mounting bracket like this. When I do some barring after a while, I think, “Yeah, this really is nice.”
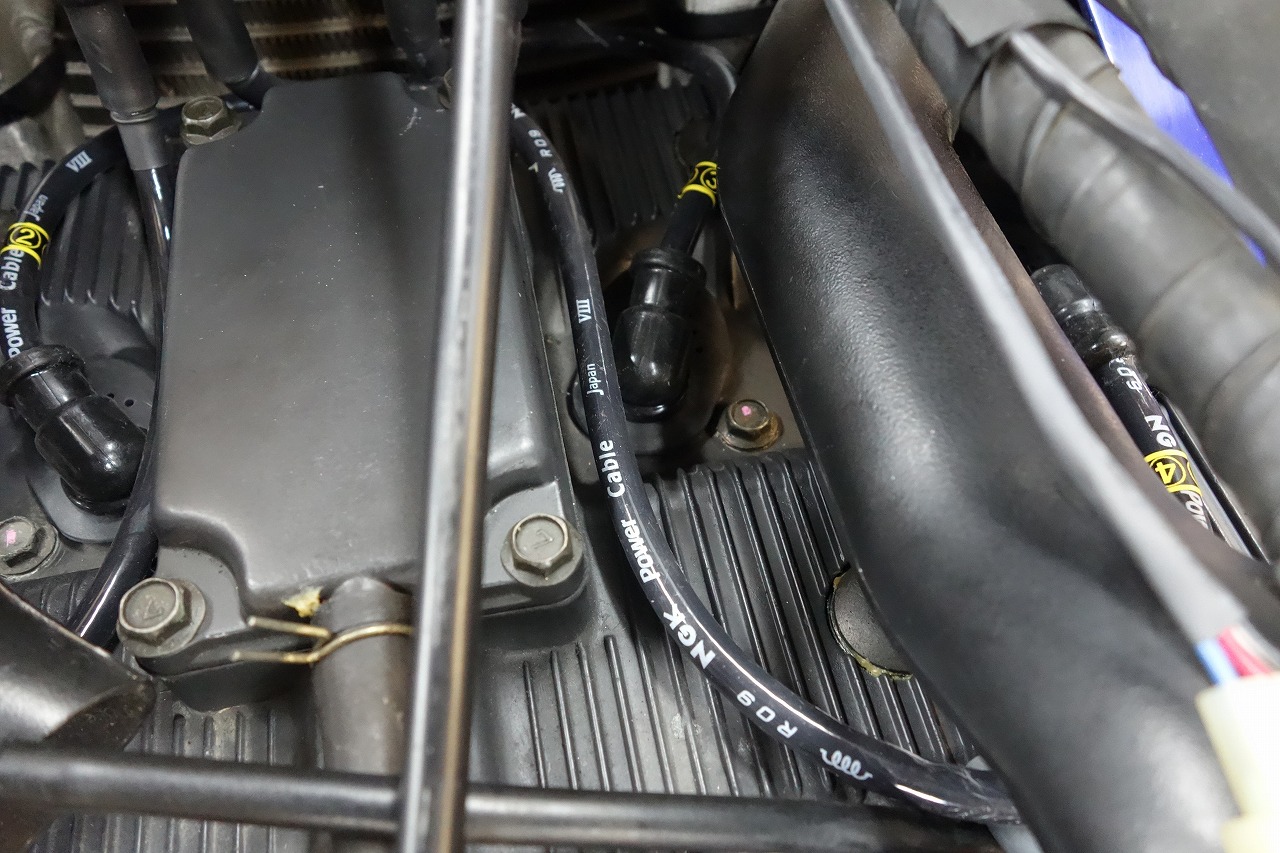
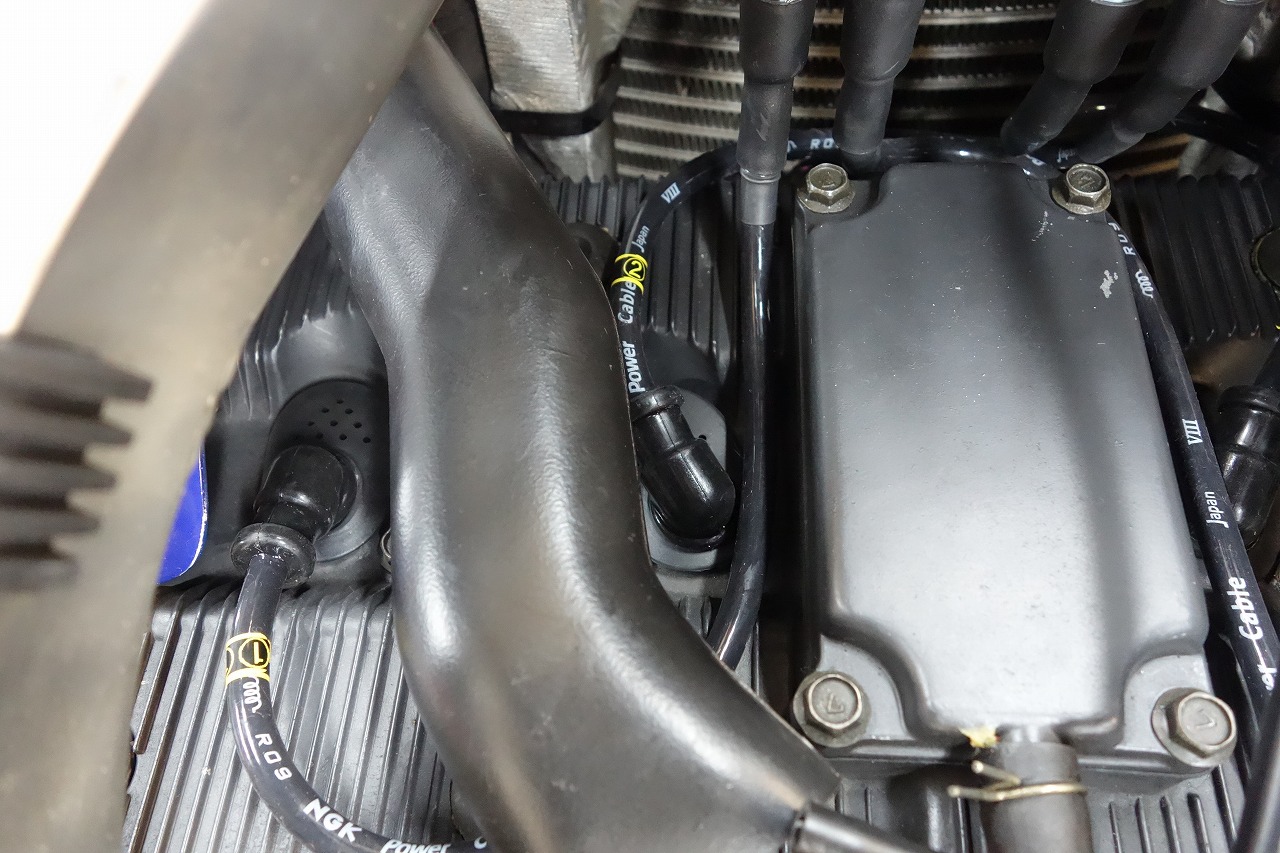
It’s strange that hardly anyone gets excited about it. Nutless, so to speak—fixing it to the body itself works great. A rivet gun (POP rivet) would work too, but I personally dislike them, so I basically don’t use them. The spark plug wires aren’t the shortest route; I run them with plenty of slack and a gentle radius so you don’t end up thinking later, “Hmm, this is in the way.”
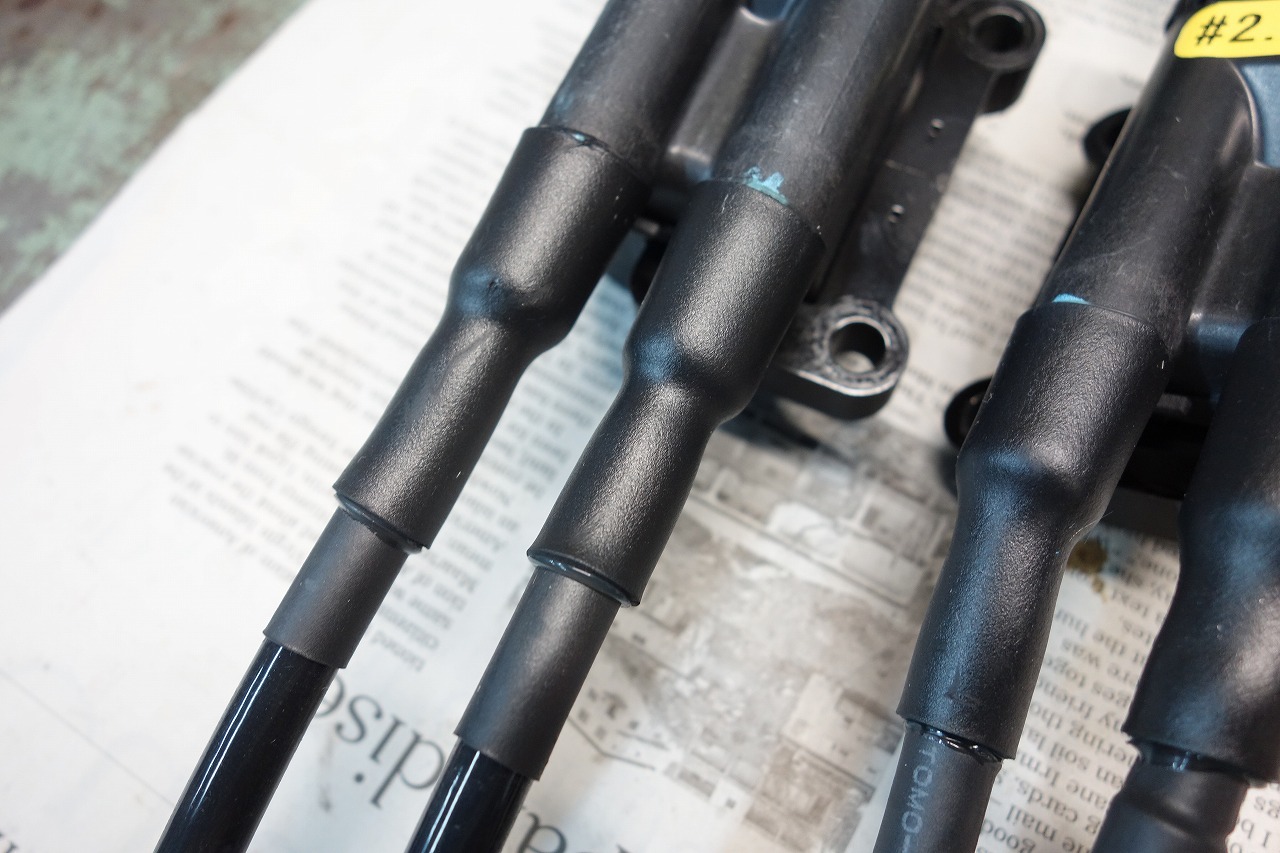
The plug wires are secured with the old method of shrink tubing and 4-1 or 3-1 ratio, held tight. You only pull them out when replacing them, I’d say. Since you can cut them off with a knife to remove them, I personally want them to never come loose except when I actually want to replace them.
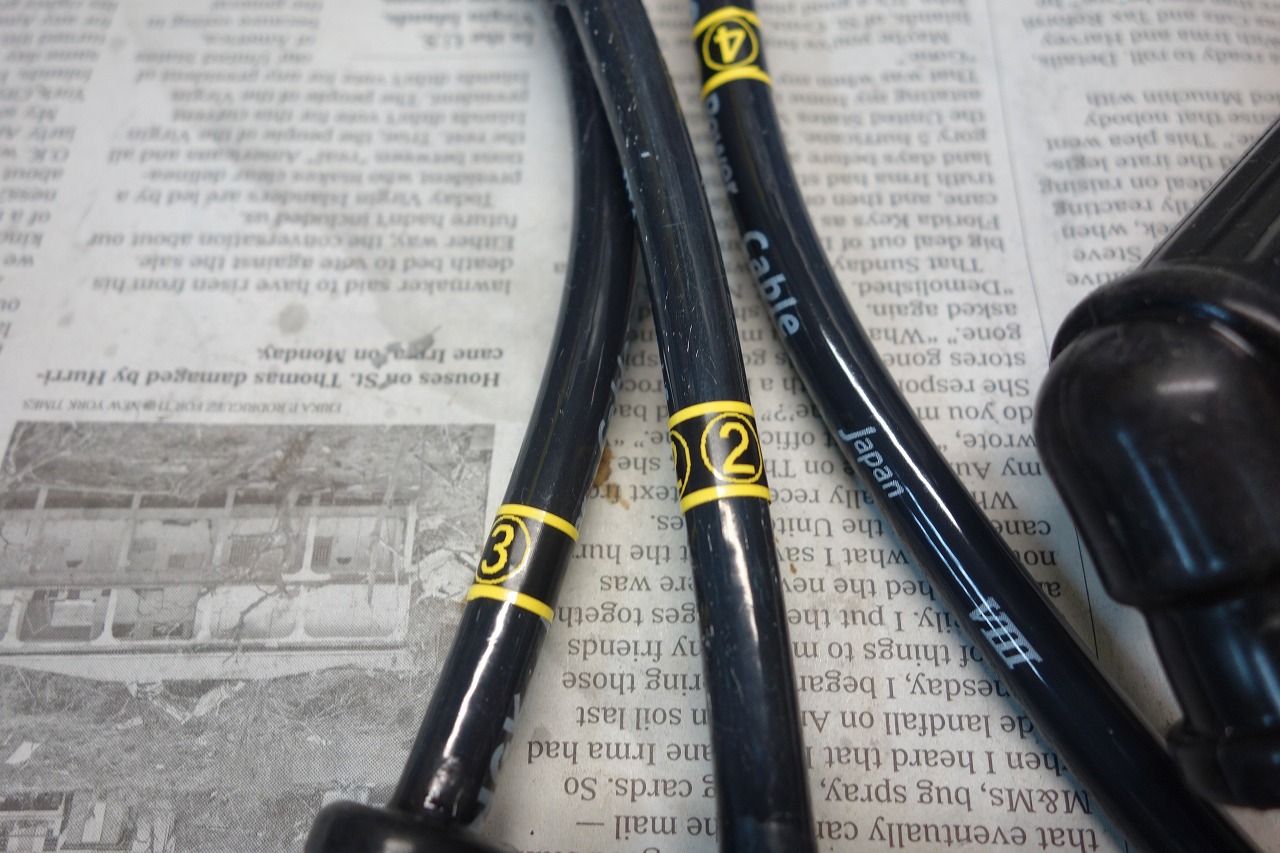
*When something weird goes wrong, that’s what I’d suspect first. I marked the spark plug wire numbers.
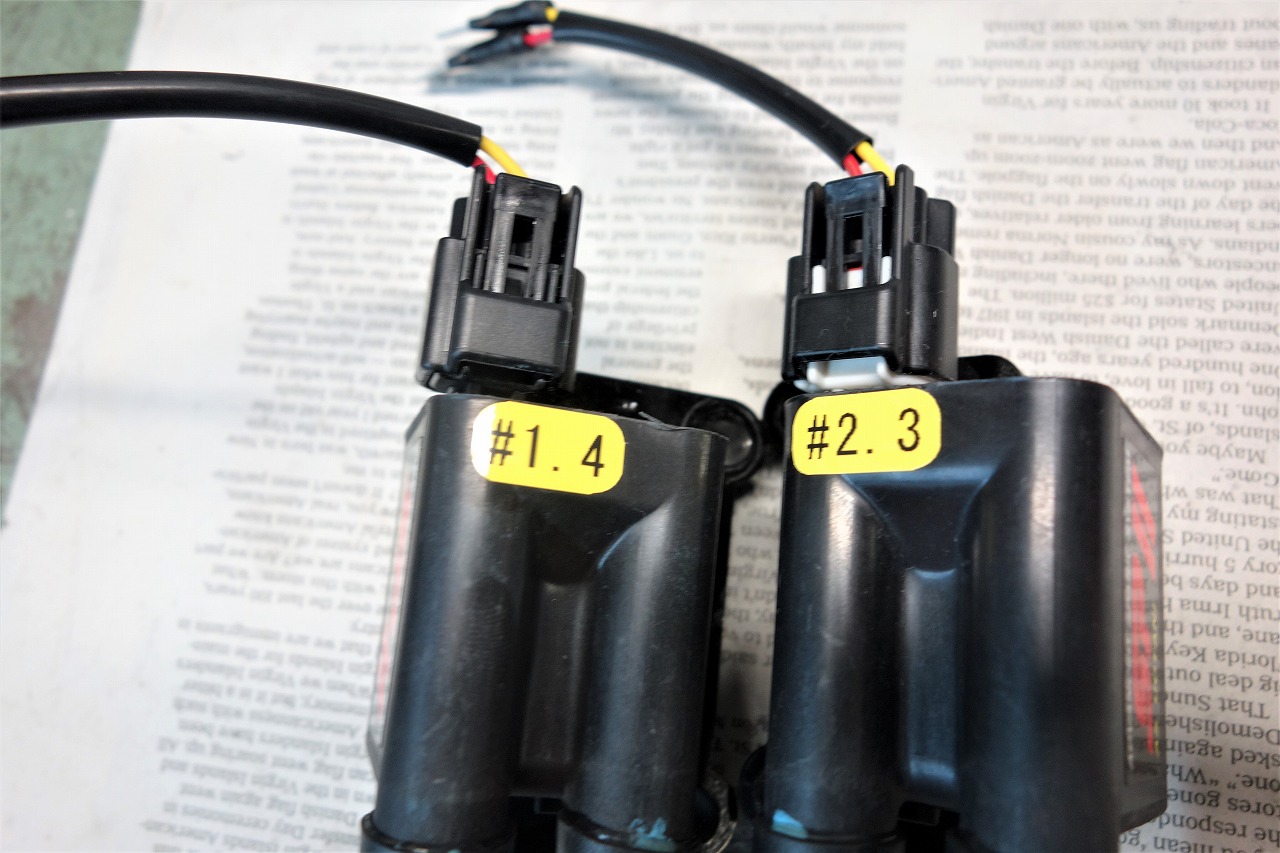
*I’d say it’s better to avoid the snap-on style connectors if you can. For example, when you take off the head cover or replace the plugs, it’s scary to think about what could go wrong.
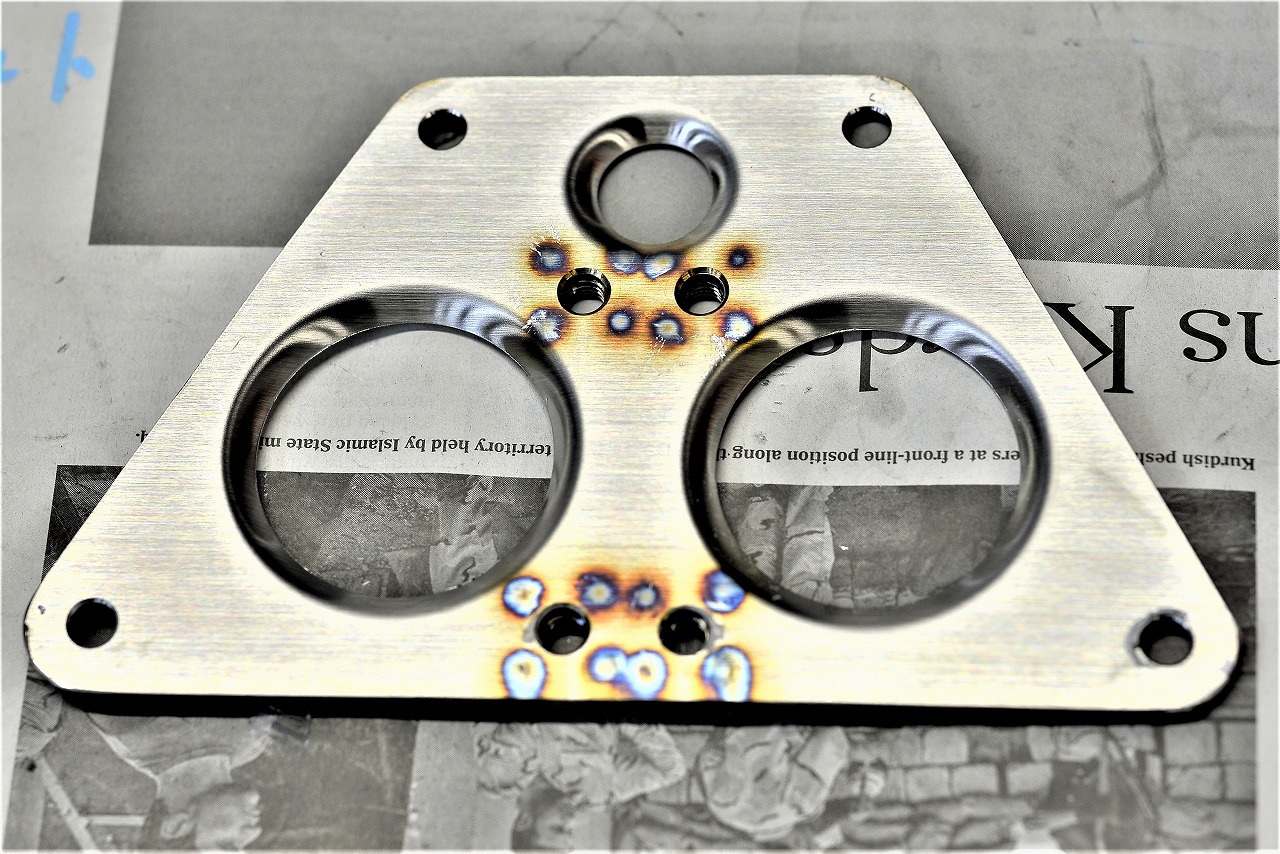
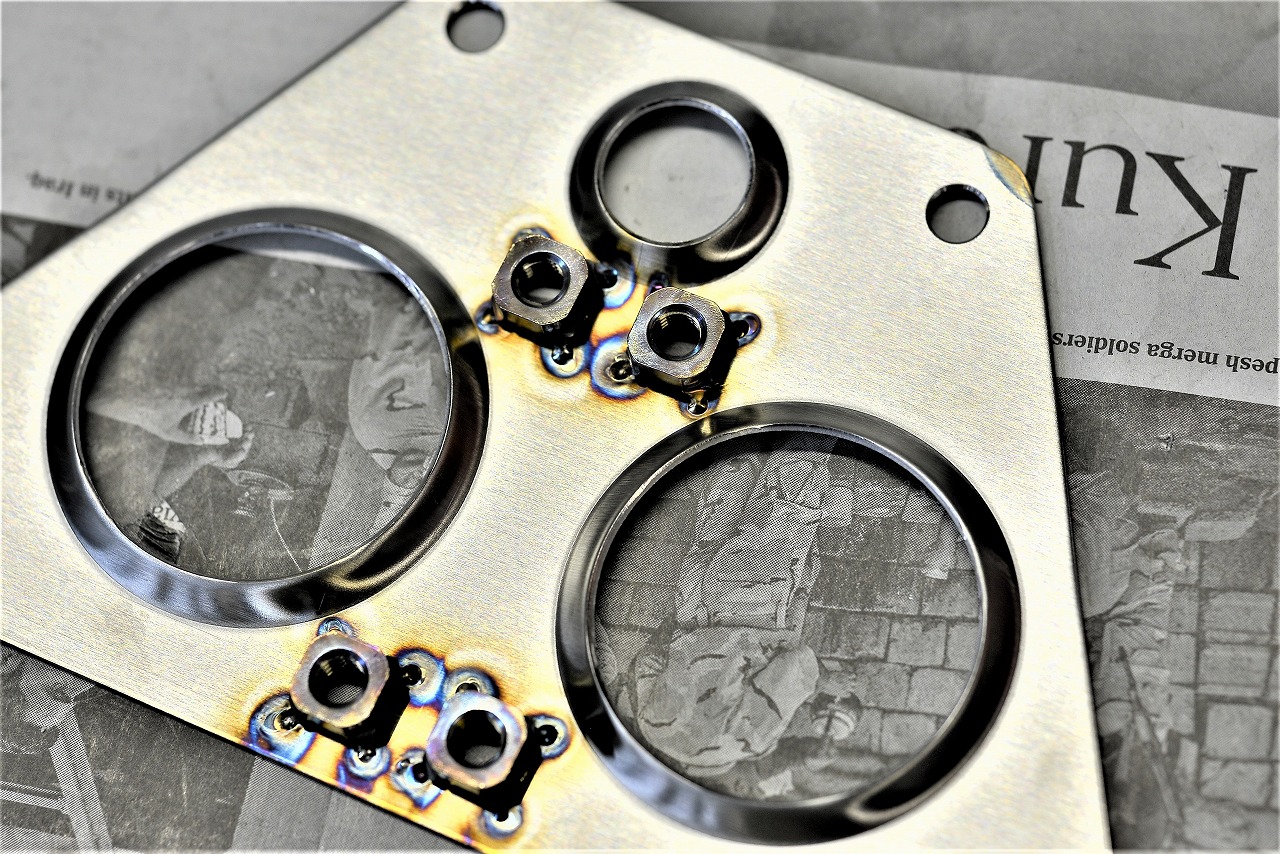
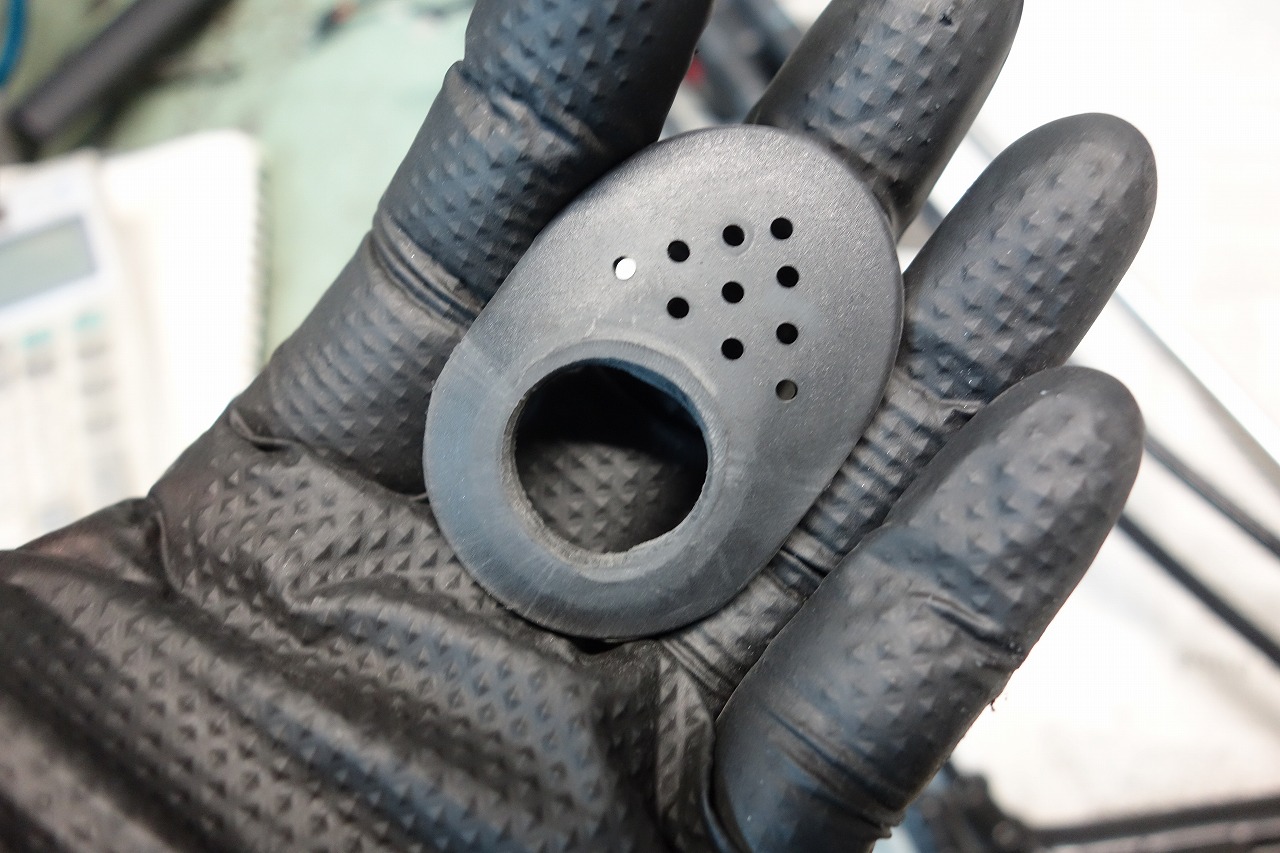
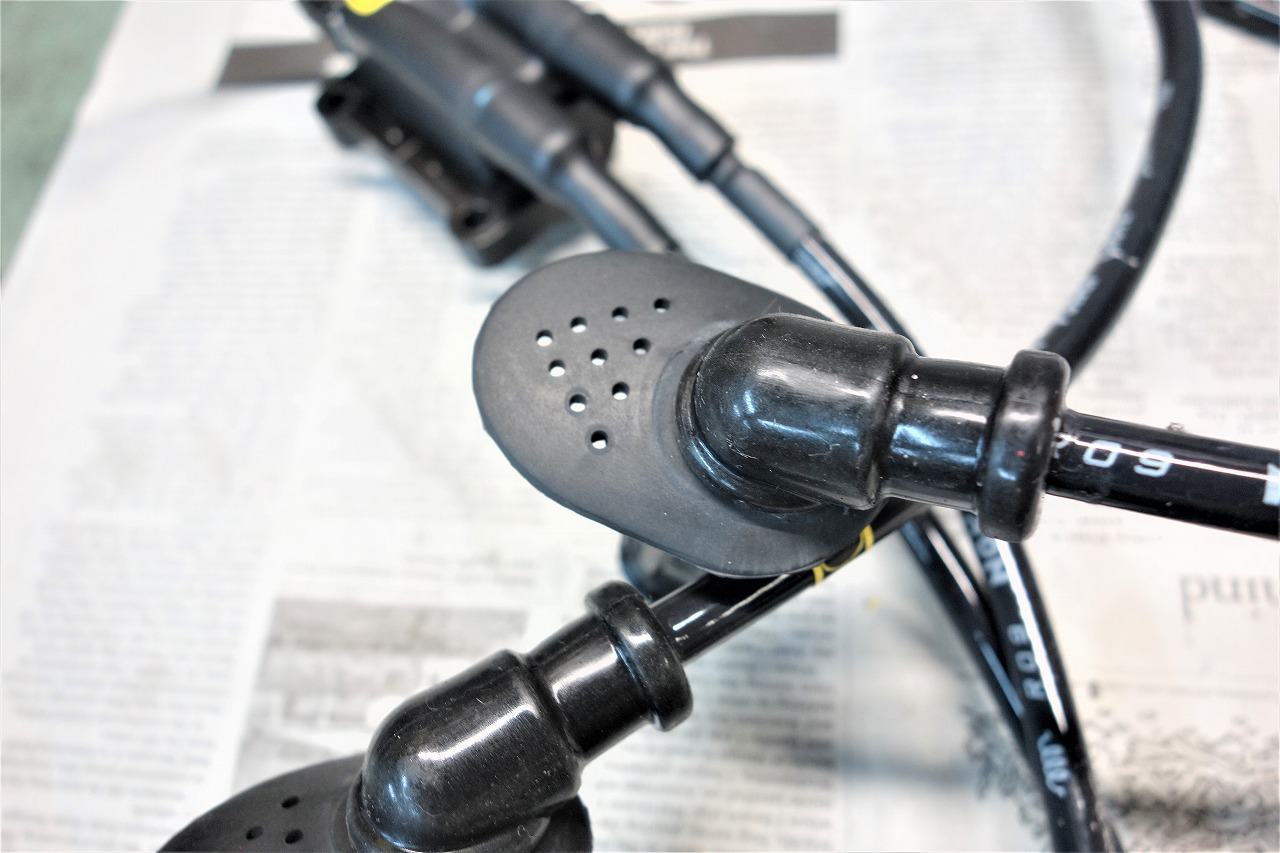
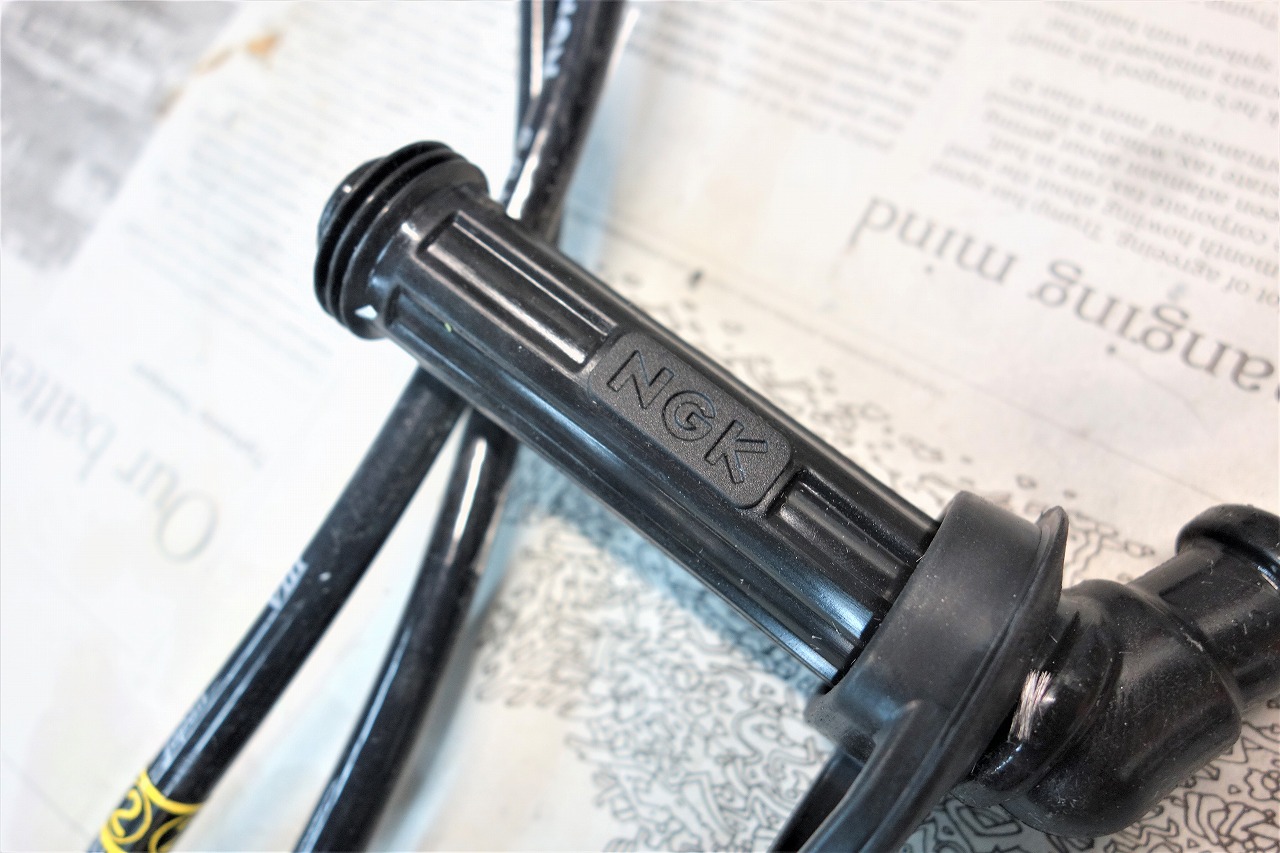
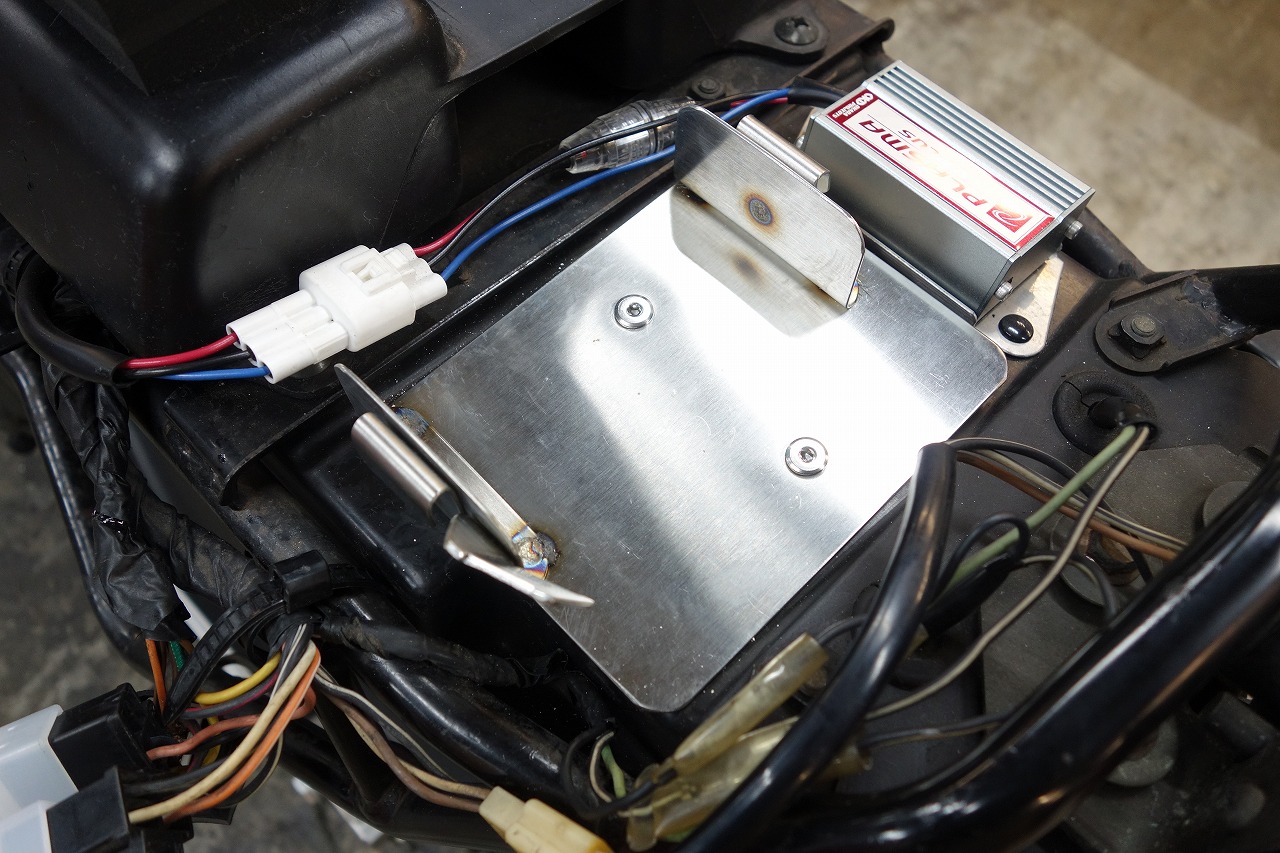
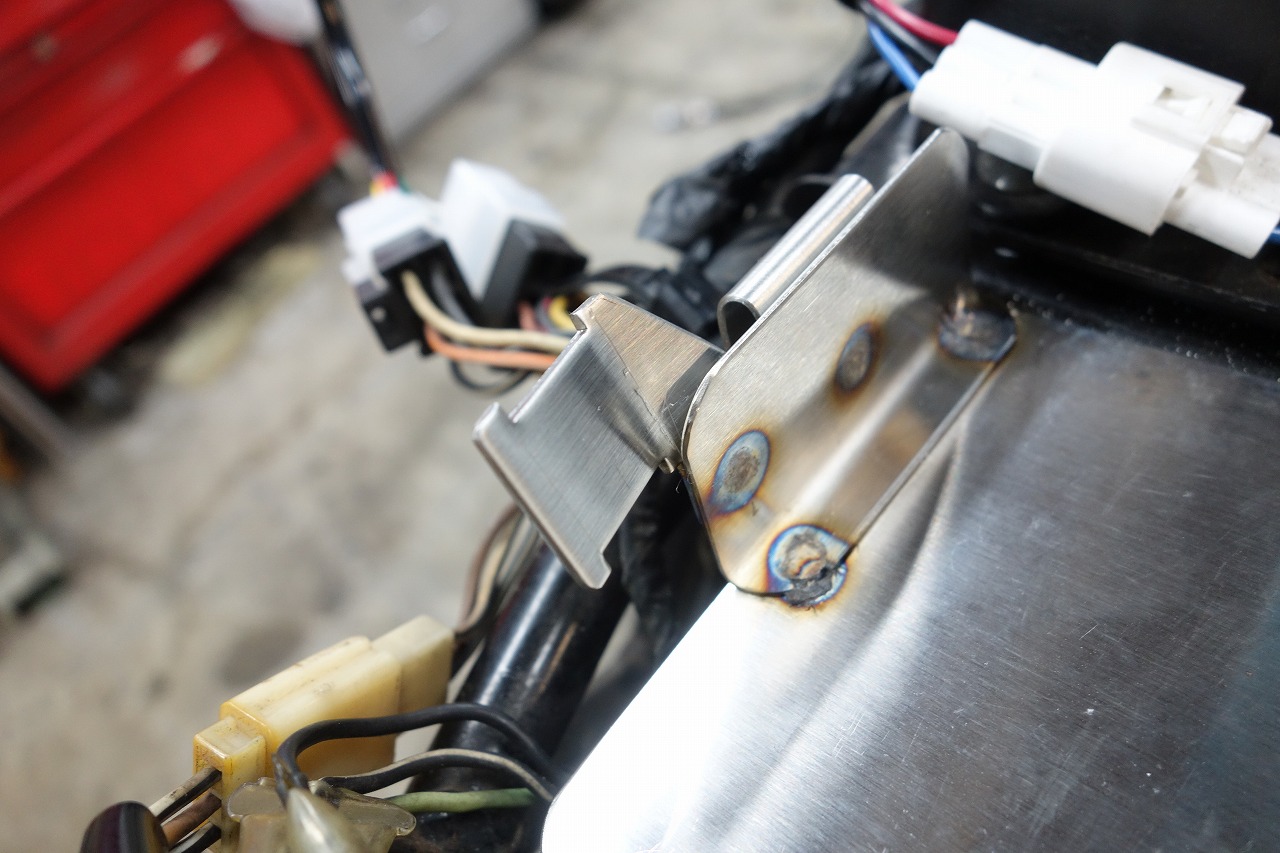
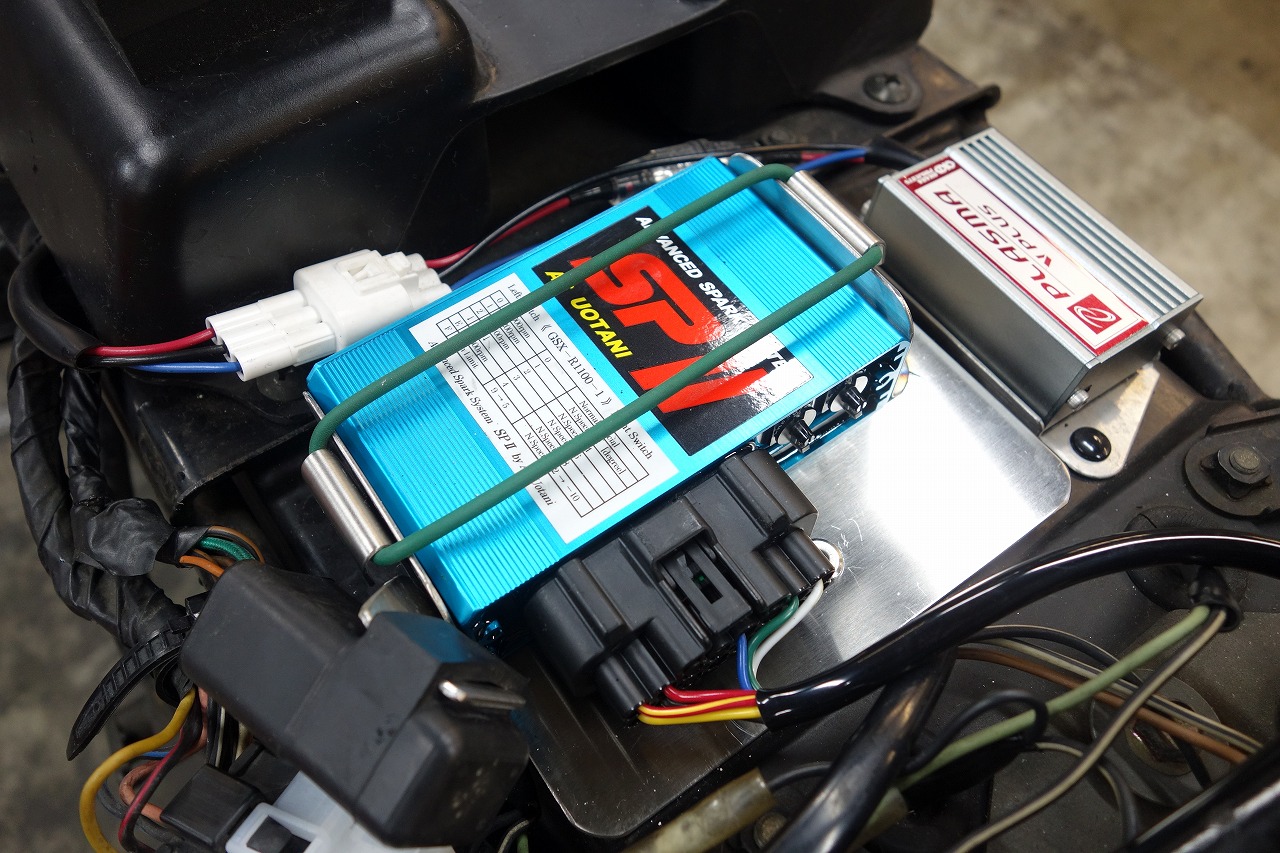
I end up removing all of them every time I work, so it’s a hassle. When you can see at a glance and understand it, I think the workability improves. You don’t even need to use a marker. I’m enlarging the spark plug cover to 20 mm diameter. The clearance on the back relative to the front is tight—I think it’s hard to drill it cleanly. I use a 20 mm gasket punch from the back, place a wood scrap on the front, clamp it in a vise, punch it out, and finish the excess with a belt sander. When it sits like this, it looks a bit more stock, which is nice. I think the spark plug wires look better with a layout that isn’t straight. Didn’t the NGK lettering used to be white? Hmm, well, I guess it’s fine since you can’t see it anyway. A little sad though. The layout came out like this. Bottom, top, left, right—it’s surprisingly tight all around. Every time I install the Watanabe, I think, “If I just used that blue thing, it’d be done in a snap.” It’s very difficult. I tried to keep it from getting too cluttered. Cylinders 1 and 4 and 2 and 3 are reversed. There’s plenty of clearance from the tank. That’s the 750 for you. With the 1100 it’s even tighter. The coil installation is complete. It warps again. This is the plate that secures the Watanabe unit. The unit itself would be done if you just stuck it on with the included double-sided tape, but…
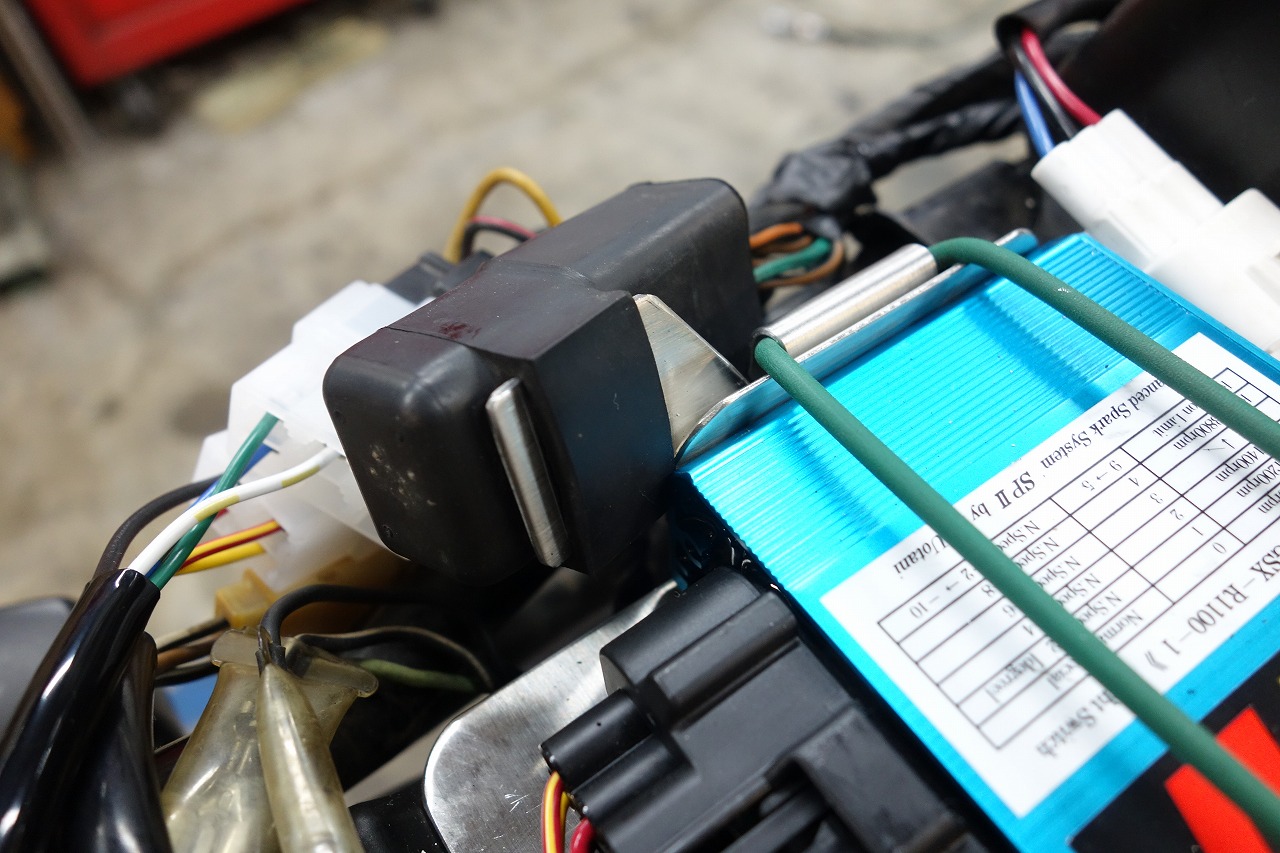
When you pop the fairing off, I think most people get discouraged thinking, “Ugh, double-sided tape.” That’s what I think anyway. The relay socket too, nice and solid. Like this, nice and stock-looking.
I always think about it: the world has made “double-sided tape and cable ties” so convenient that they’re causing problems. That’s how I’ve got it temporarily secured. A plasma booster was also requested, so it’ll probably end up two-tiered. That’s all for today.