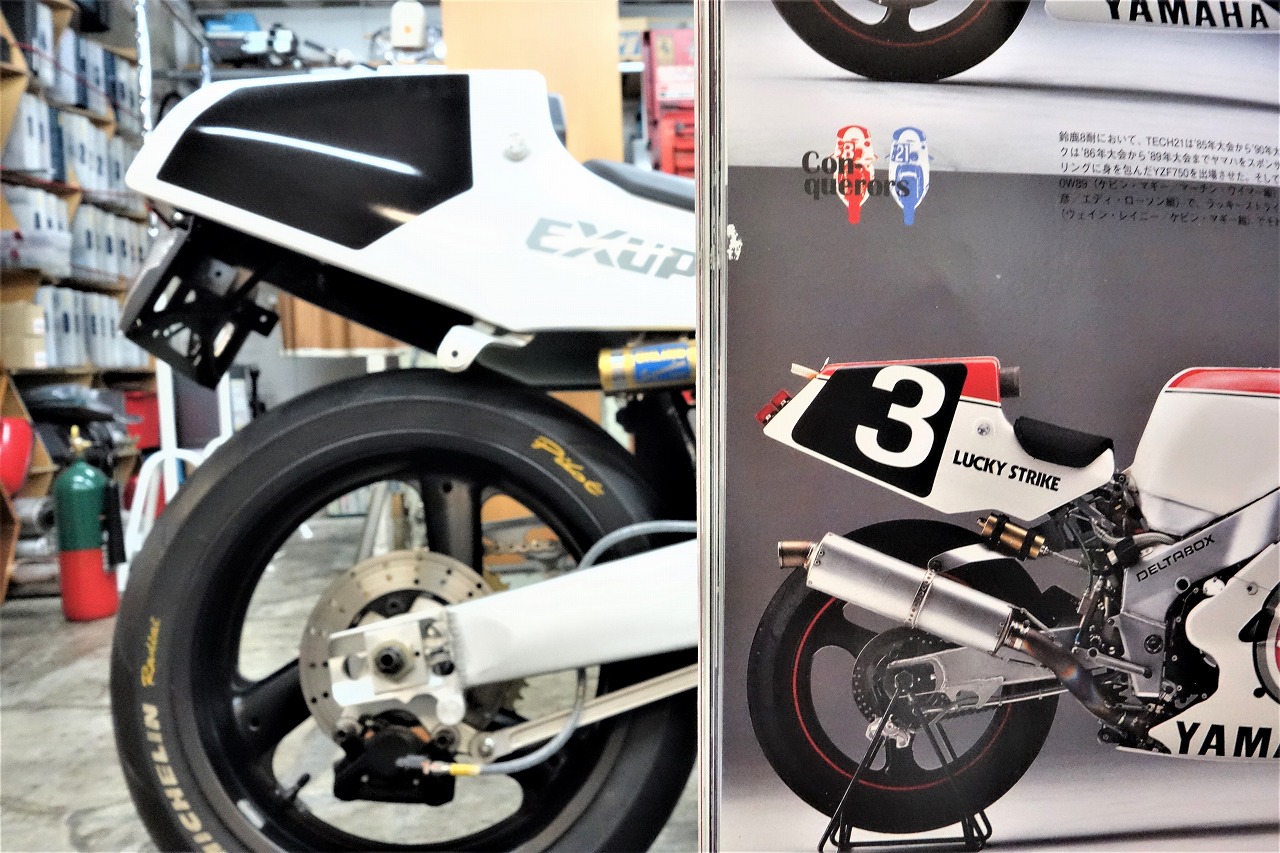
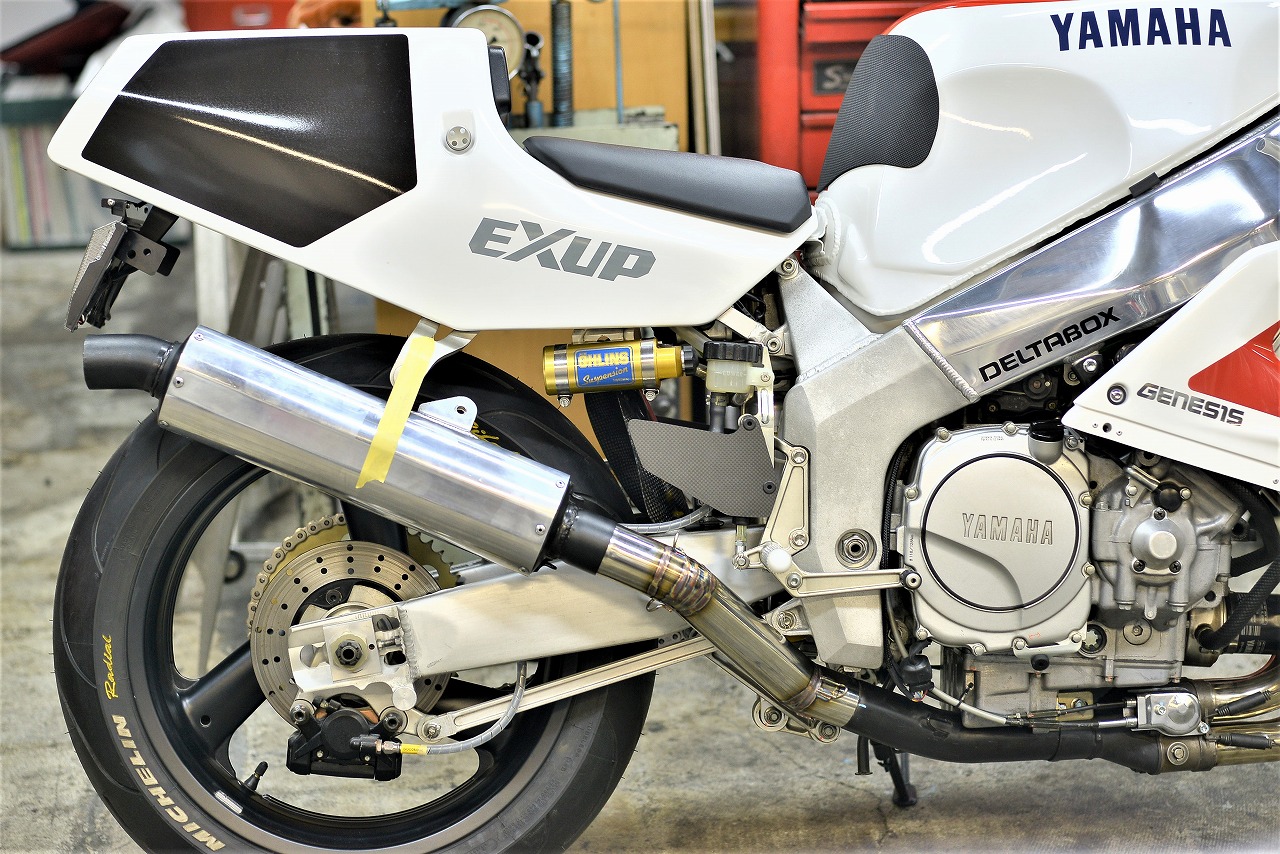
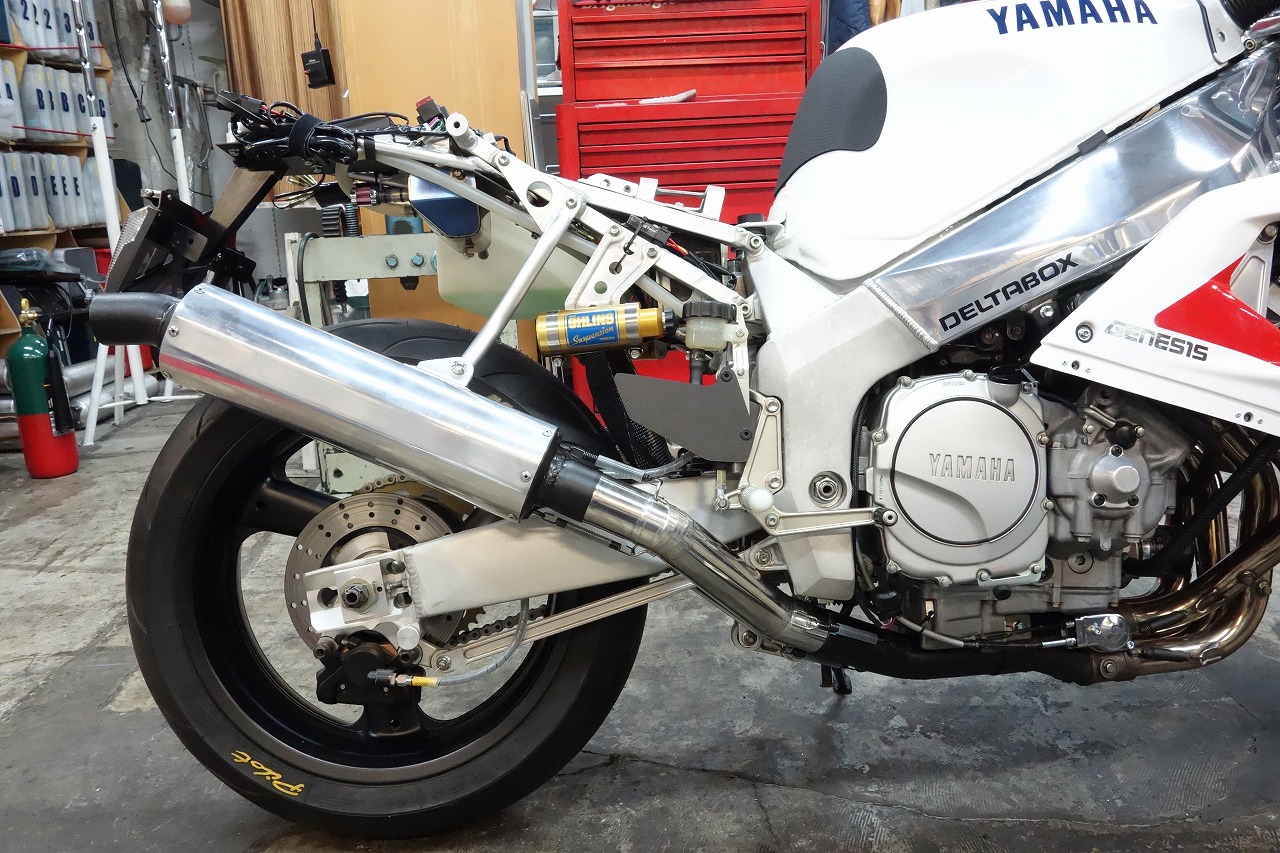
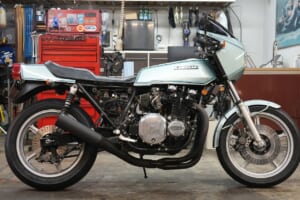
It’s been ages since I’ve seen an FZR750R OW-01. What an incredibly voluminous machine! OW-01/RC30/RK—wait, did Kawasaki have something like that too??
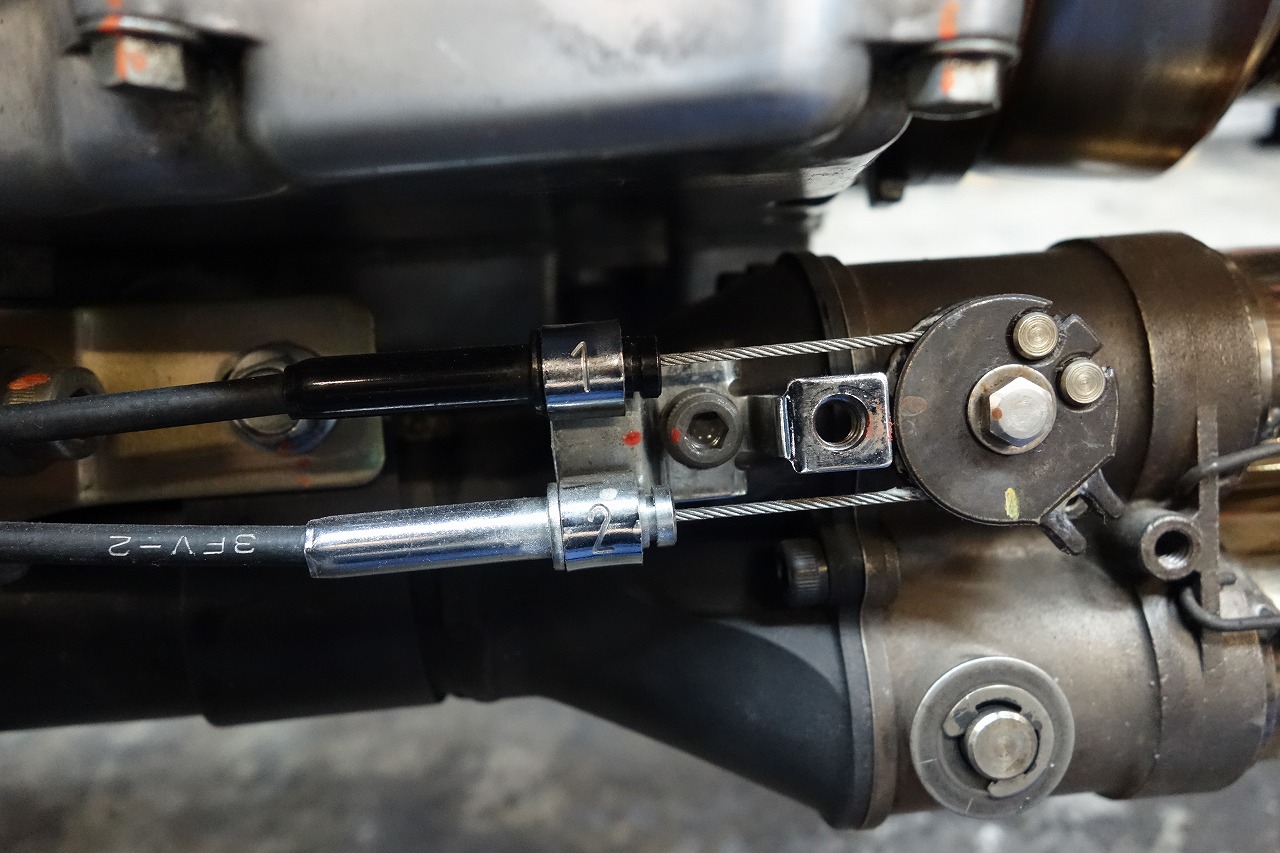
The customer requested various custom fabrication work to go along with the inspection. Is the EXUP working? Never mind—I just snapped photos of the position and moved right along.
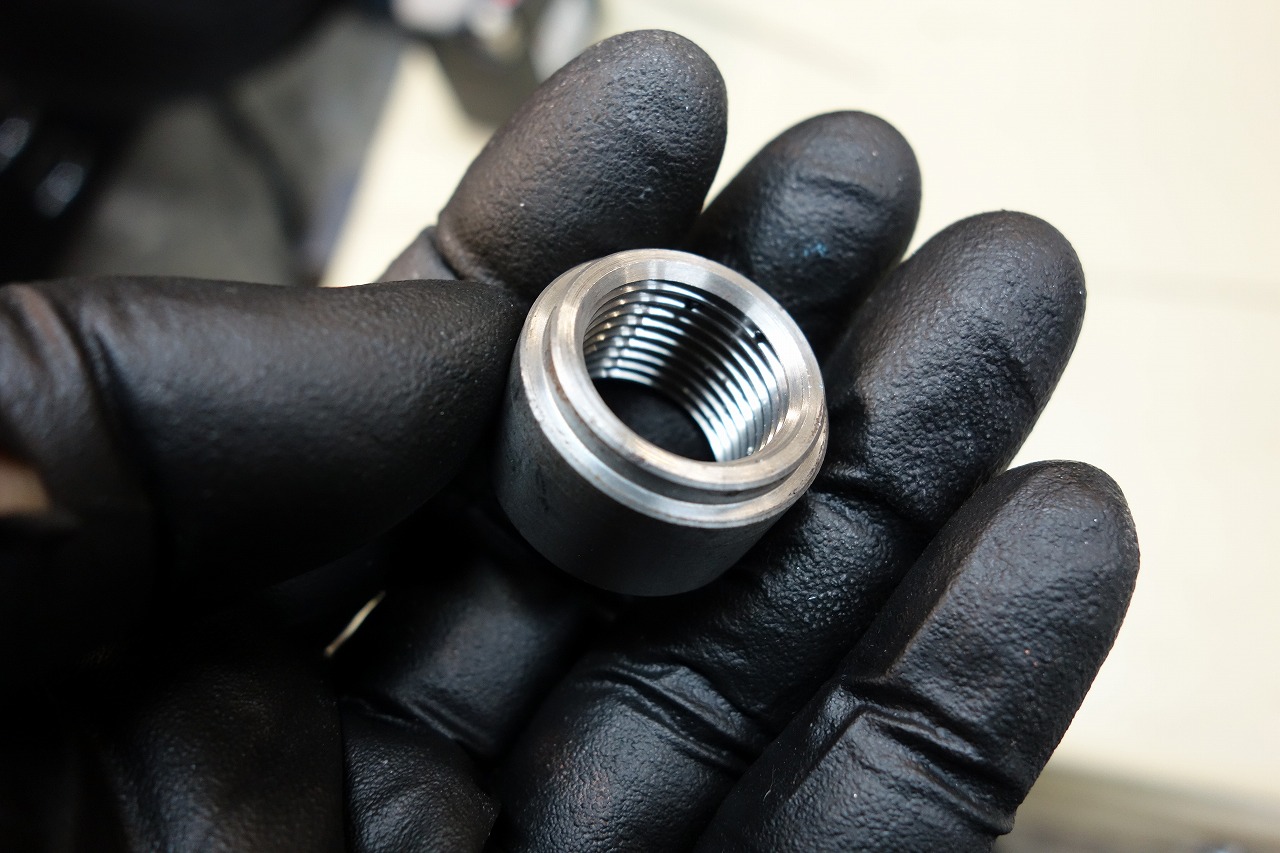
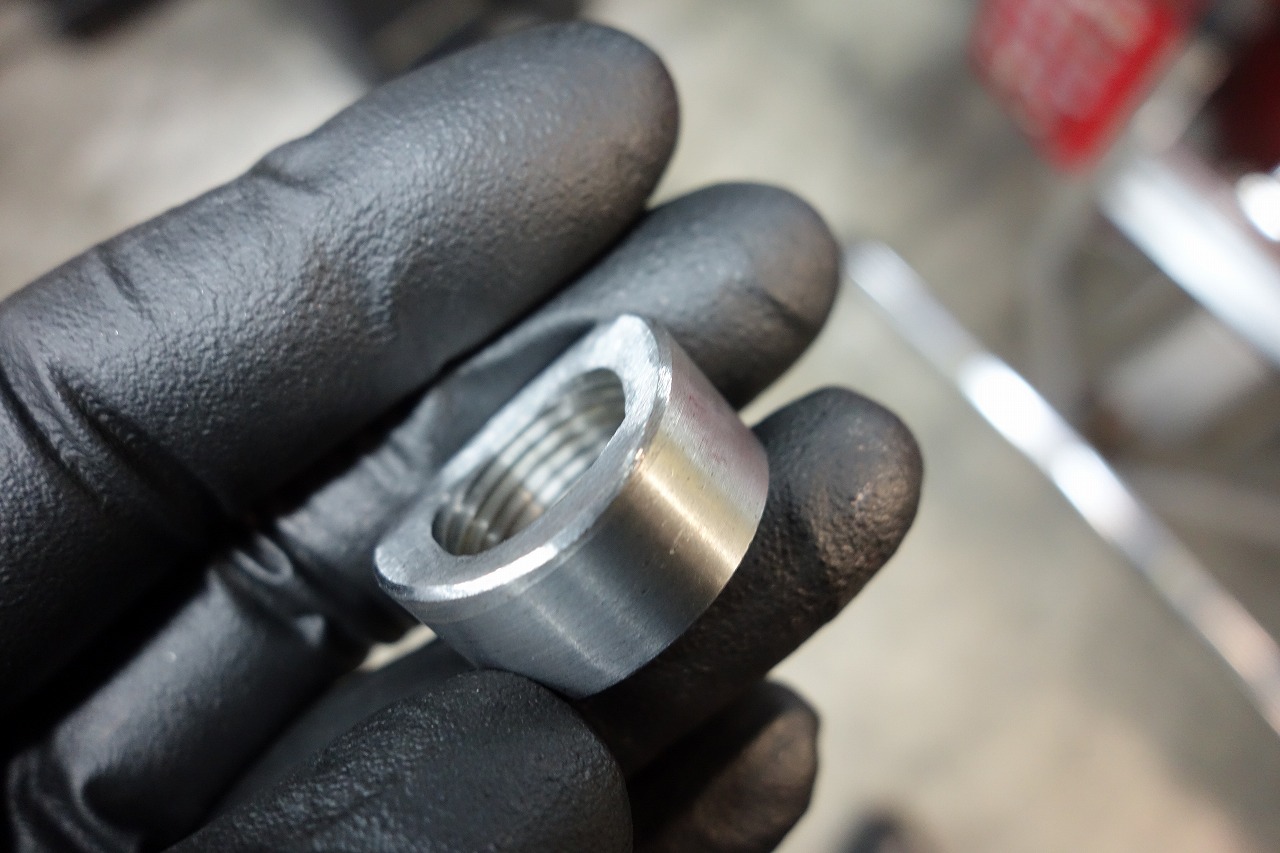
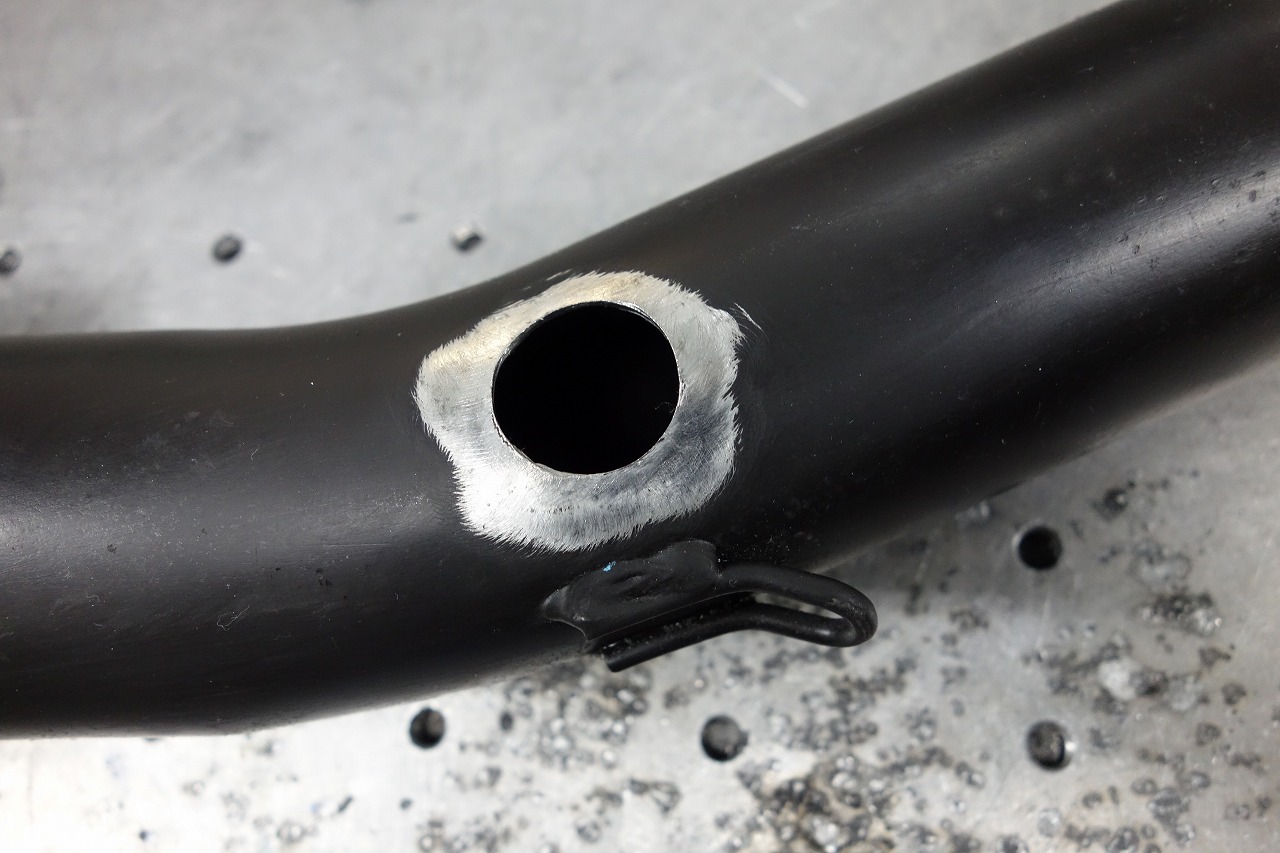
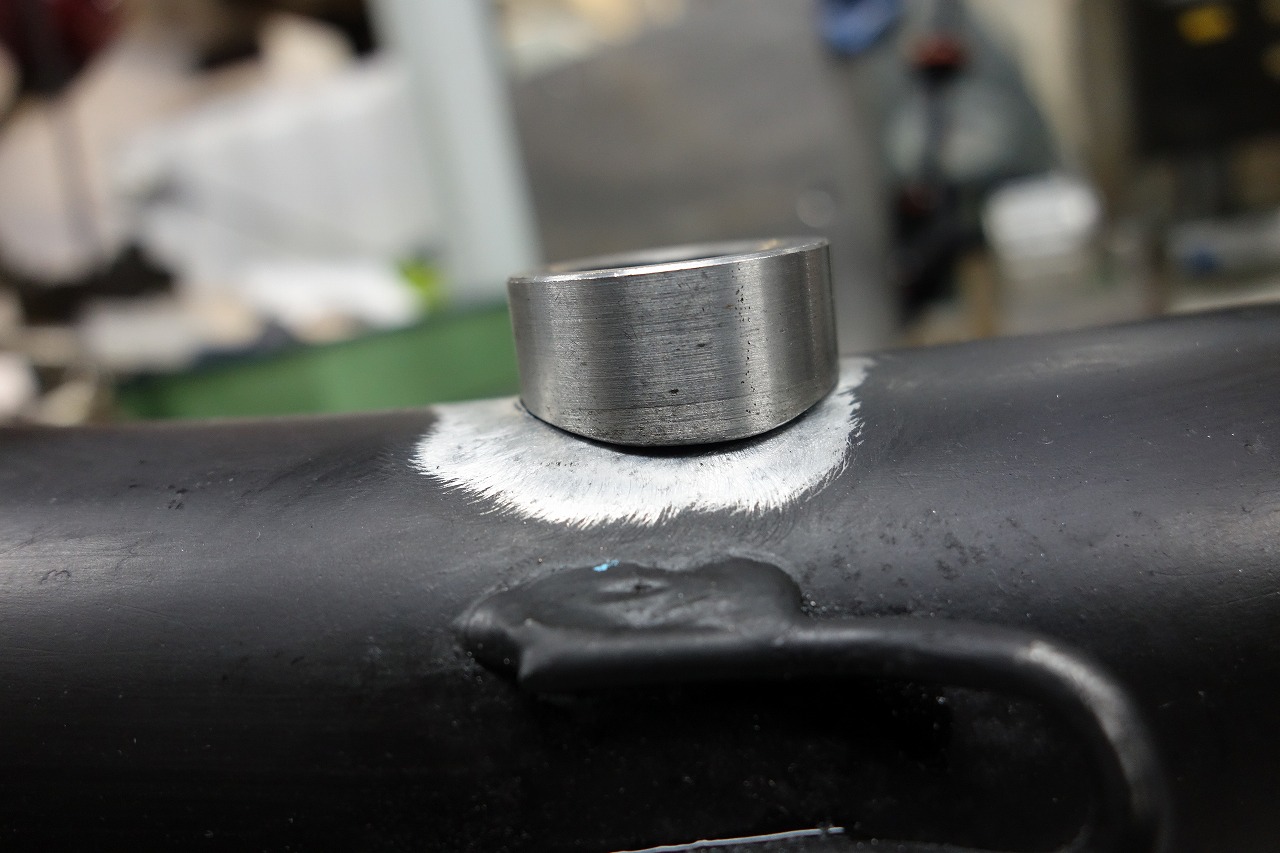
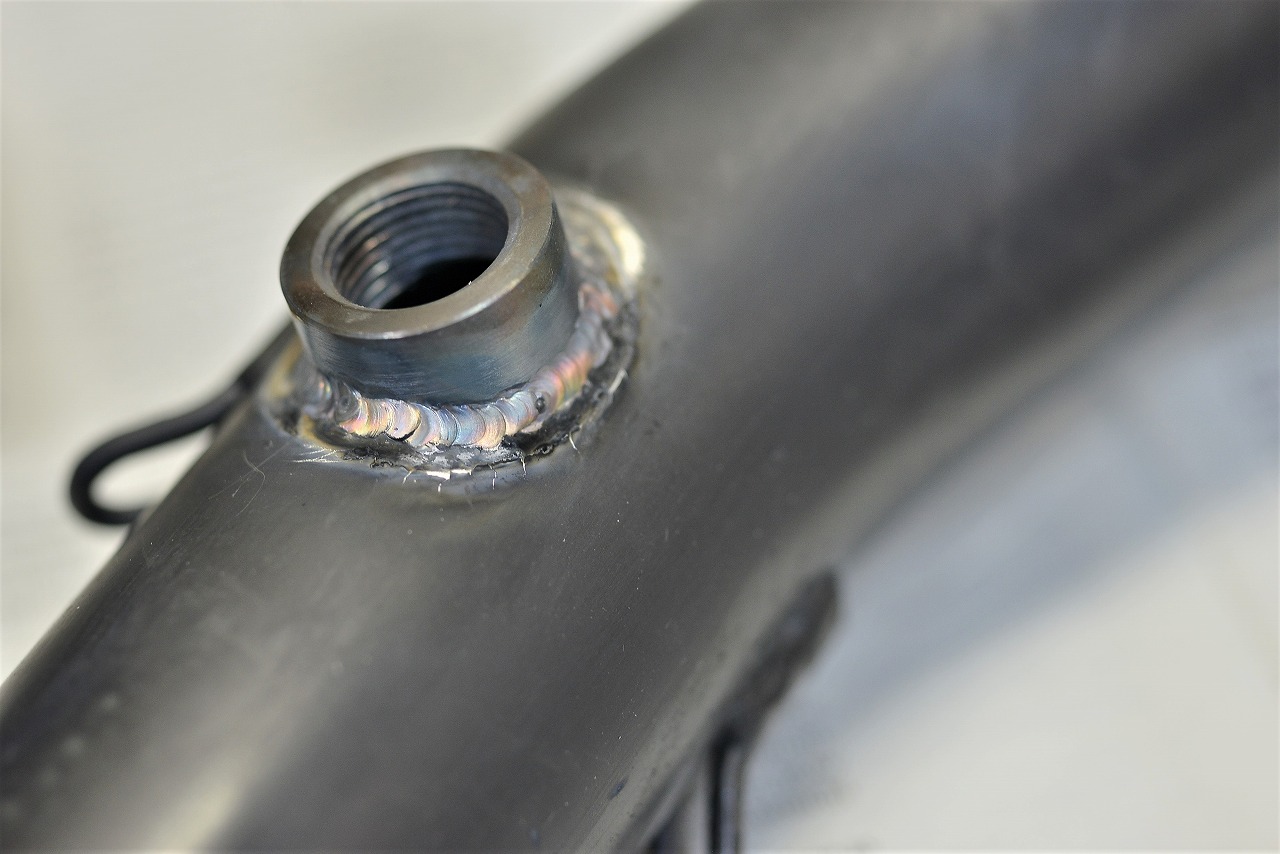
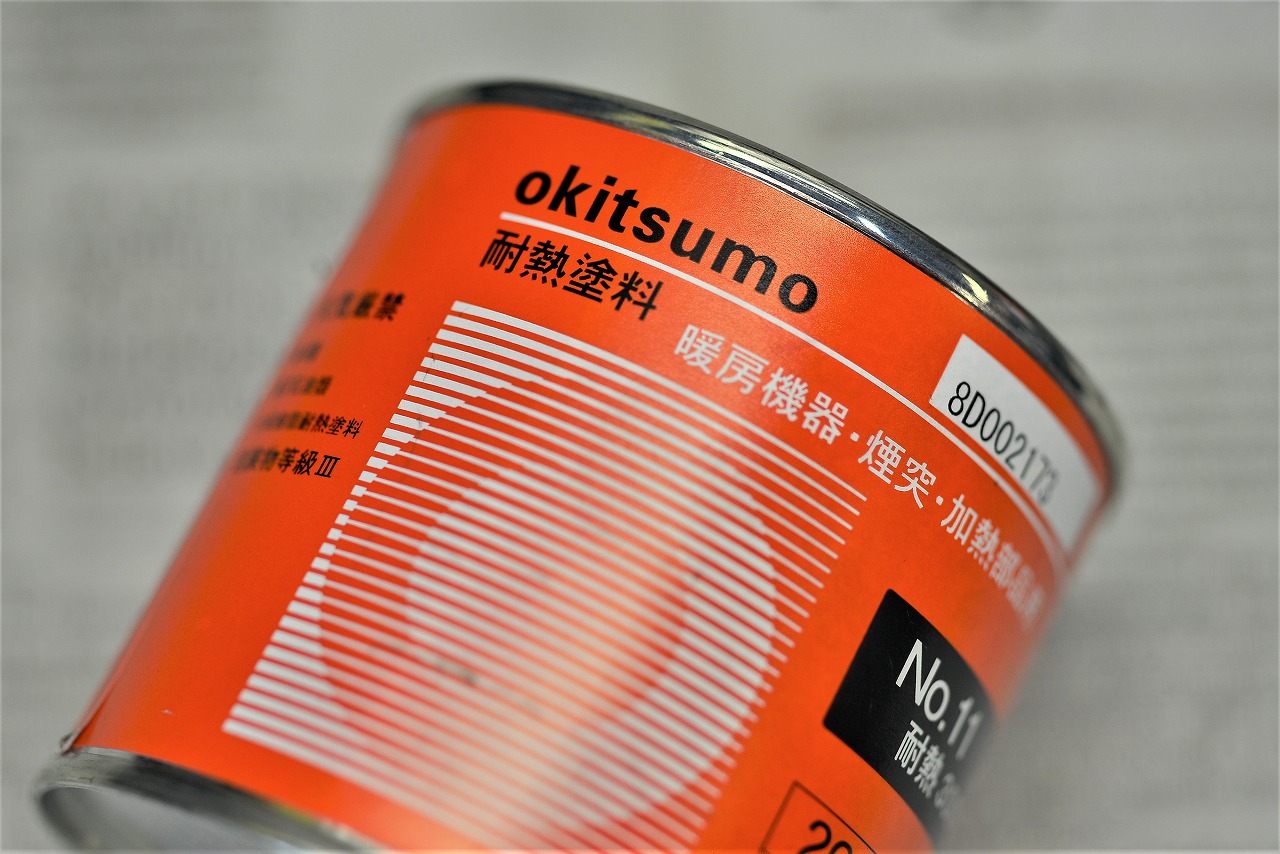
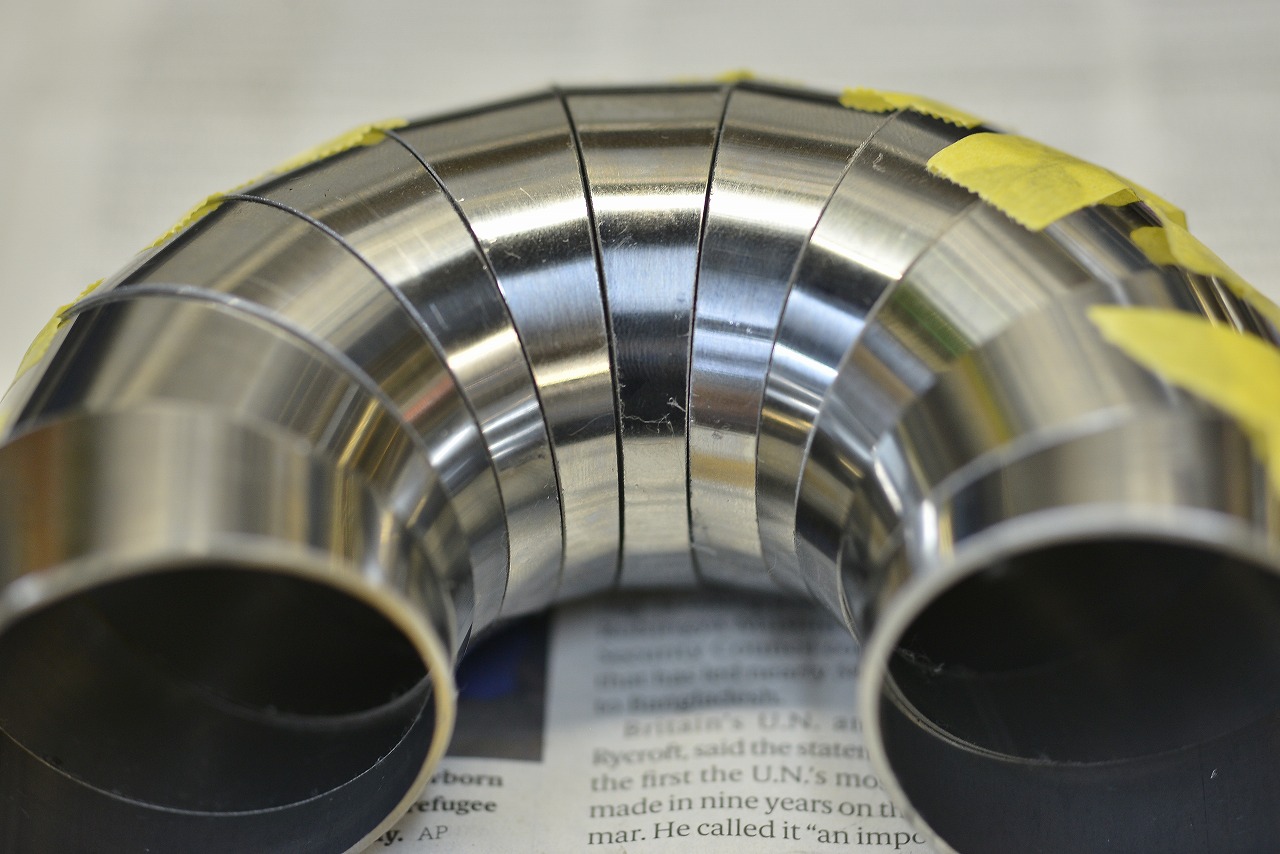
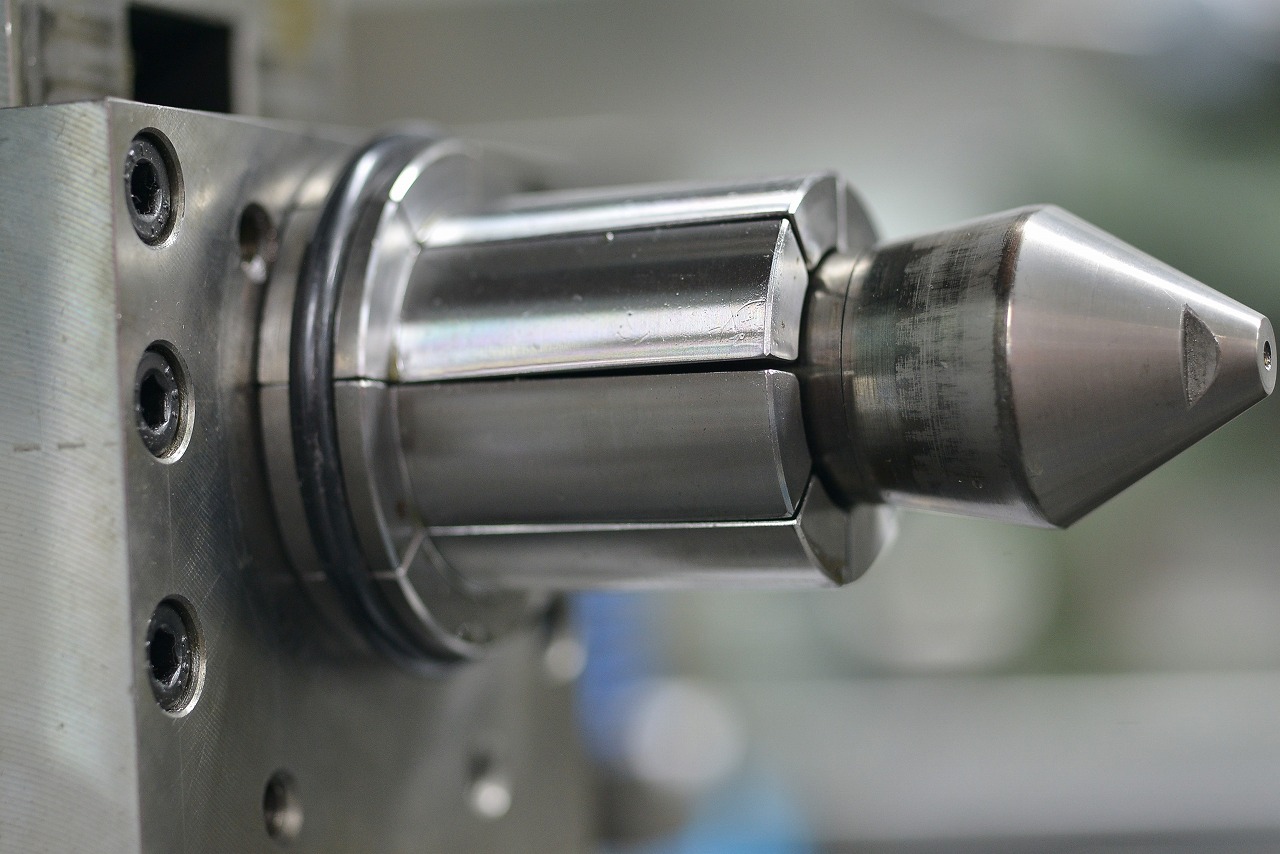
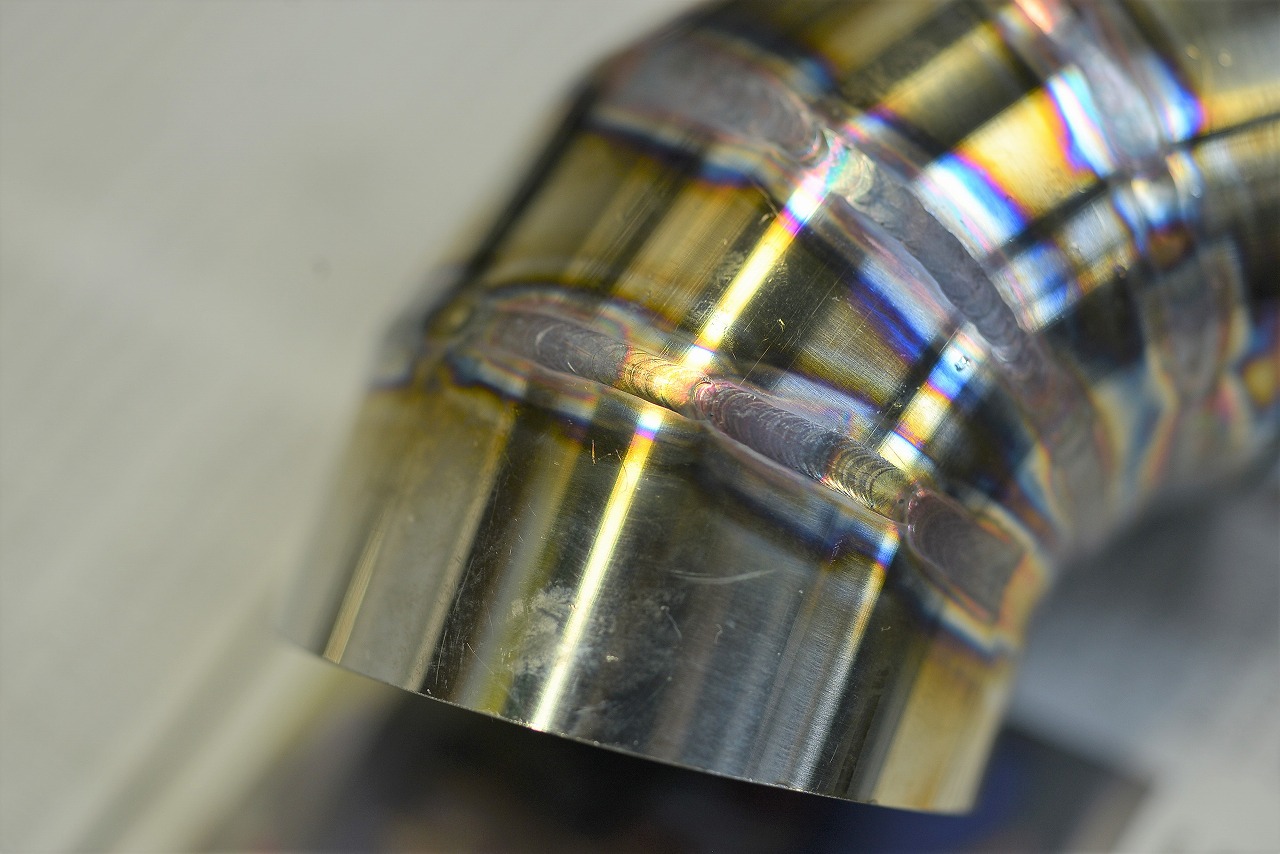
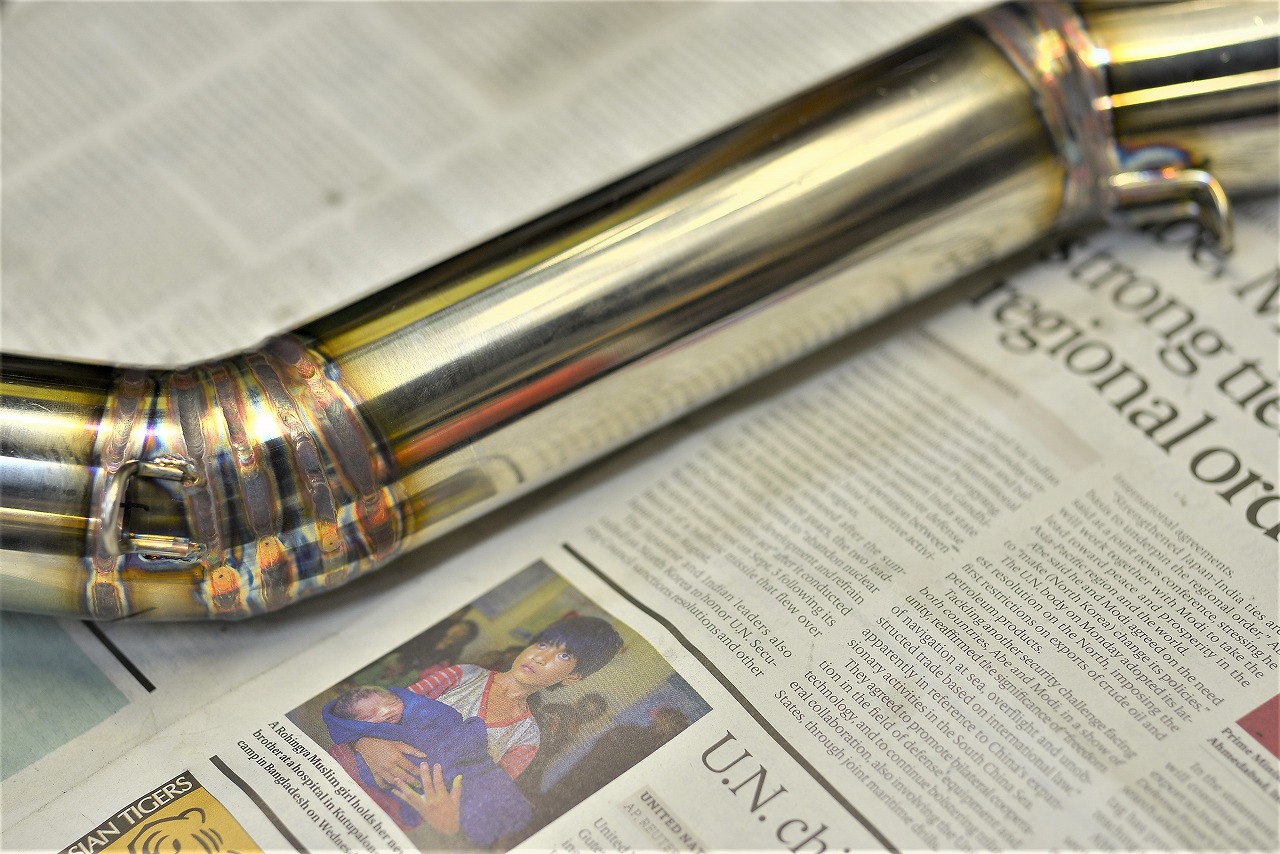
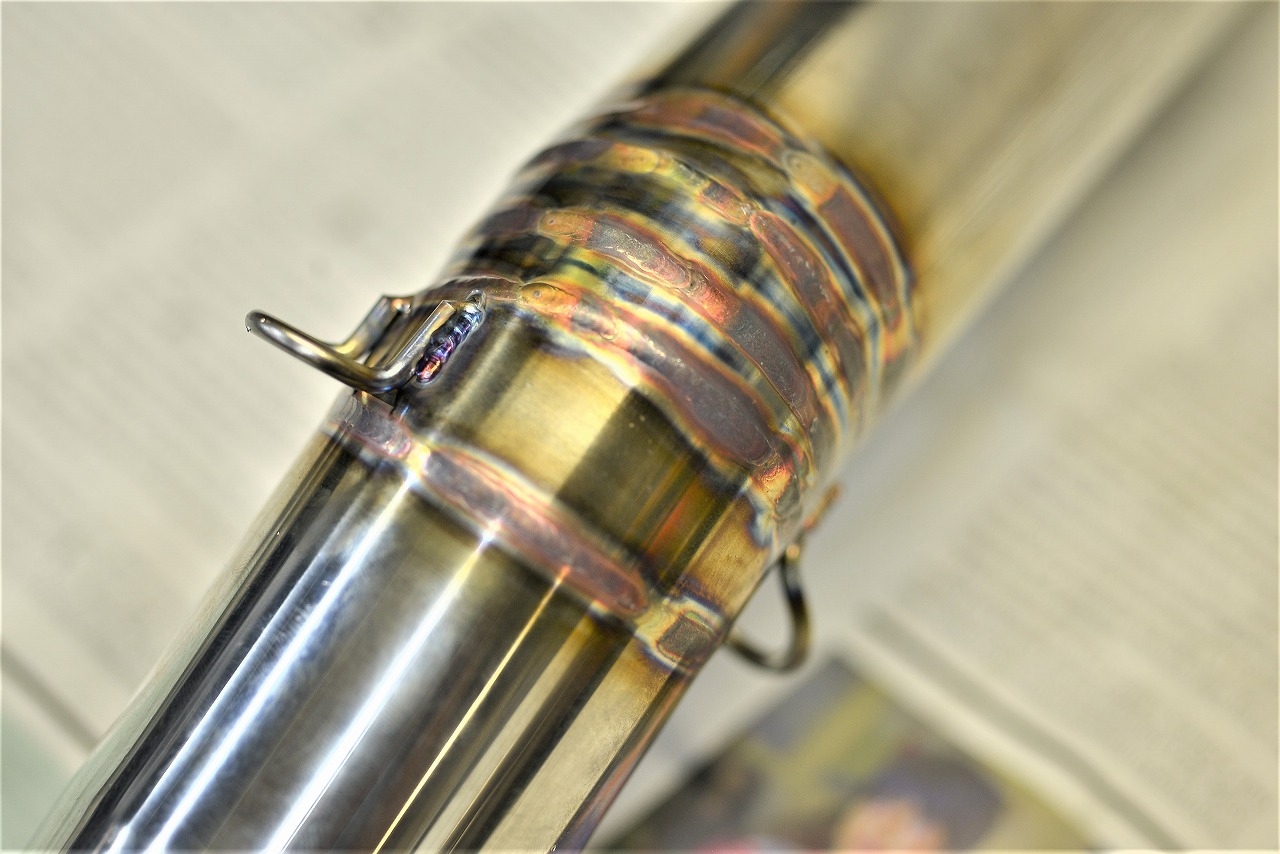
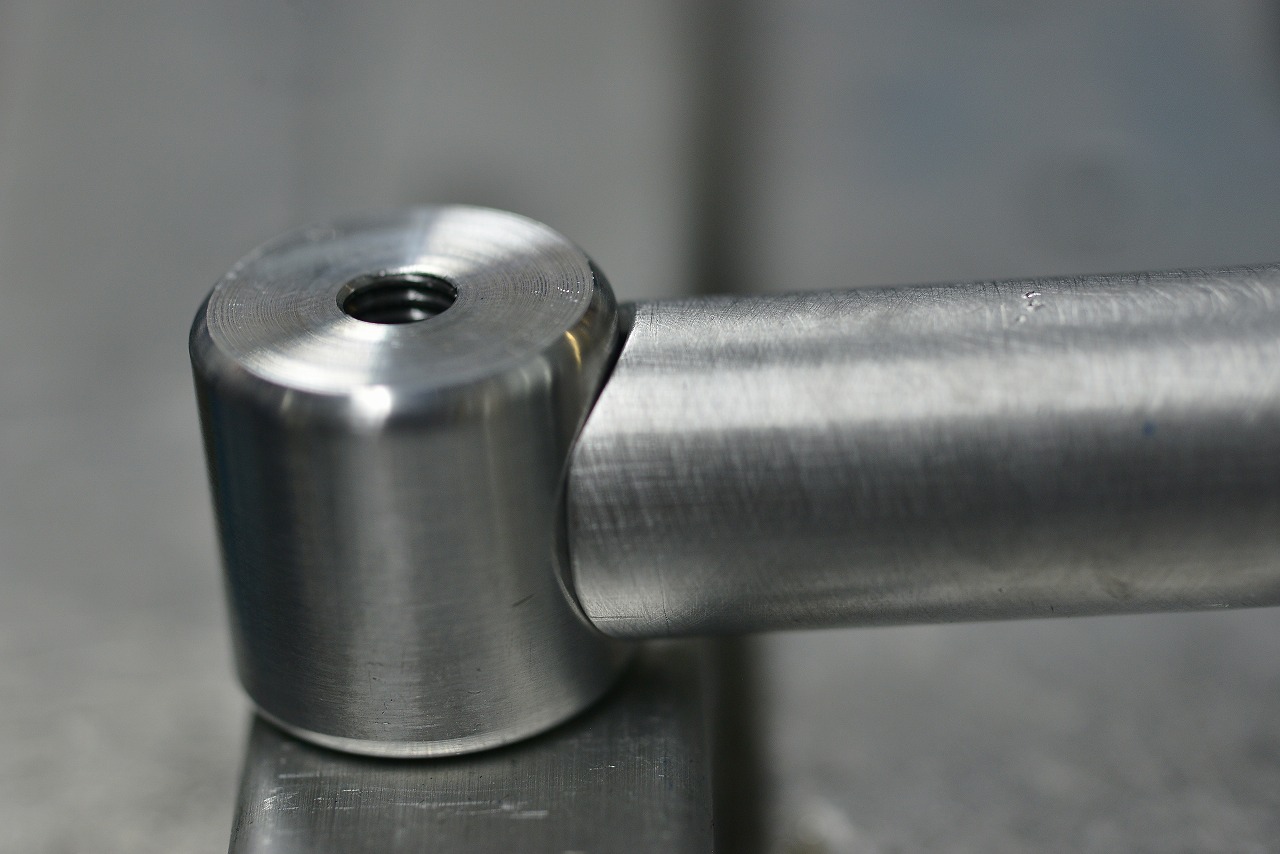
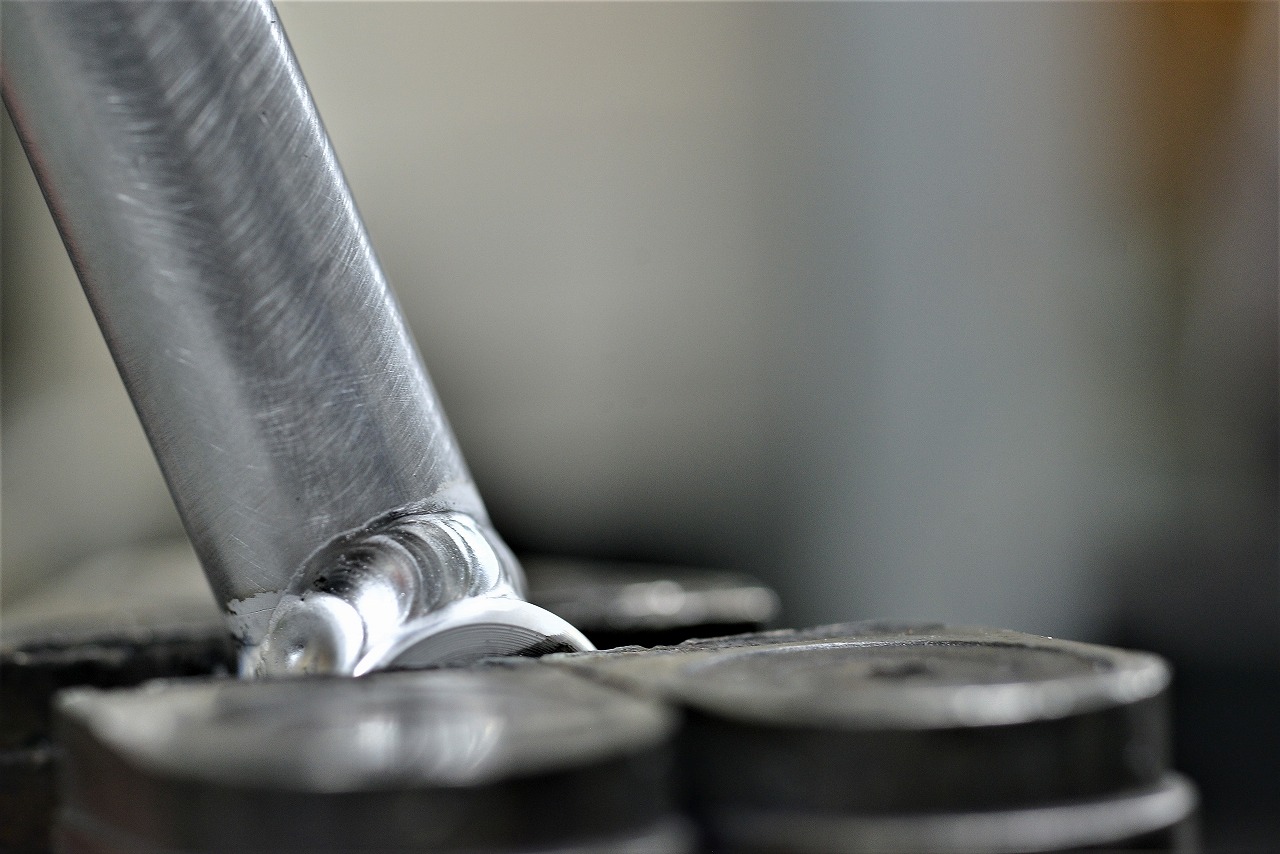
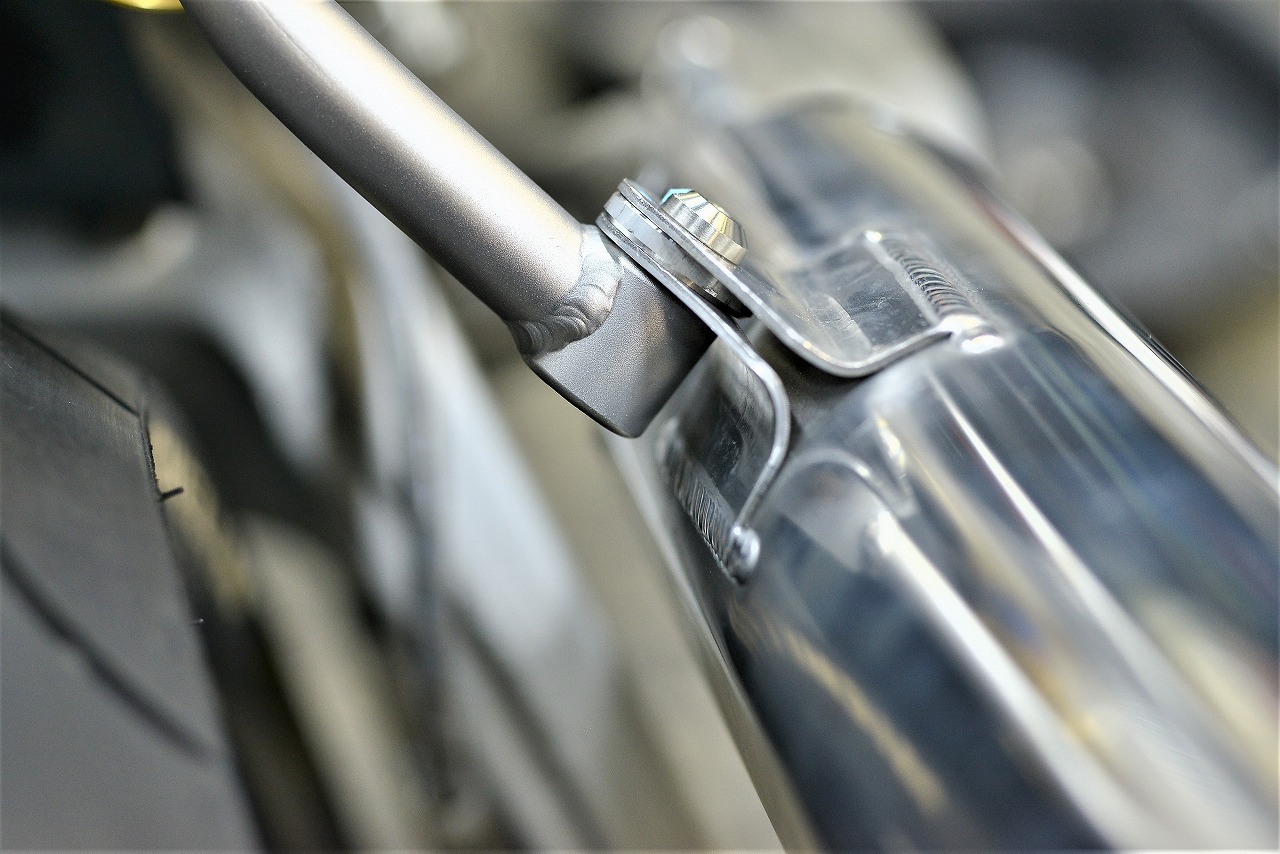
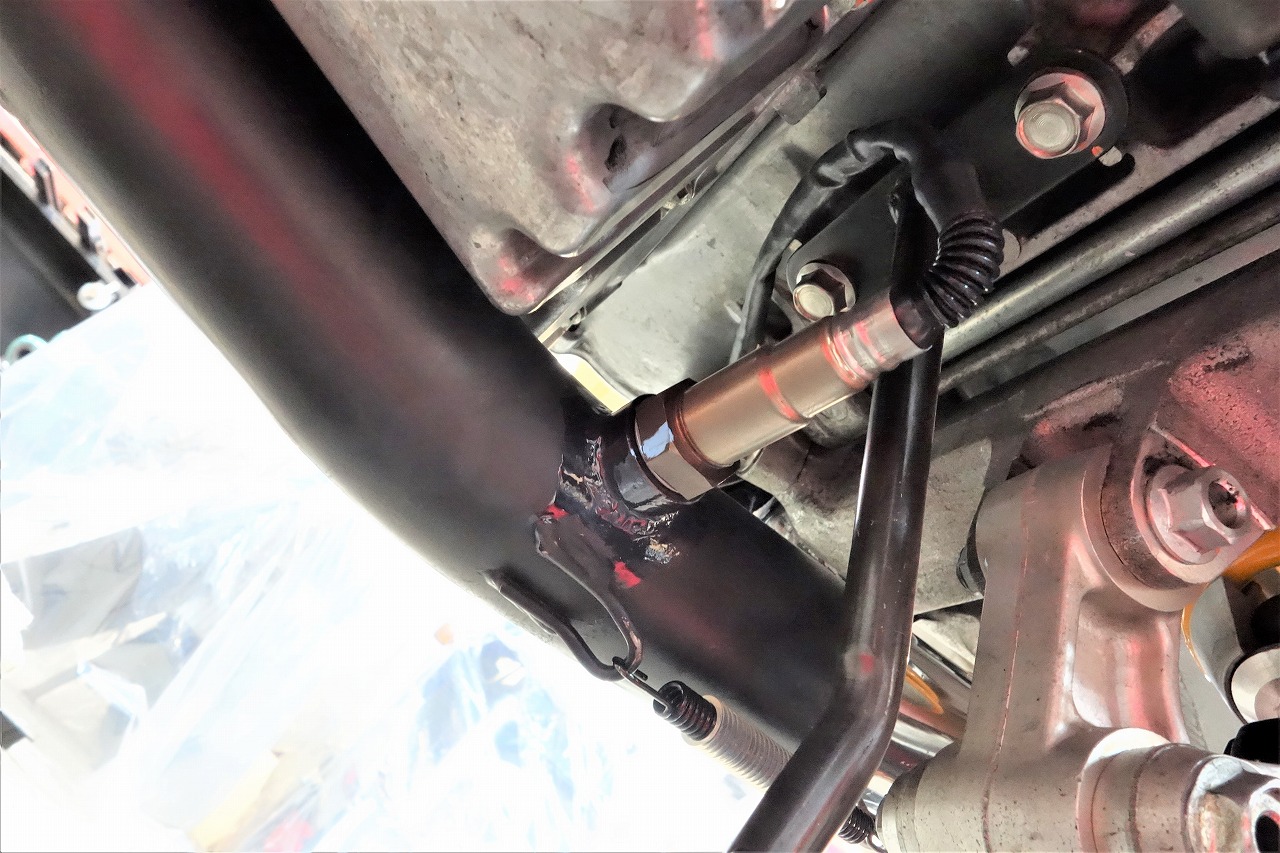
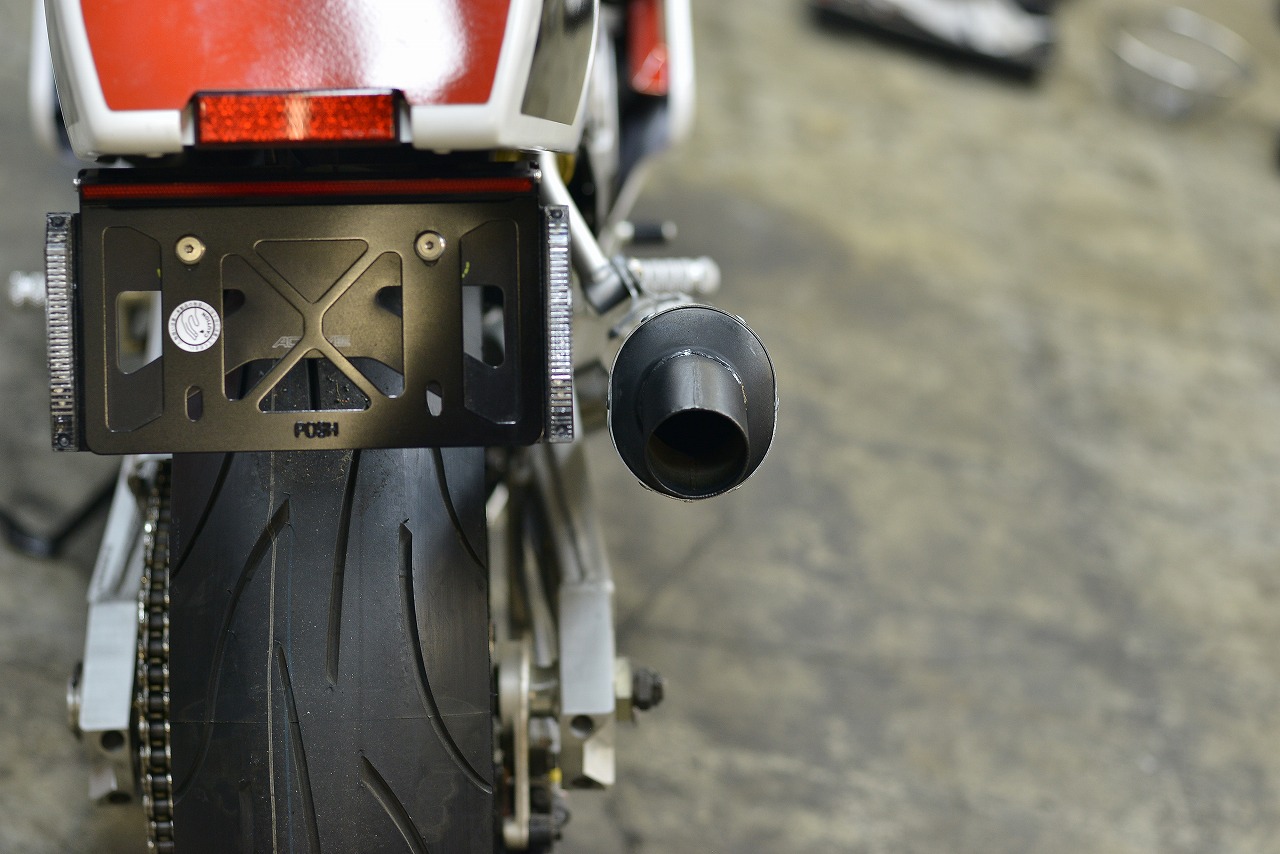
Man, digital cameras really are convenient. Back in the 20th century, I was actually taking notes in a notebook… there’s no going back now—it’s like the Edo period. The sensor boss came in a box. It had a stepped shape—kind of like apartment buildings, but actually stepped differently. If I just drilled a hole in the pipe and bolted it on, there’d be tons of gaps, so I’m going to machine it down. Lathe, then belt sander. It seemed to machine pretty easily, but I hope that’s okay… I drilled a hole with a hole saw and stripped the paint from the surrounding area since I’ll be welding. I’m going for a nice tight fit. That’s how I welded it. The iron seemed to have poor fusion characteristics. I wonder where it’s from… I should ask when we deliver it. I think a touch pen (for brush application?) works better than spray. The mini size is just right. For reference. But with this much, it’ll probably last me until I die… I referenced the RACERS sticky-note pages and sat on the ground staring at it for nearly an hour total. I kept second-guessing myself—the fairing looks a bit different, and I was wondering about the silencer and end pipe length… I looked for material, but since I’ve never made one before, there’s no way I’d have it on hand. Off to Togashi Engineering at a sprint! I didn’t want to mess up, so I went with t=1.5M—which means it’s heavy. The silencer inlet was an odd size, so I expanded it with a flaring tool. I’m so glad I bought this tool! I skipped the homemade positioner—it’s still too risky—and went with hand-feeding instead. I’ll adjust the pulse and current on a test piece before tackling the real thing. It got pretty scorched, but somehow it’s done. I also quietly made a hook. (´;∀;) So it came out like this. I agonized over whether it should be a bit forward or a bit back, but including the end pipe length, I think this is about right. The customer also asked me to make a silencer bracket. Last night and even in the inspection car, I kept wondering—pipe? plate? combined? or angle iron?
Even when I got stuck in traffic, I didn’t mind. Thanks to that, I forgot to renew the liability insurance and ended up doing a used-vehicle registration instead (rookie mistake).
Here’s the strategy I came up with.
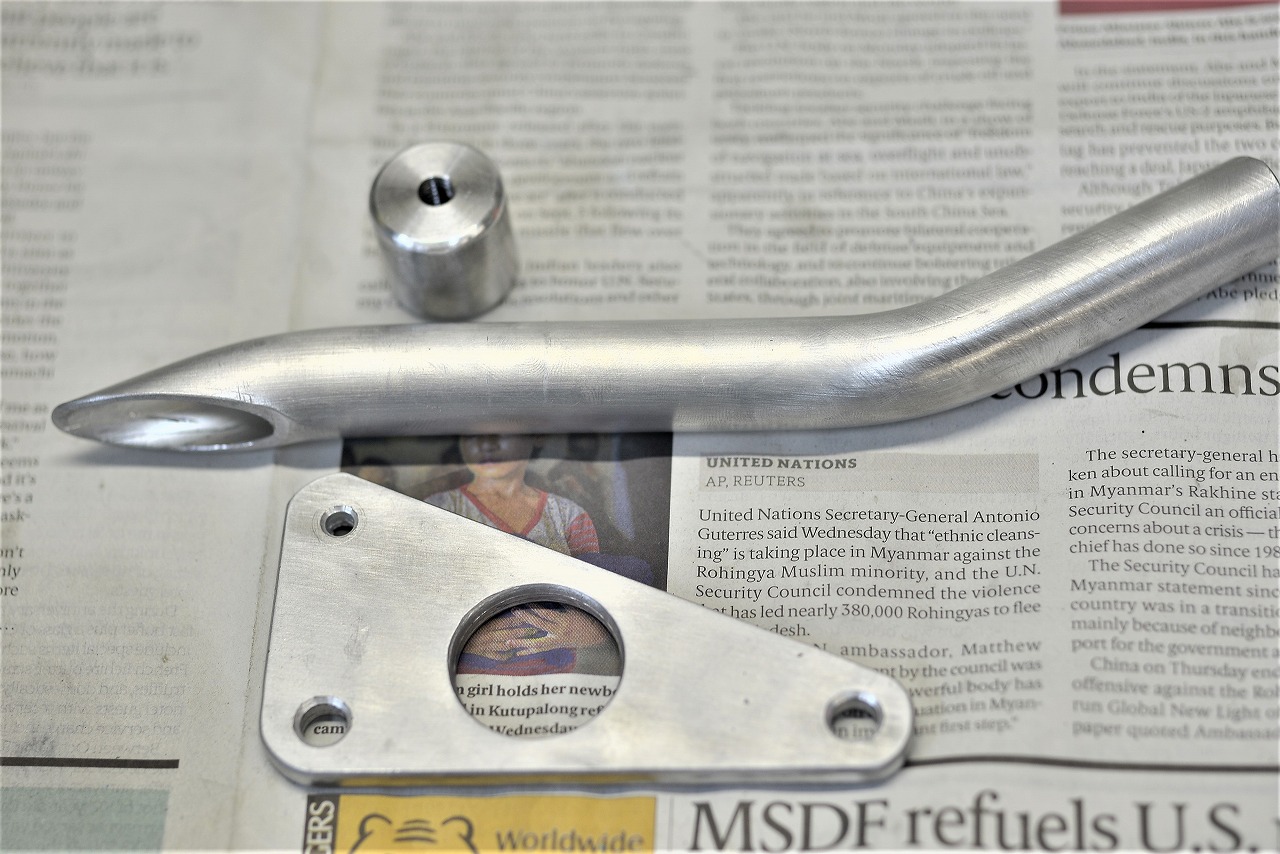
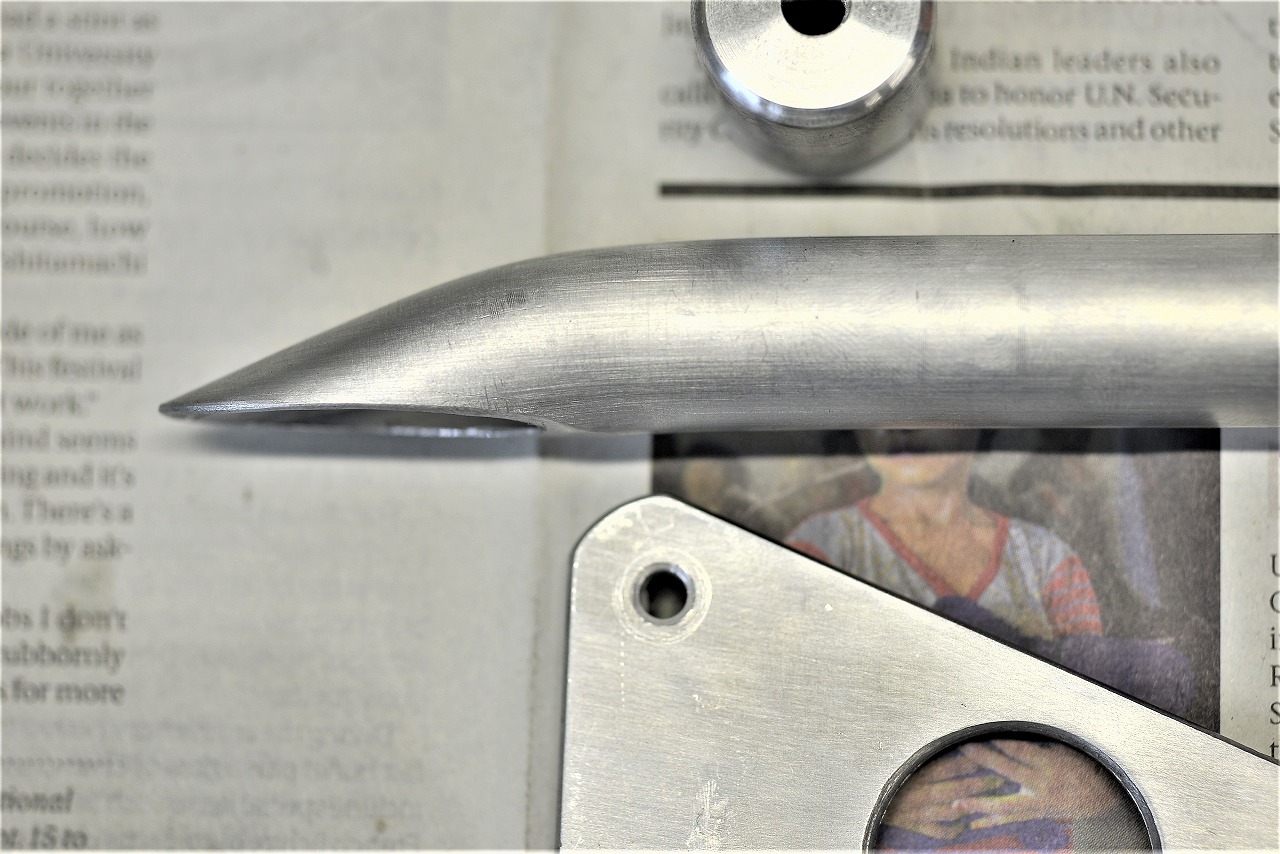
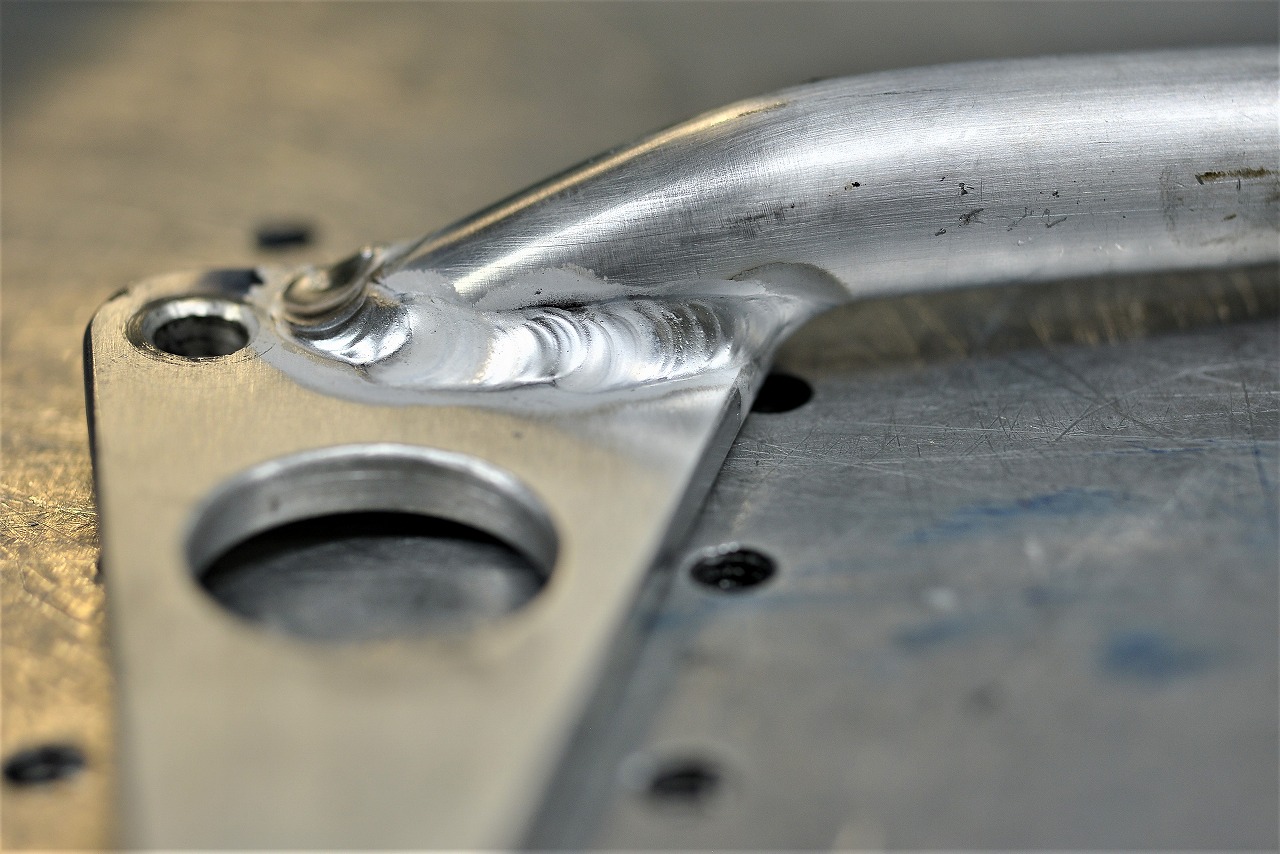
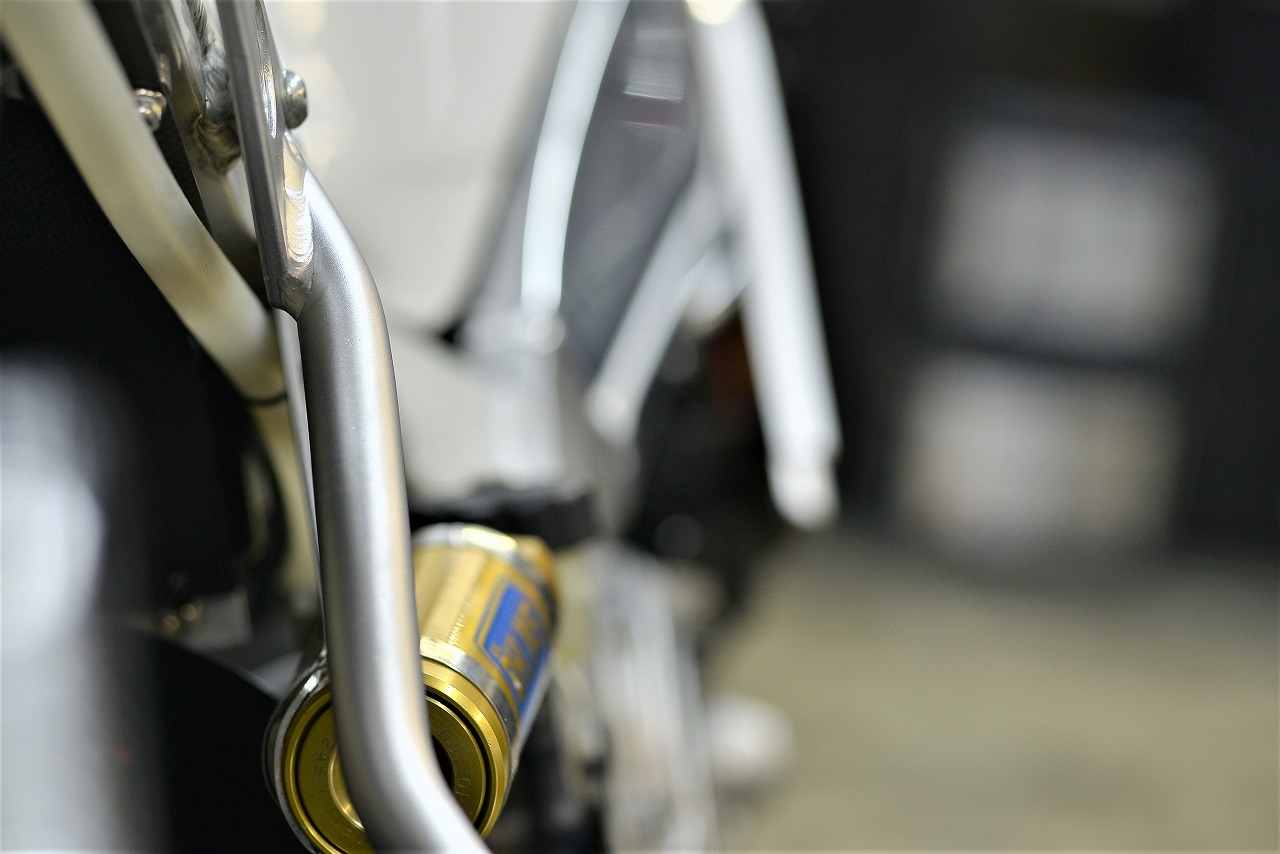
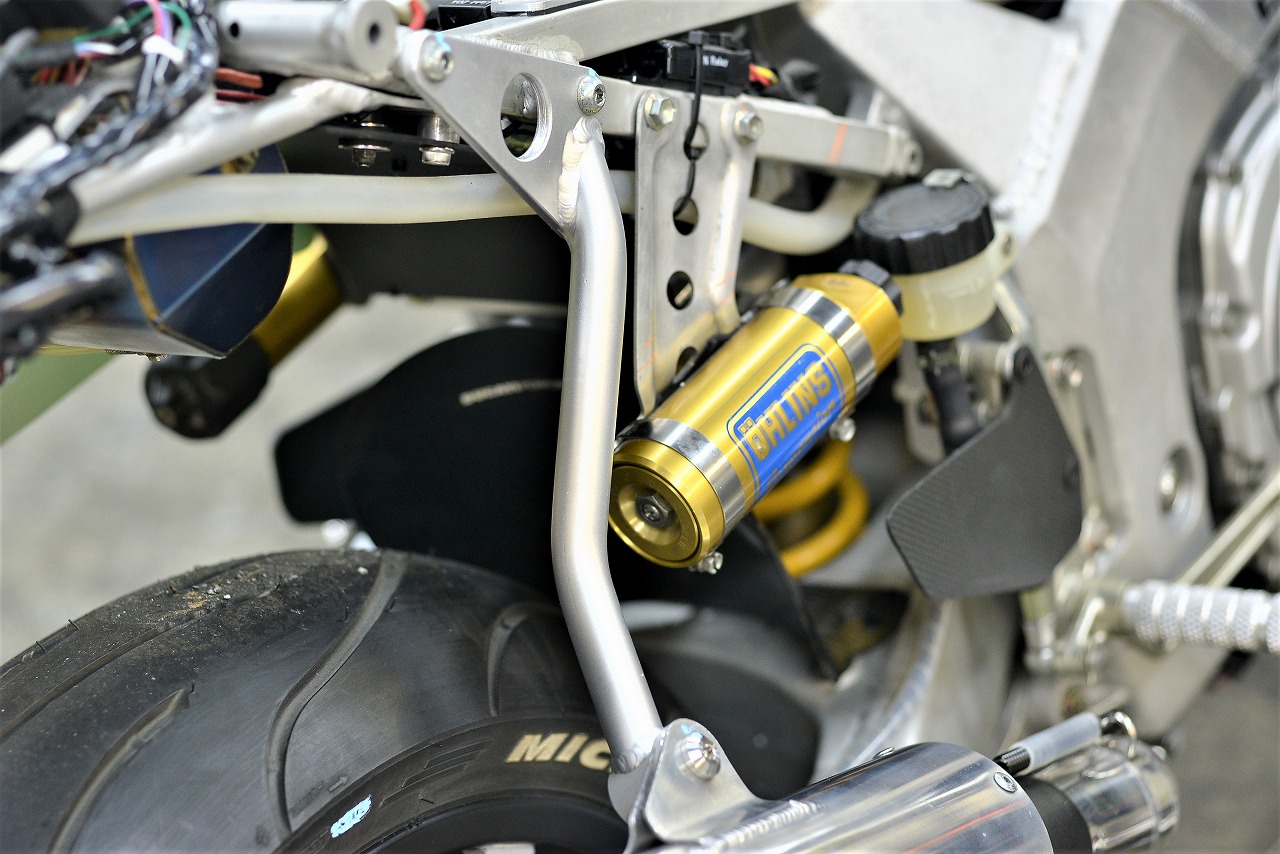
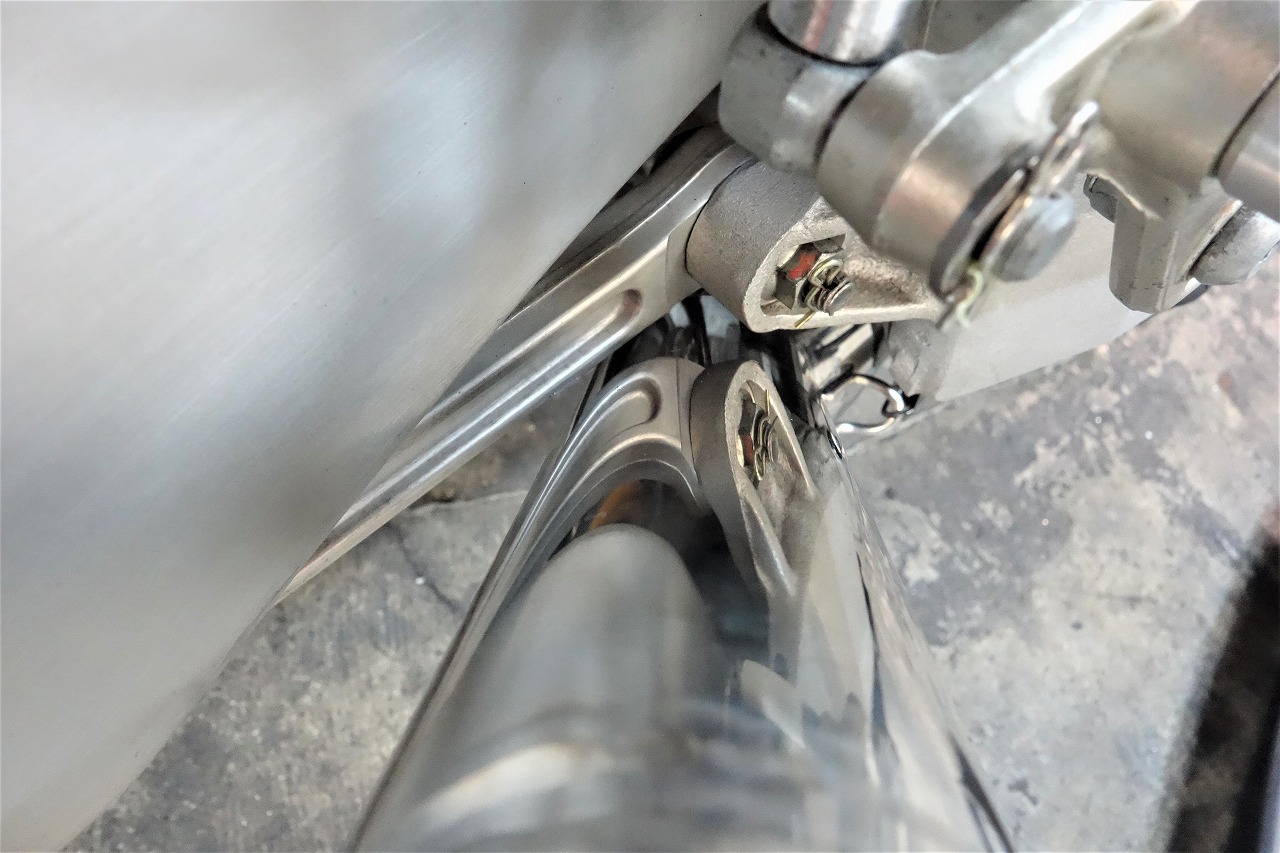
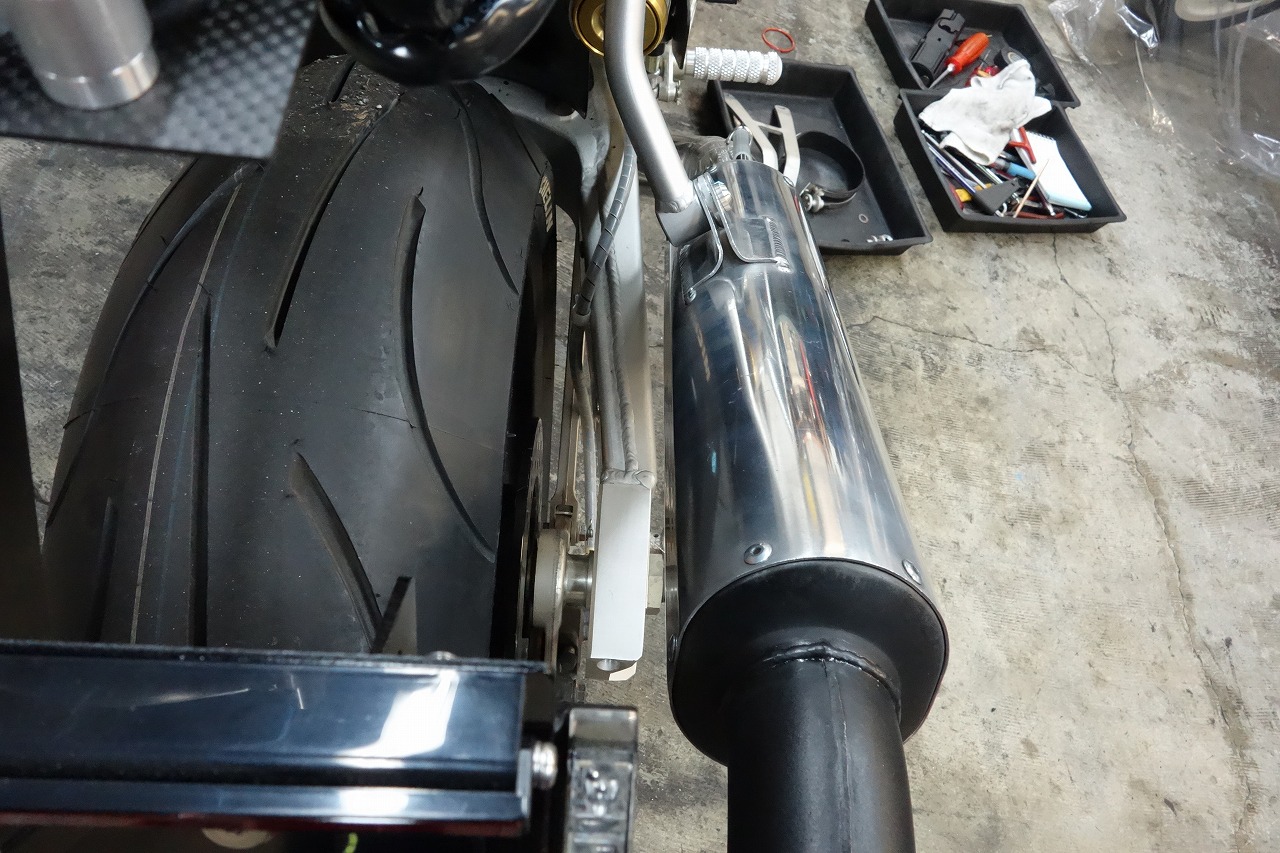
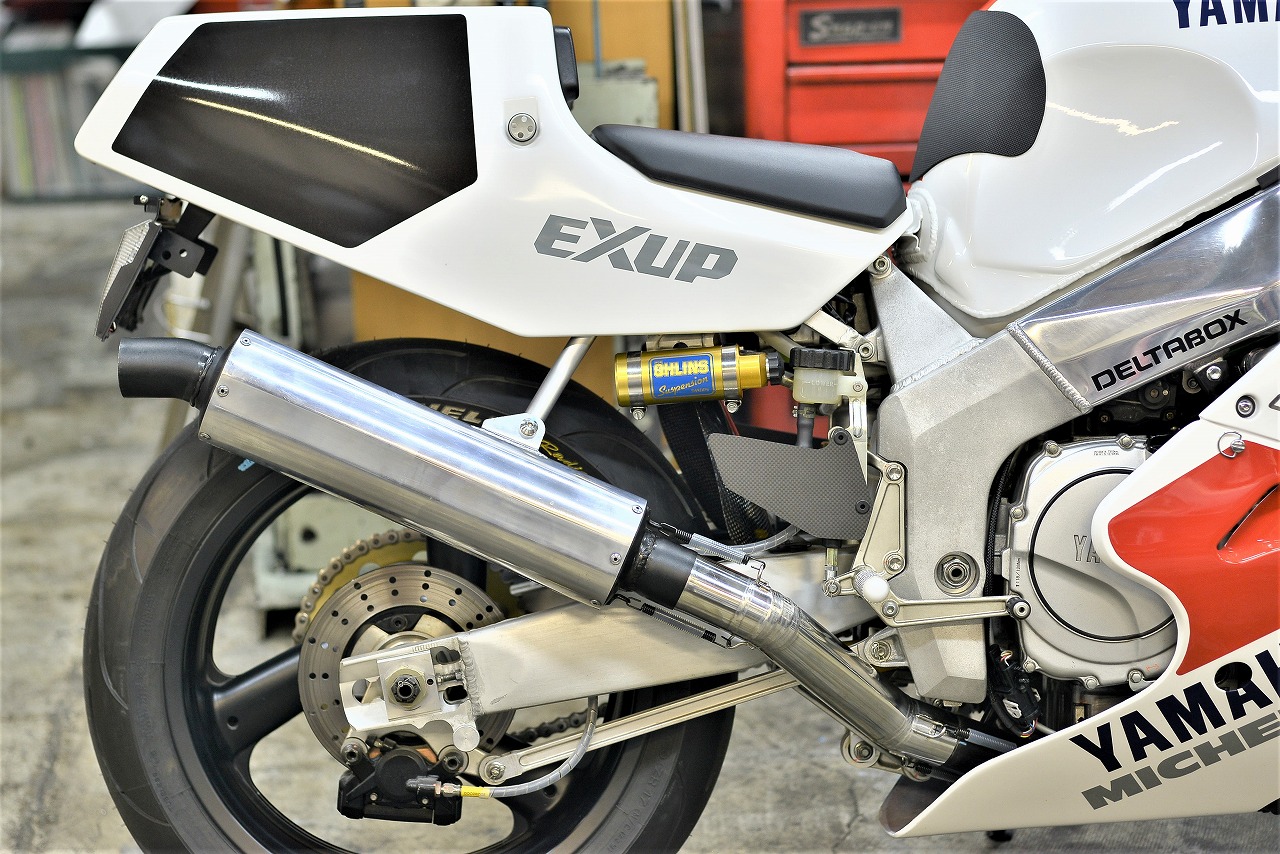
I bent pipe on the bender, cut it, and increased the contact surfaces while keeping it space-efficient—that’s the plan for the pipe bracket. I’m fitting it nice and tight. I quietly have a die for notching pipe, so I’ll notch it afterward. (Convenient—*I’m a die enthusiast.) I barely ever work with aluminum, so it’s refreshing. Machining is easy, and the weld bead is nice and big, which actually helps. That’s how the assembly is done. Recently I switched my welding helmet to an Optrel Panoramaxx. This thing… wow… the weld pool visibility is absolutely incredible! It’s one of the most impressive purchases I’ve made lately. I used to use an old Speedglas 7000 series, but I really felt the progress of technology… The frame side is fixed with two M8 bolts, so it won’t loosen or wobble—peace of mind. The silencer-side bracket has an angle and a 4.5mm gap, so it really makes a strong statement: “This is for plate brackets only!” I tapped M8-1.25 into the bracket side, so it’s nut-free. That’s how I made it. (Polished.) It’s bare aluminum, but it probably won’t corrode easily, so it should be fine as-is. I think so. A subtle detail: I don’t want it sticking out and looking ugly, so I’m keeping it as tight as possible. I positioned it as close to the swingarm as possible. That’s how it is. Making a muffler really is a pain, I thought to myself. The sensor should be easy to remove and install. The small oval silencer looks period-correct too. (Apparently it’s a SUGU kit part.) That’s how it is.
Customization goes to the custom shop. Fabrication goes to the machine shop. *Basically, I’m not good at this kind of work, so I don’t do it. That wraps up today’s work.