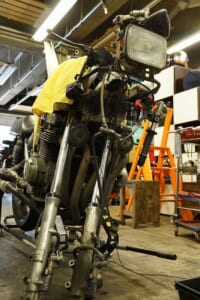
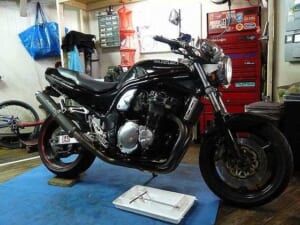
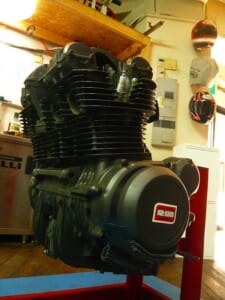
Bikes from this era are called racer replicas. The color scheme alone makes such a difference—it looks sharp and cool! I really do think the oil-cooled GSX-R is the one.
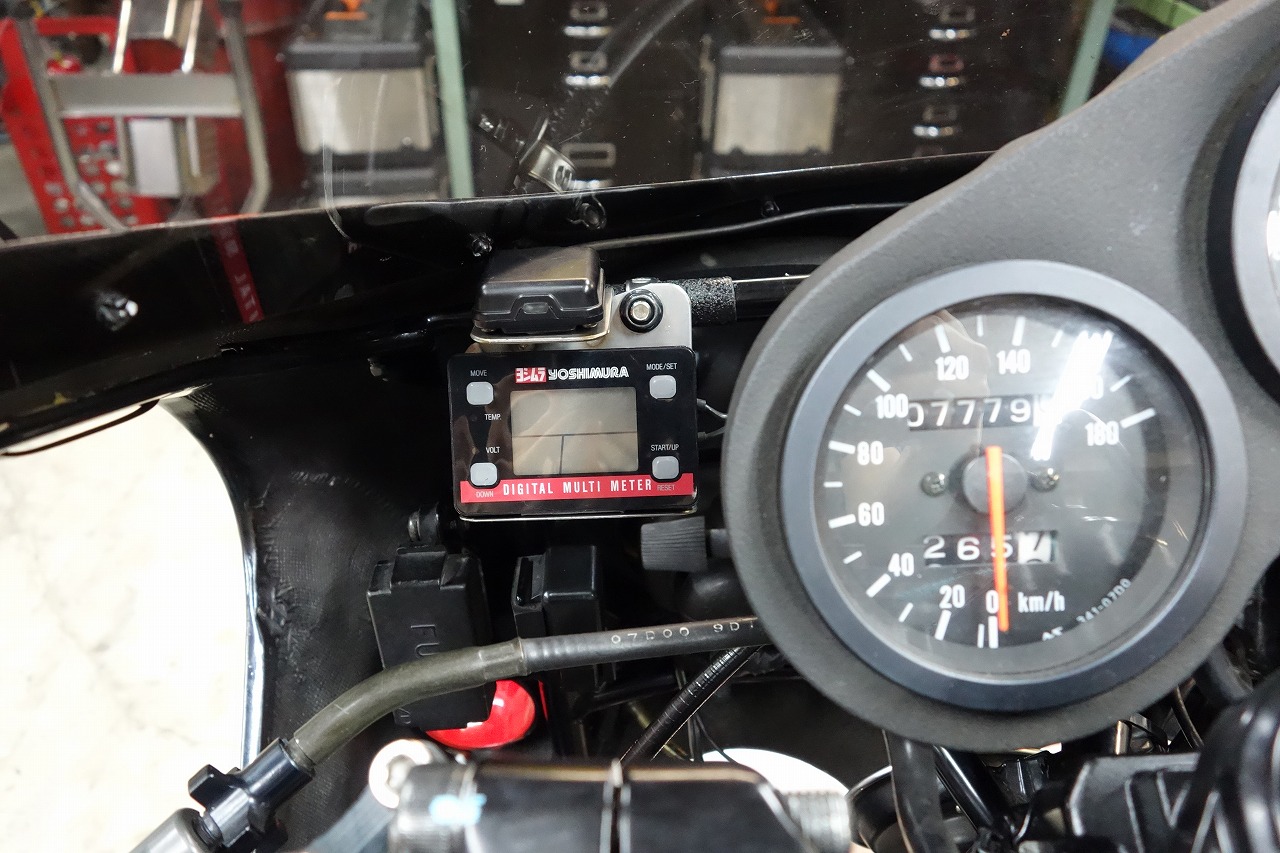
This is kind of a continuation.Where should we put the digital gauge? Most people say, “Just do whatever, anywhere is fine!” Aftermarket parts always give me pause during installation. Every time I do it, I end up fidgeting and thinking, “Maybe that way would’ve been better.”
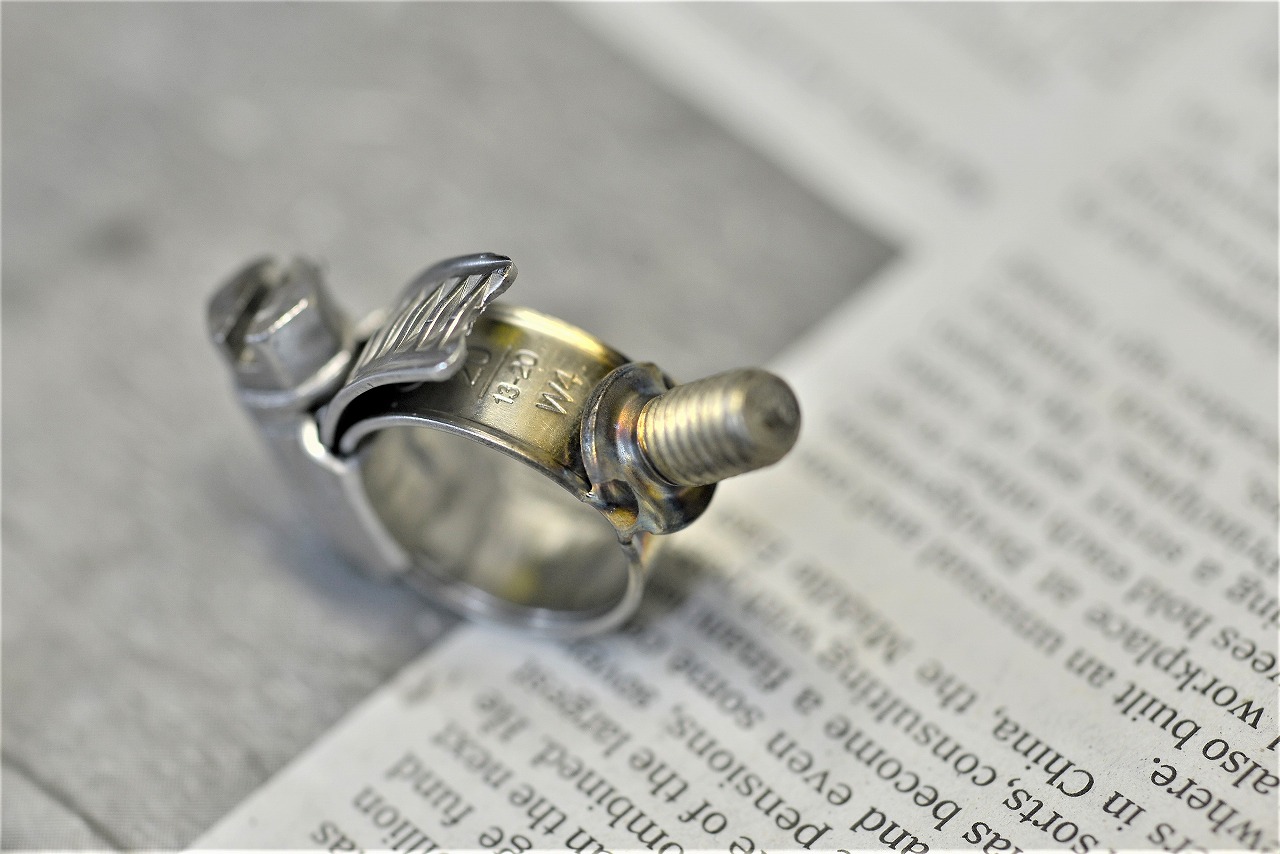
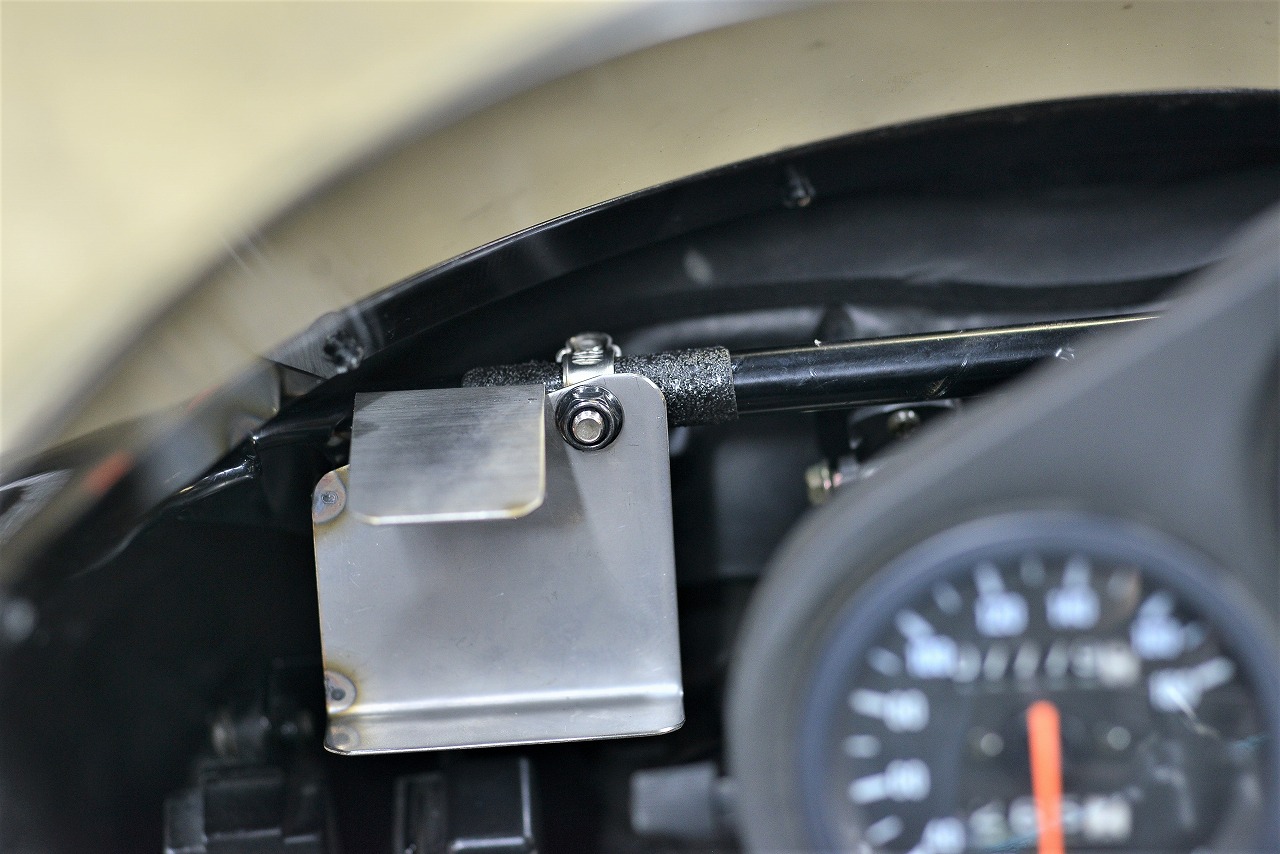
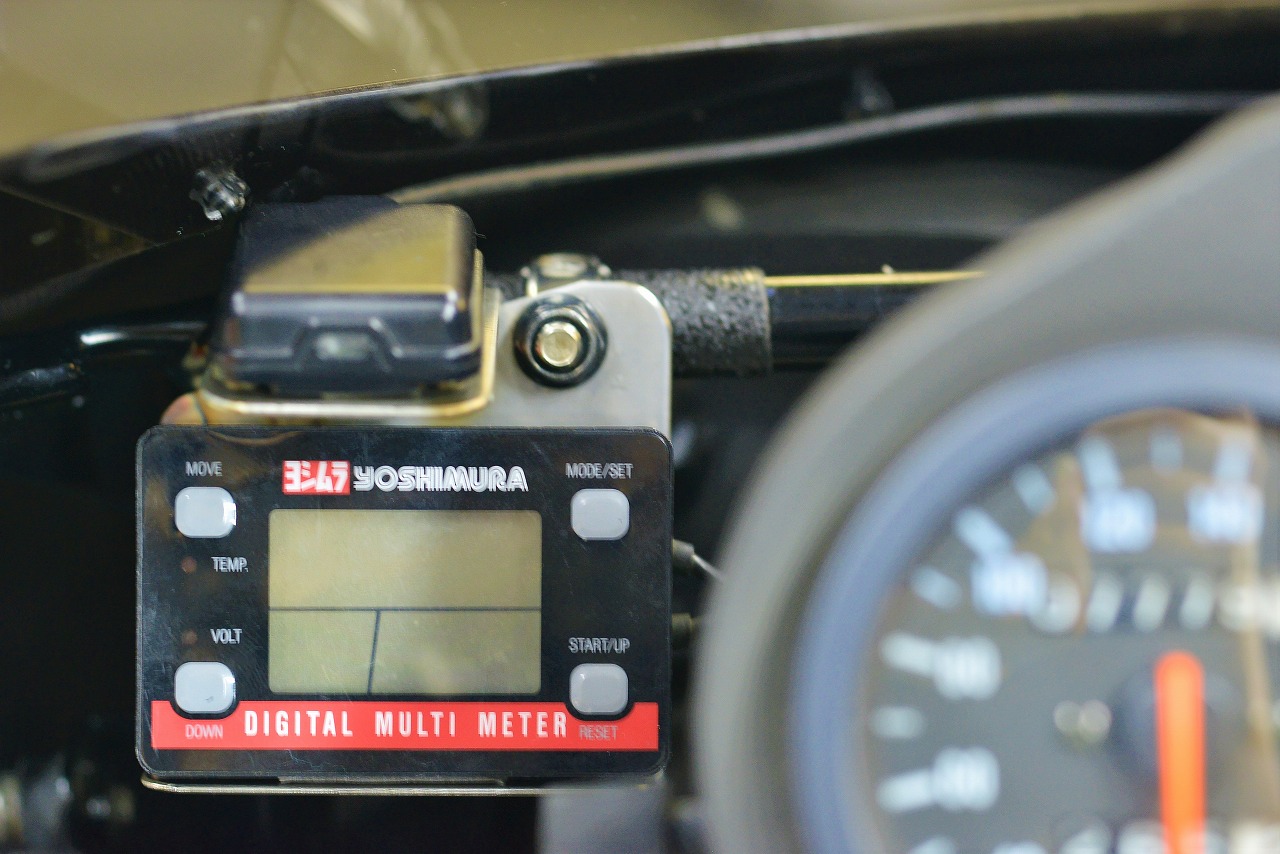
Since no brilliant ideas have come to mind, I went with the usual approach stainless steel band plus ultra-low-profile fasteners
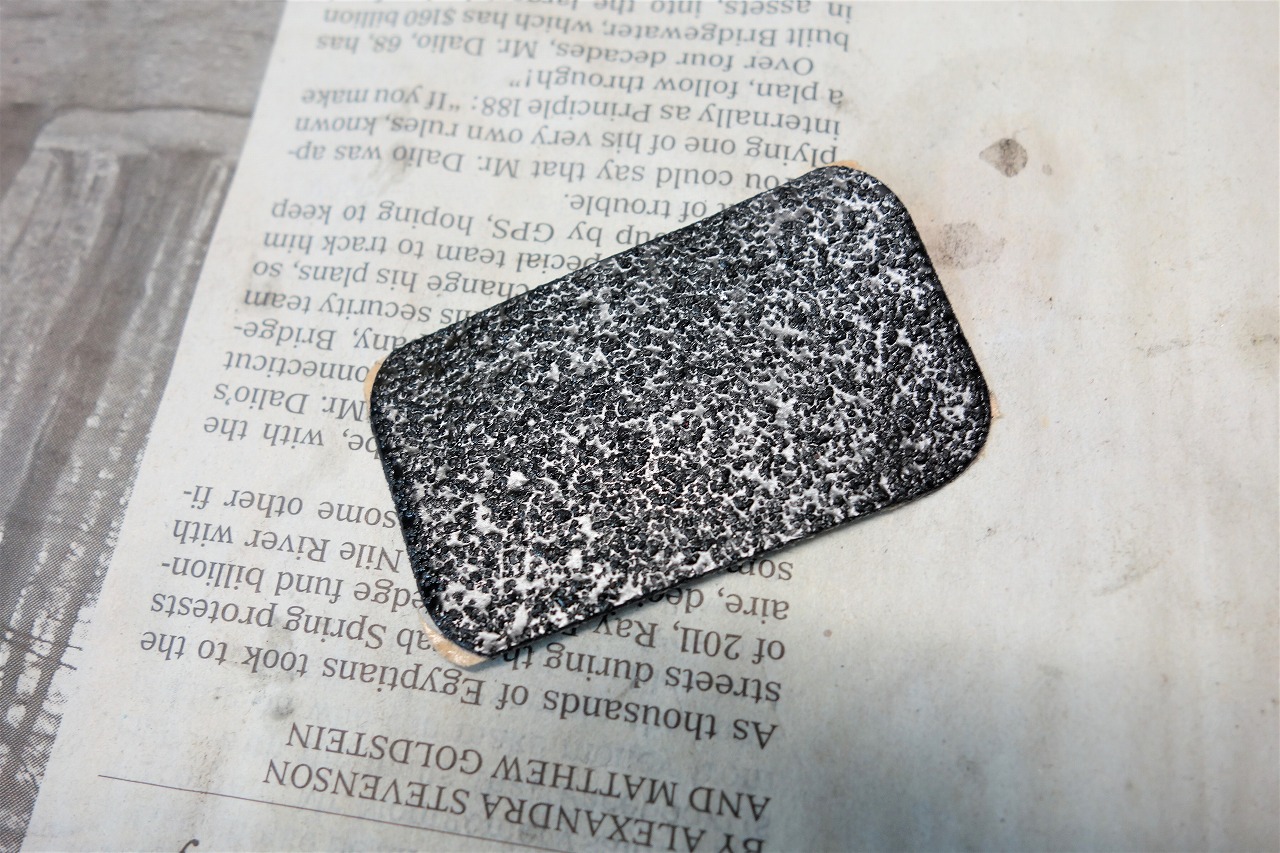
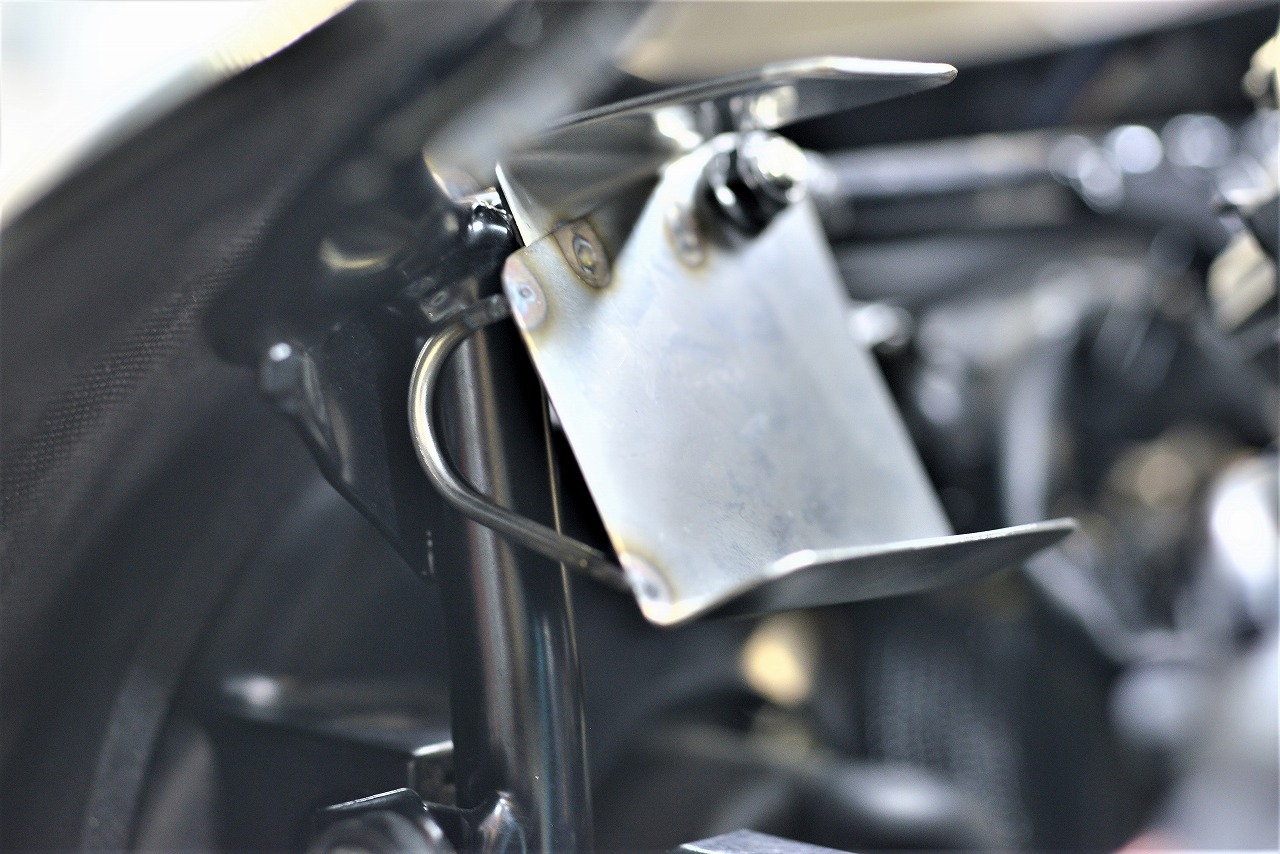
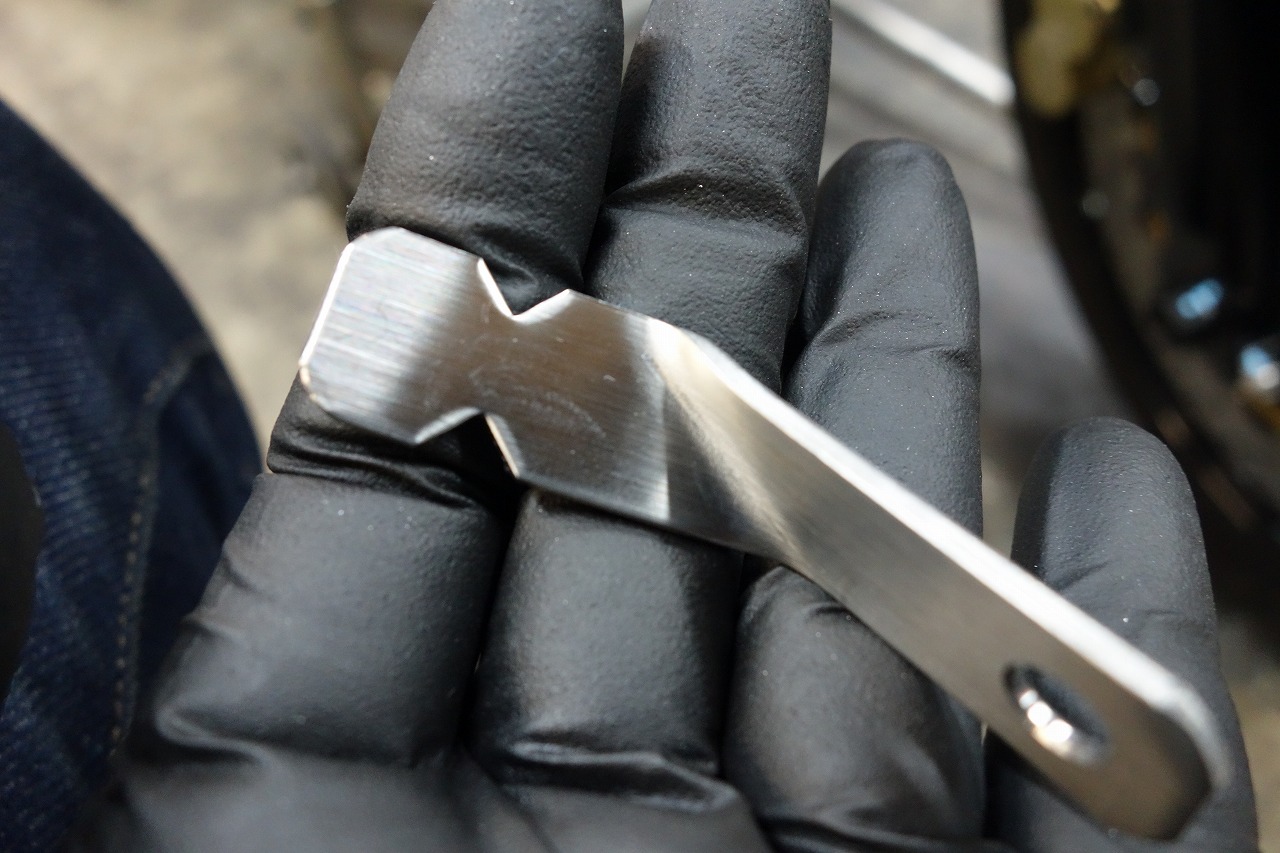
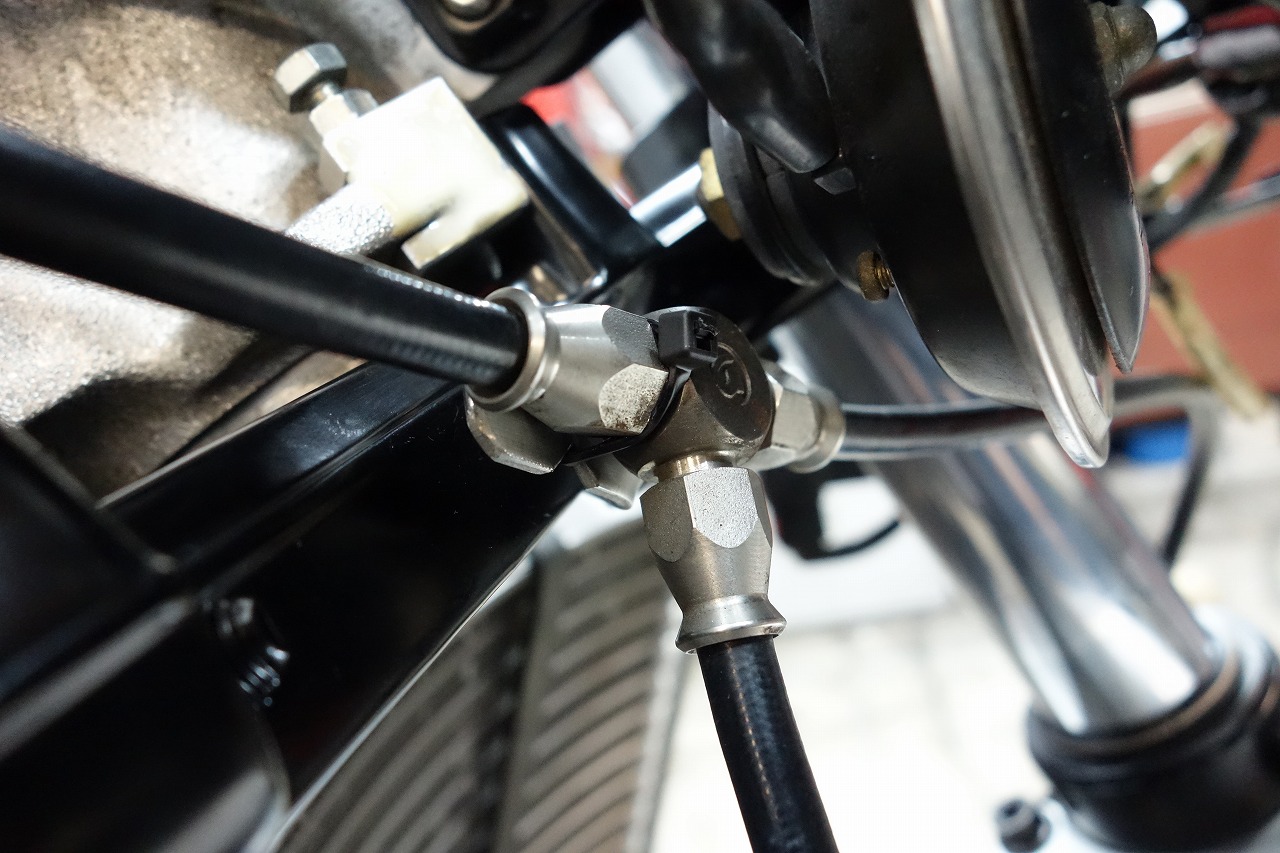
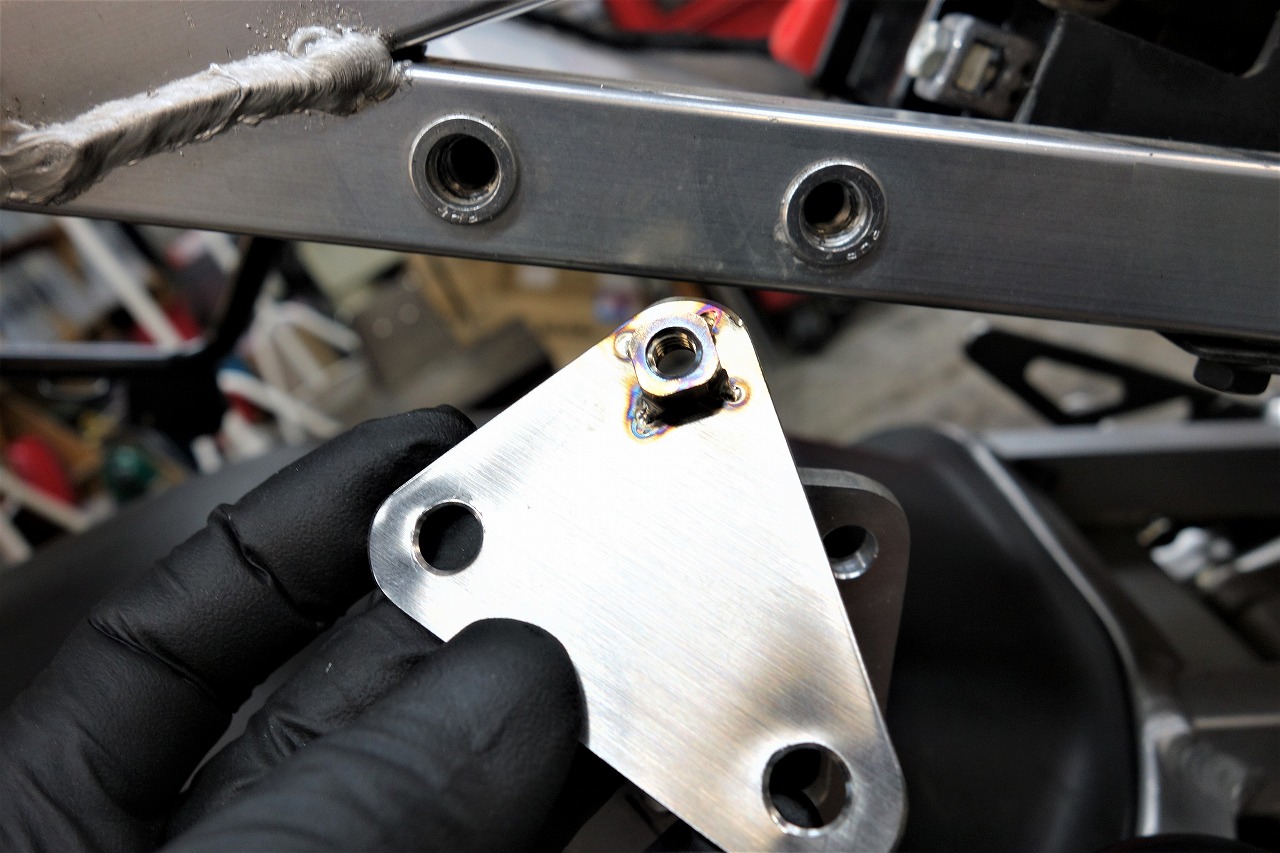
The fairing bracket has been repainted, so I was reminded to be careful. I applied anti-slip tape and scratch protection before securing it. Subtly knocking down the edges with a round file might improve the finished look and make it less likely to peel off.Bent plus bent and spot welded to fabricate the bracket. Since it uses just one nut, attachment and removal are easy.On a clip-on bike, if something goes wrong, it’s too late, so I installed a stopper that keeps it from going anywhere even if it loosens. Peace of mind and safety.I think the angle of a digital monitor is crucial. If you mount it on the top bridge, doesn’t the monitor look thin? With clip-ons, if you attach it to the handlebar clamp, doesn’t serviceability suffer? I think about stuff like this every day.I also got the ETC antenna set up, so it looks clean and fresh now.Let me go back to the front area for a moment. The brake hose TEE fitting has no ears. Looks like it was made a while back. When it’s secured to the stem or fork with cable ties (zip ties), every time I service the front end I have to cut and retie them—I’m not great at that.
I fabricated a fixed bracket from fairly thick stainless steel 304 (I forget the exact thickness)That’s how I set it up. By the way, the zip-tie mounting is not floating, so keep that in mind.The owner wants to pop the fairing off easily and clean it on nice days. The GSX-R750RK single seat is definitely hard to remove. I think it’s better if you can pop it off without thinking, both for the person doing the work and the owner.
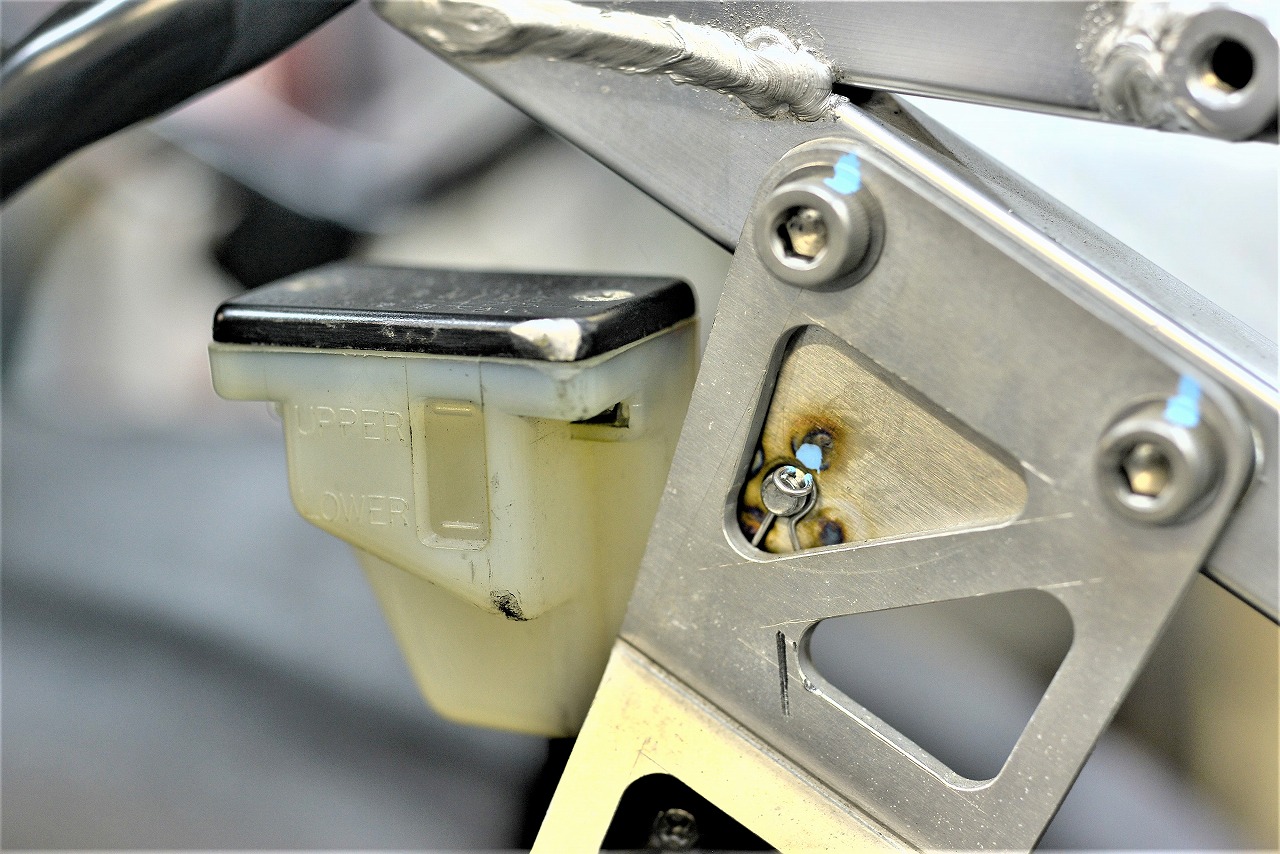
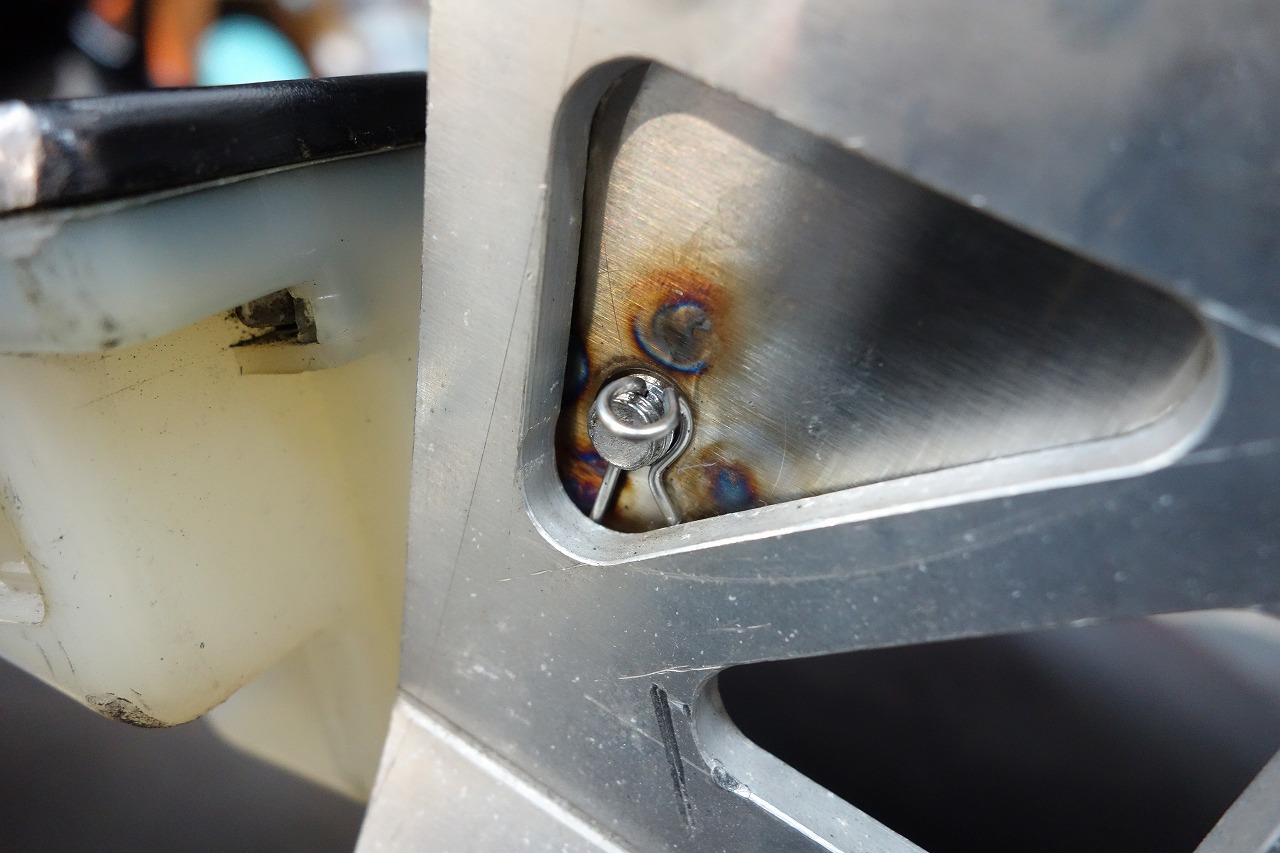
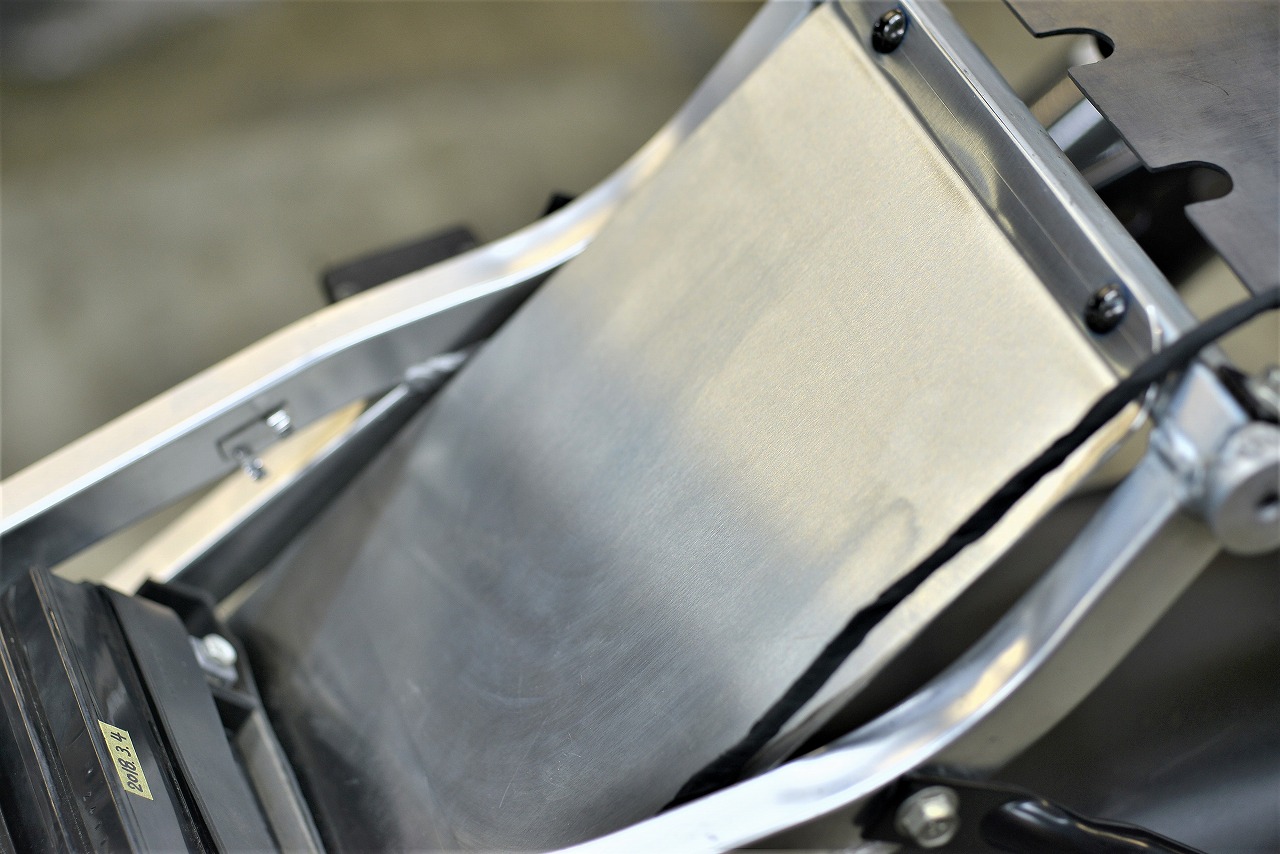
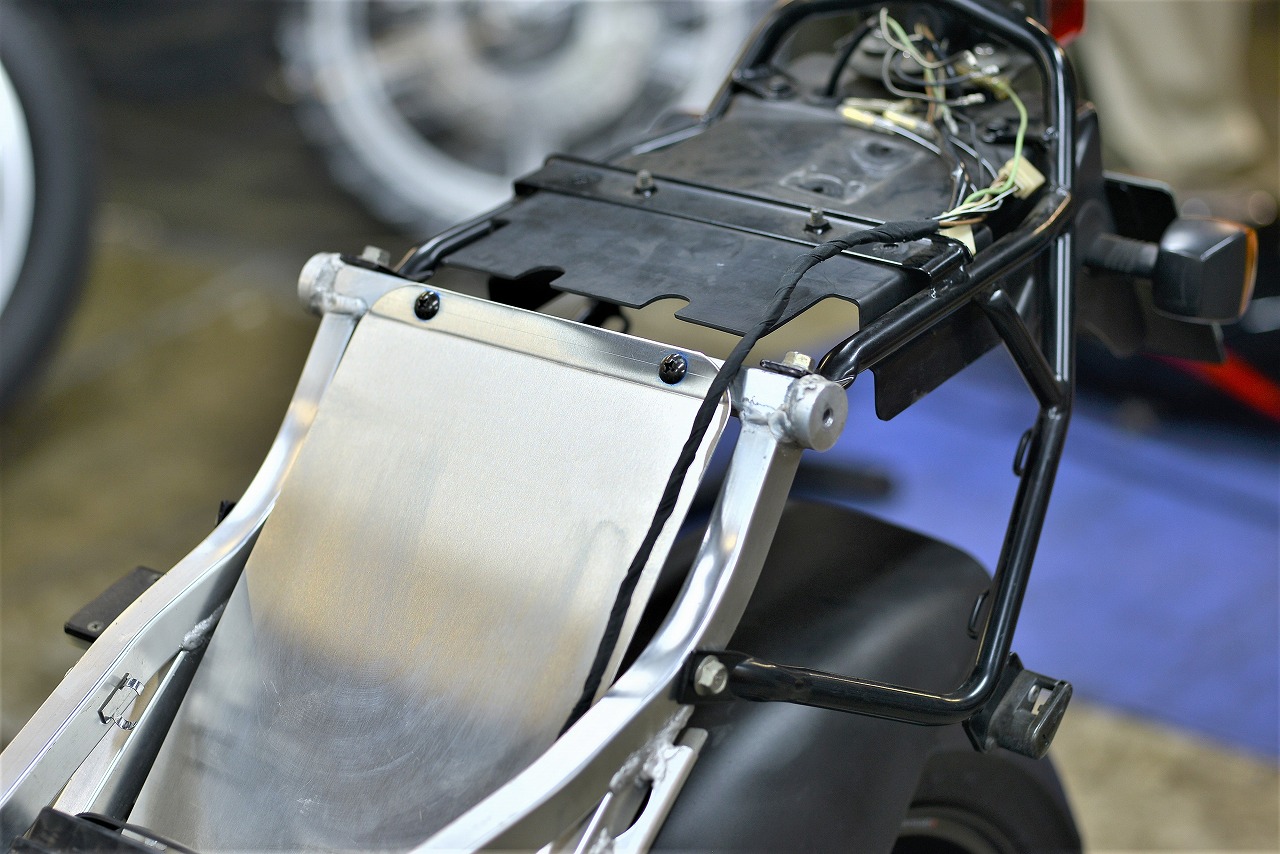
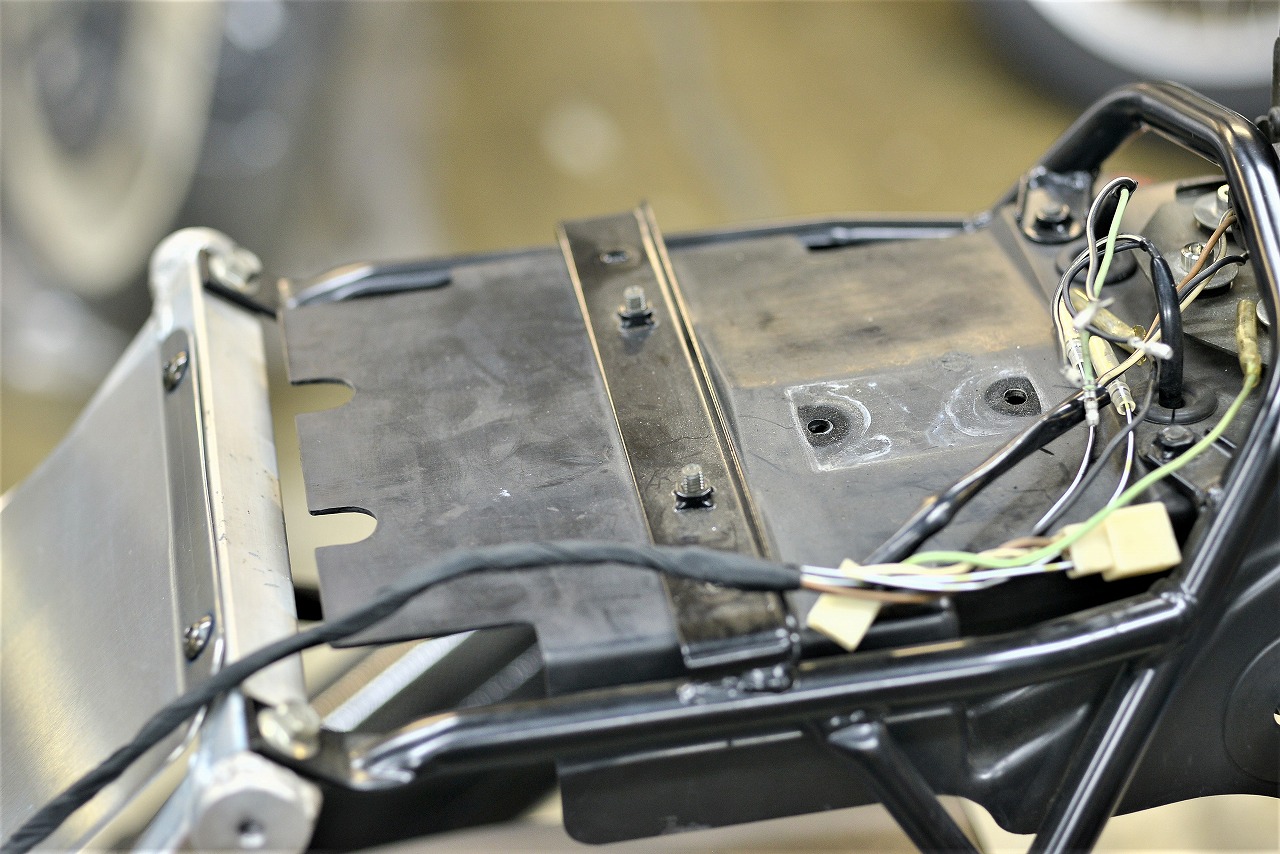
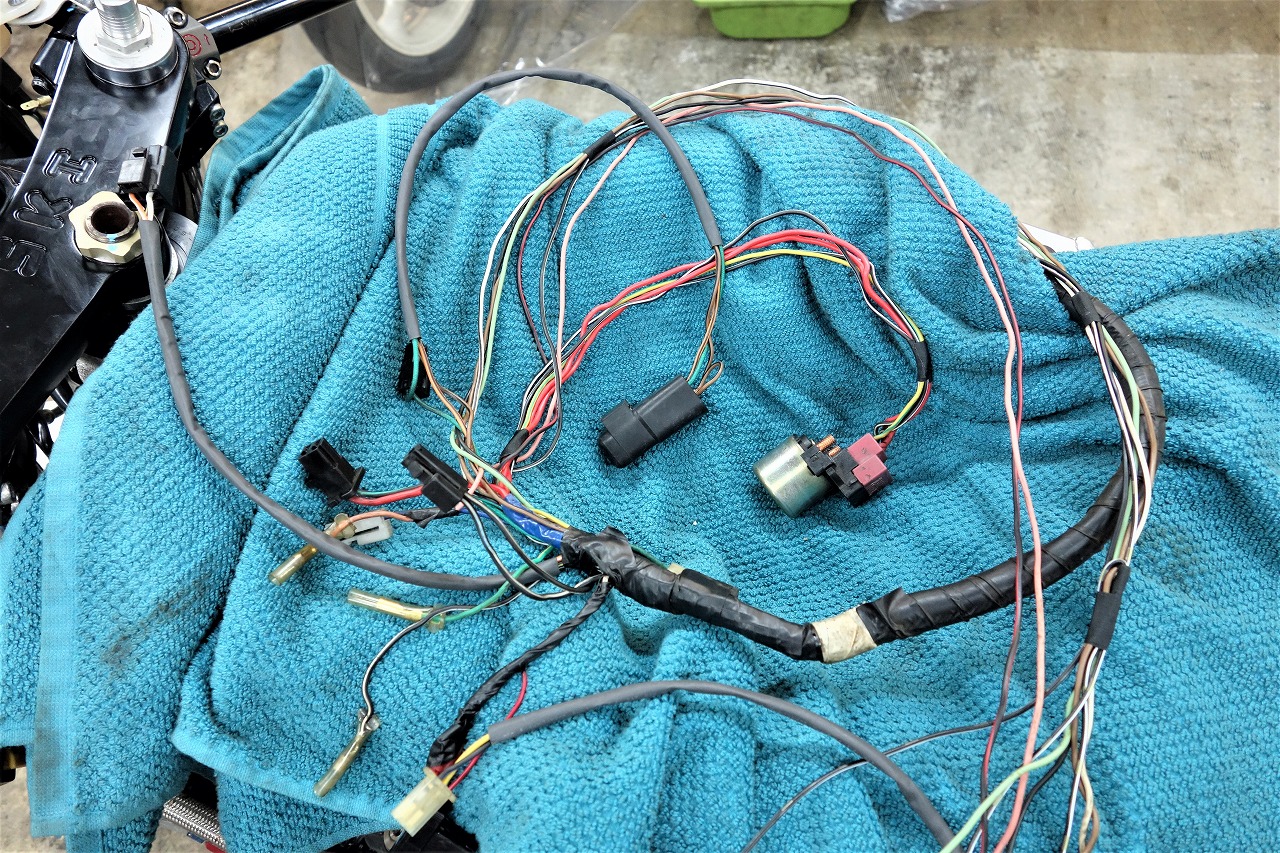
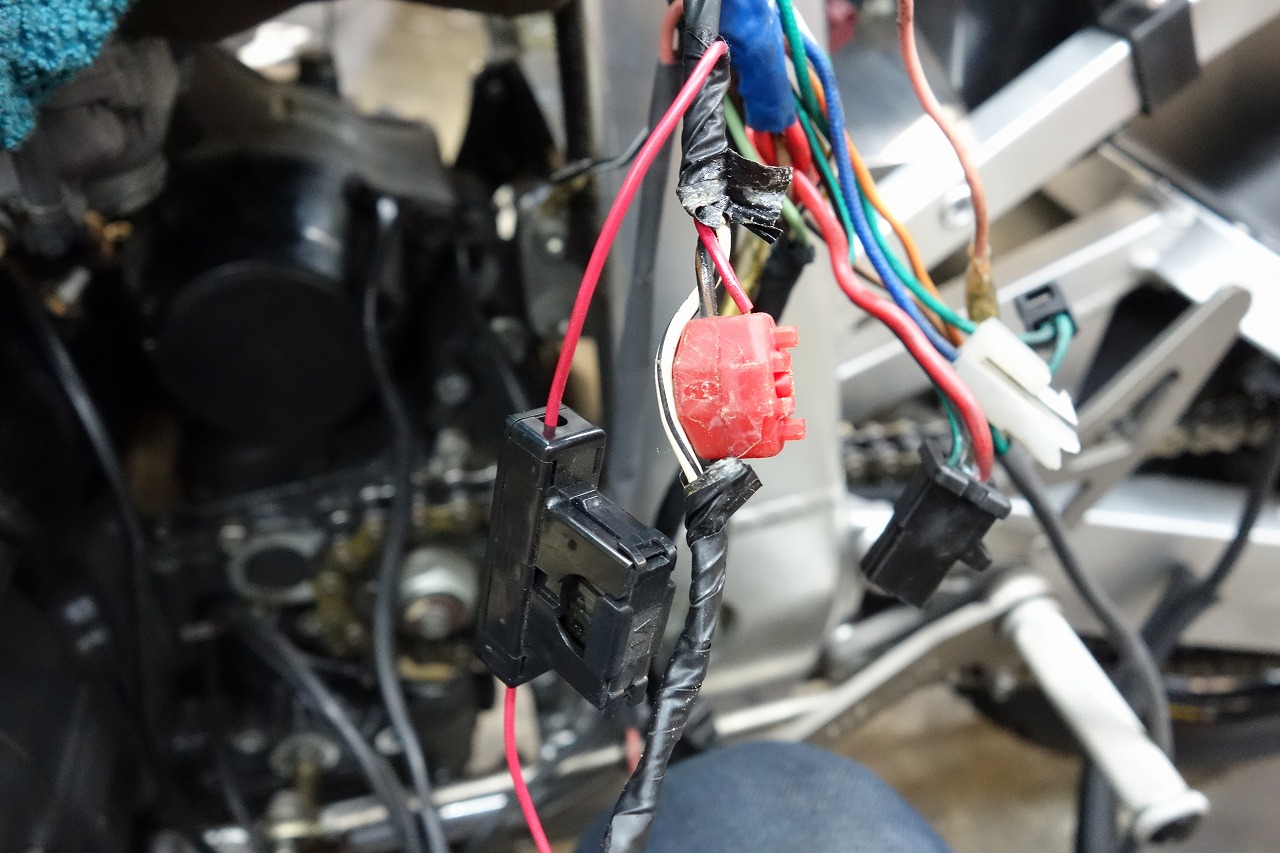
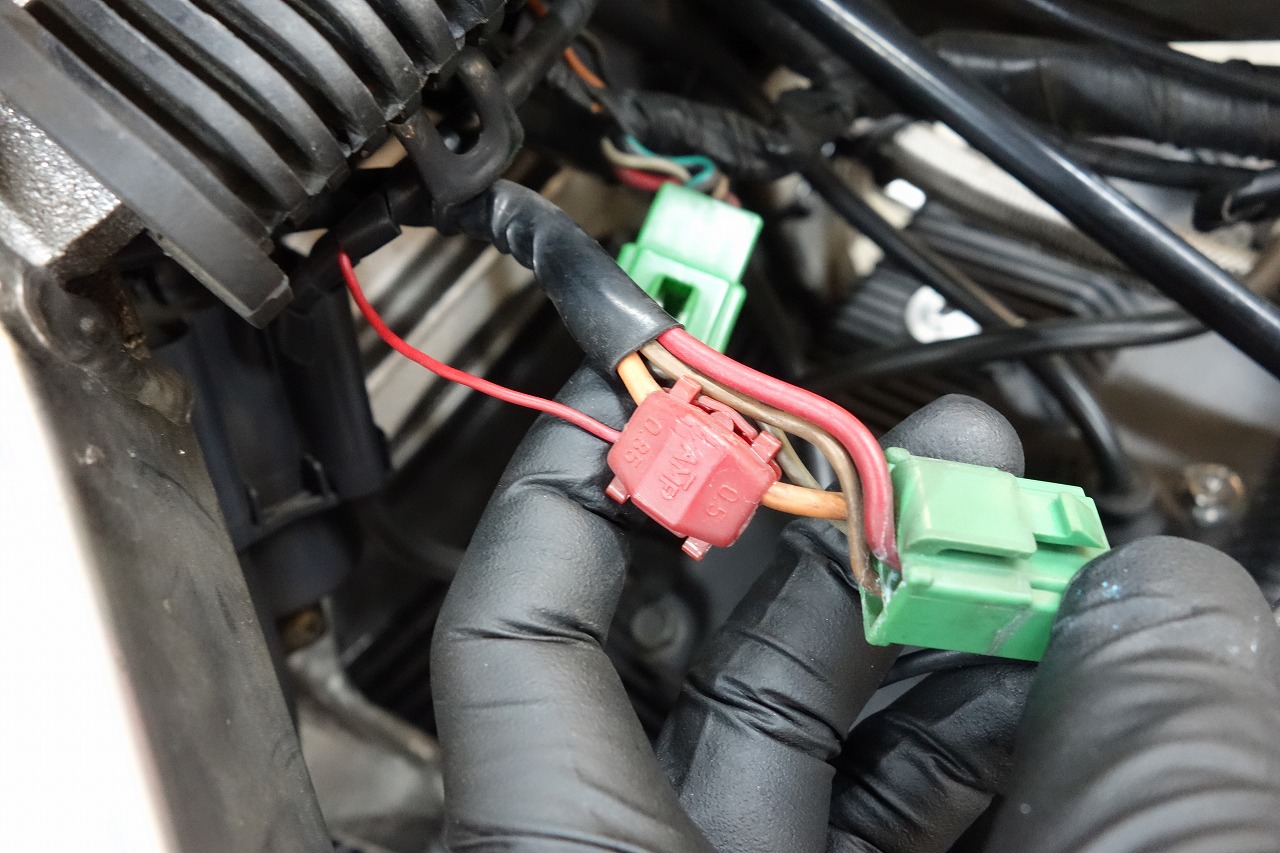
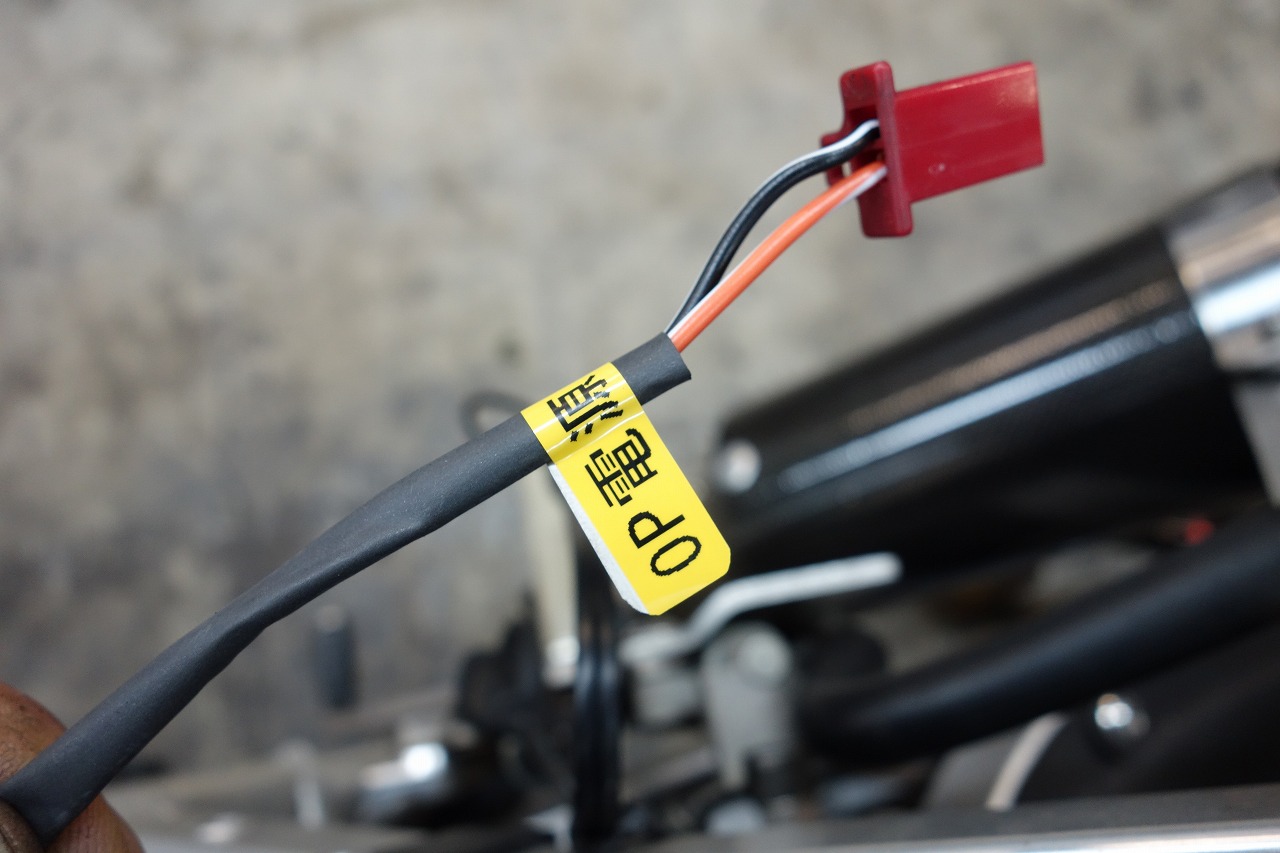
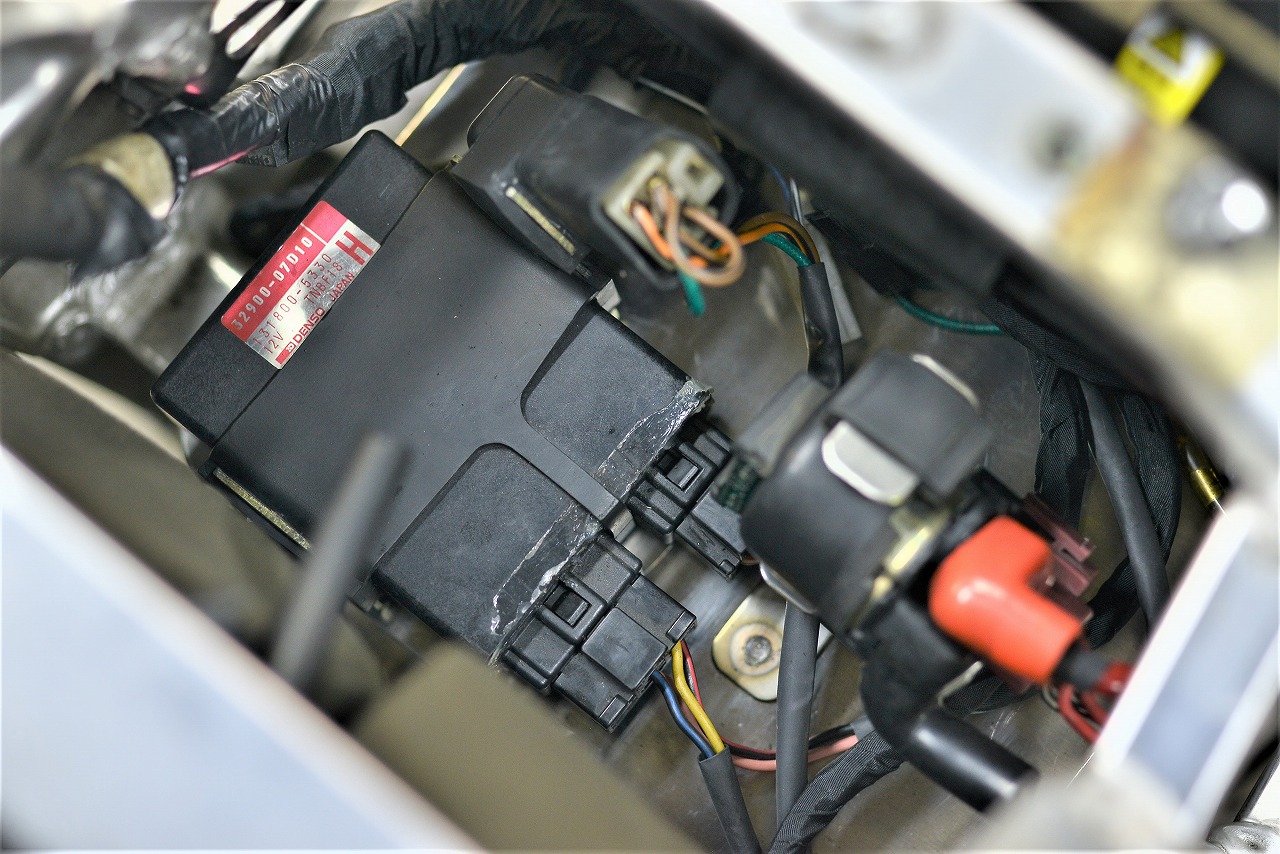
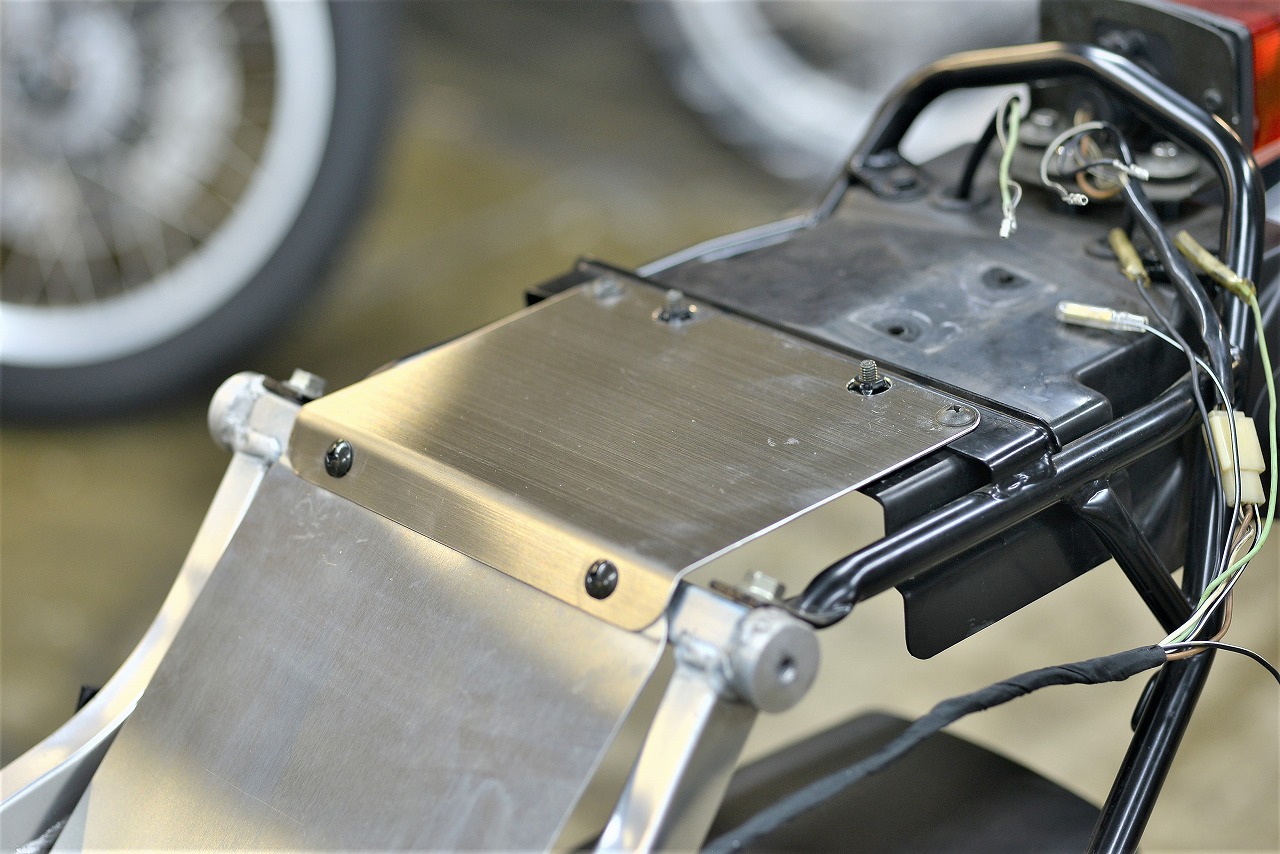
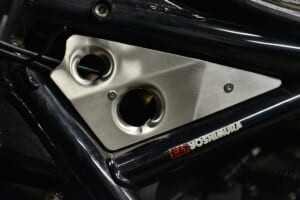
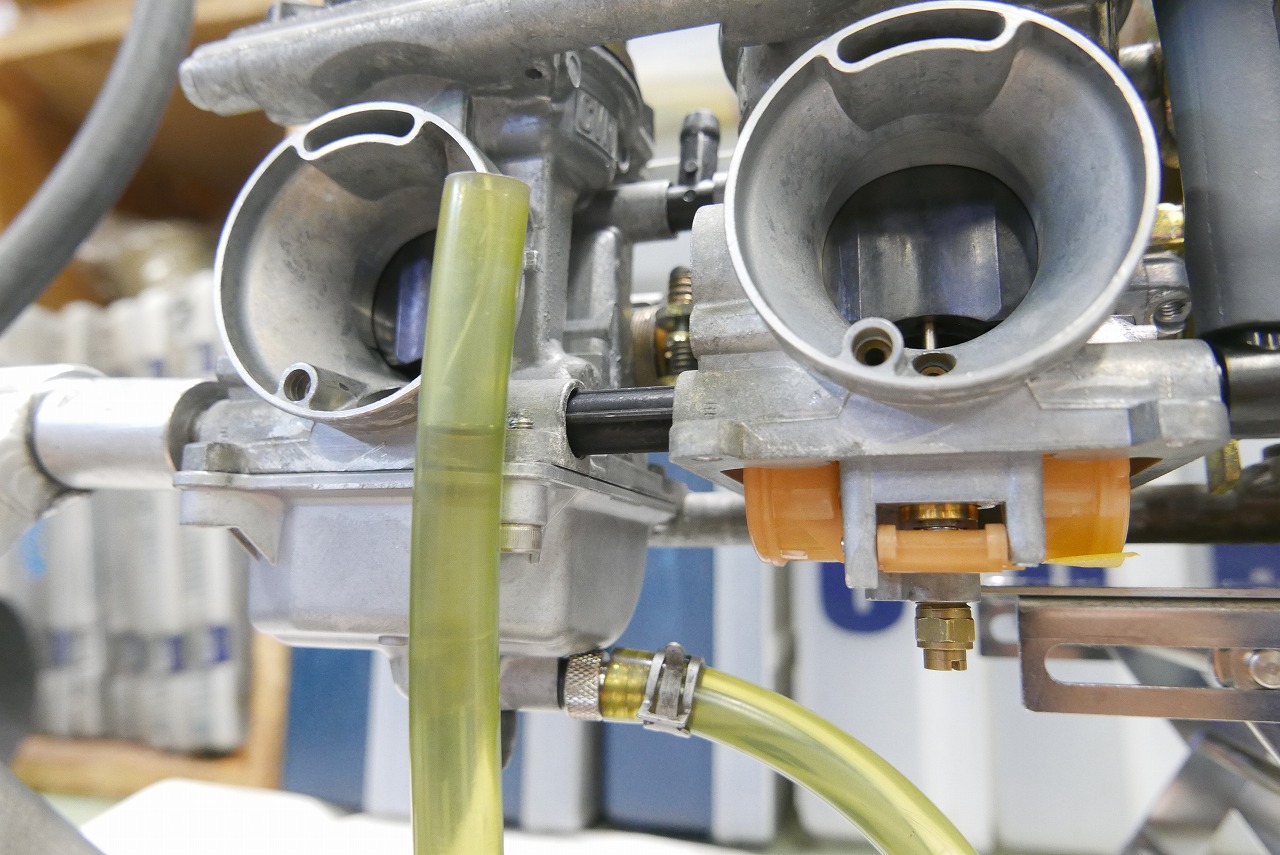
So I’m relocating the reservoir tank in the least troublesome way.The rear inner fender and overflow hose both work fine where they are, so it’s a good spot for relocation.A reservoir tank that could come loose and fall off is dangerous. I took safety precautions with a cotter pin. If you’re changing or customizing anything beyond stock, you always want to keep safety in mind. *DIY custom work and modifications on vehicles are not test-ridden as a rule.First, when you remove the tail fairing, you can see everything inside. The wiring is a mess, so I had to do something about it. I proceeded in the least troublesome direction. *The final form involves replacing the battery and all the small electrical components, changing the entire layout, making a small storage box, and so on, but I’ve learned it’s better not to mention unnecessary things.This is the first phase. I just sheared and bent it, but…The carburettor is already straight (with filter), and having electrical components sticking out like that doesn’t look right to me, so I decided to relocate them.Most of it can be done with shortening work, so it’s easy.There were multi-taps all over the place, and I removed them all. (In a way, they’re landmines.)I think power and ground look better when run in parallel. I deliberately changed the connector color because there’s a similar connector nearby, and this prevents any mistakes. I even taped it extra carefully.I relocated it to where the air cleaner box used to be. There’s still plenty of height, so you could go up to the second or third floor.I removed the unnecessary plastic cover and fabricated a plate for that area too. The back is now completely empty. With this much space, you can do whatever you want.