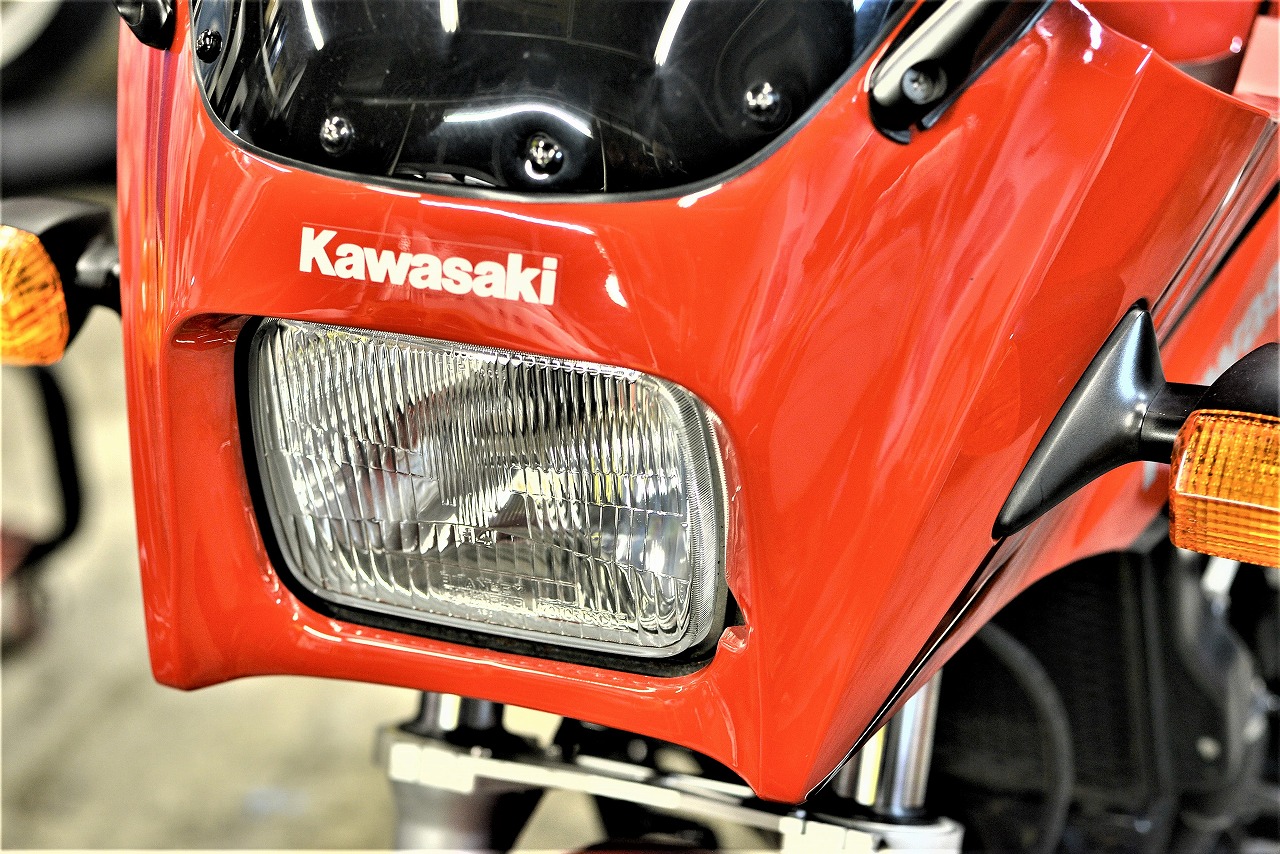
A recently added GPZ900R. The customer has requested various customizations to their personal preferences.
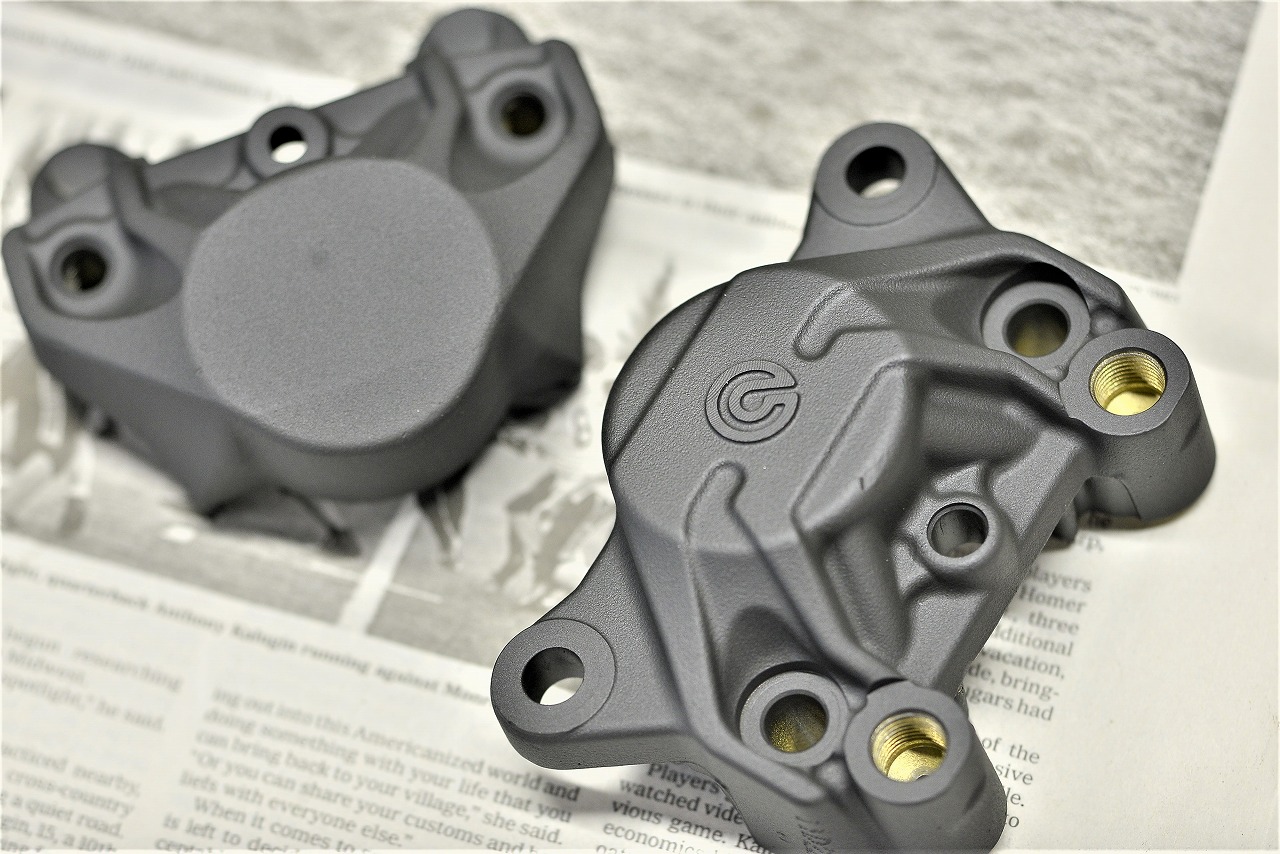
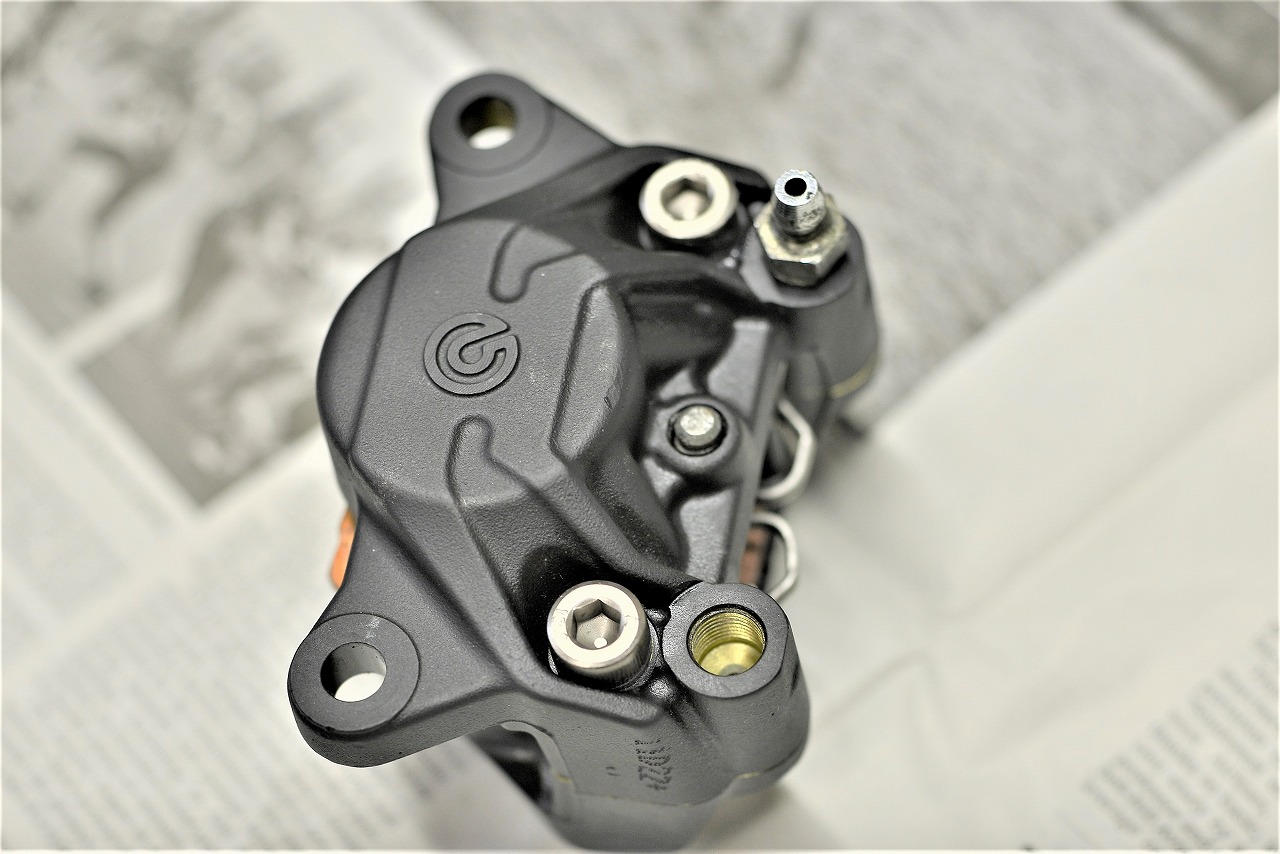
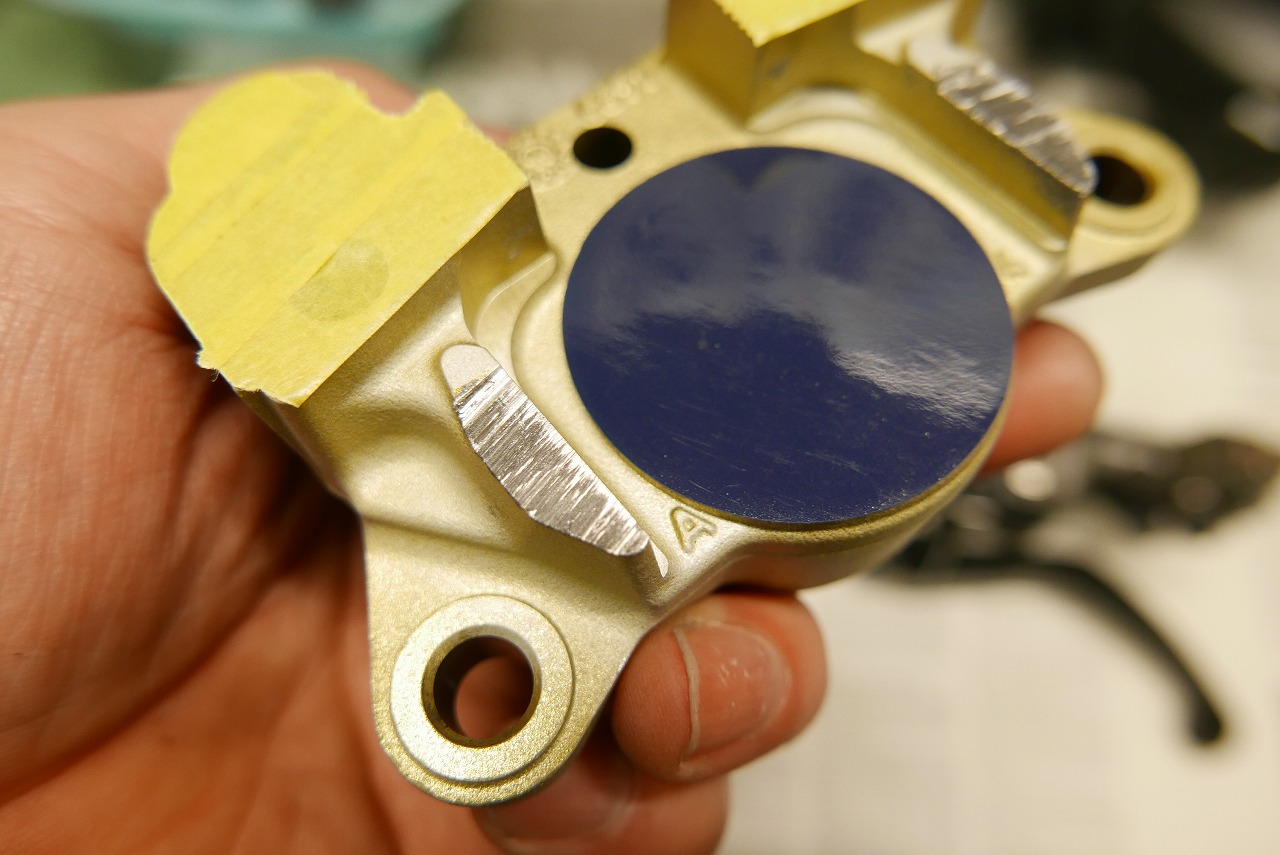
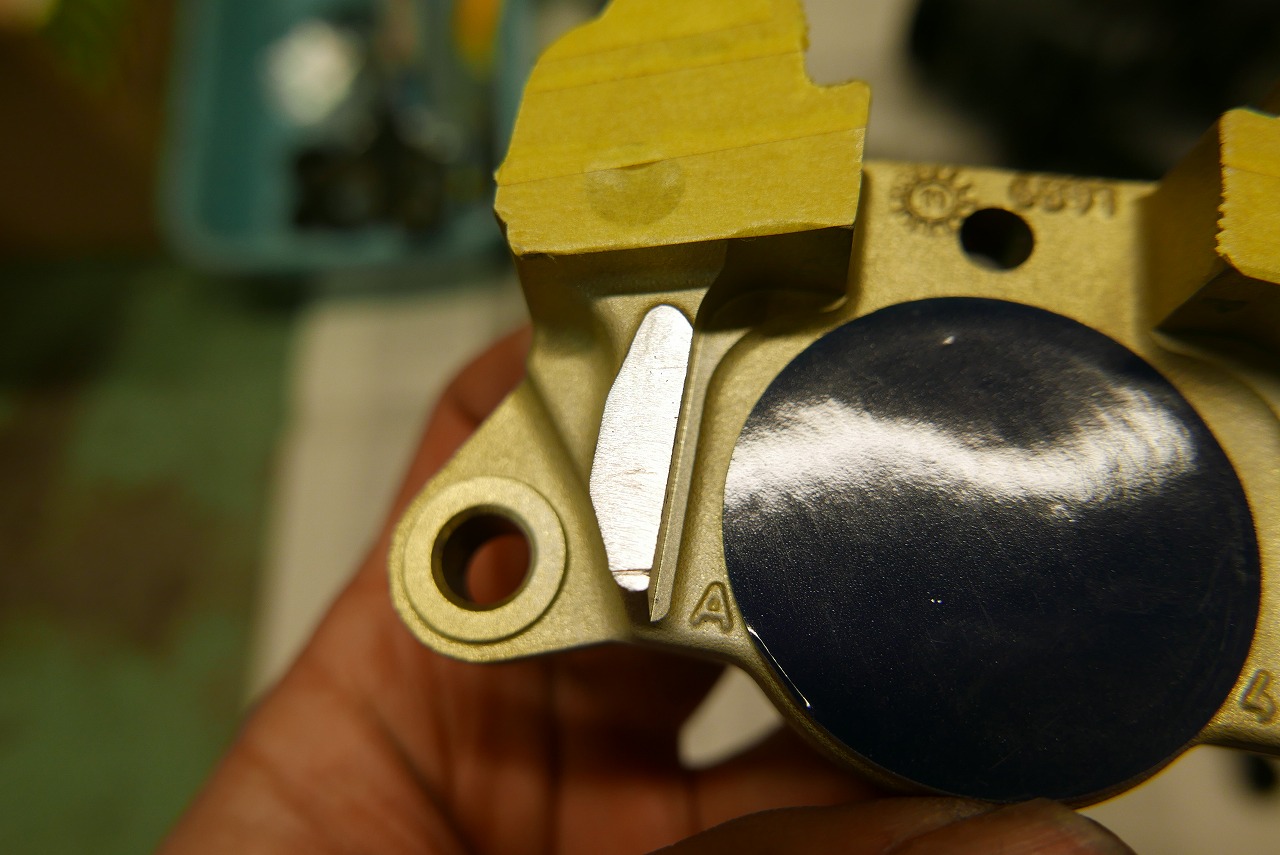
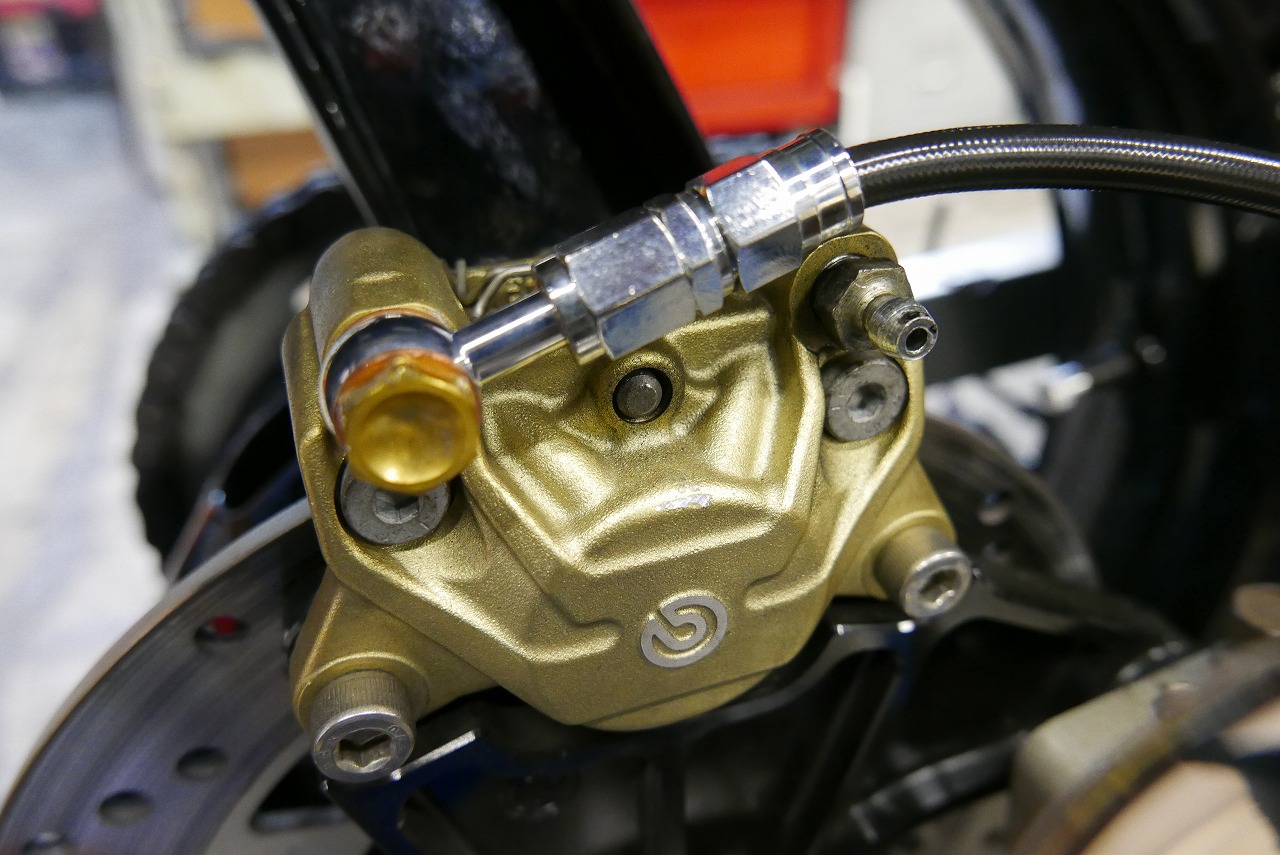
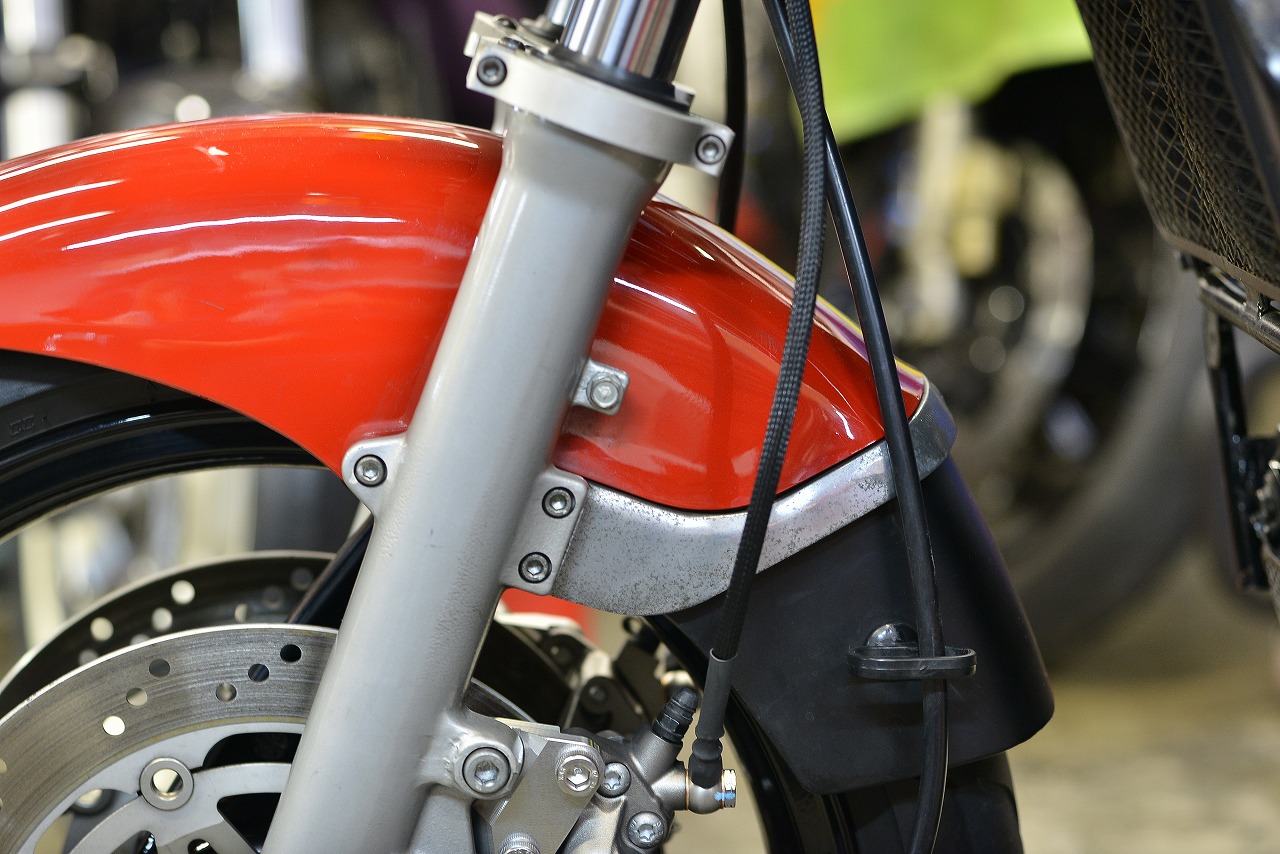
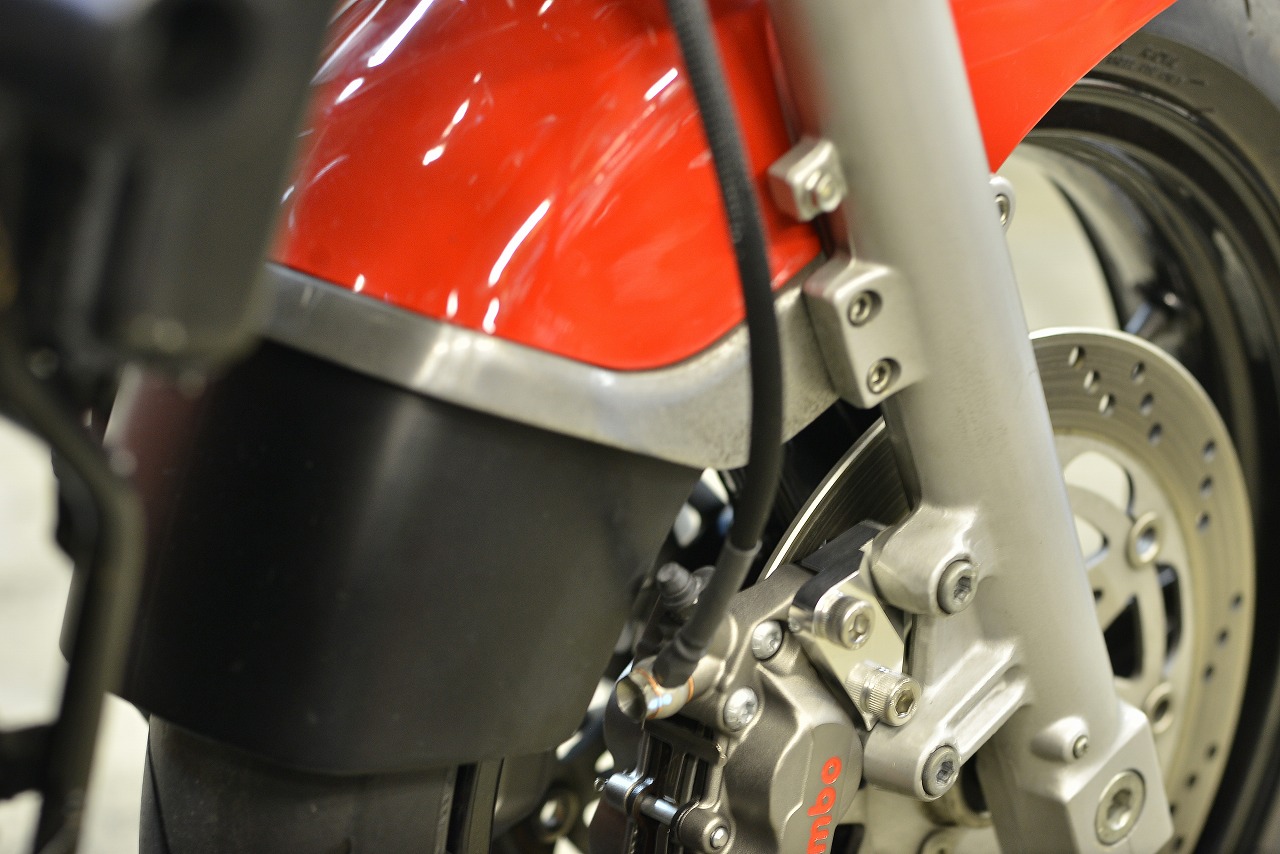
The customer wanted the gold changed to black, so we applied gun coating to blacken it. Brembo banjo bolts can become difficult to remove once seized, so we replaced them with electroless nickel-plated bolts. The center appeared to be slightly off. It looks like it wore in nicely. We’ll check and adjust it for you.
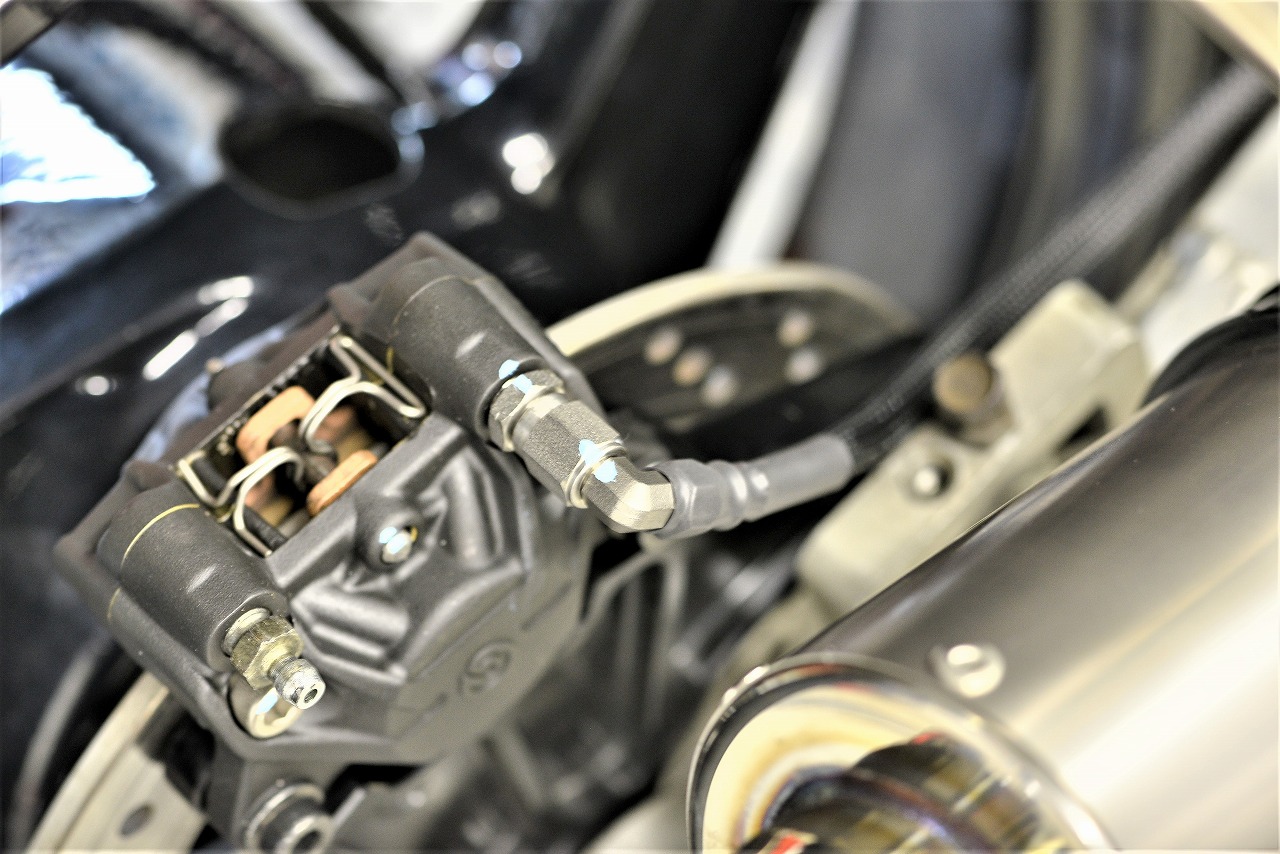
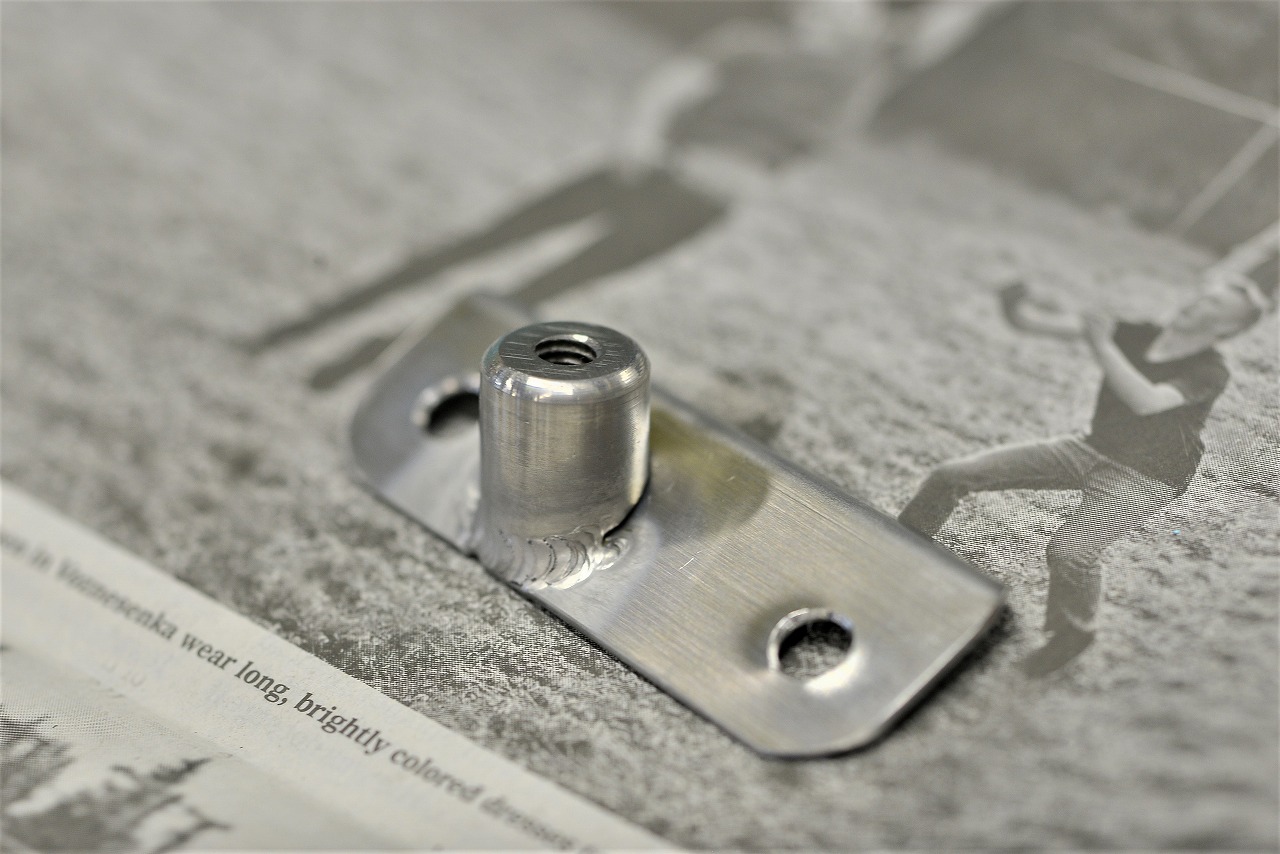
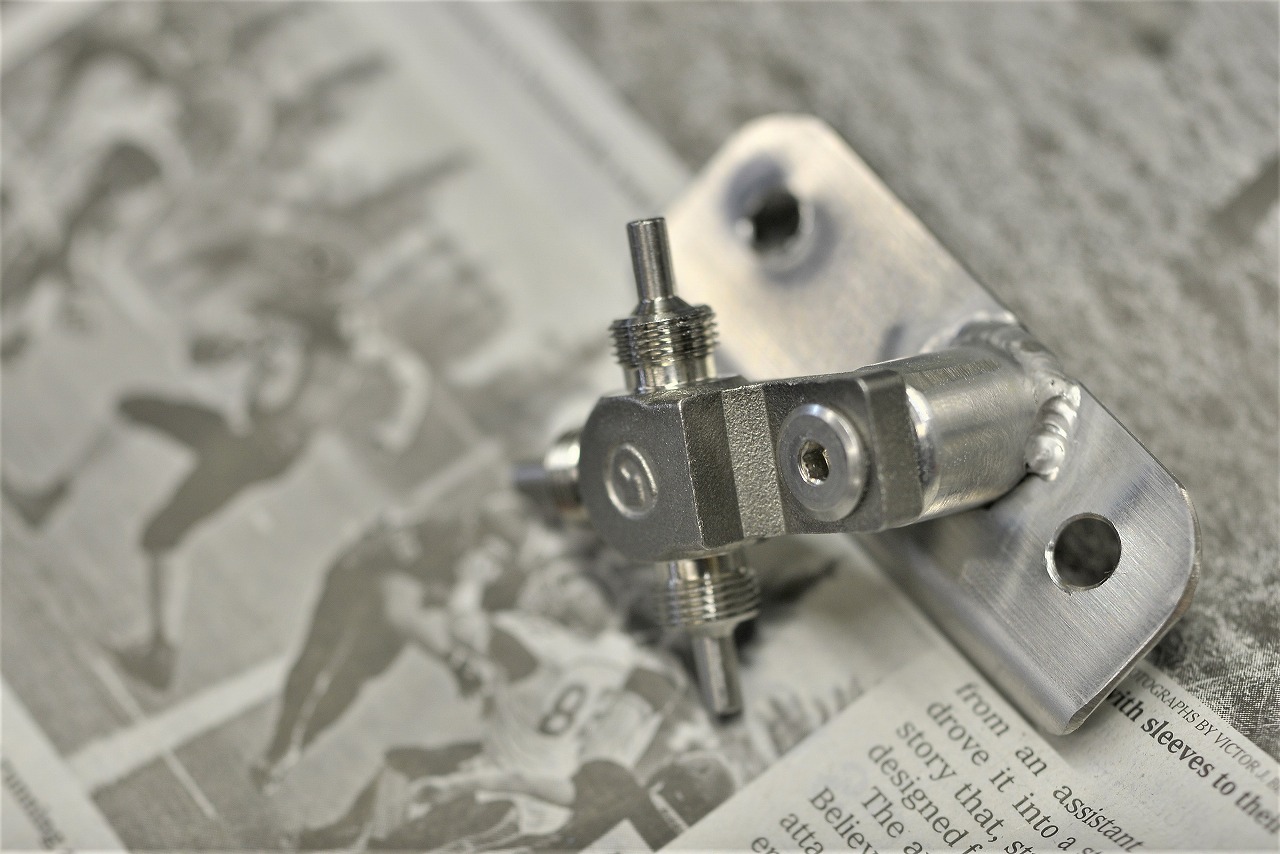
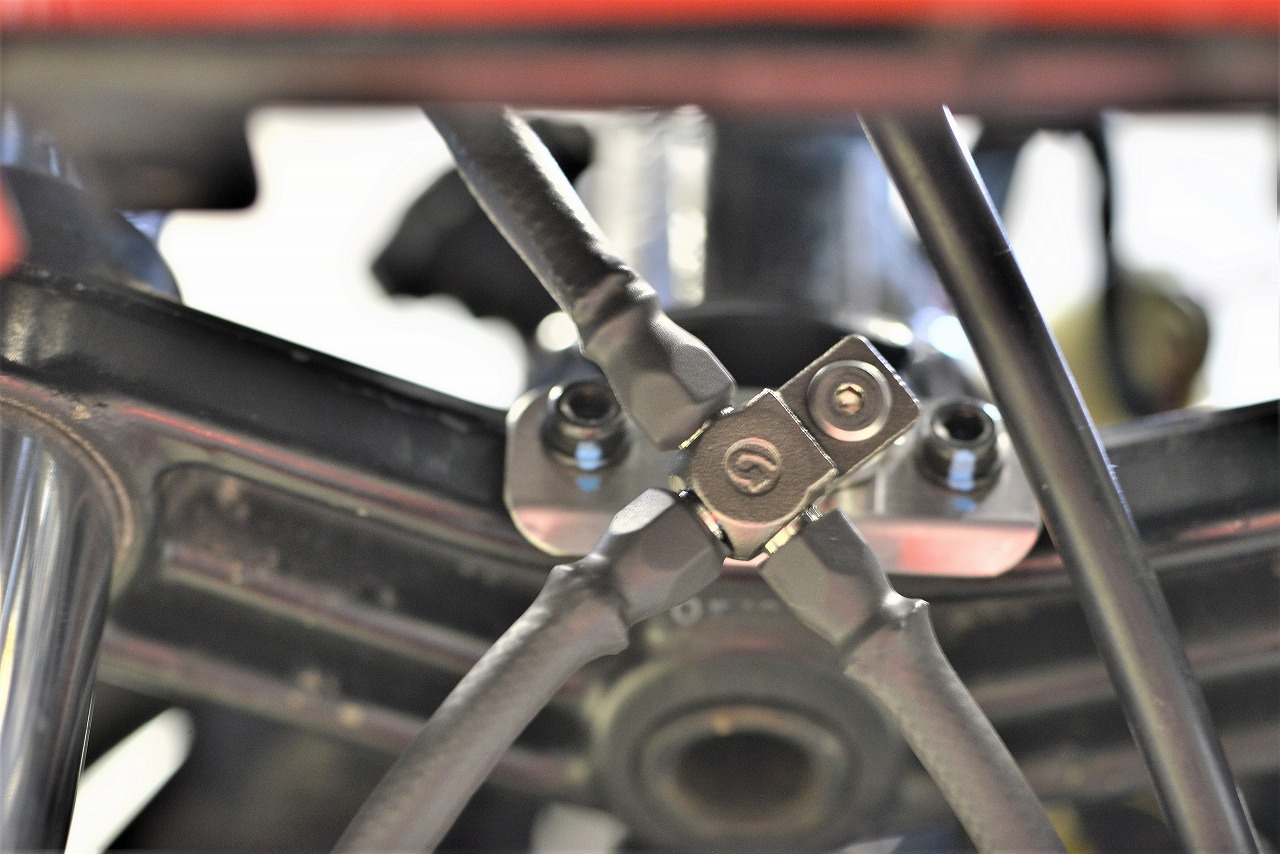
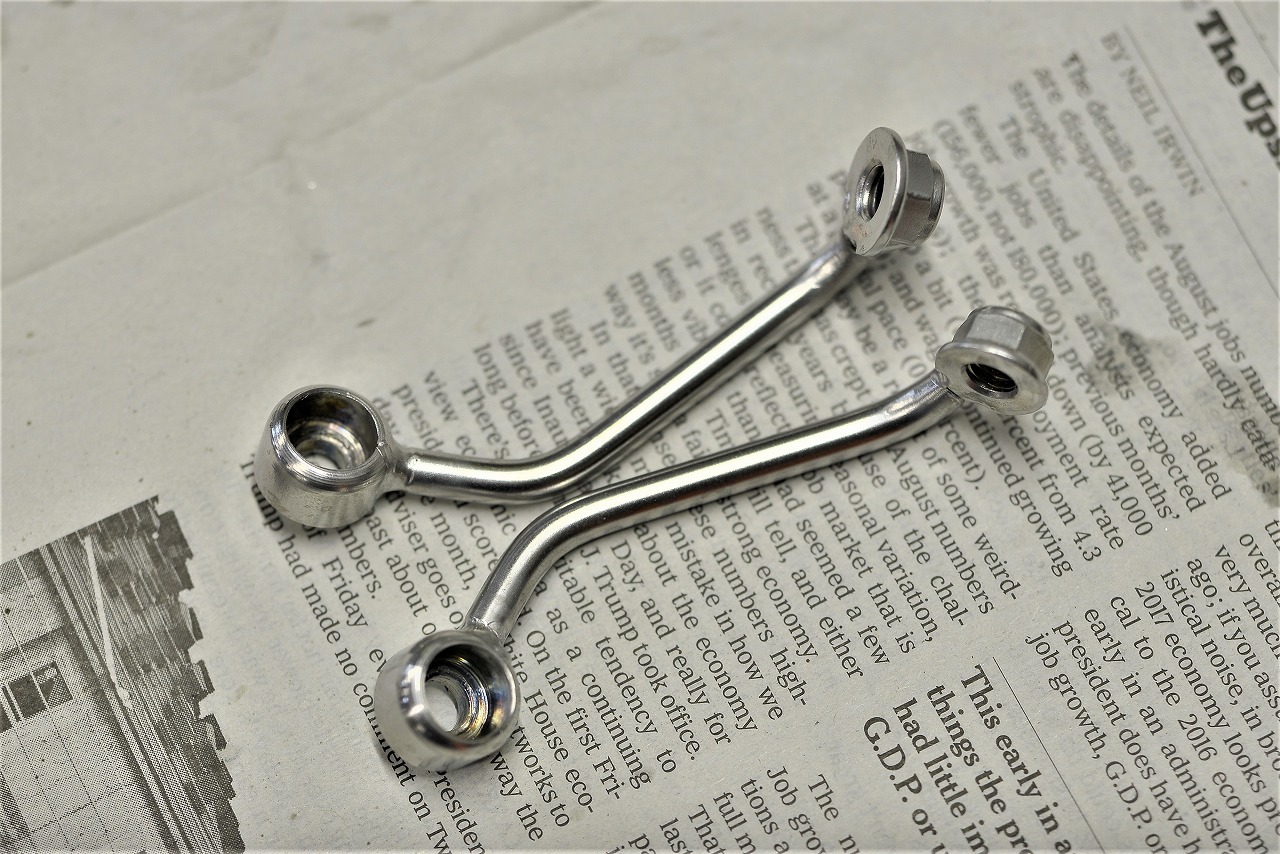
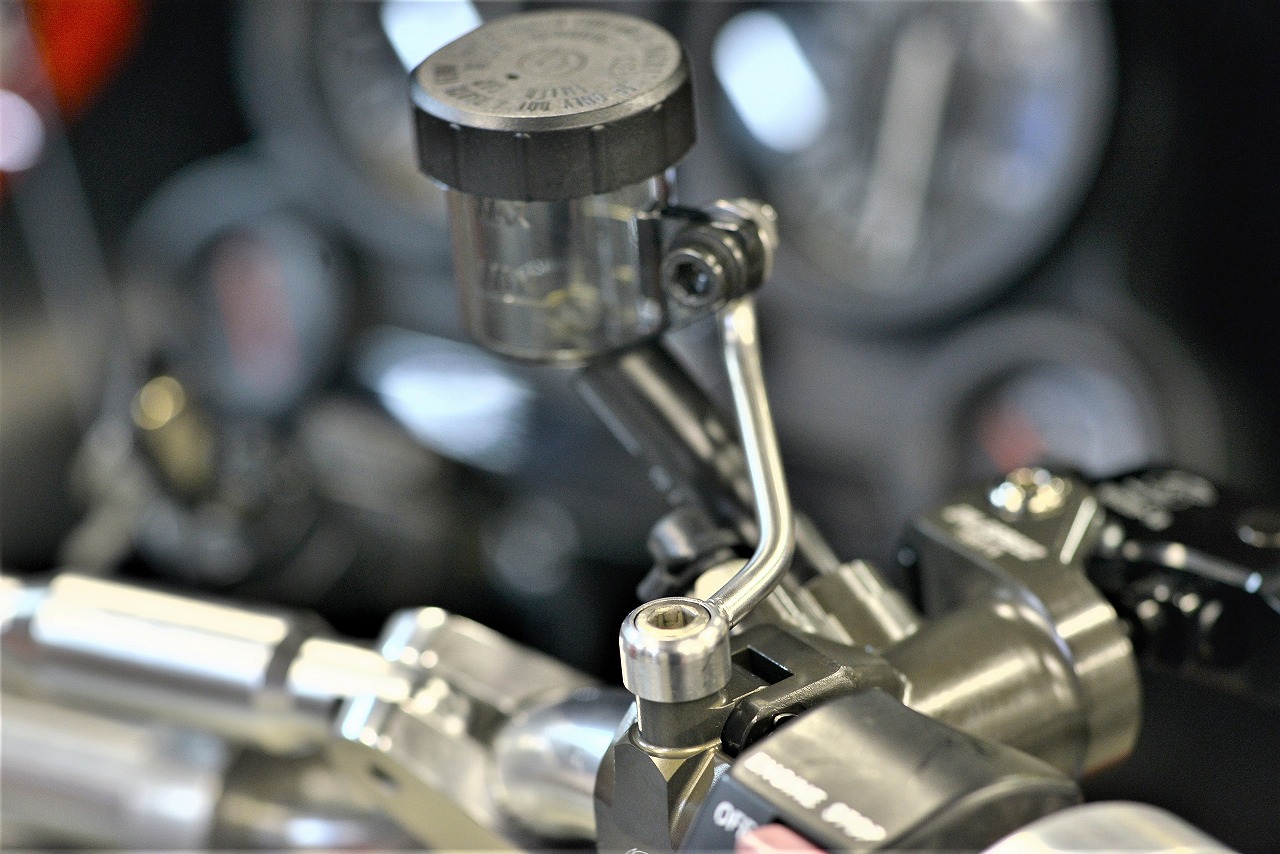
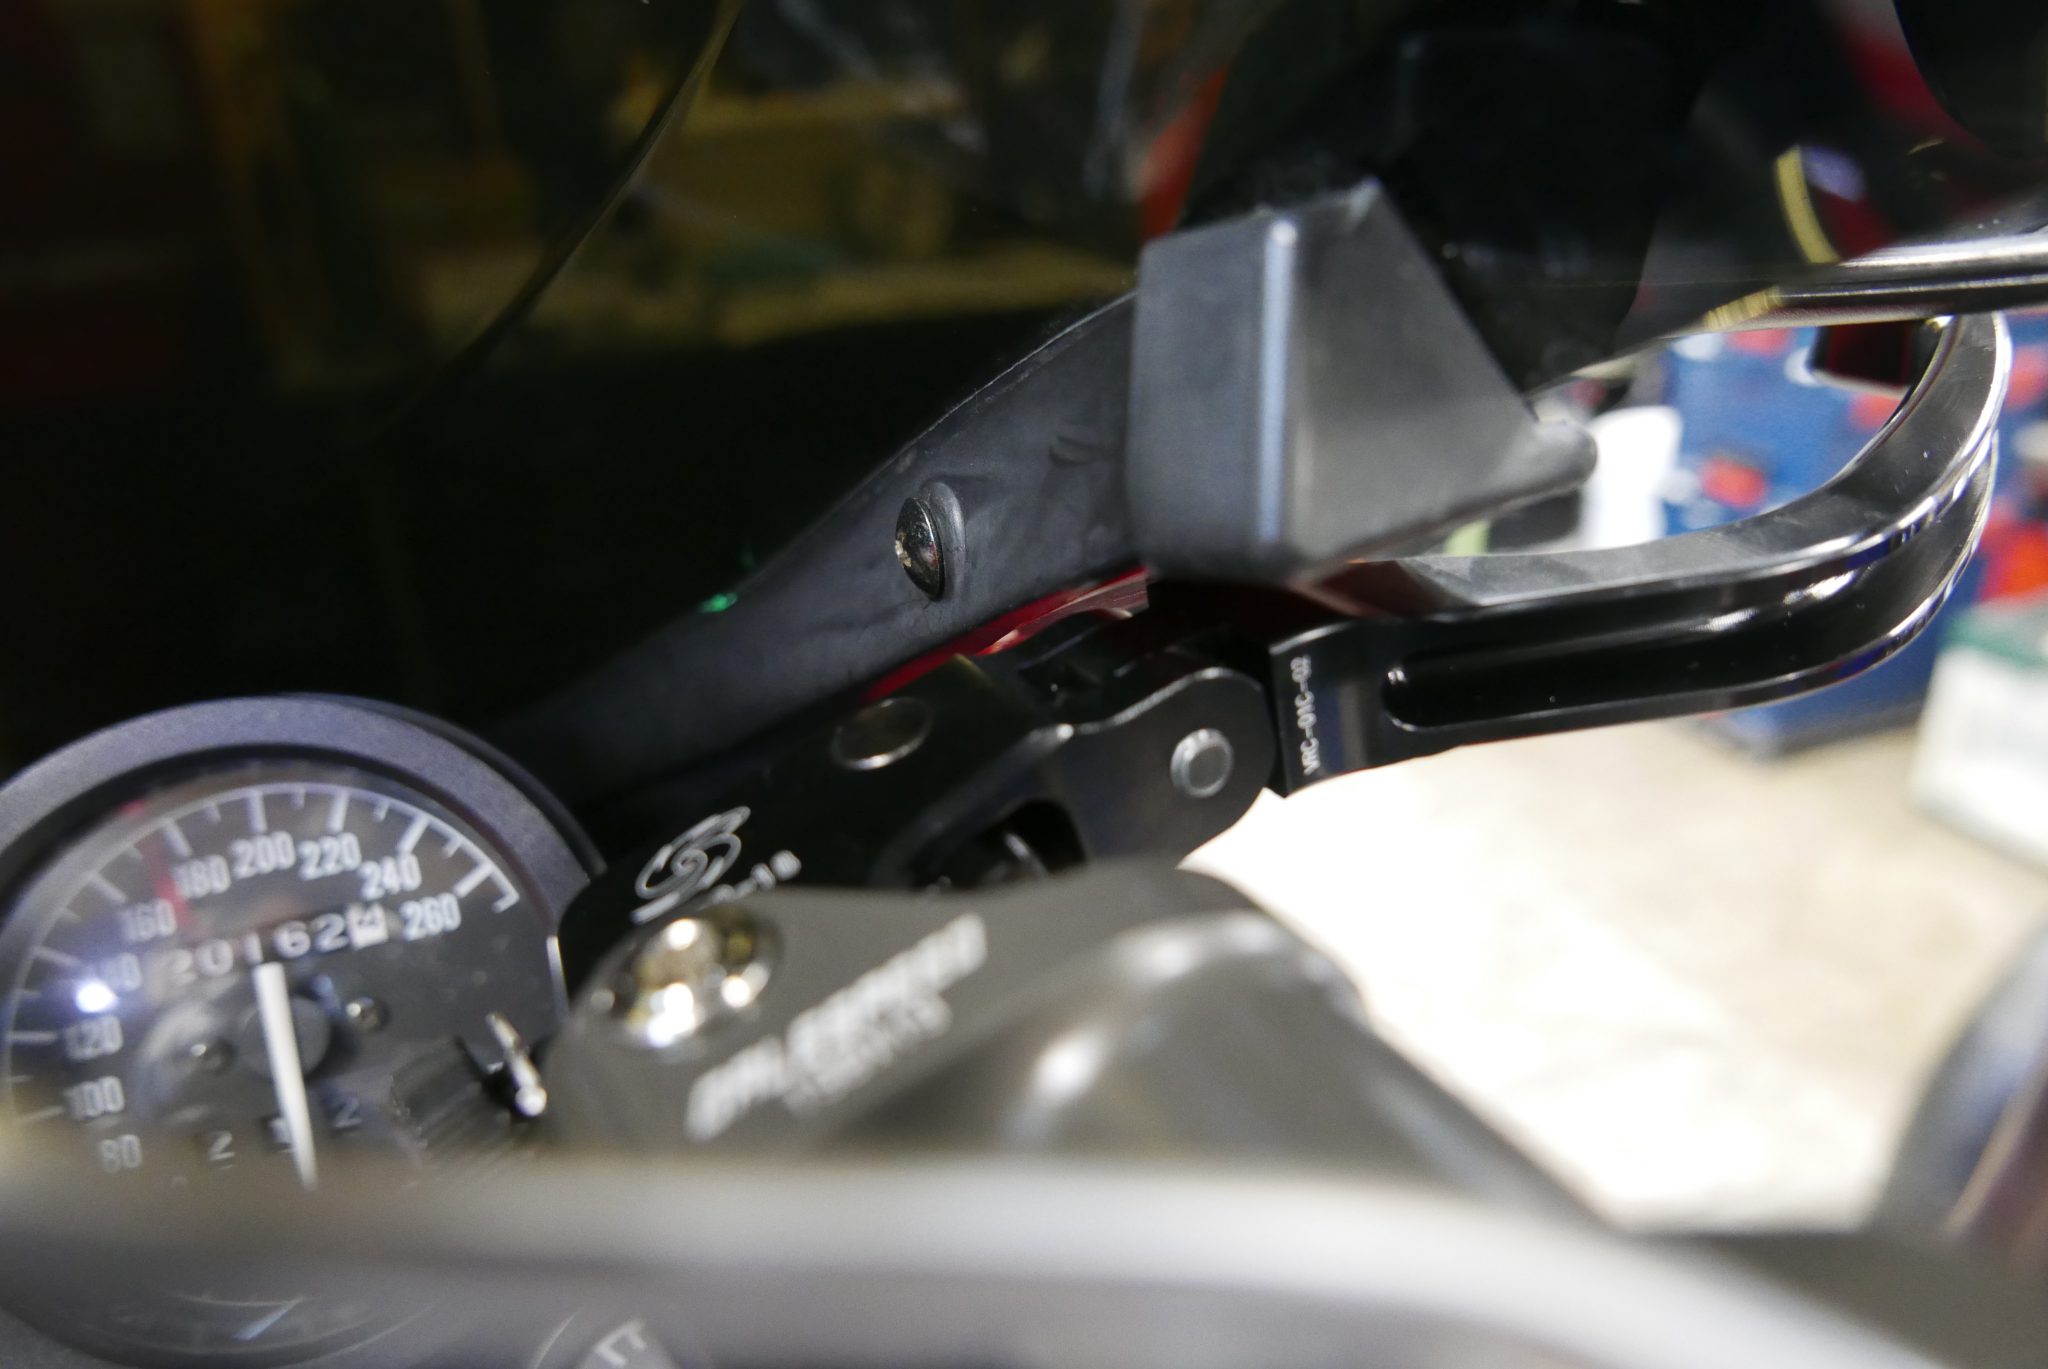
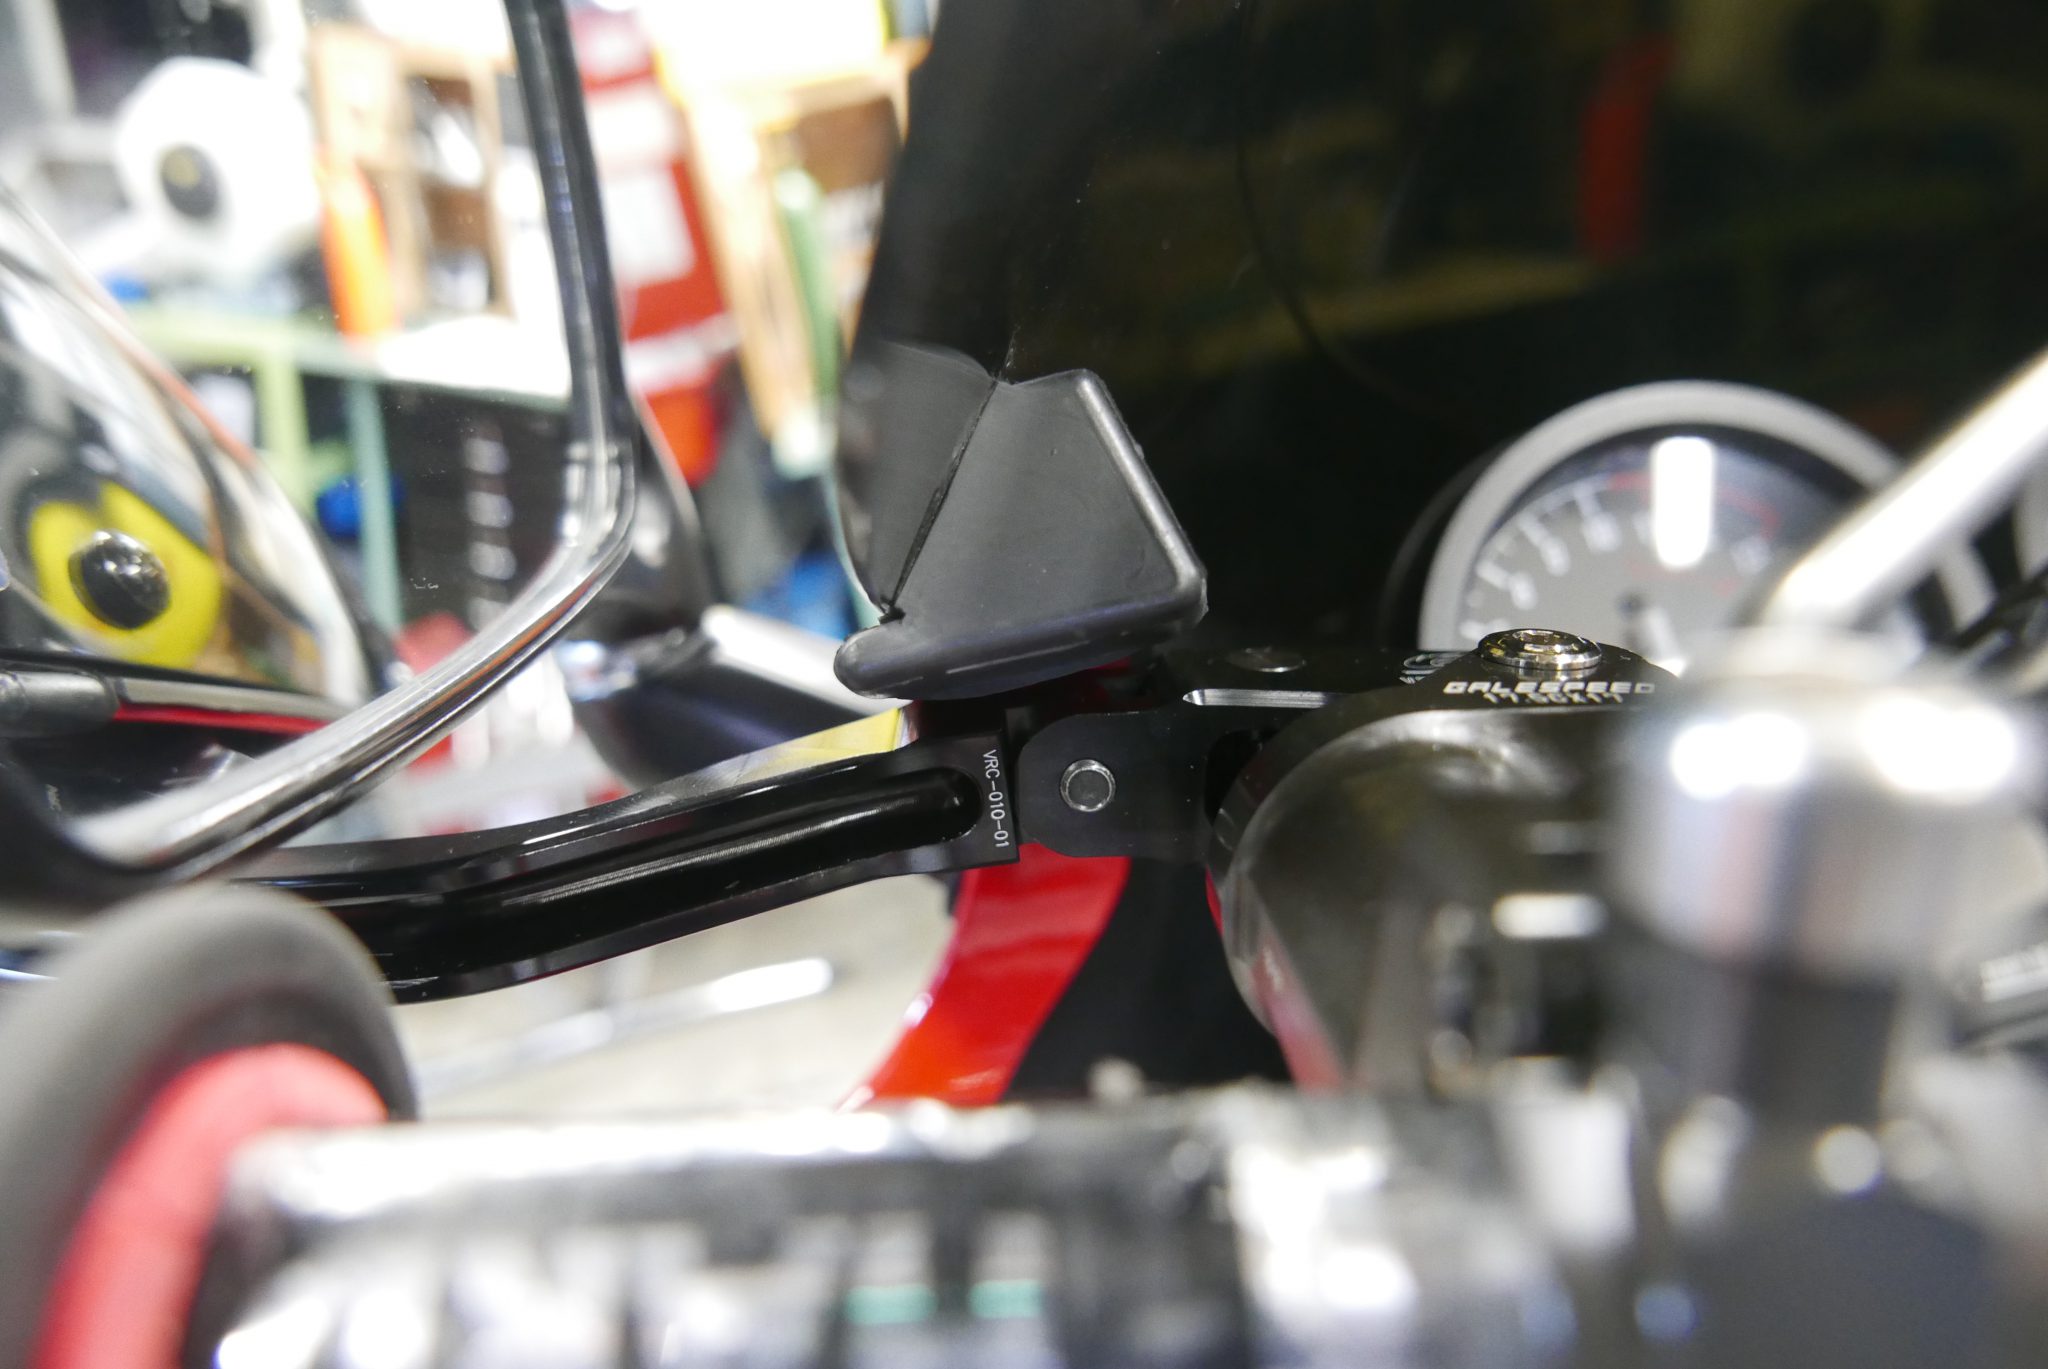
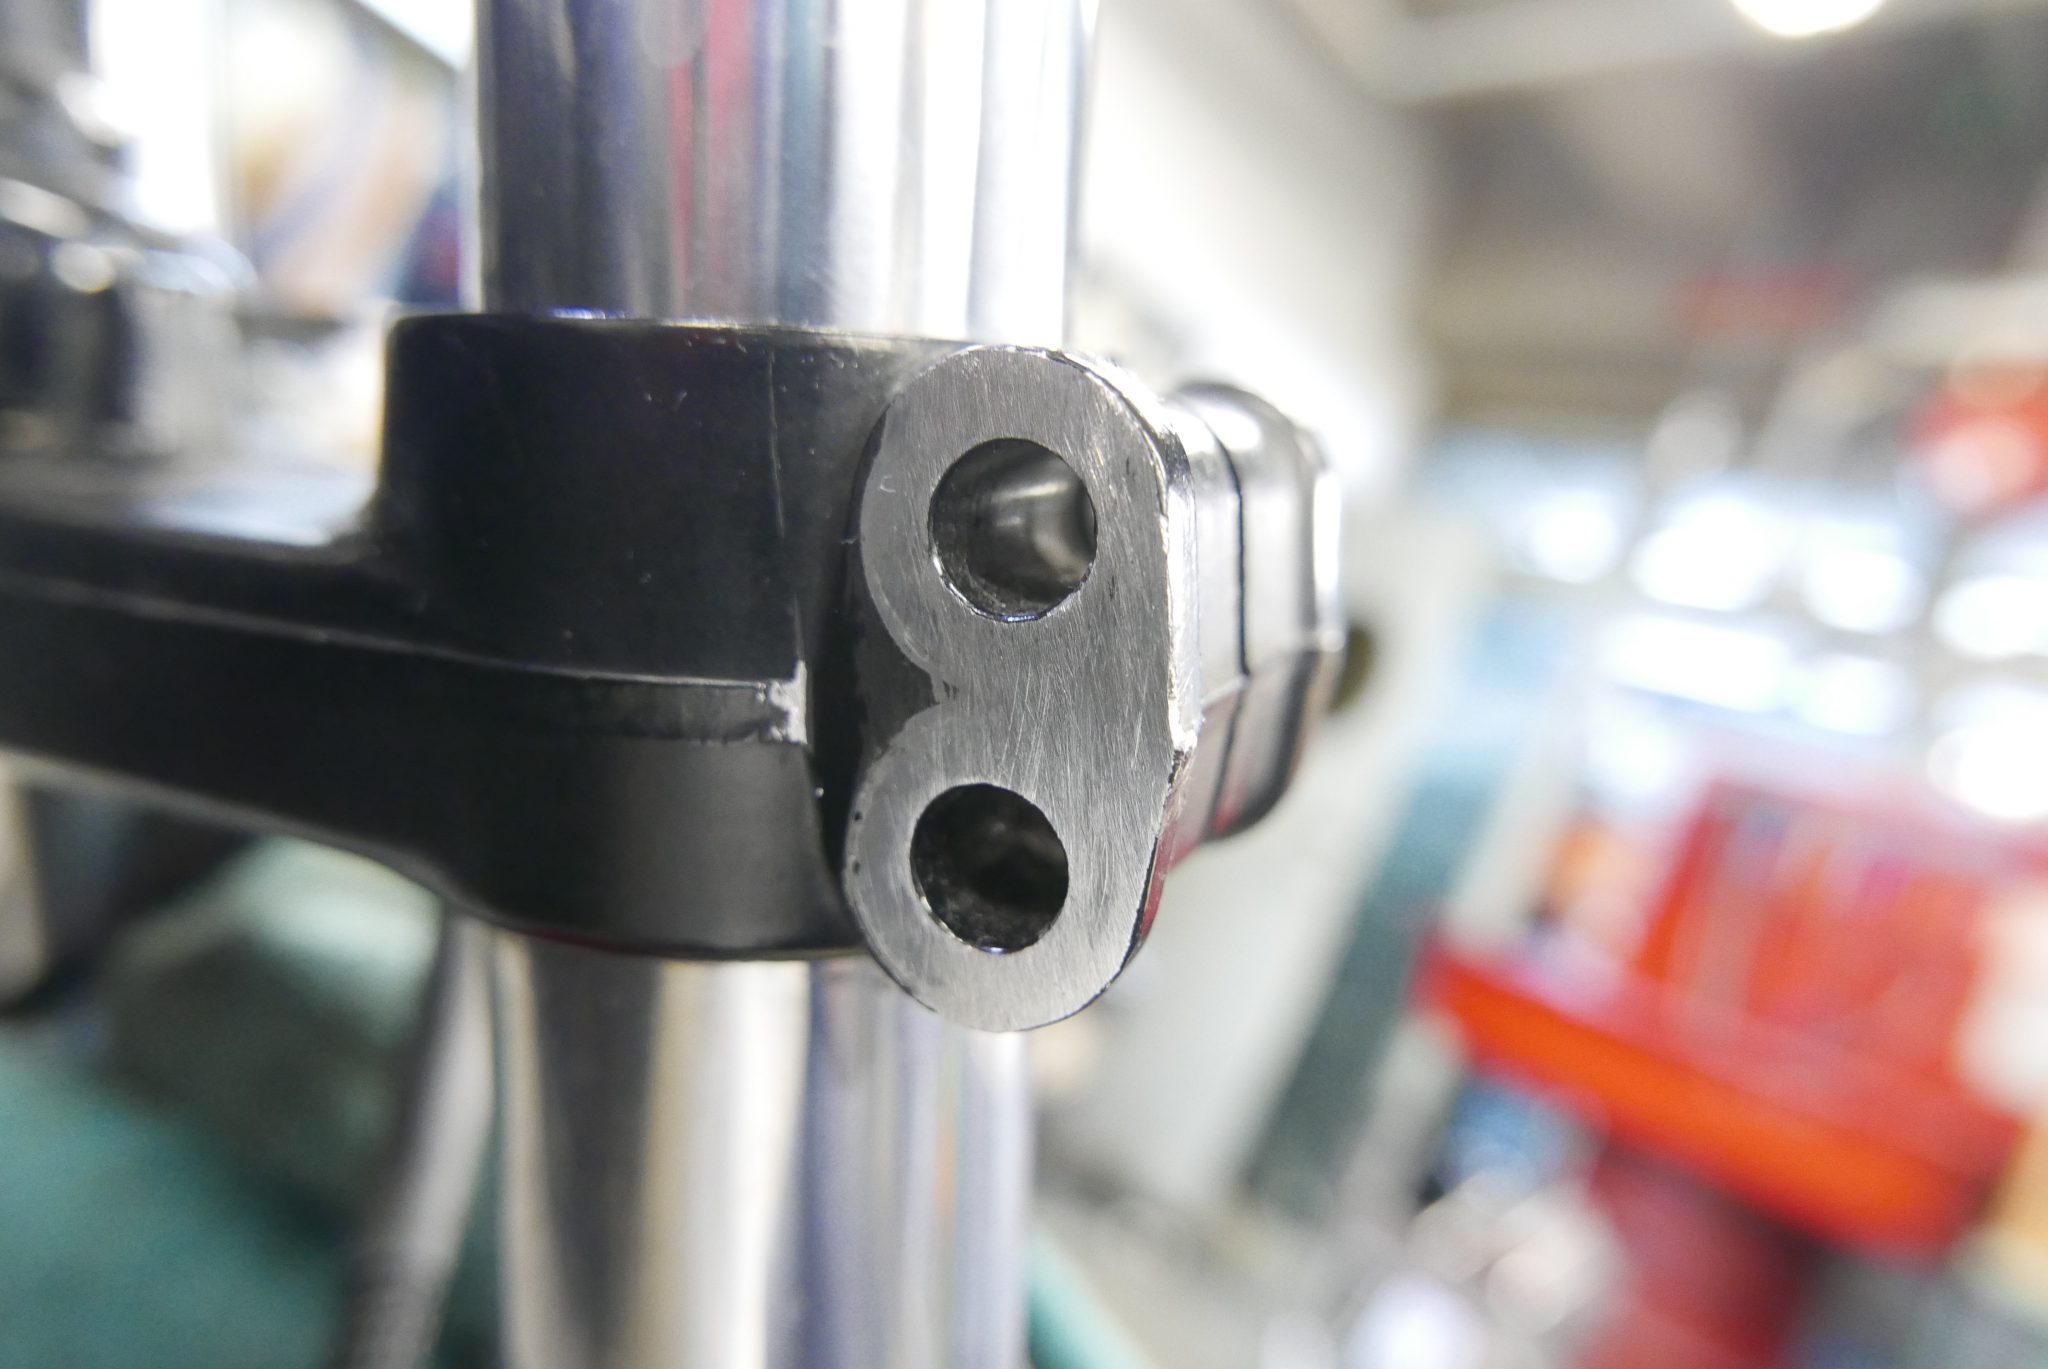
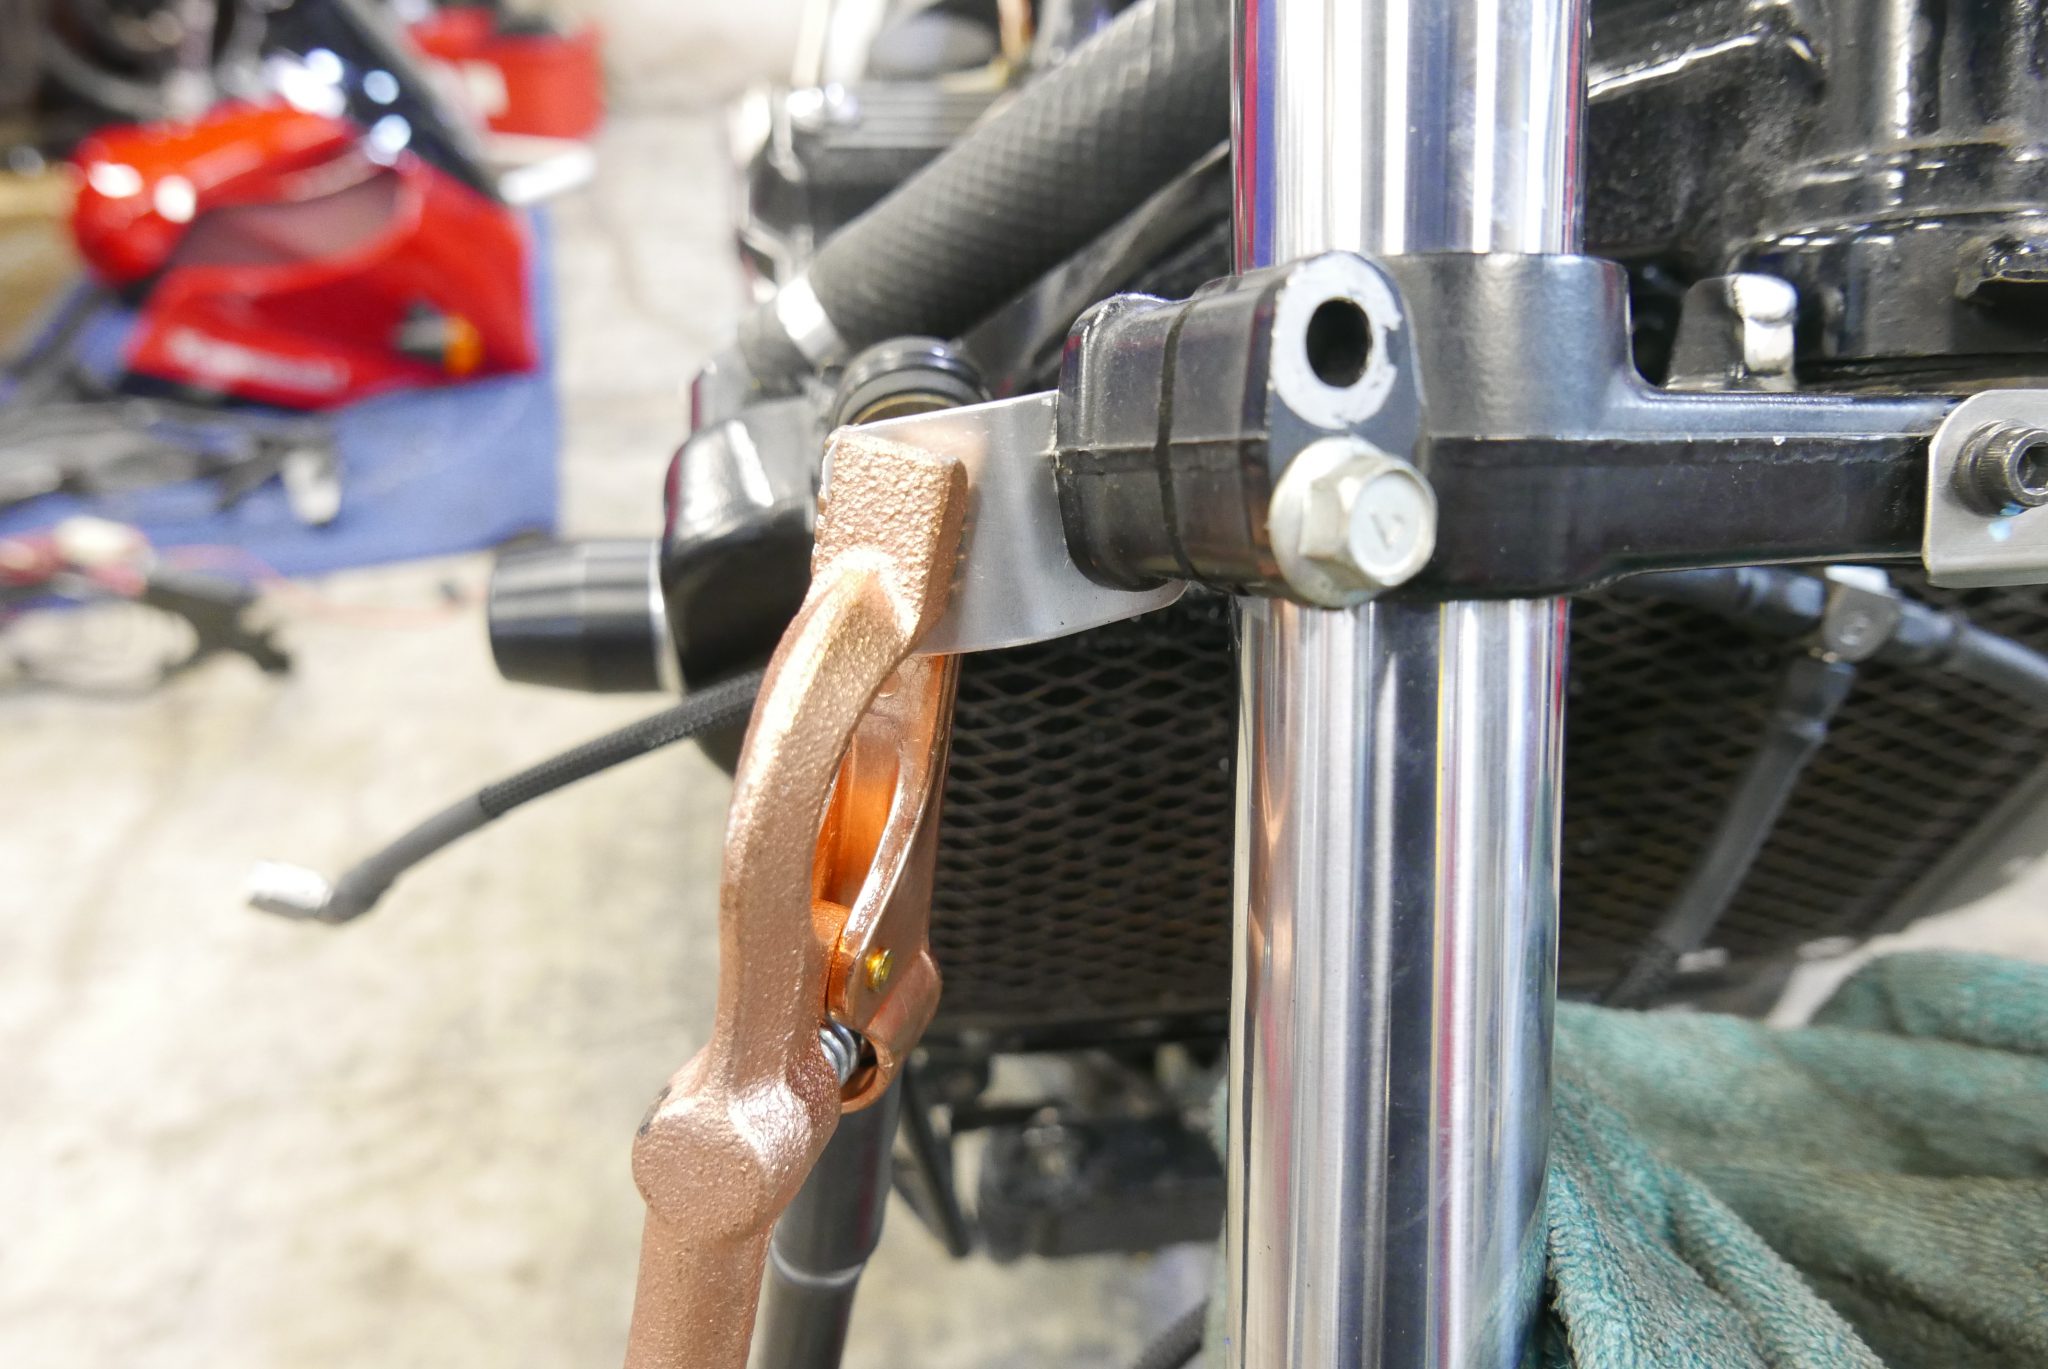
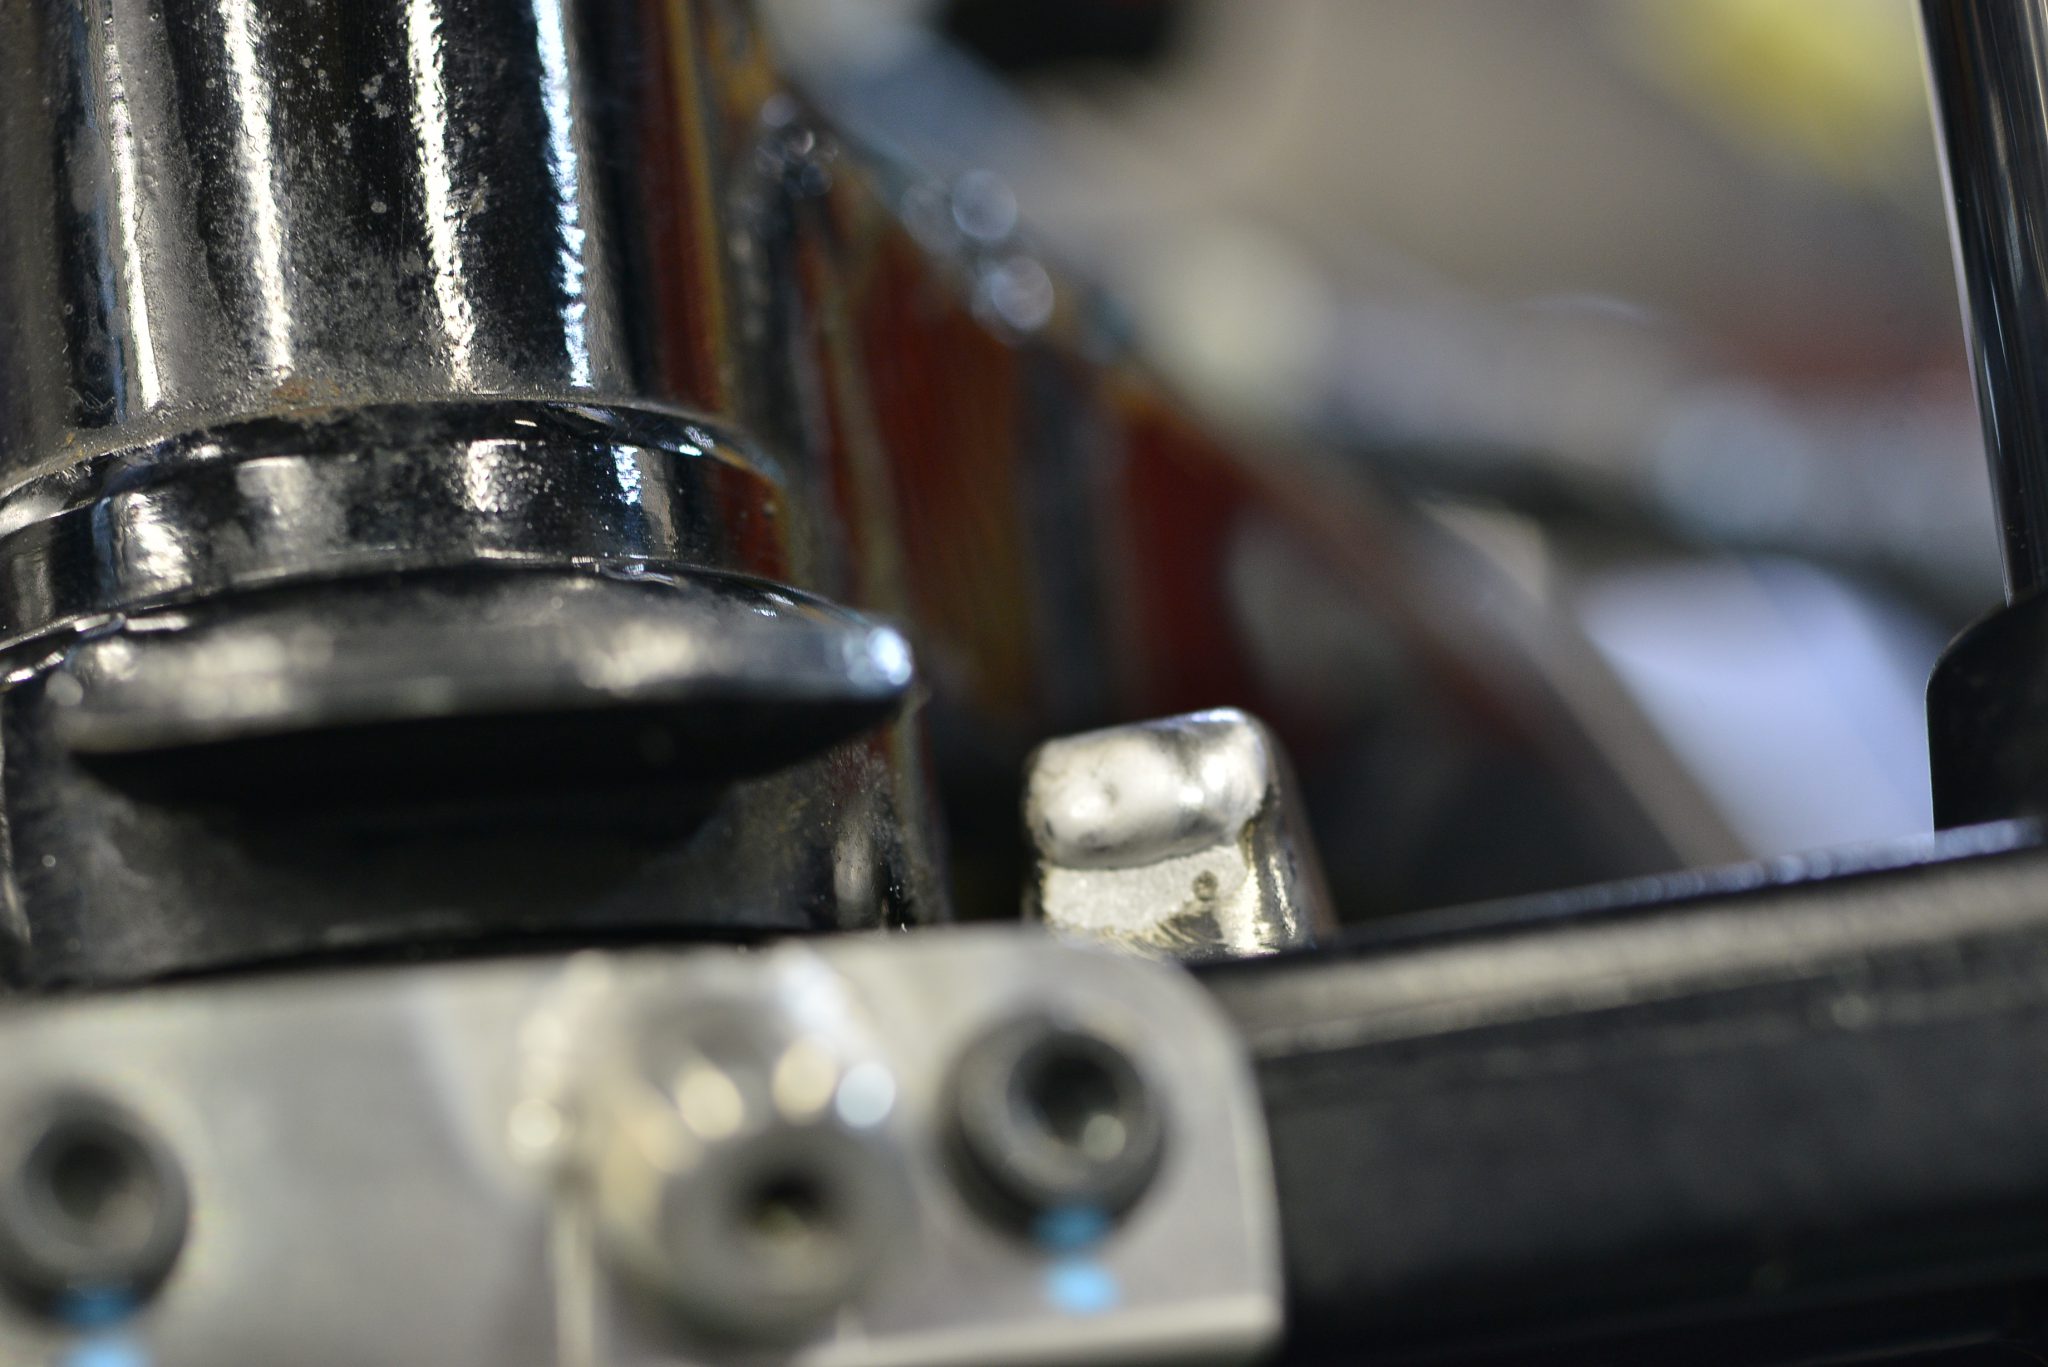
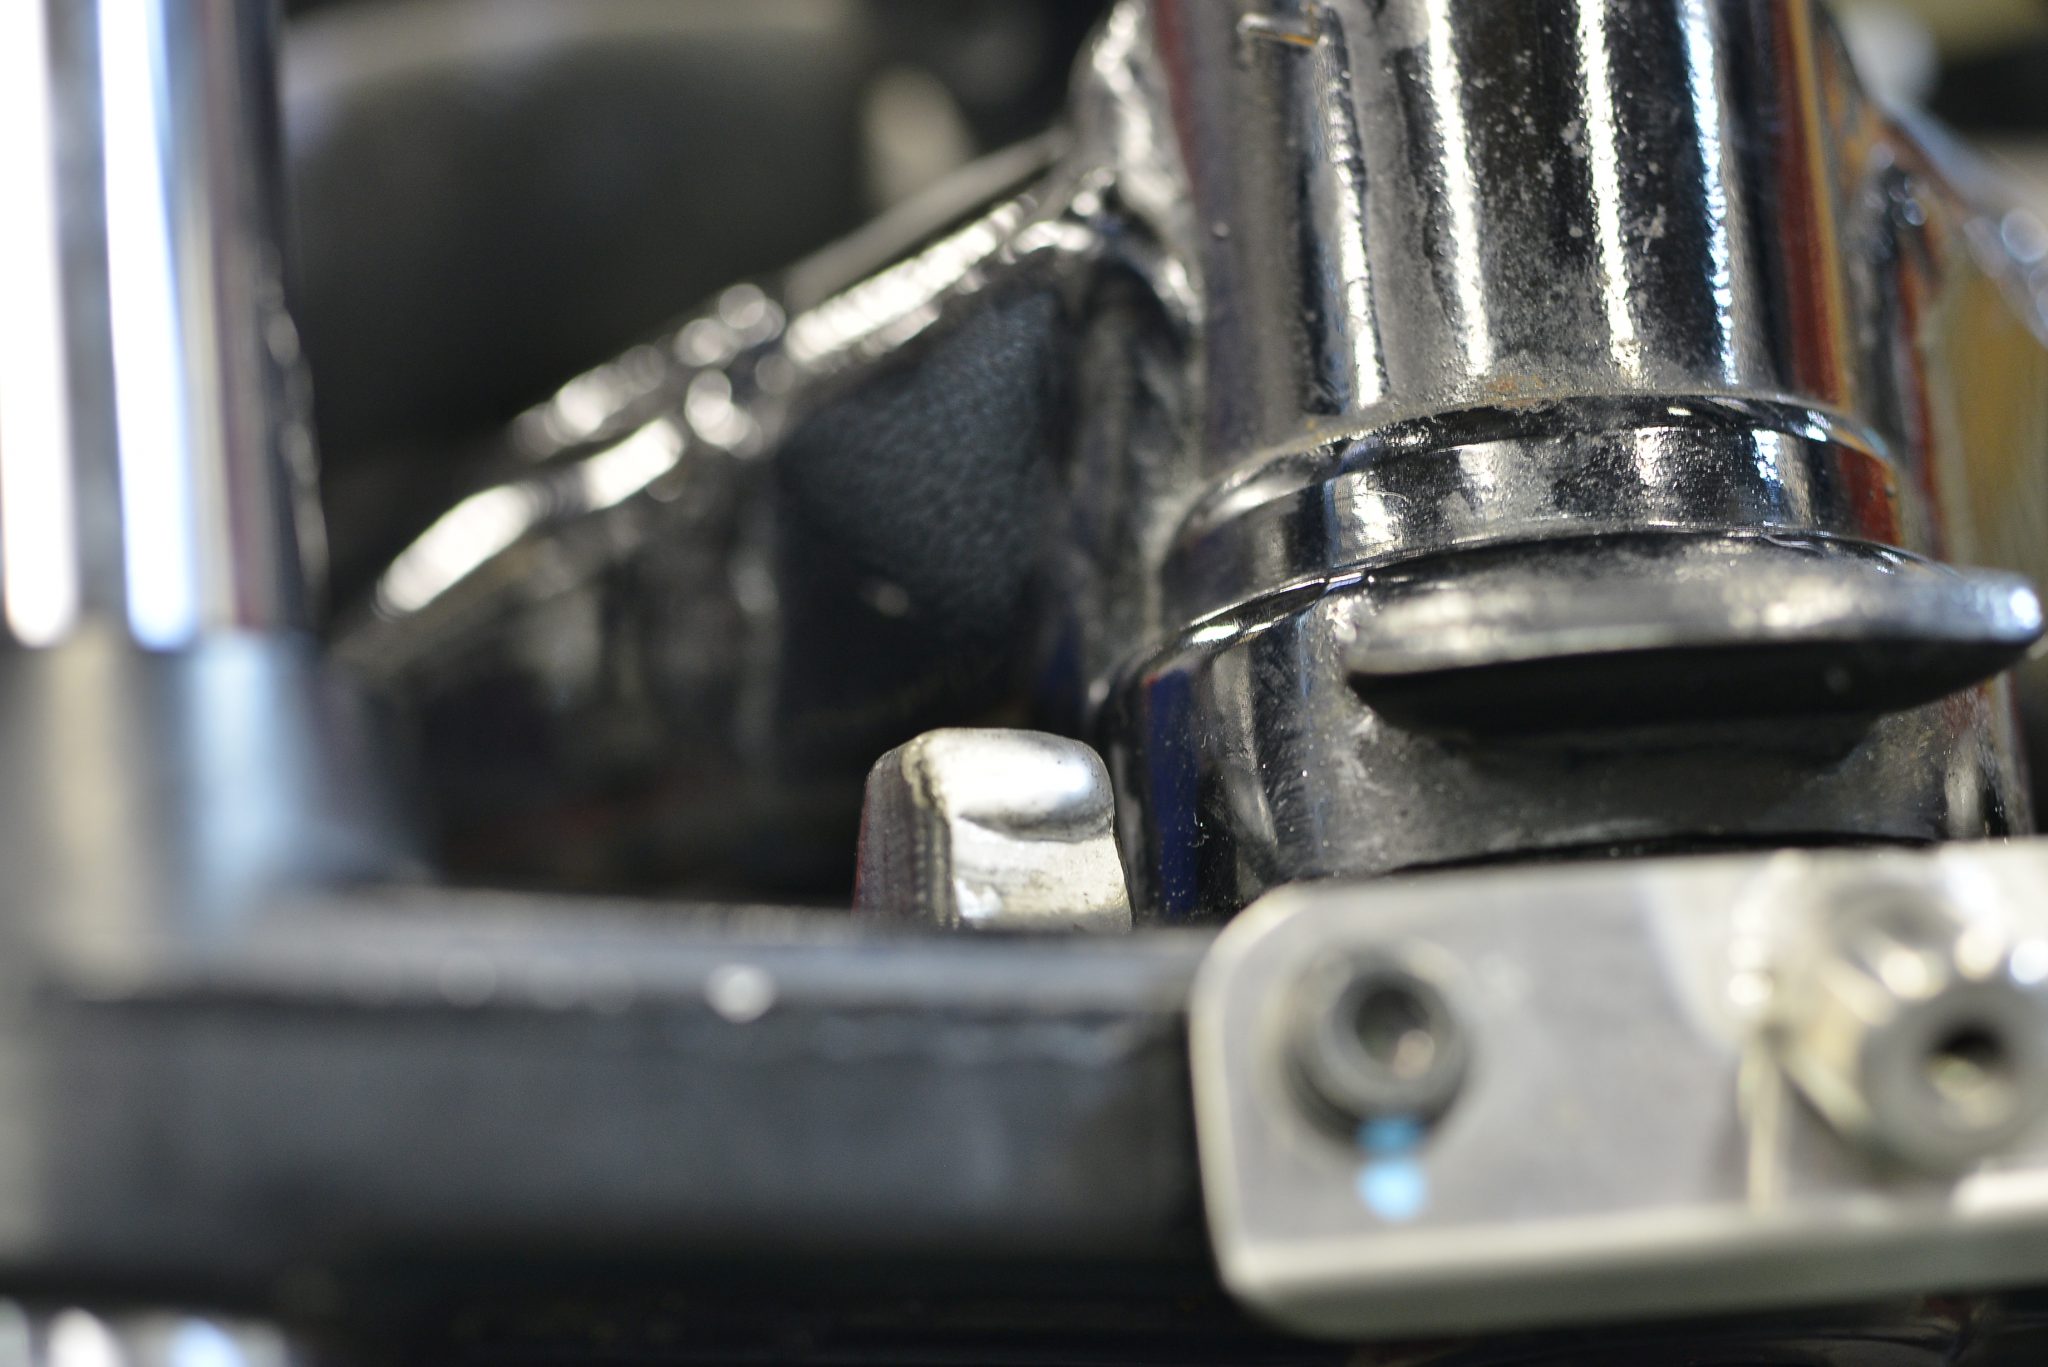
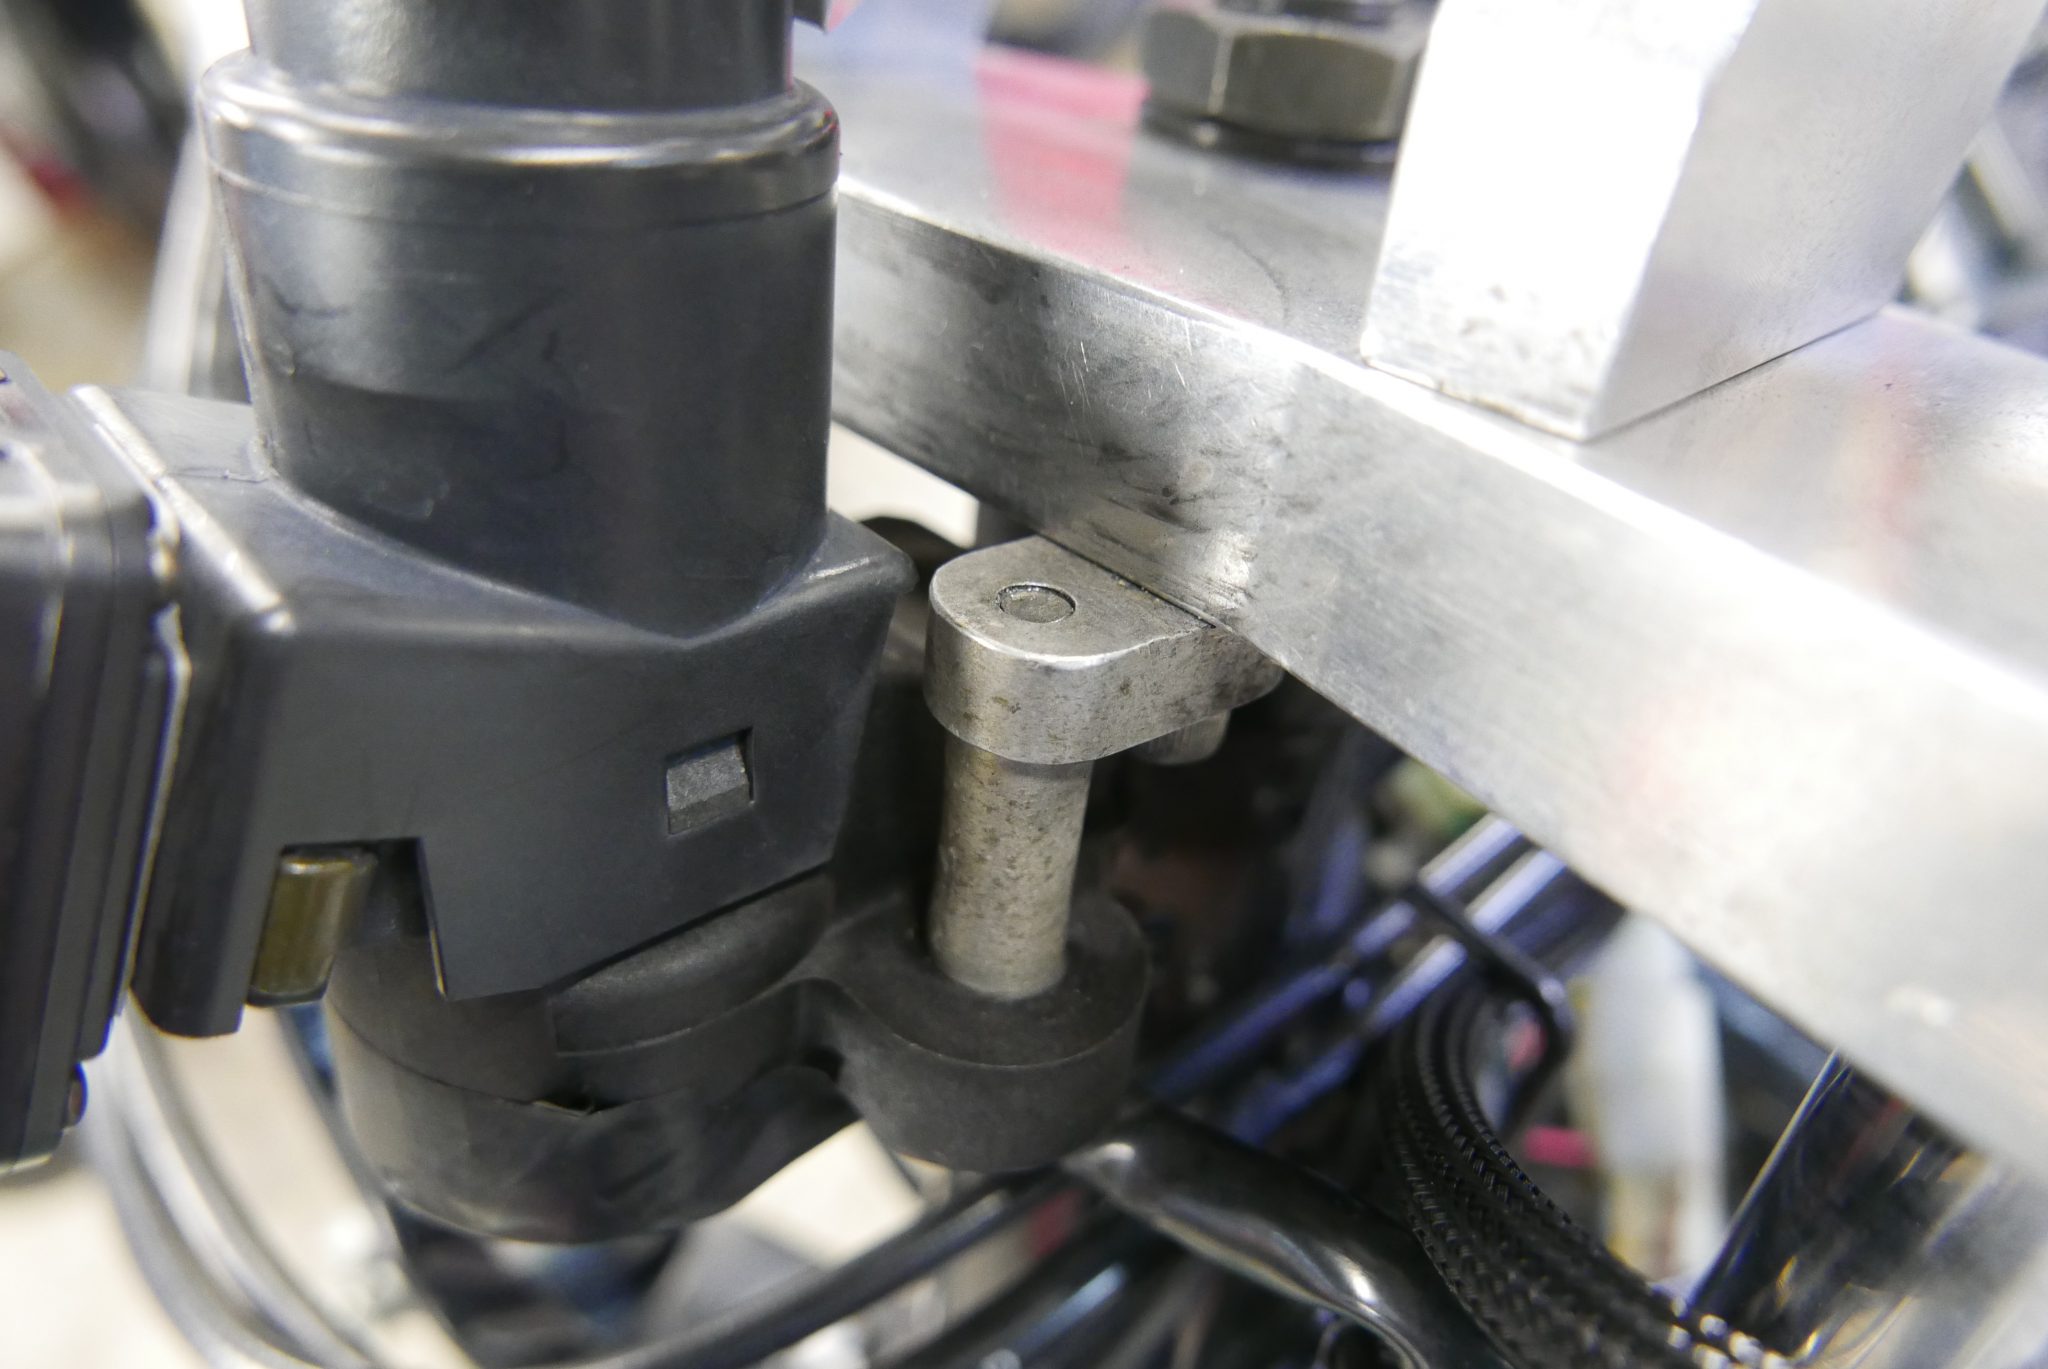
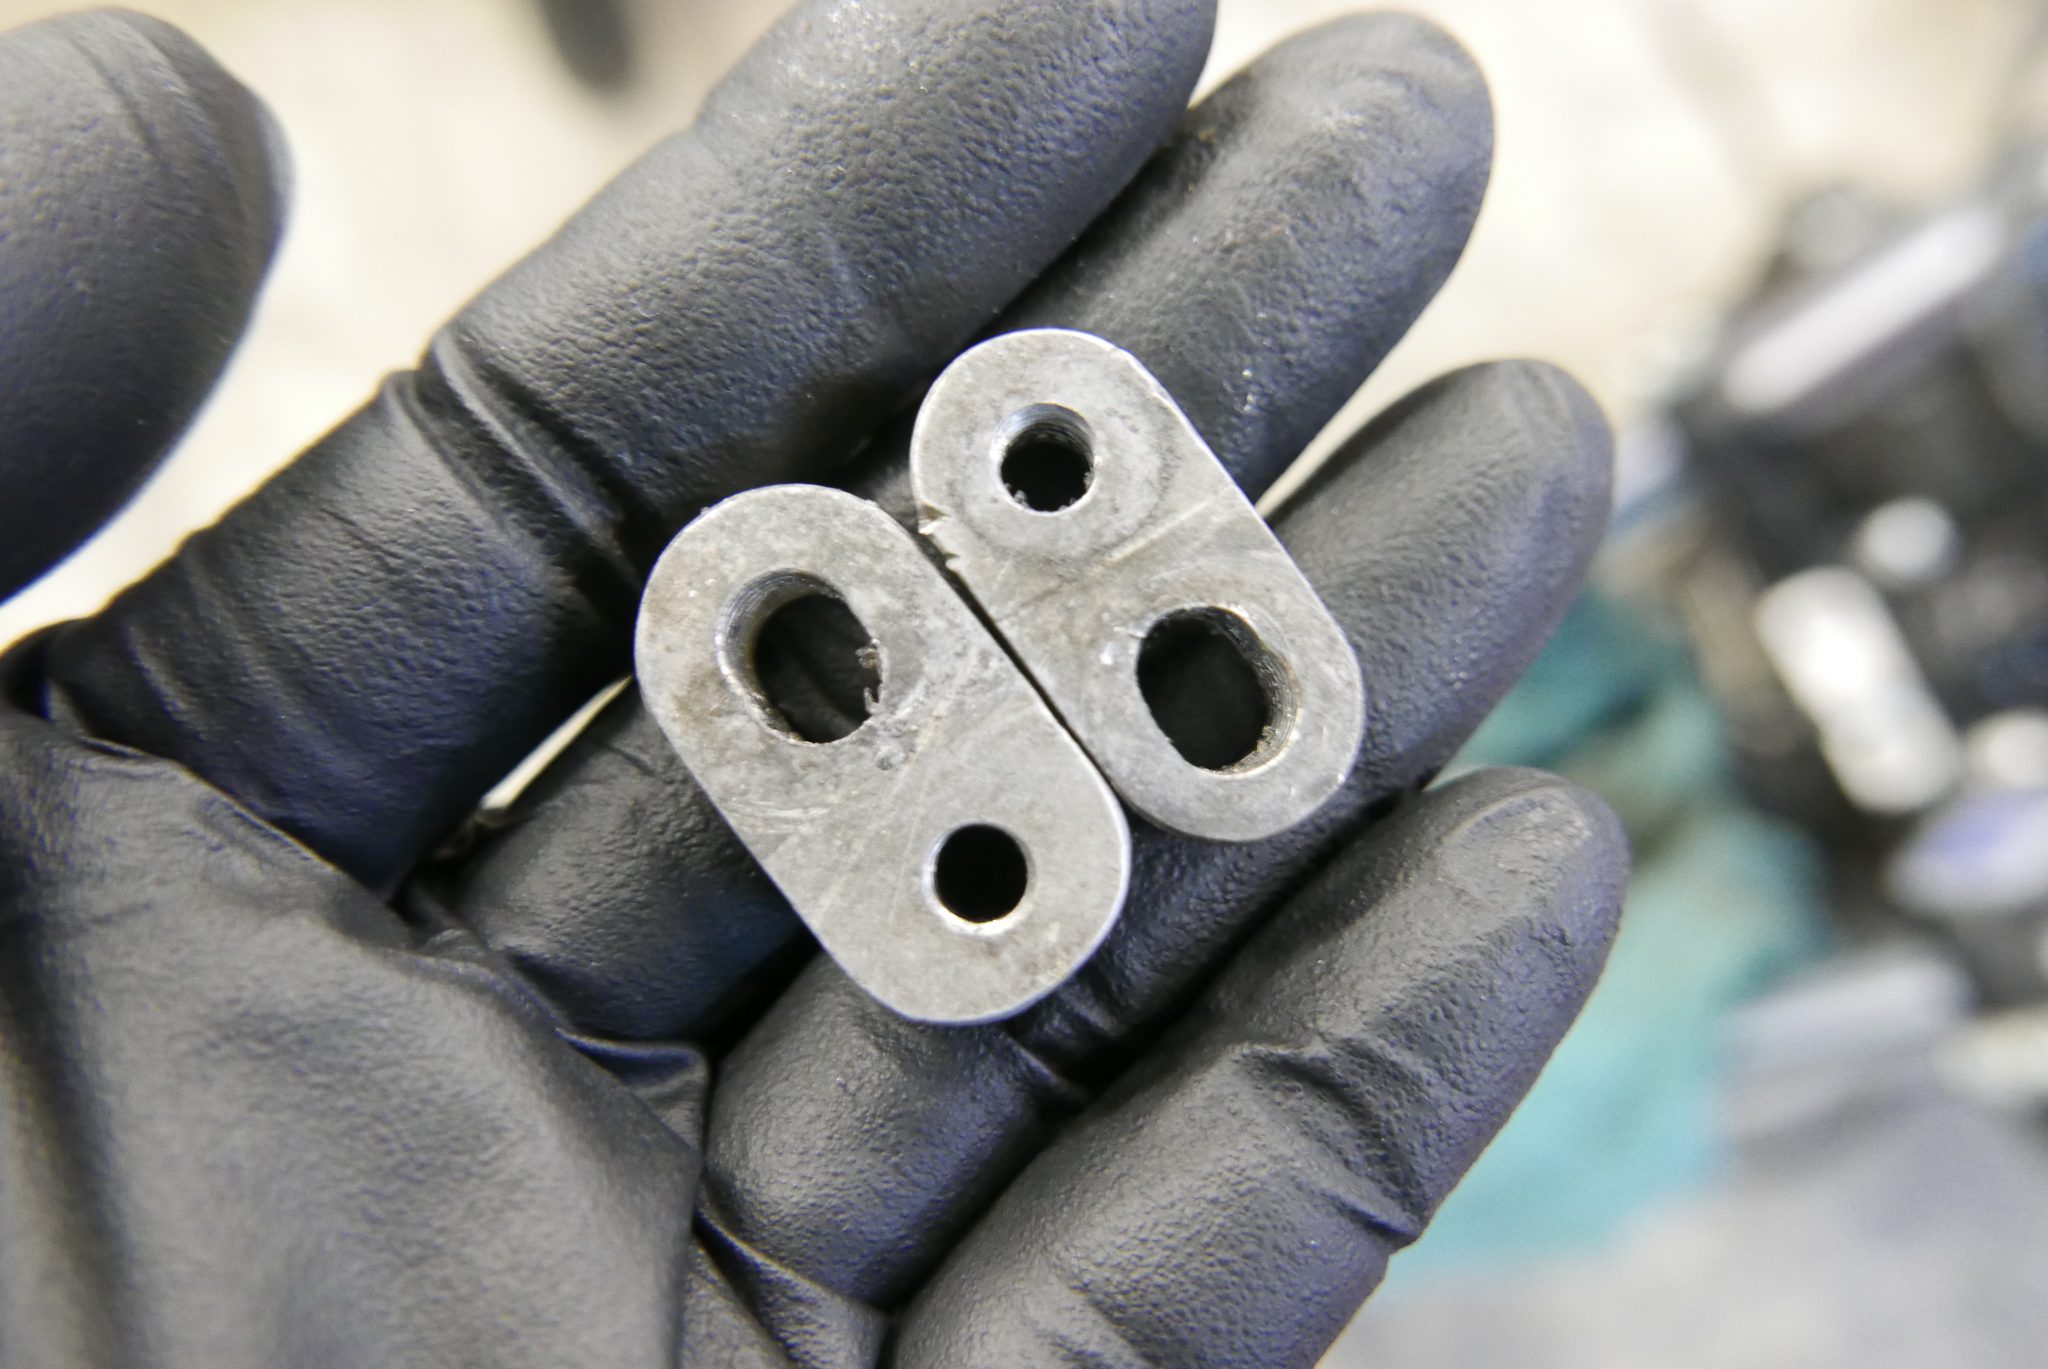
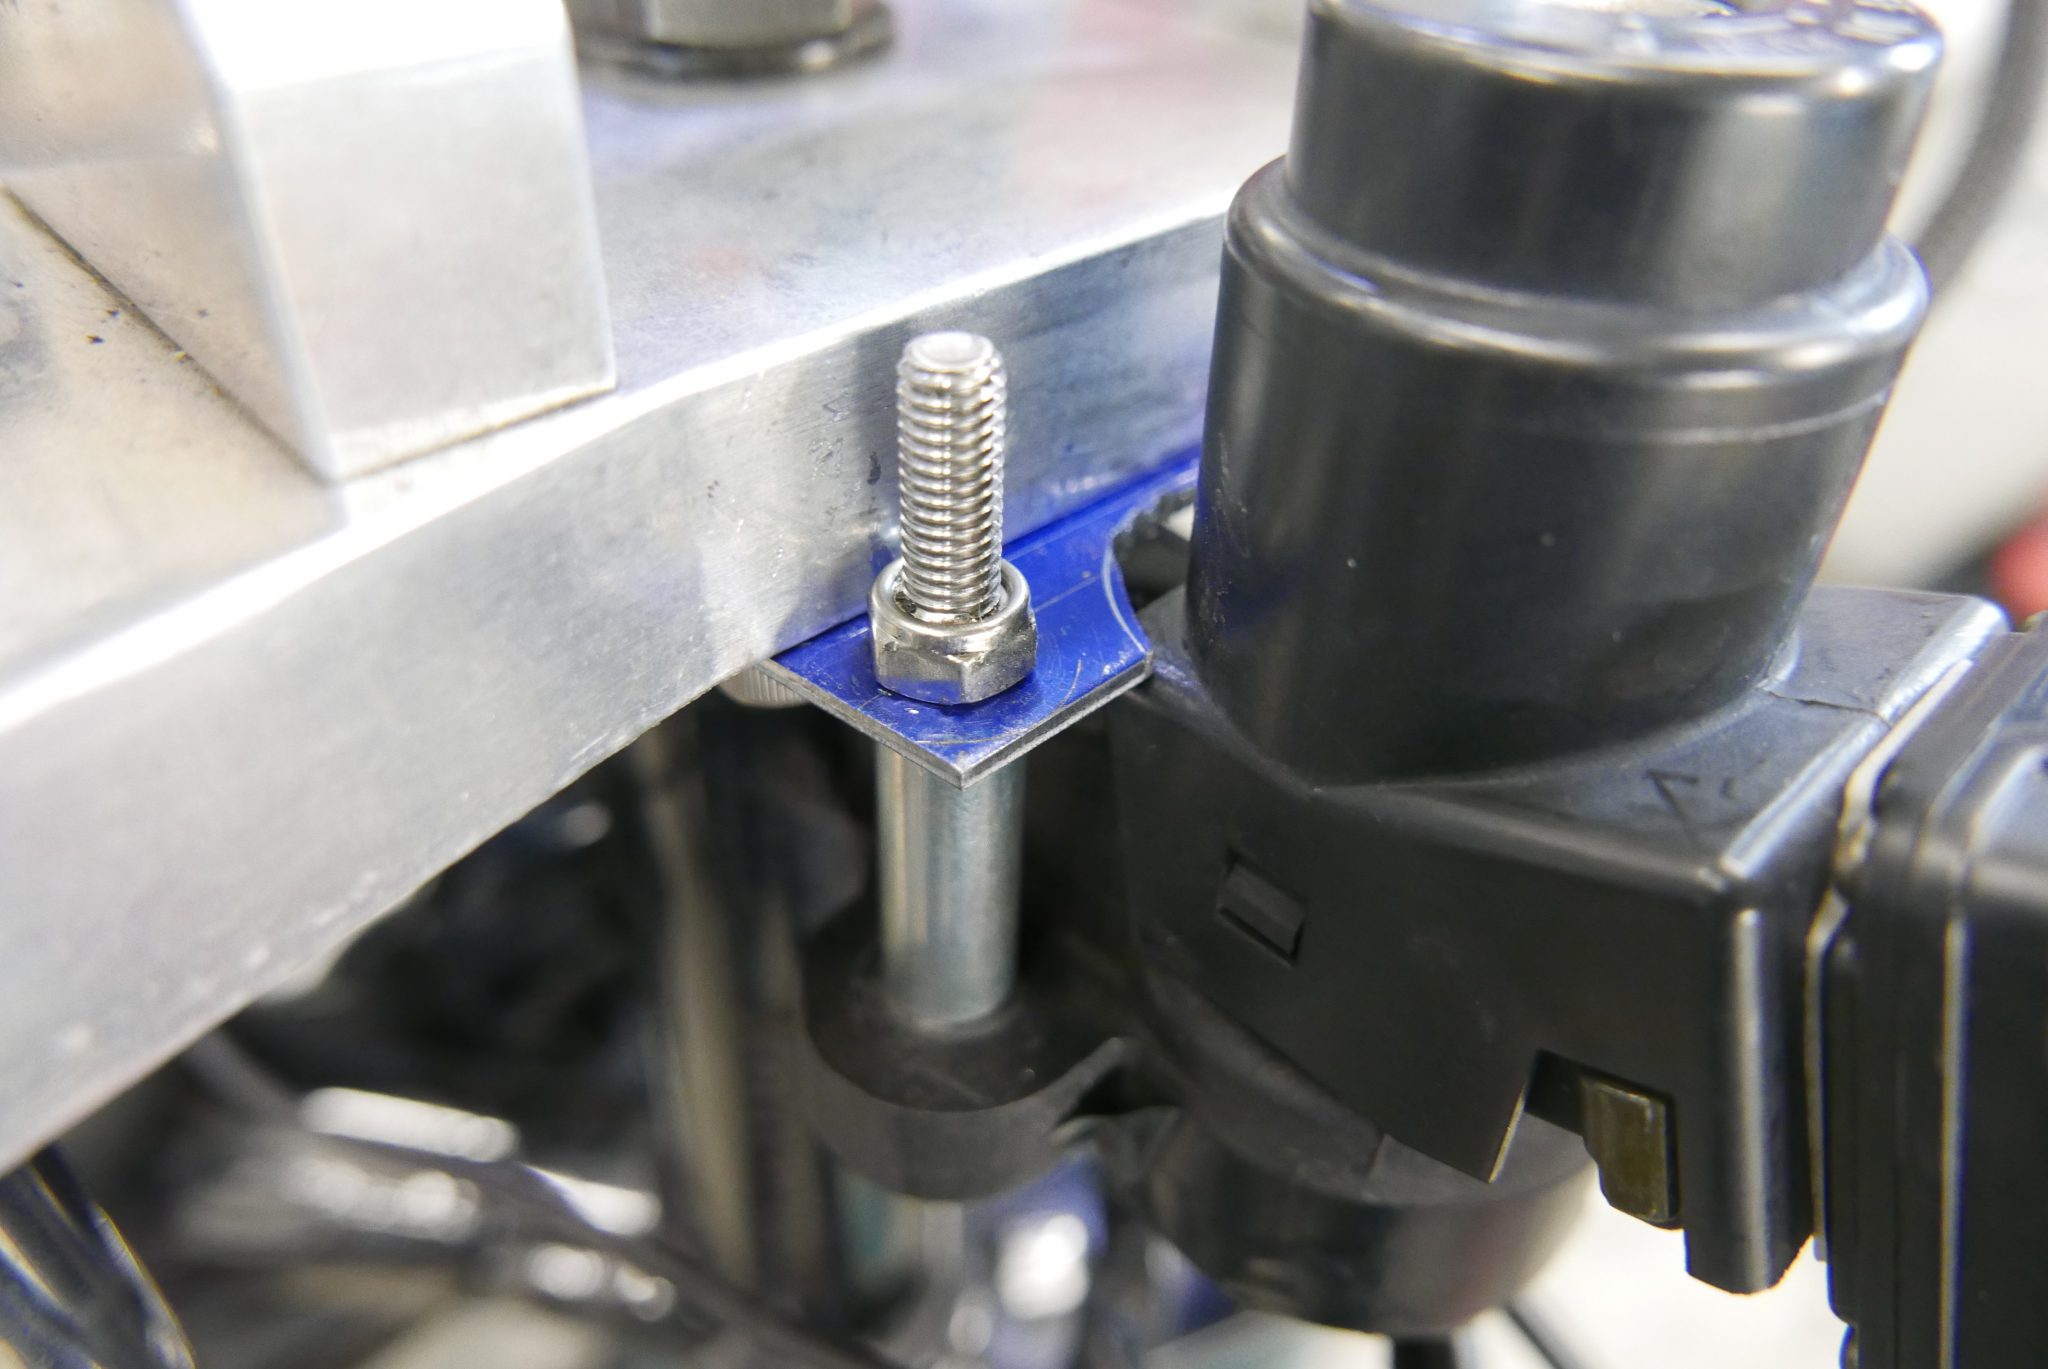
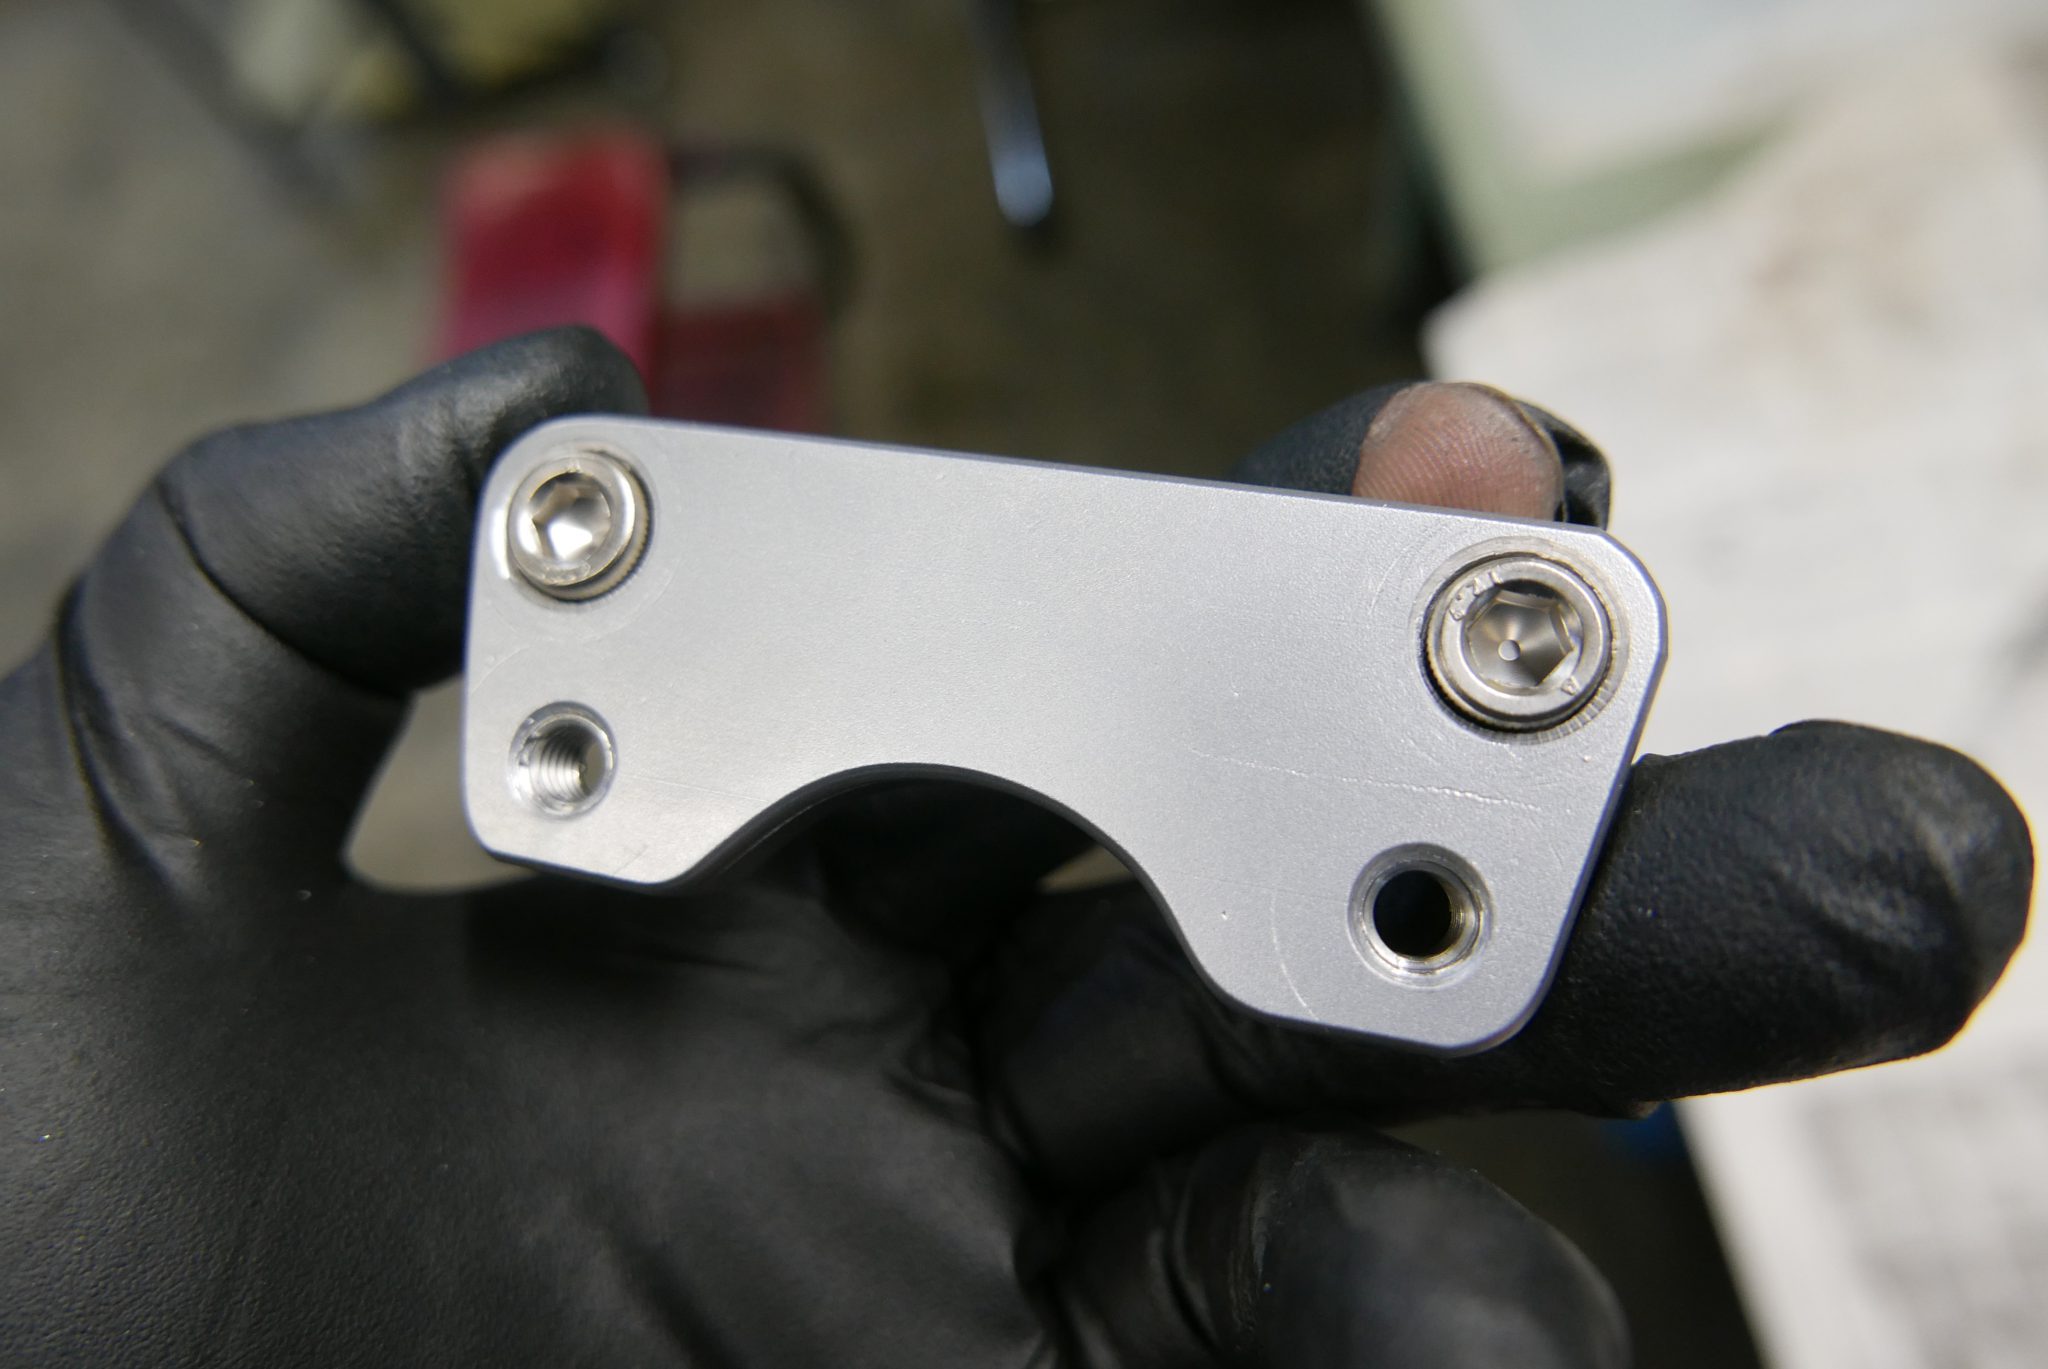
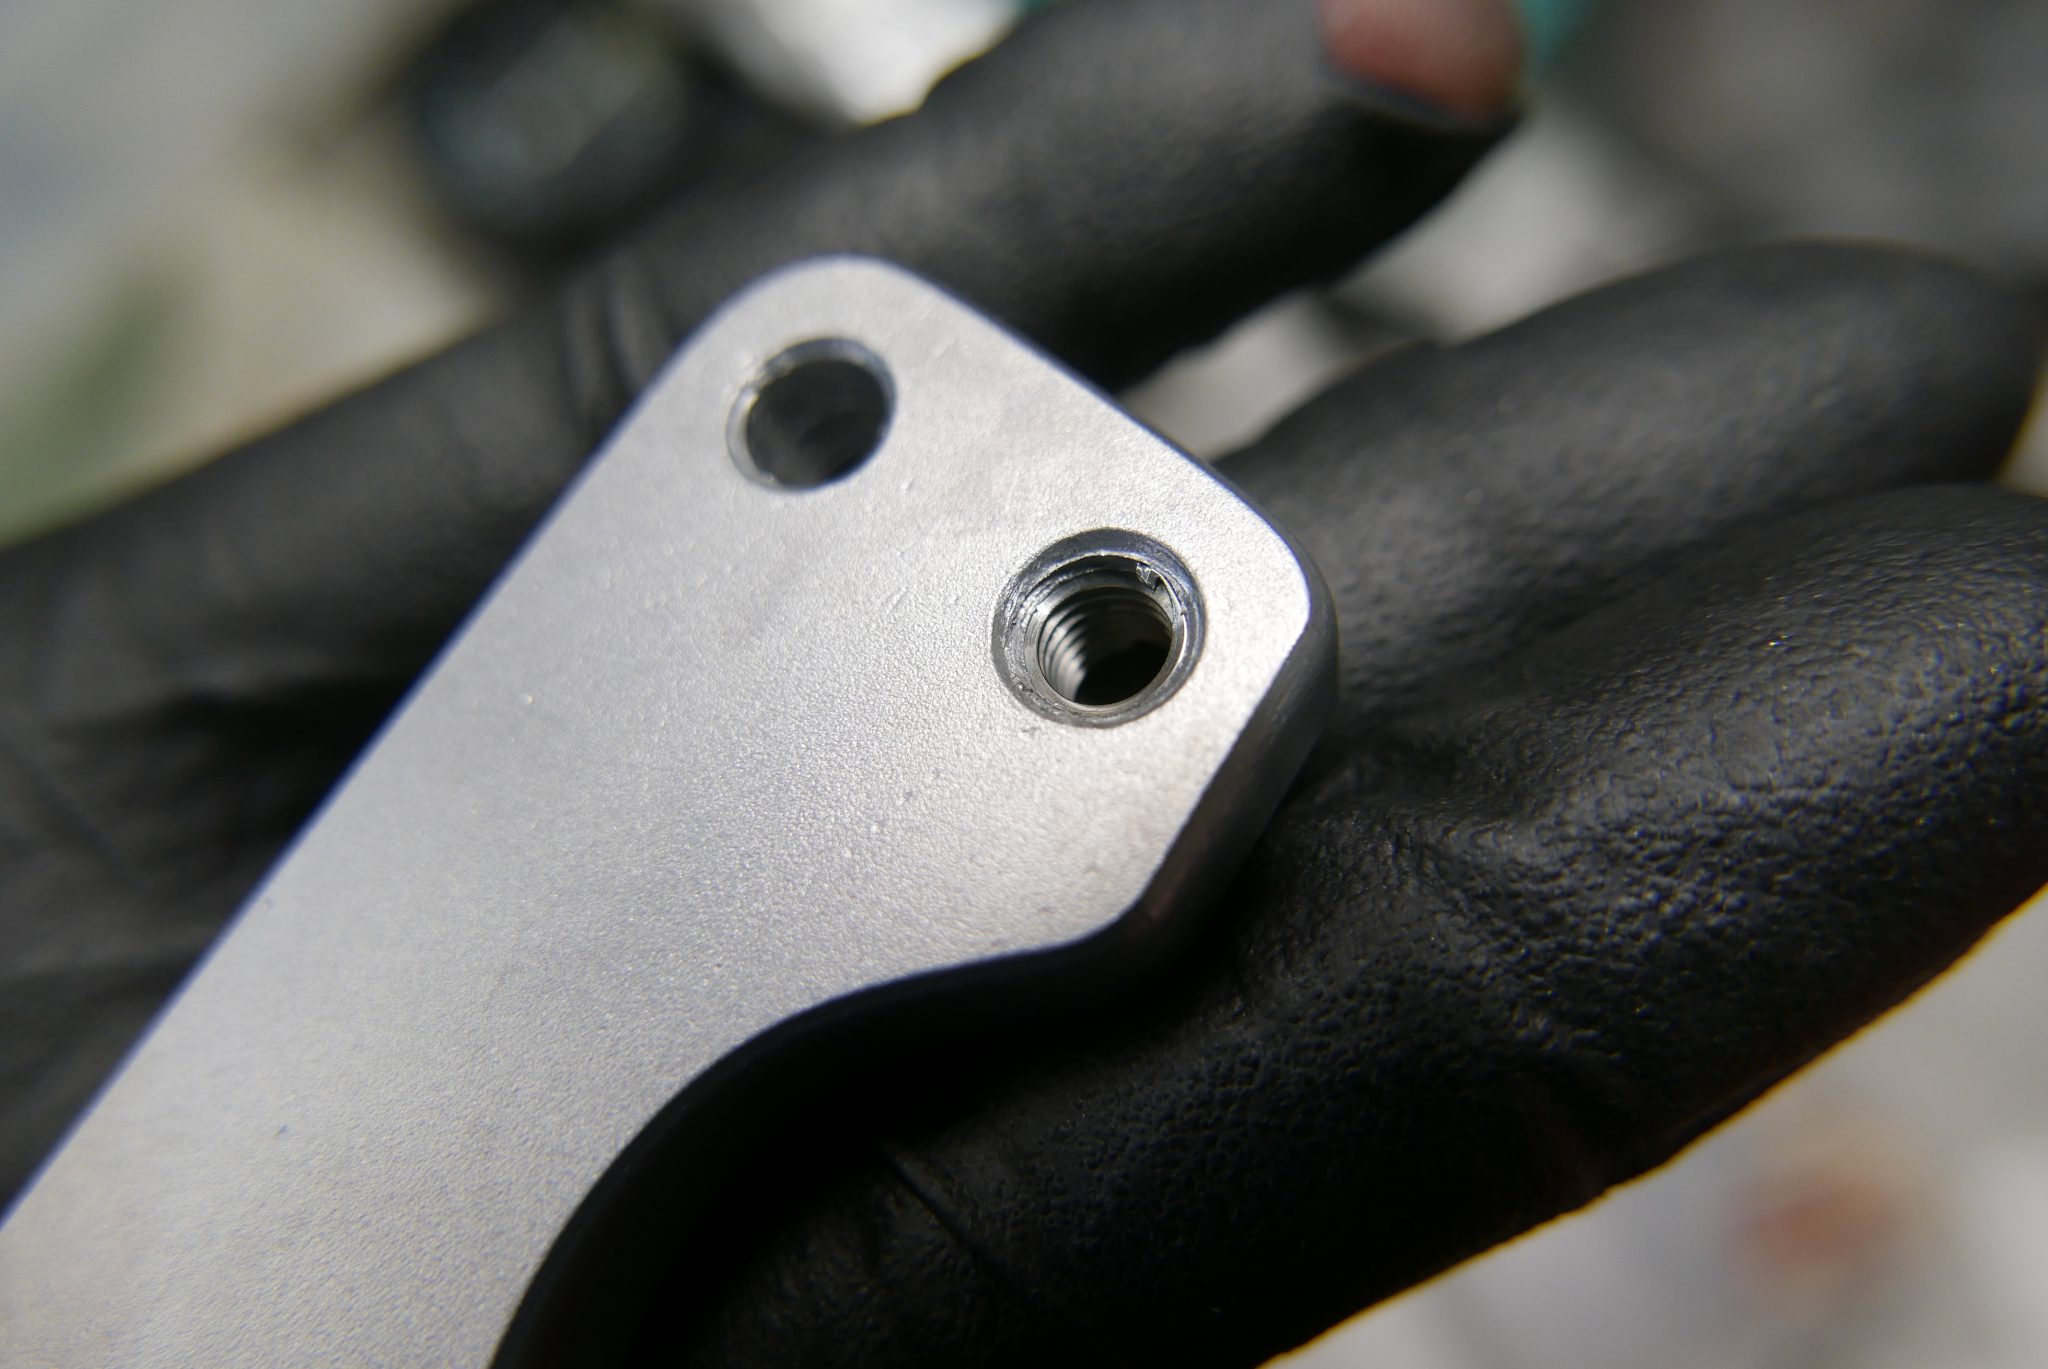
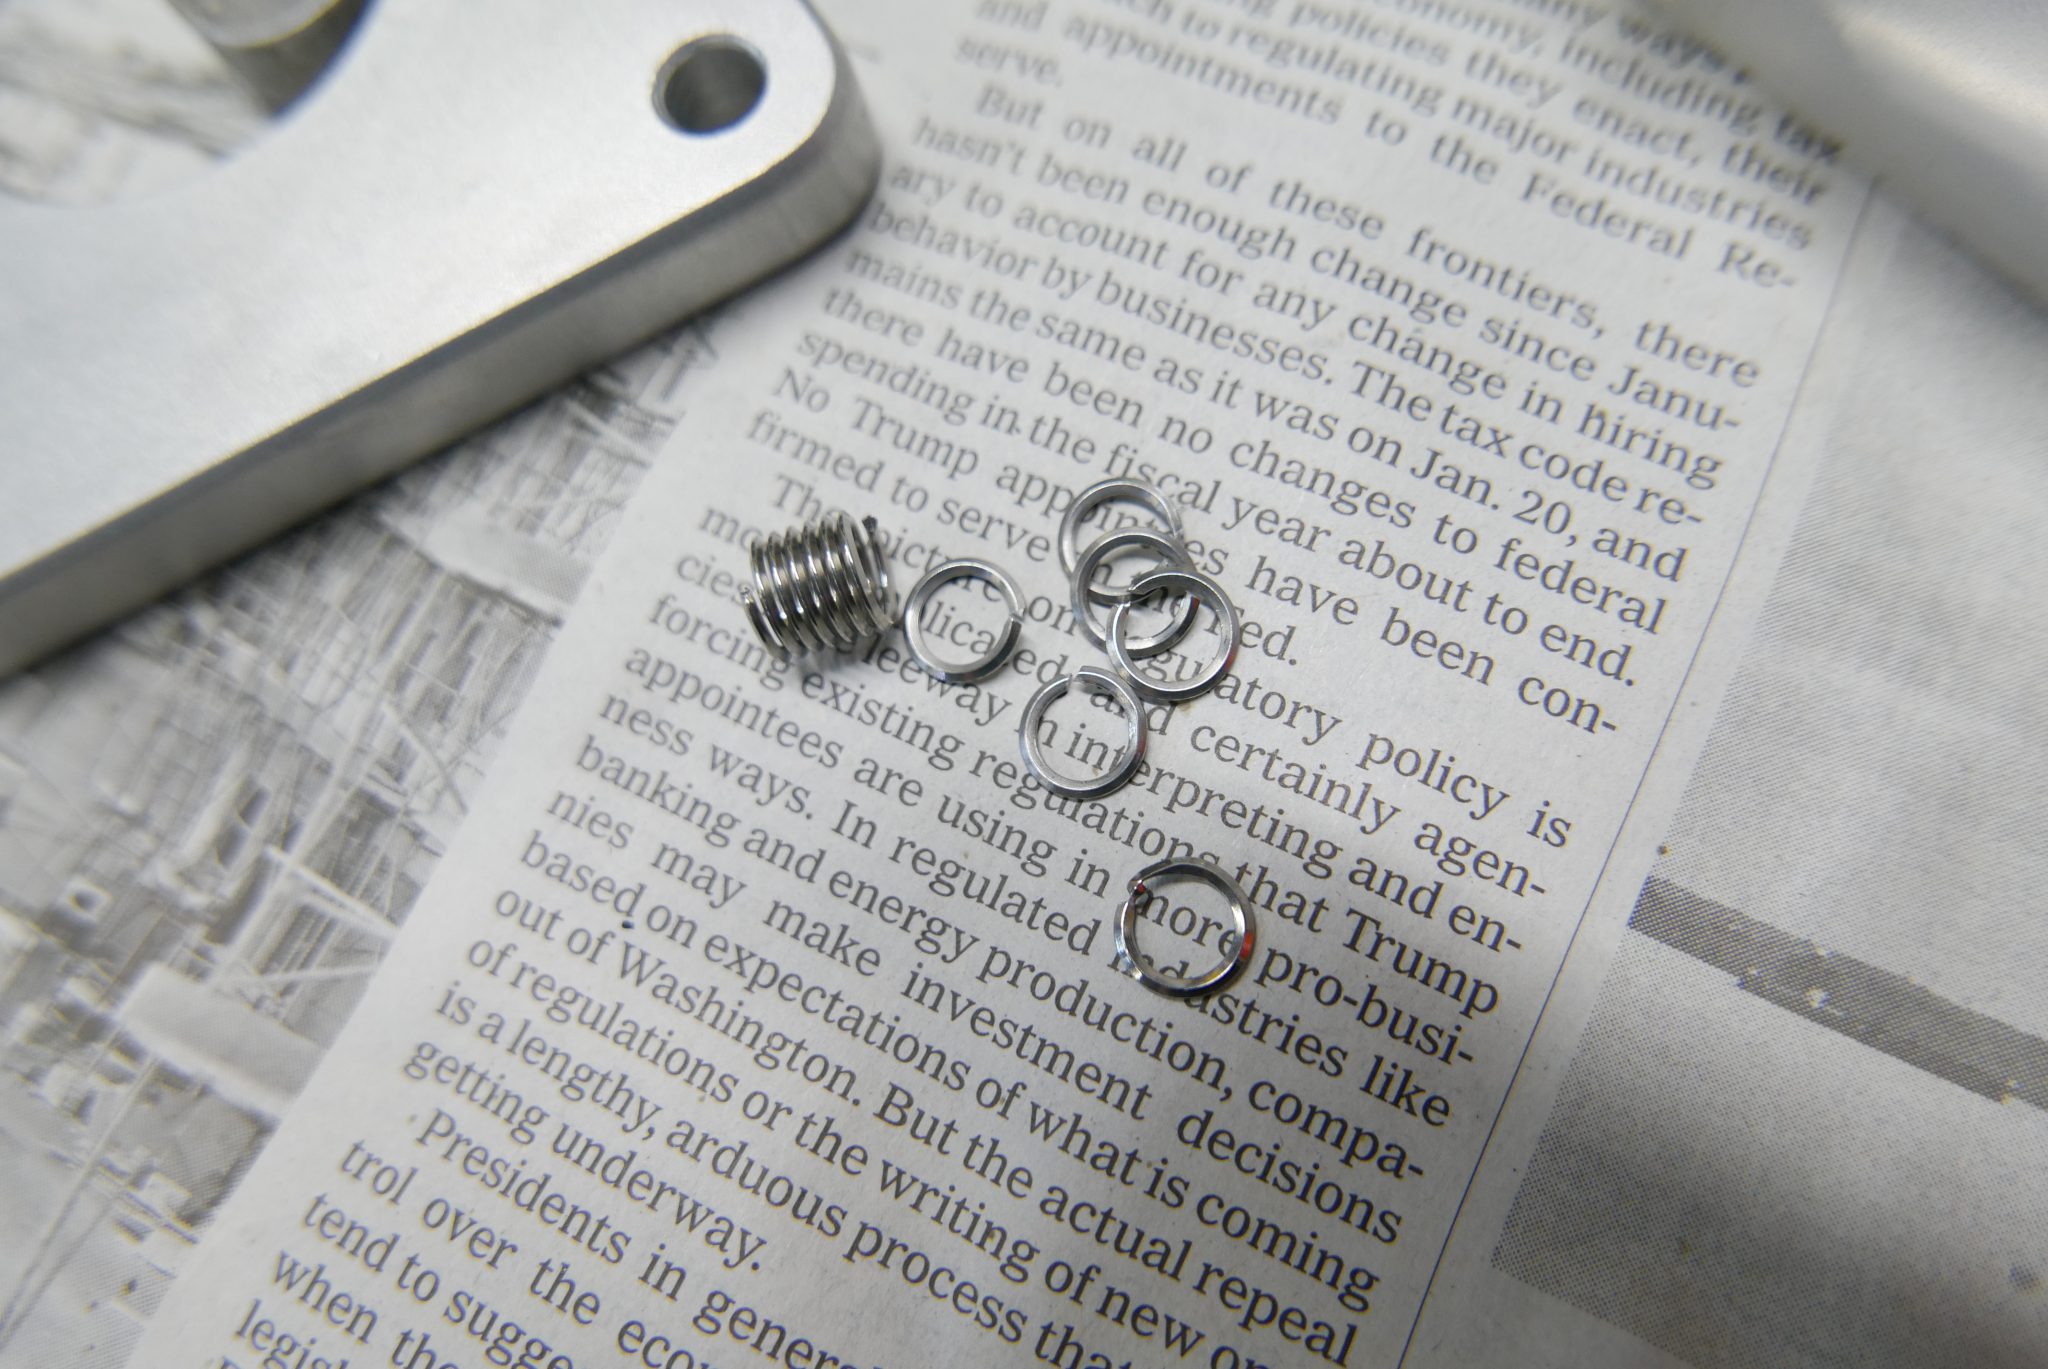
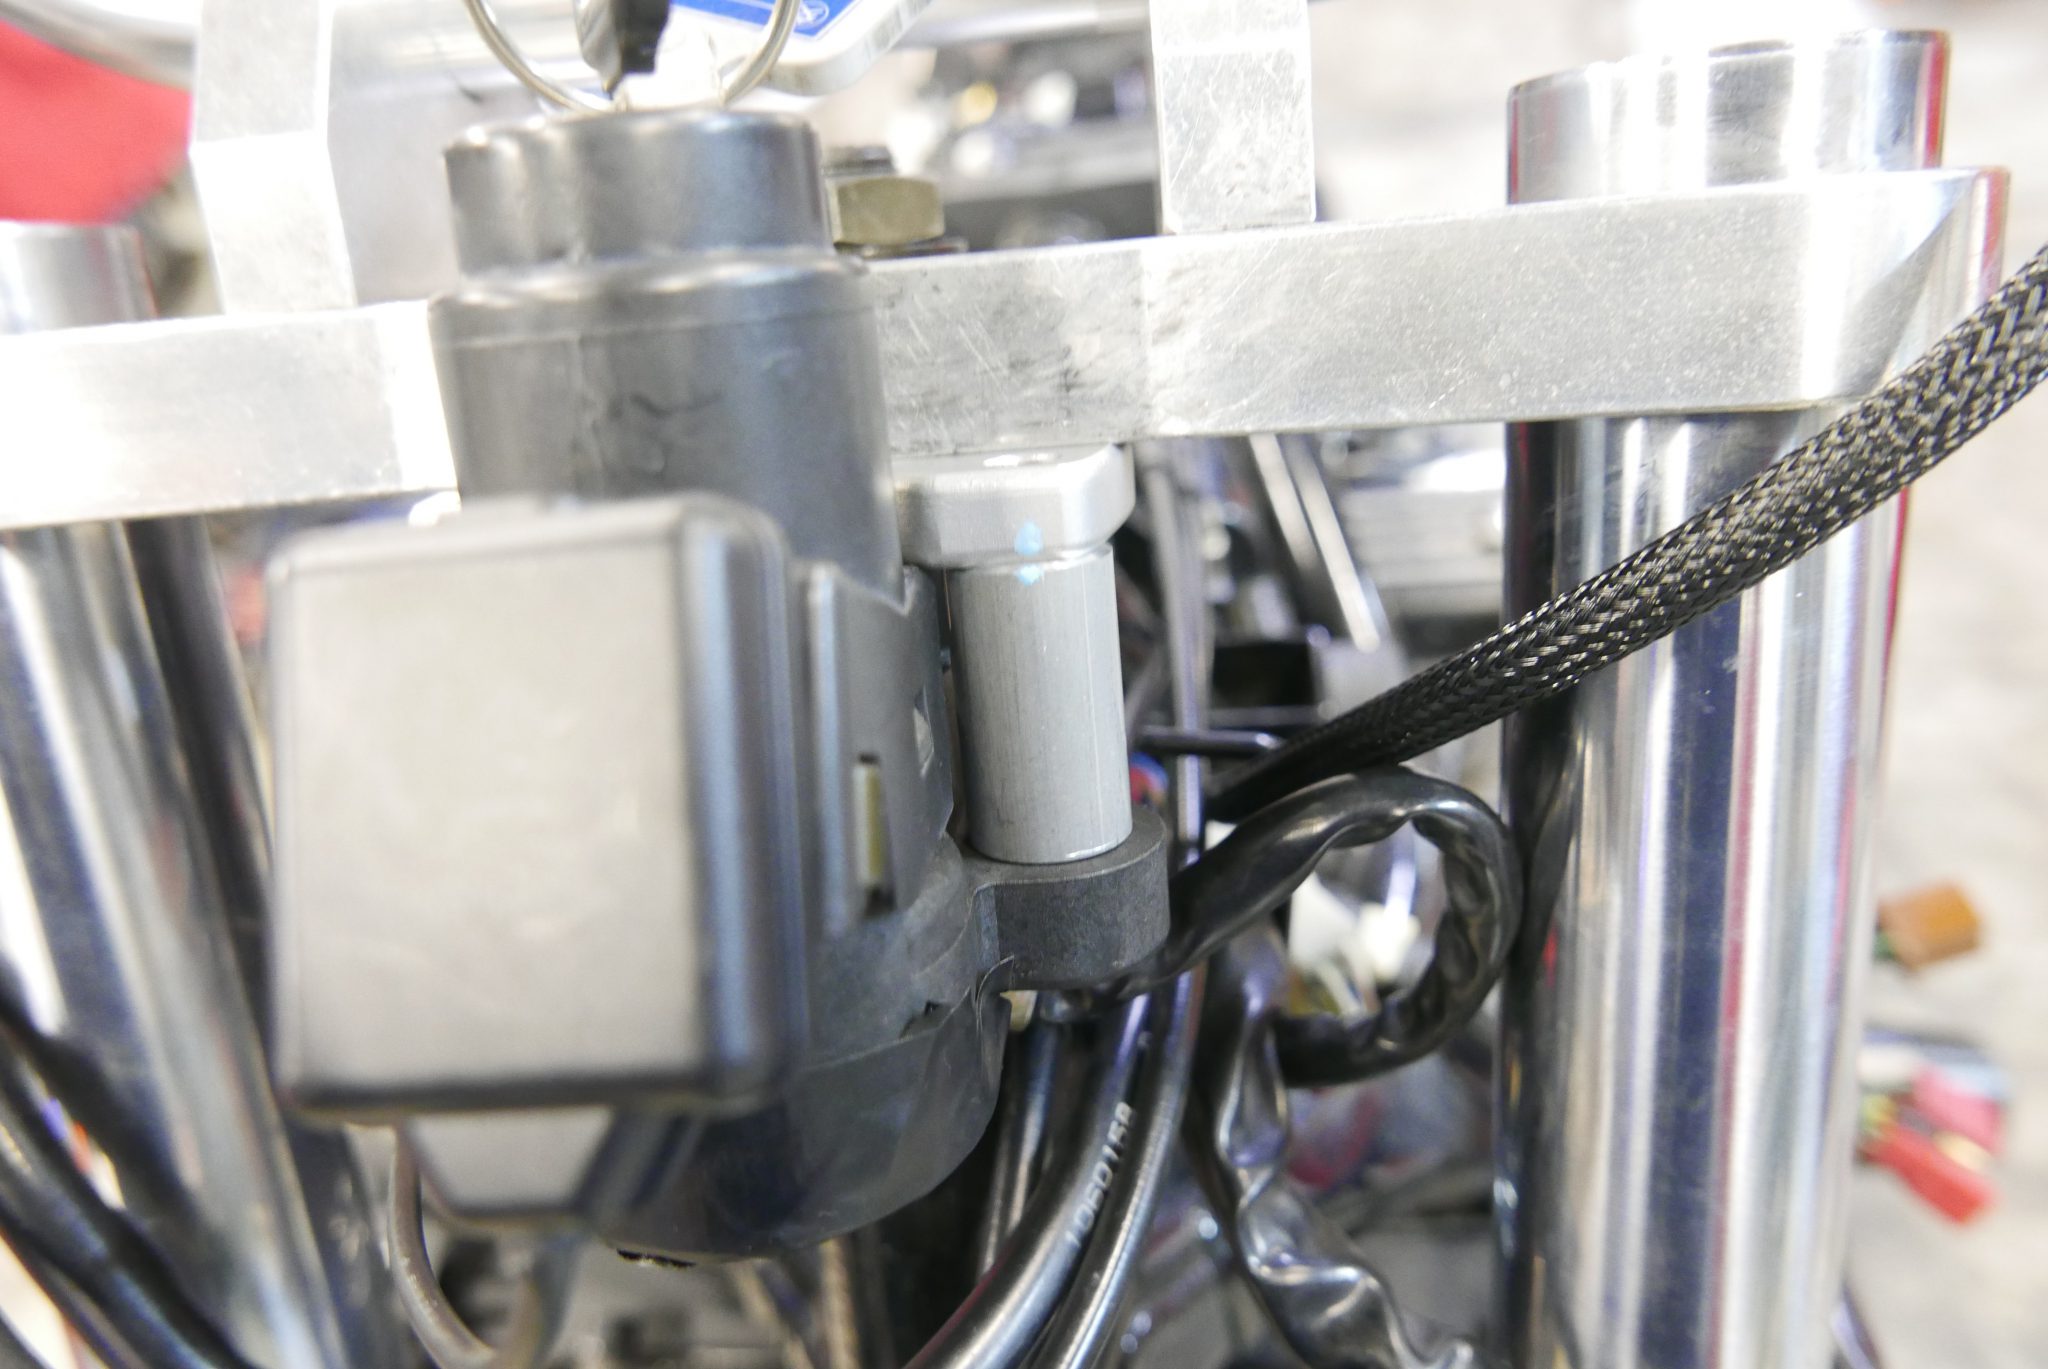
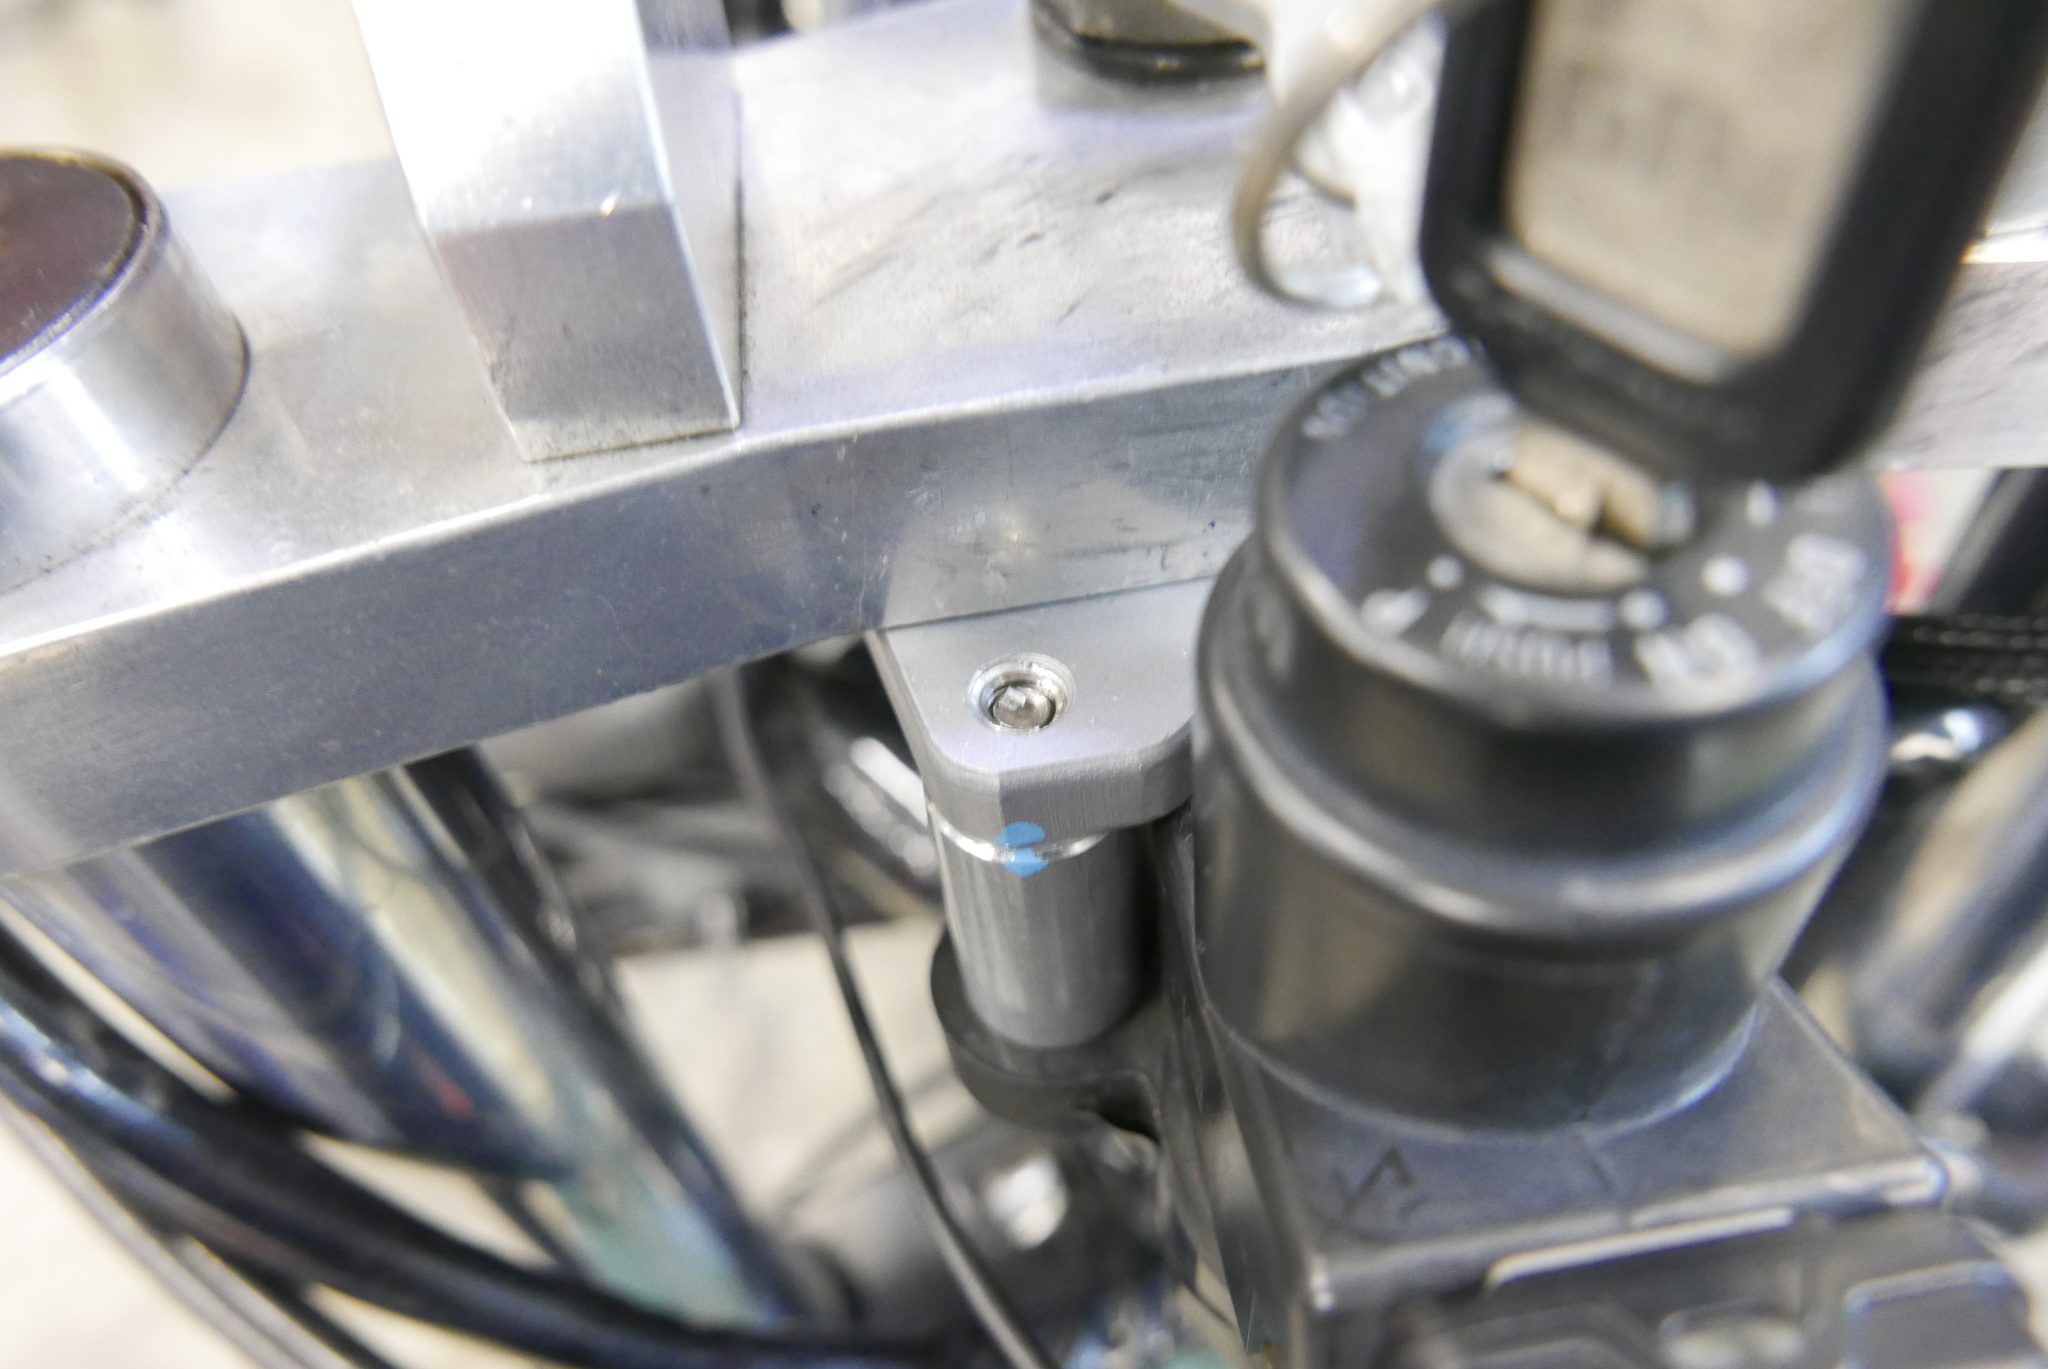
We’ve broken it in as a precaution! Brembo calipers have a great system where the bleeder can be swapped out. The hose should be routed from a point closer to the master, and the bleeder should be positioned toward the rear for easier maintenance. The caliper side looks like this. Just because it’s mesh doesn’t mean you should stress the hose. Do your bending at the banjo or fitting side. Since we’re making the step plate adjustable, the articulating design also allows some length adjustment. We fabricated a bracket to secure the front brake TEE fitting. Since we just need it to stay put, the boss isn’t fully welded around. The mounting looks like this. We cut it left and right so there’s no chance of anything getting pinched. The factory’s solid mounting probably takes into account the risk of things rattling loose and getting caught. We set the length at full extension plus a bit. When installing, it’s safest to make sure the hose doesn’t twist and there’s no strain. It’s also good to consider fluid changes and maintenance ease when mounting. When the radius curves out nicely and gently, you can’t help but think, “Yeah! That came out great!” The TEE fitting looks like this. Keep in mind where you’ll be placing the front stand when you mount it. Aftermarket parts should ideally not interfere with the maintenance workflow. That way, everyone will love working on it. If you do need to remove it, it’s better if you can just unbolt it. Next, we’ll fabricate the master stay. With the right tools, you can bend as many as you need the same way. Bending without heating also means less hassle with finishing later. We finished it the usual way. We made it symmetrical left and right like this. “Radial brake master common issues”—something always ends up touching. When DIY folks install these, there’s no way around these problems. Add an aftermarket stopper, and suddenly the handlebar lock doesn’t work and the turning radius gets too tight. These kinds of painful issues keep popping up. We’re welding to the stem to adjust the turning angle, so we want to get as close as possible and weld solidly. We’ll scrape off a little paint to ensure good conductivity. Direct clamping makes me a bit nervous. Of course, disconnect the battery terminal first. If there’s no circuit, the electrical system stays safe. The cast aluminum frame welds beautifully. We use a technique of not applying too much heat, building up gradually, and then grinding it down afterward. Next issue: the handlebar lock isn’t quite right. There’s some play, and the adjustment doesn’t seem to help. We knew about it, but we really need to fix this or it won’t work, so we’re going to force the issue. Looking at the removed parts, I’m always amazed—”They did pretty well with the tools they had!” The key cylinder itself was articulating because there was no ladder structure to support it. Since you usually only see the finished result, we mock it up with paper, then iron or aluminum, checking the position multiple times before going to the real thing. The world isn’t kind enough to let you build something just from external measurements. It came out like this. Looking back, I think I could have finished it a bit better. It’s a daily reminder to reflect. We installed a helicoil so it’ll tighten up solid. We always make a custom washer to get one more thread of engagement. If you do this, use sharp cutters. It came out solid like this. Rock solid.