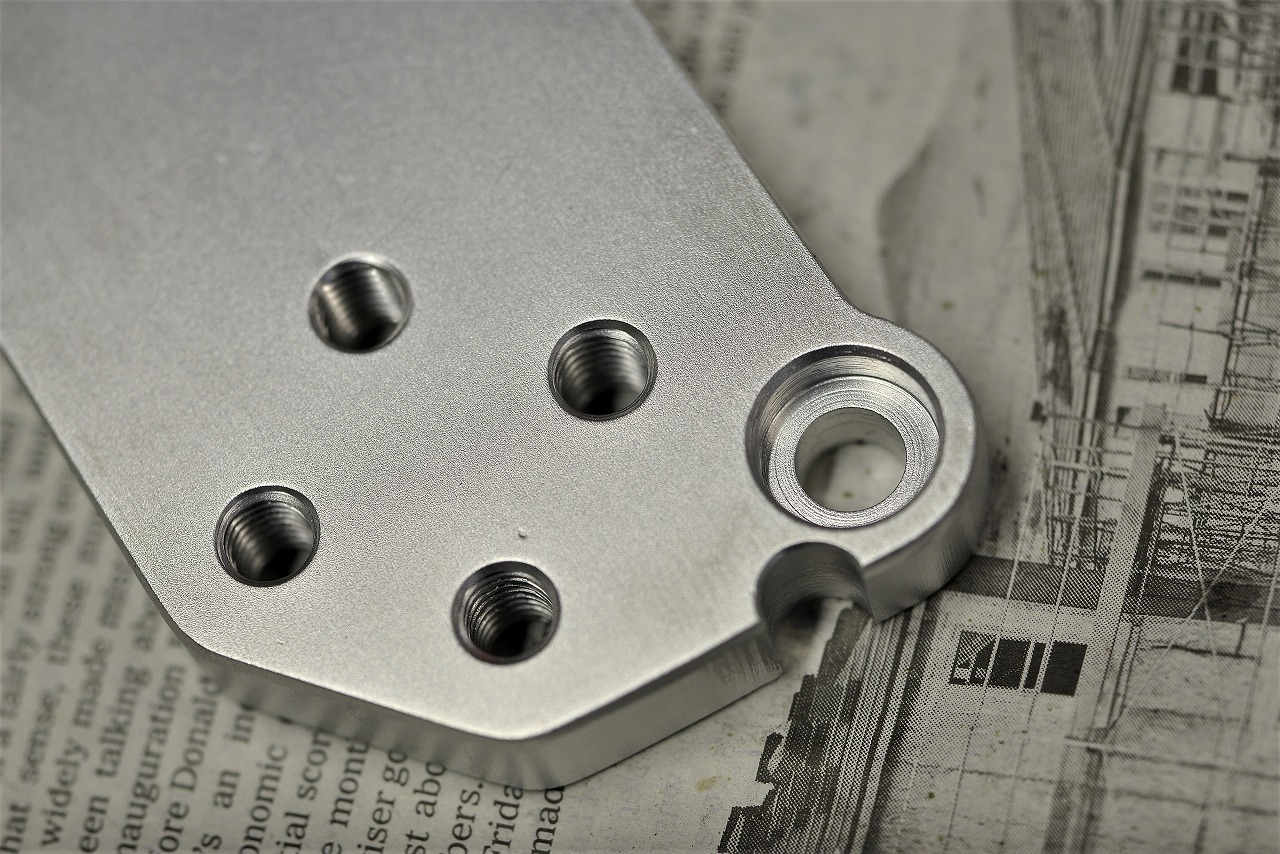
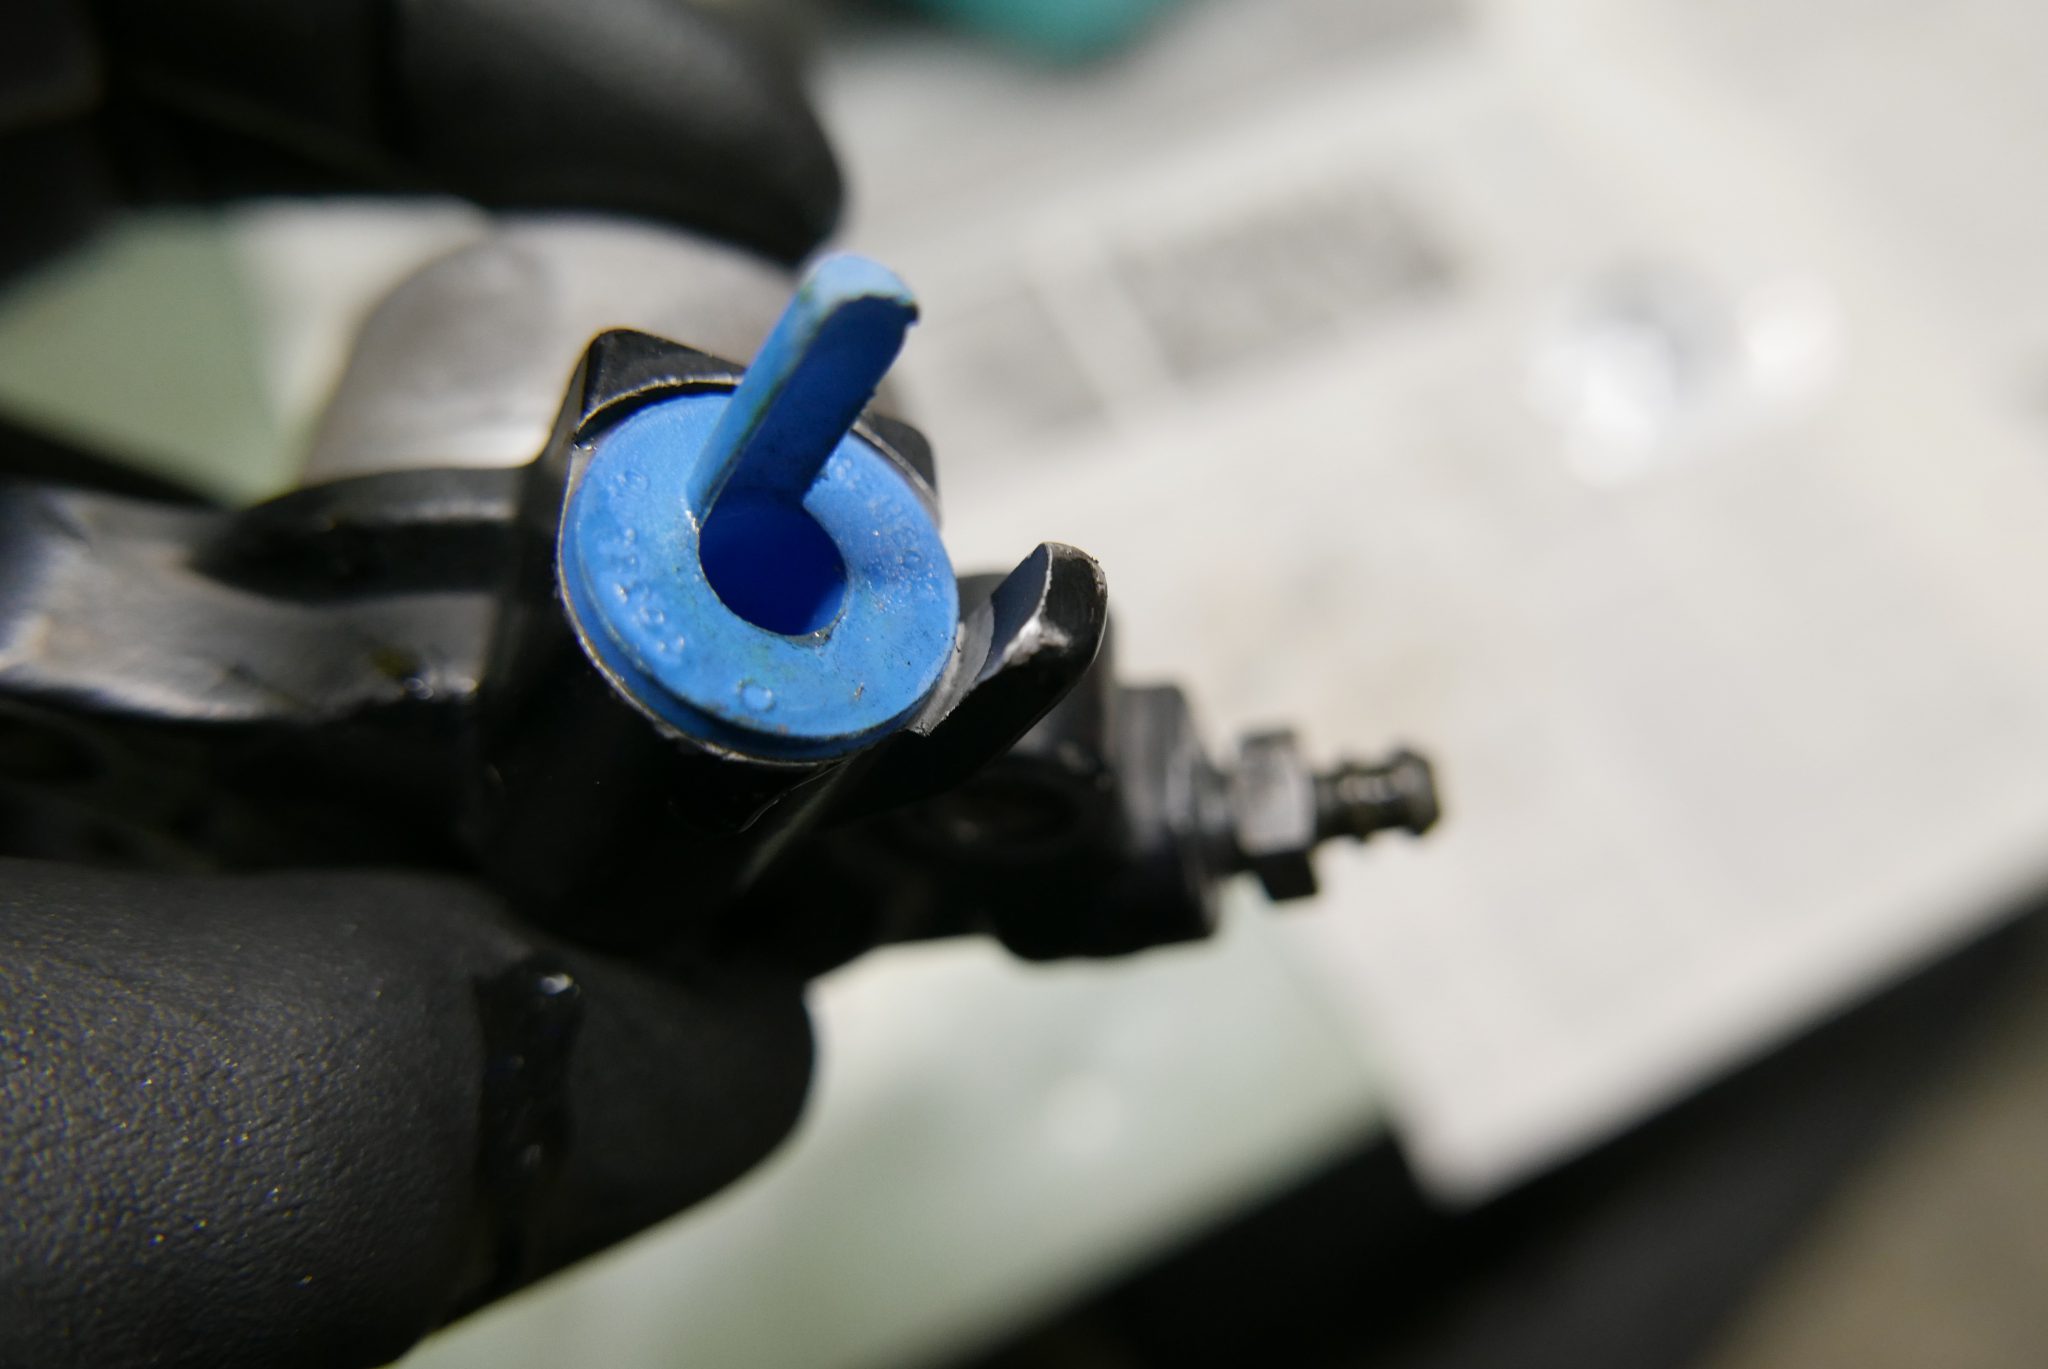
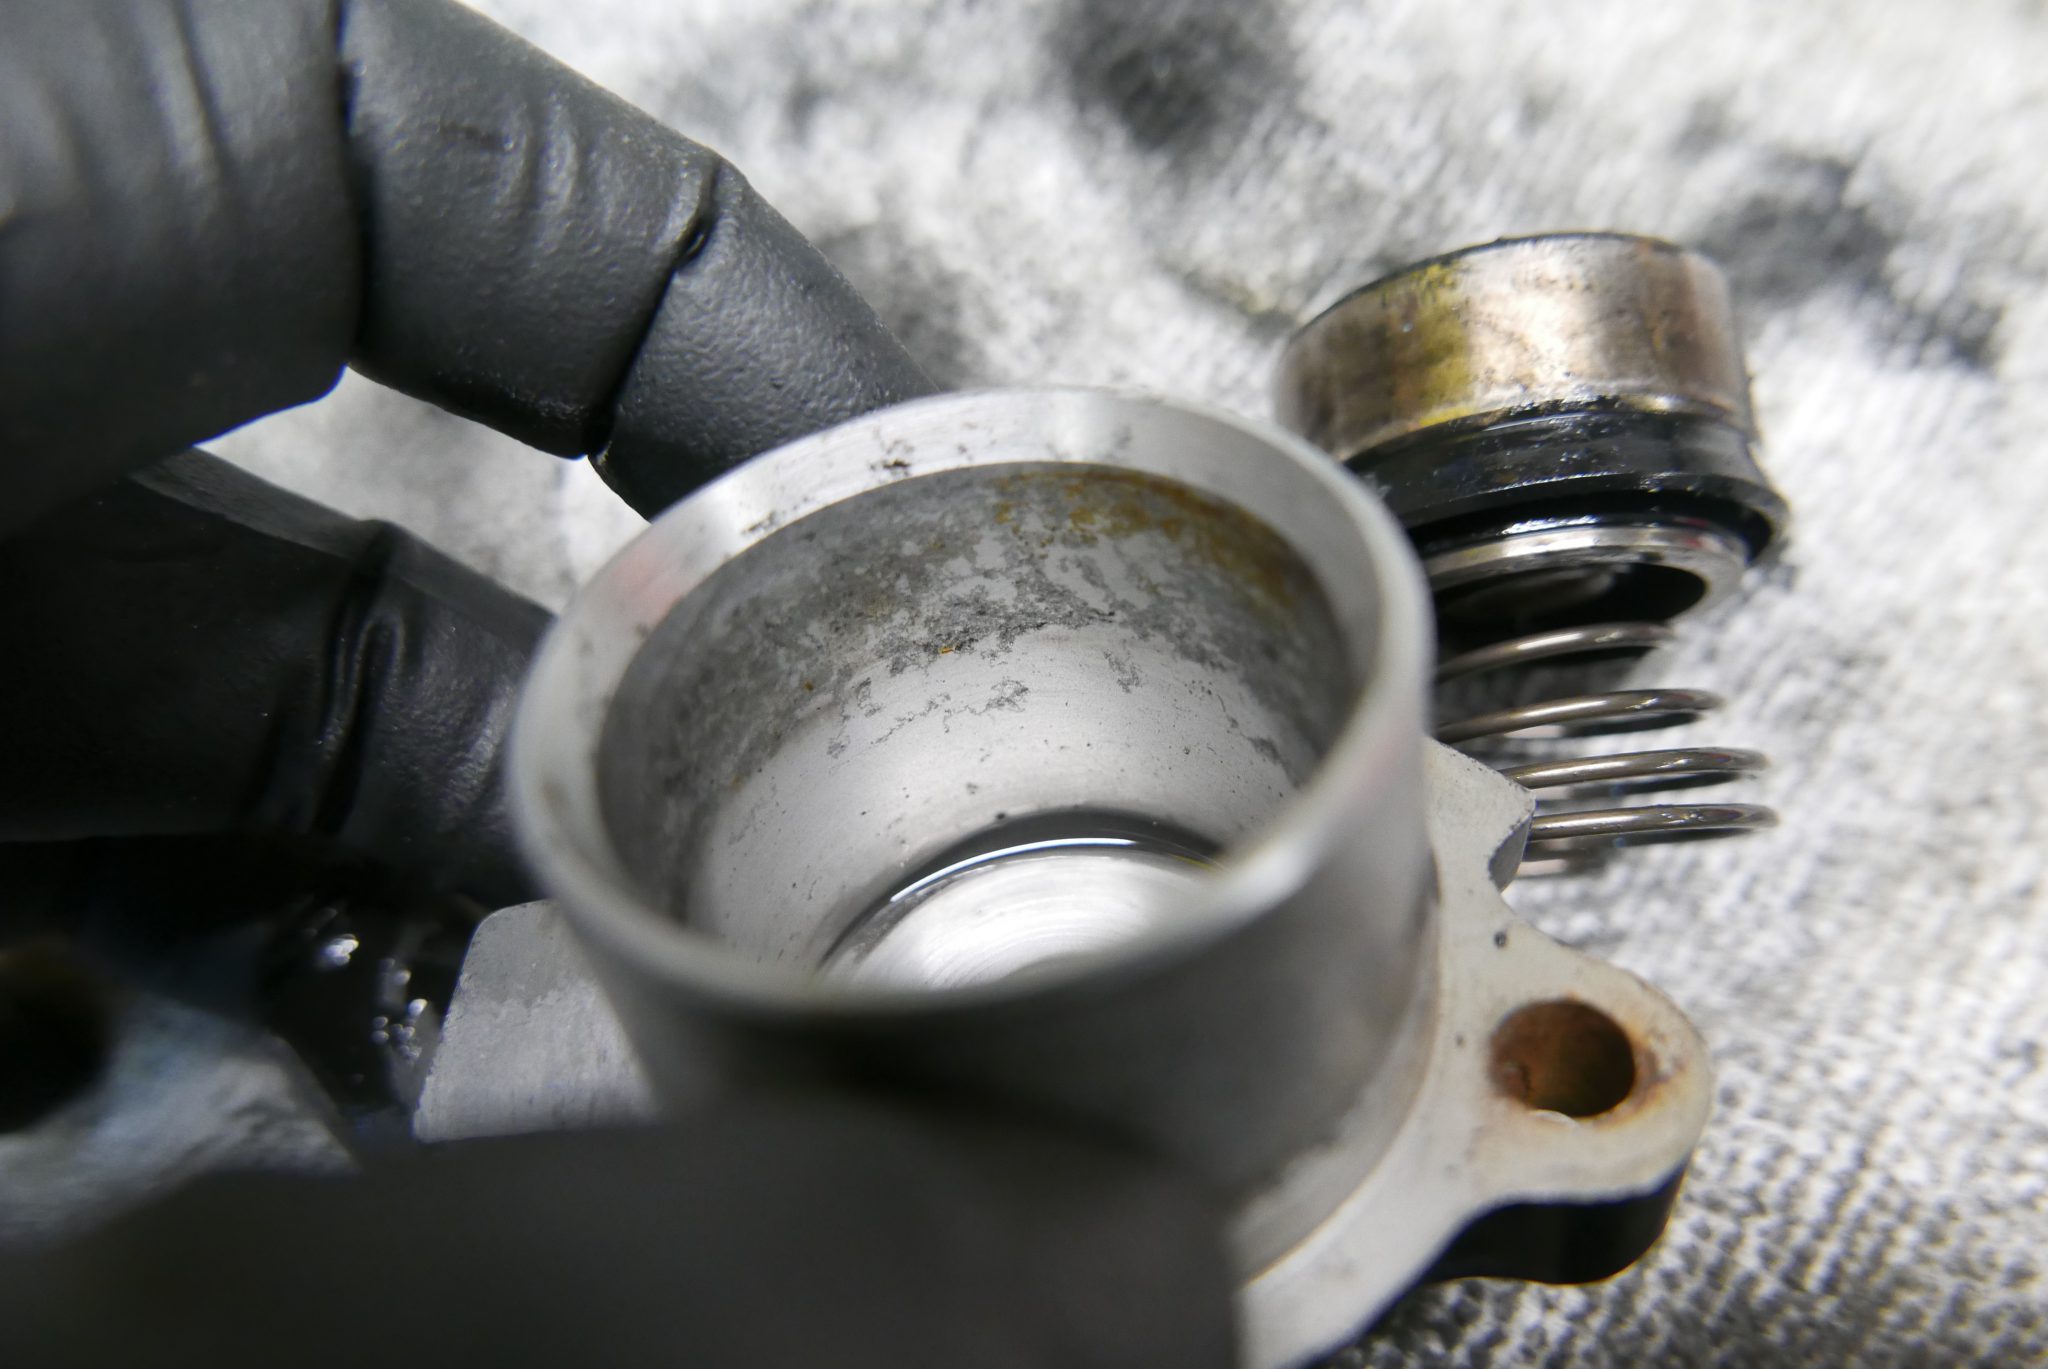
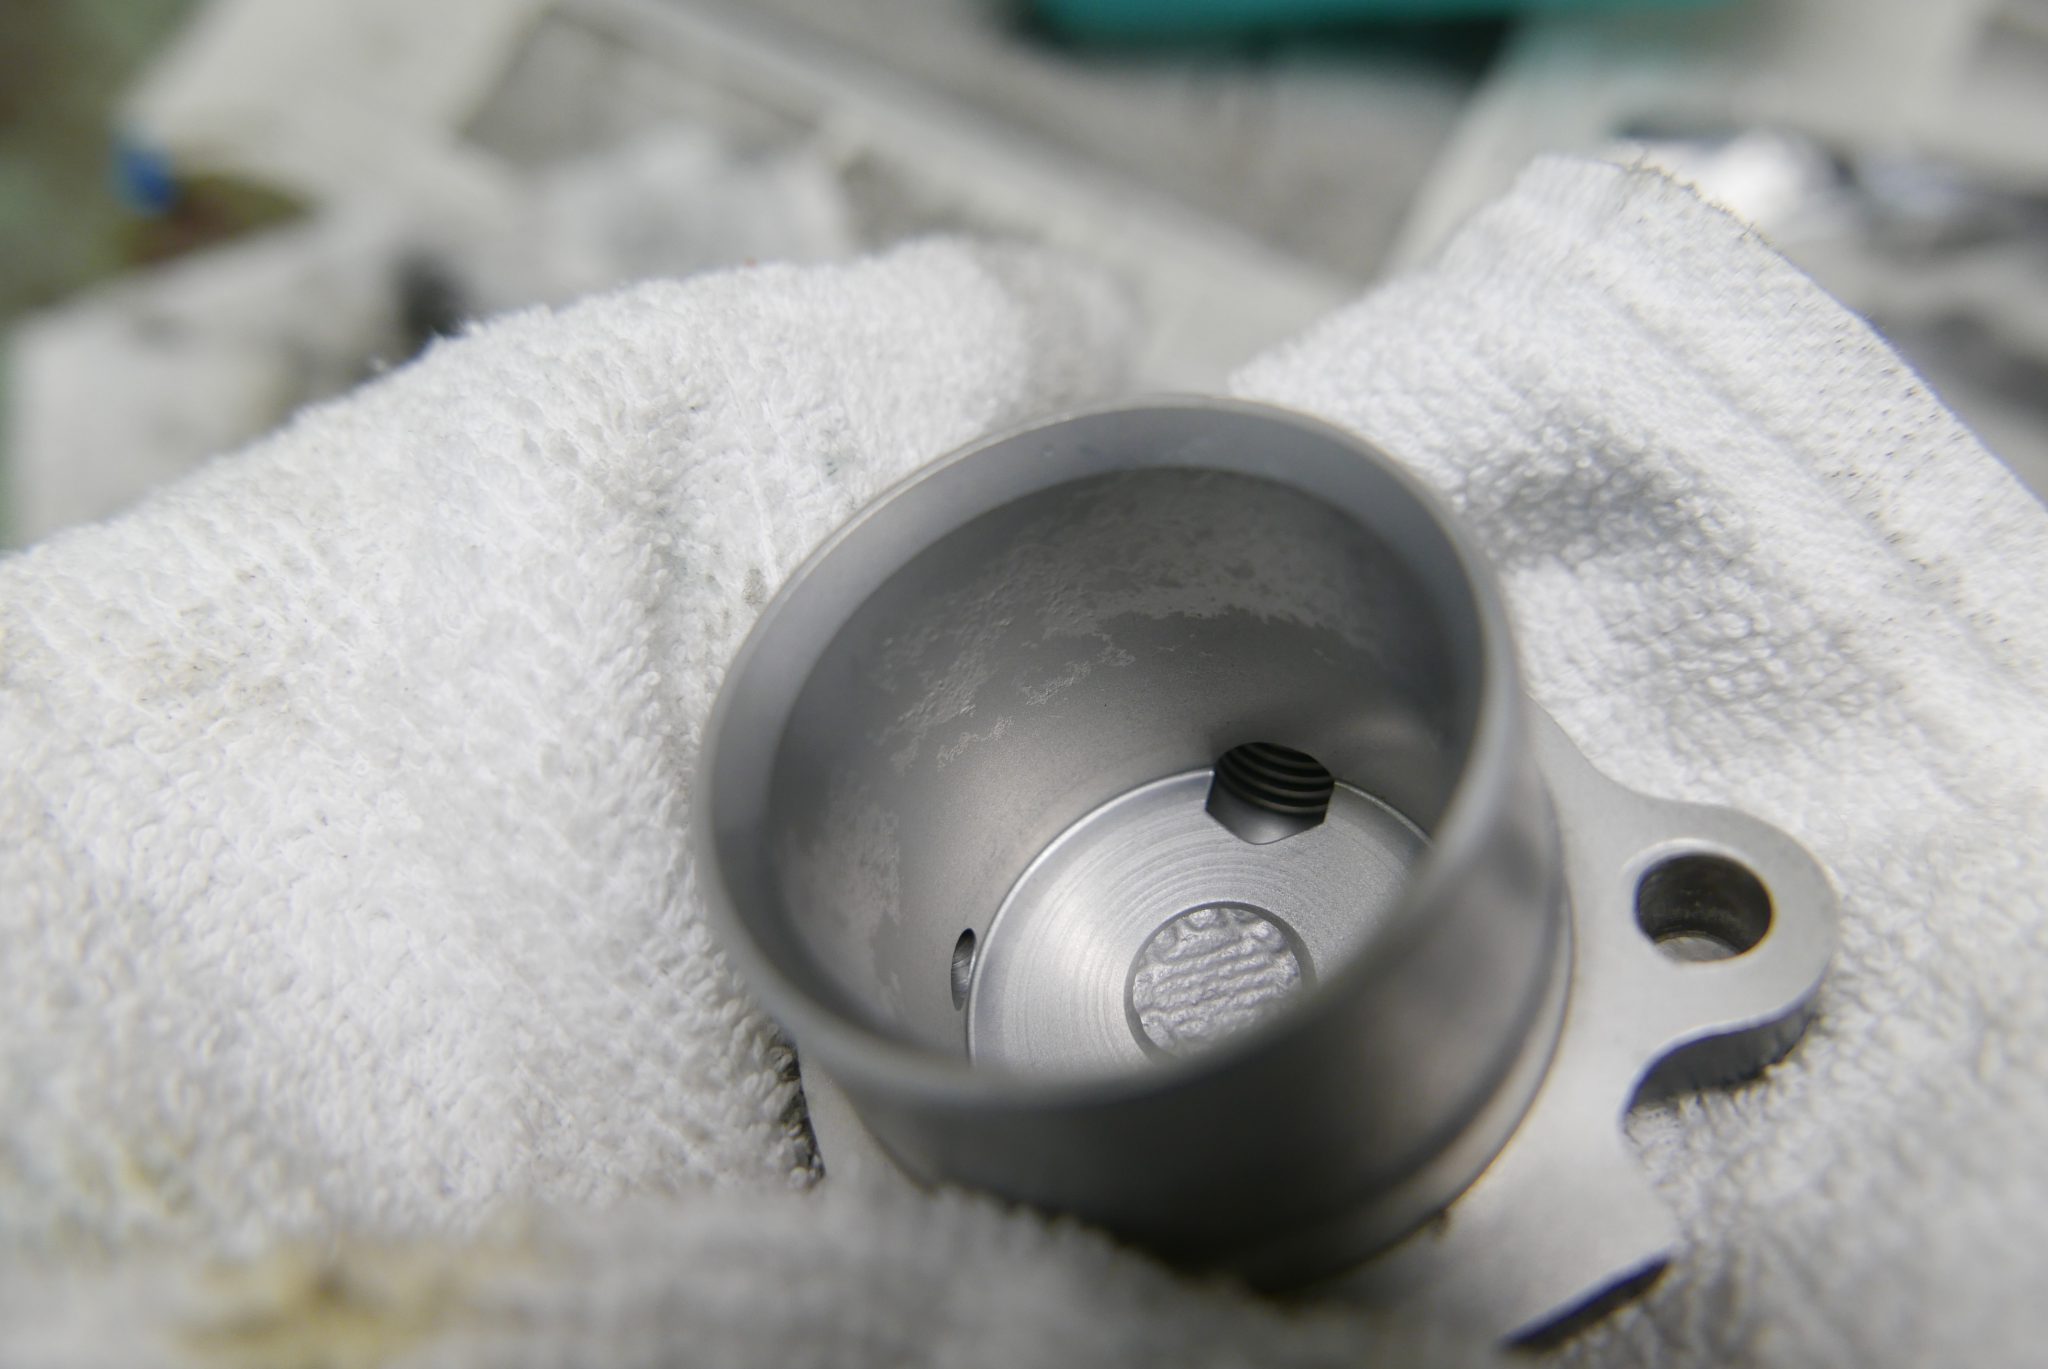
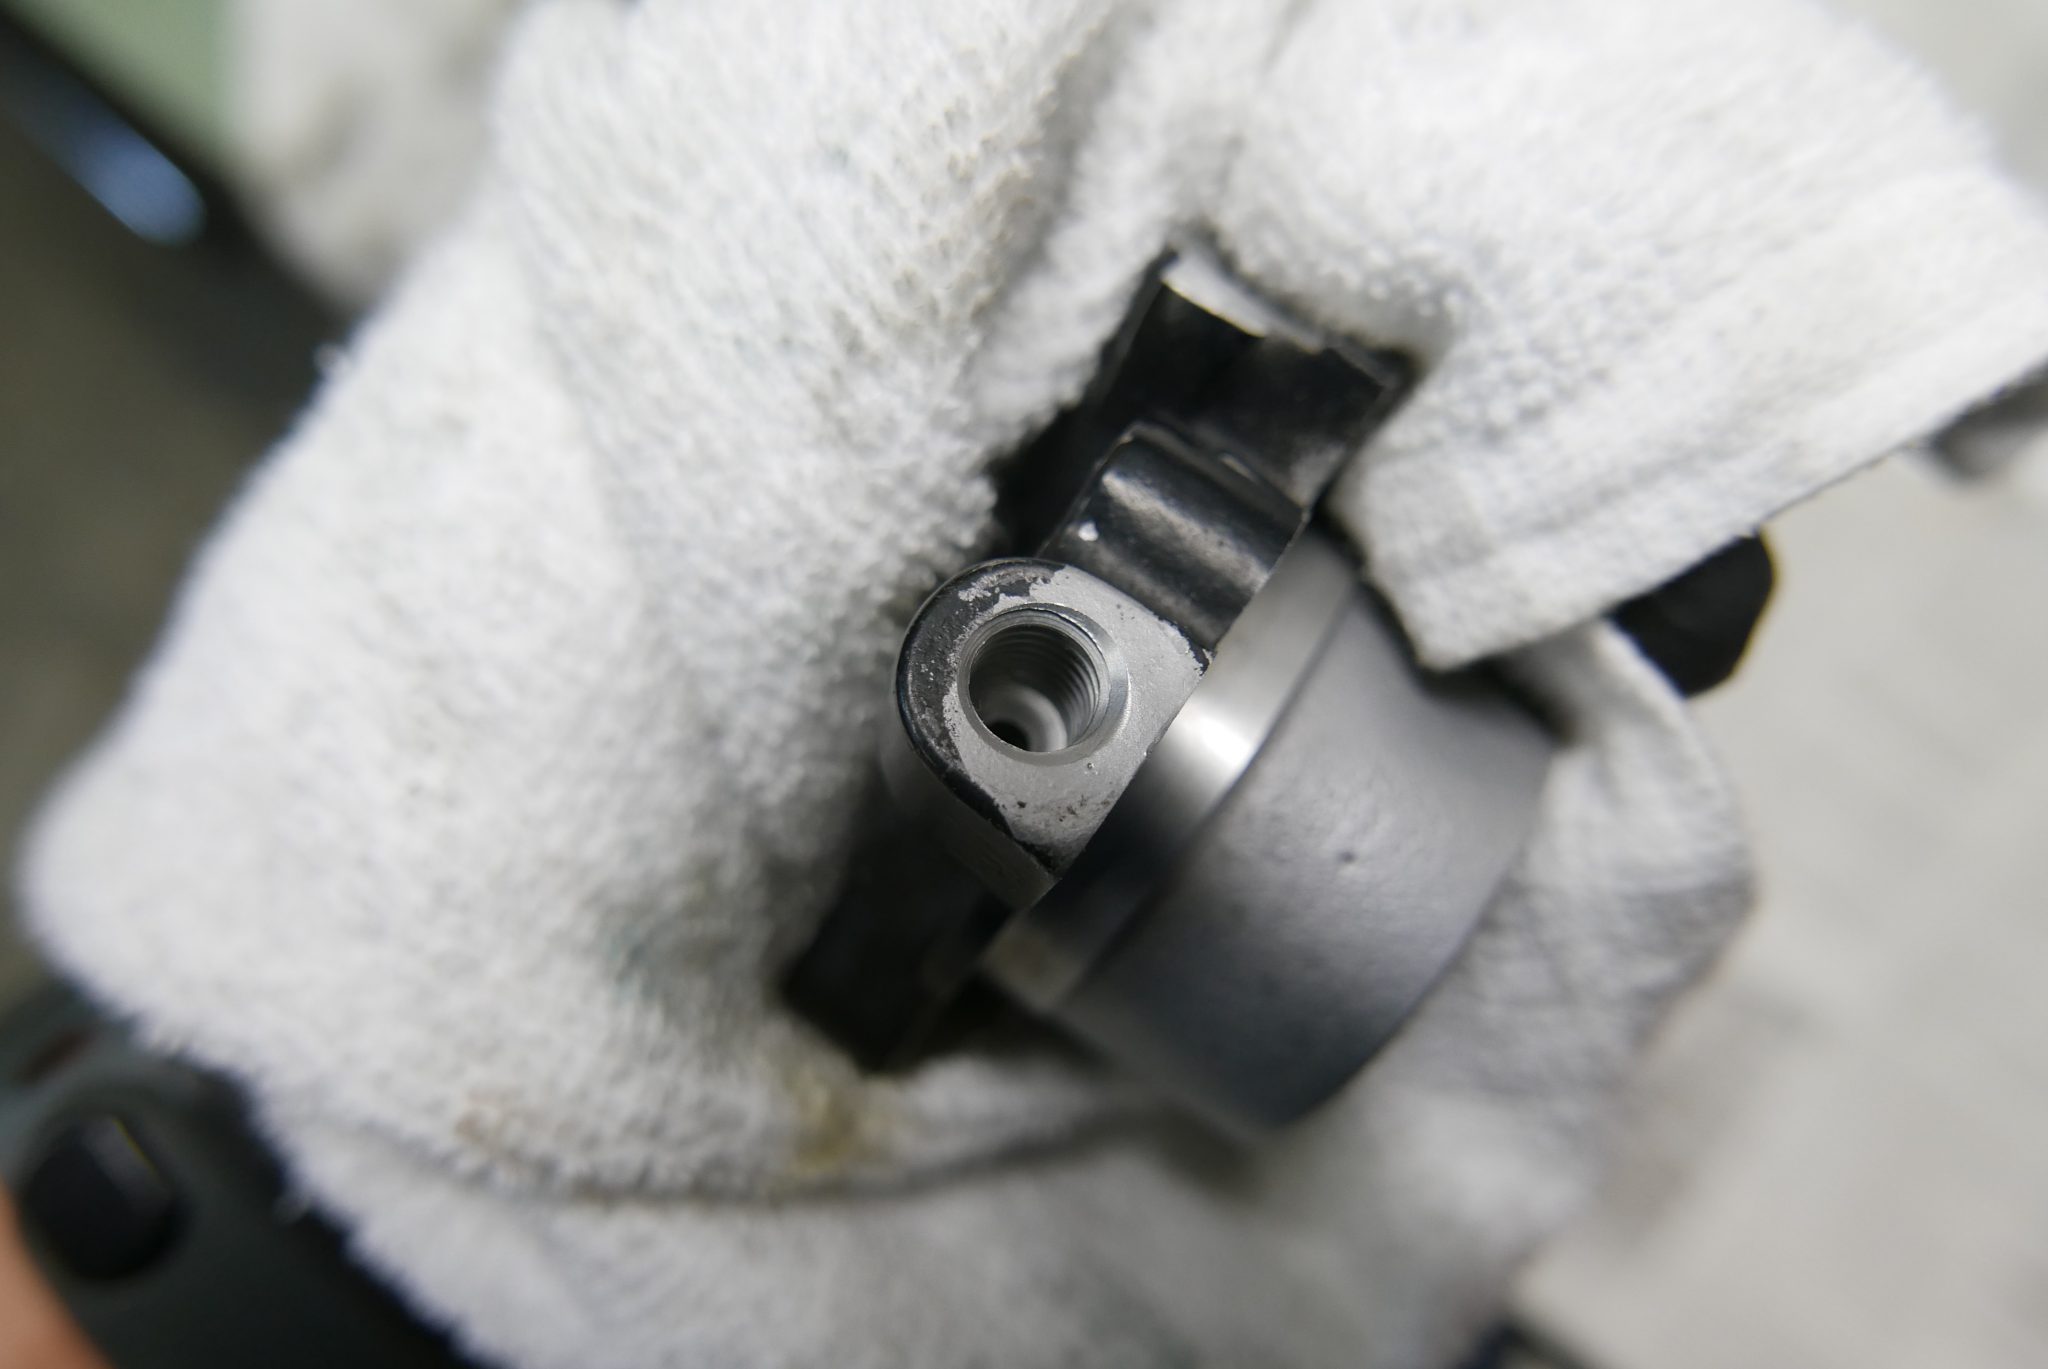
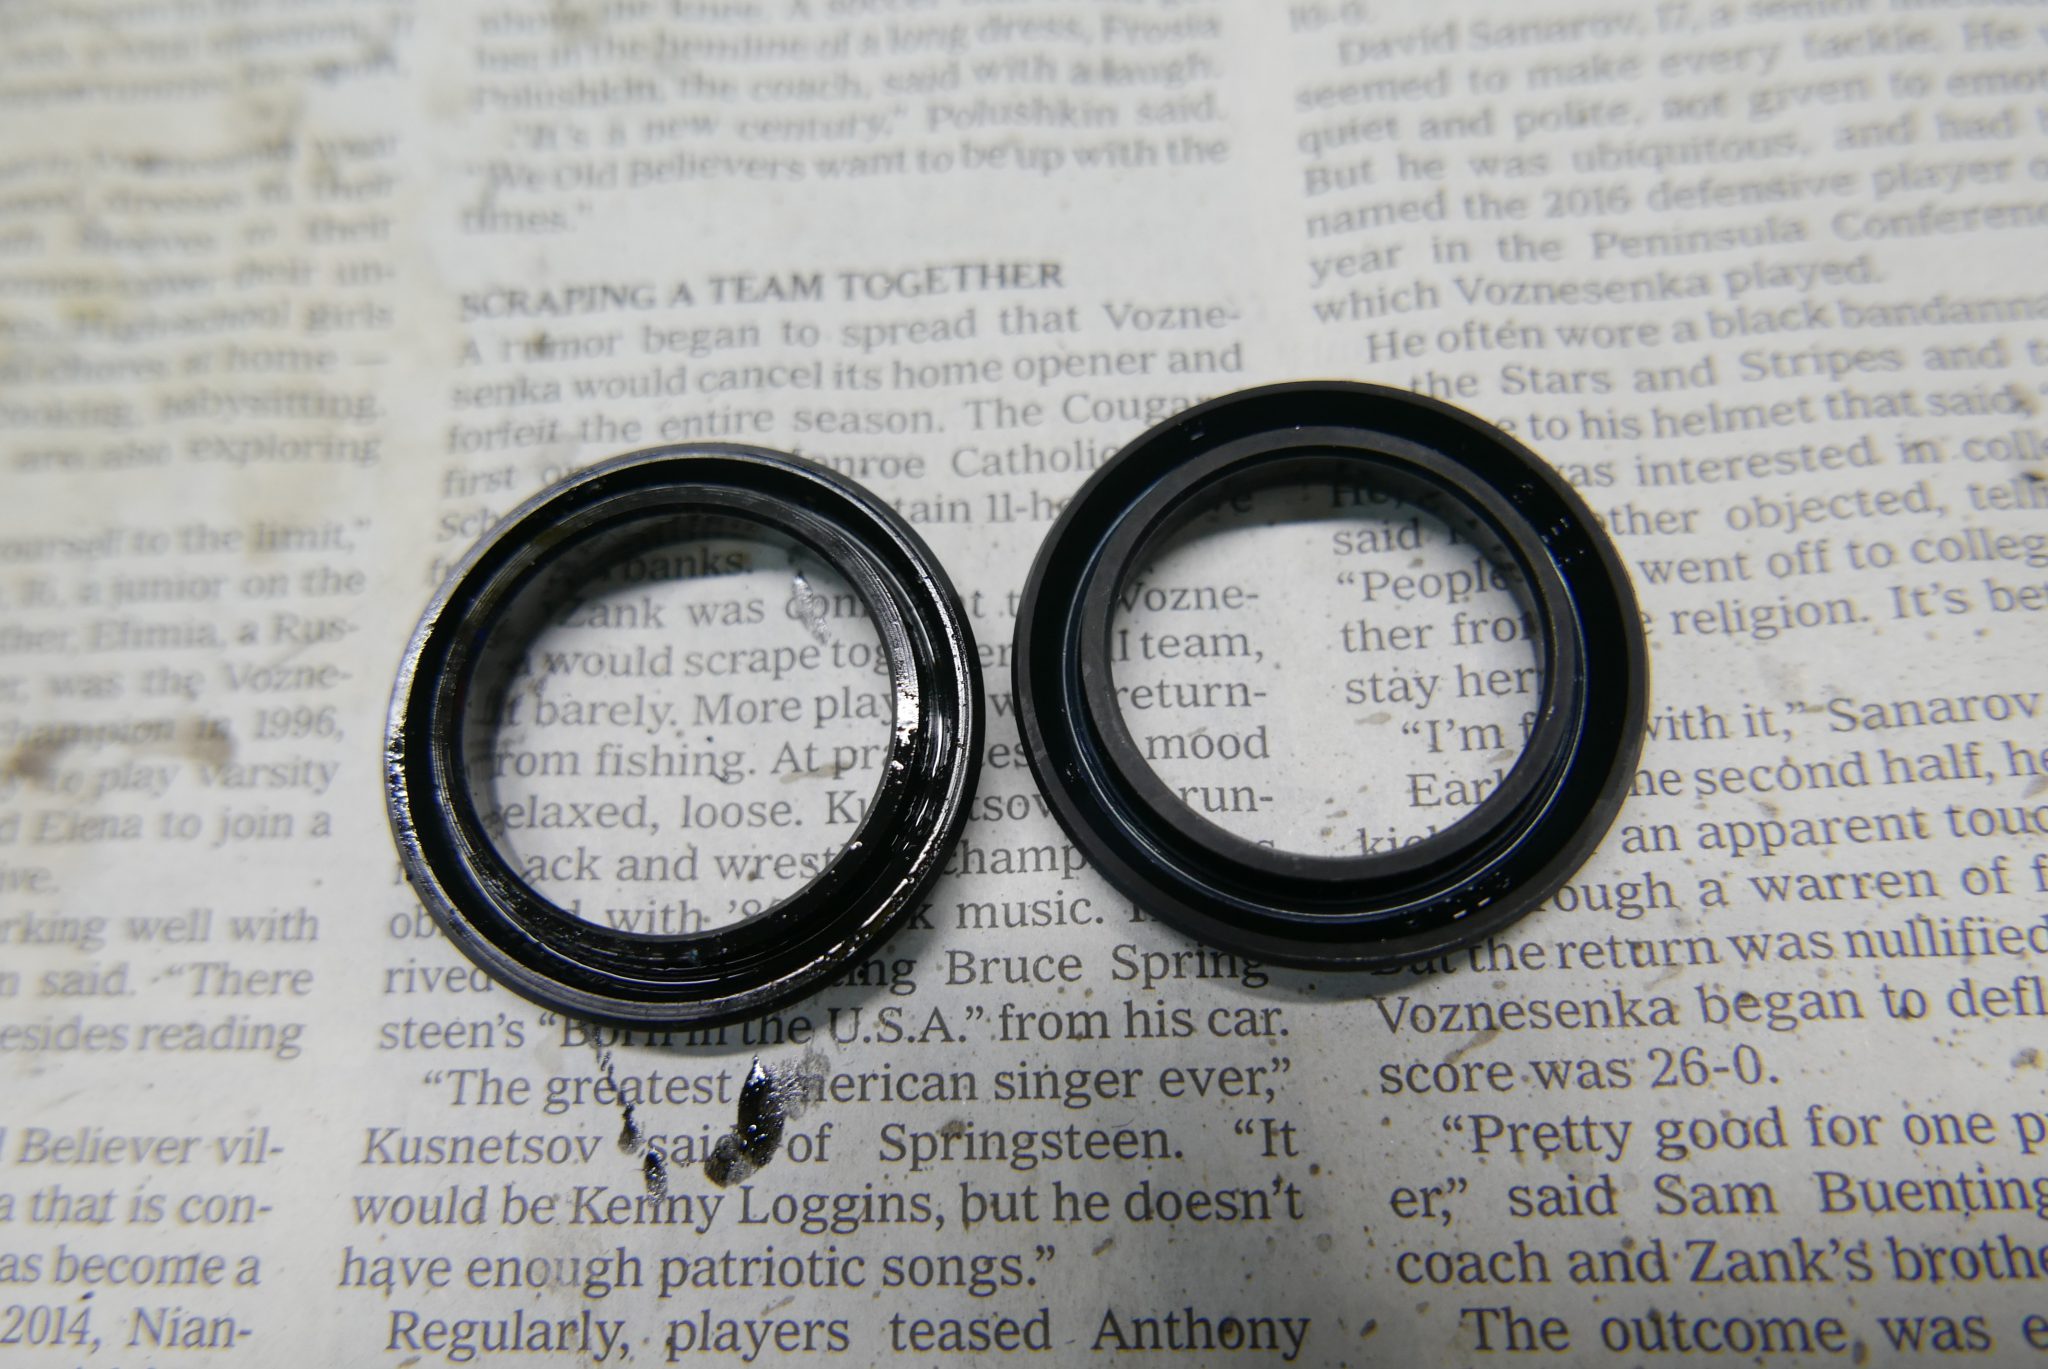
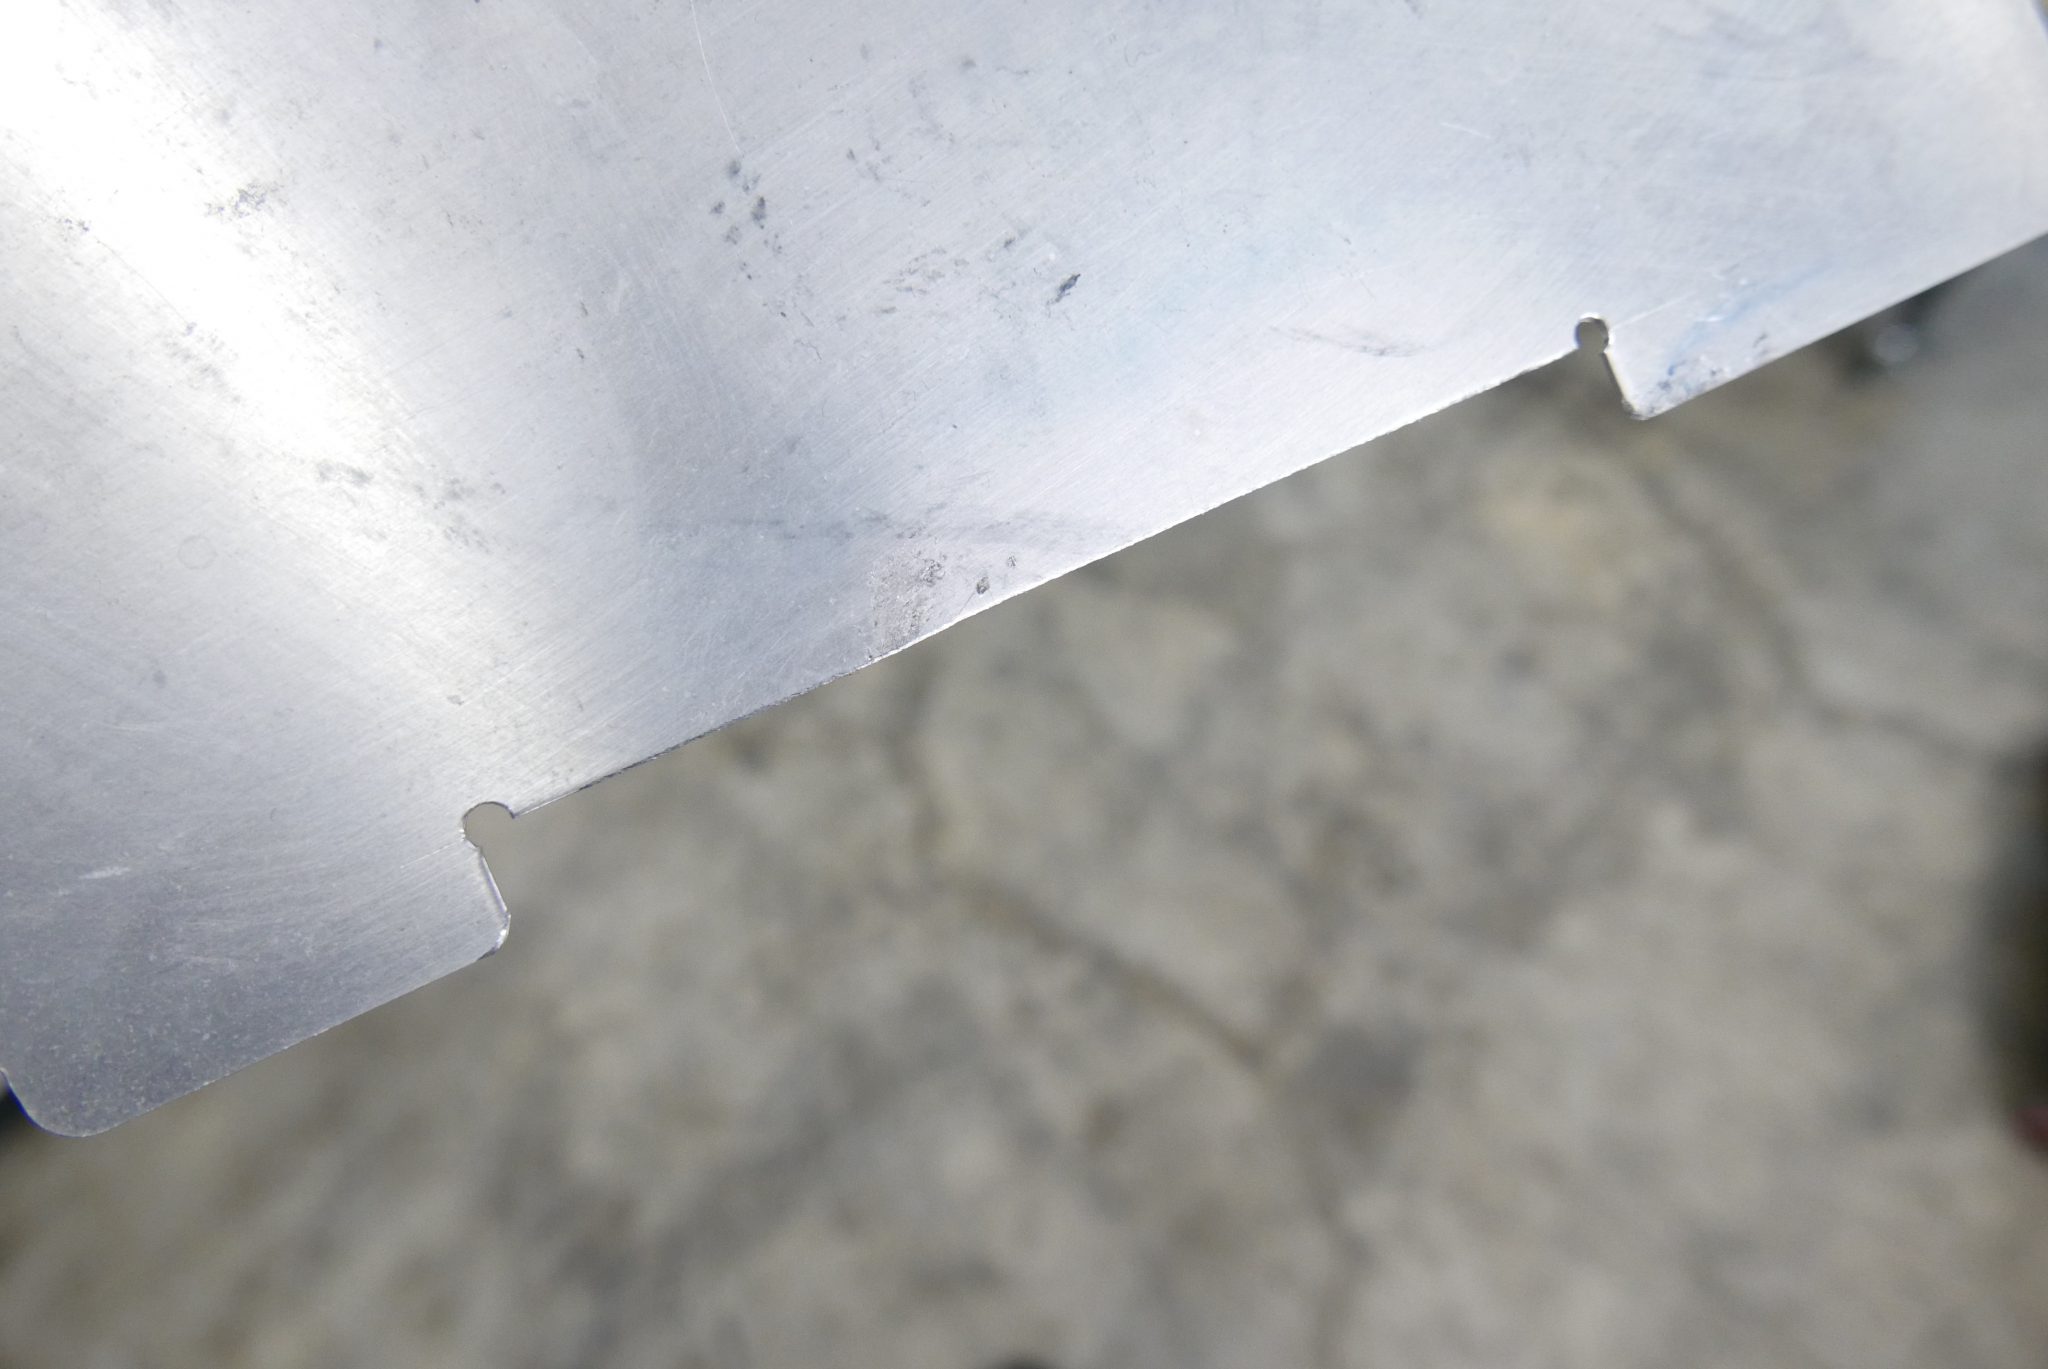
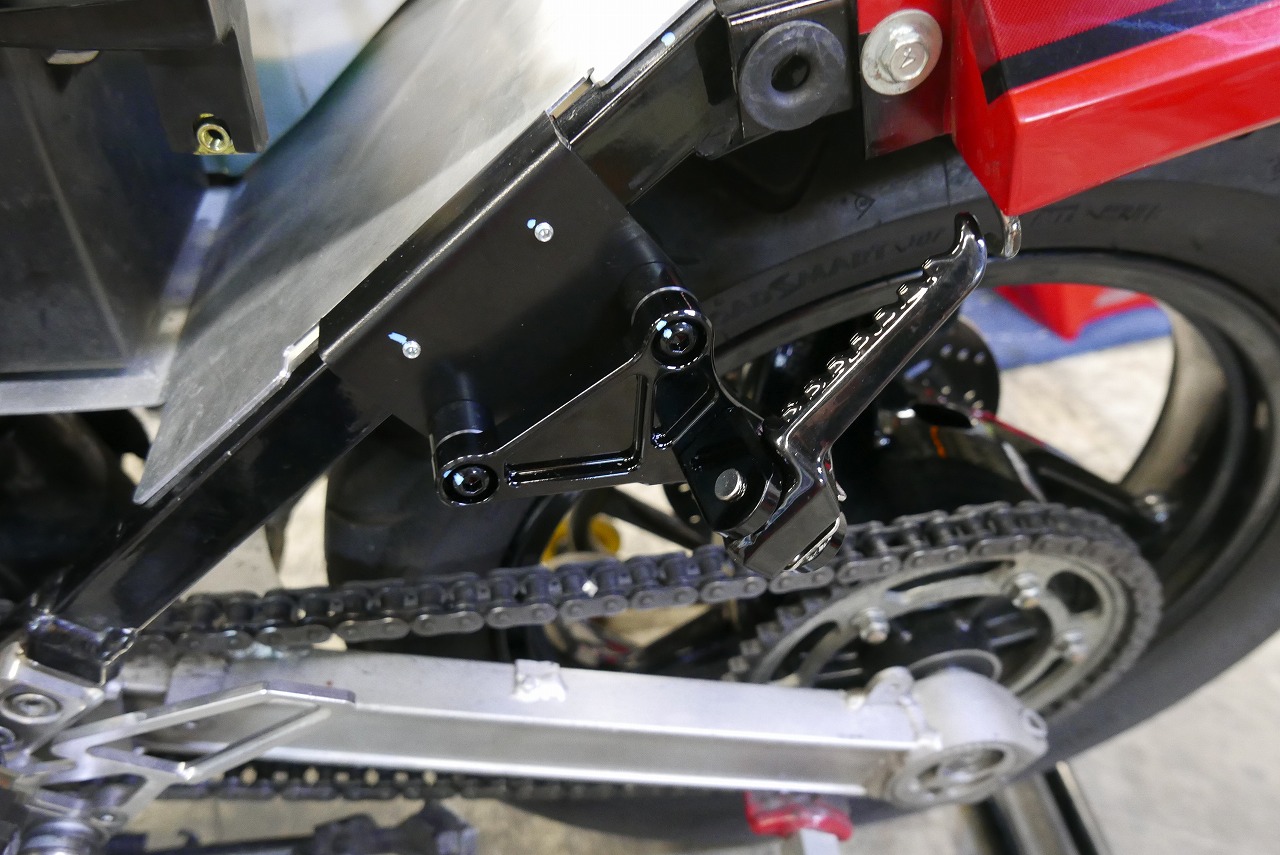
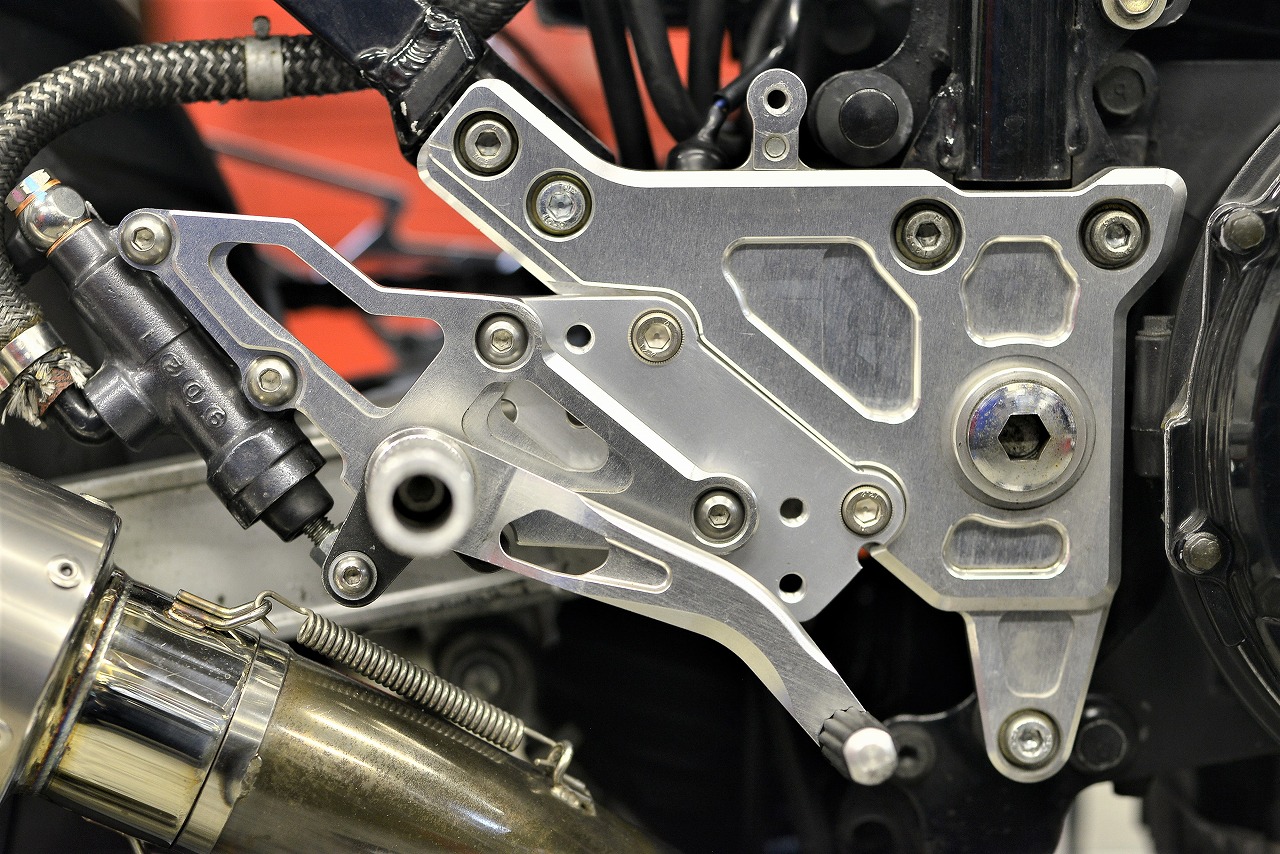
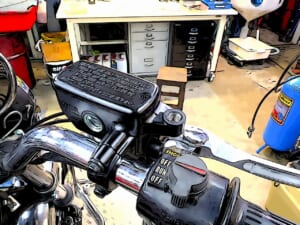
This is a continuation. I wonder if I should post custom and fabrication content less frequently—it really takes a lot of time and it’s honestly troubling. Since Decoboco is a bit of a clunker, please don’t ask us for custom shop work or fabrication. The release stopper is really in the way, so we’ll cut it off. Since we’ve removed the release as a separate unit, we’ll replace the cup at the same time, polish it, and do an OH (overhaul). This should make it resist corrosion better and keep things smooth. Cleaning the taper section where the bleeder nipple makes contact is actually quite important. It’s best to clean it up nicely. The cup opens slightly when hydraulic pressure is applied, so it resists leaking and is assembled with the umbrella in the closed position. When new, the umbrella is stiff—meaning there’s less lag before the touch engages—so you can use the full stroke effectively and get good feel and sharp bite. (Compared to our baseline.) We’re installing something like a tandem step, so we need to machine clearance. With the die it’s a clean “snap!” The included instructions are confusing—a common pattern with motorcycle accessories. That’s why I cut mine longer on the safe side. The customer wanted to tweak the position a bit. It’s not impossible, but… shall we give it a try? → That becomes a fabrication job.
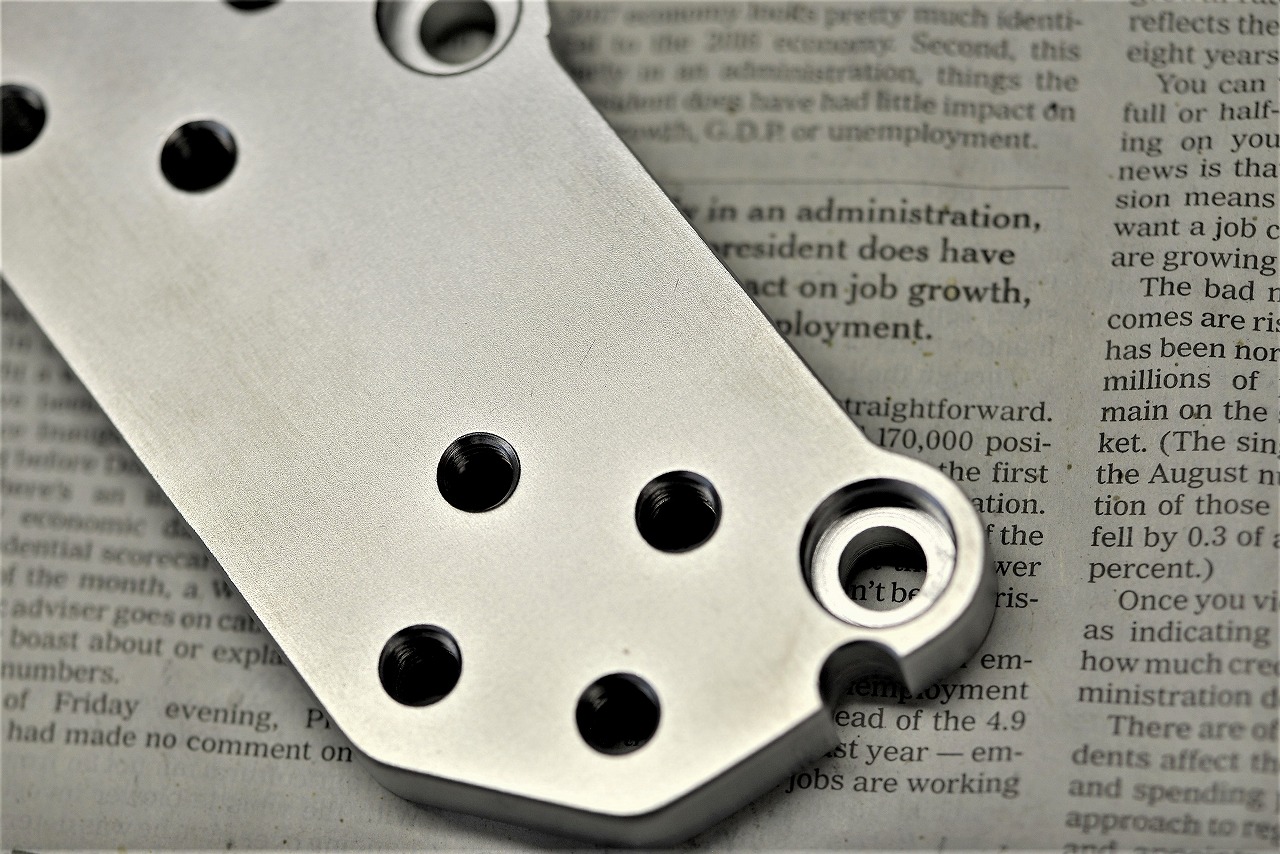
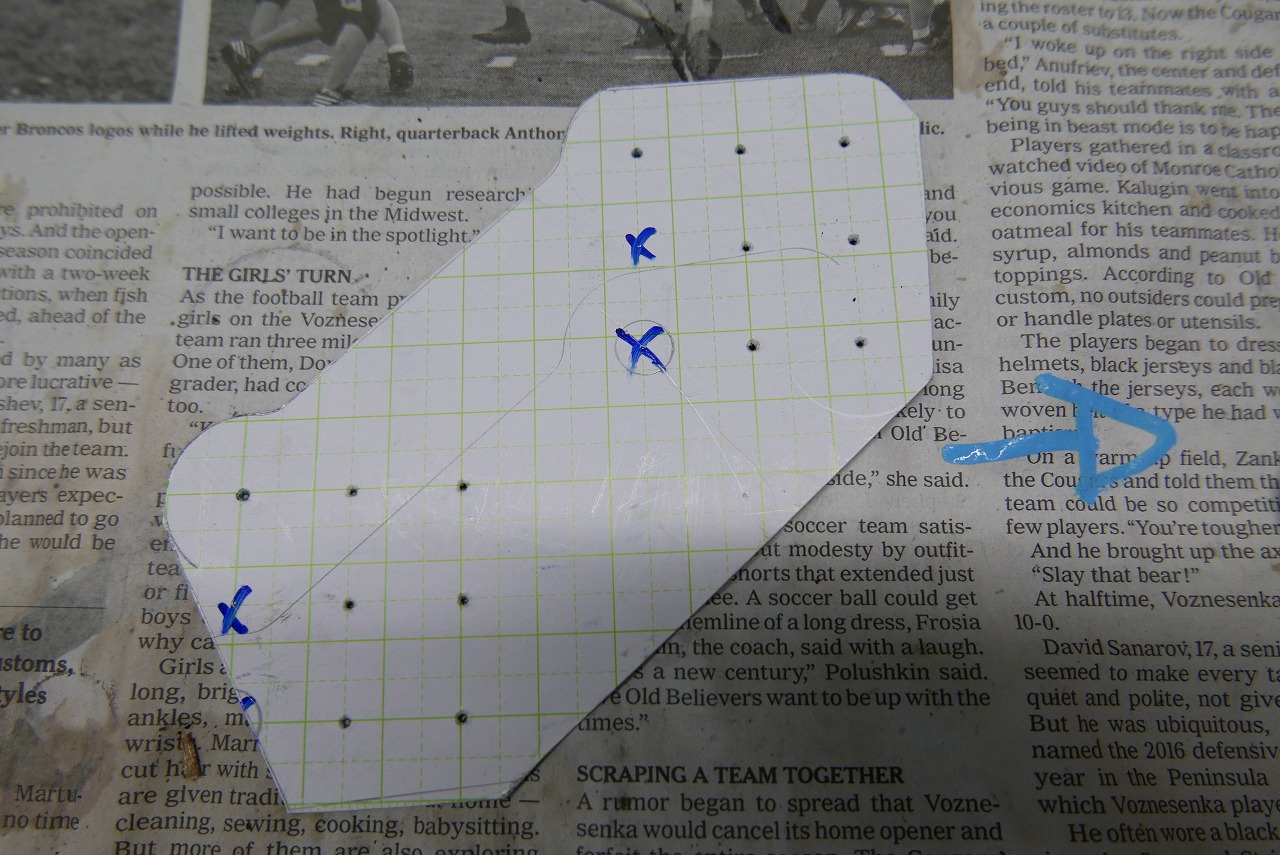
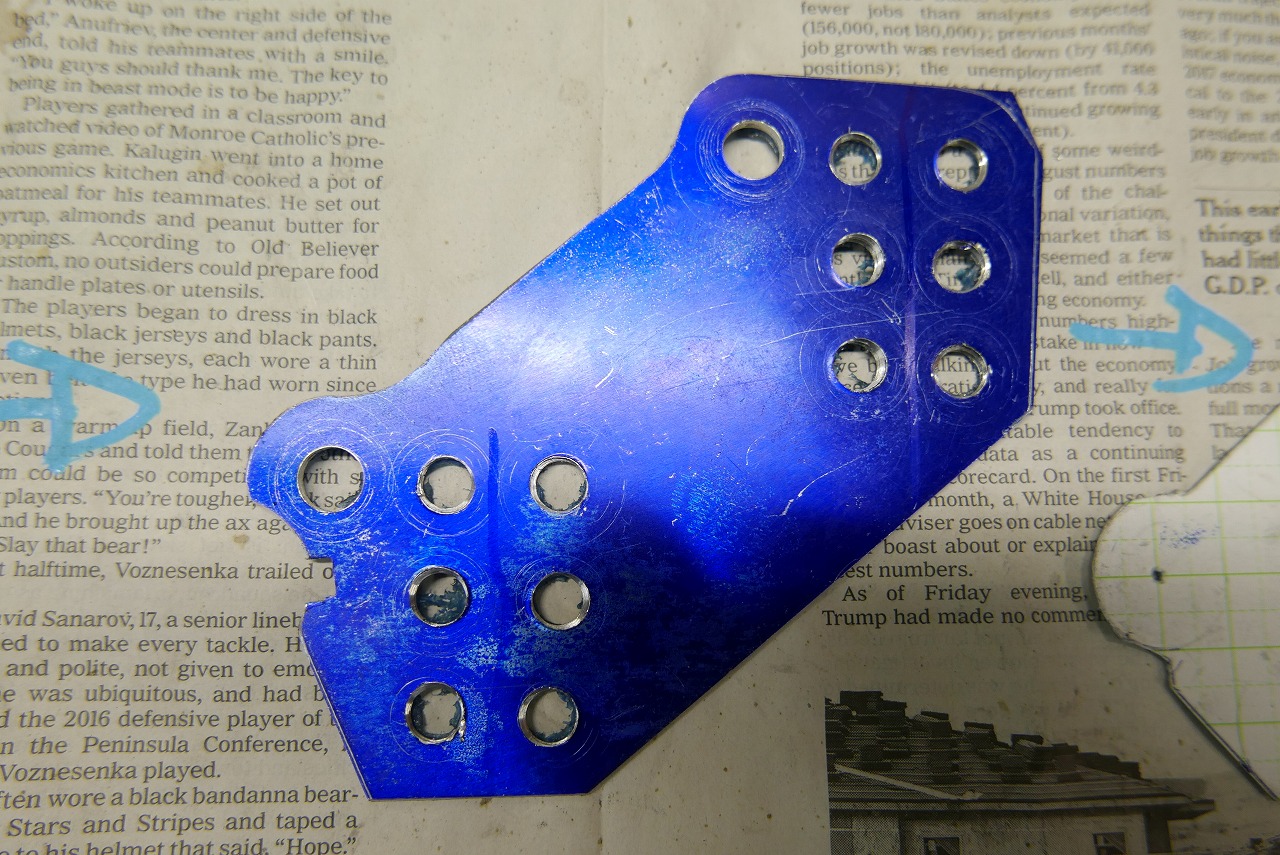
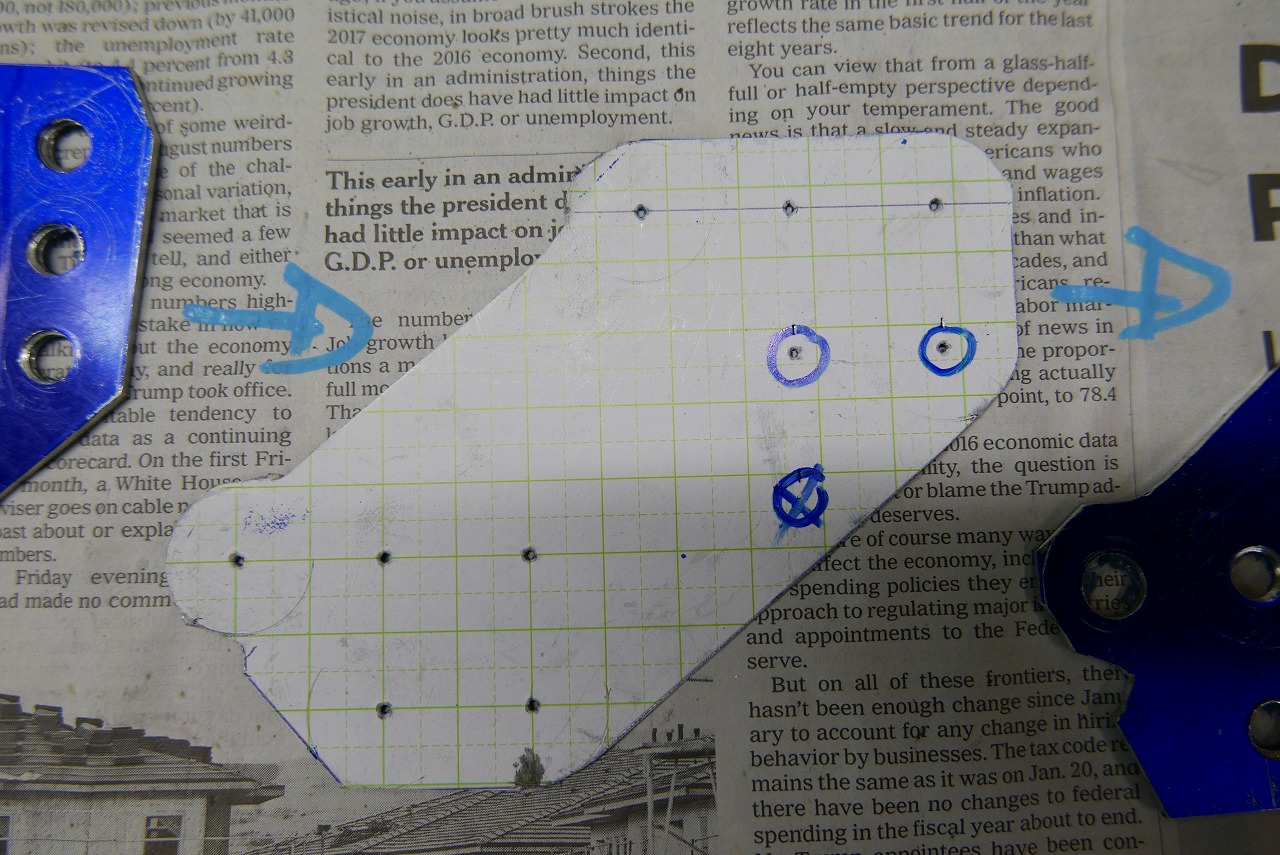
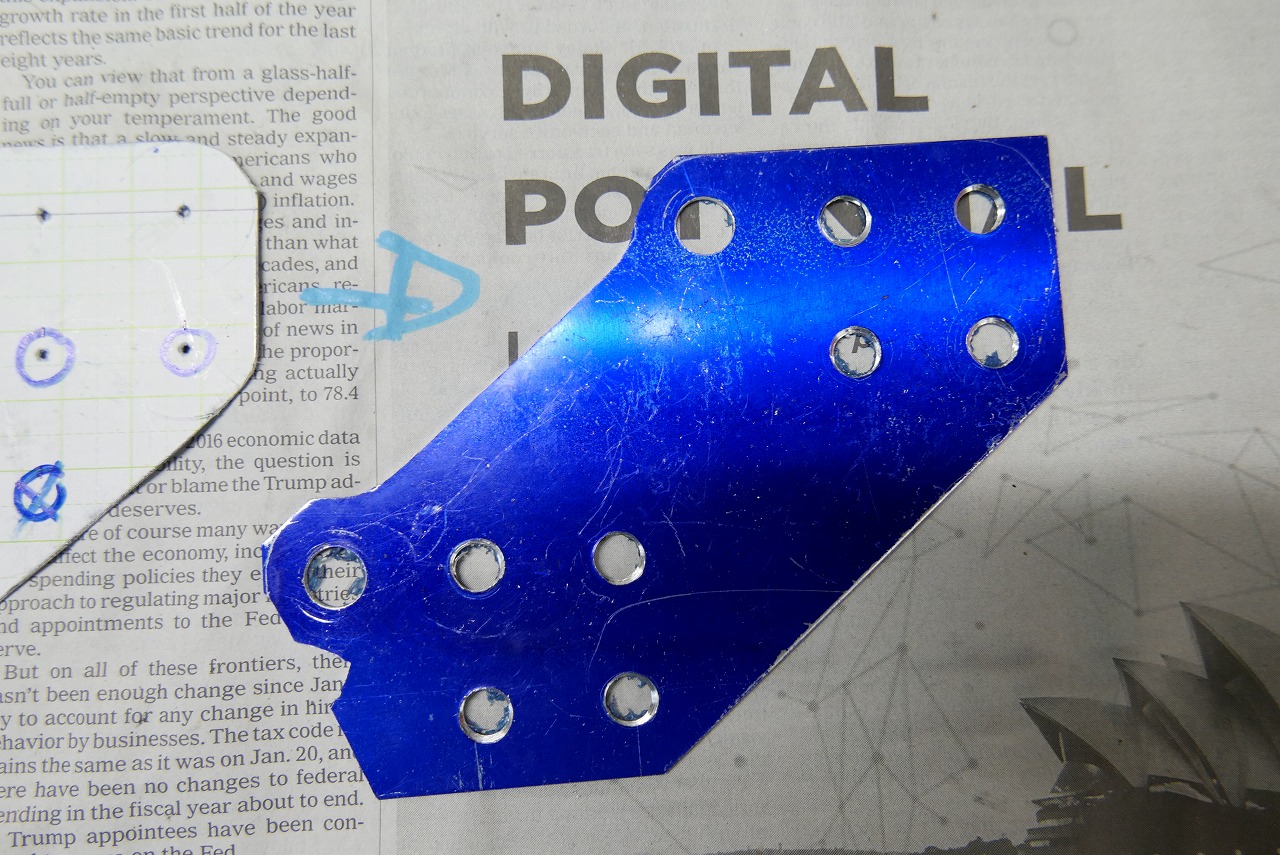
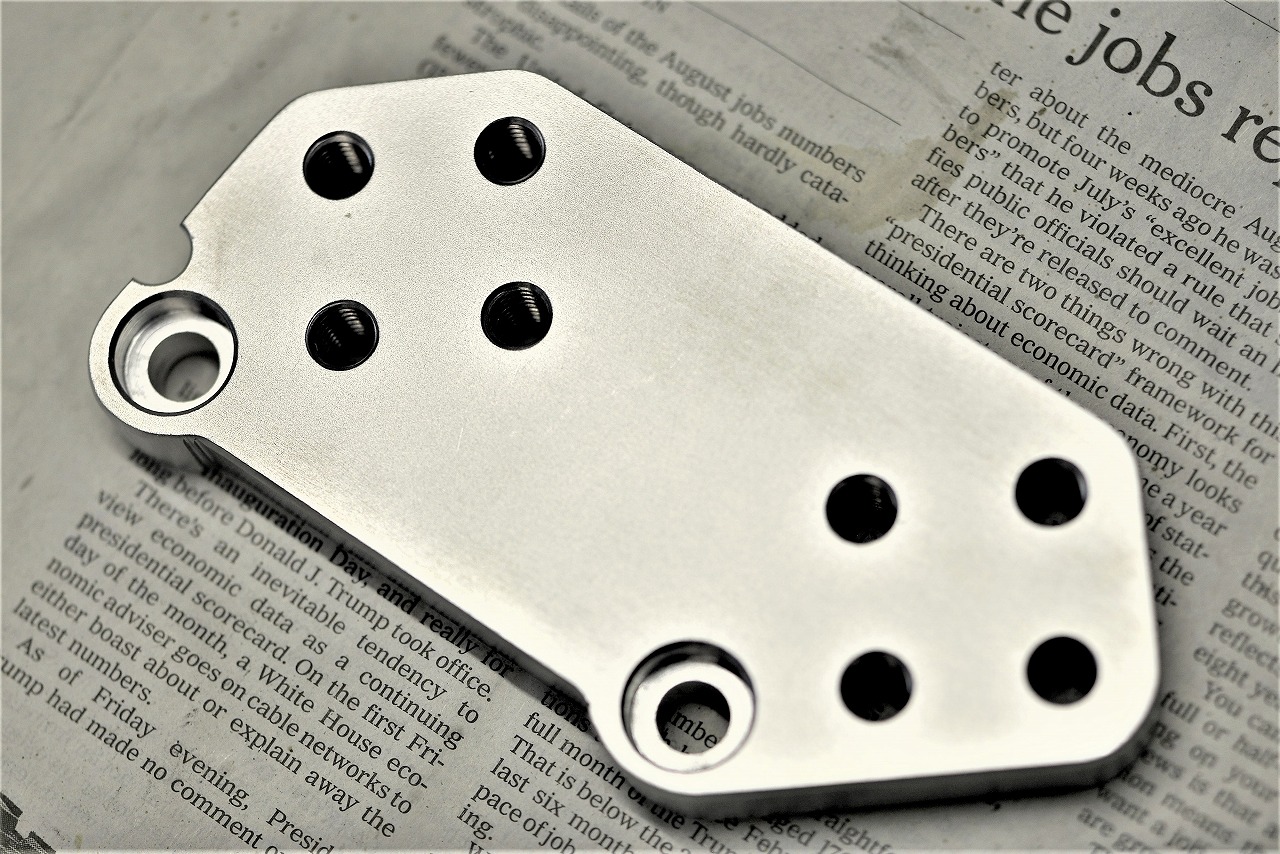
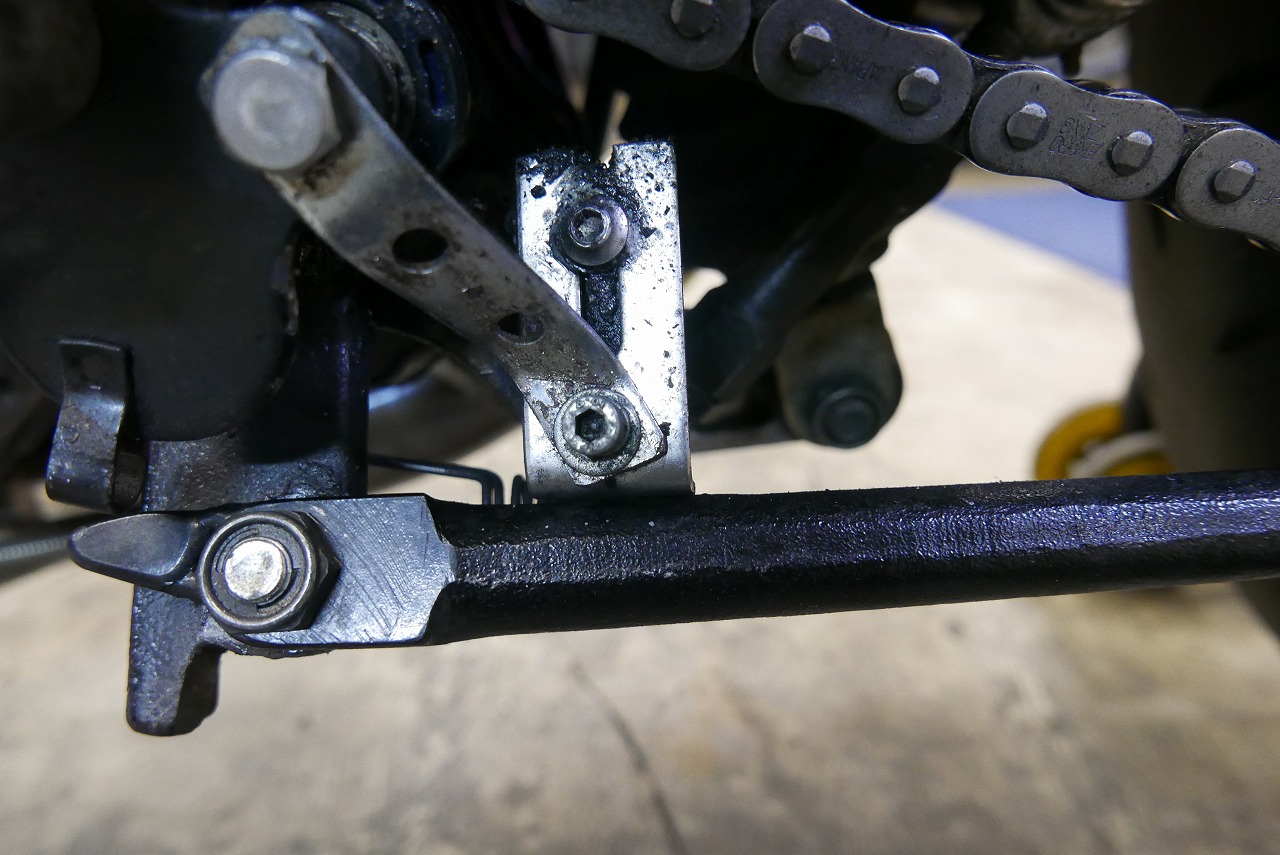
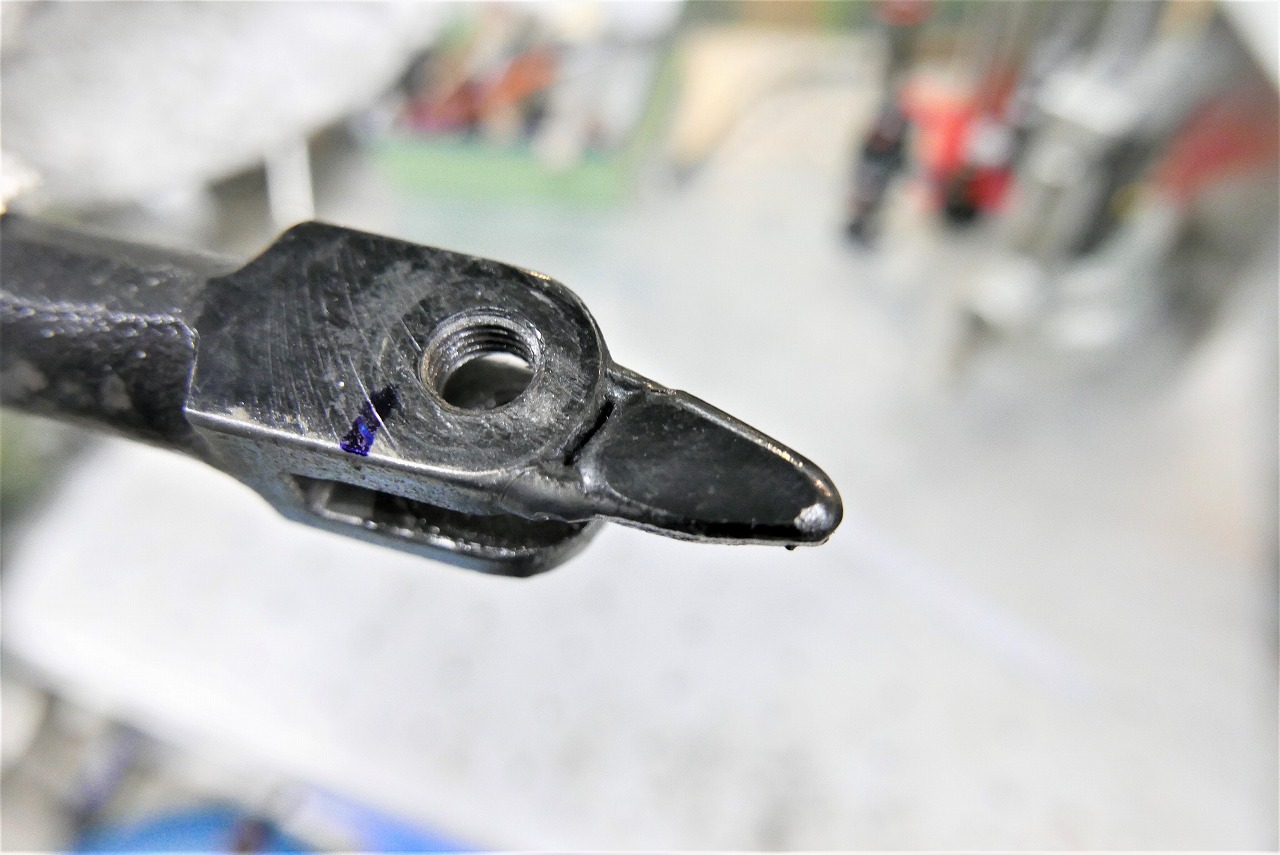
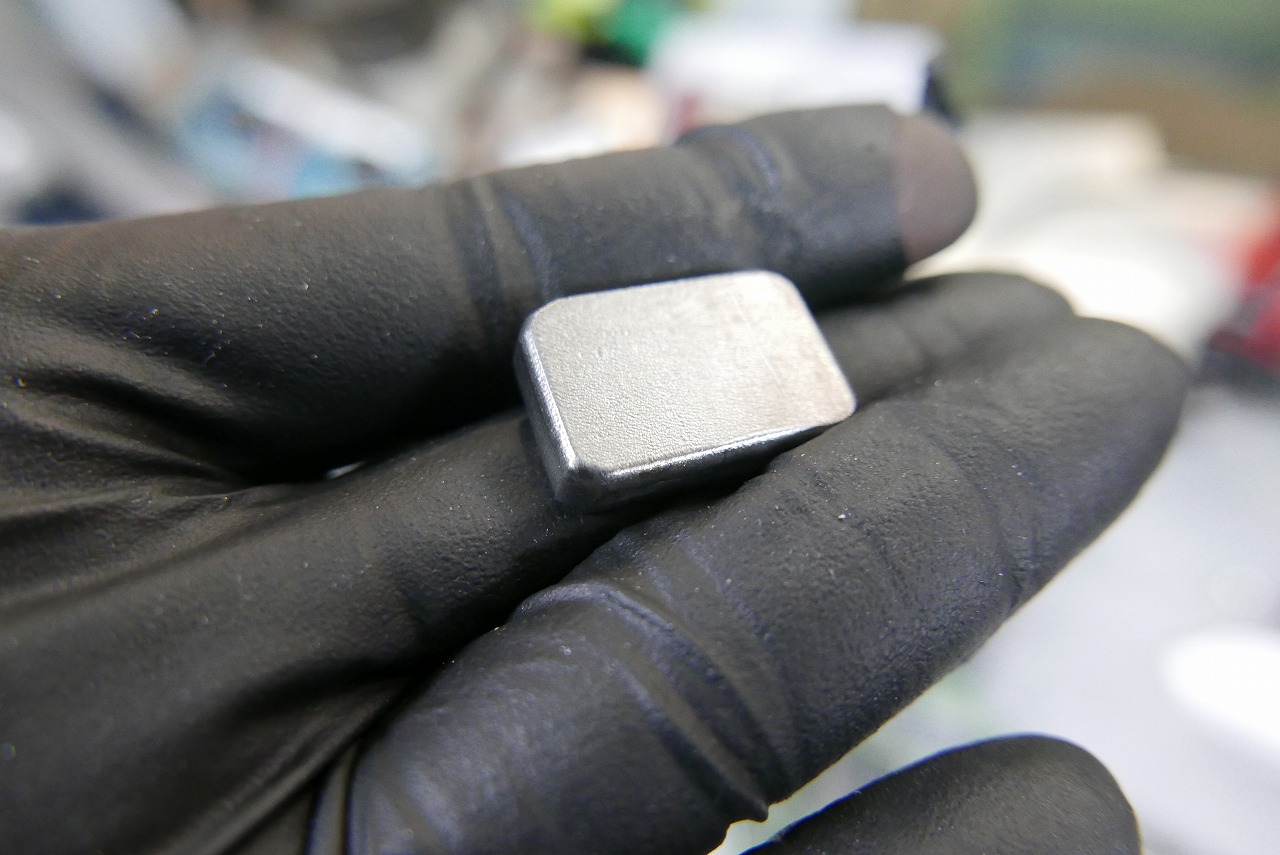
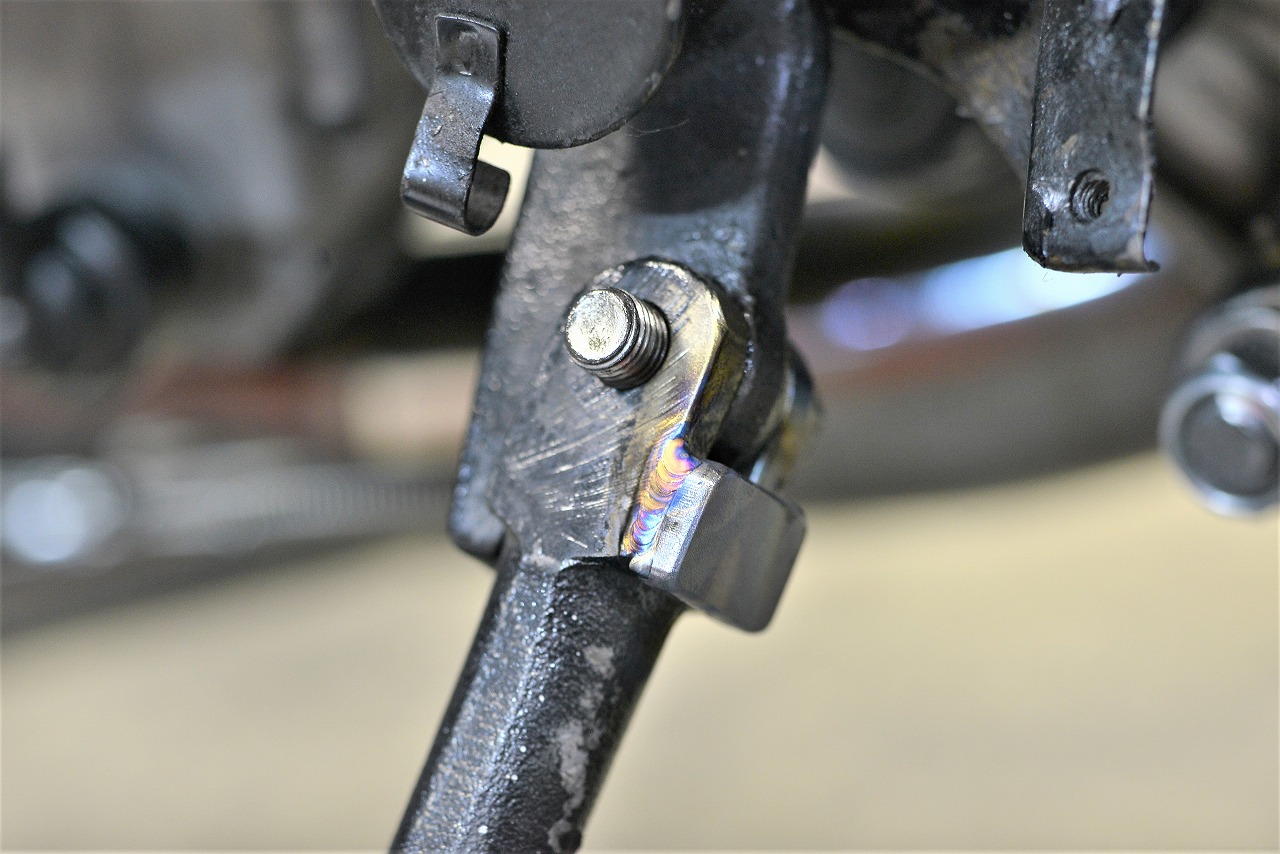
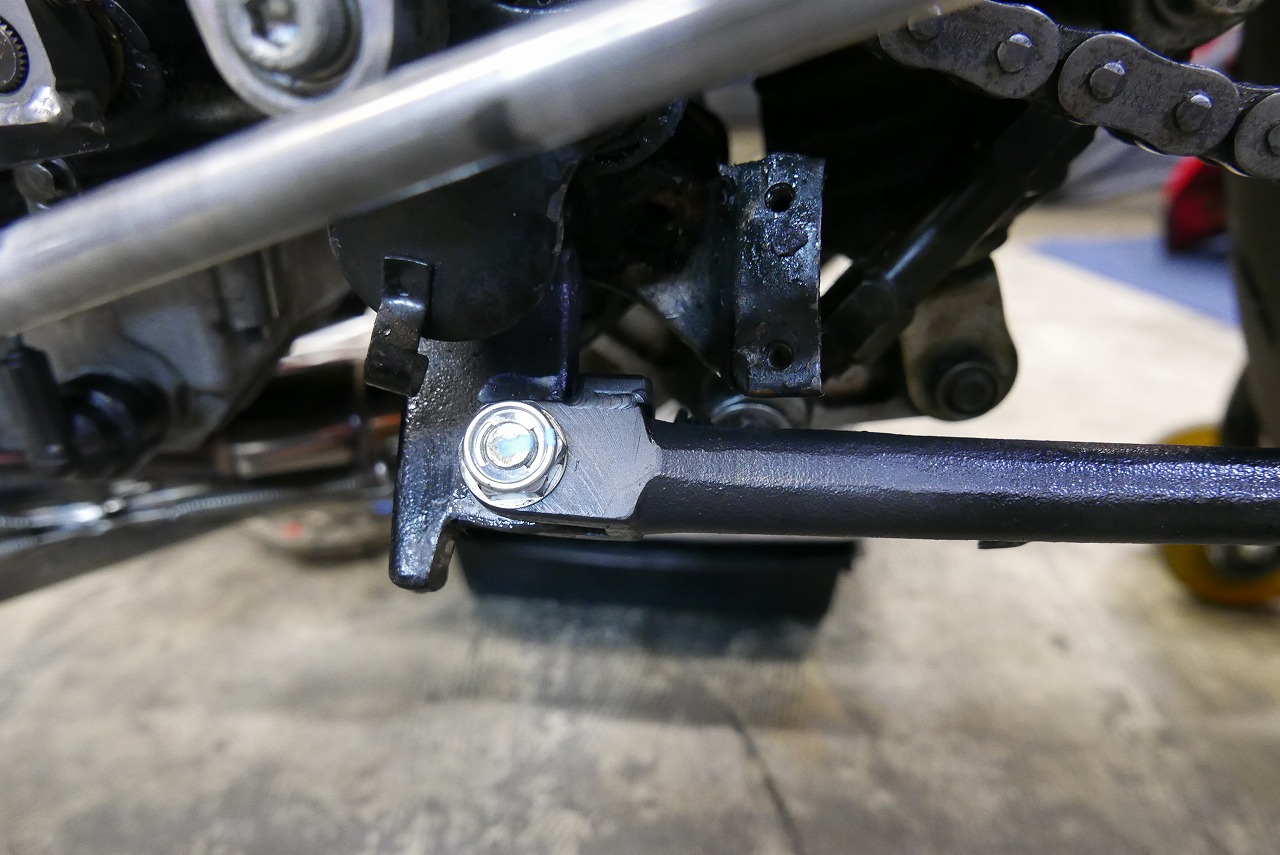
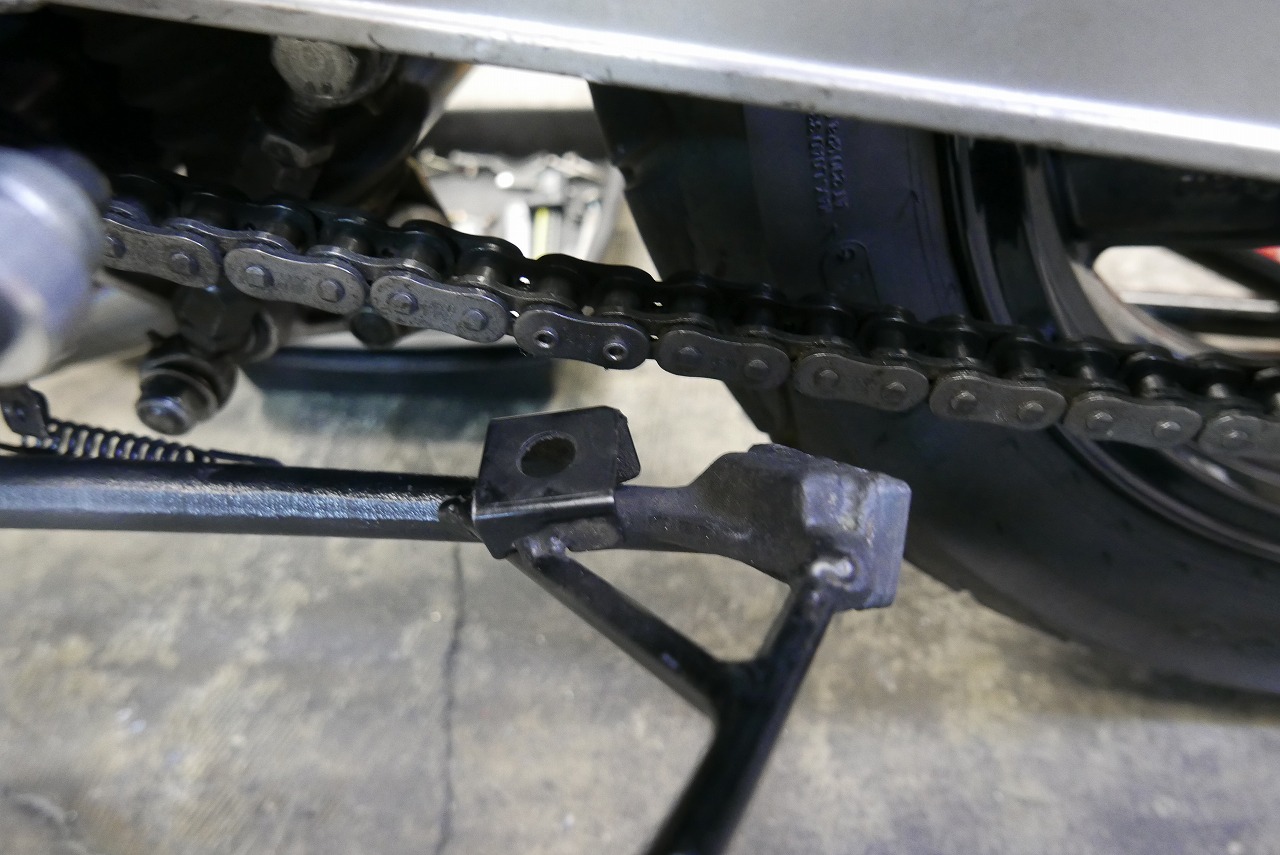
Let me explain that long process. First, we start by asking “where exactly is vertical?” and then we confirm the position using graph paper. We mock it up with slightly thicker aluminum to verify. That’s when we realize “this won’t work.” We rebuild it. That’s when we discover we can only fit four positions. We make another mock-up like this and ask “how about it?” If it looks good → we move to the real thing. Making mock-ups helps us realize things like “we need to machine this part first” and so on. That’s how it goes. As always, no milling machine—it’s all hand work. When you know the ropes, you can pull off quite a bit. It ends up looking like this. Moving it requires brake hose and lamp adjustment—and that’s the kicker. Next, the shift rod is too short! But we don’t have a 6mm hex rod either! So we machined a round rod into a shift rod. Minimal material removal means it’s quick. While we’re at it, here’s something that’s been bugging us. The side stand stopper is quite the effort piece. Let’s simplify it too. We’ll also remove that pointy bit that was for the old switch operation. We cut a steel block and finish it nicely. This stopper alone is more than enough. That’s how it is. Nobody notices it… and maybe that’s the best part? That’s it. When you streamline daily operation and visible areas without waste, keeping everything at a normal level, the owner’s burden drops dramatically and their appreciation for the bike really grows. That’s what I feel.