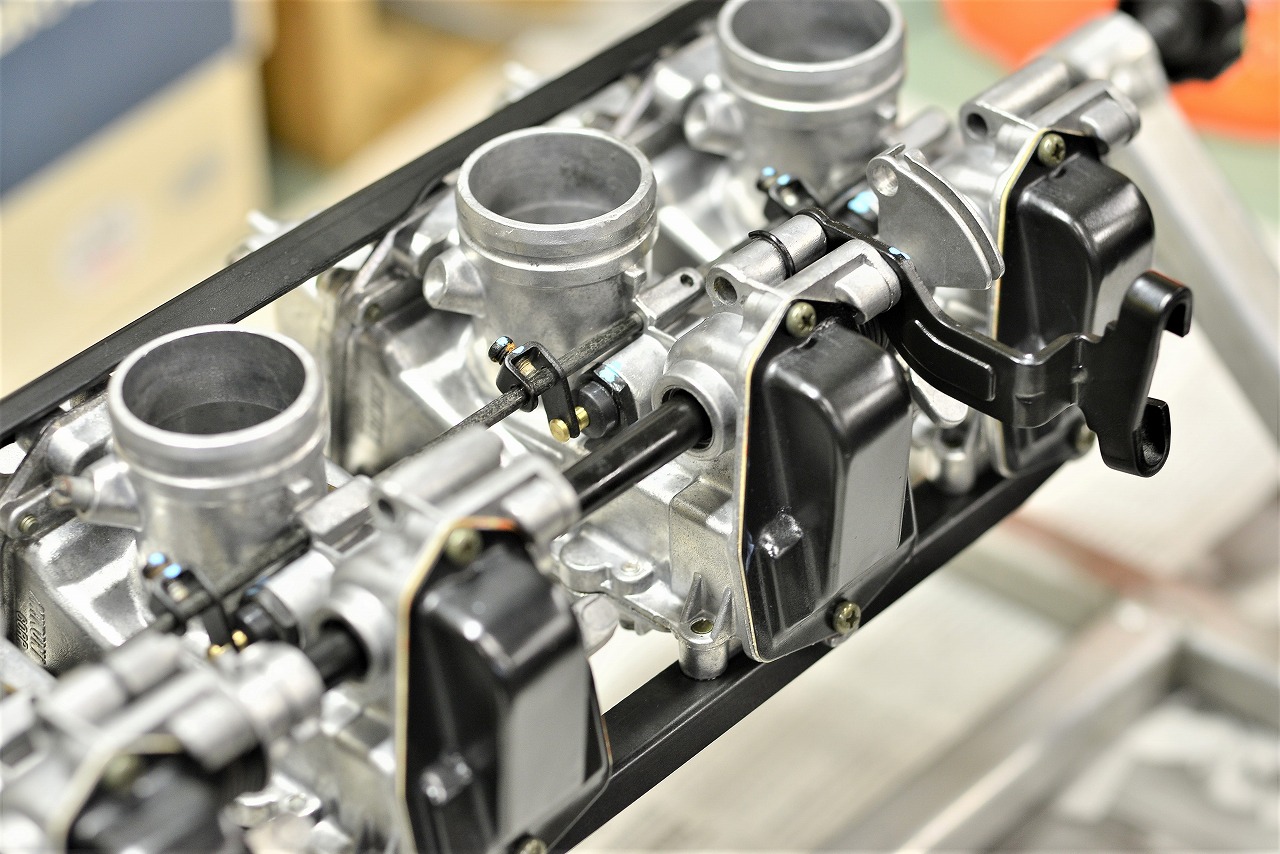
 GSX-R750 GR71 carburettor maintenance. Starting next year, this carburettor and the V-type will see a price increase for this work. (There’s a lot to do and it’s tough.)
Customer request.
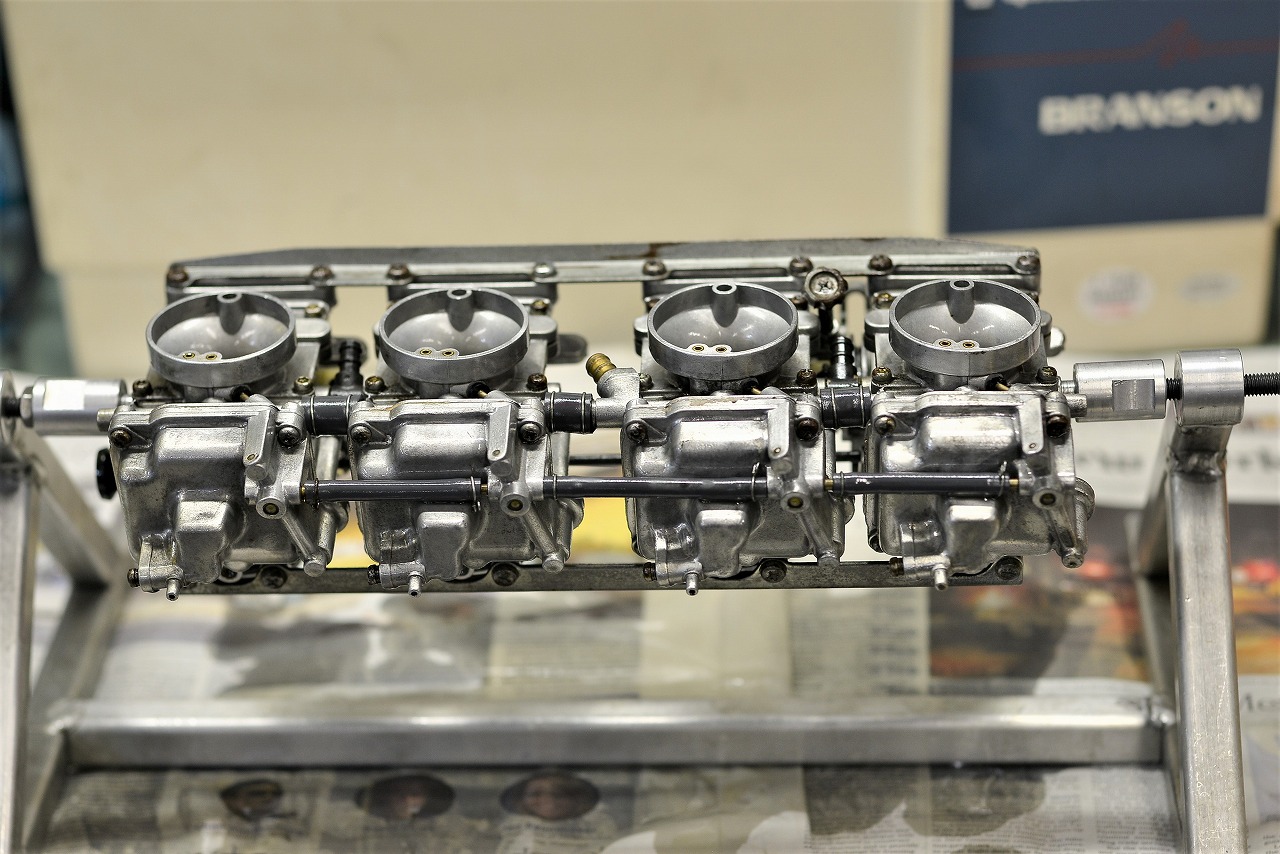
We remove it and do a light cleaning while checking the exterior and interior.
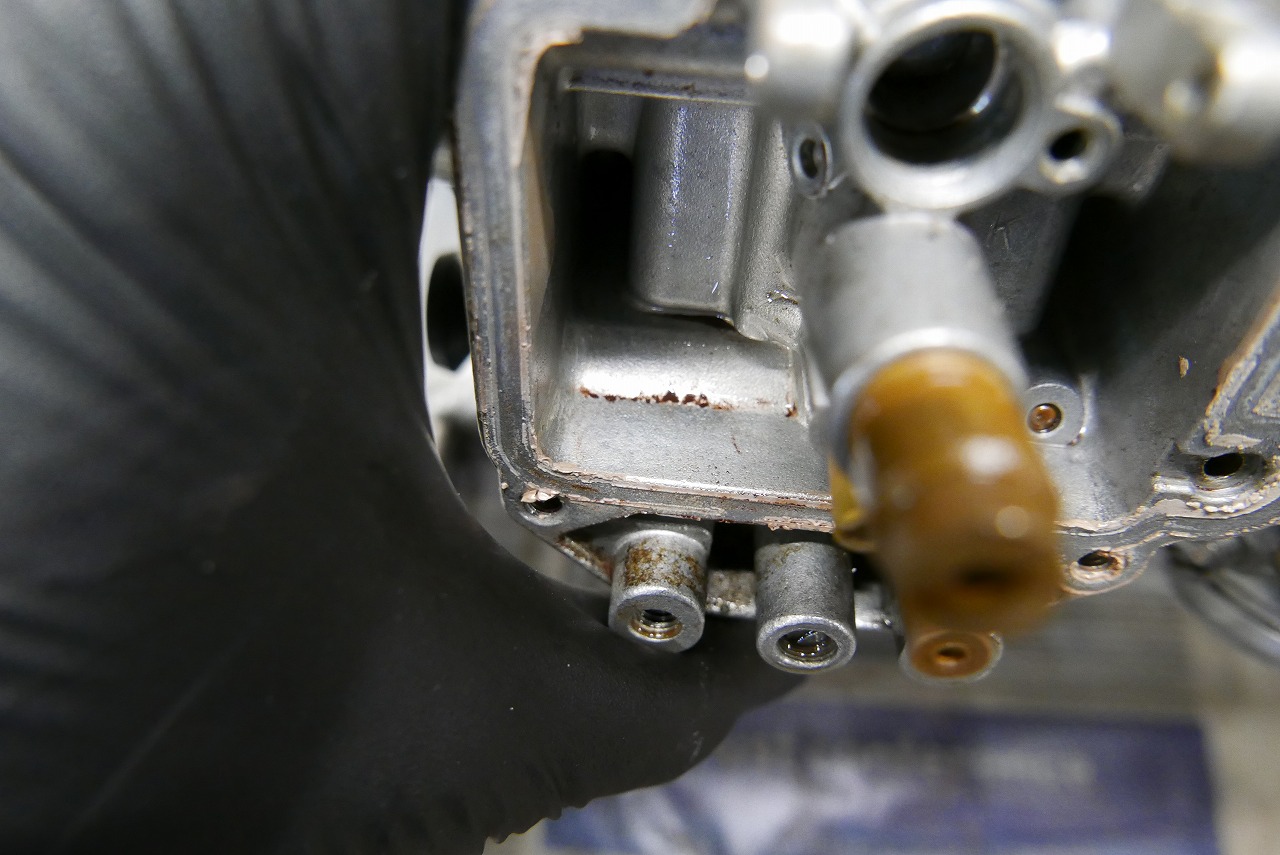
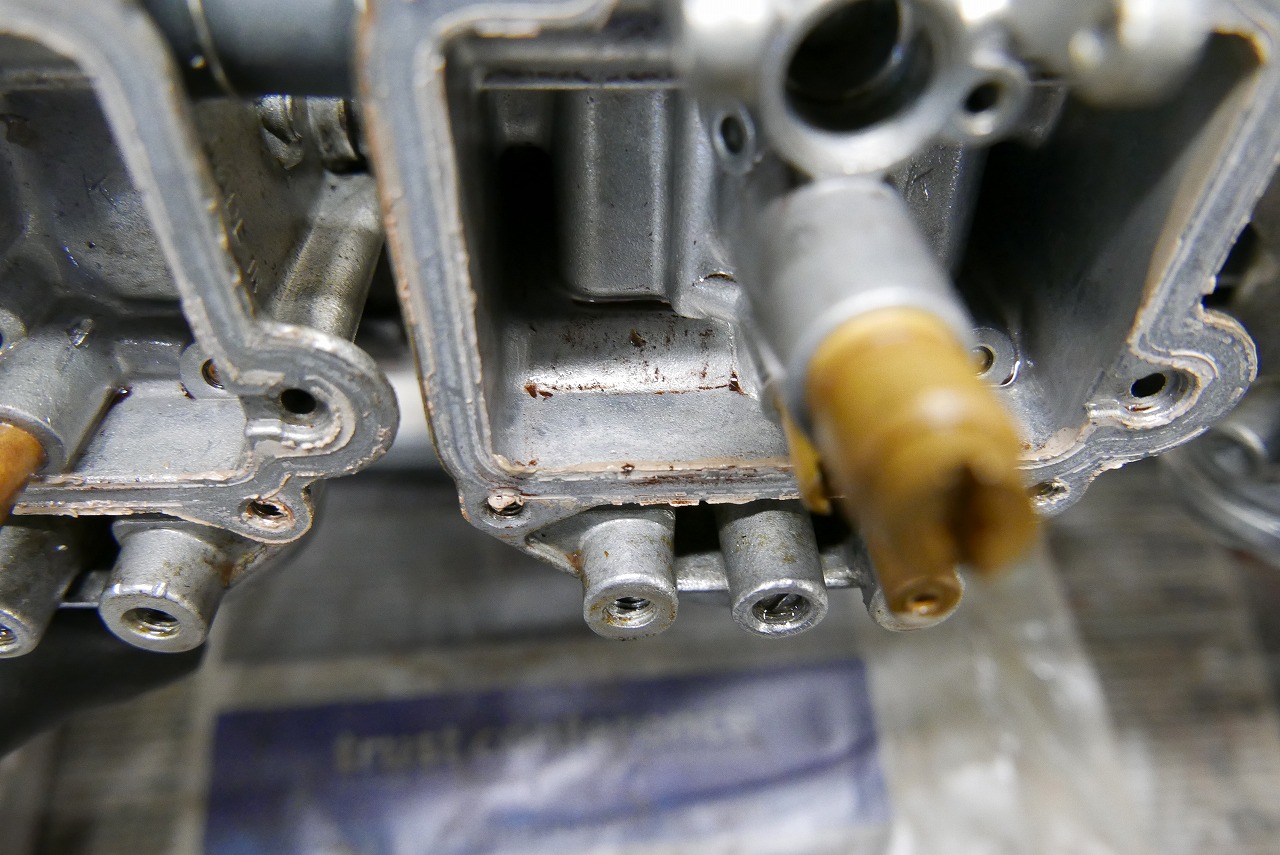
Lots of rust = if you don’t remove the rust from the tank, nothing will work.
Fortunately the tank is coated, so it seems rust accumulated in the past.
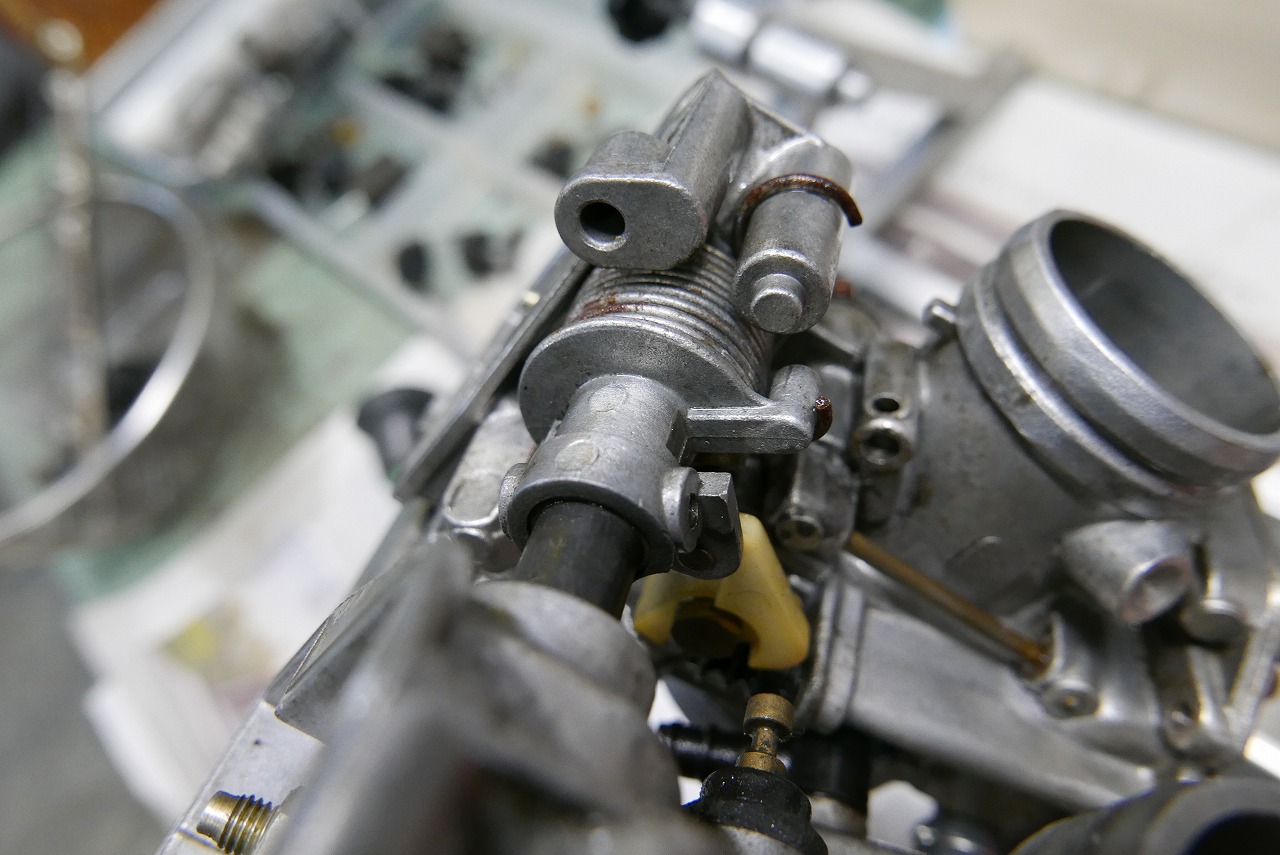
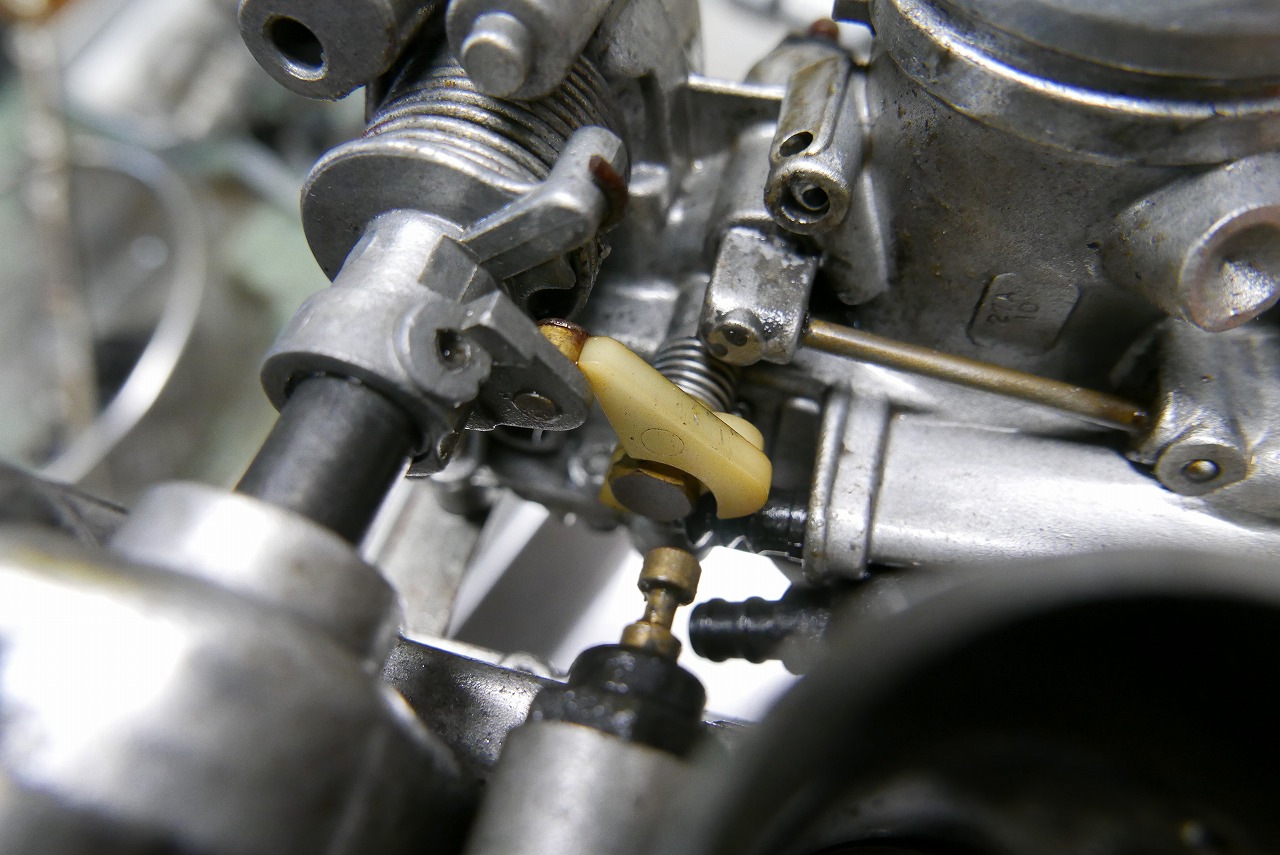
The accelerator pump lever and various other parts are old-style configurations, which adds extra work.
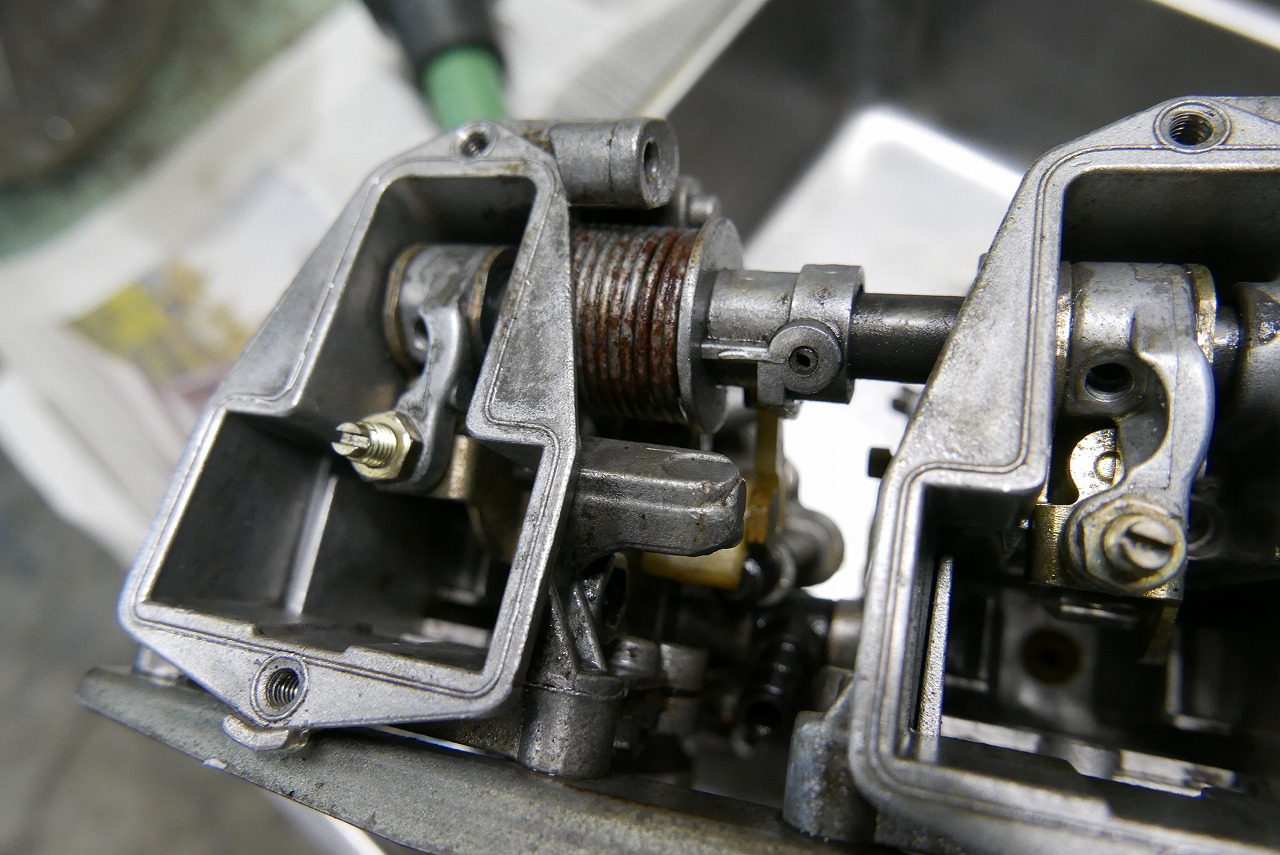
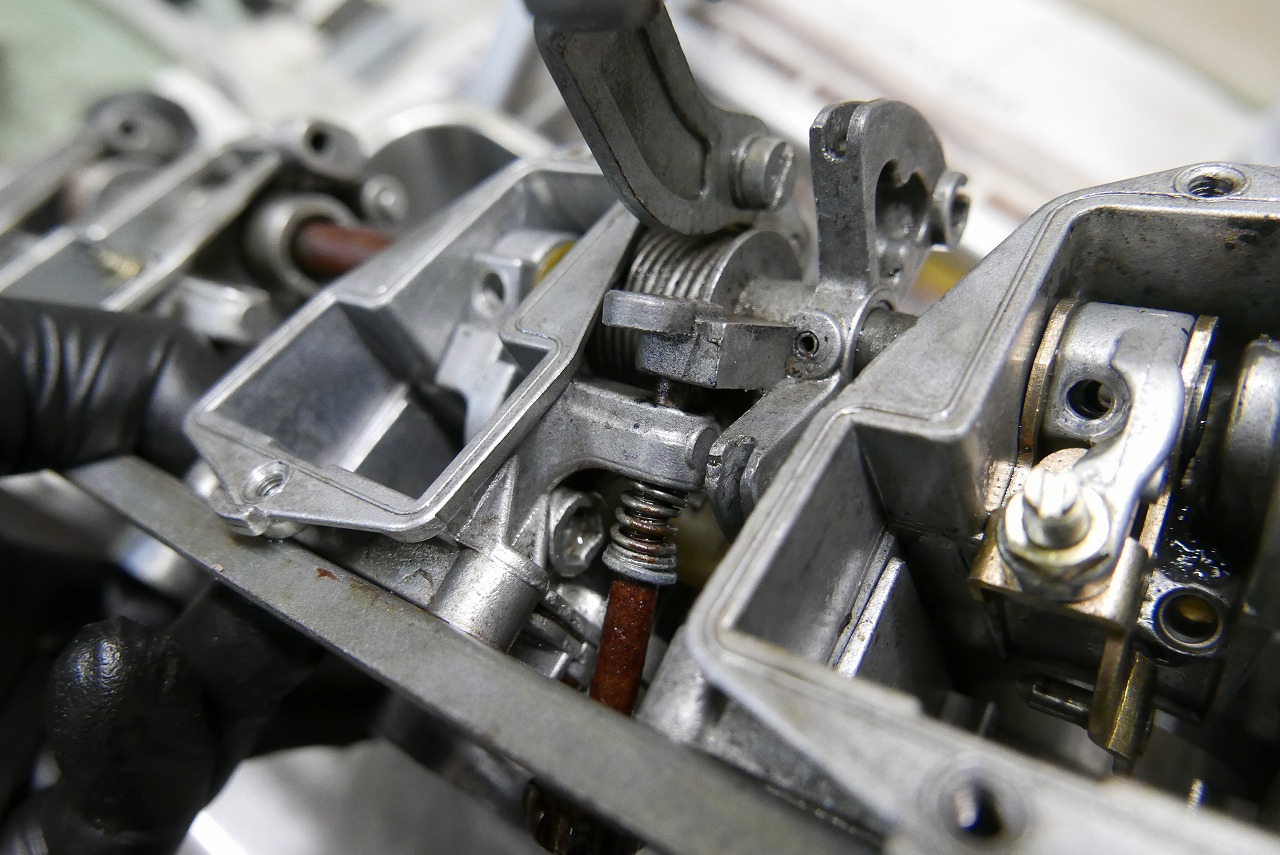
You can’t disconnect the linkage without removing one of these pins = it feels like it’s saying “don’t take it apart.” (We’ve made a specialized tool for removing them.)
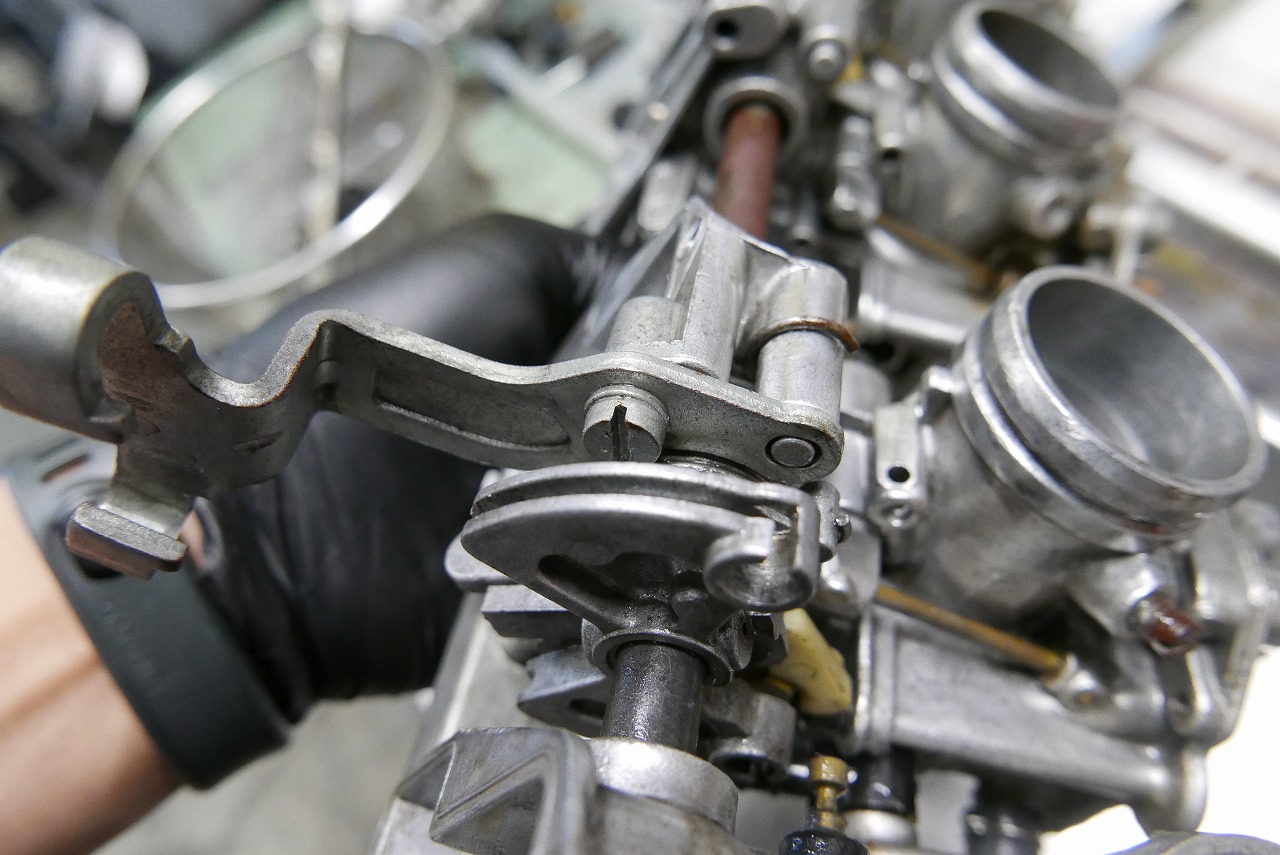
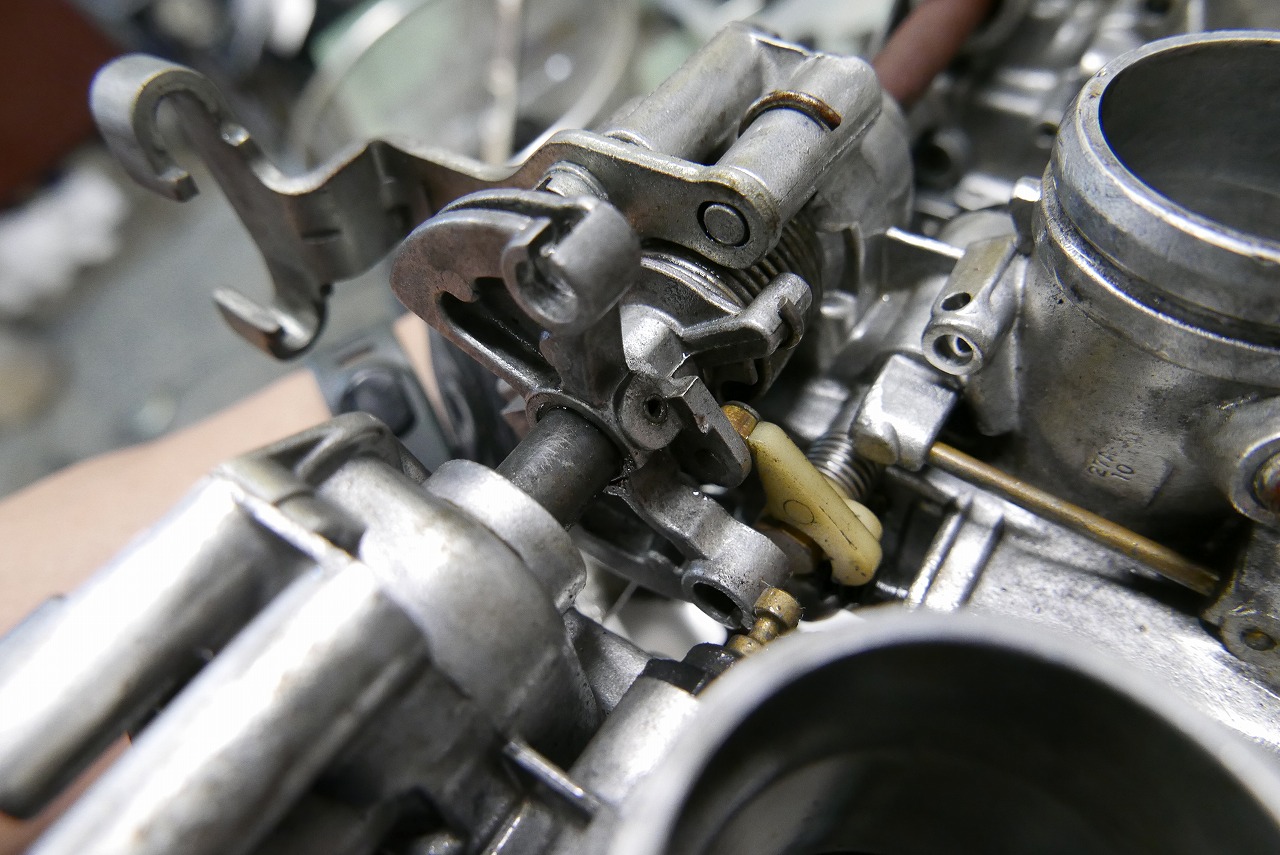
There’s no sign of missing or broken parts, so we can proceed.
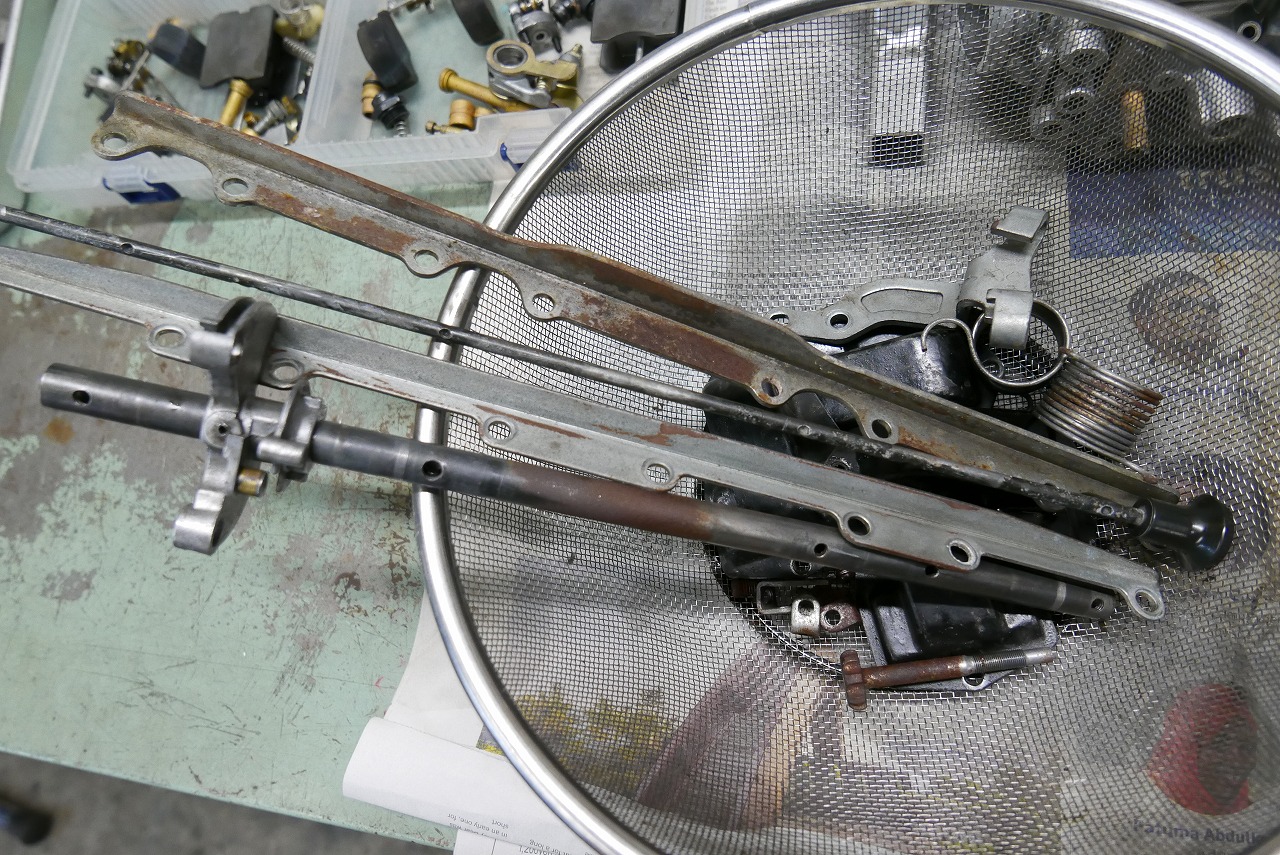
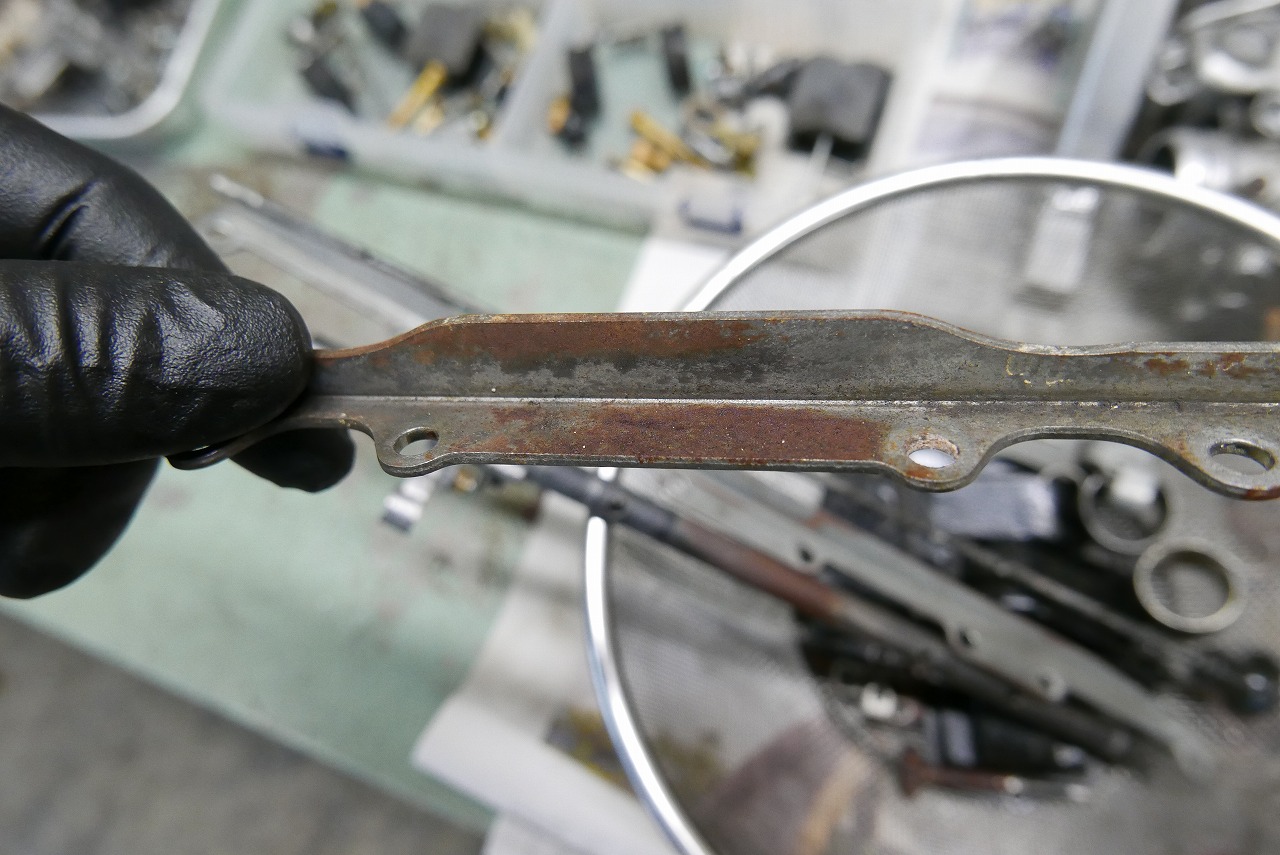
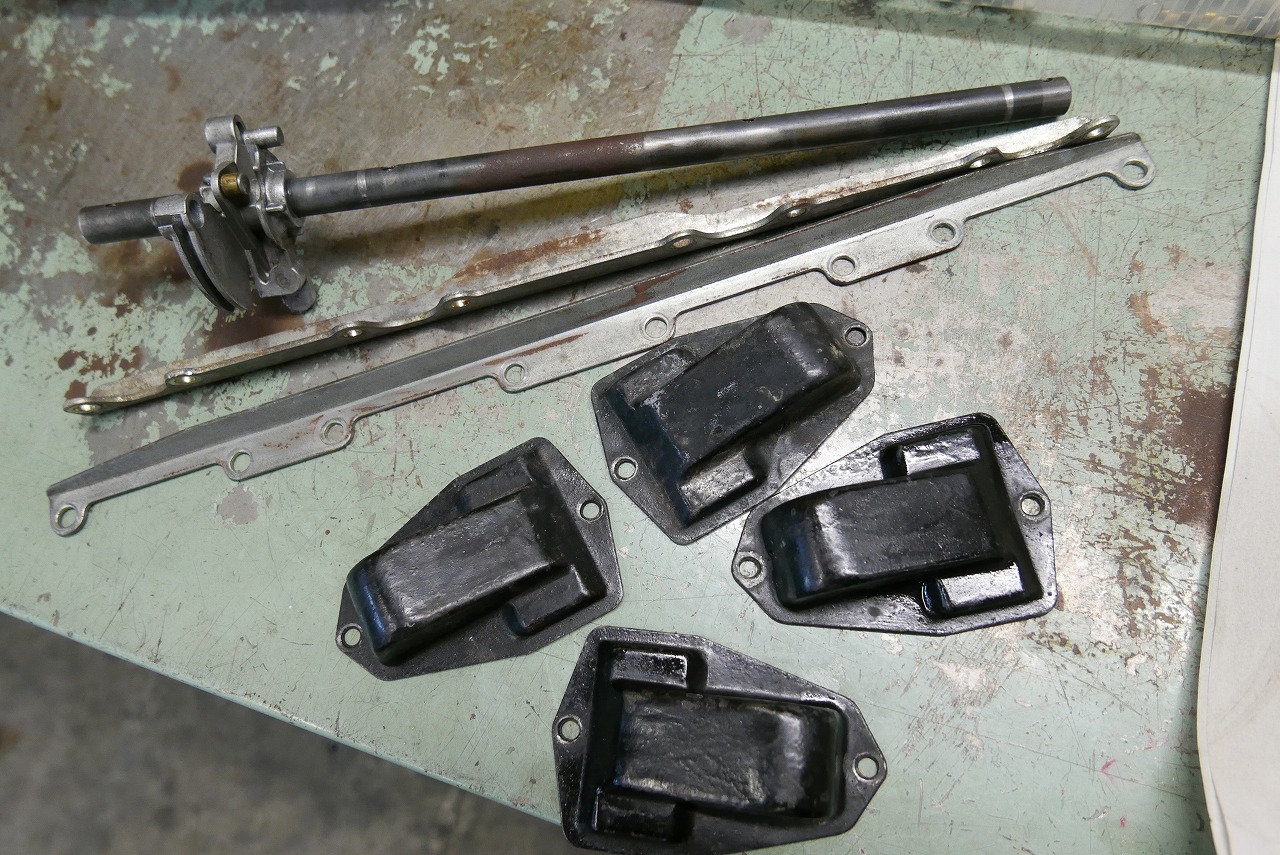
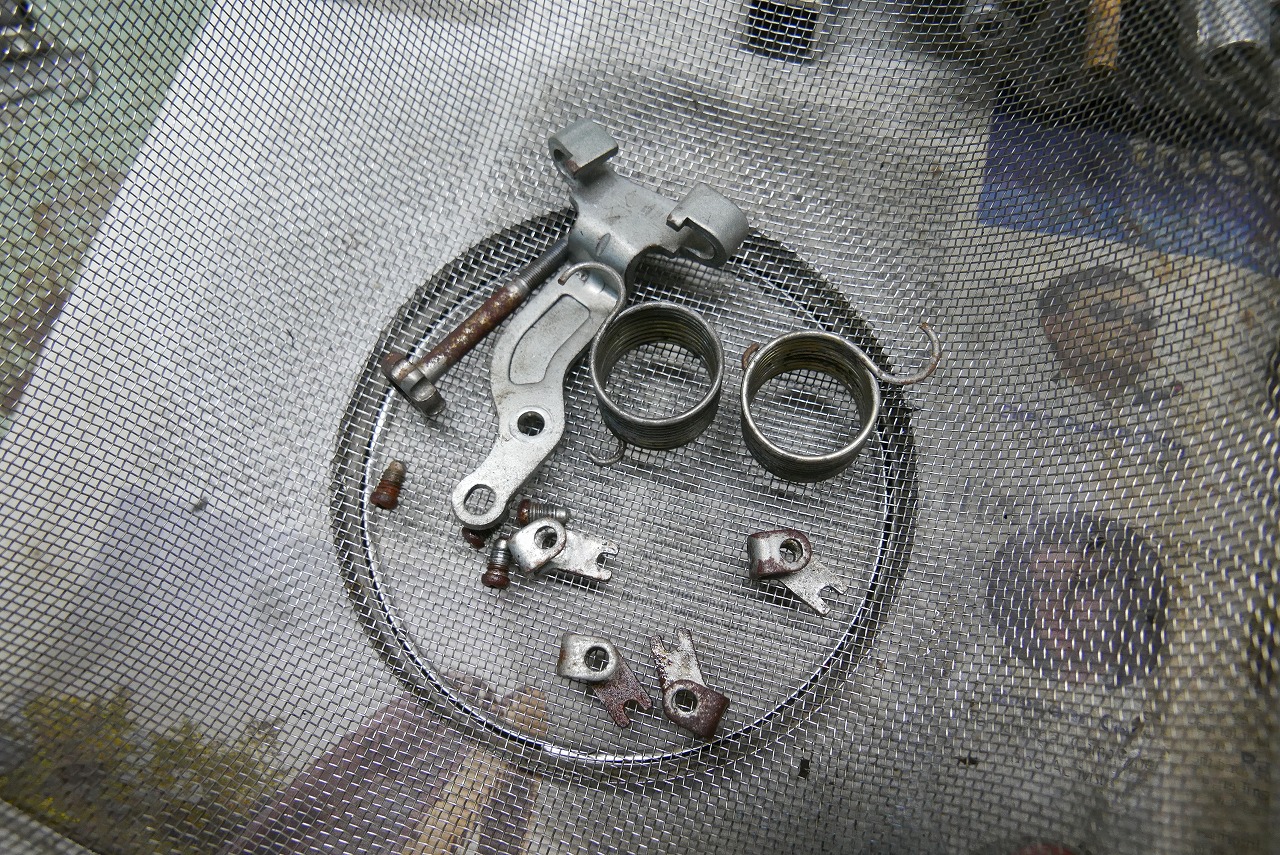
Poor thing—rusted so badly. I think it feels better when the inside looks clean too.
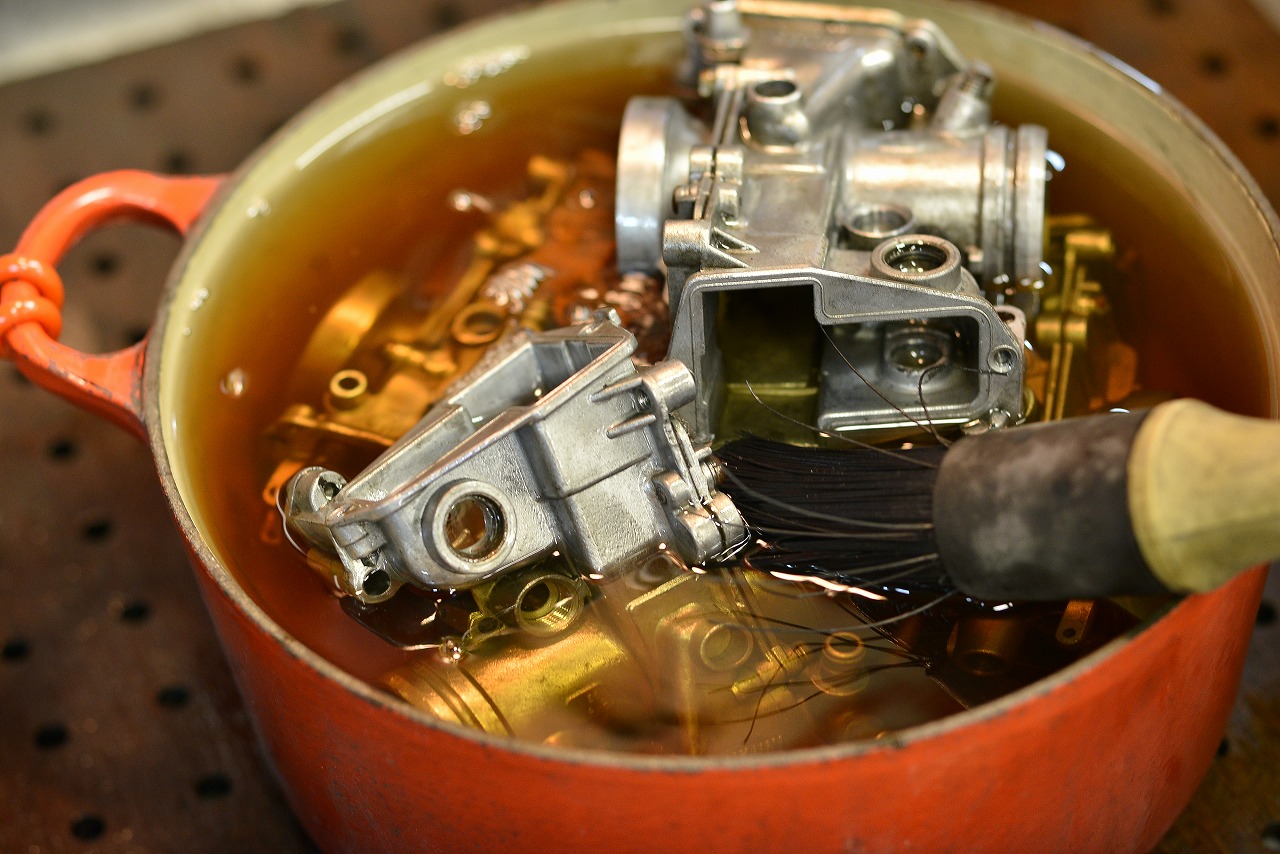
After disassembly, we soak it in cleaning oil and let it sit. About a week passed due to work schedule.
A cautionary tale: if you take everything apart on your own, you’ll regret it.
Each motorcycle has a parts list, and we extract the necessary parts from it to do repairs.
But “there’s no parts setting for that?” happens all the time in the real world. For example, even if we say this bike has had a complete overhaul, we find “that part is discontinued” or “wait, there’s no parts setting for that,” and so on.
When there’s no setting or it’s discontinued, we search for standard parts or look for alternatives. We spend hours or days searching, place an order, and then “it didn’t work” and we’re back to square one.
That’s why we can’t just take on any job. (As long as we do it in a good-natured, easygoing way, it’s fine.)
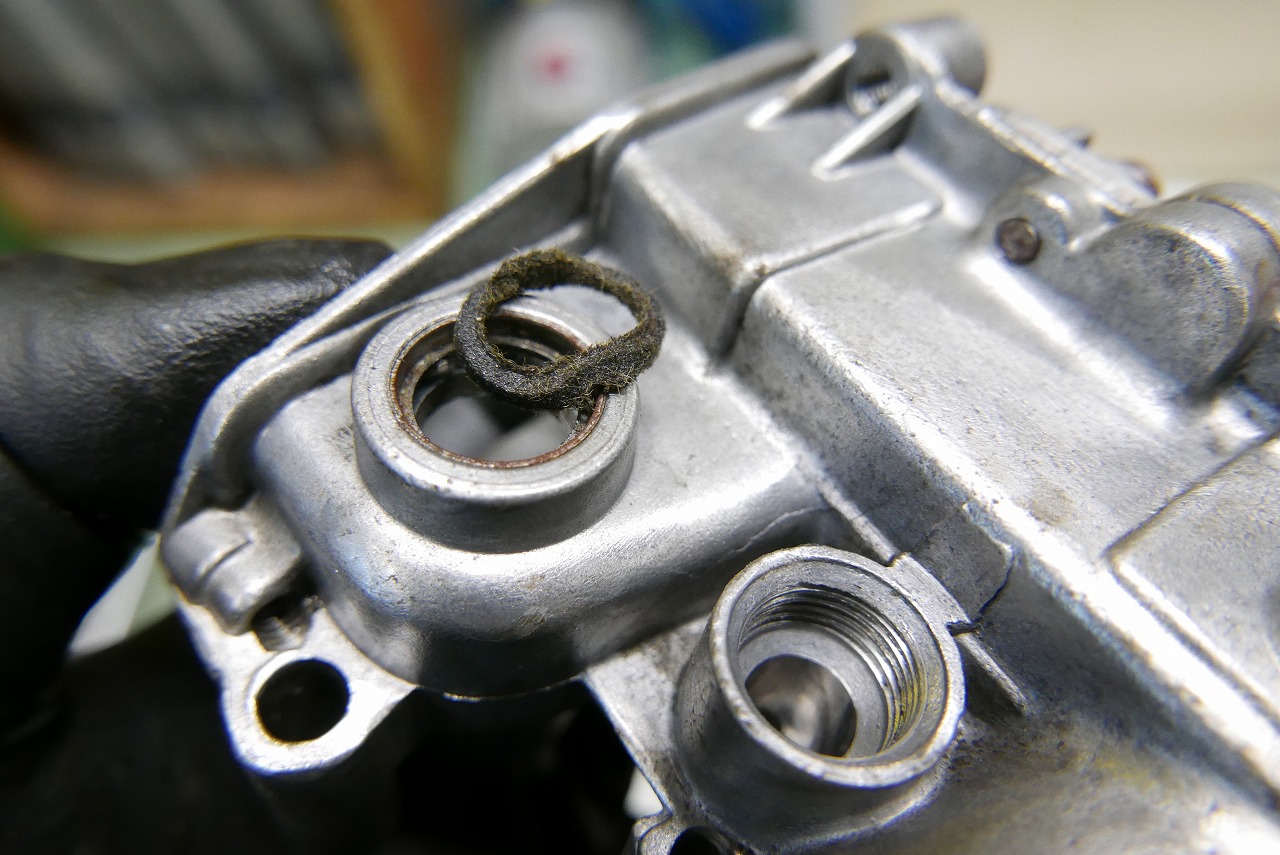
So this felt seal also has no parts setting. We puzzled over it for a while and managed to clear it. (A joy that nobody else understands? That’s what we have here.)
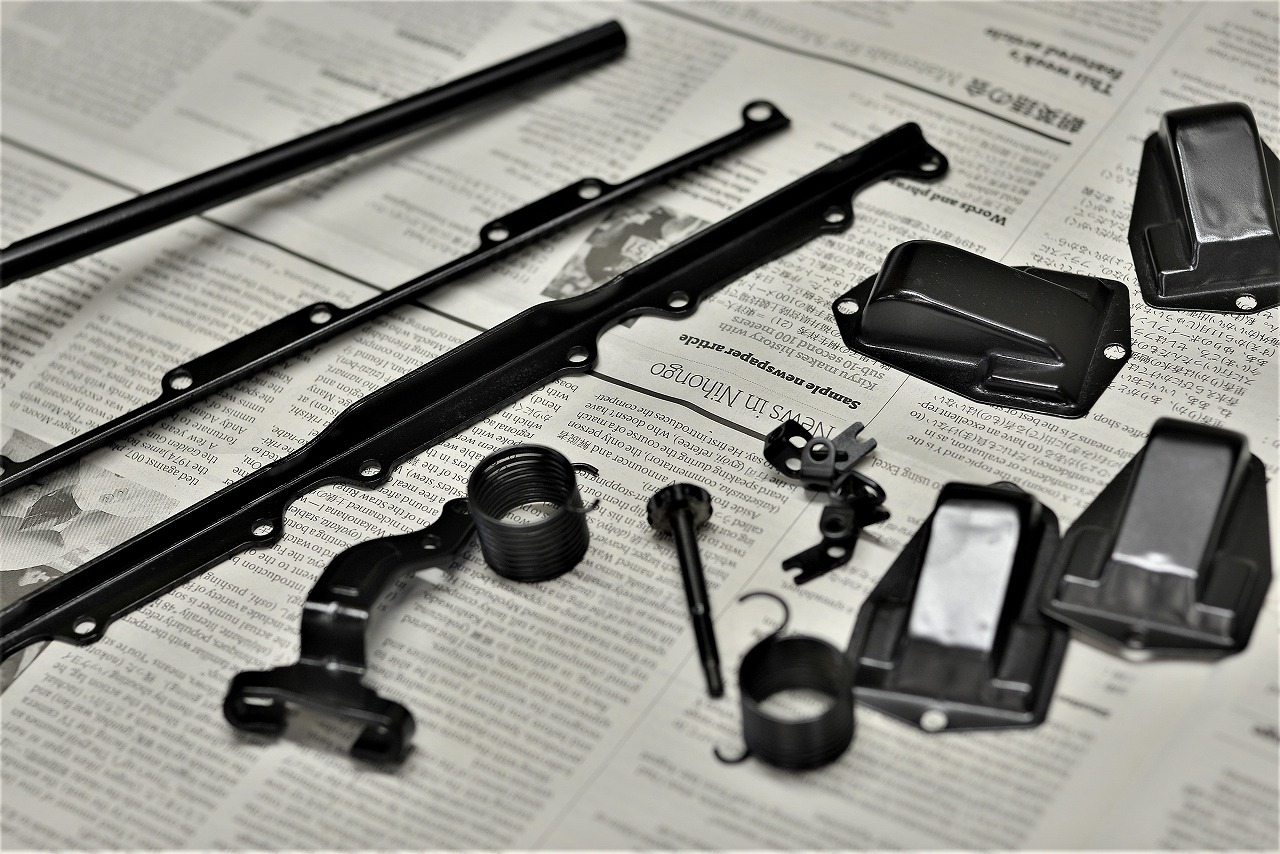
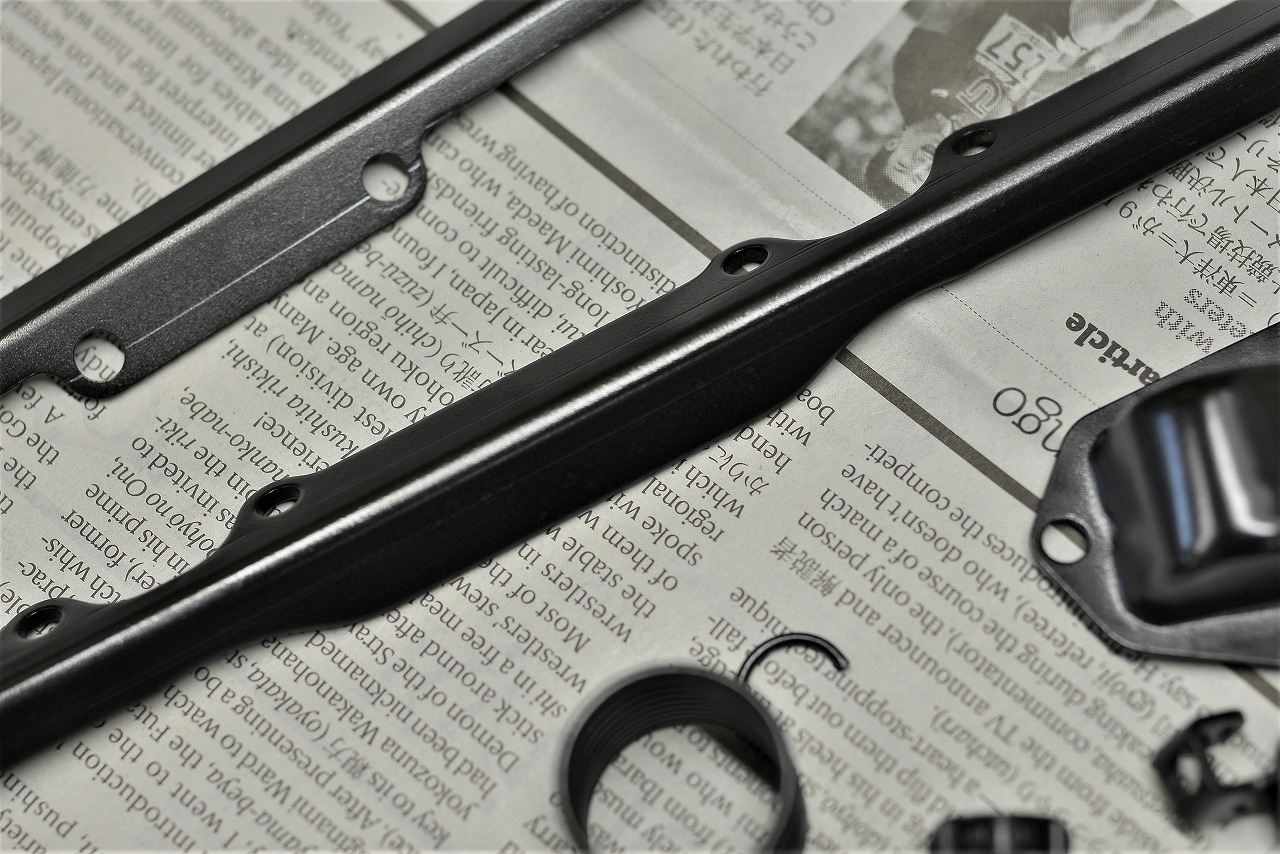
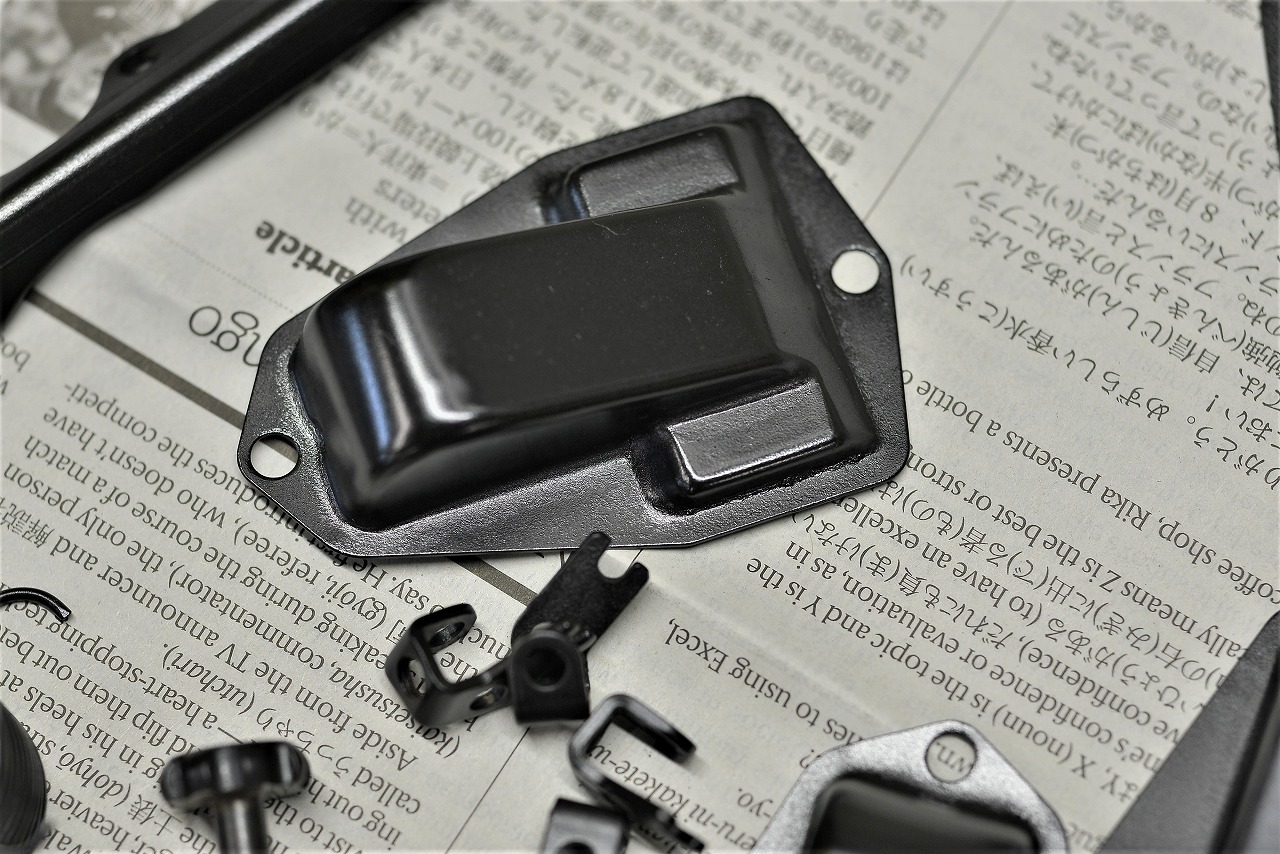
Metal parts revived through barrel polishing and gun coating. They’ve become absolutely lovely.
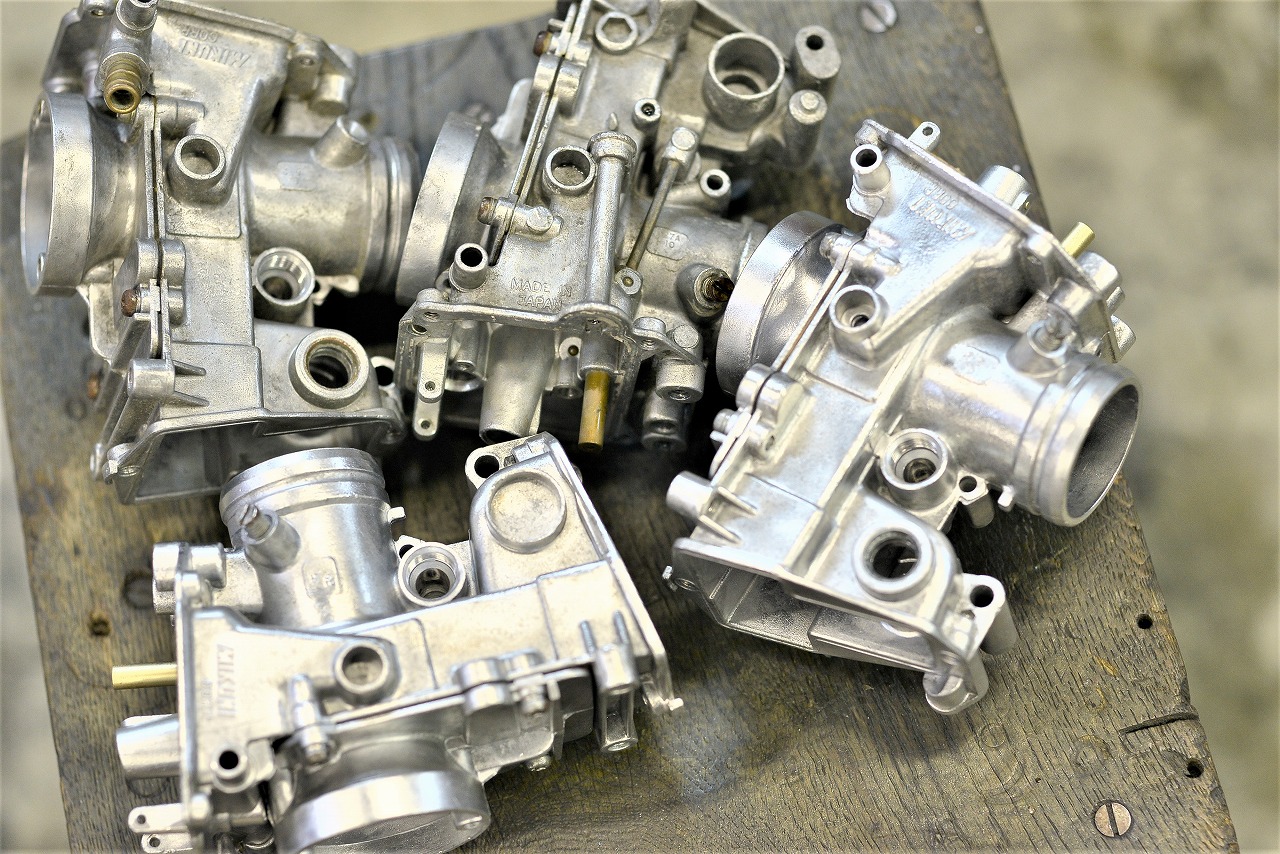
This time no polishing (we made this carburettor basically off-limits for that), so we just do light polishing for cleaning. Top image: unprocessed; bottom image: polished.
Even so, it’s plenty clean.
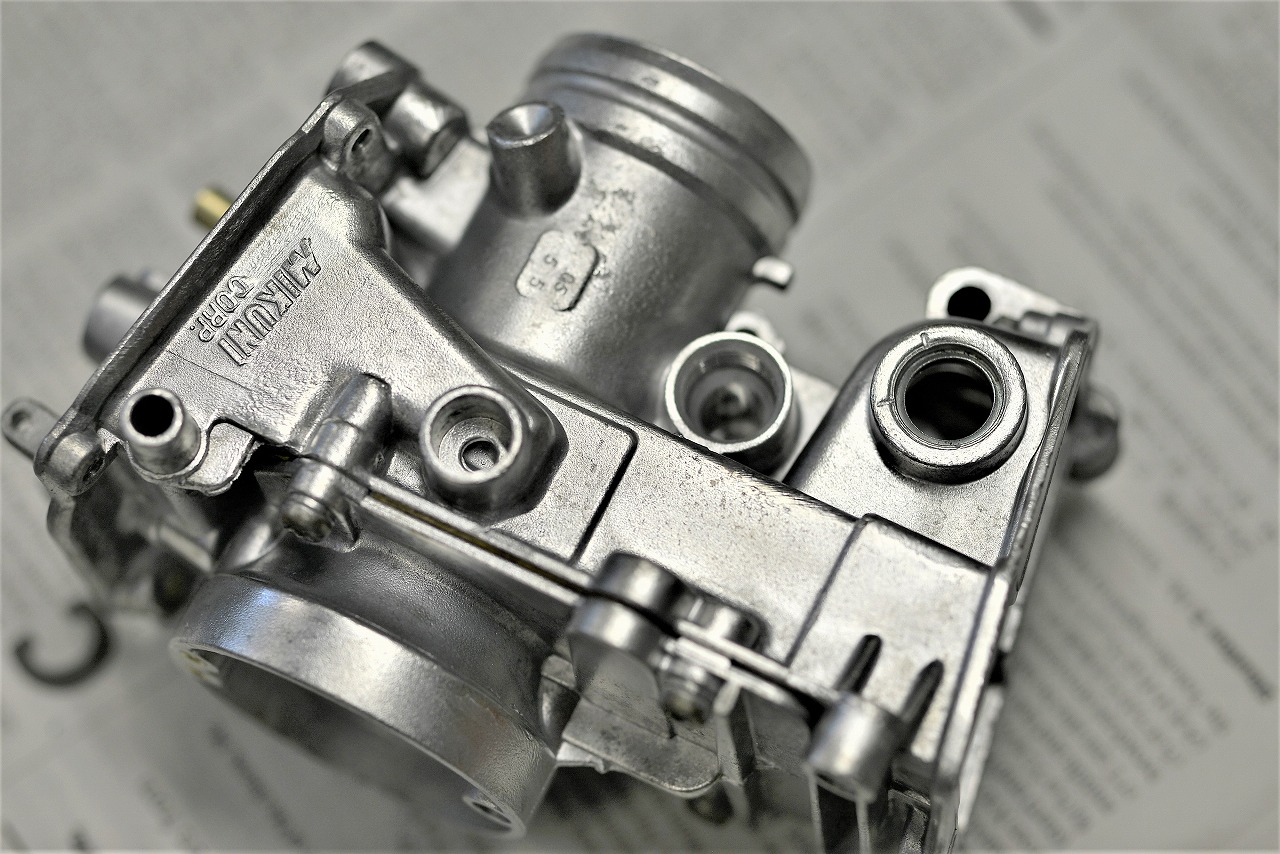
As always, we put extra effort into the visible parts (1–4).
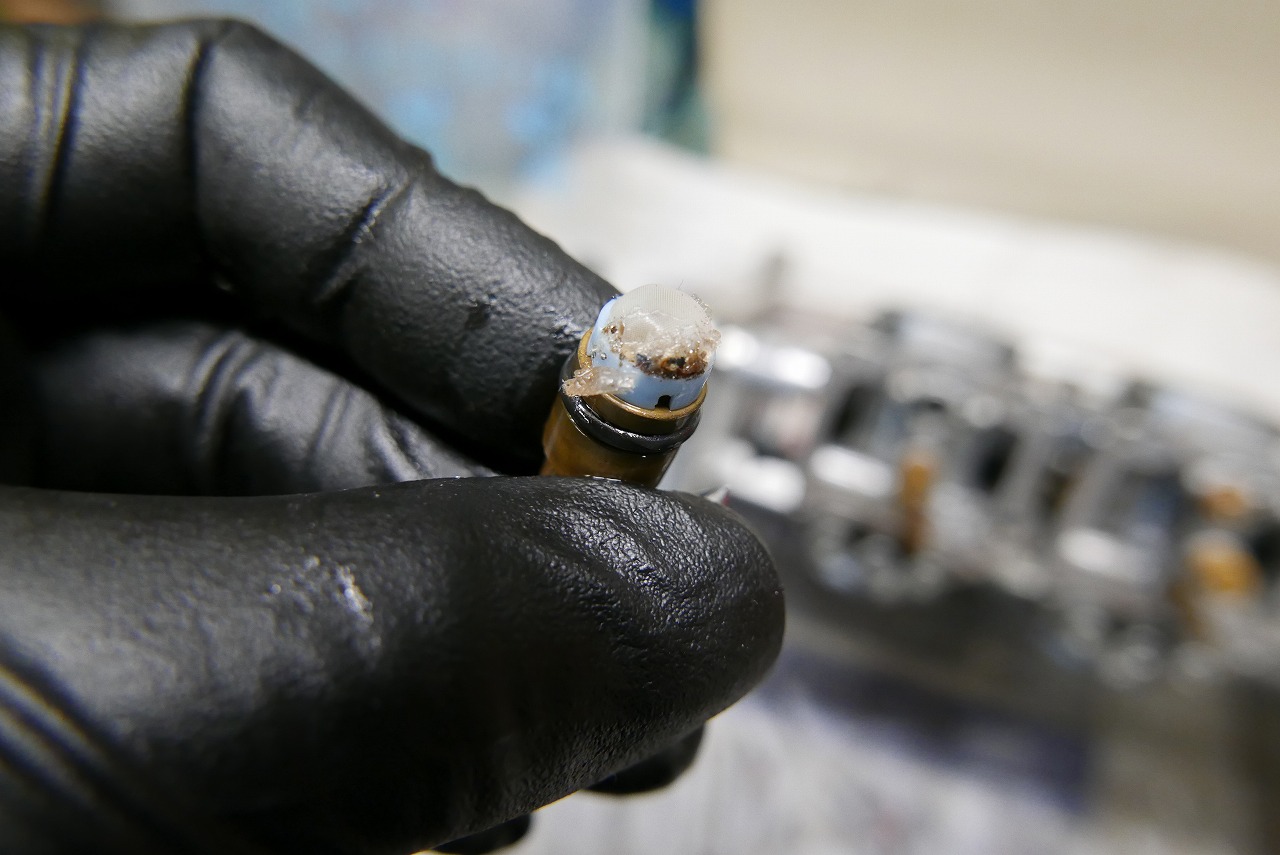
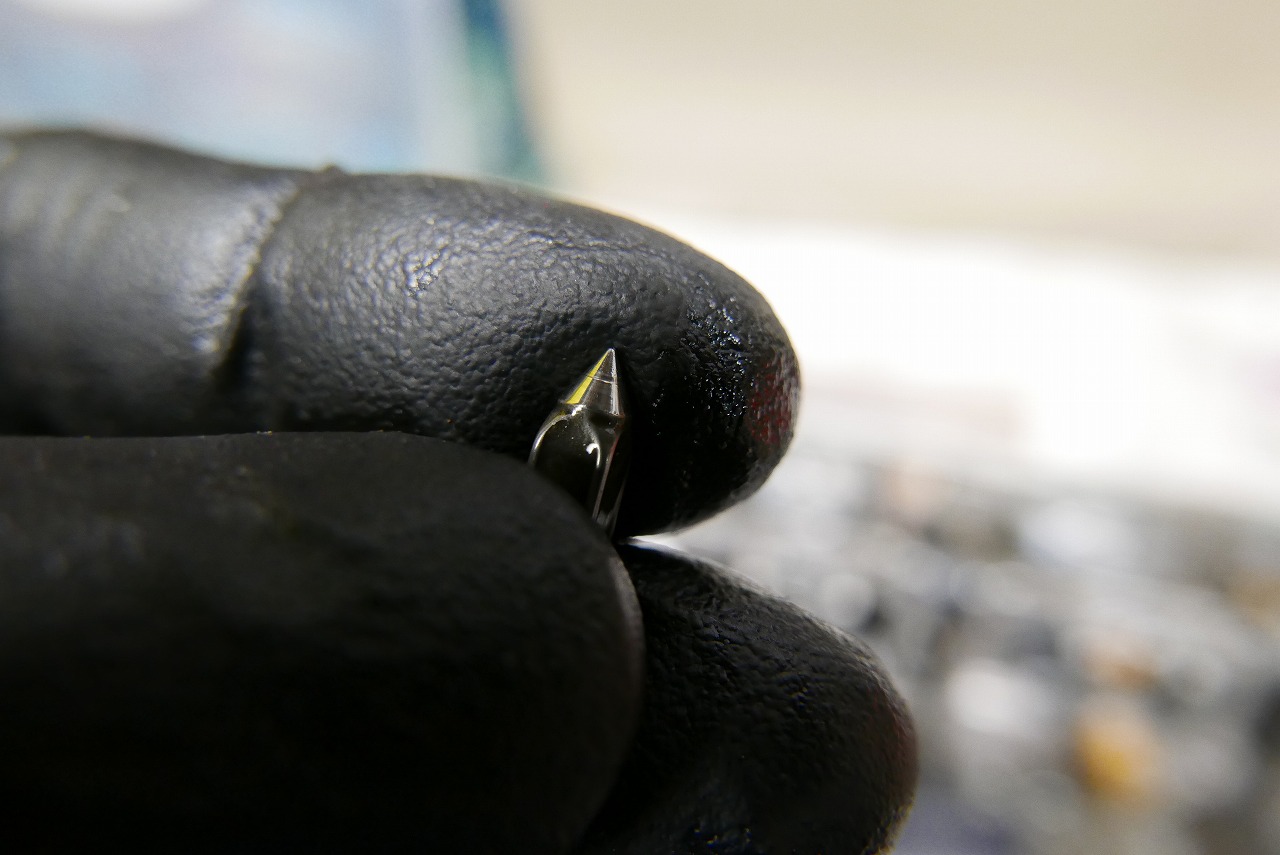
The float valve O-ring is shot, so a side leak is definite. The needle valve has a clear step wear—it’s out.
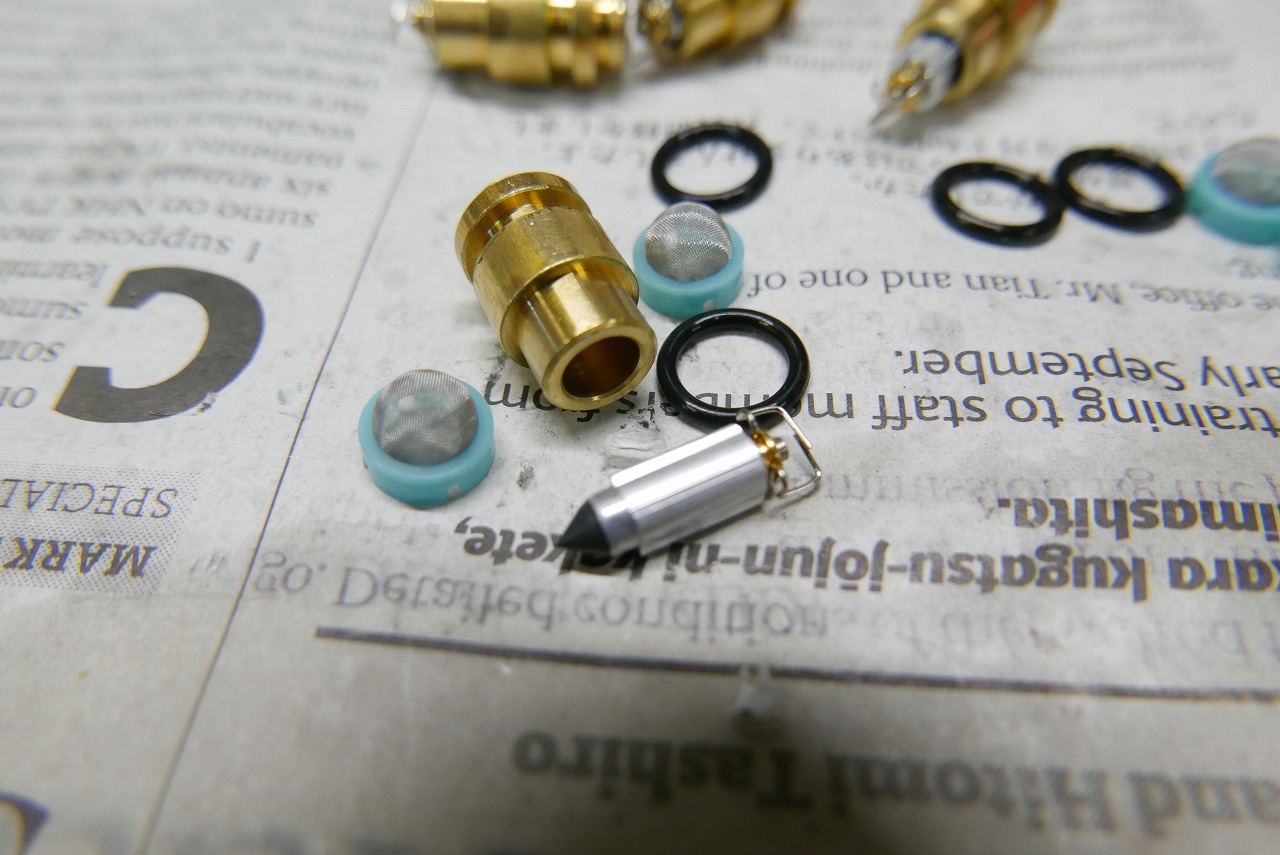
We’ve been seeing a lot of this carburettor lately, and we finally found a highly reliable float valve. With a rubber design, the sealing force is solid. It might be an exaggeration to say 100,000 kilometers, but it has considerable durability.
This type of float valve is fairly expensive. If you know what conditions cause problems, I don’t think you need to replace it during an overhaul.
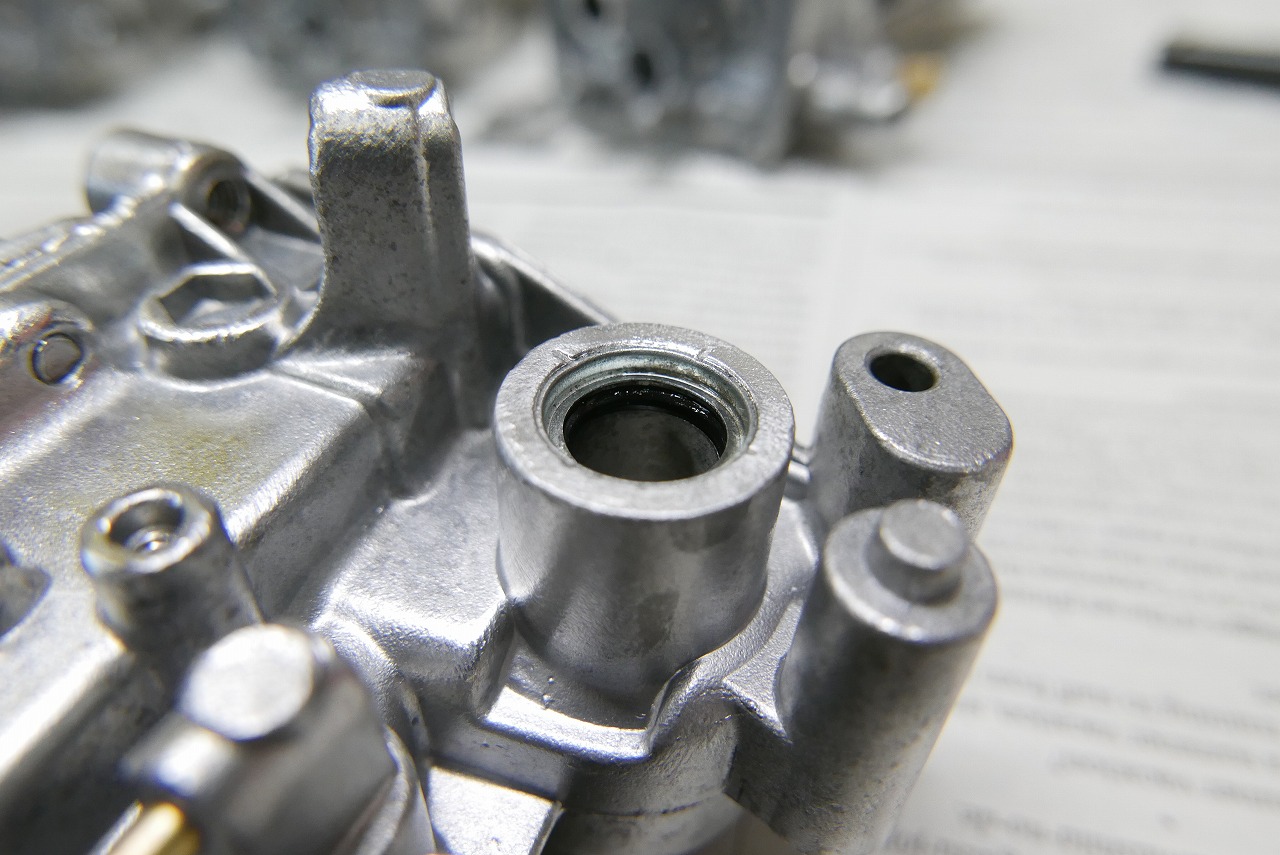
We also use a countermeasure felt seal for peace of mind.
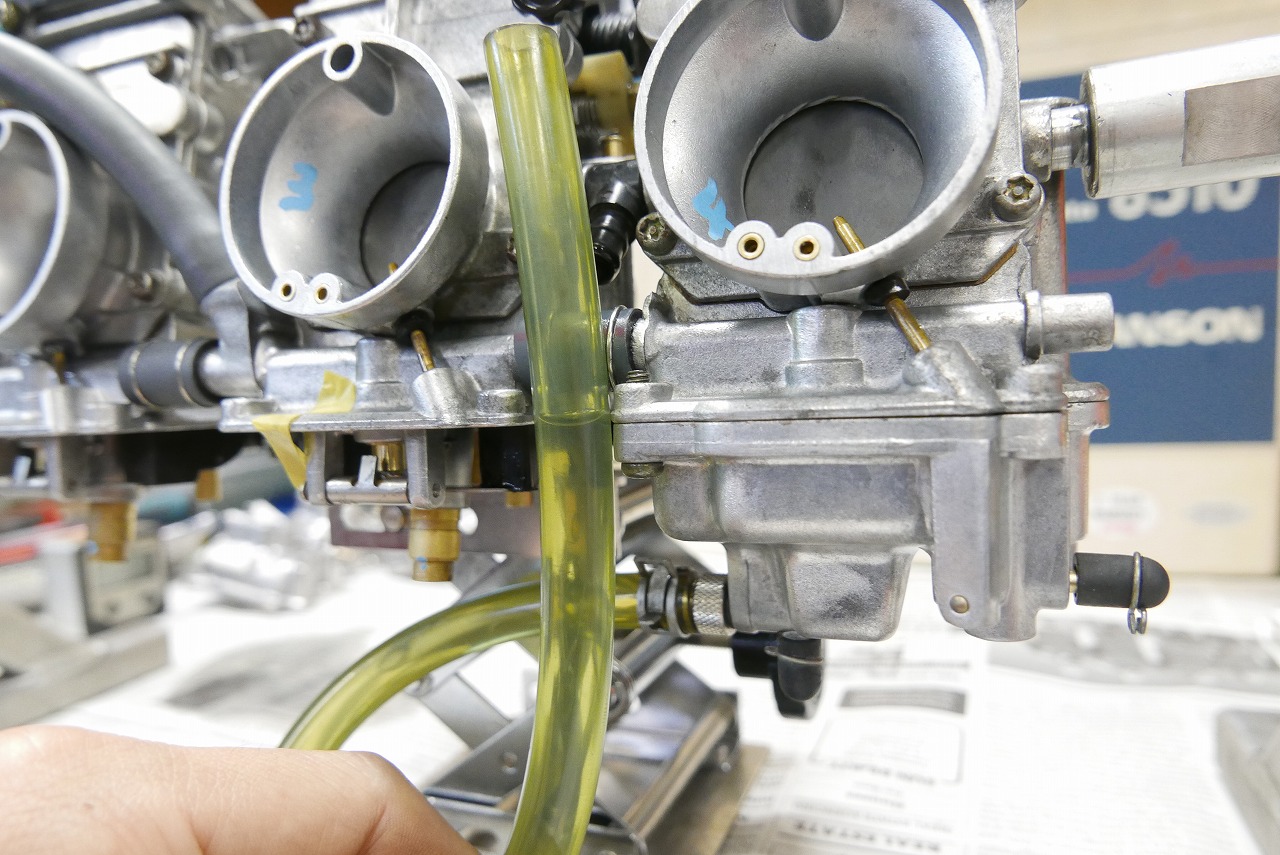
Checking and adjusting the actual fuel level.
It’s an item where checking is better than not checking. With the float being plastic plus metal and the carburettor body being cast iron, honestly, adjusting the float level to a fraction of a millimeter doesn’t mean much.
By checking the actual fuel level, we can:
• Visually and tactilely understand how fast gasoline drains.
• Detect gasoline flowing in from places other than the float valve (cracks, pinholes, air vent issues, etc.)
• Understand how well the float valve works (how it closes and stops the gasoline).
• See the difference between float level and actual fuel level.
Air passages and jet passages are also very important, but by checking the actual fuel level, we can often understand the mysterious ailments of old carburetors and maybe even solve some mysteries.
*Even though I’m writing this, I’m not good with jobs that require a lot of thinking, so please take complicated work to expert shops in your area.
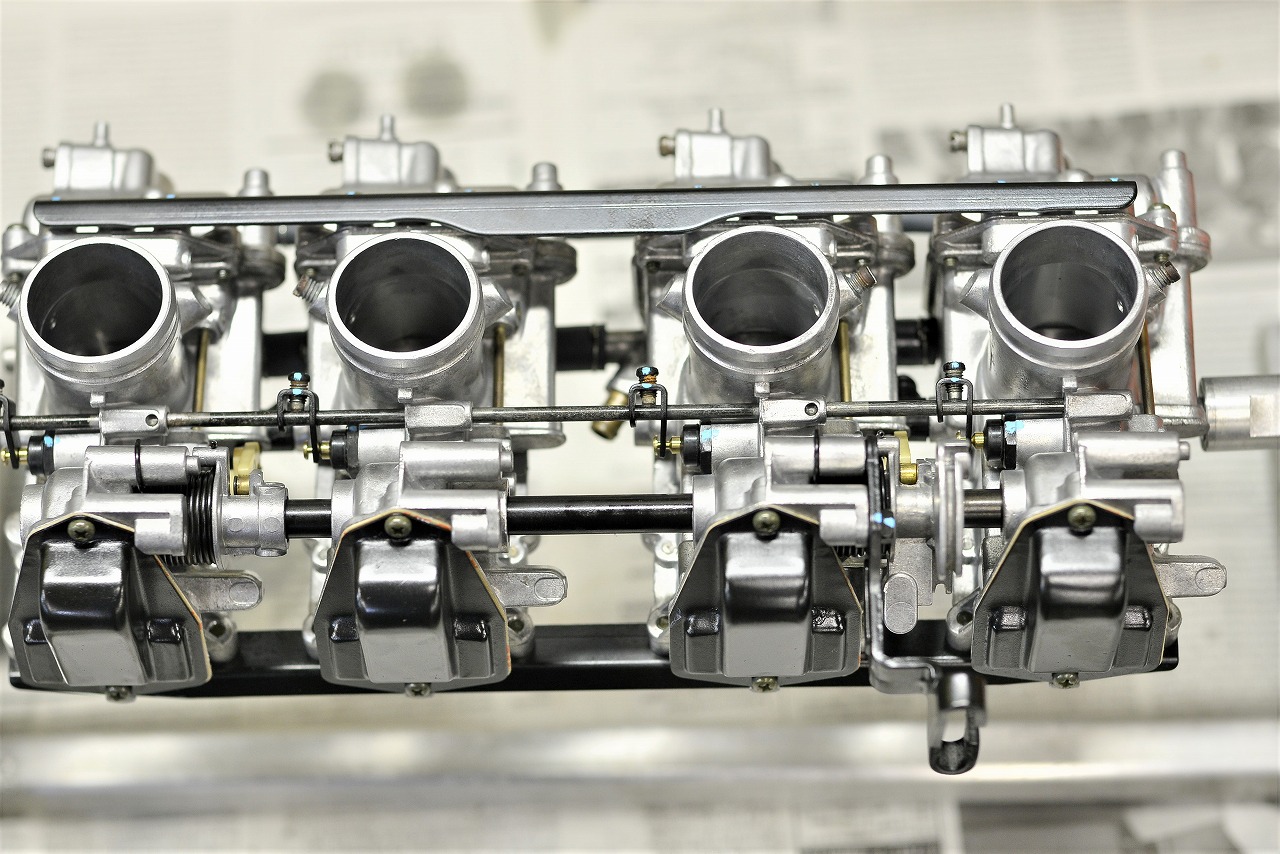
It’s tight and crisp, and I’m satisfied too.
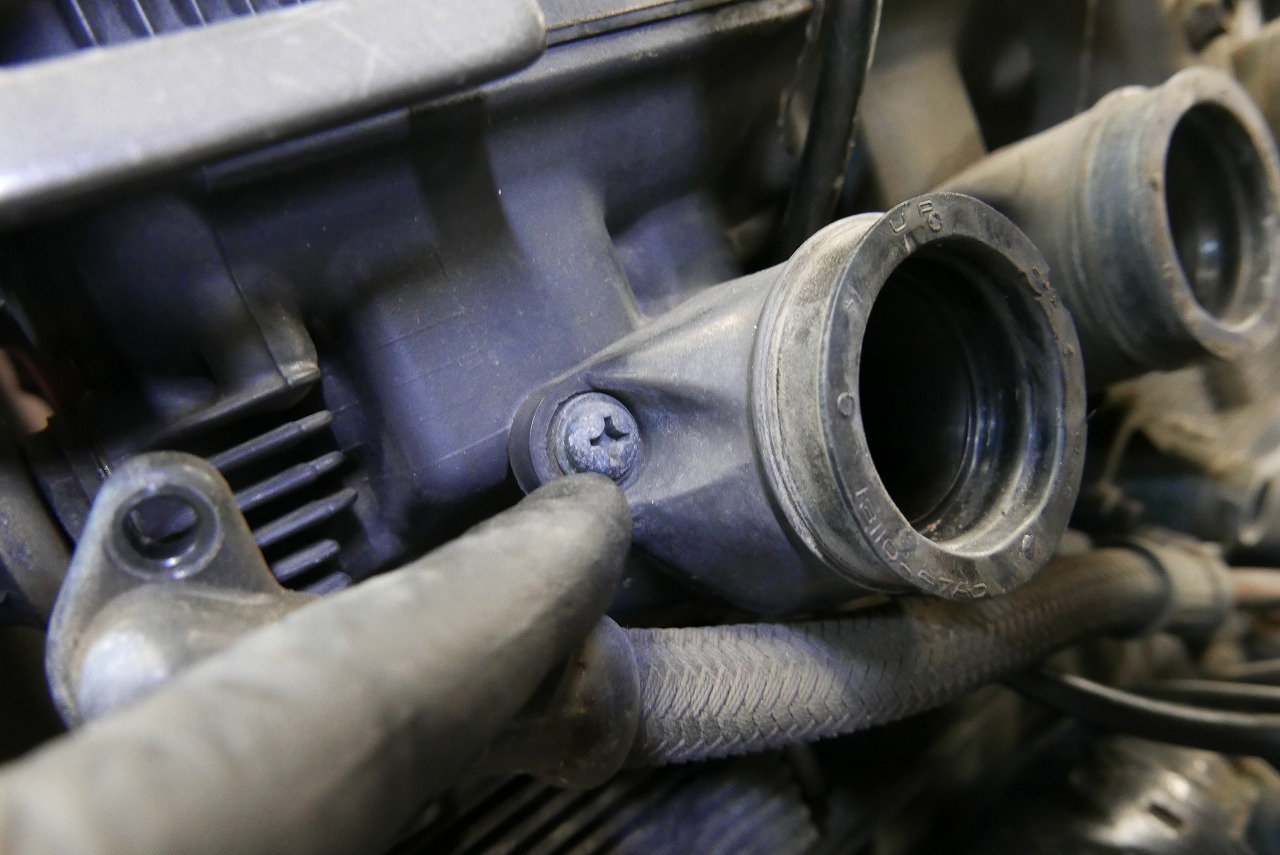
We replace the intake manifold. For people without experience, the installation is tough. Usually the screwdriver won’t fit and you can’t apply force. We’ve already got countermeasures in place, so we breeze through it.
Really, just one bolt that won’t come out can waste a lot of time.
By the way, the toughest one I’ve ever dealt with was the GSX1400. Tight space plus Phillips head with thread locker. I wouldn’t struggle with it now, but back then… learning every day.
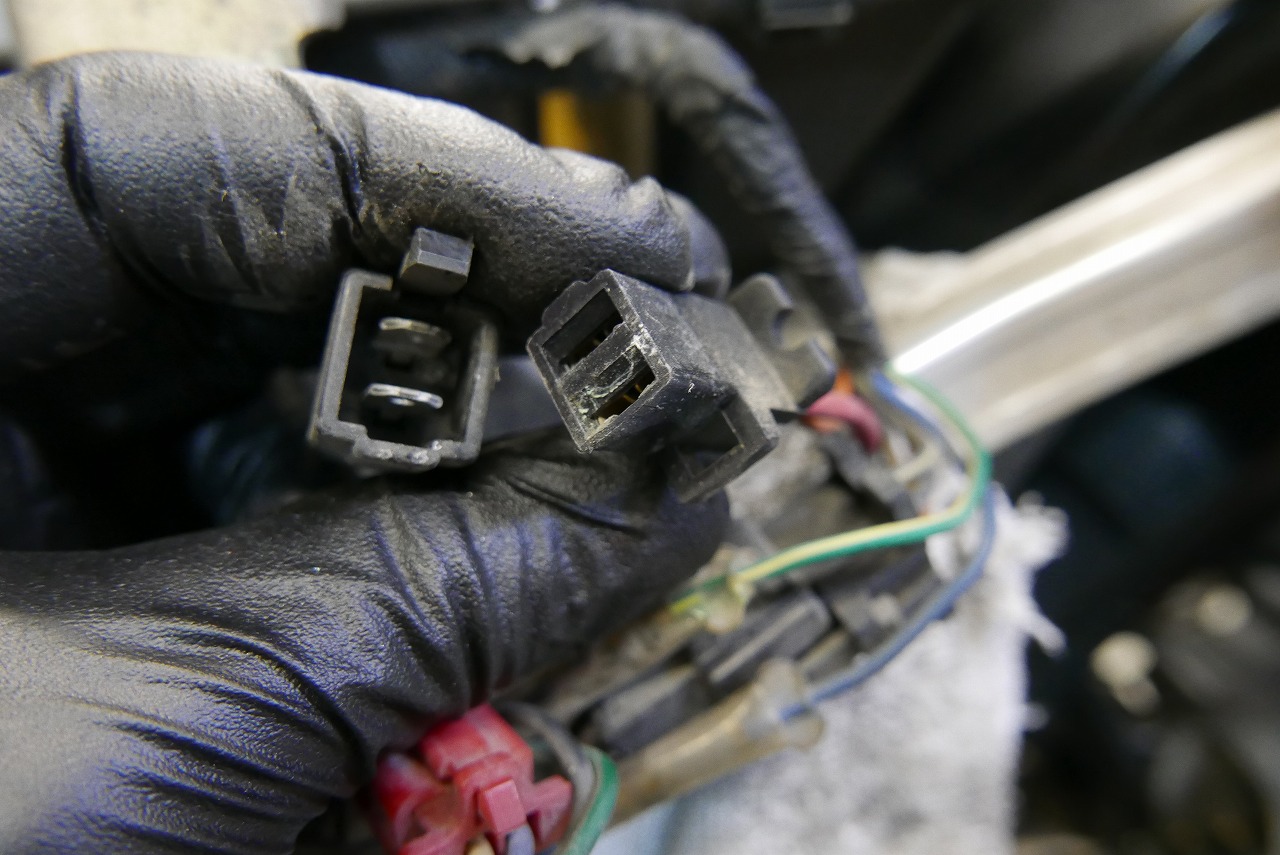
It’s also good to occasionally disconnect the generator connector and apply contact cleaner.
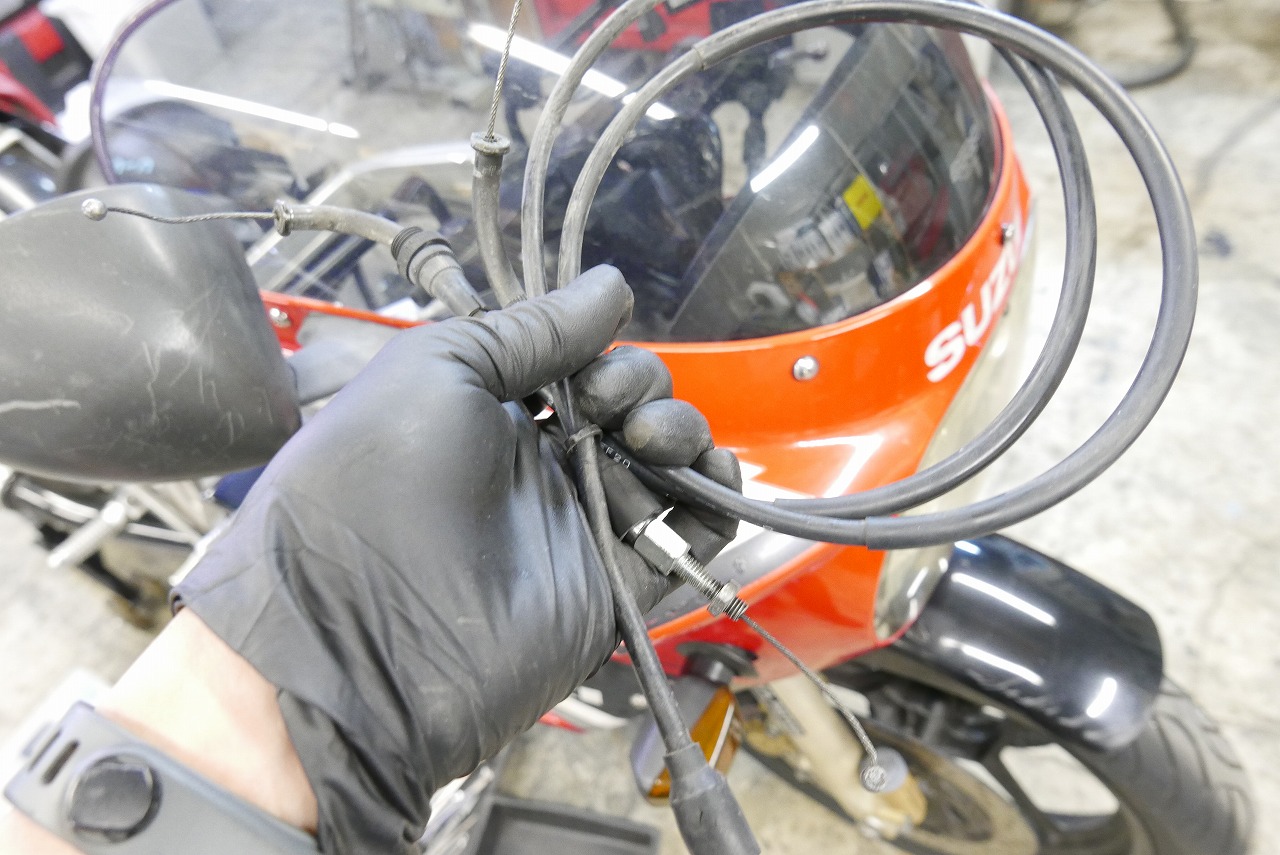
You should replace the throttle cable when doing carburettor maintenance.