We’re getting close to the finish line.
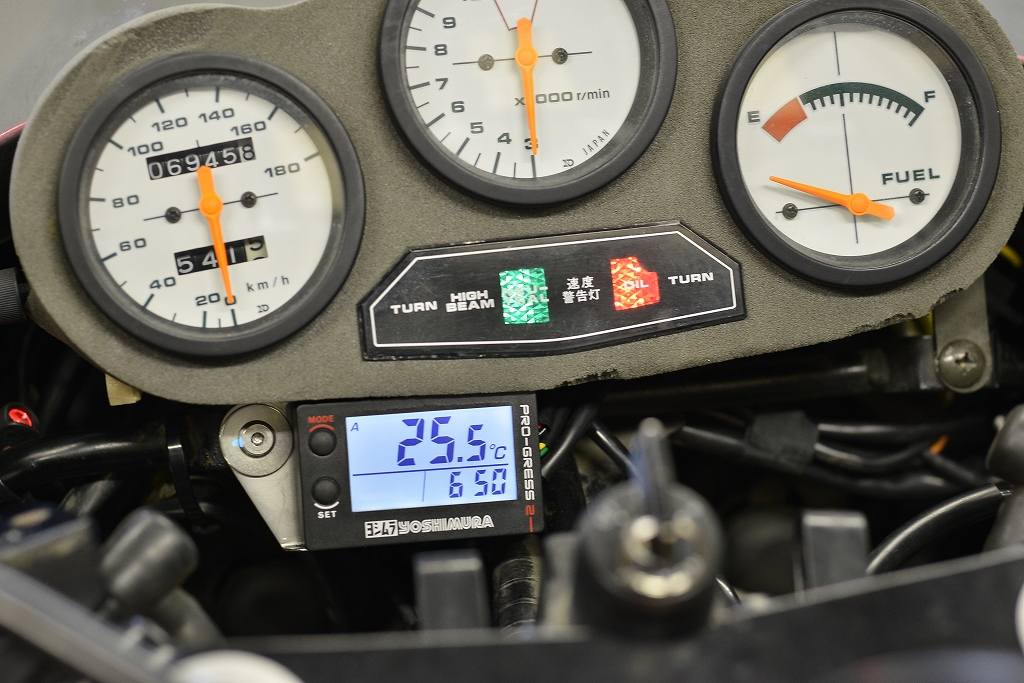
Highlights. I installed it as tightly as possible to keep it easy to see.
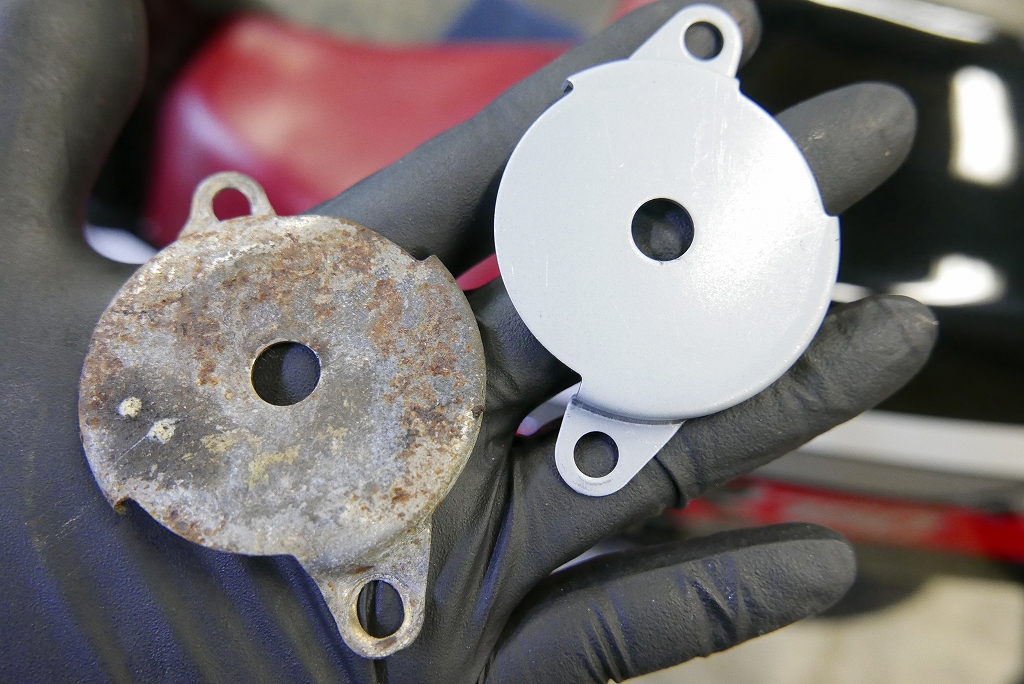
I also replaced the back side of the clutch release.
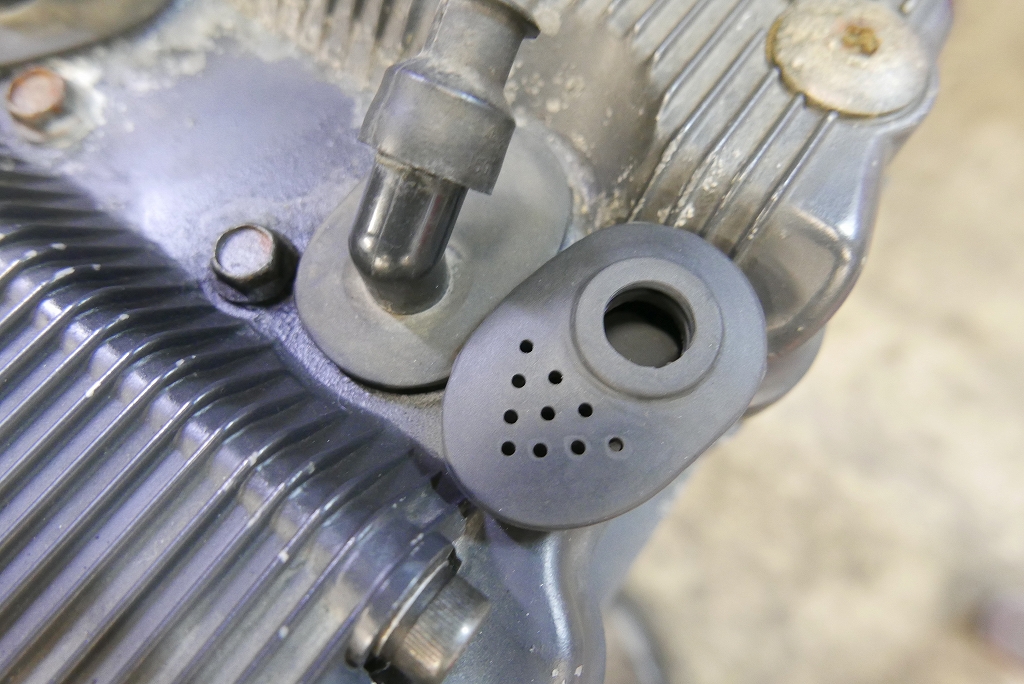
Let’s swap the plug cover to the later version too. It’s rare, but it reduces the chance of it coming loose in the rain.
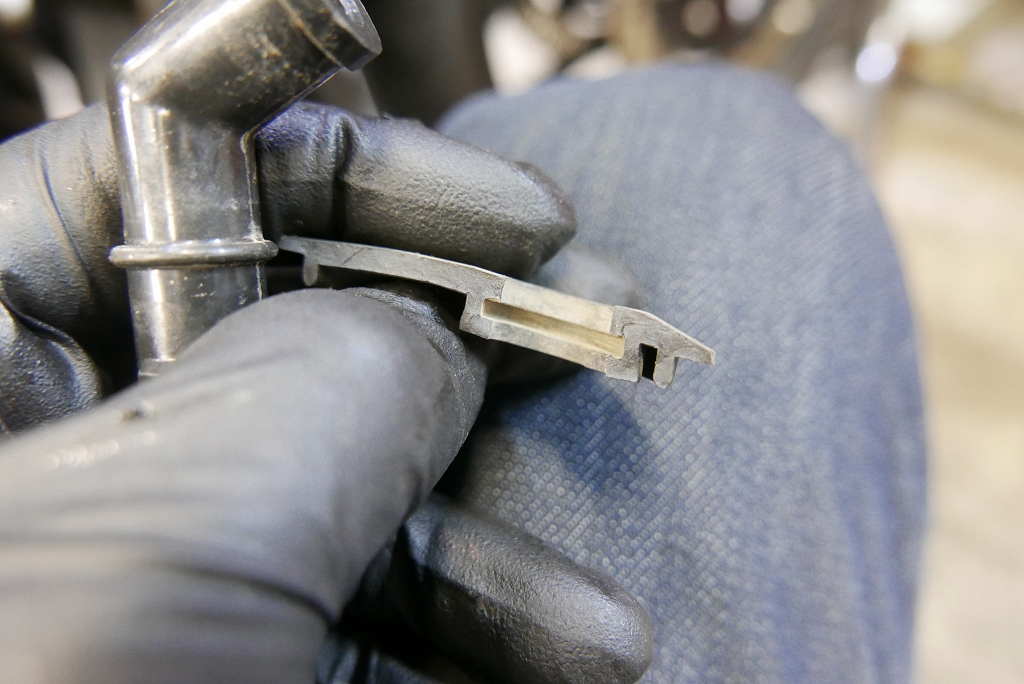
Since it’s about to become scrap, let me explain. When you cut the cover, it ends up with this lovely shape.
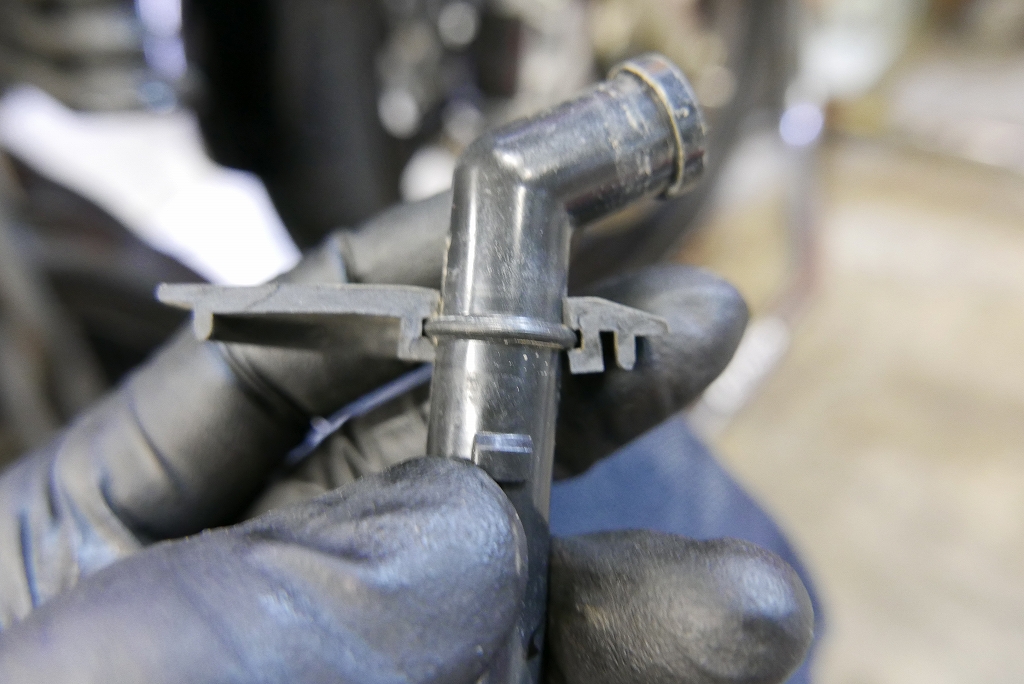
Basically it ends up like this and fits snugly into the hole.
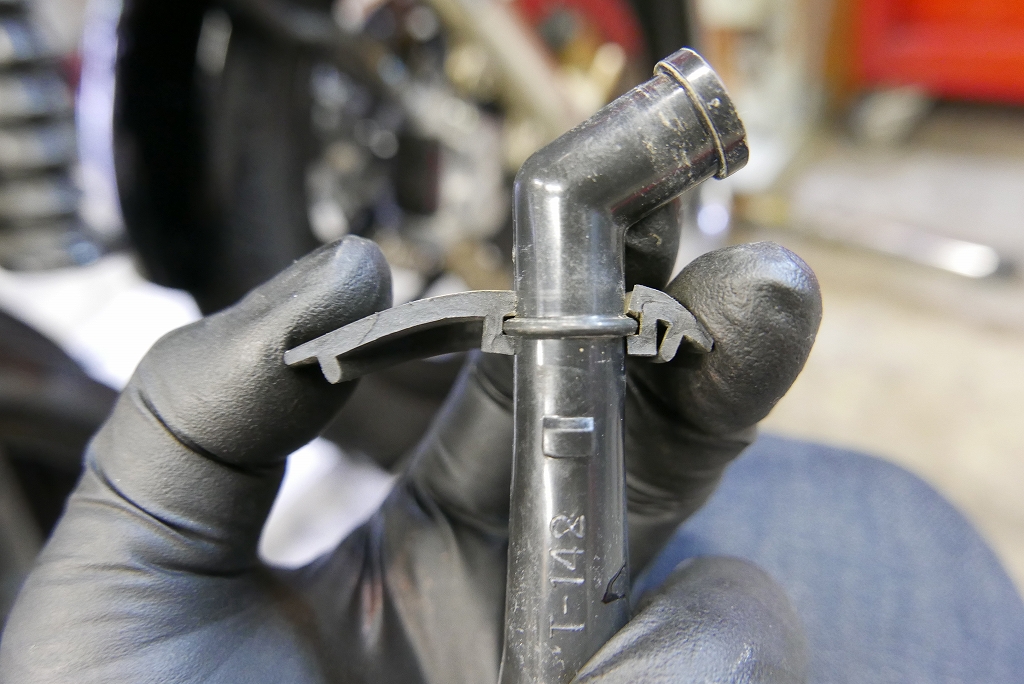
As it ages or engine oil gets on it, the cover can swell. When that happens, tension builds up that lifts the cap, and occasionally the cap comes loose.
If the cover doesn’t fit properly, you don’t need to force the cap’s protrusion into the groove. The real problem is the cap coming loose. It might be better to start with a new cover.
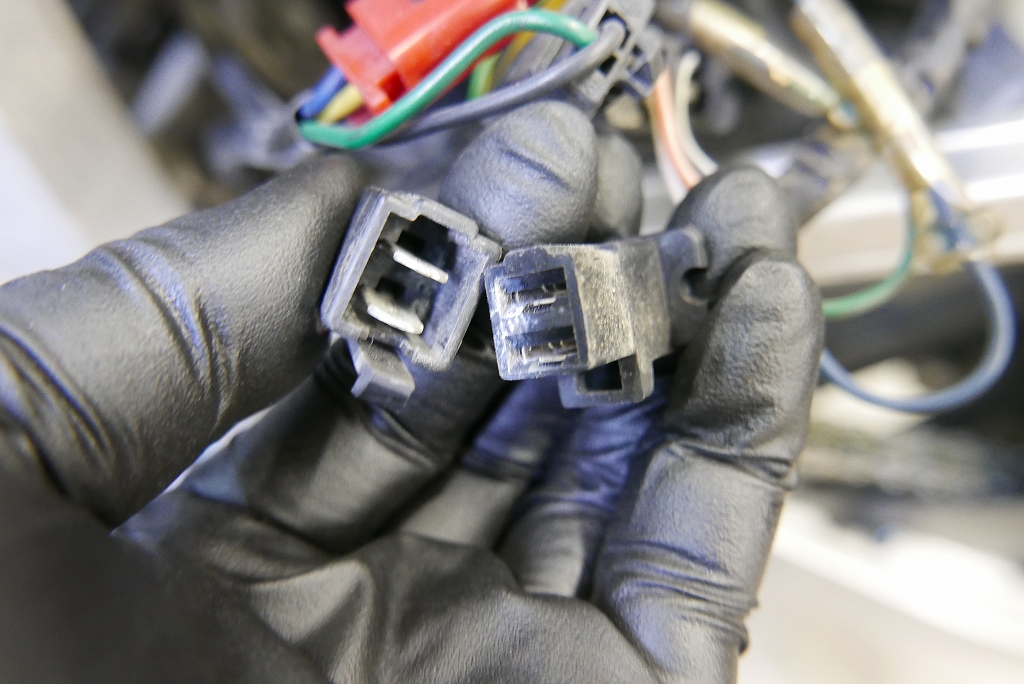
While I had it off, I checked the connectors too. The charging system was good. Glad I looked.
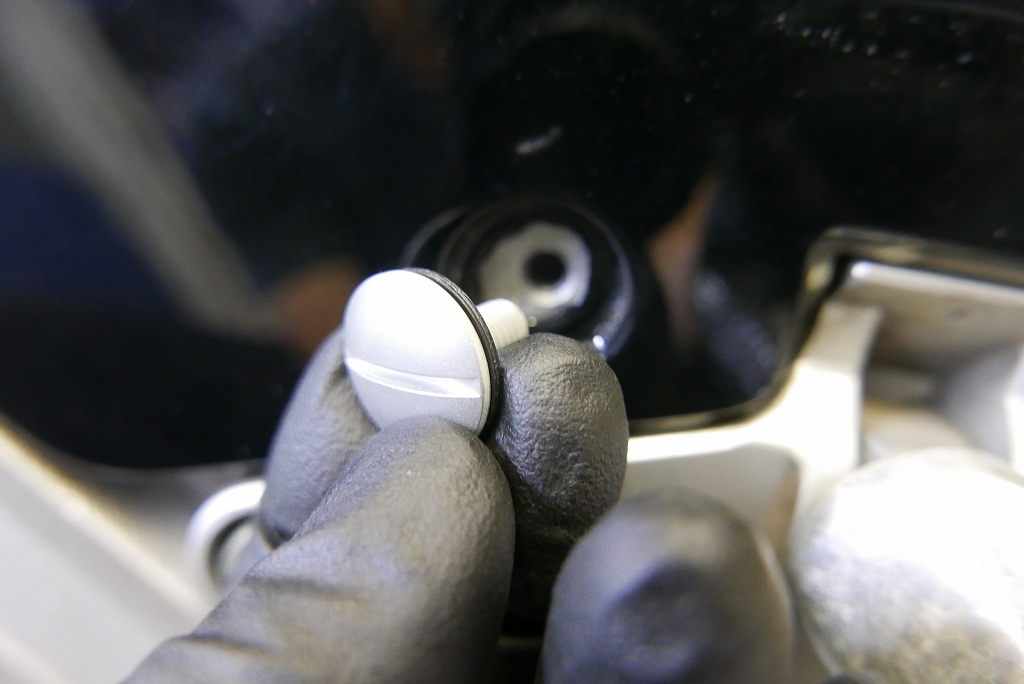
The side cover gets OEM large-head Phillips screws.
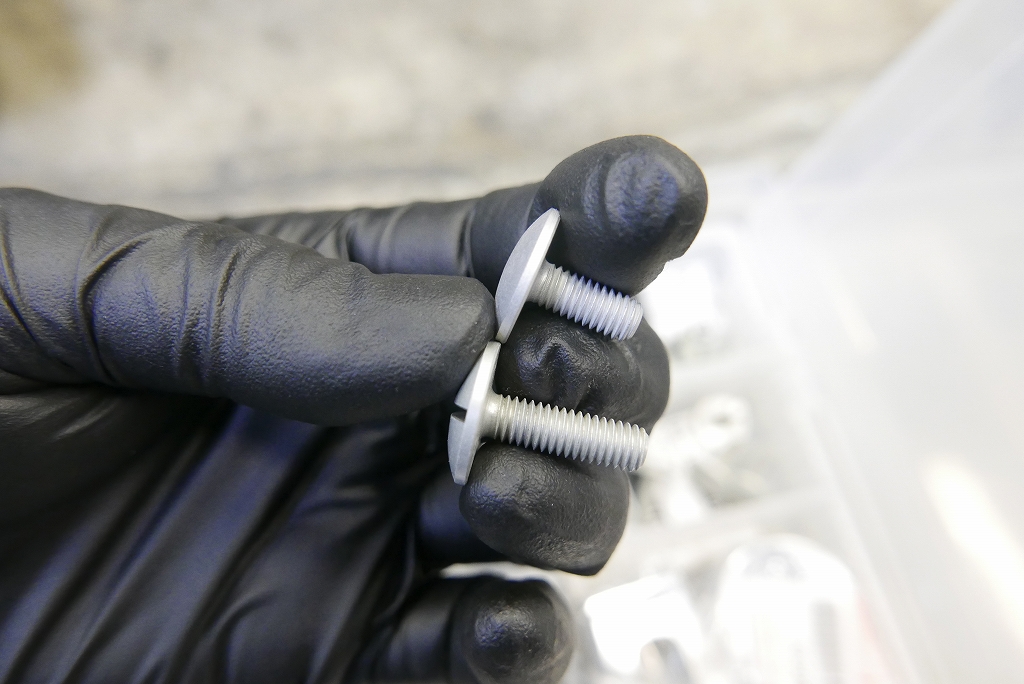
You know, there are subtly different lengths. (You can just cut the long ones to match, but…)
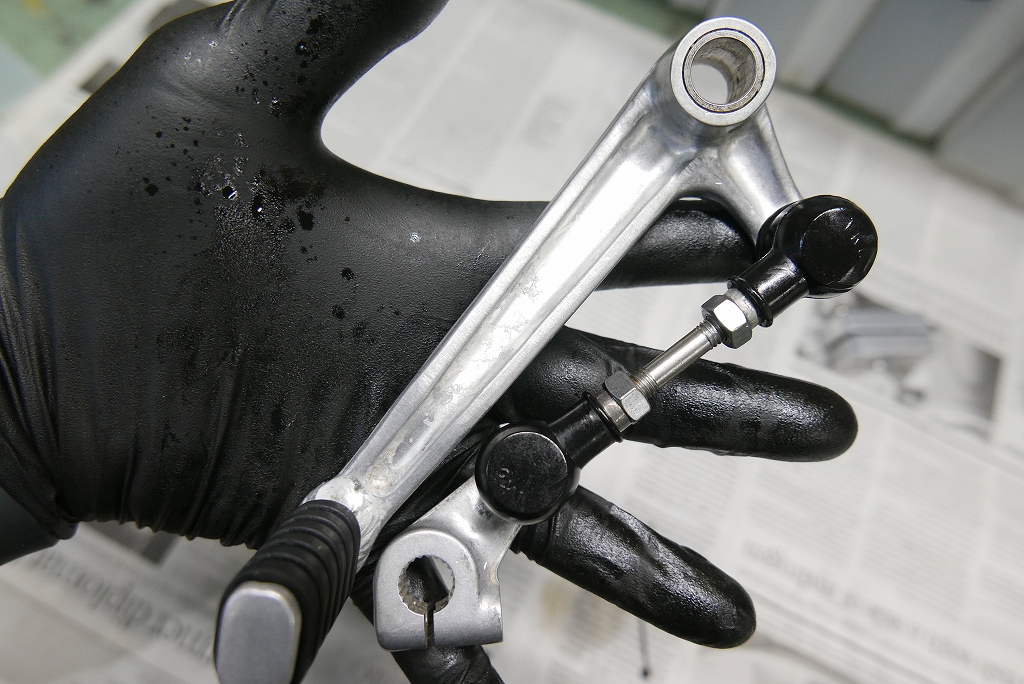
This new machine is a racing bike that cleans itself. There’s no before-use photo, but it’s come back to life quite a bit.
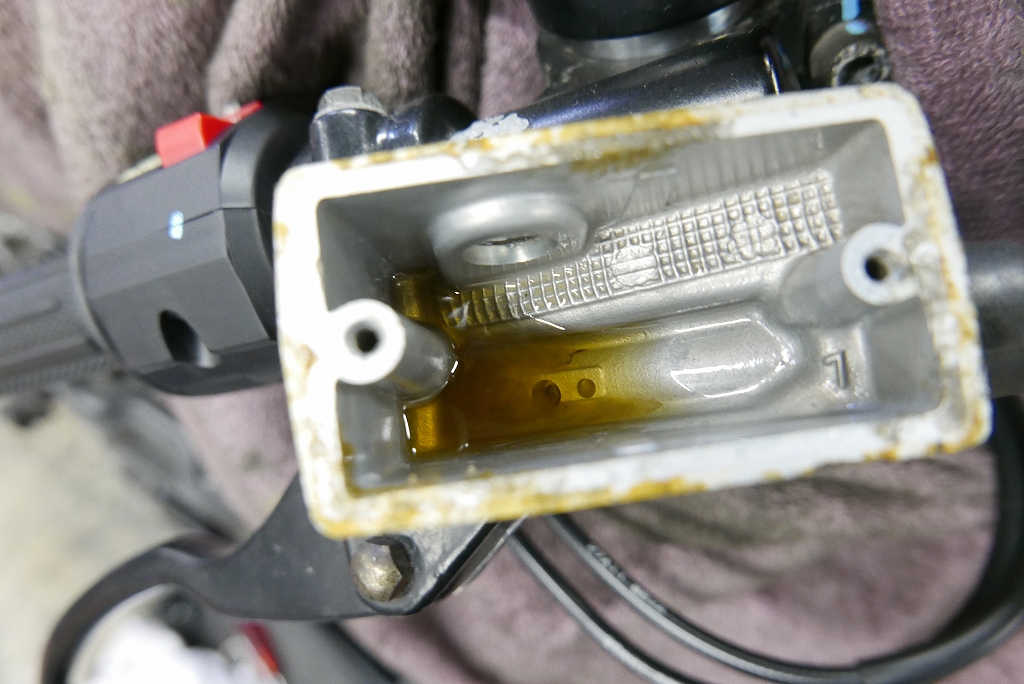
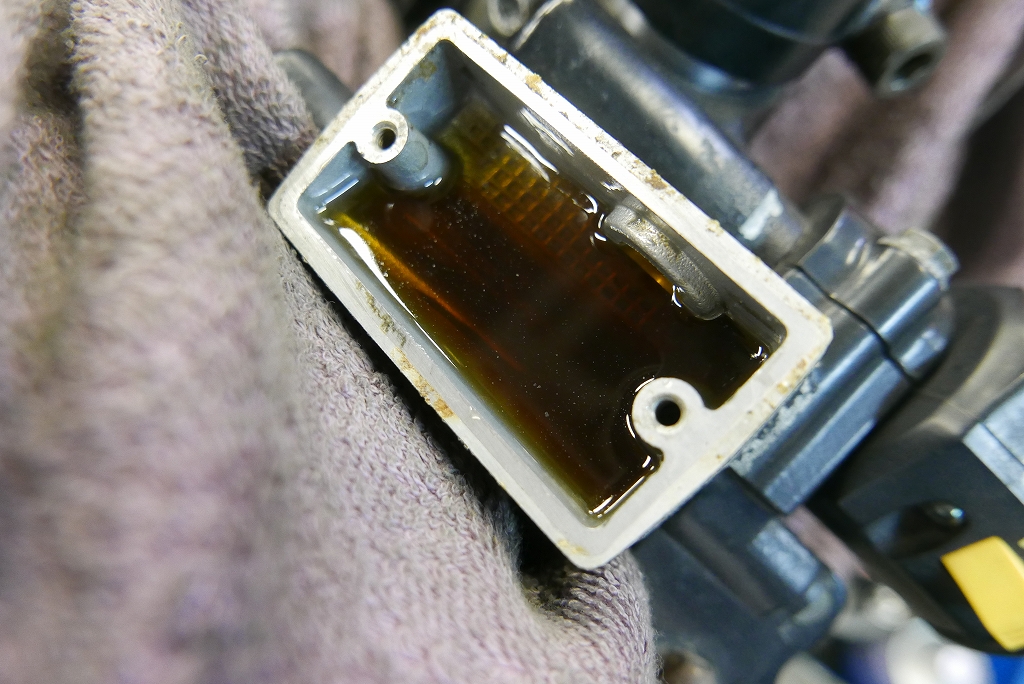
I replaced all the fluids.
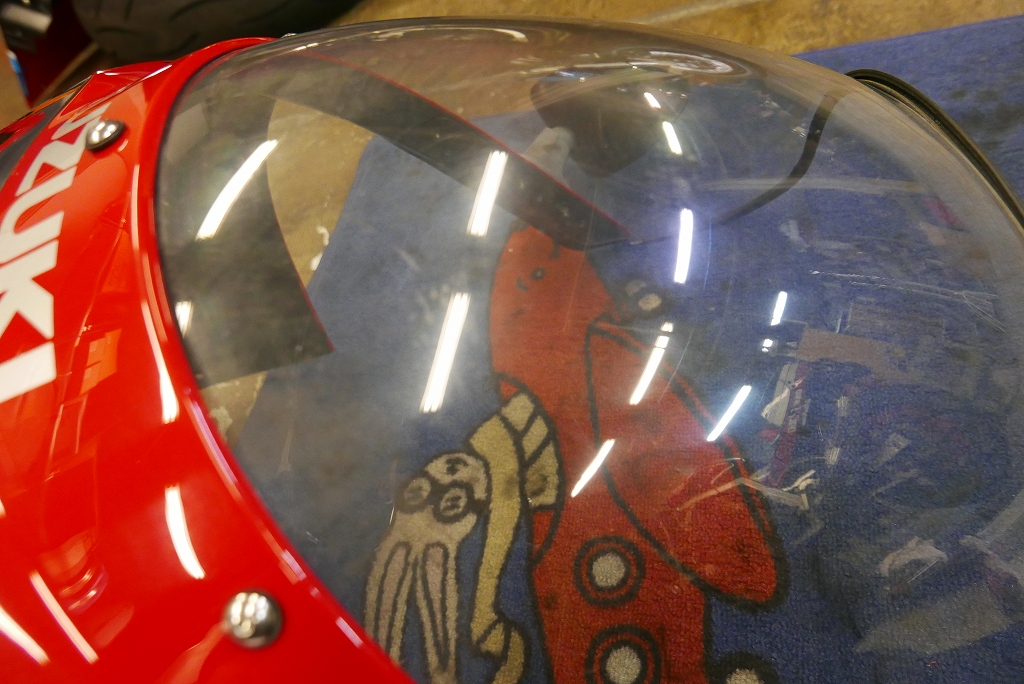
While I had it off, I polished it. With that SPL compound, even something like this…
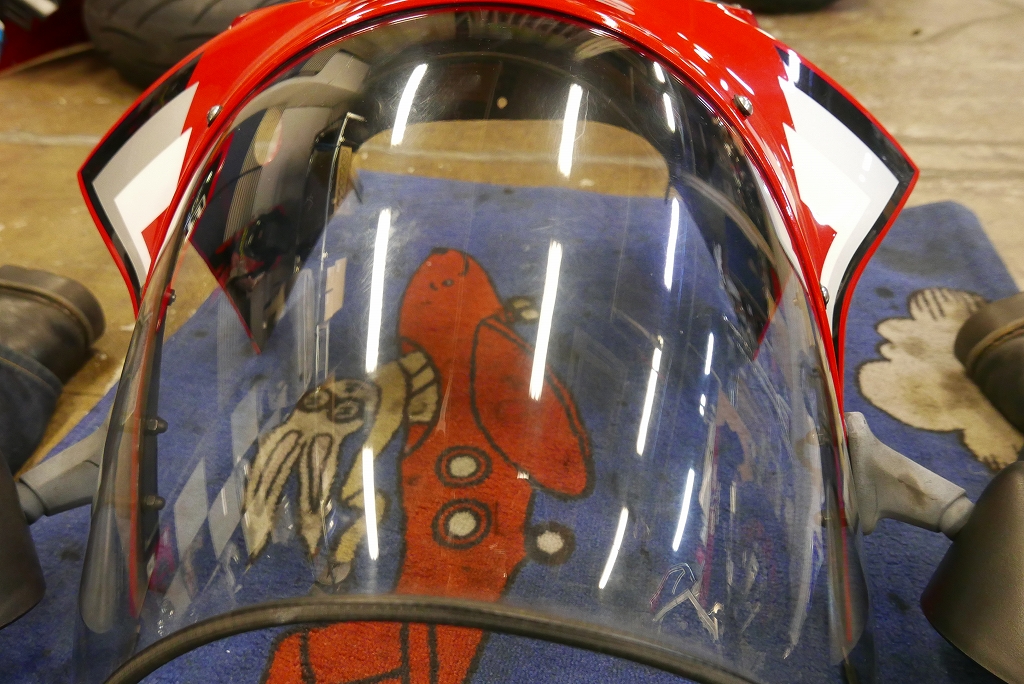
The beauty of all that hard work really paid off.
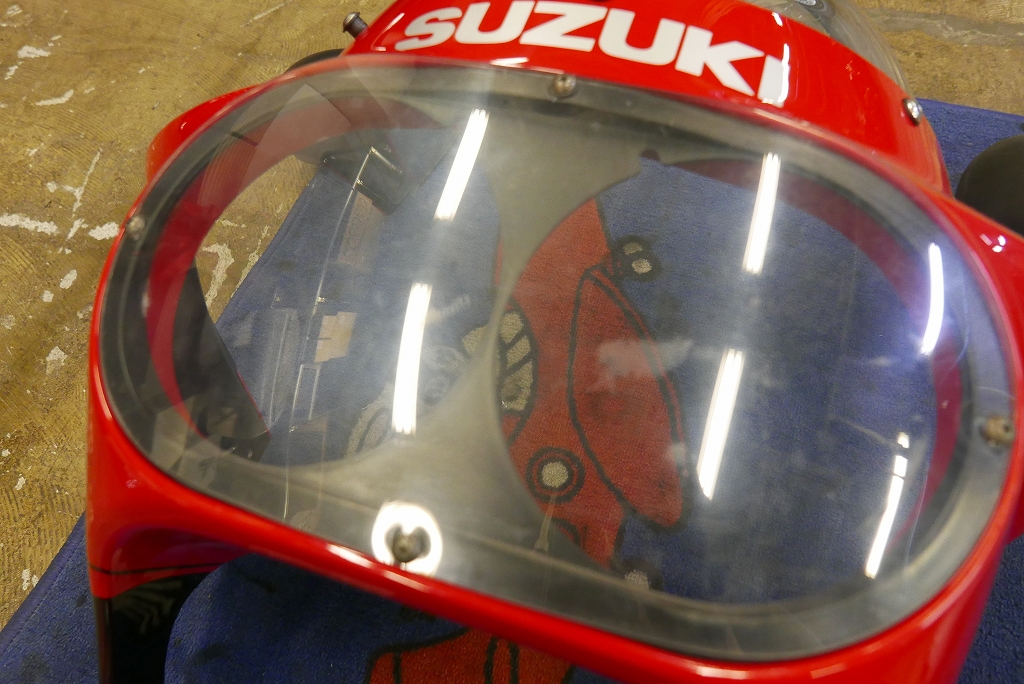
It’s like a late-night TV shopping show…
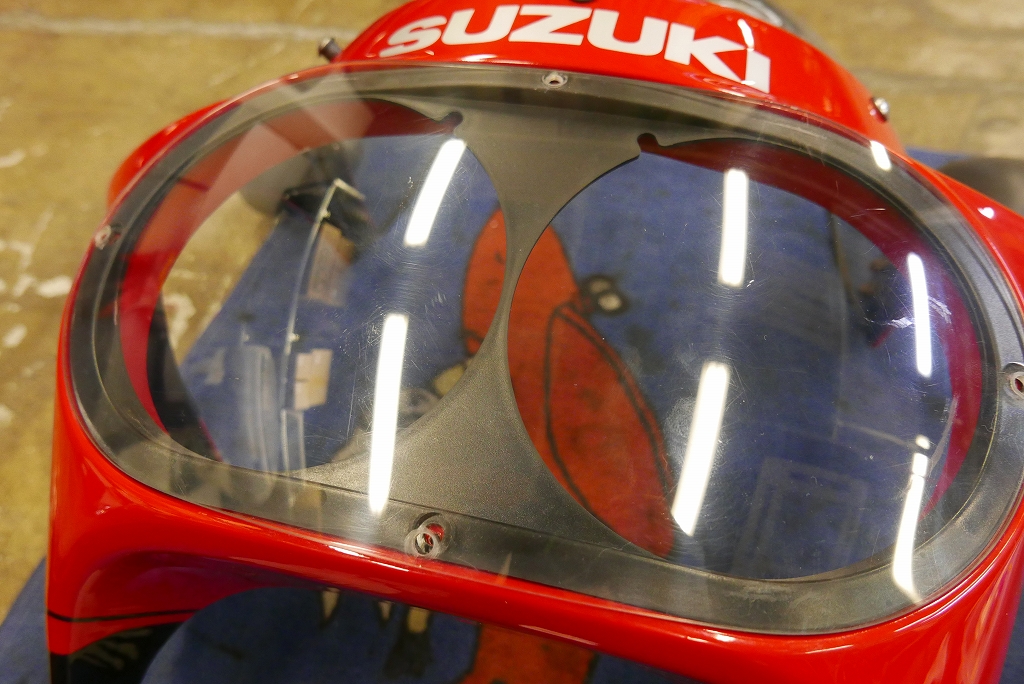
Well, OK, each one takes about 10 minutes, so I could do more if I pushed, but there’s no end to it…
And that’s how it’s all finished!