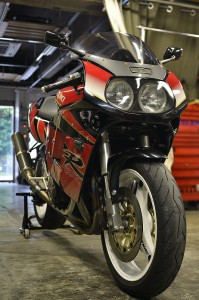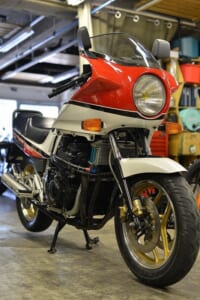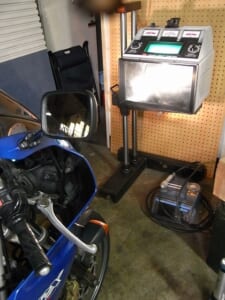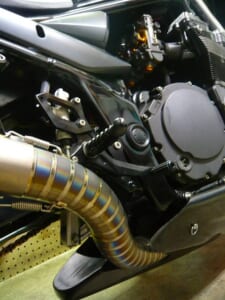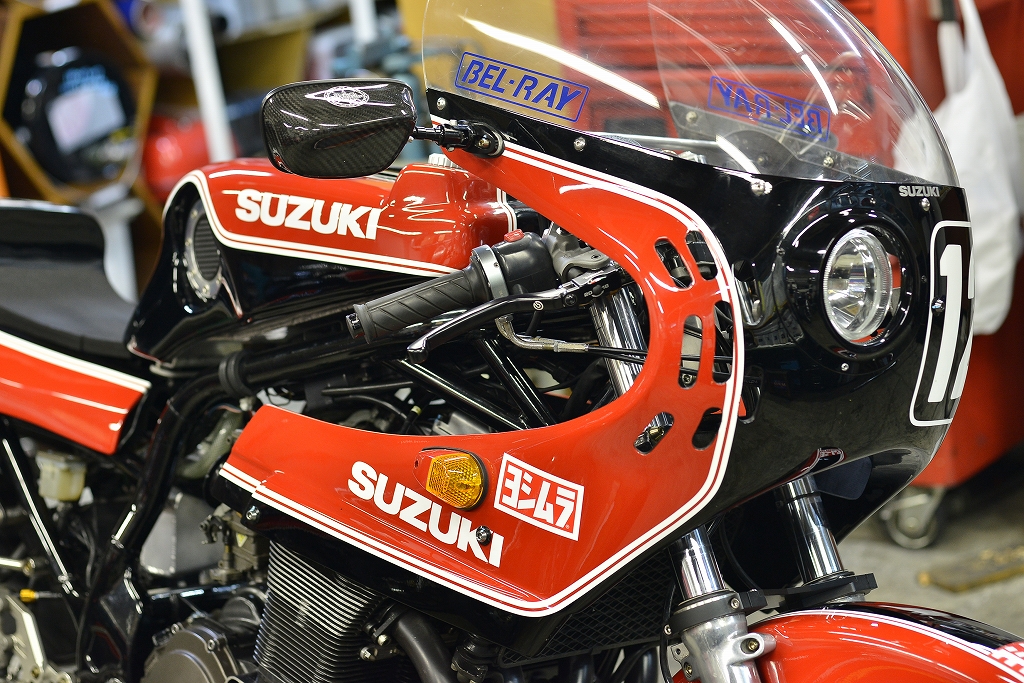
We’ll proceed while checking the current state and improving serviceability.
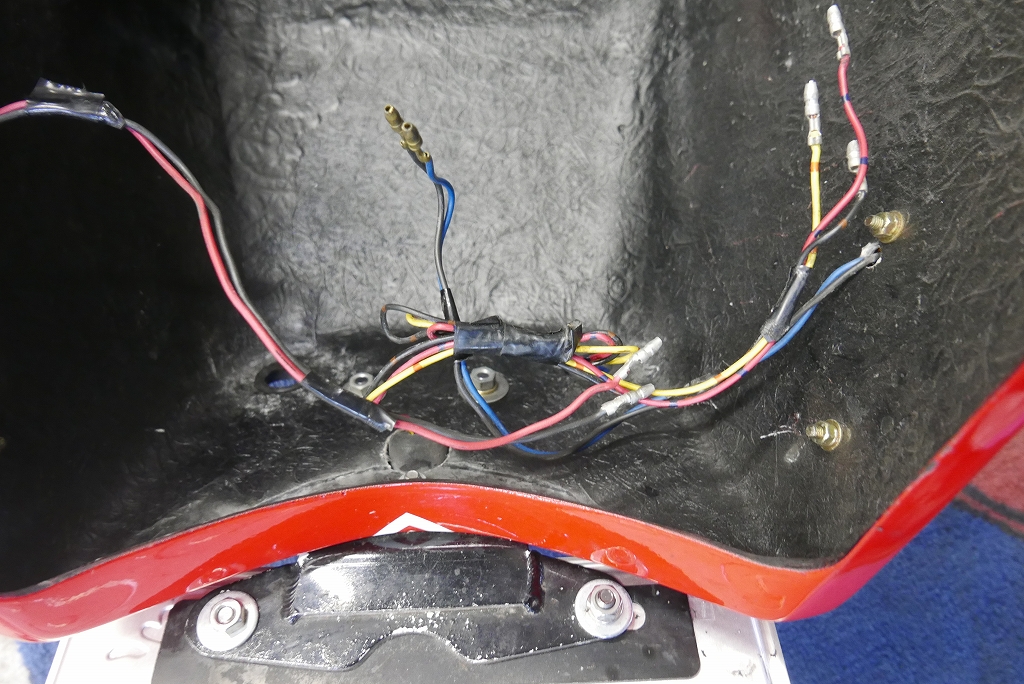
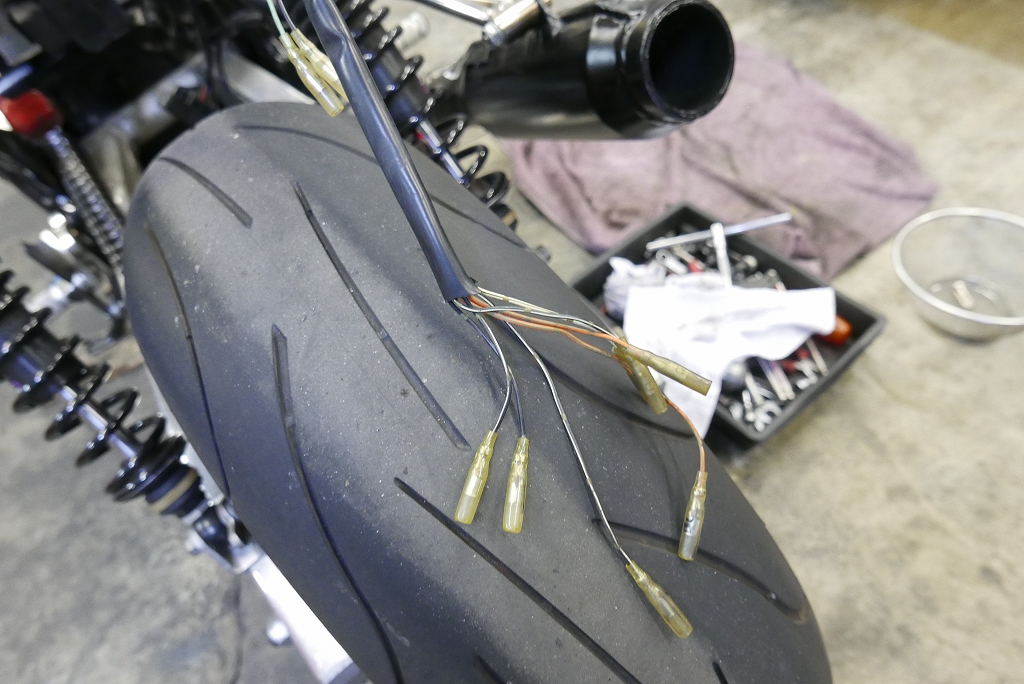
With all individual terminals, disconnecting and reconnecting is tedious. Plus, since we’re using an aftermarket tail light and turn signals, the colors differ. Consolidating into one connector will make things easier for everyone going forward.
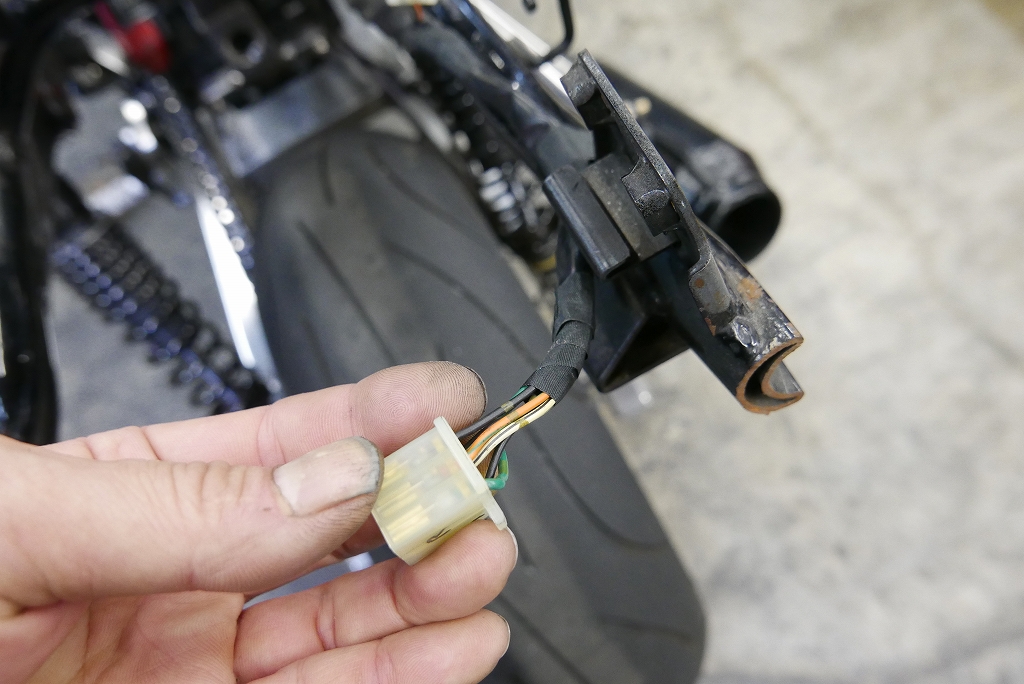
We integrated everything using a 9-pin connector.
Removing the tail cowl might become more enjoyable. 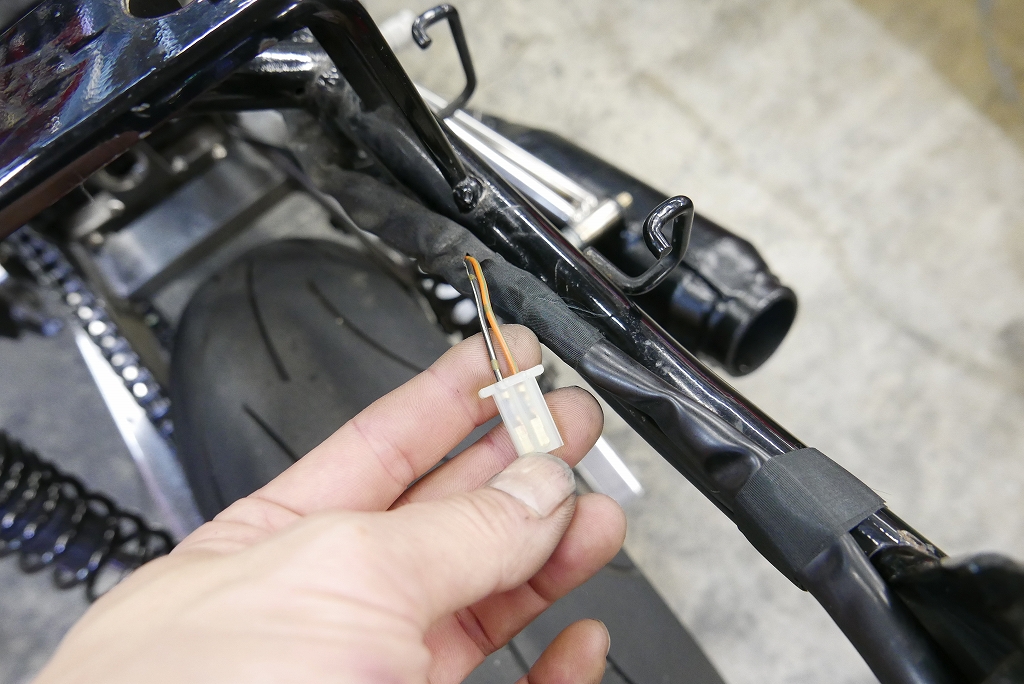
The license plate light wiring was left over, so we’ll use it as an auxiliary power source to connect the ETC.
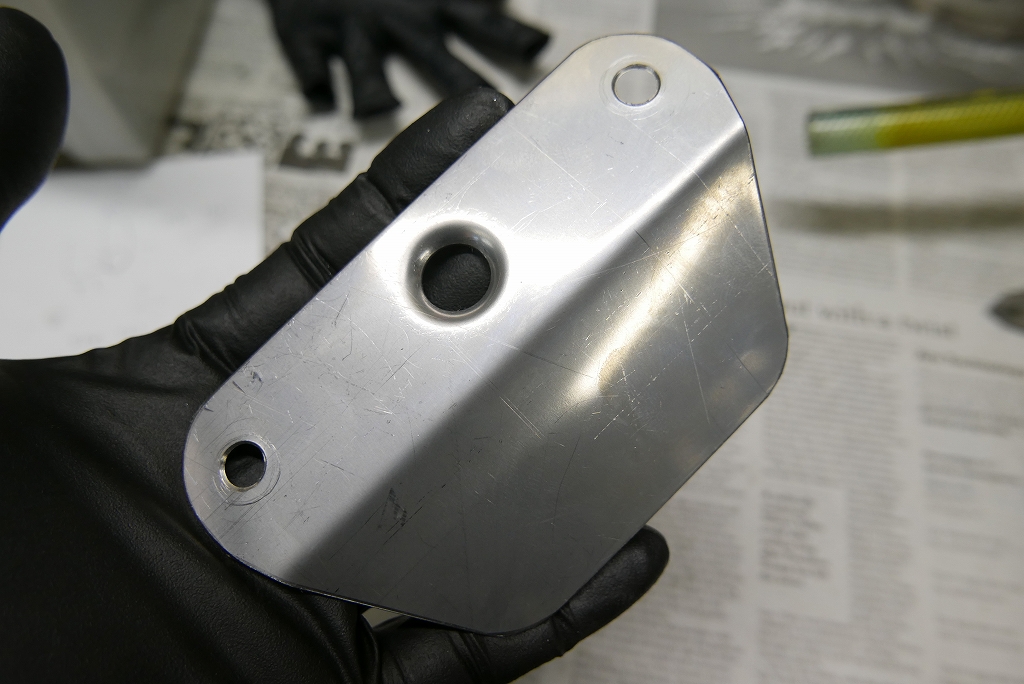
We’re preparing to relocate the double-sided mounting material to the catch tank. This is the limiter cut.
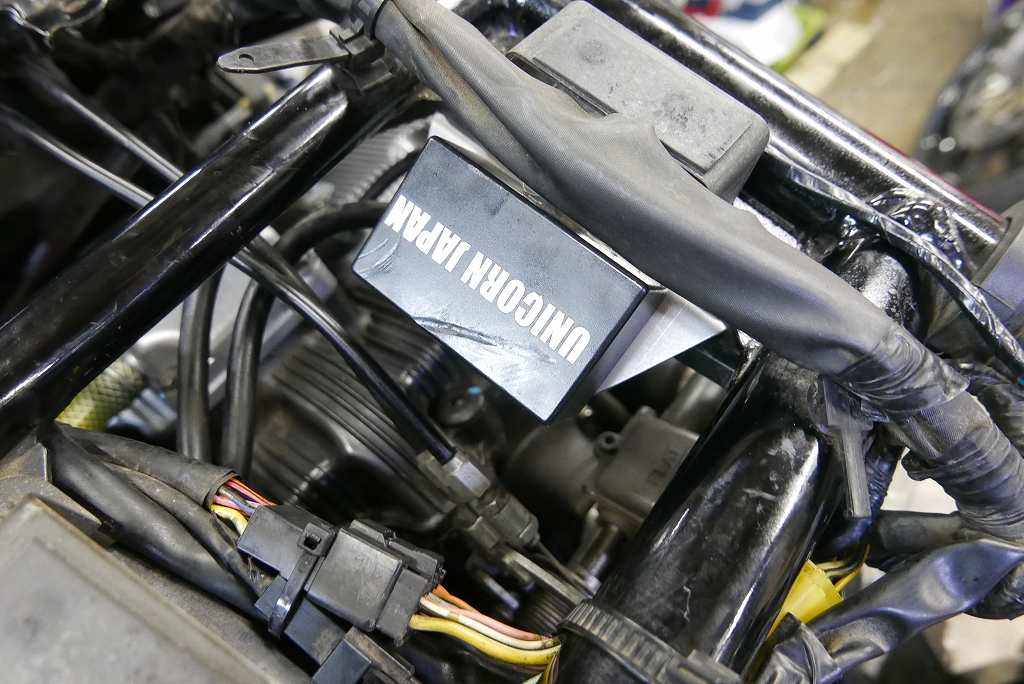
We relocated it to the upper side of the coil.
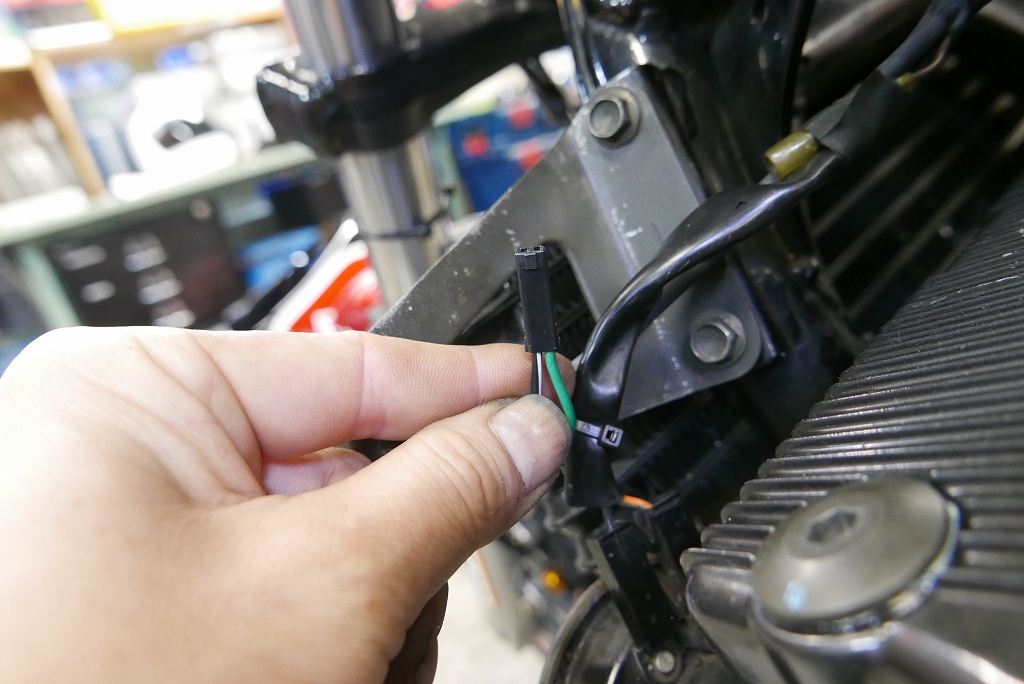
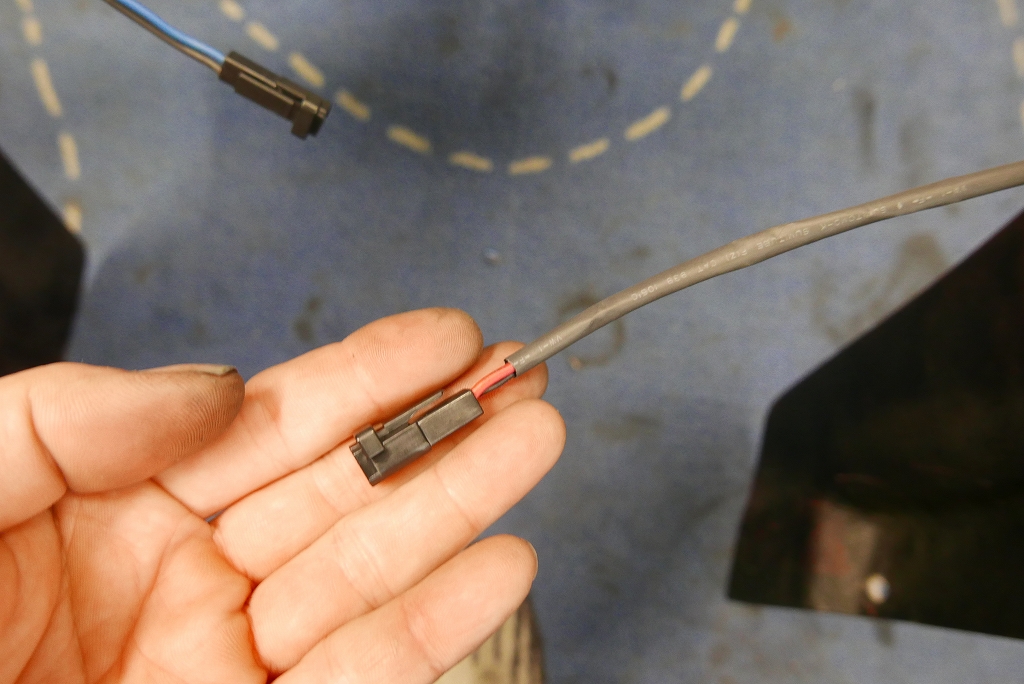
Front turn signal. From a maintenance workflow perspective, it’s better to avoid using individual terminals where possible. With connectors, disconnection and connection are easier, and mistakes like improper insertion should be reduced.
It’s a bit of work, but considering the time we’ll spend on this in the future, it’s probably worth doing now.
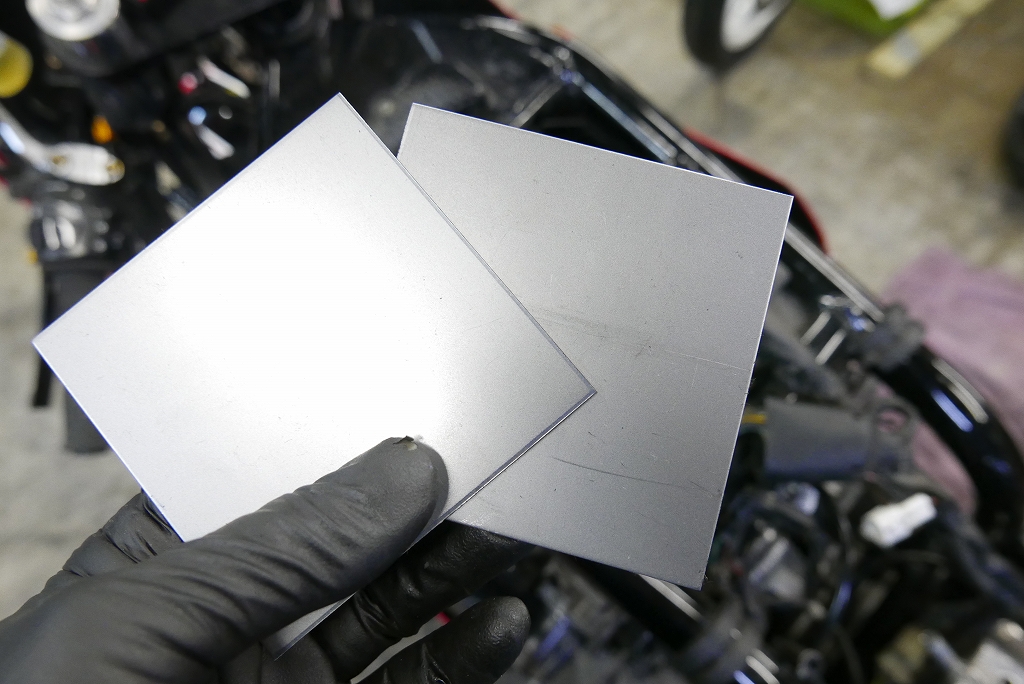
Two sheet metal pieces cut on the shear.
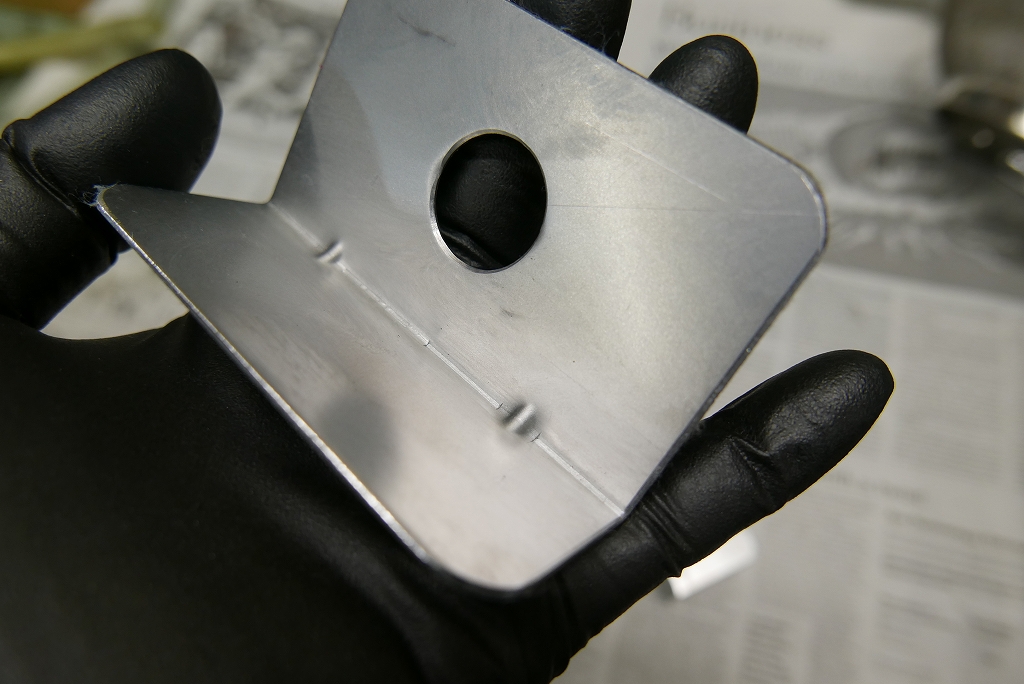
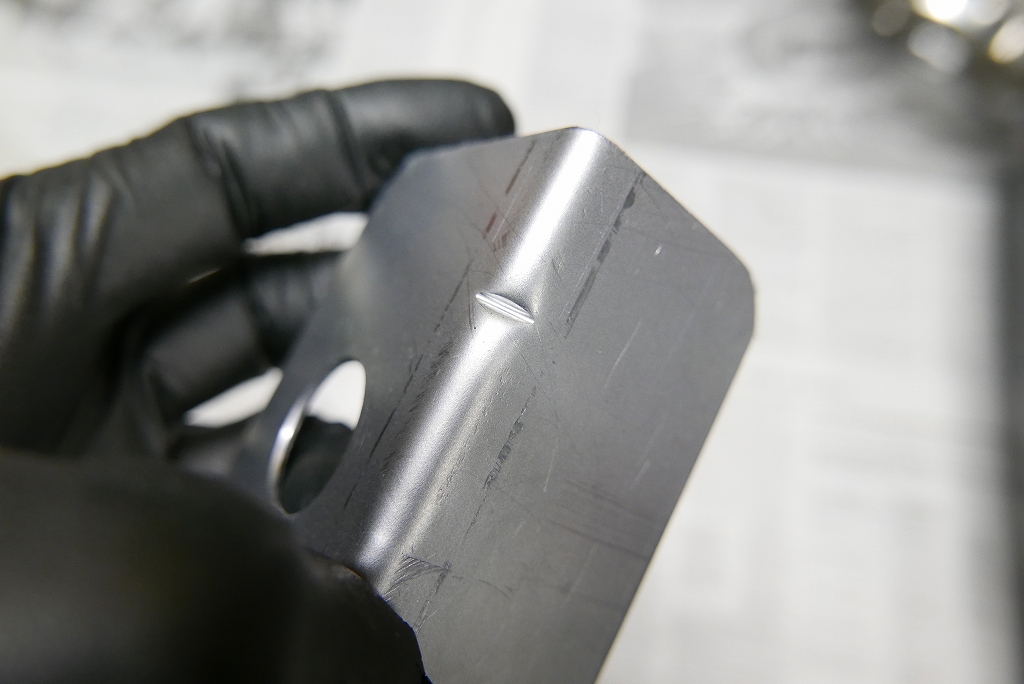
We fabricated bent pieces with ribs.
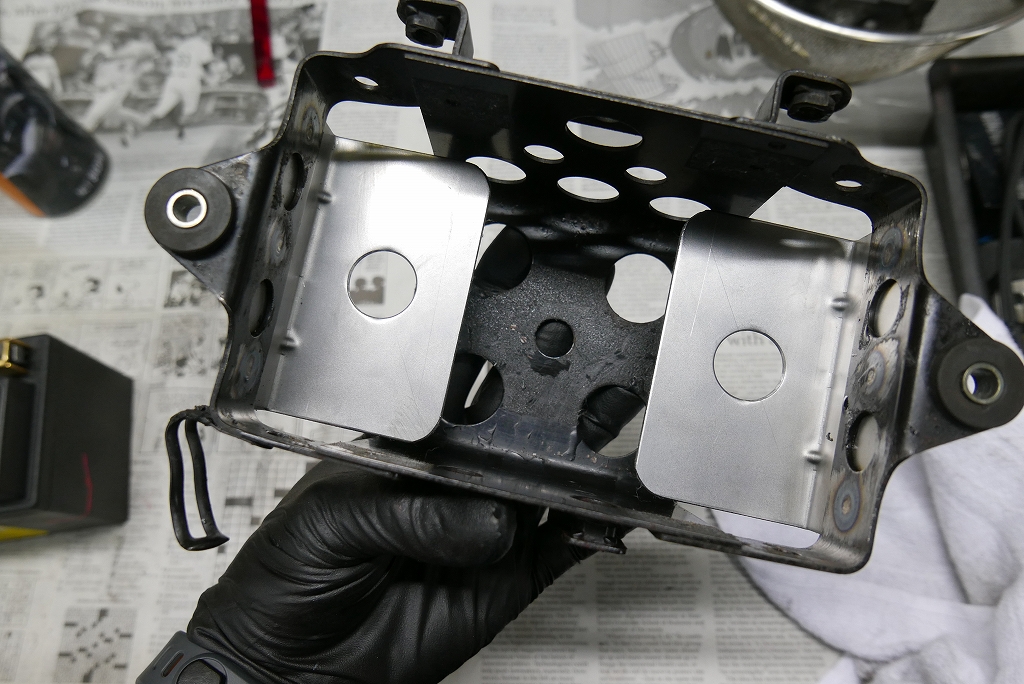
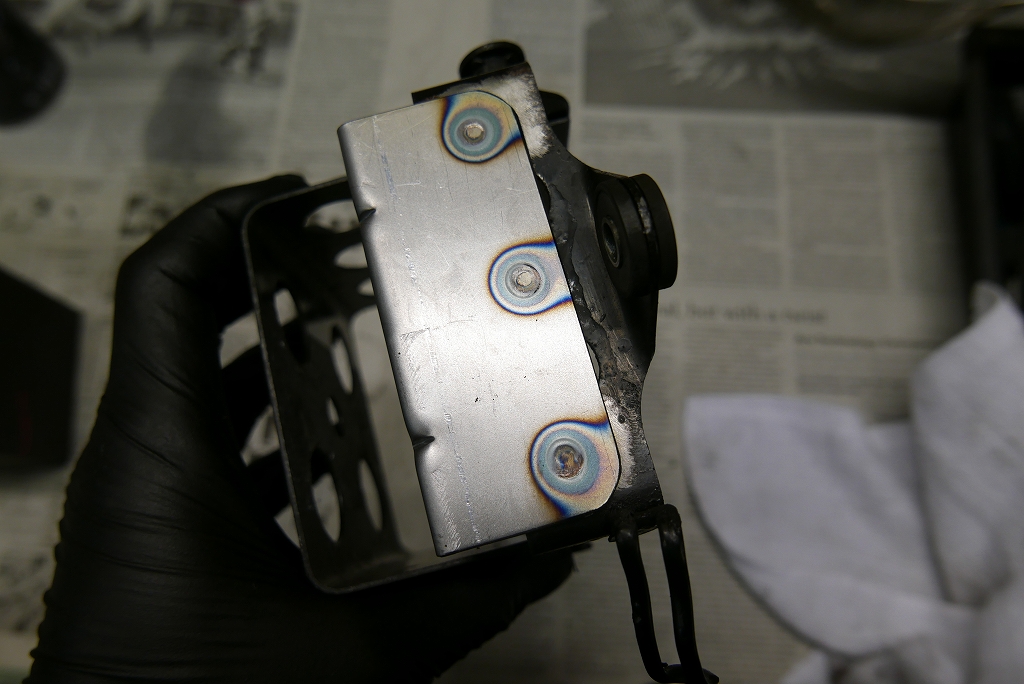
• The lithium battery means the raised space is wasted
• Since spot welding is from the outside, it can be removed by working it
• A hassle-free method = we can reduce labor costs.
That’s how we proceeded, thinking through various considerations.
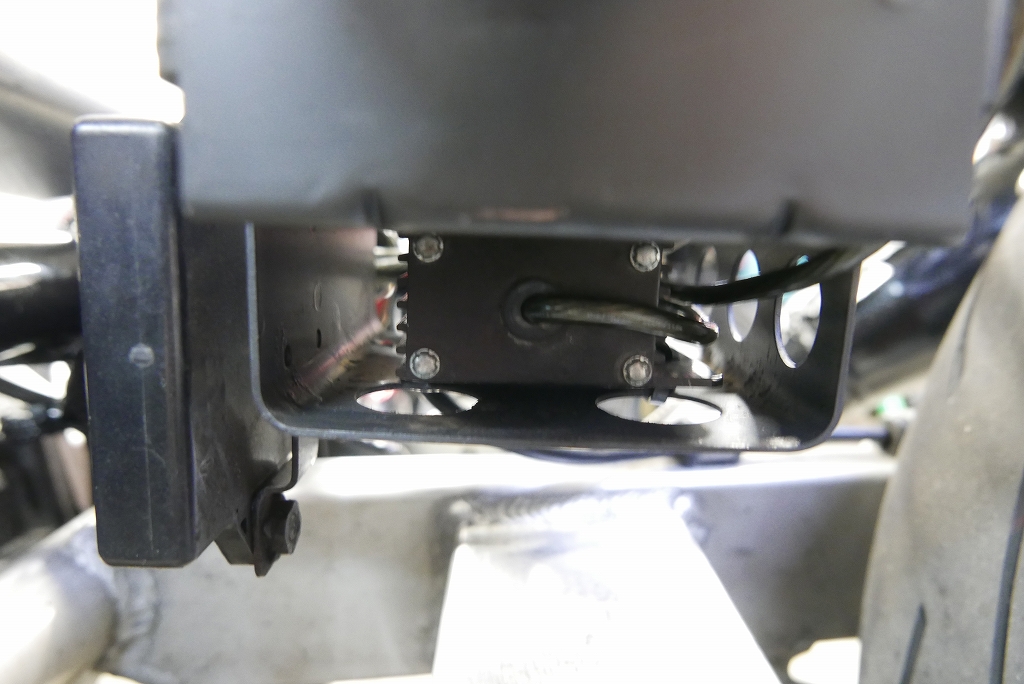
We can now store the second double-sided mounting electrical component under the battery.
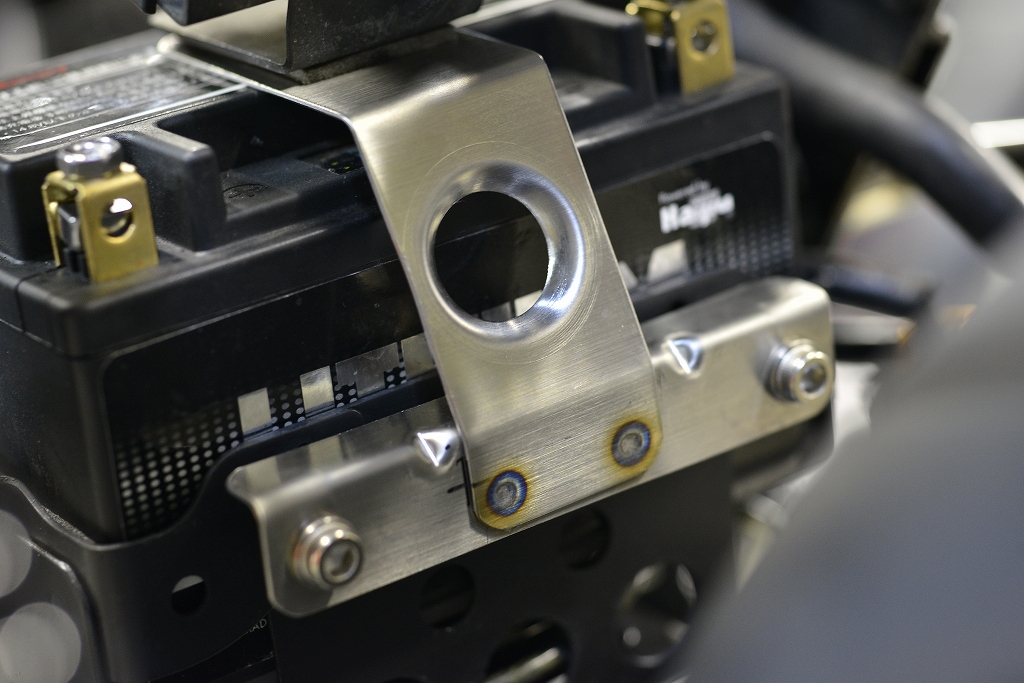
The battery case vibration bracket was a bit rough, so we rebuilt it while we were at it.
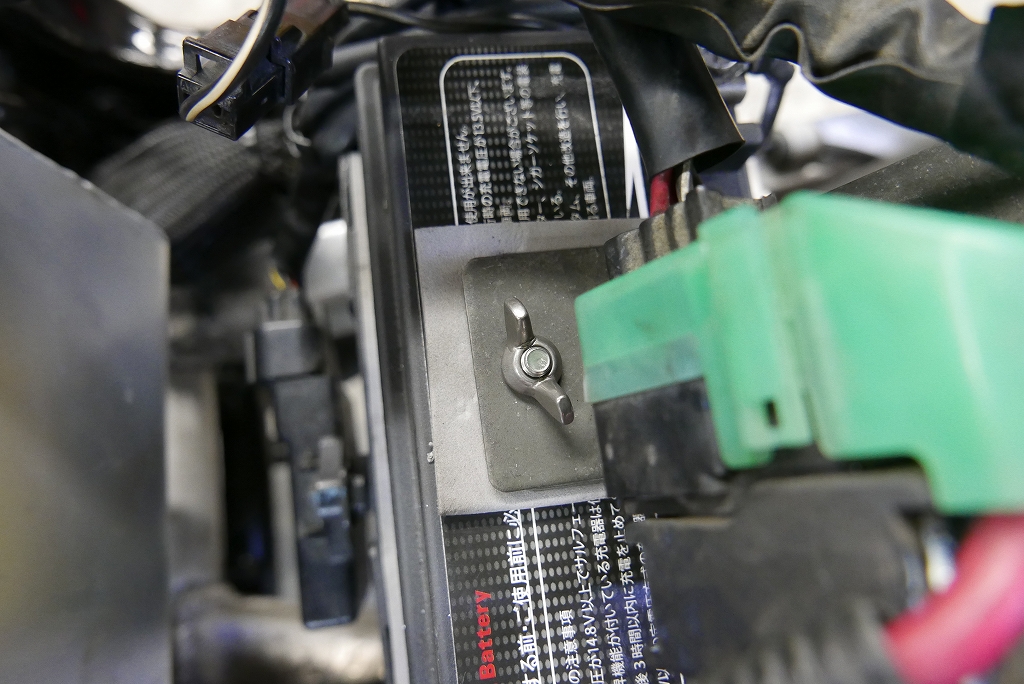
The top uses wing nuts. We did it this way with serviceability in mind.
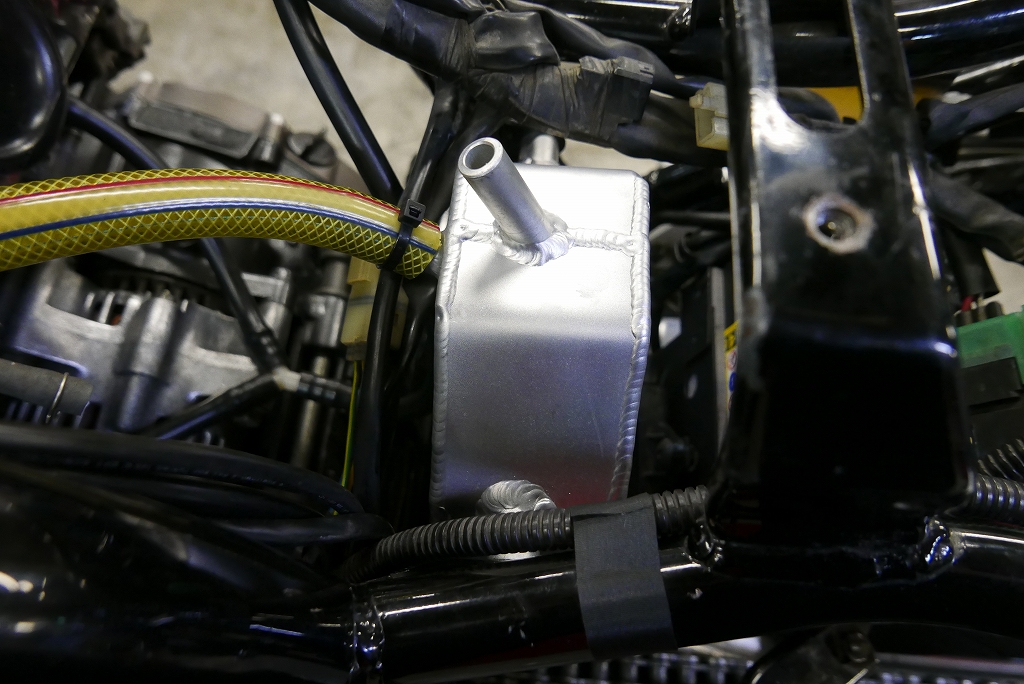
While we were at it, we also polished the catch tank. We could continue with the buffed finish, but it’s quite labor-intensive. A slightly matte finish actually holds its beauty better over time.
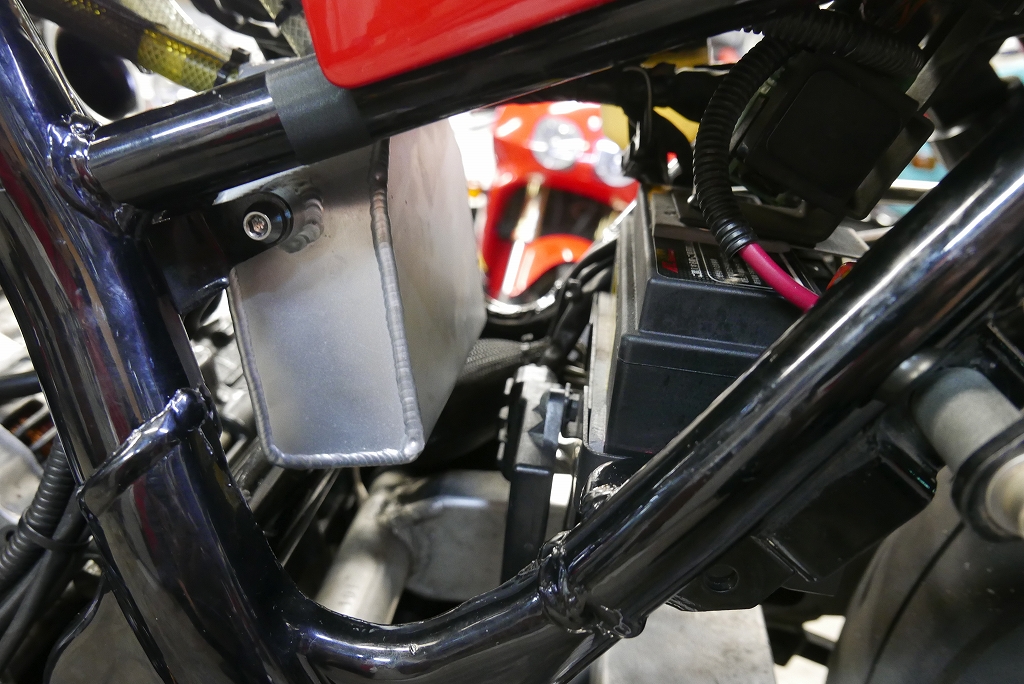
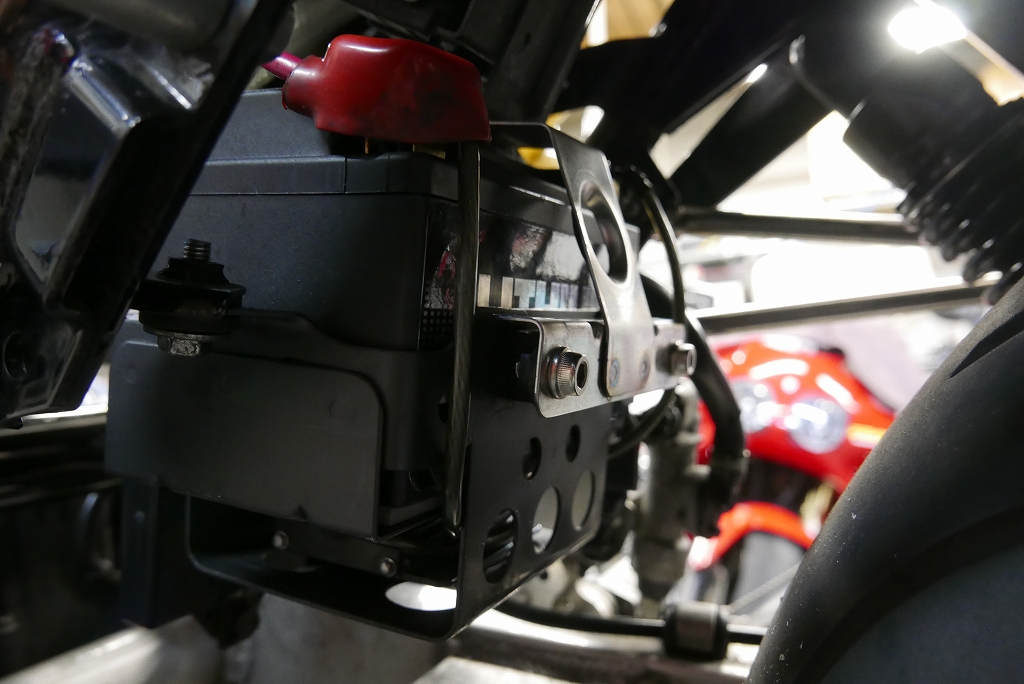
As long as the owner knows, we don’t need the previous image. I think it looks much cleaner now.
If we put more effort into relocating everything, we could even make it look open from the side.
Well, there are a lot of new parts involved, so it gets expensive. For now, I think good organization is the way to go.
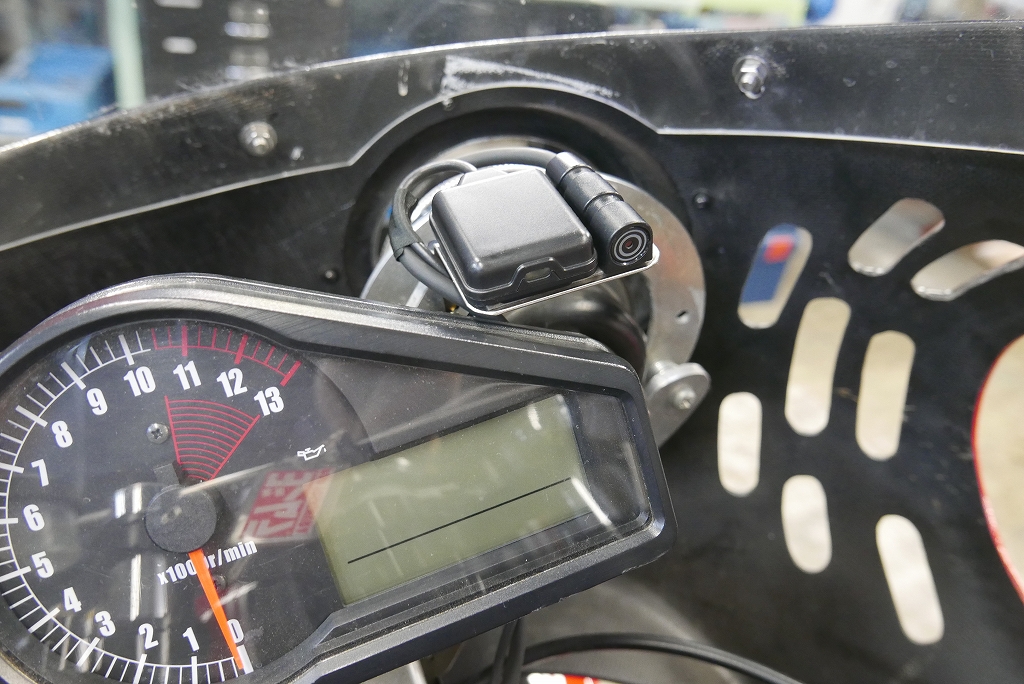
We also made the ETC antenna setup more visible and simple.
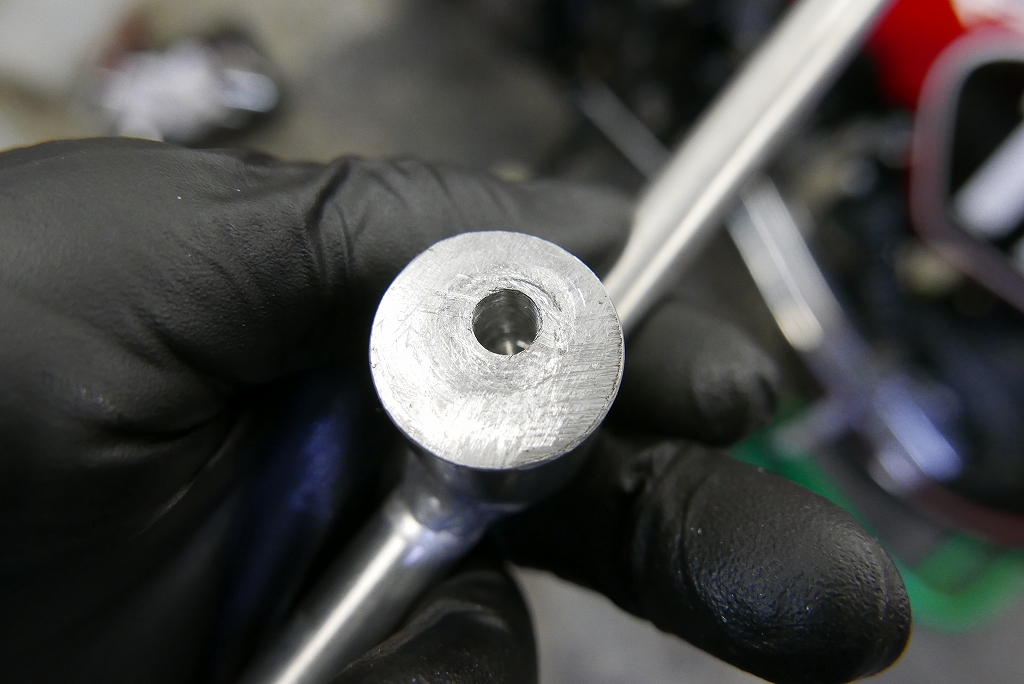
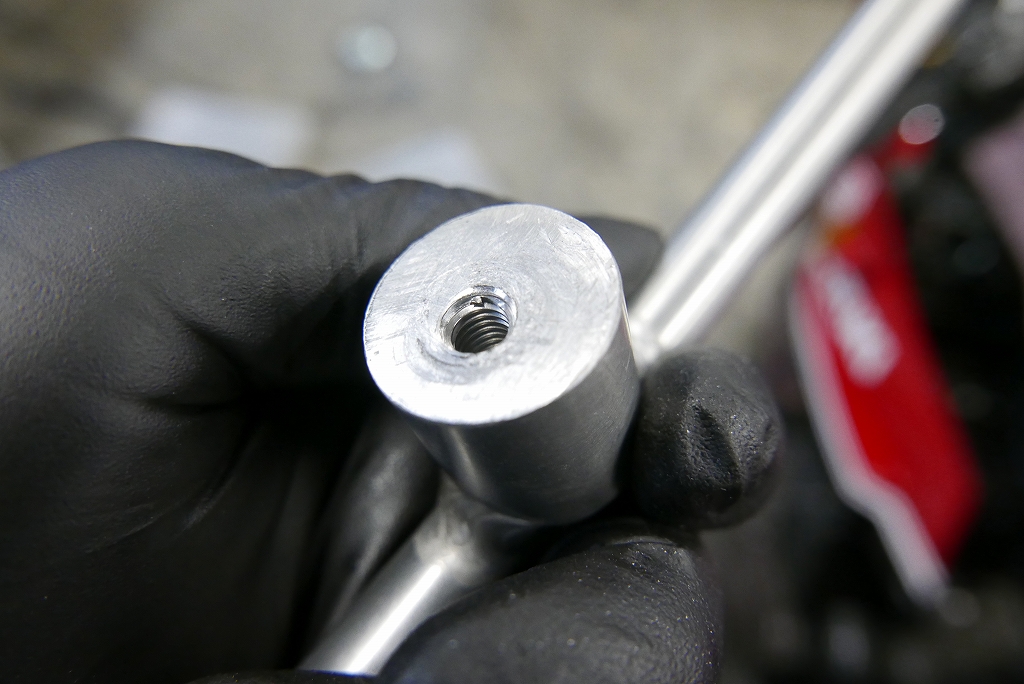
Something that needs attention going forward. And it’s not even centered…
Plus the bolt threads are stripping. With that much stress on it, it won’t hold.
* This is still temporary, so it’s a point to watch.
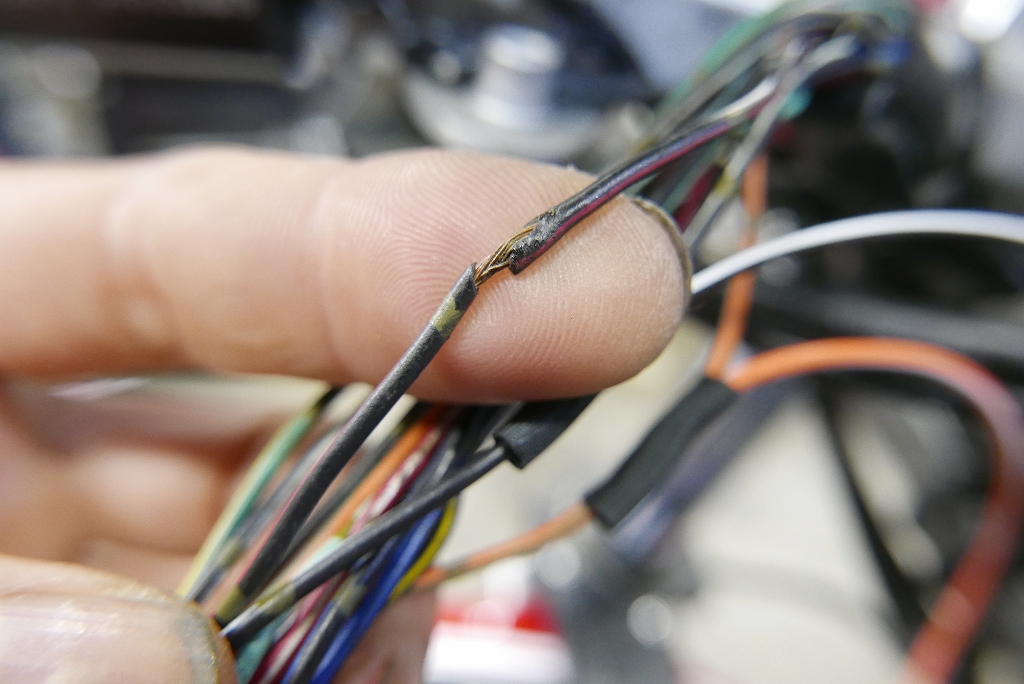
There were places where the insulation was starting to crack, and I thought it was surprisingly good that we caught it.
Next…
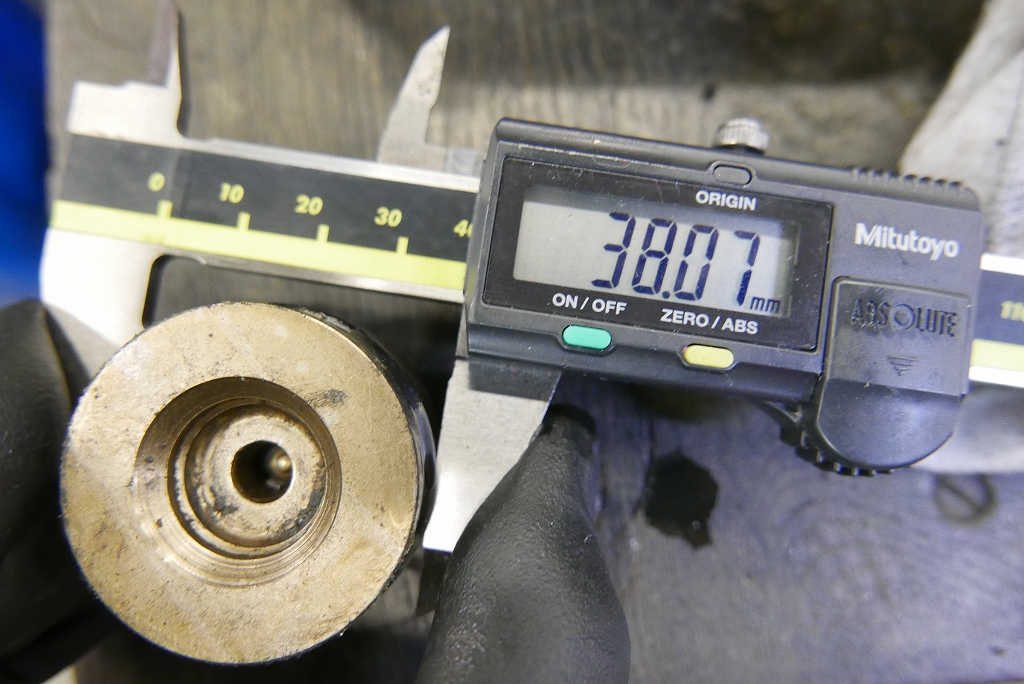
Bandit ALL/GSXR750 early/GS-SS cup 23163-05A00
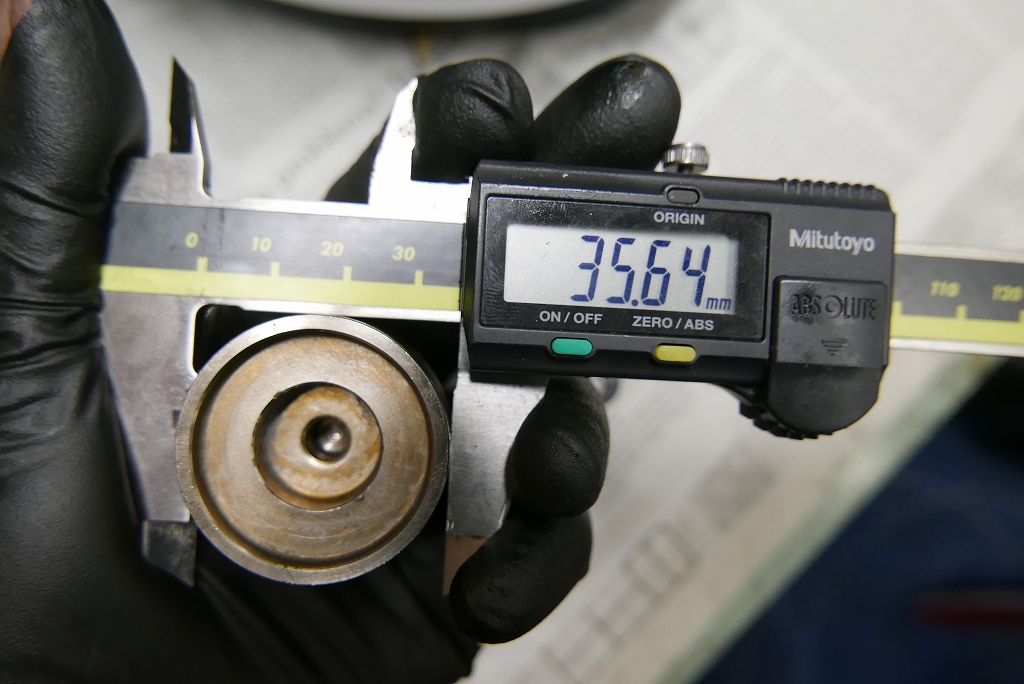
Inazuma/GSXRH~N/GSF/GSX1400 cup part number 23163-06B00
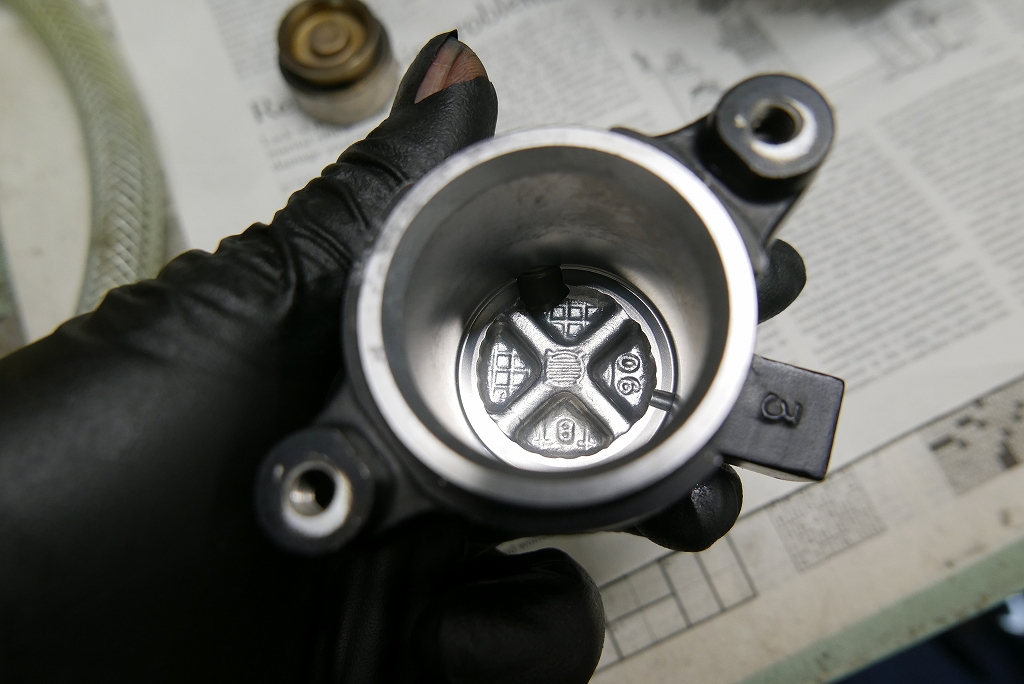
Here’s what we’re doing: install a 16mm Brembo clutch master → it’s light → doesn’t disengage → to disengage you need to reach far on the lever. That’s the sequence.
So since there are two types of release cylinders, making it smaller might help a bit. That’s the thinking.
We didn’t have a used one, so we were looking at a new part, but I thought ‘what if it doesn’t work—wouldn’t that be wasteful?’ So I seriously searched for a used one and found it. We’re going from 38mm to 35.6mm.
We’ll polish it, polish the piston, replace the cup, and test it.
* Honestly, it might not make much difference. Sorry, I haven’t ridden it before the change to confirm…