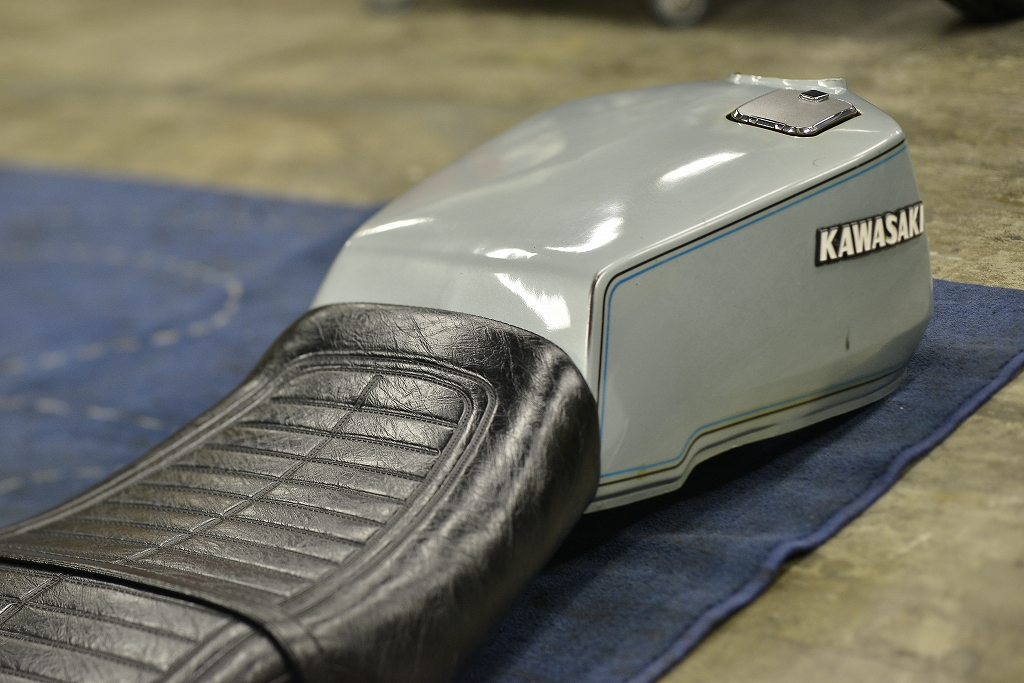
Inspection, coil & NGK power cable replacement, Sunstar rear brake complete maintenance kit, and Newtech oil change—quite the job list.
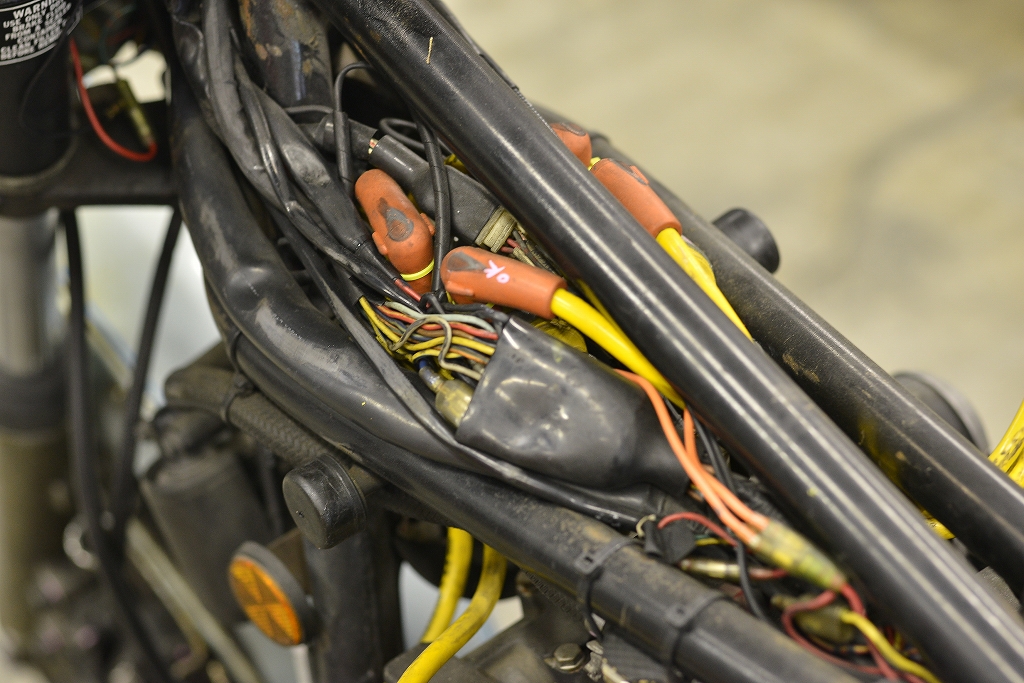
I’ve been turning a blind eye to this condition for a long time, but honestly, it’s gotten tough on both the eyes and the work, so this time I’m tackling at least a bit of it.
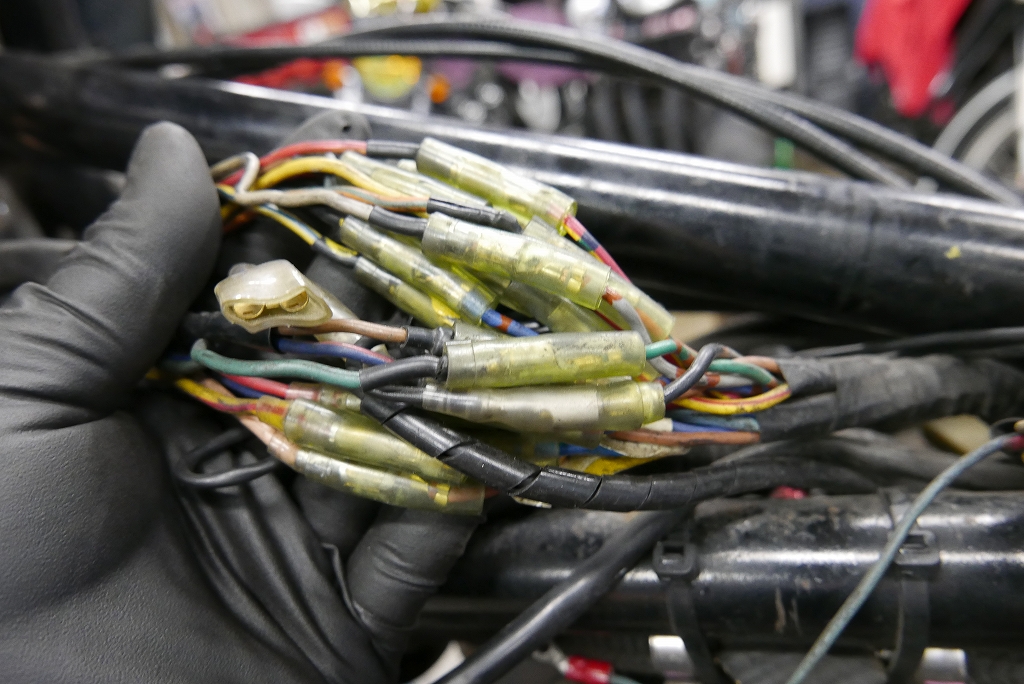
First thing I think is: whoever did this work is amazing. Unplugging and replugging is tedious enough, and the connector colors don’t even match. I wonder if they kept notes? In a way, I respect it.
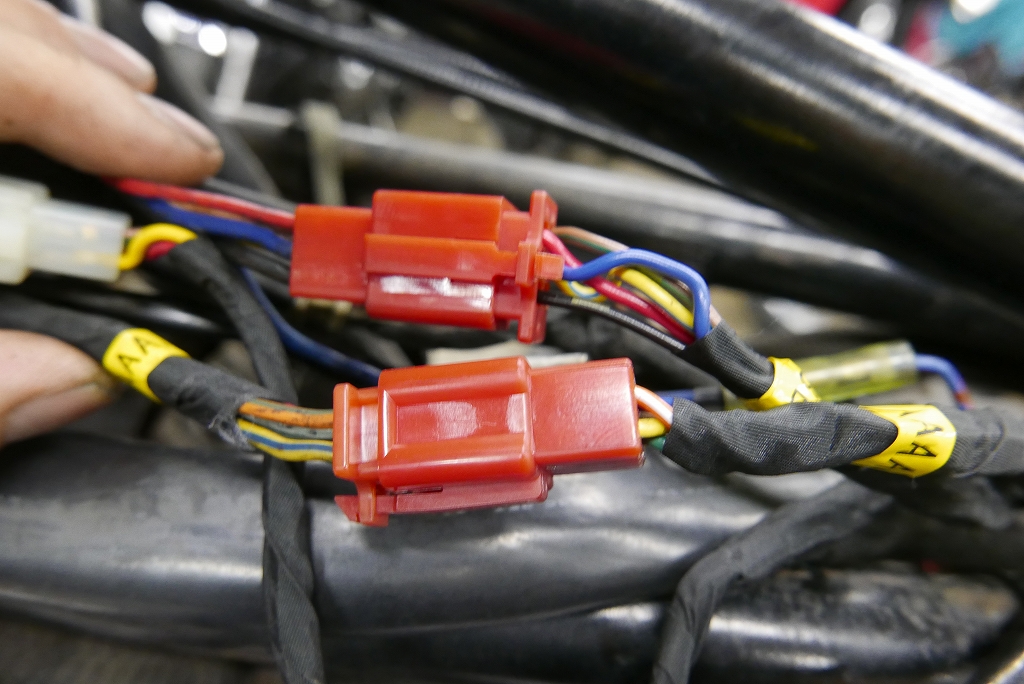
Since the harness is old, I won’t get too elaborate. For example, if you use connectors of the same shape, even if the colors differ, you can orient them so misconnection is impossible—that’s the safe approach.
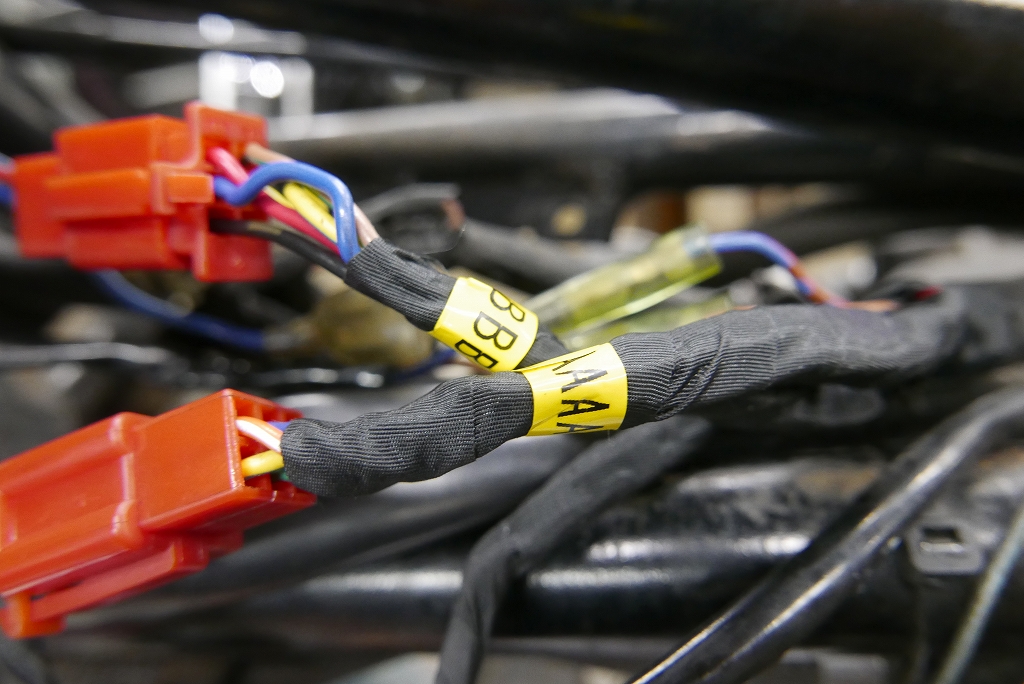
And being extra careful to make it impossible for anyone to get it wrong pays off down the road. Factory wiring is designed so you can pull connectors apart and reassemble them any number of times. That’s where manufacturers really shine.
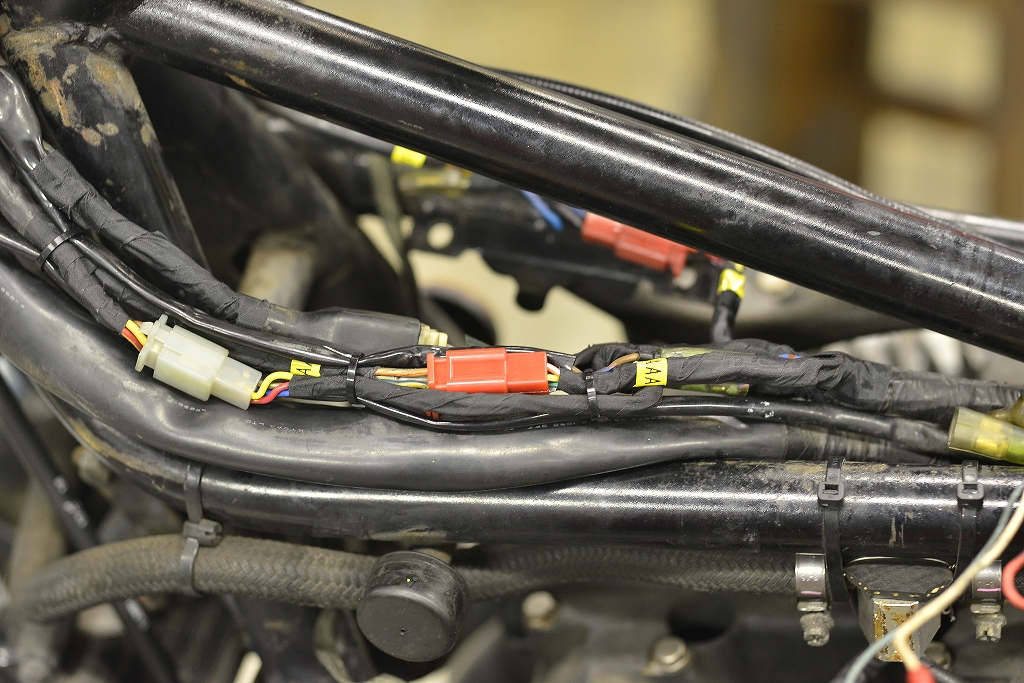
I think the basic rule is not to line connectors up side by side—they take up too much space that way.
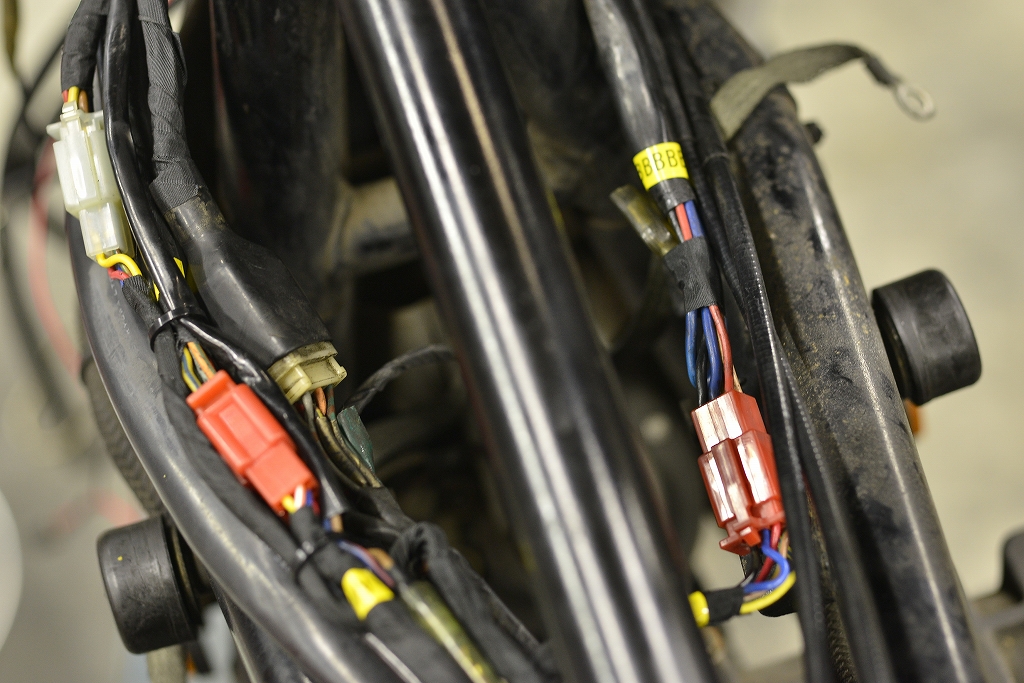
I split the wiring that could be routed left and right.
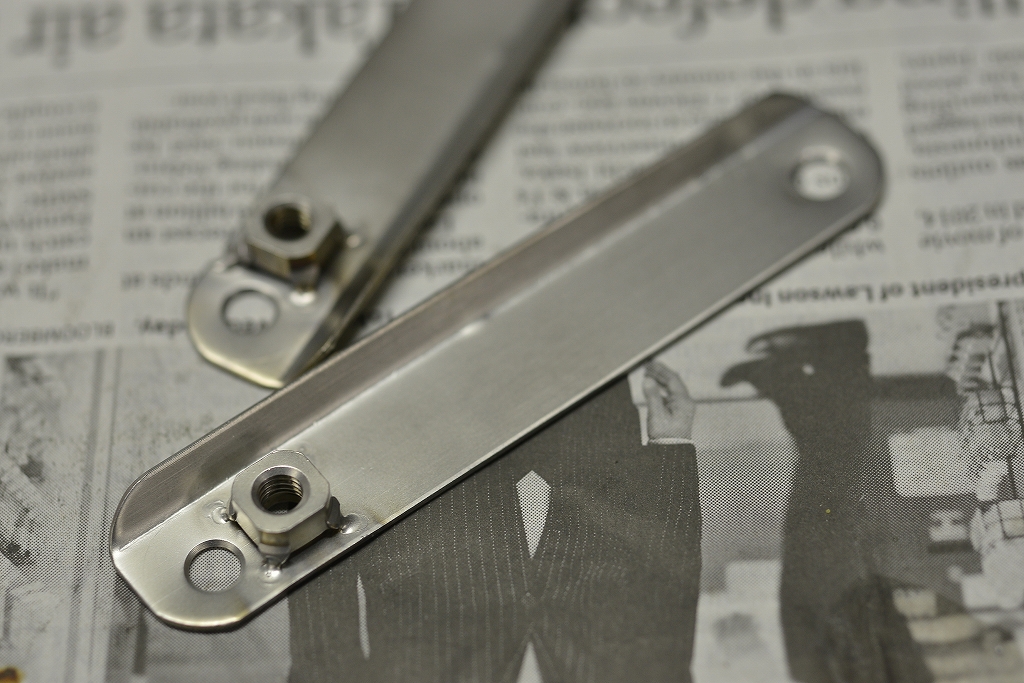
Once I had a spot for the coil, I adapted a Kawasaki coil P80MM.
The Z1R is 90MM.
You could use a Suzuki P90MM, but the cord is basically press-fit. Even if you manage to get it off, the removal method carries unexpected risks.
So I made a really easy 80–90mm conversion bracket.
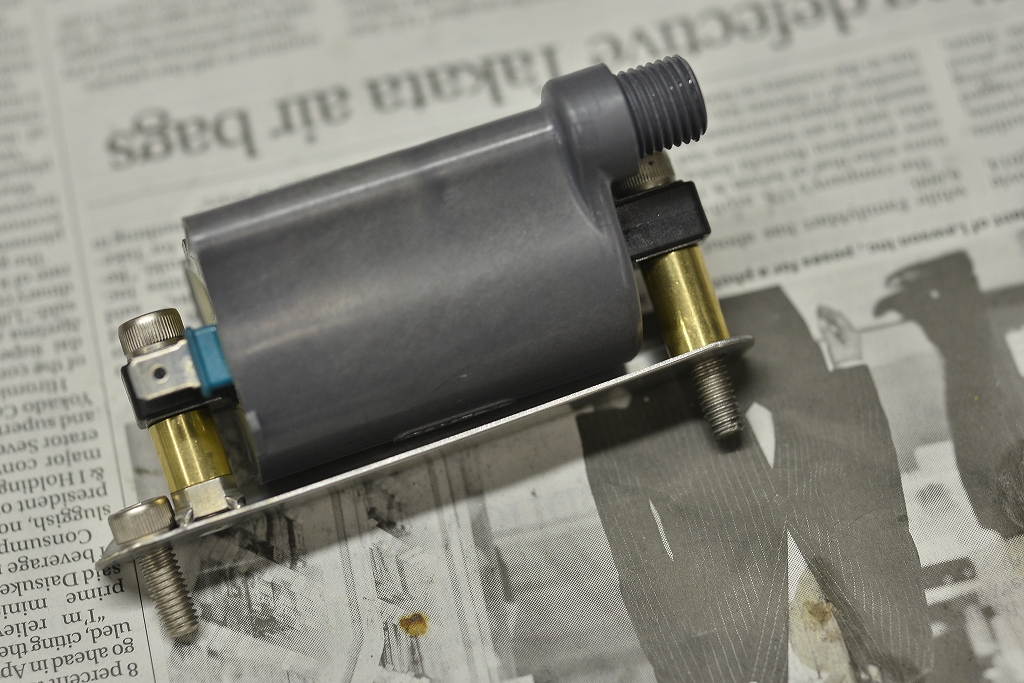
Here’s how it’s set up. The mounting is nut-fixed from the back side, which looks a bit tacky, but that’s how it has to be this time.
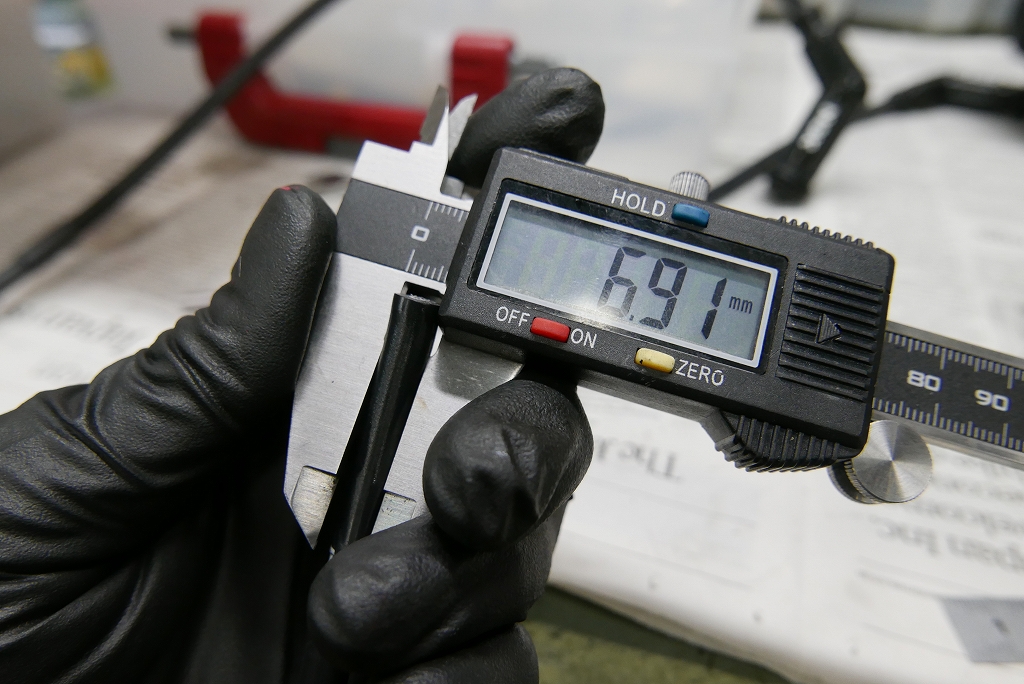
The factory cord outer diameter is about 6.91mm.
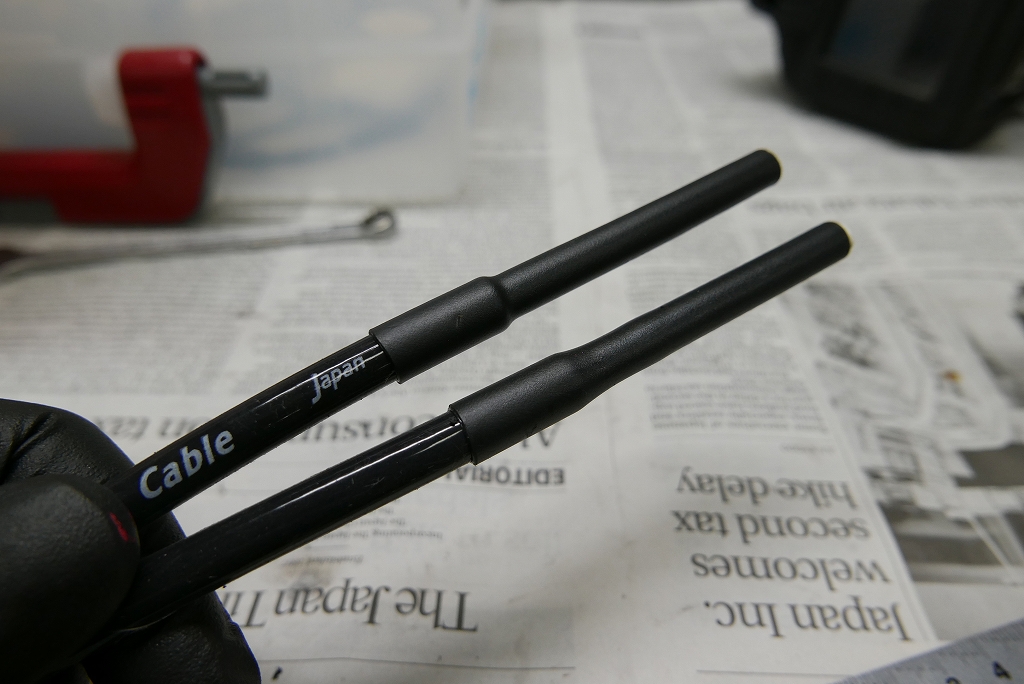
The power cable as-is is about 7.95mm thick. But peel off the black sheath and it’s thinner. If you cut corners here, trouble always shows up later.
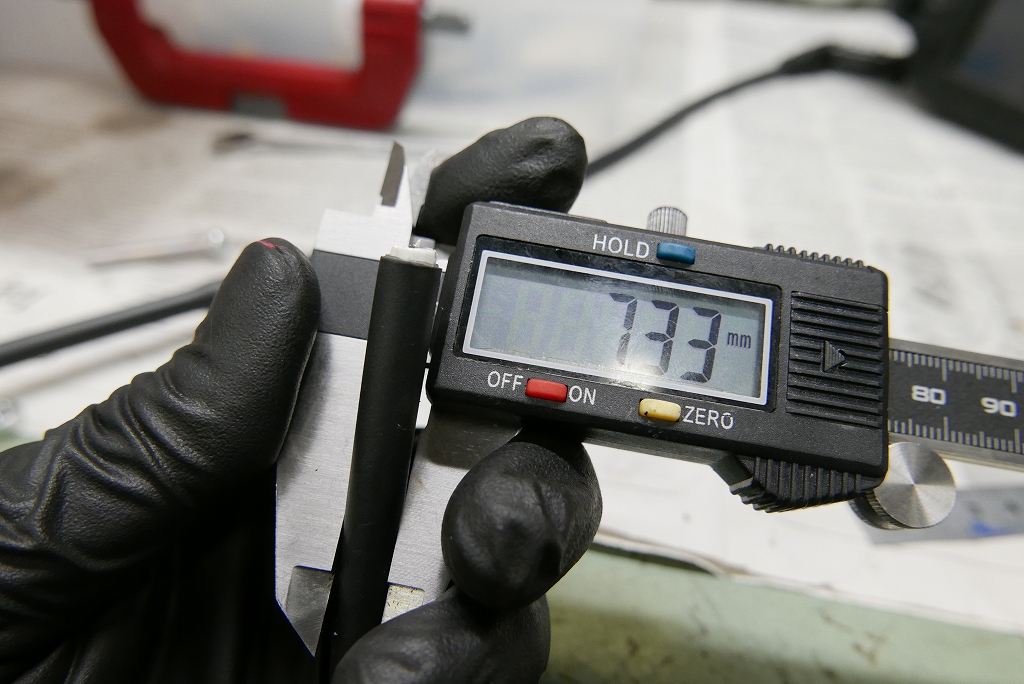
It’s a bit thick, but the coil cord insertion bore is about 7.5mm, so it works out nicely.
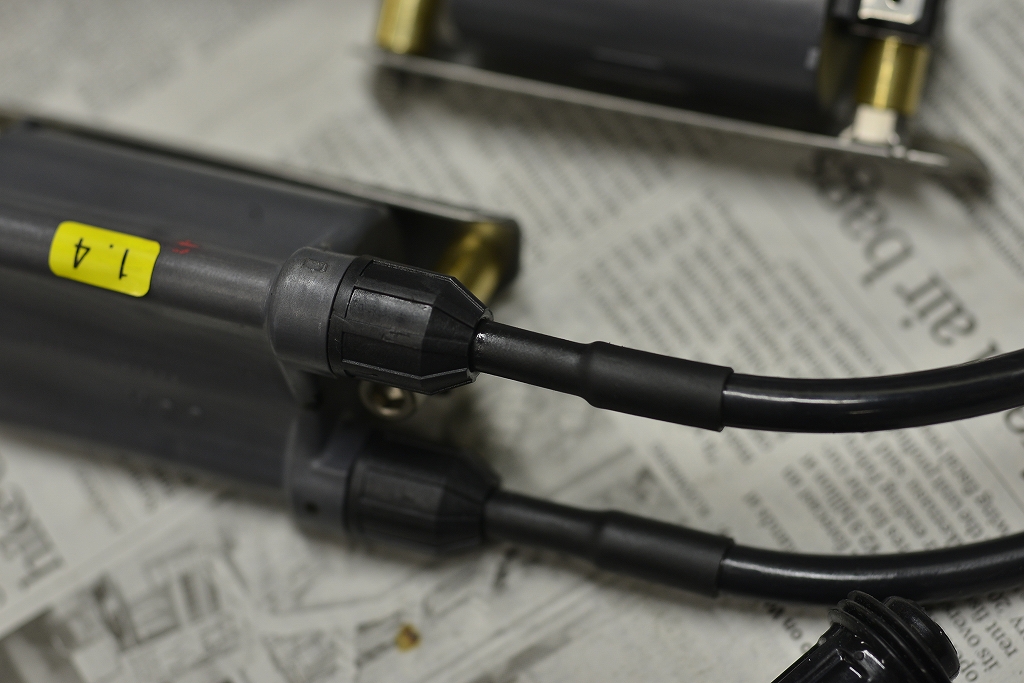
You have to make sure it won’t pull out even if yanked hard, or you’ll run into problems and caution points down the work line. You need to set it up so you can focus purely on the job.
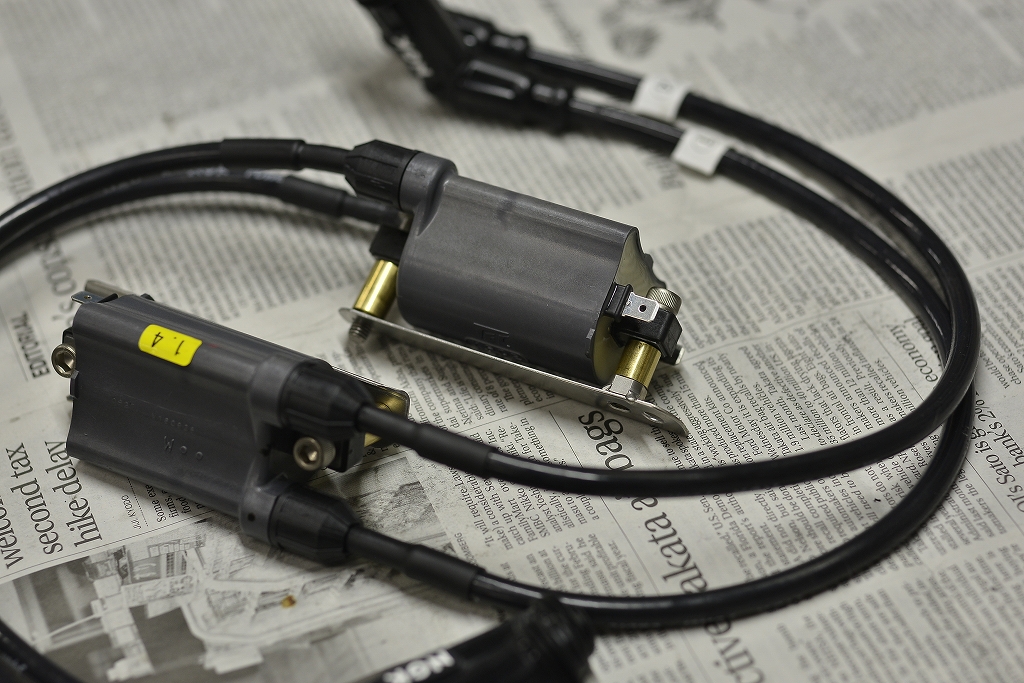
If you mark both the coil and the cord, future work will move right along.
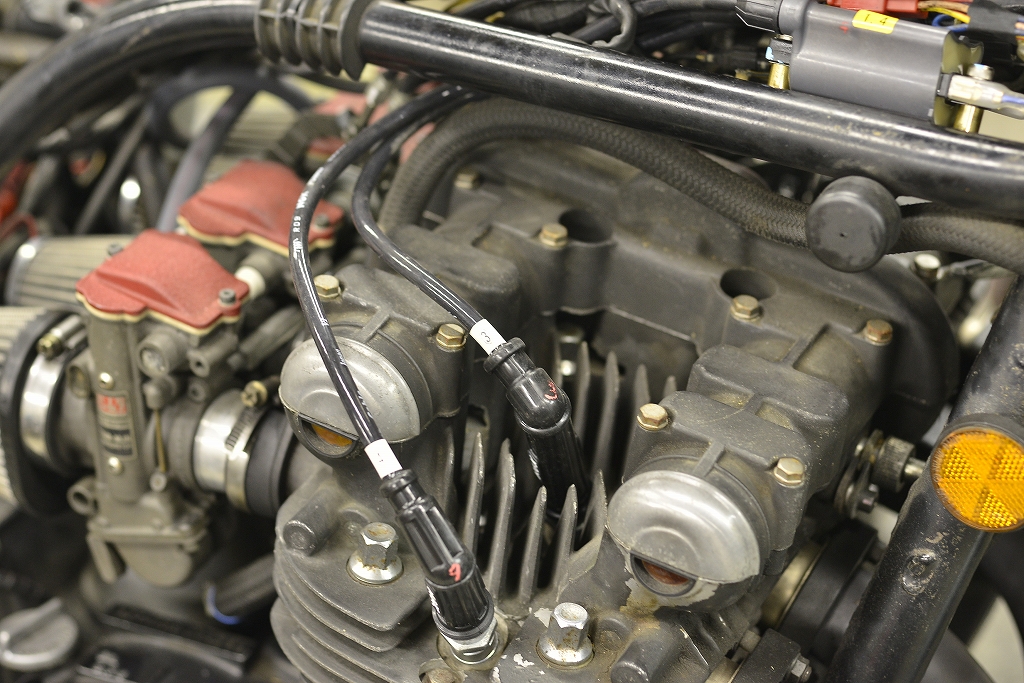
Really simple! Looks great.
By the way, this took quite a bit of time.
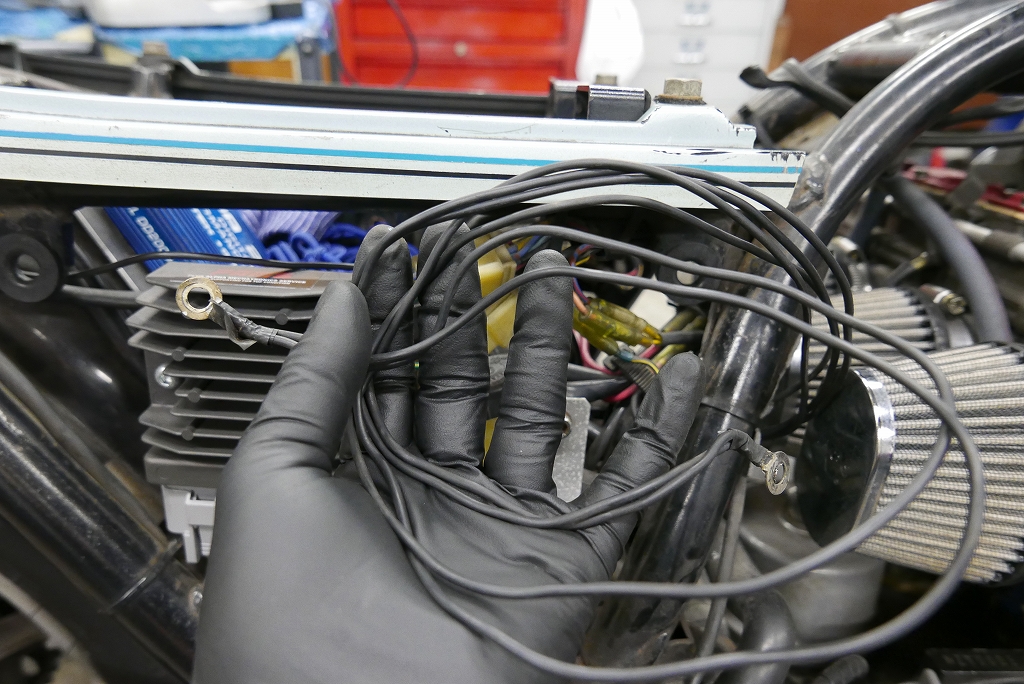
There are a lot of mysterious grounds scattered around.
The only thing I’d say is okay to attach to the battery is, at most, a charger.
• Grounds should be attached to the engine.
• The positive should go to the starter relay BT terminal.
If you’re going to connect to the battery, I’d really like you to mark how many wires are hooked up. I see bikes with three or four connected, and I’m amazed they don’t have trouble.
Electricity is like air or water—if there’s even a small problem, it becomes a real headache. Electrical work takes a bit of effort, but if you spend an hour or two on it now, you’ll have peace of mind going forward. The bike will run reliably, stay trouble-free, and stay in good shape for a long time.