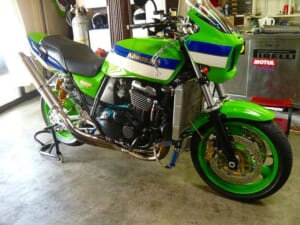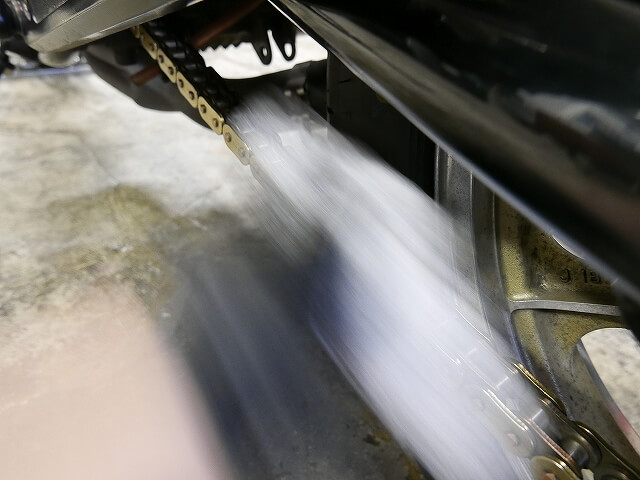
Just wiping the chain is enough to get it plenty clean.
Let’s do some self-point maintenance.
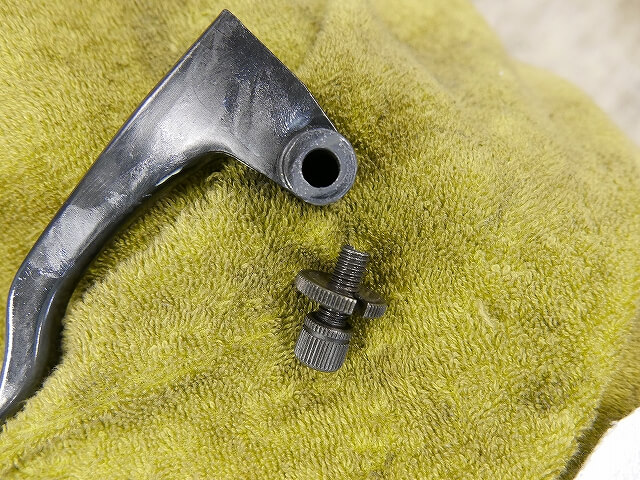
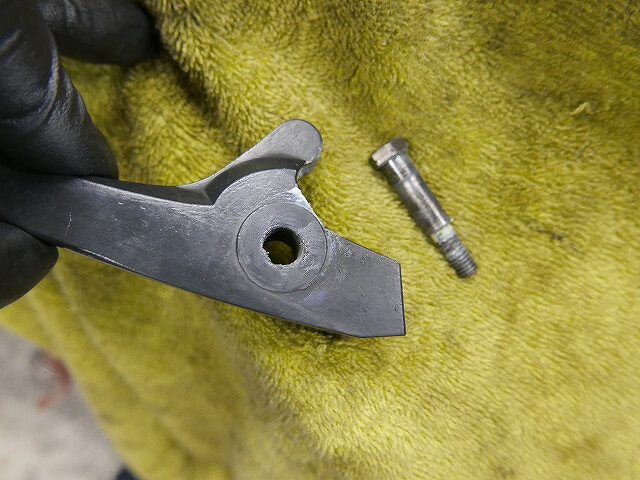
The control systems around the levers. When they’re lubricated, the soft aluminum levers and body wear less, which means you can prevent play from developing. The result is a longer-lasting bike.
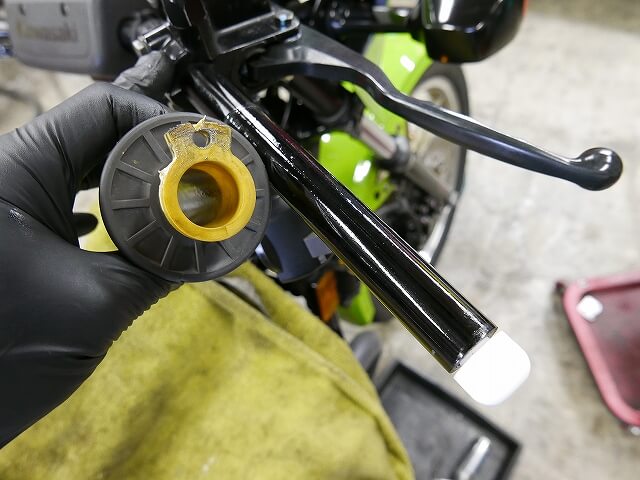
The throttle was in good shape too. I’ll apply just a tiny bit of engine oil to it.
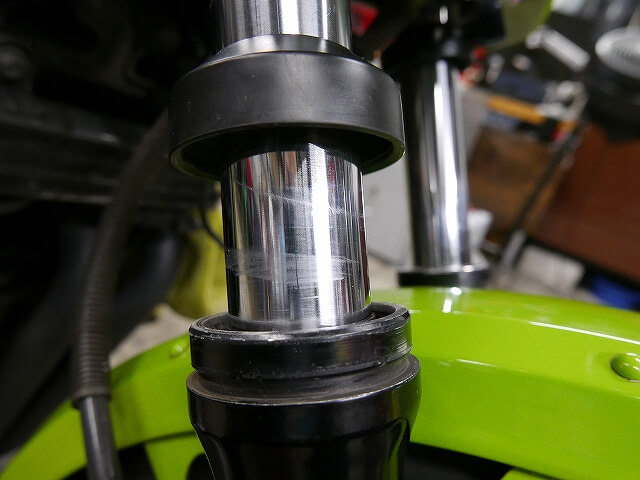
When you lift the boot, try not to use a flathead screwdriver if you can help it. Prying can scratch it, so be careful. If you move the dust boot up and down without lubrication, you’ll really feel how much resistance there is. Of course, this affects the plating on the inner parts, so you need to lubricate it so it moves smoothly.
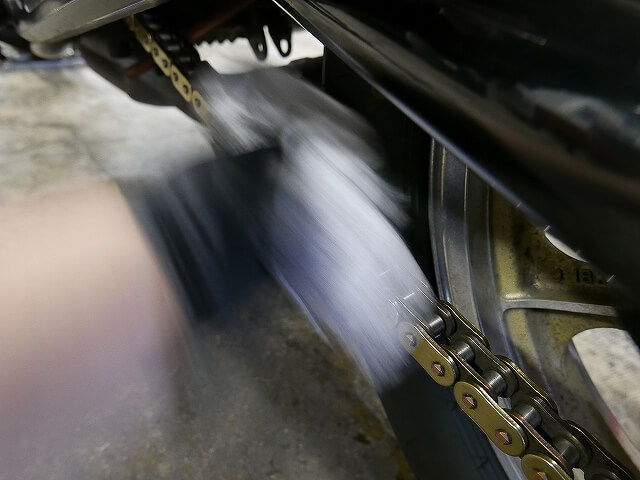
I’ll dampen a rag lightly with solvent and wipe it clean. Then apply oil. Some folks occasionally skip the oil, but oiling is better than not, even if some builds up in places you can’t see.
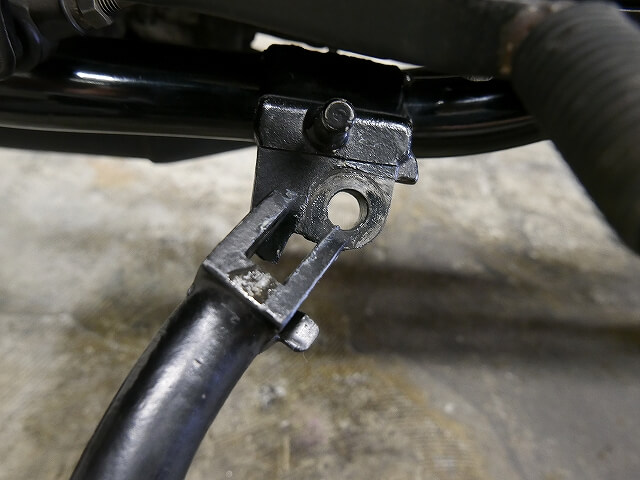
Oiling the side stand too makes getting on and off the bike much easier.
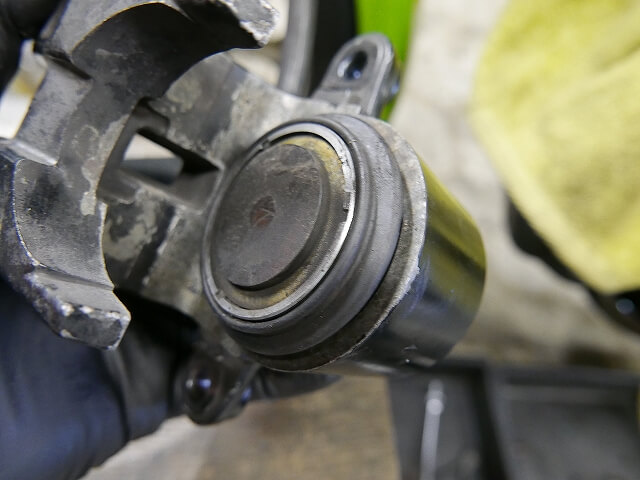
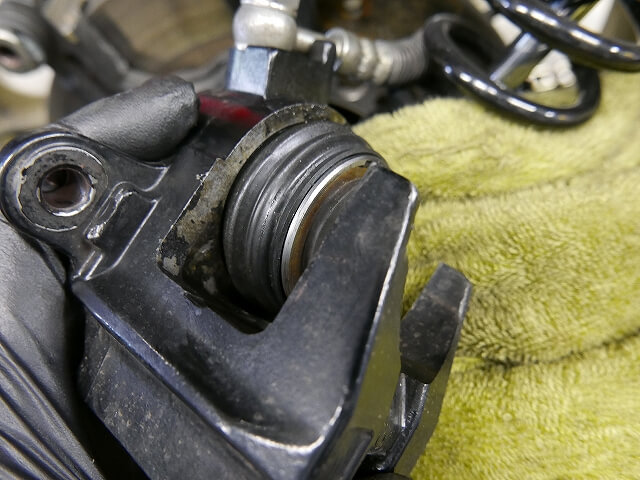
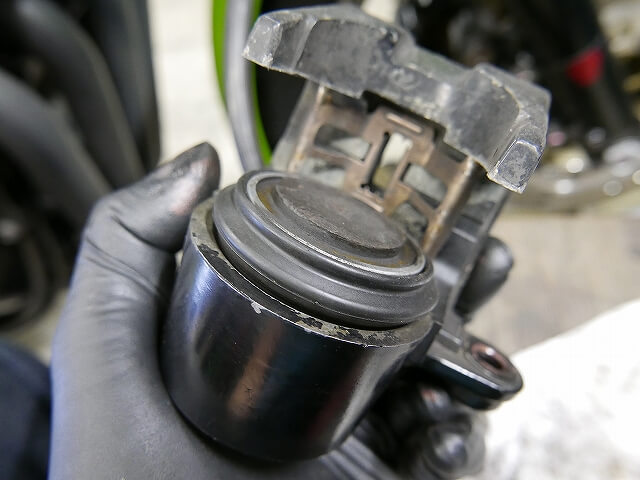
The dust boot gets in the way quite a bit, so instead of soaking it, I brushed through the gap and lubricated it with metal rubber.
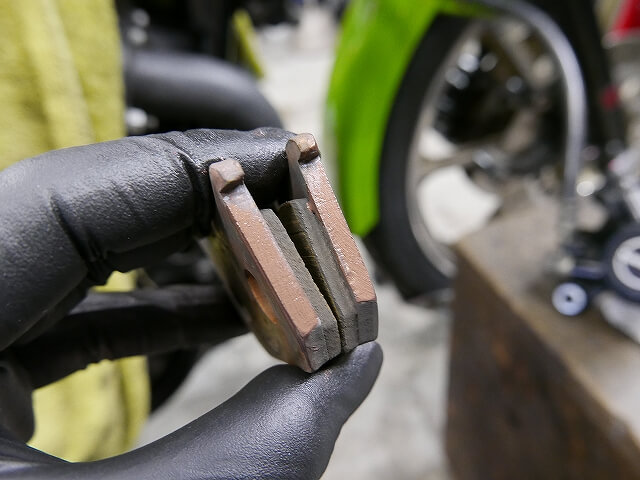
A light lubrication with a dry lubricant works great to keep the receiving side from wearing.
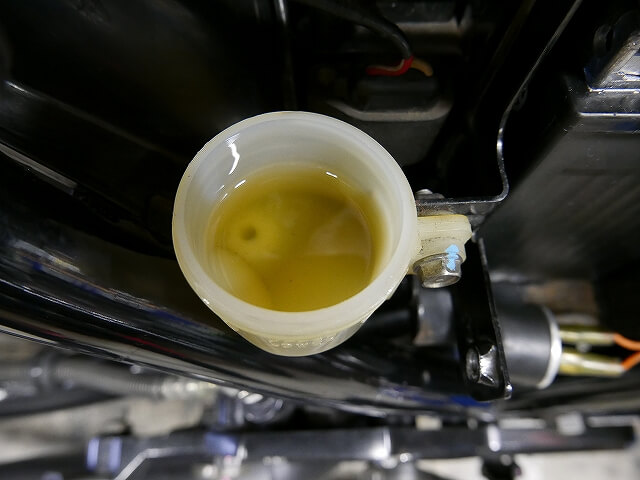
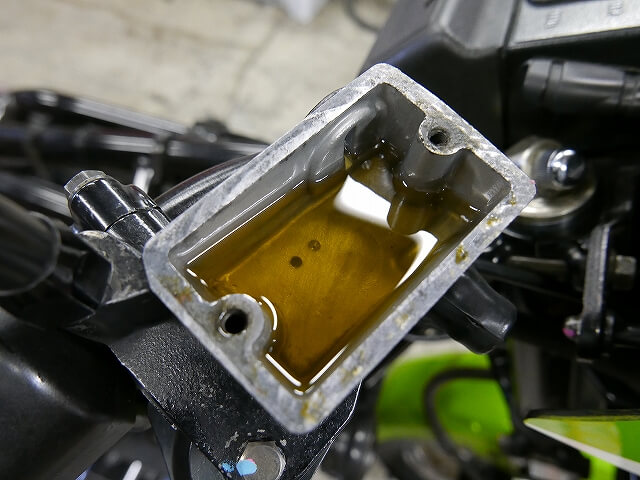
Change the fluid at least once a year.
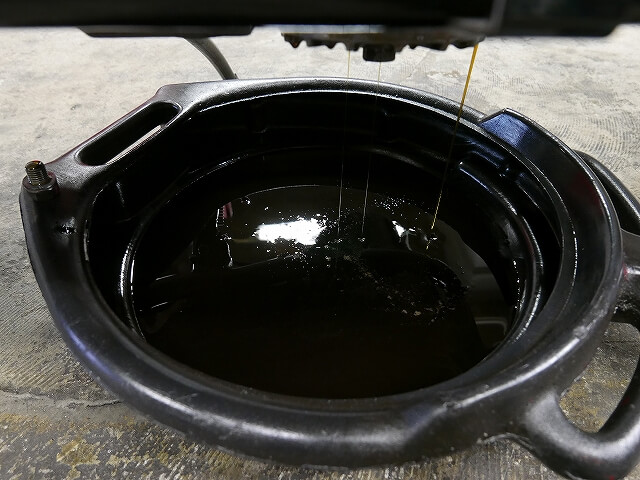
I’ll change the oil and filter too.
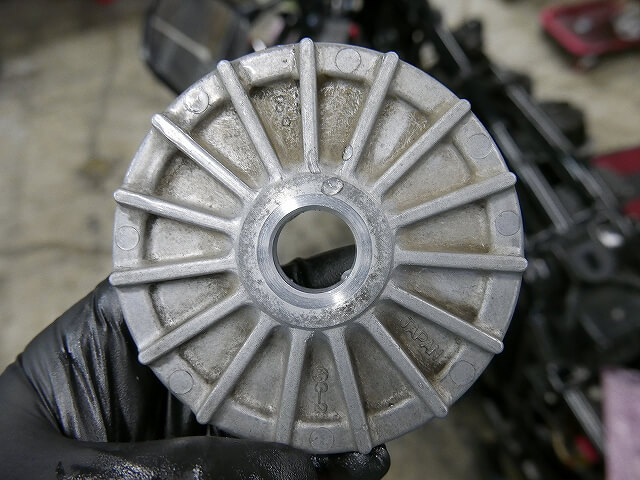
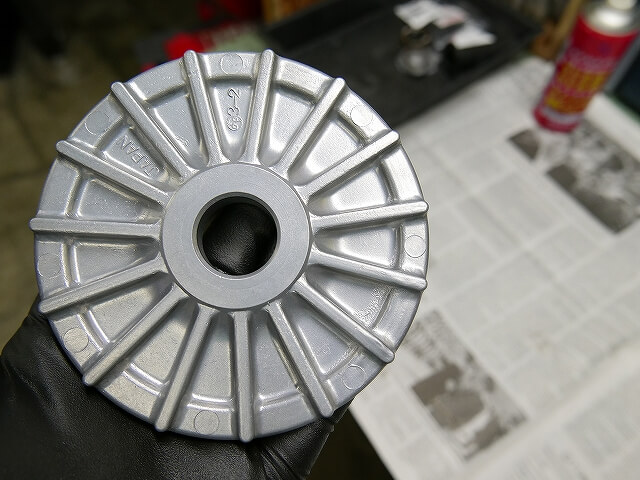
Polishing it at the same time makes it look really nice. Dirt won’t stick to it as easily either.
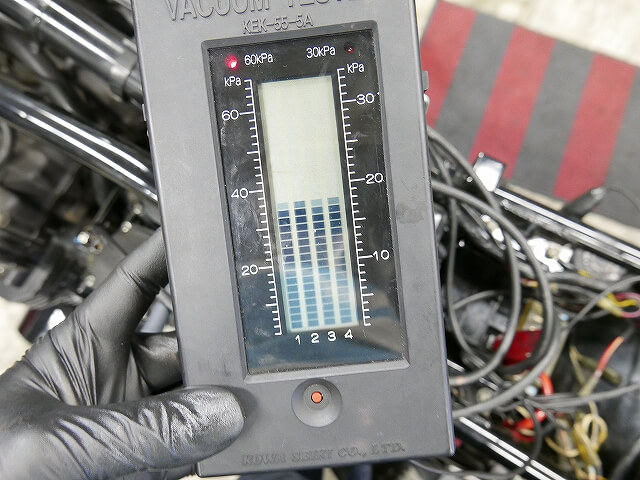
Synchronization is in the carburettor menu. It’s not off at all—pretty fortunate.
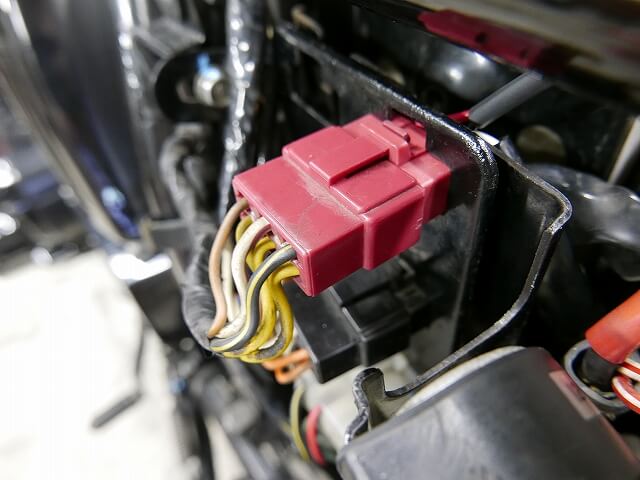
The MOSFET regulator I replaced the other day. I noticed that the brown and black/yellow connections had empty slots.
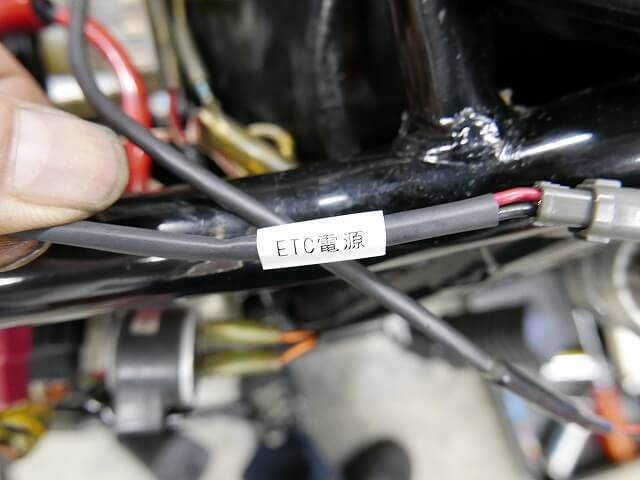
It looks cleanest when you can tap power and ground from points that are nearly parallel. If you mark them so there’s no chance of mixing them up, anyone who looks at it in the future will feel confident.
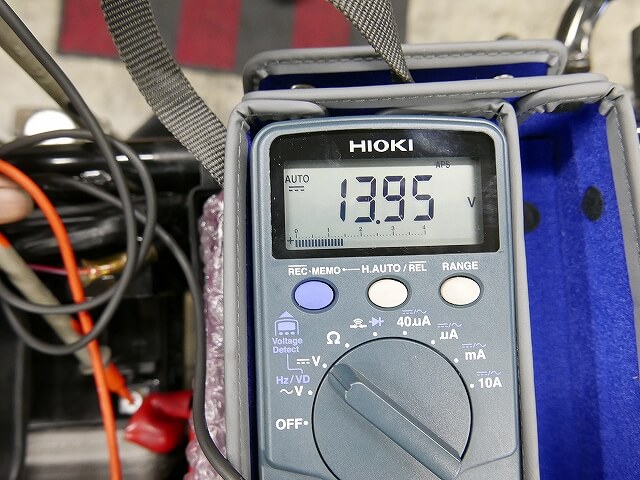
At idle around 13.9V, it rises to about 14.2V, so there’s no problem. After that, we get the inspection and we’re done.