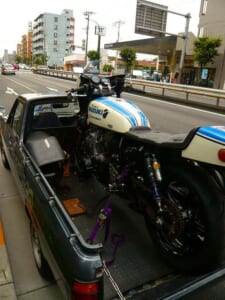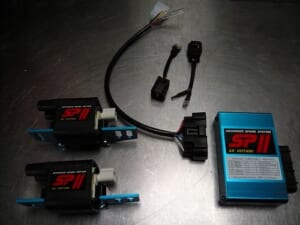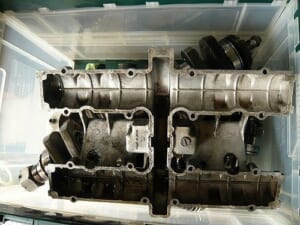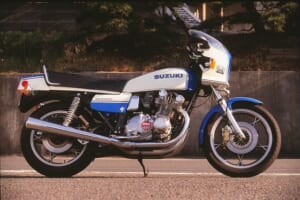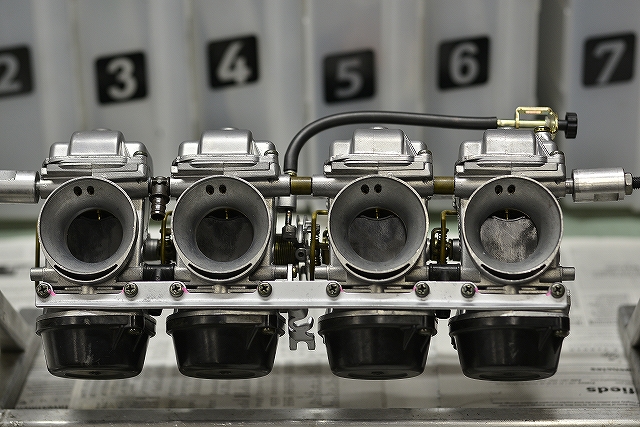
My GS1000S has been using a Mikuni BST36 vacuum carburetor for years. This one is from a GSF1200.
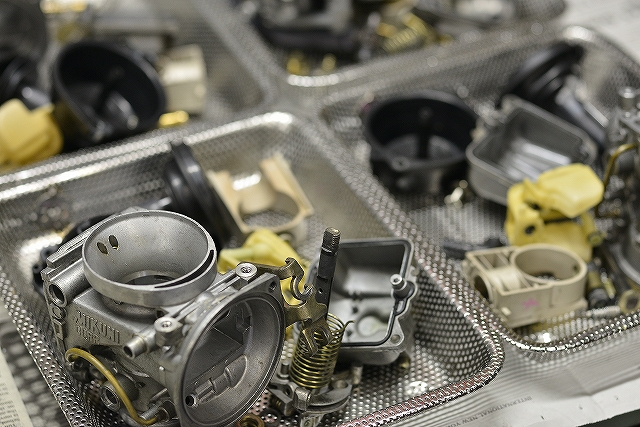
Since the engine hasn’t been started in so long, the carburetor has corroded a bit—it’s sad.
Let’s disassemble everything, polish it clean, and improve its appearance.
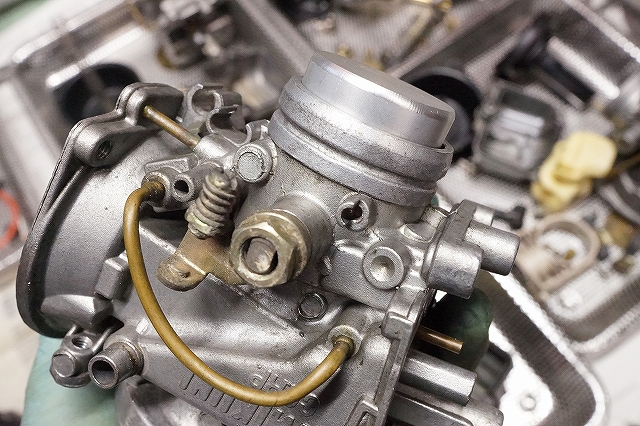
Care is needed when loosening the nuts on sections 2 and 3. The shaft can twist, so it’s safer to use a fixed jig when loosening and tightening.
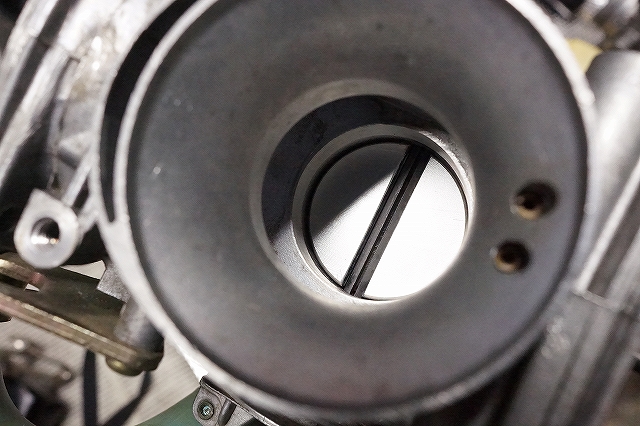
It locks in place snugly, so you can loosen and tighten it securely.
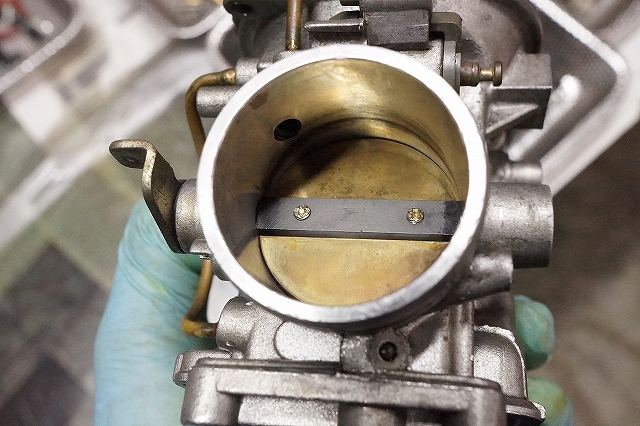
The butterfly mounting bolts are crimped. If you loosen them as-is, you’ll damage the fine threads cut into the thin shaft as you remove it. On the GSF1200, there’s no shaft replacement part available, so this is a spot that needs careful attention.
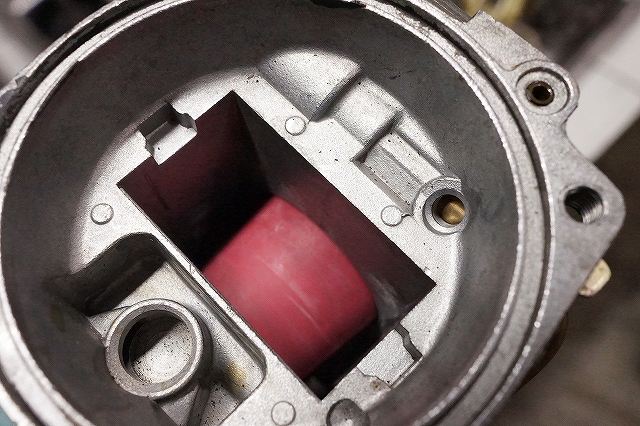
Lightly breaking the crimp before removal increases your chances of success. Use a rubber stopper to keep it from falling inside.
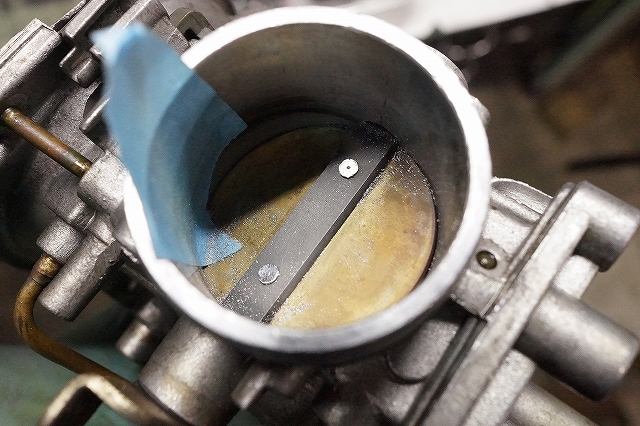
A light touch with a whetstone is enough. Overdoing it can cause problems, so care is needed.
After that, vacuum it up and blow it out with compressed air and you’re done.
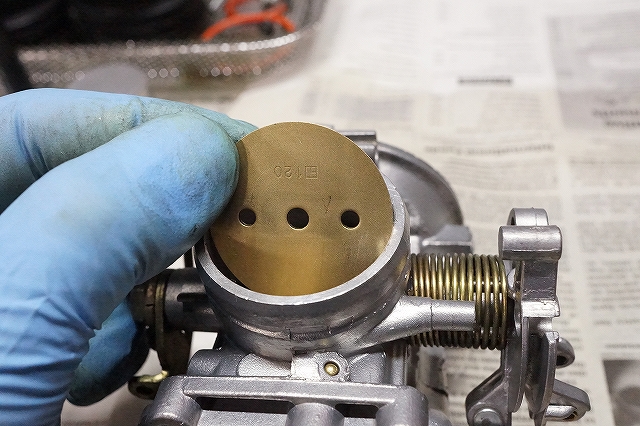
The butterfly is made to precise dimensions. The carburetor body is cast and can warp over many years, sometimes making it hard to remove. But forcing anything is never the answer.
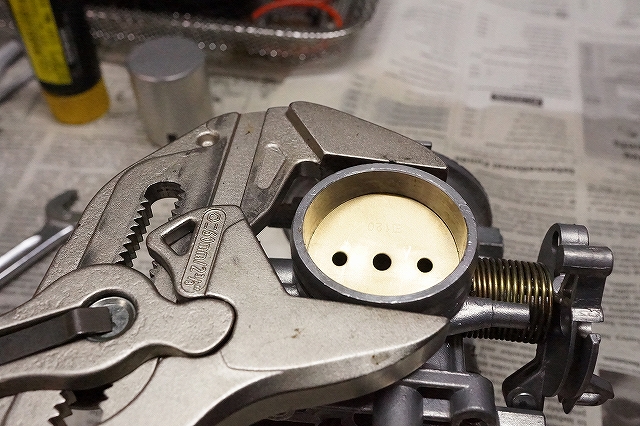
Gently hold it top and bottom (and I mean gently) to create a little play, and it comes off easily.
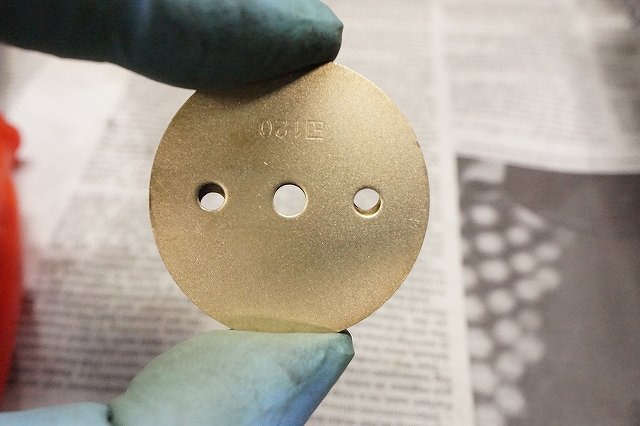
I don’t think anyone would make this mistake, but there is a top and bottom, so care is always needed.