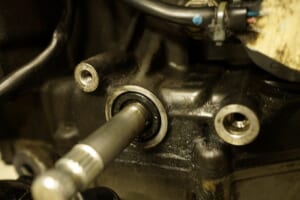
This is a maintenance plan where you can choose from 25 effective points yourself, or leave it to us to decide.
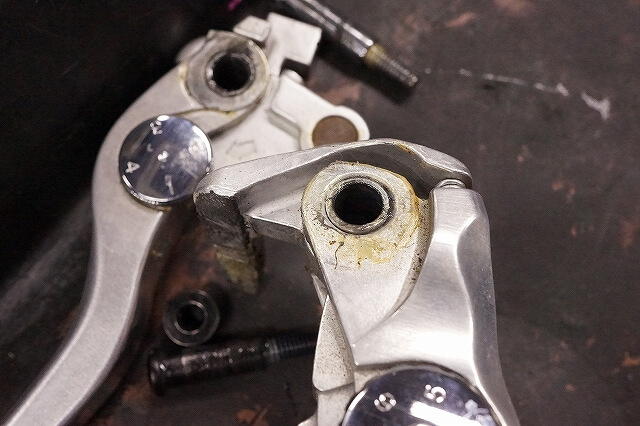
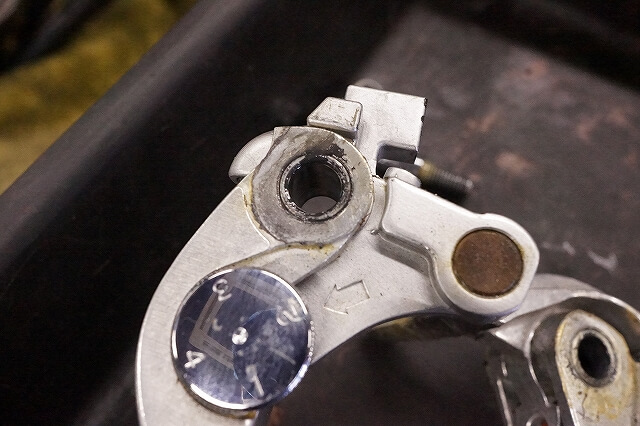
Left and right levers. While external lubrication works, it’s really a spot where you want to remove them, clean them up, check the fit, and lubricate them properly.
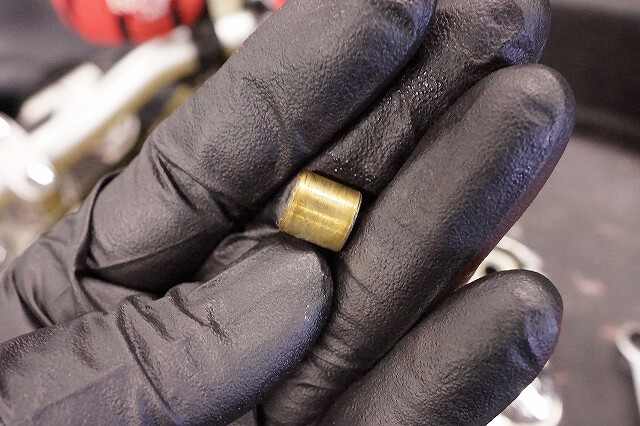
The soft brass drum shows no signs of severe wear. Many vehicles that haven’t been lubricated have a lot of play in the levers and pedals. While you can’t restore what’s worn away, you can prevent wear and make things last longer.
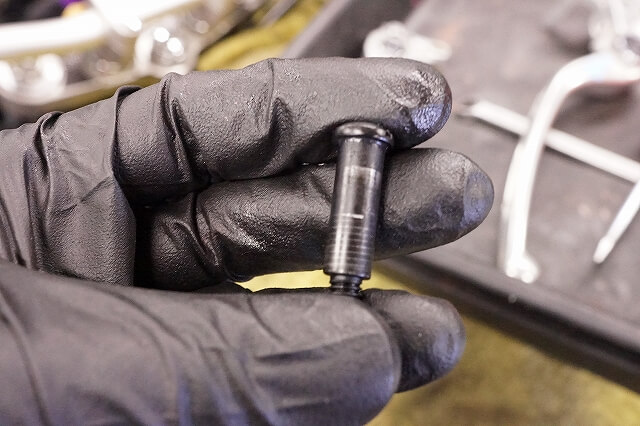
After wiping, the contact is also smooth.
• Performing maintenance means less wear = less play and better operation. It feels great to ride.
• No maintenance means more wear = lots of play, and you have to account for the slack when operating the controls with your fingers and feet. It’s really uncomfortable, and it becomes hard to judge when replacement is needed.
Beyond just the cost, maintenance might be what gives you a positive effect when enjoying your hobby in limited time.
Rather than just doing it because it’s required by law or following someone else’s instructions, if you understand the meaning, it might be more rewarding.
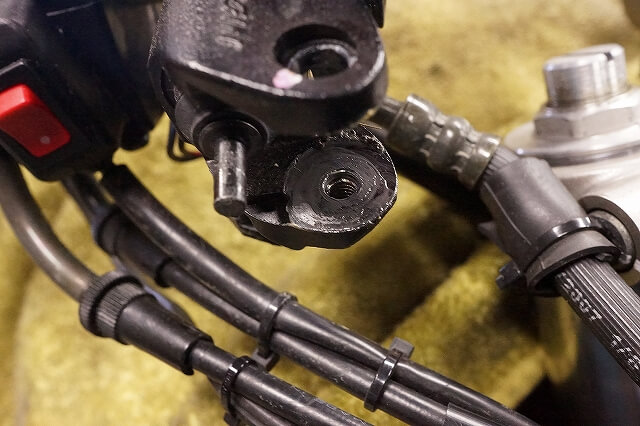
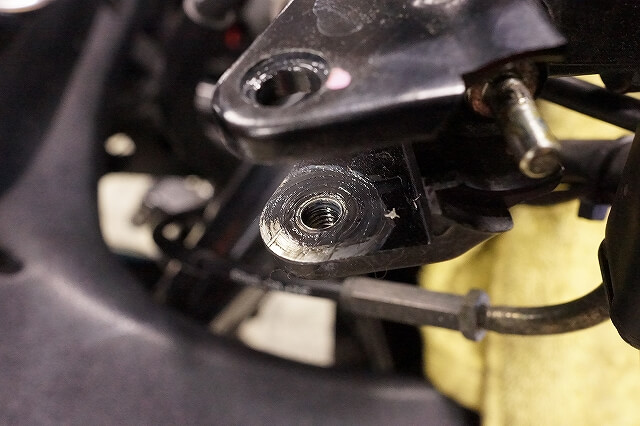
Of course, the master cylinder also wears if it’s not lubricated. You can feel the lever moving while rubbing.
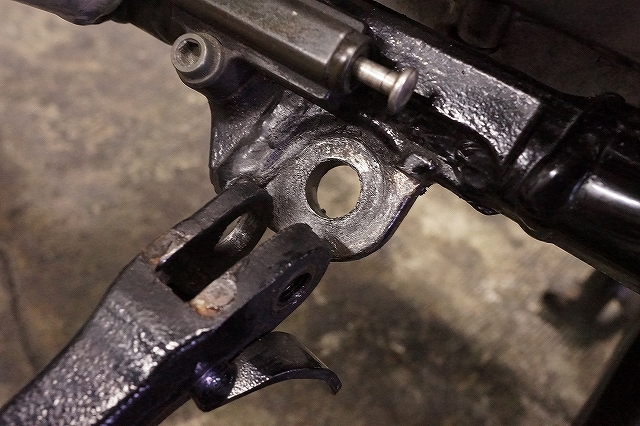
The side stand is an essential part. If it’s stiff when deploying or retracting, you think “ugh.” Lubricate it to avoid wearing down the frame.
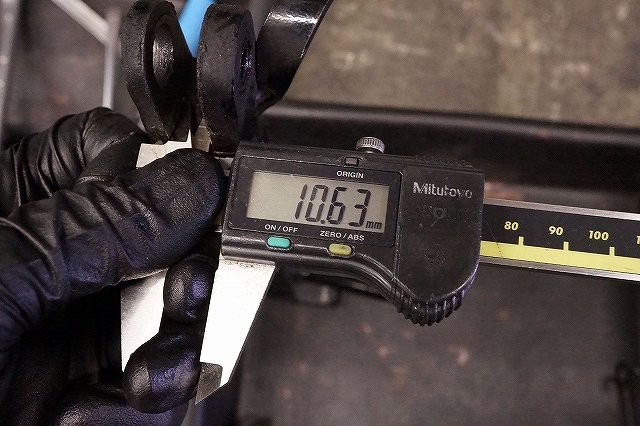
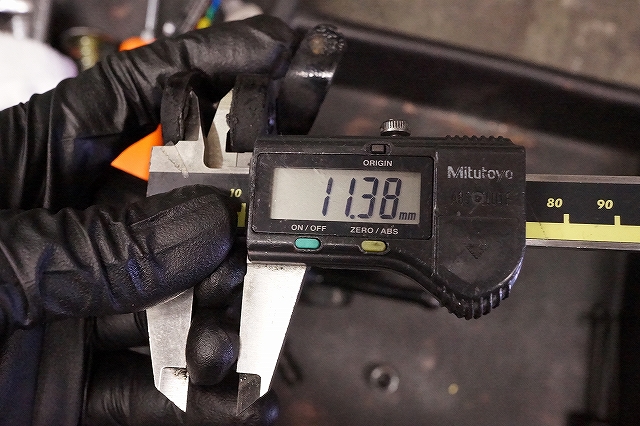
The inside of the “U” shape is roughly the original dimension. The outside has opened up and worn down, I believe.
It’s opened about 0.75 mm, so we’ll first use a vise or similar to push it back a bit and correct the opening.
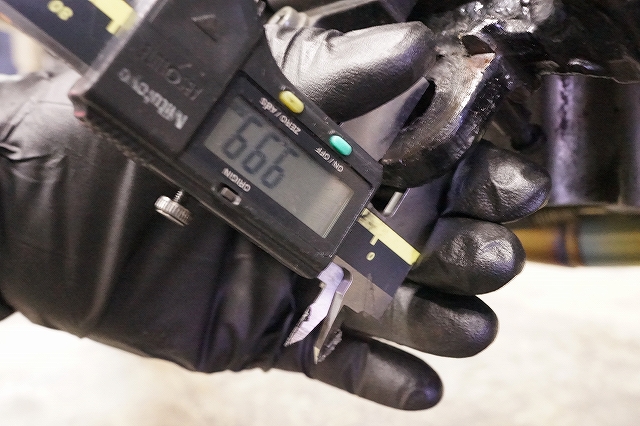
We check the frame side and then insert shims to get your preferred gap.
If there’s play, it will open up again and the frame side will wear at an angle.
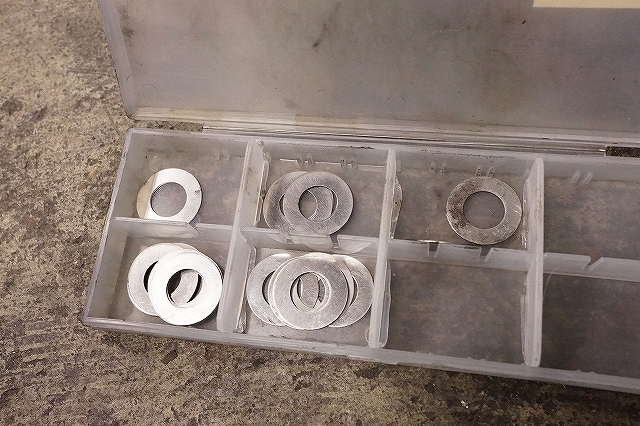
Standard shims. Having various sizes on hand helps with adjustment.
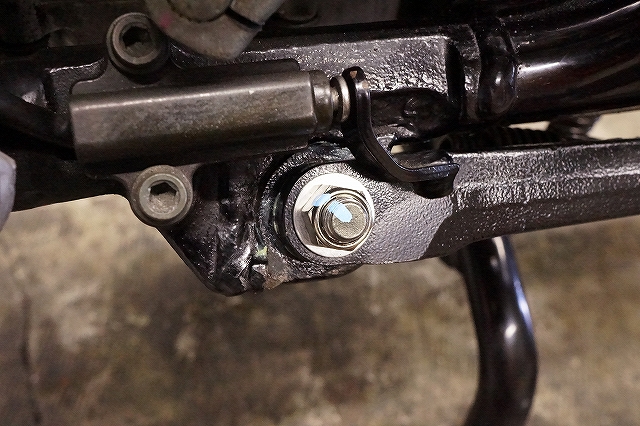
I have a rough target value that I aim for. While doing this won’t make it dramatically lighter, the play decreases and you get “controlled movement,” I think.
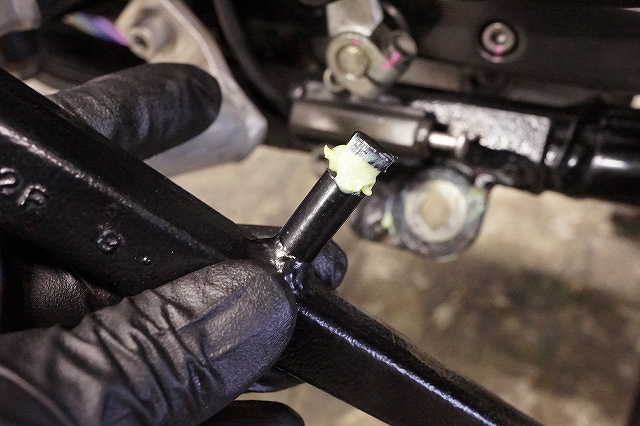
Let’s smooth out the spots where the spring moves too. In the end, it’s all about spring stiffness…
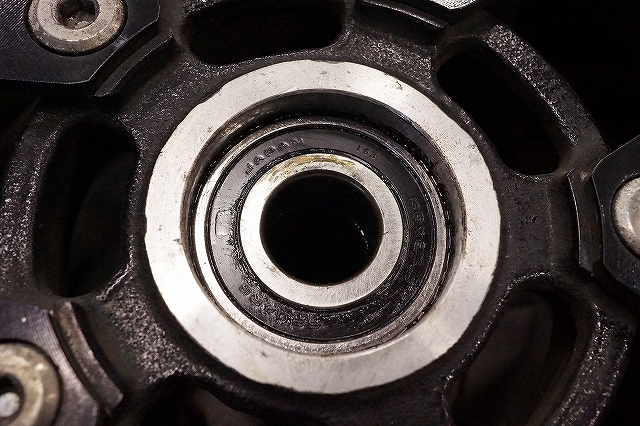
We’ll adjust the rear wheel bearing. A distance collar that’s either sloppy or too tight is a problem.
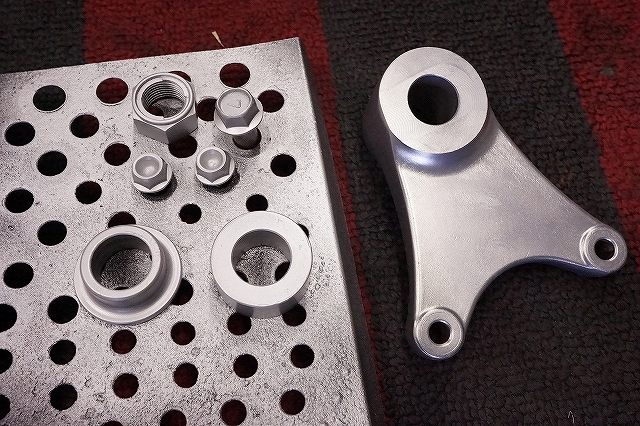
The dirt was heavy, so we cleaned it up a bit.
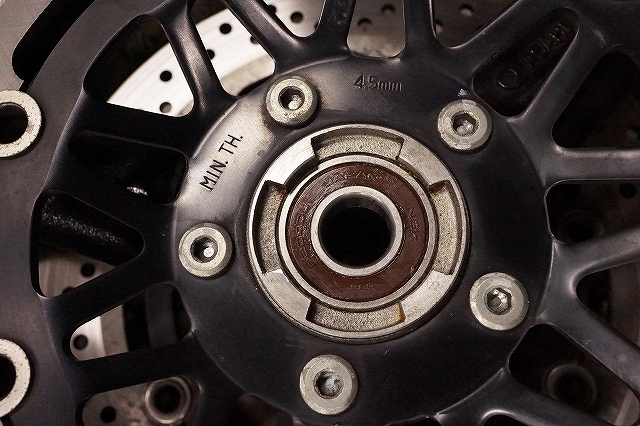
Let’s adjust the wheel bearing. For some reason, the left bearing isn’t seated all the way and is floating.
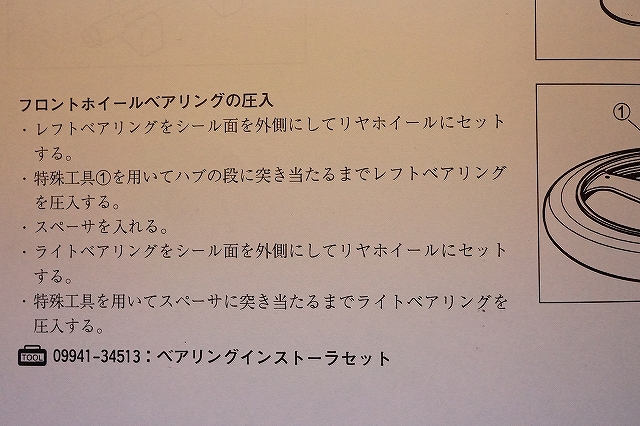
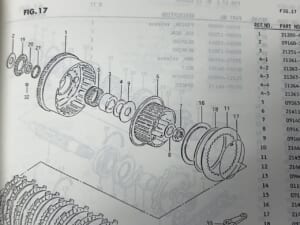
Manual (with some minor errors… rear wheel ✗ → front wheel ✓)
Seat the left side all the way in and align the position with the right side. If you look at the wheel structure, you think “ah, I see.” If both left and right are fully seated and the distance collar is snug, it takes more work to manufacture and increases risk. You need some flexibility built in. That’s why.
It can easily shift several millimeters, so if you ignore this and casually fabricate things like caliper supports or apply various negative modifications, you’ll pay the price. A solid machine shop will check this ahead of time.
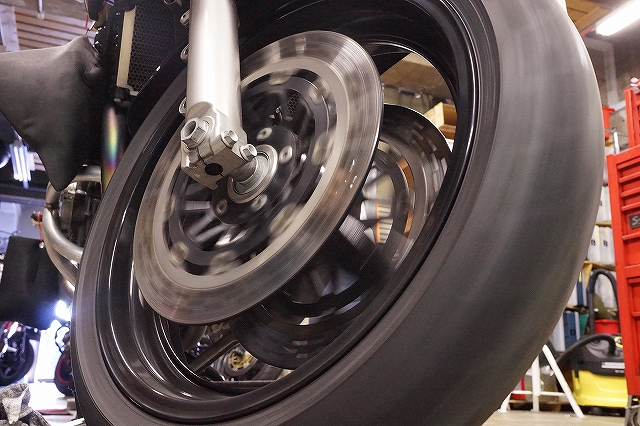
Lift the wheel, spin it, and tighten the throttle—if there’s no change, you’re good.
If the bearing condition is off or the distance collar position is wrong, it suddenly gets stiff. You might end up not getting the best out of the wheel bearing just by swapping it out and thinking that’s the fix.