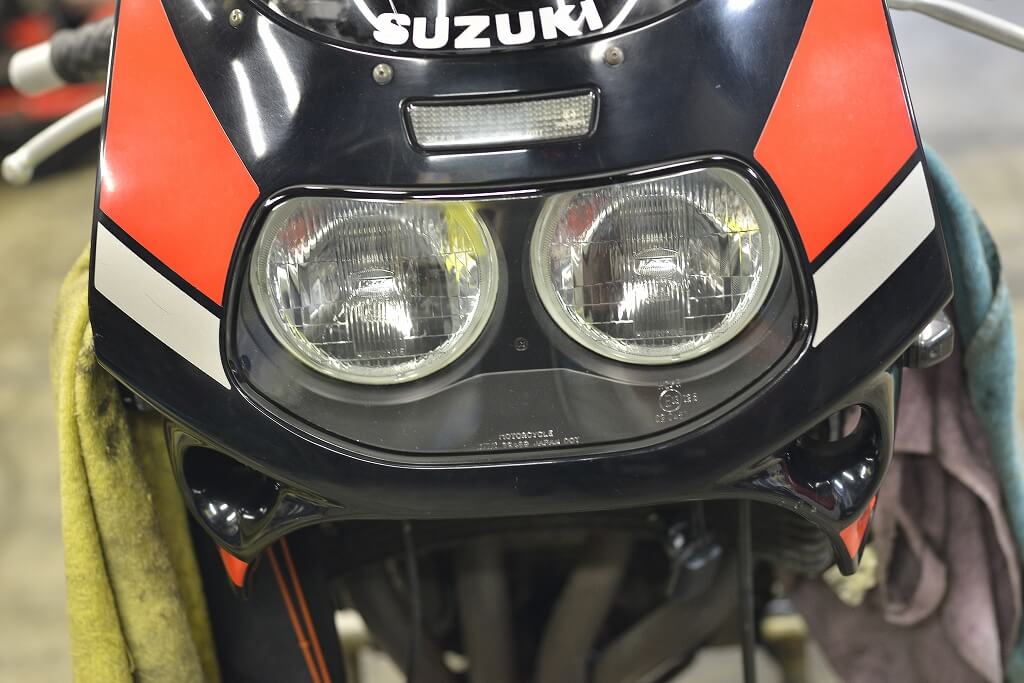
Front maintenance + OH continued.
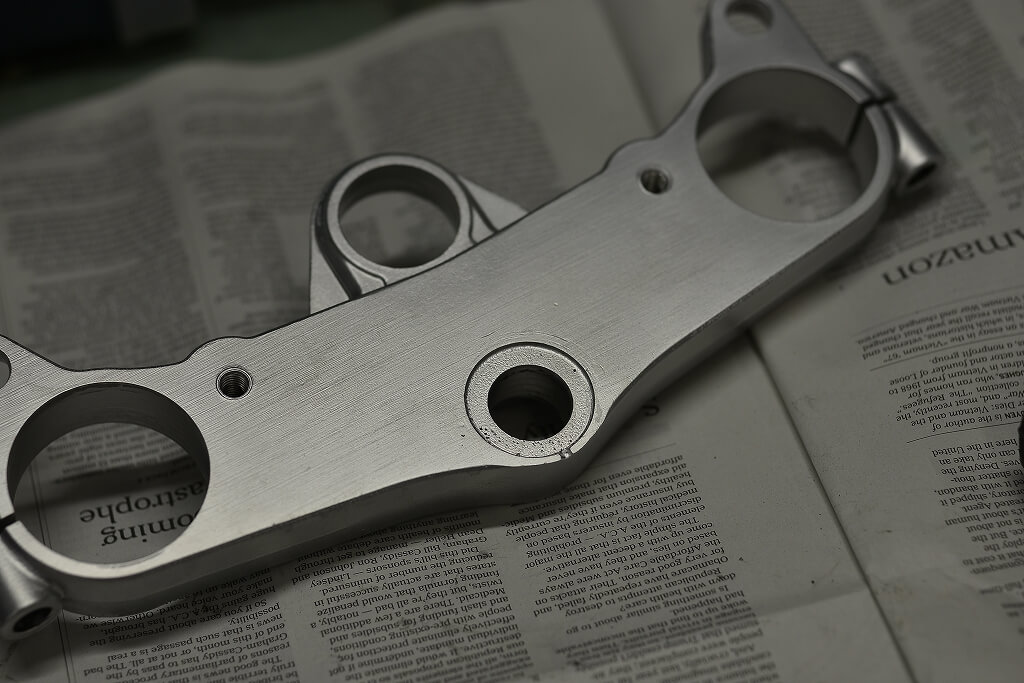
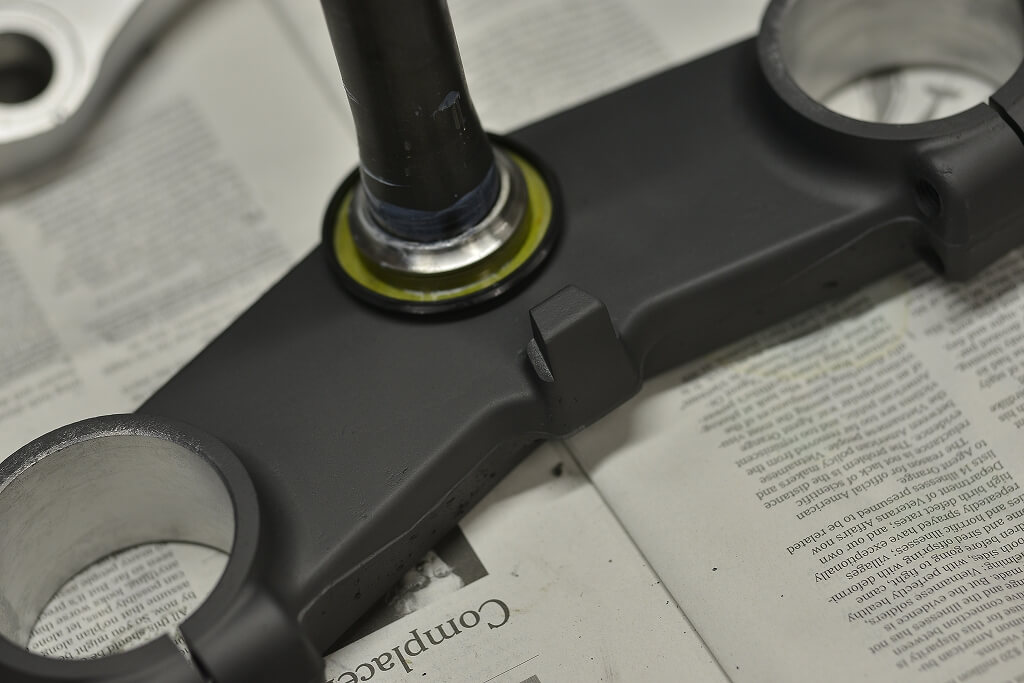
Even if performance comes back, you can’t love it if the appearance looks tired. I think that’s just how people are. We aim for the best finish we can manage.
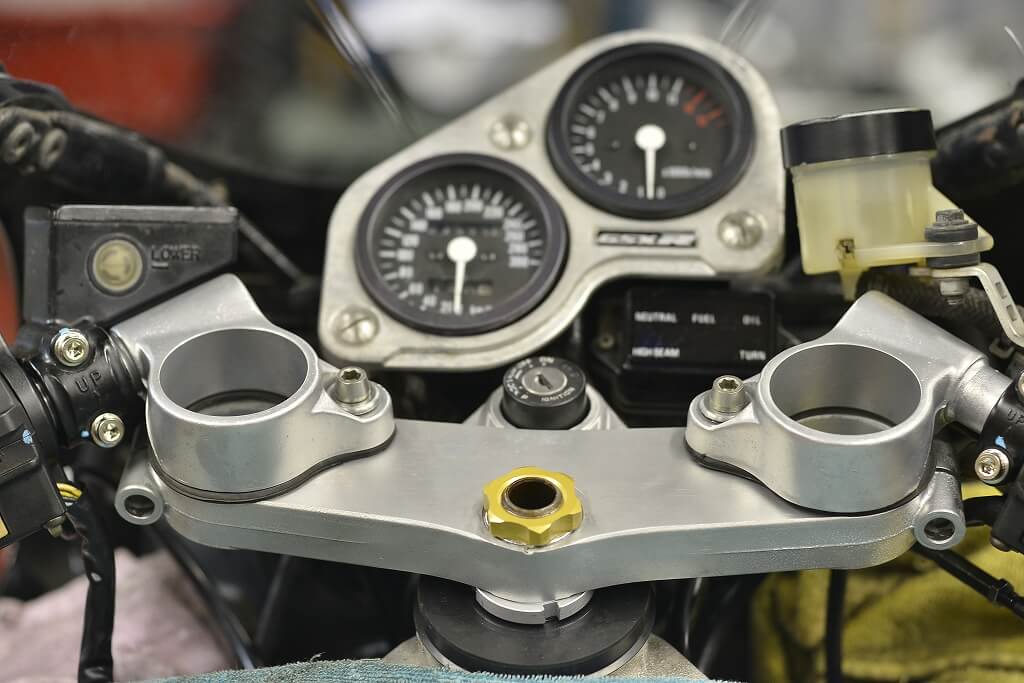
Wow, it’s really come back to life.
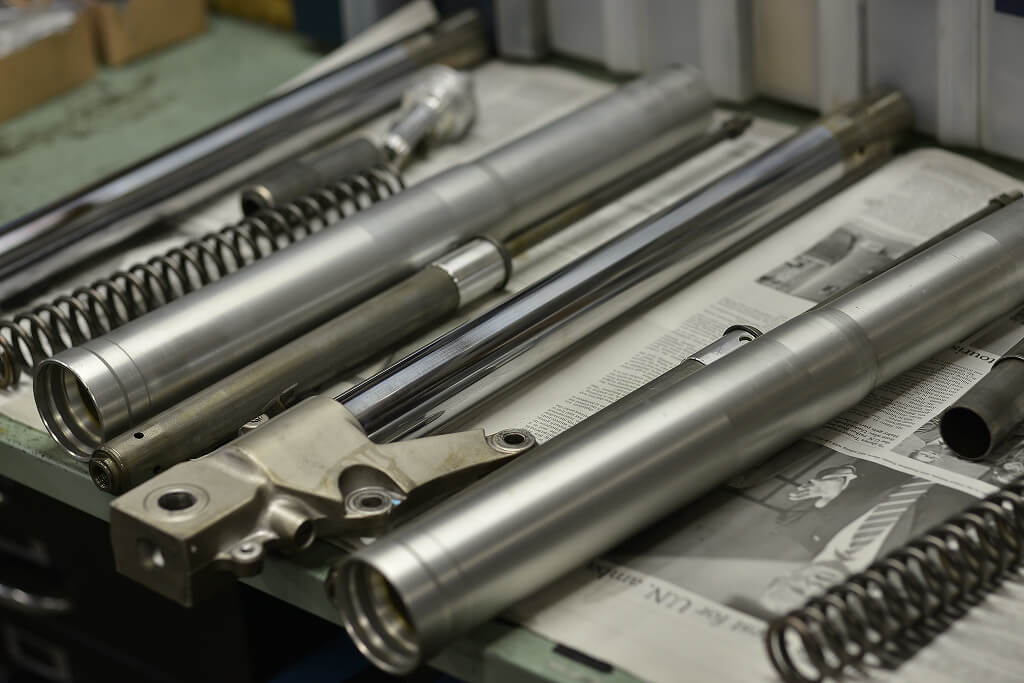
Moving on to the fork. We got held up for a day due to a seal order mix-up. Finally we can assemble it.
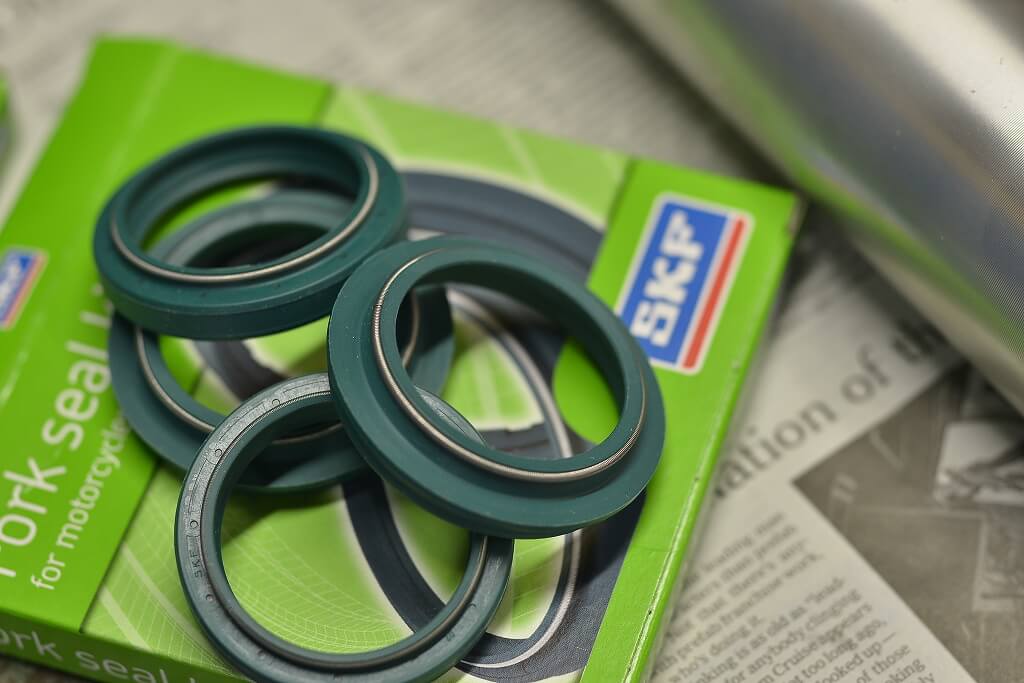
SKF, which we trust completely. The initial smoothness wears with use, but I think it’s better than a standard seal.
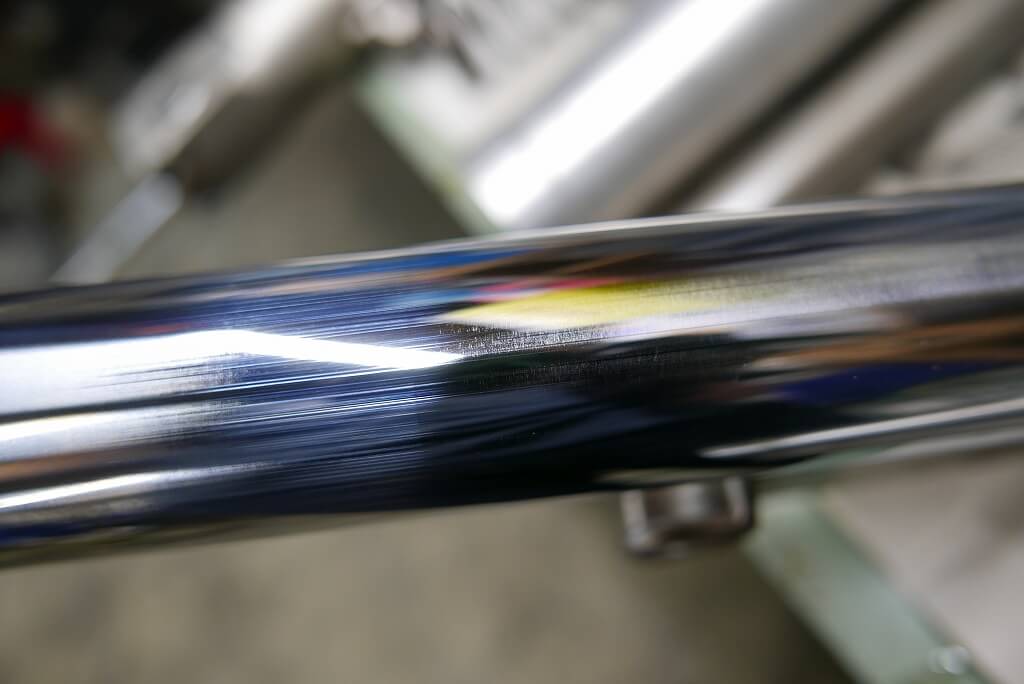
The front inner tube inevitably gets tight contact at the front.
With an upright fork you can rotate it during assembly, but an inverted fork is positioned, so the same spot wears down.
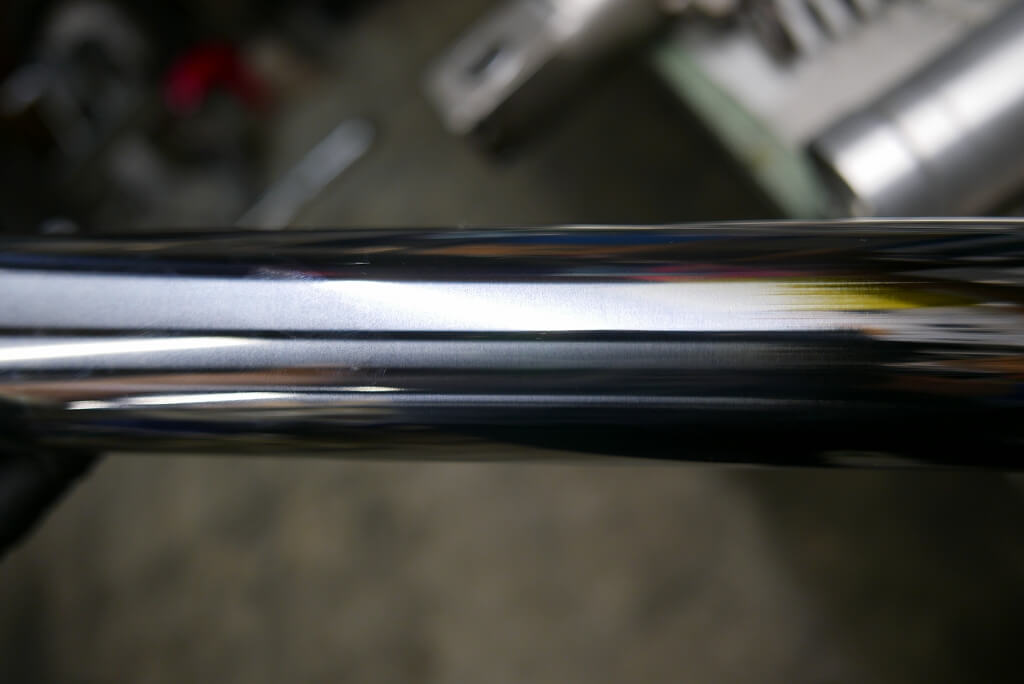
Originally it looks like frosted glass. With reciprocating motion, shiny doesn’t always mean smooth, so you need to be careful.
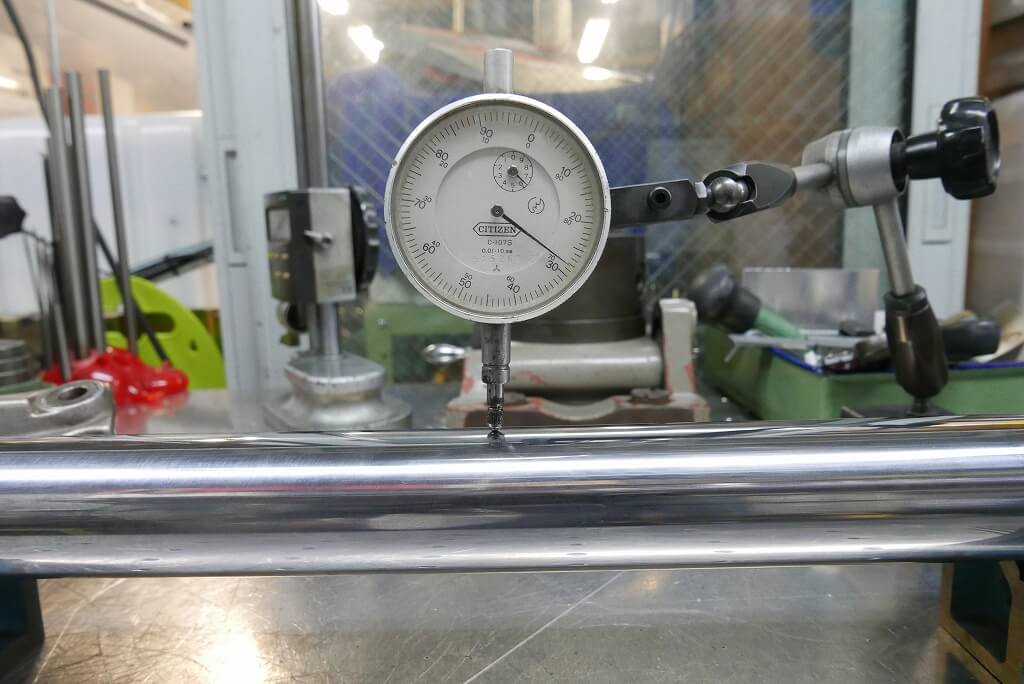
No runout, so we were confident.
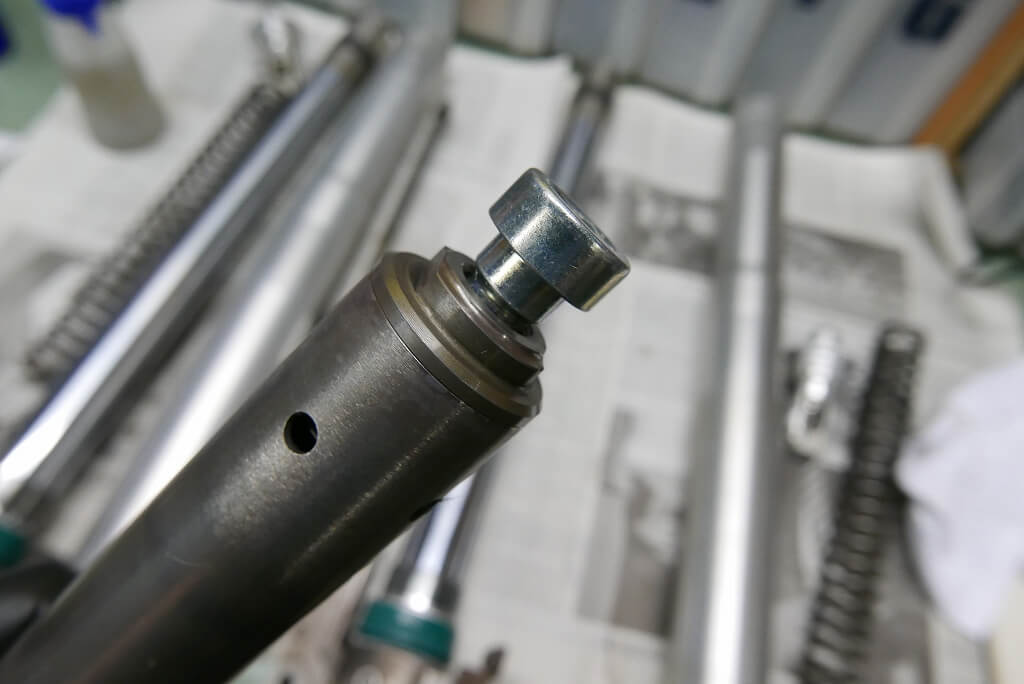
We clean the rod ends so they tighten by hand, and replace the bolts every time.
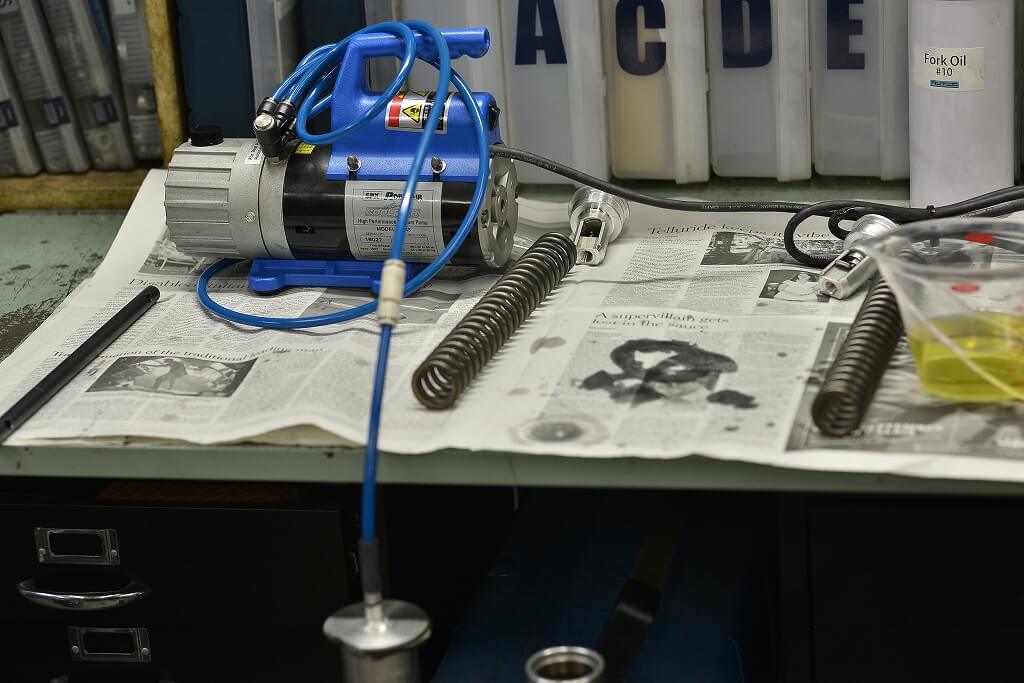
After that we bleed the air and adjust the oil level, and we’re done.
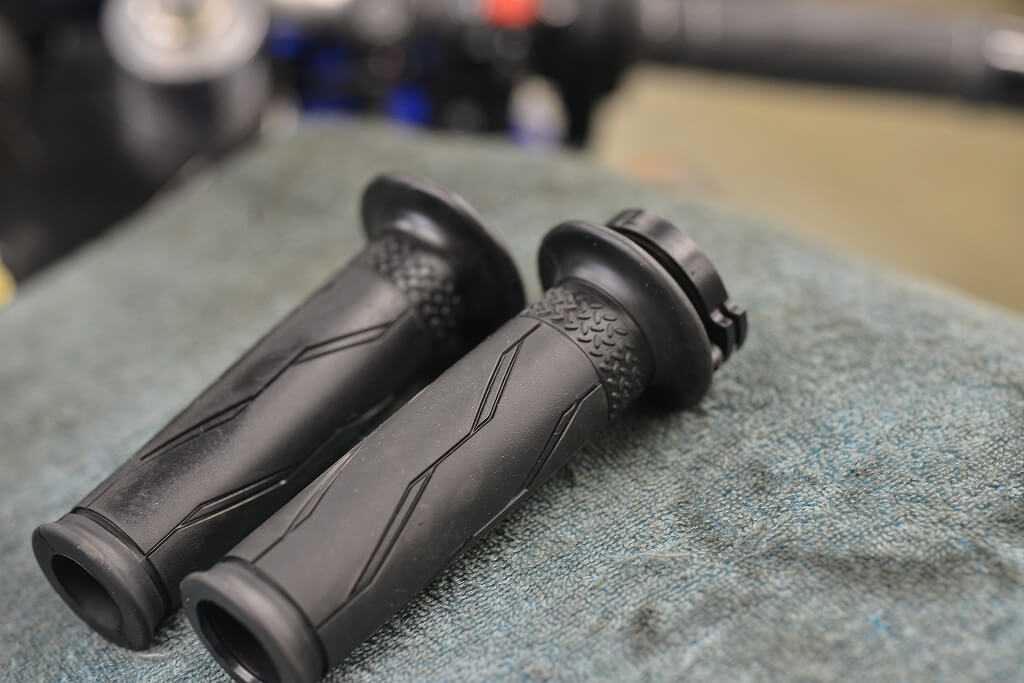
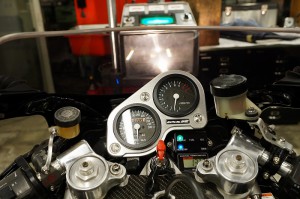
Along with cleaning up the handlebar, we’ll replace the grips.
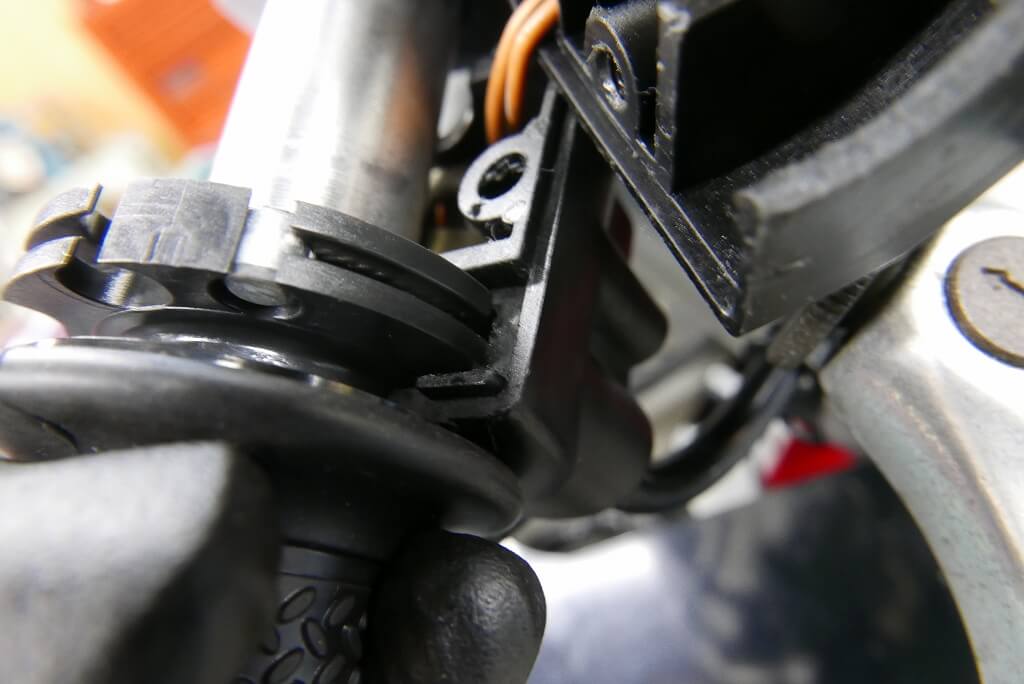
Suzuki has a high stopper height, so surprisingly few grips are interchangeable.
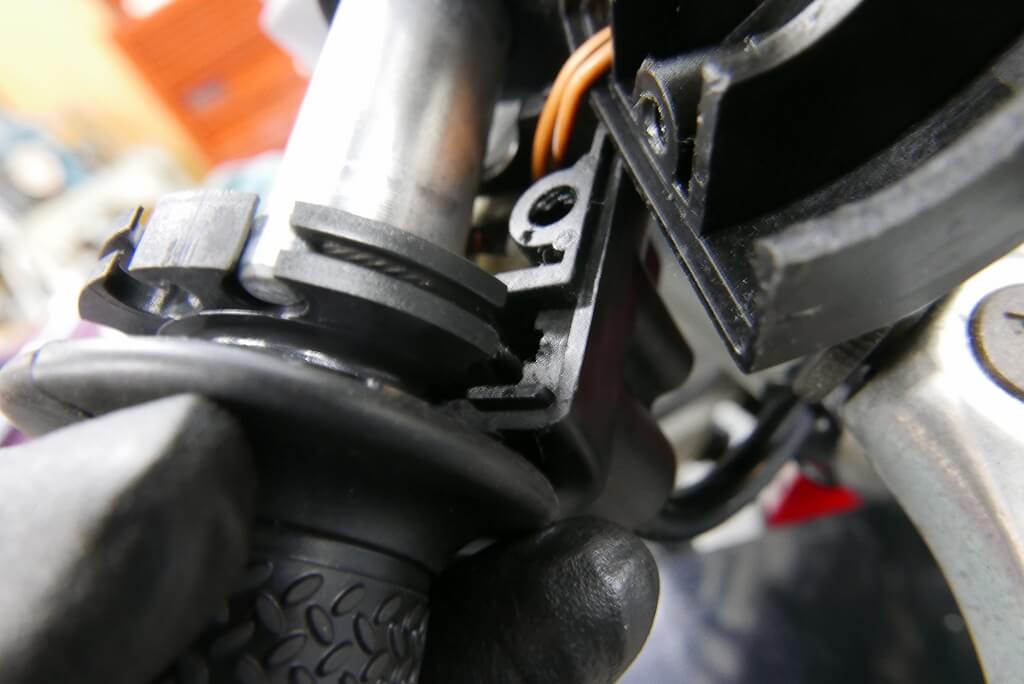
The throttle must always contact the stopper when off. From there we adjust the play.
It’s not typical to balance pull and return; that’s not how it’s usually done.
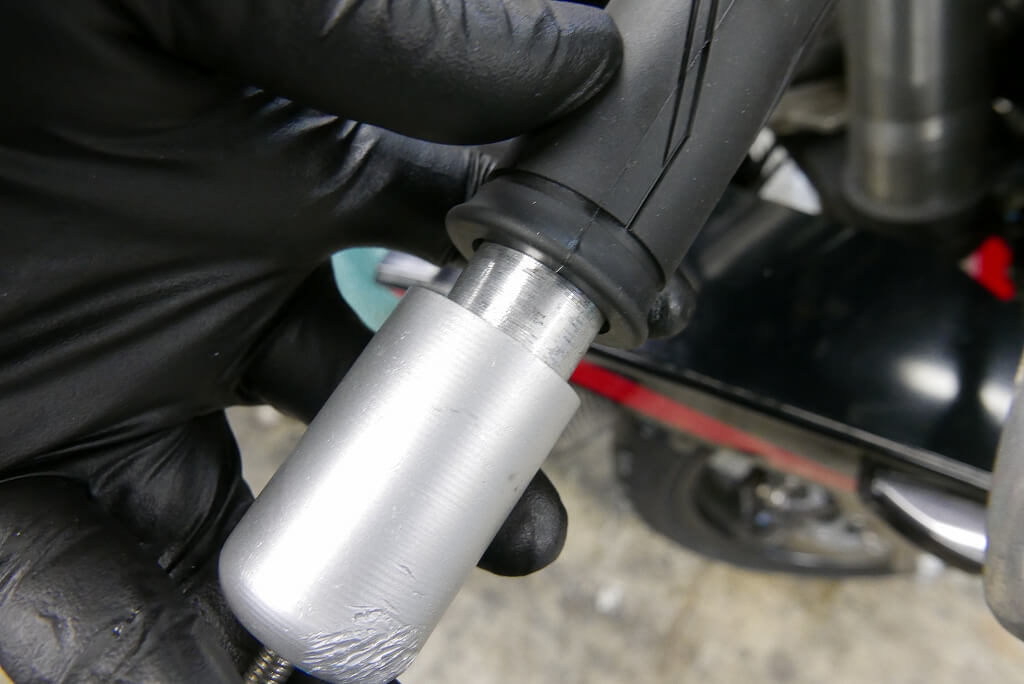
When you use modern grips on this vintage model, they come up about 10 mm short.
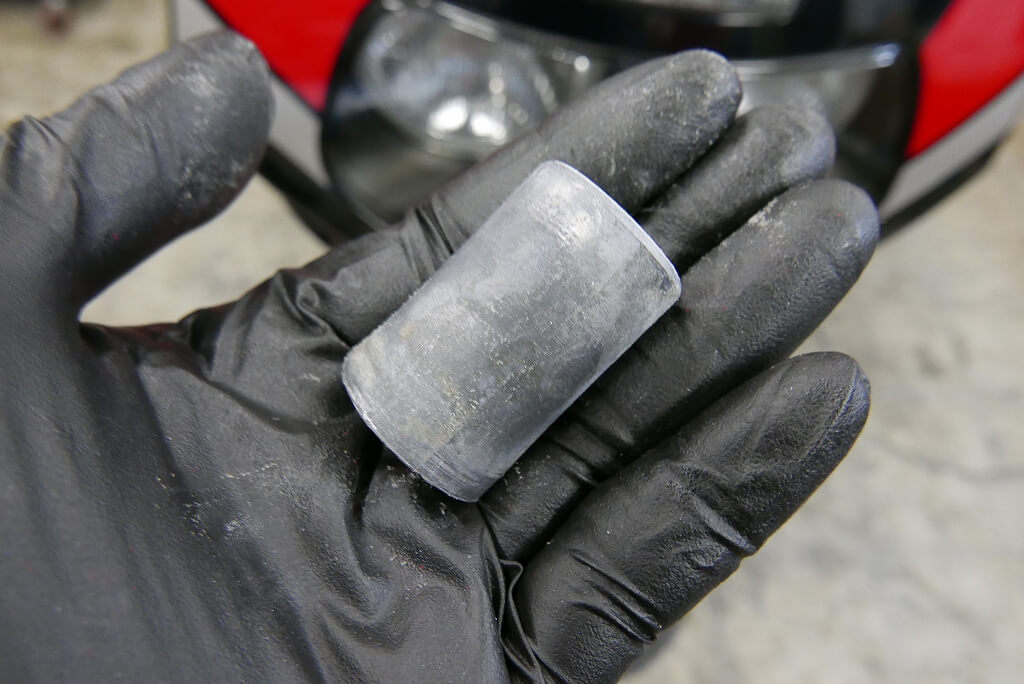
If it’s a slip-on type, filling it with this lead makes it look neat and clean.
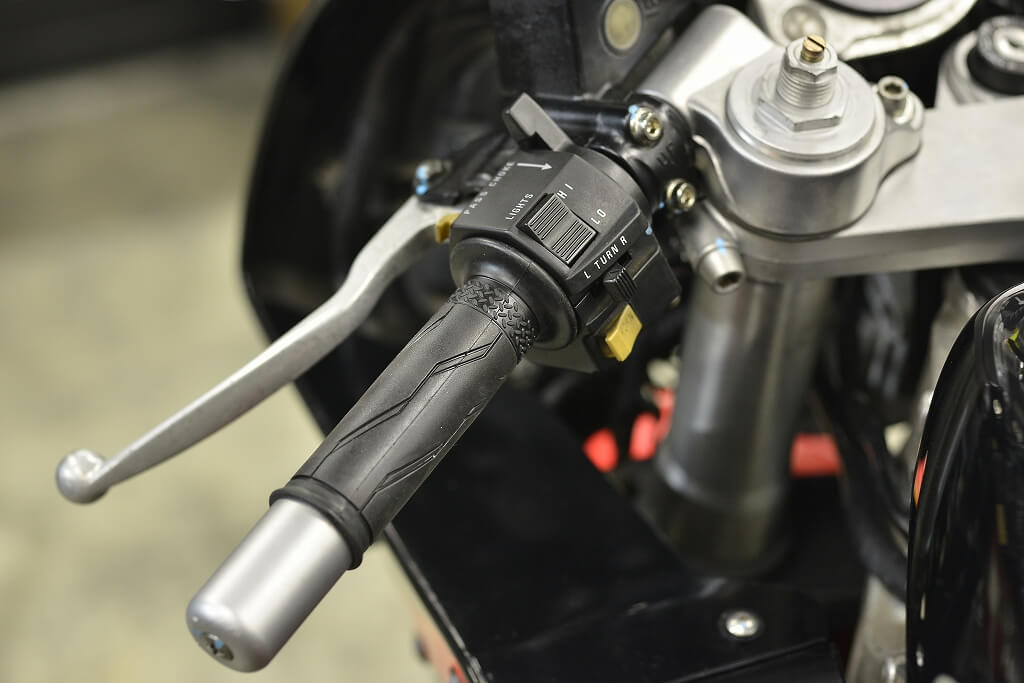
And that’s how it fits together nicely.
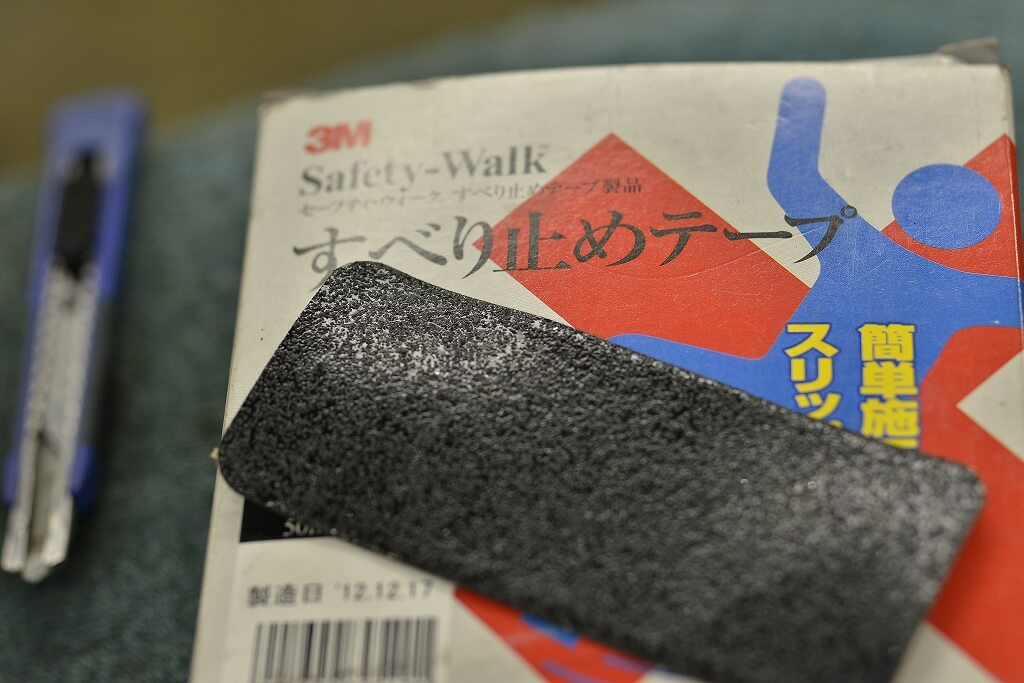
On the left we’re testing some grip tape. If you cut the edges with an R cutter, they’re less likely to peel and look beautiful.
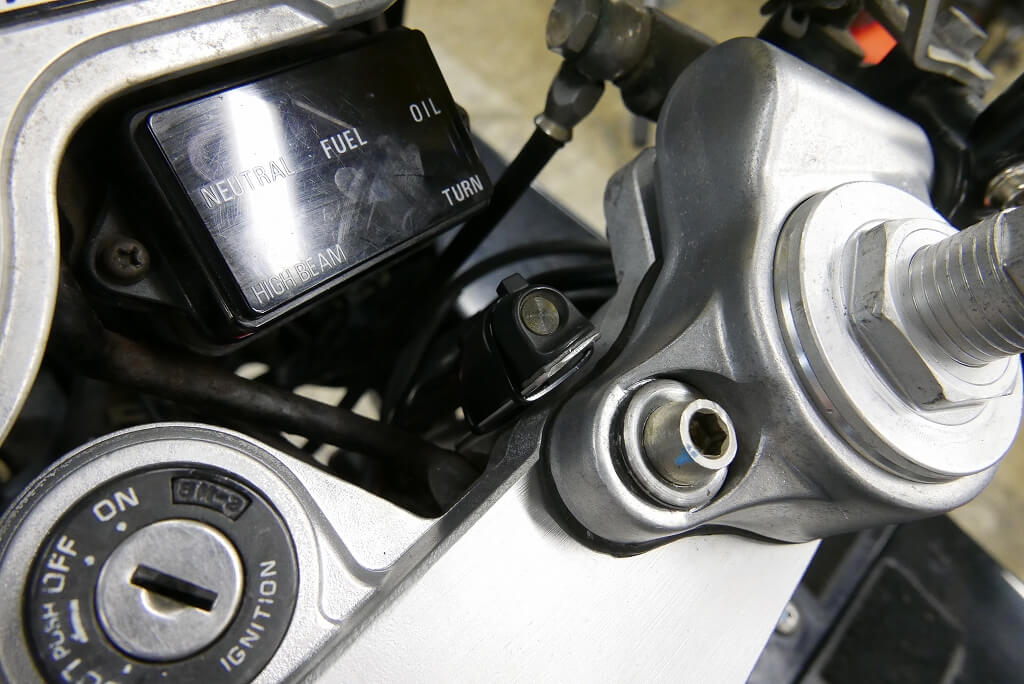
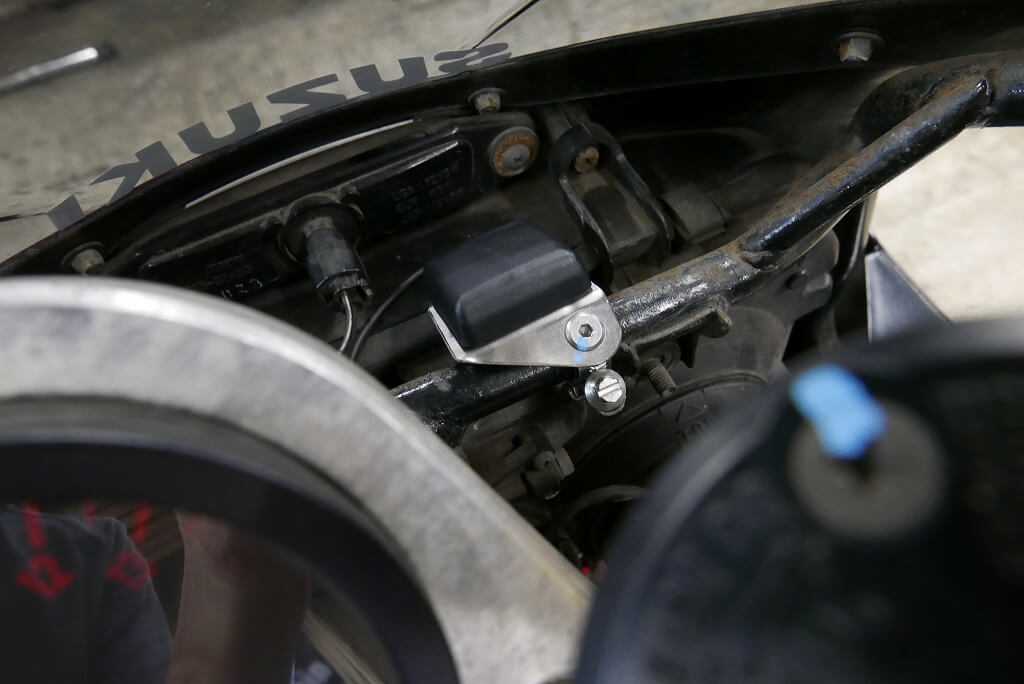
We relocated both the easy way.
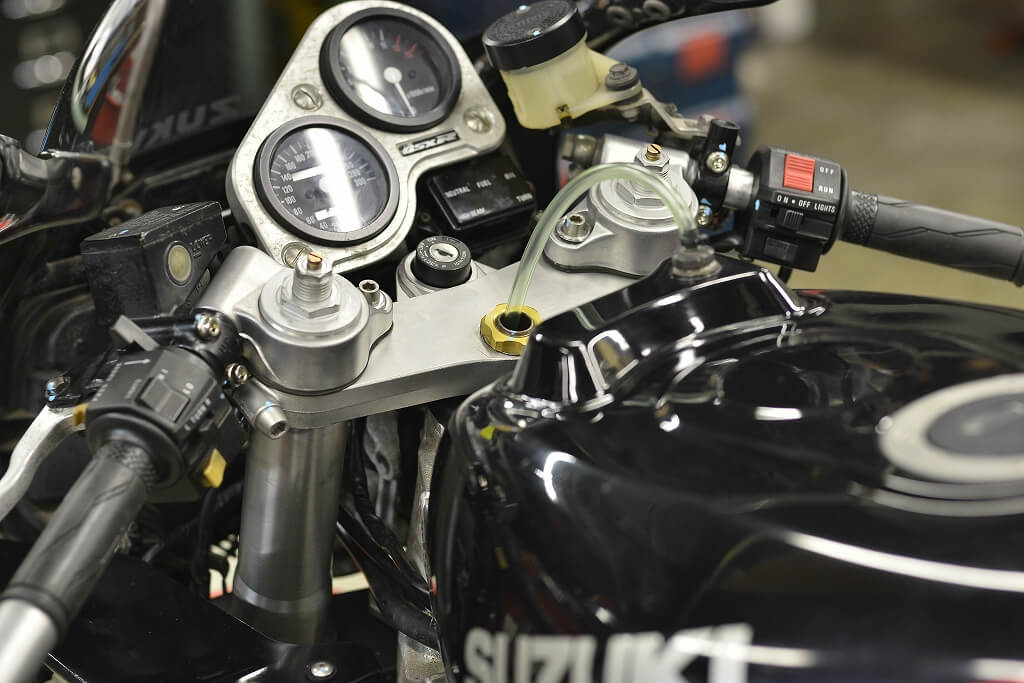
Looks nice now. The stem nut is from a GS1200SS. It’s a different diameter than the Hayabusa, and I think this will be discontinued eventually too.
We’re putting it on hold for now.