Here are the remaining detail jobs.
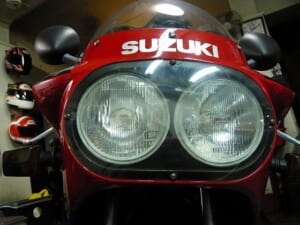
During our inspections, we often find fault with headlights that use HID and LED.
Most of them fall below 15,000 candlepower, and the poor light concentration bothers us.
Headlight relays basically need two units—one for high beam and one for low beam. We often use Daytona relays, but I’ve always been bothered by how many wires they require.
I wondered if there was a simpler way to do it, so I studied the wiring diagram…
The efficiency drops a bit, but wiring directly into the dimmer switch is faster.
• BT+ (not connected to the battery)
• BT− (not connected to the battery)
• 12V relay activation
• 12V power supply
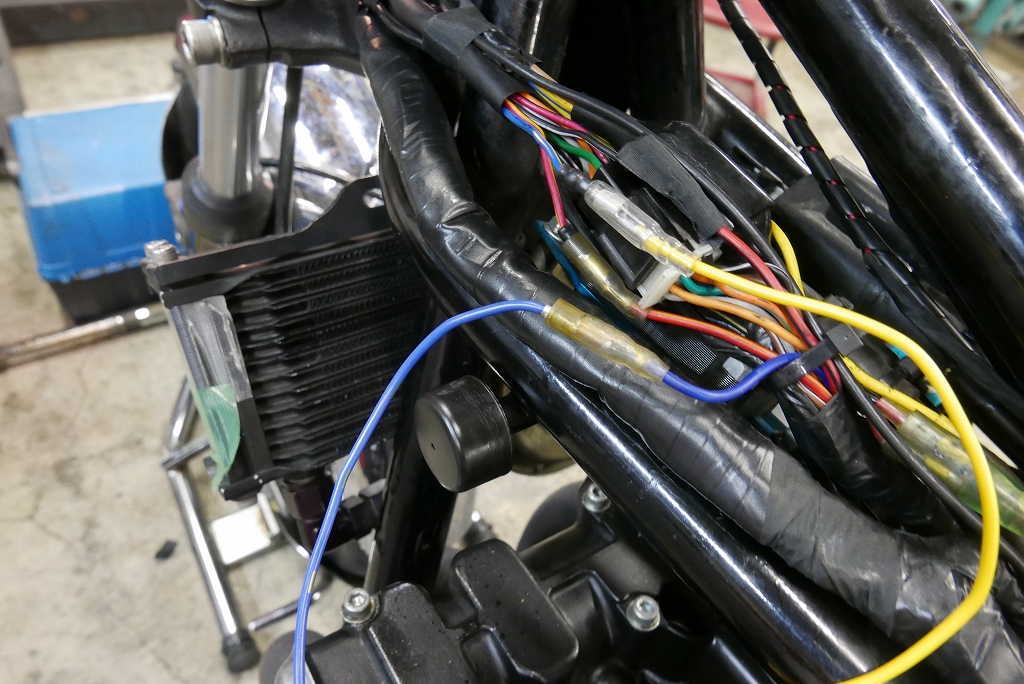
Four wires total. By tapping into the dimmer switch, the relay activation 12V and power supply 12V can be combined into one point.
Time for a quick test.
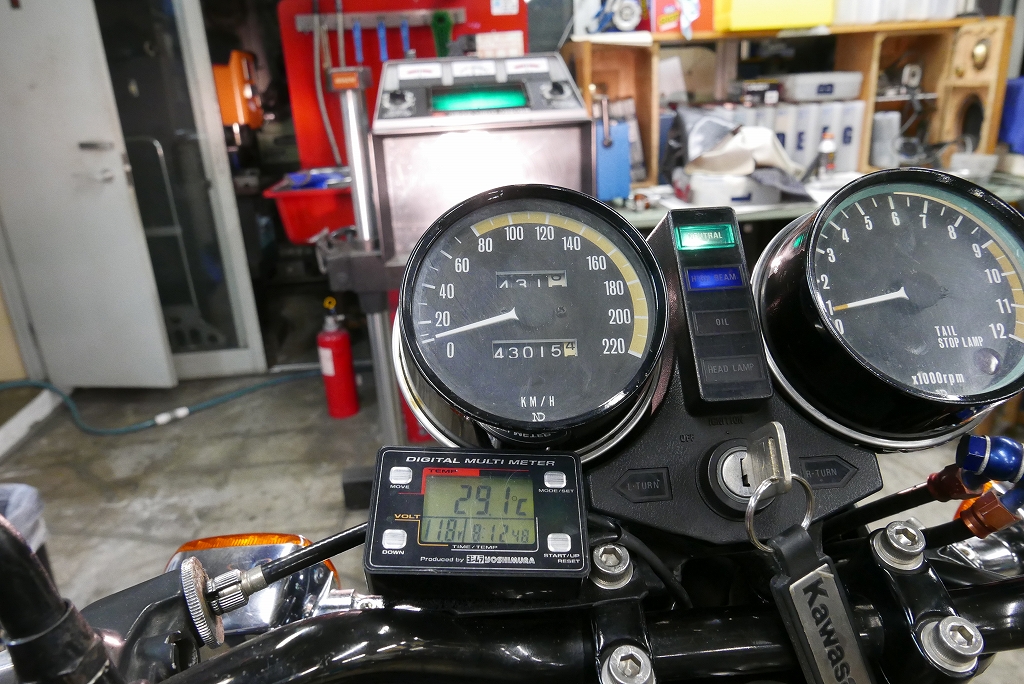
Without the relay, at peak RPM the best we got was 17,000 candlepower.
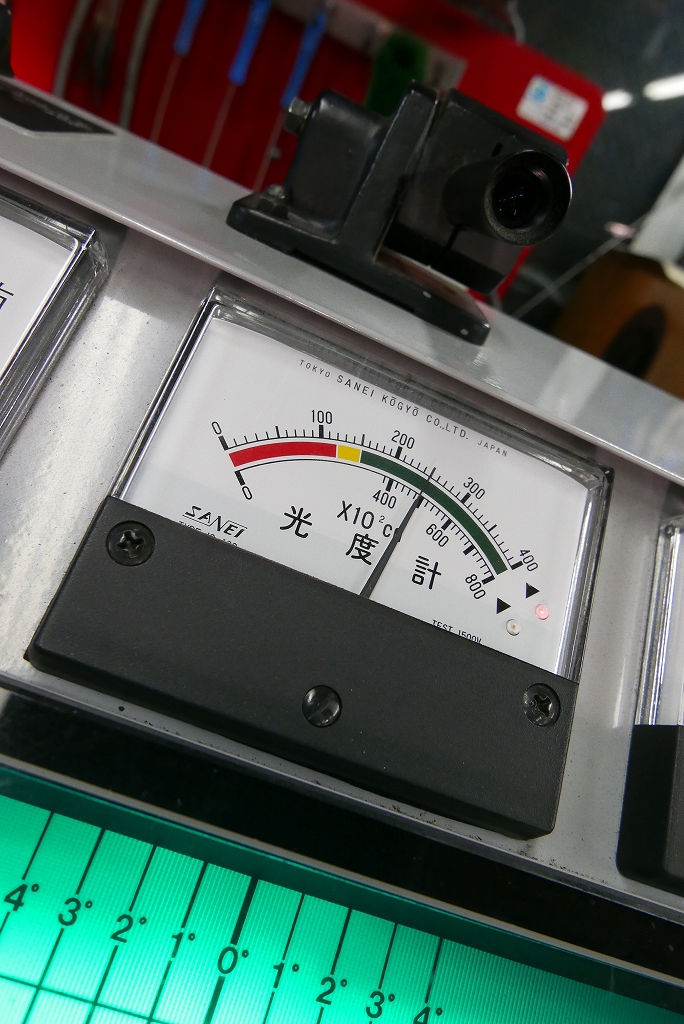
We had to rev it up a bit more, and shooting solo was a hassle…
About 25,000 candlepower. Definitely effective.
We should test a standard headlight relay setup too, but that’s too much work, so we’ll skip it.
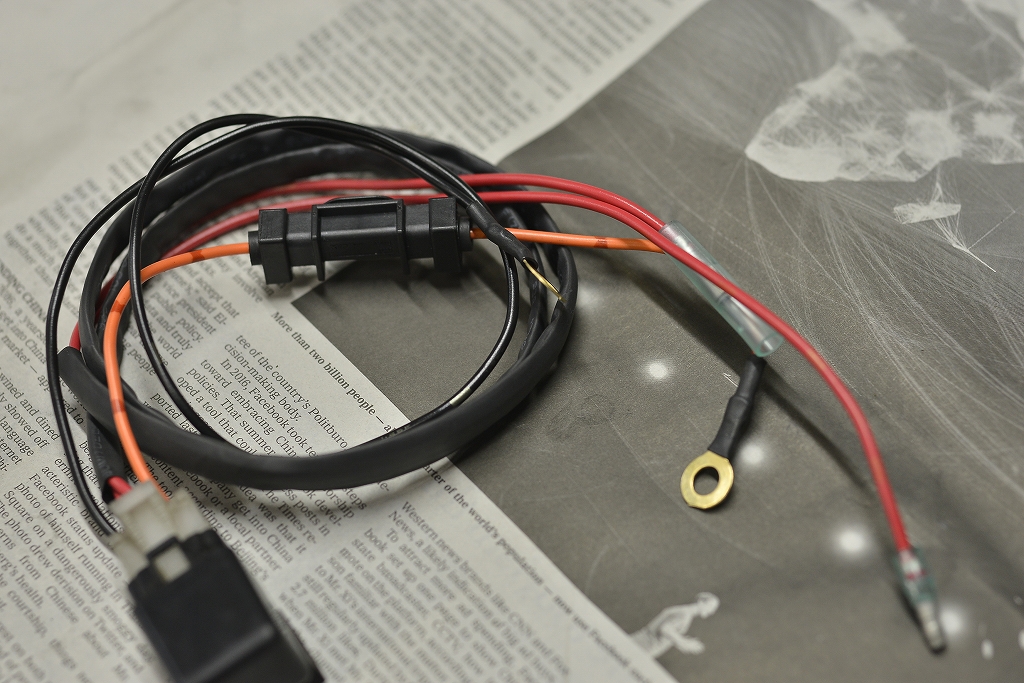
So, the headlight relay setup:
• Only four wires—nice and clean
• No need to tap into the headlight connector
• Just one relay needed
Minimal wiring clutter. Very nice.
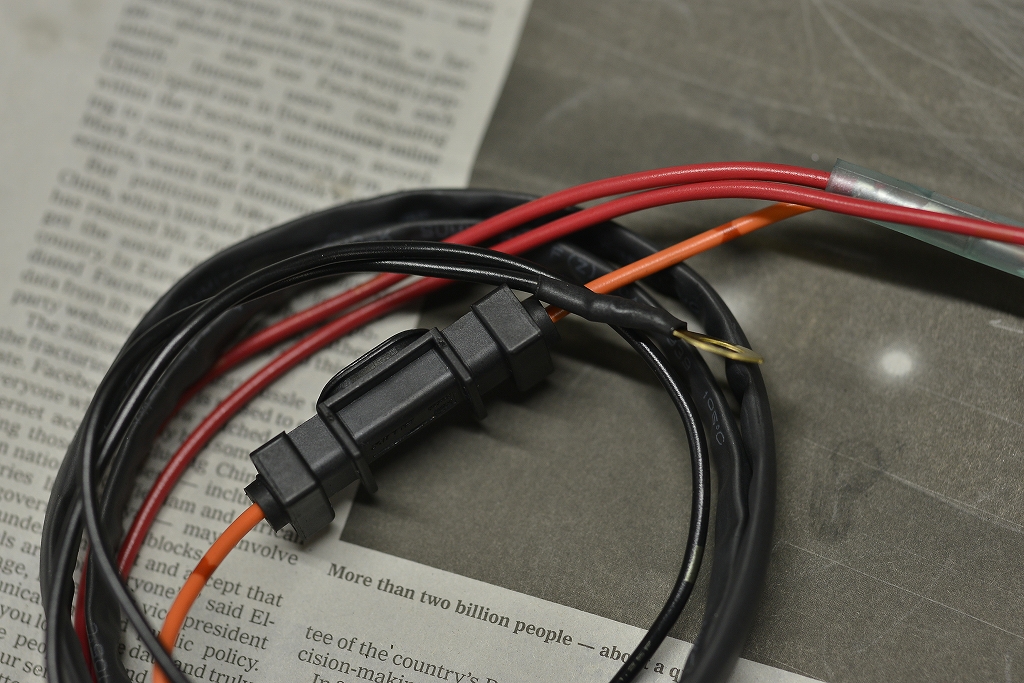
We used a low-profile fuse.
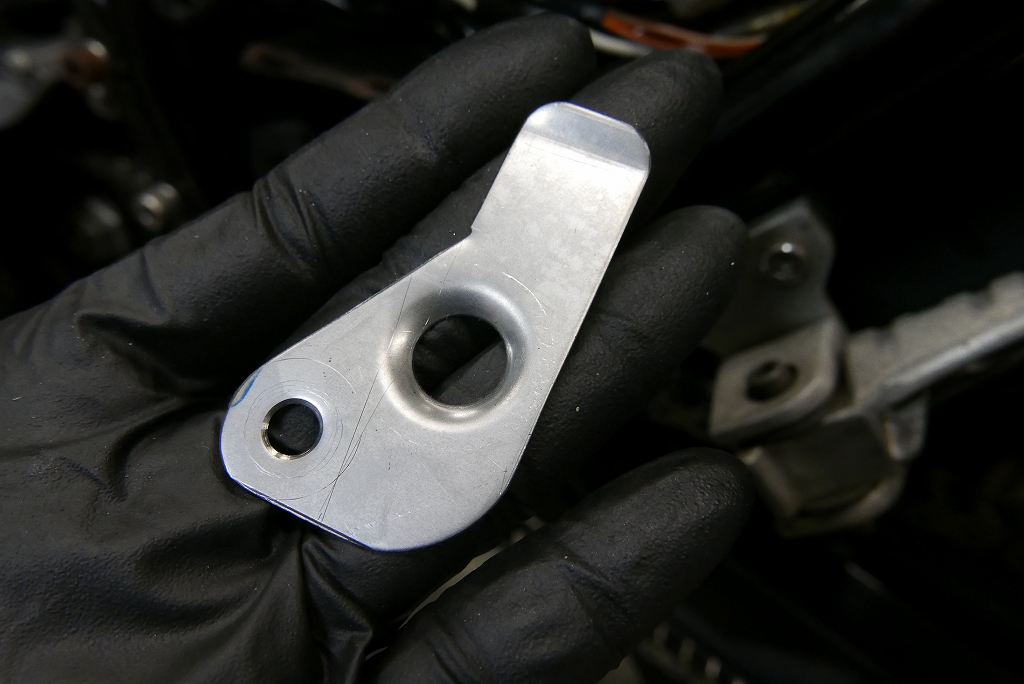
We cut out a bracket to mount the relay. If there were any gaps, we added a burr.
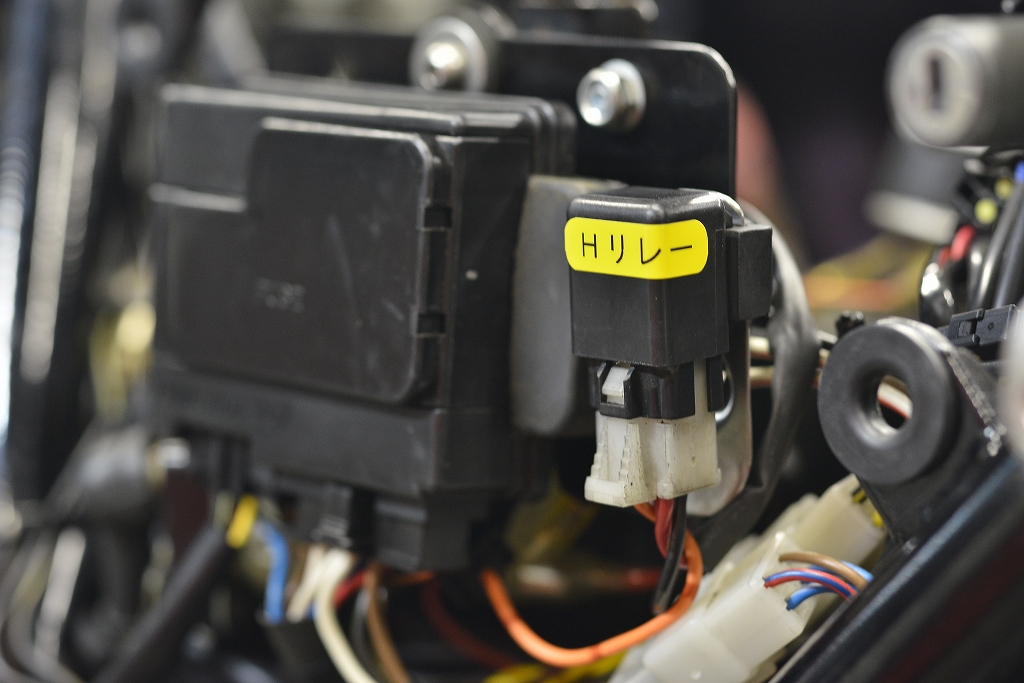
We laid everything out in order. With electrical components like these, if you secure them properly, you won’t be embarrassed when you remove the fairings.
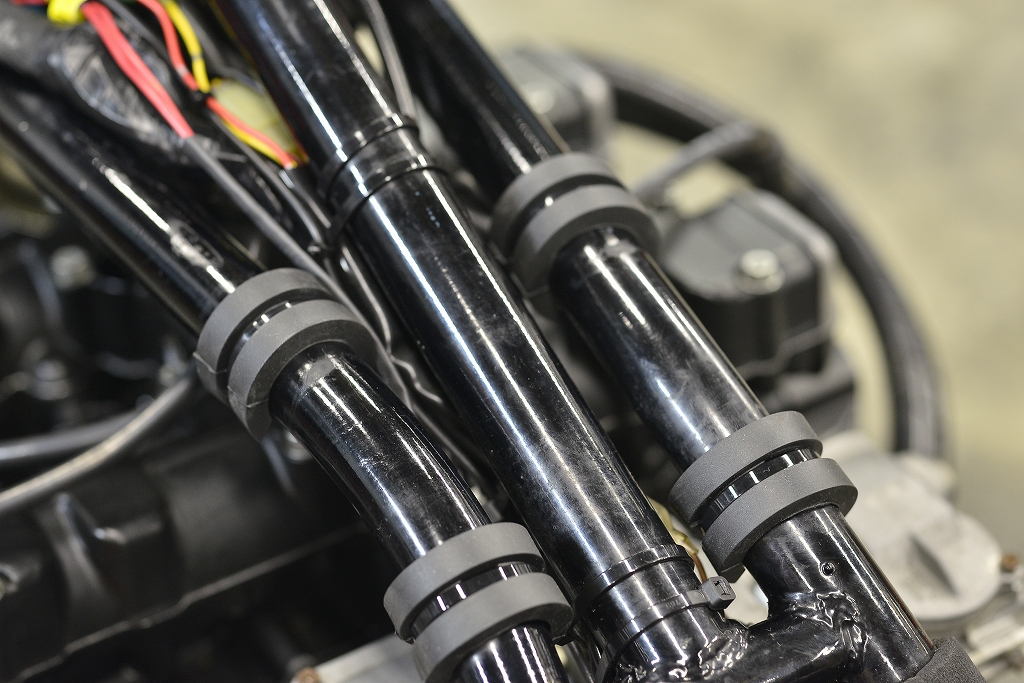
Under the tank, we used a Suzuki OEM damper.
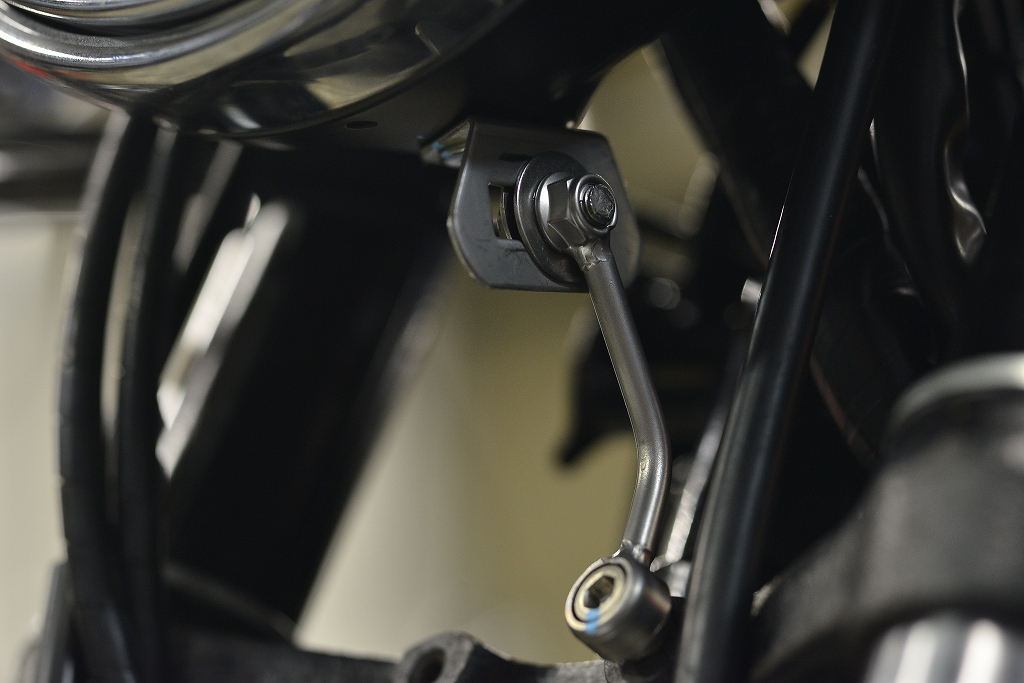
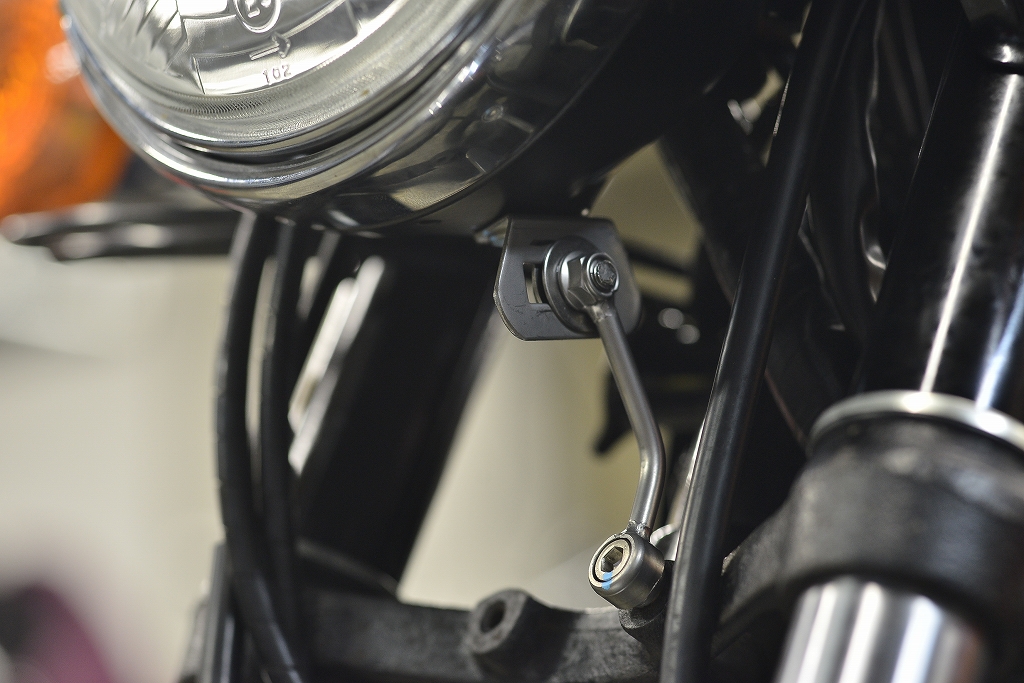
We restored the headlight bracket to stock. Having an optical axis bracket versus not having one makes a huge difference. Spending 30 minutes here pays dividends down the road.
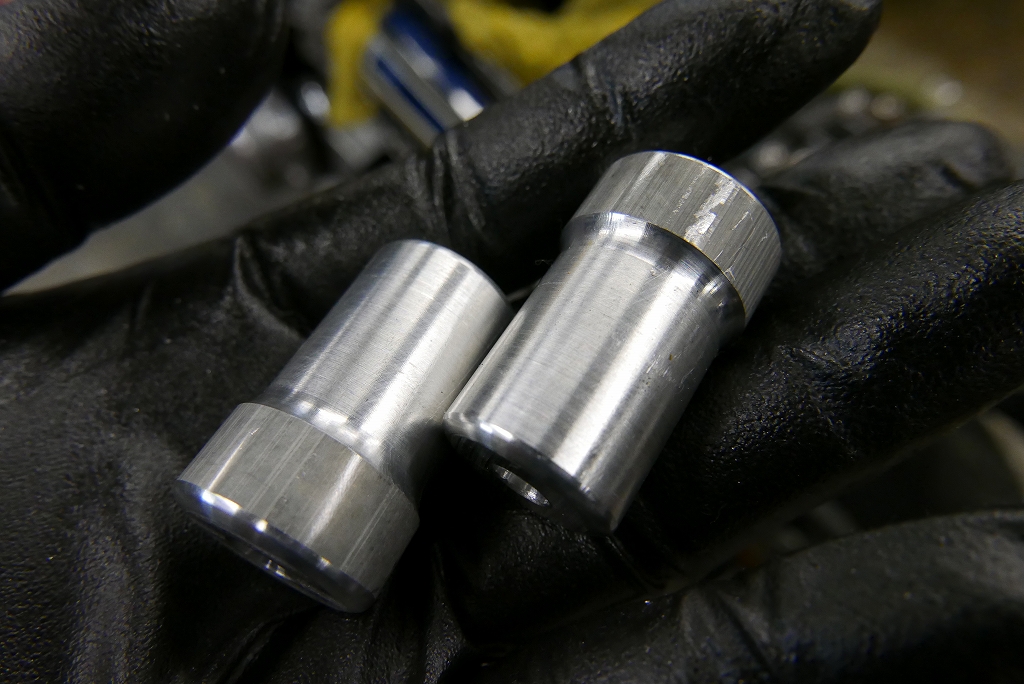
The taillight was originally held together with bolts, nuts, and more nuts—whatever was on hand. We properly spaced it now.
After a test ride, we’re done.