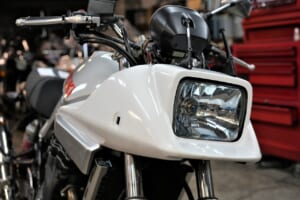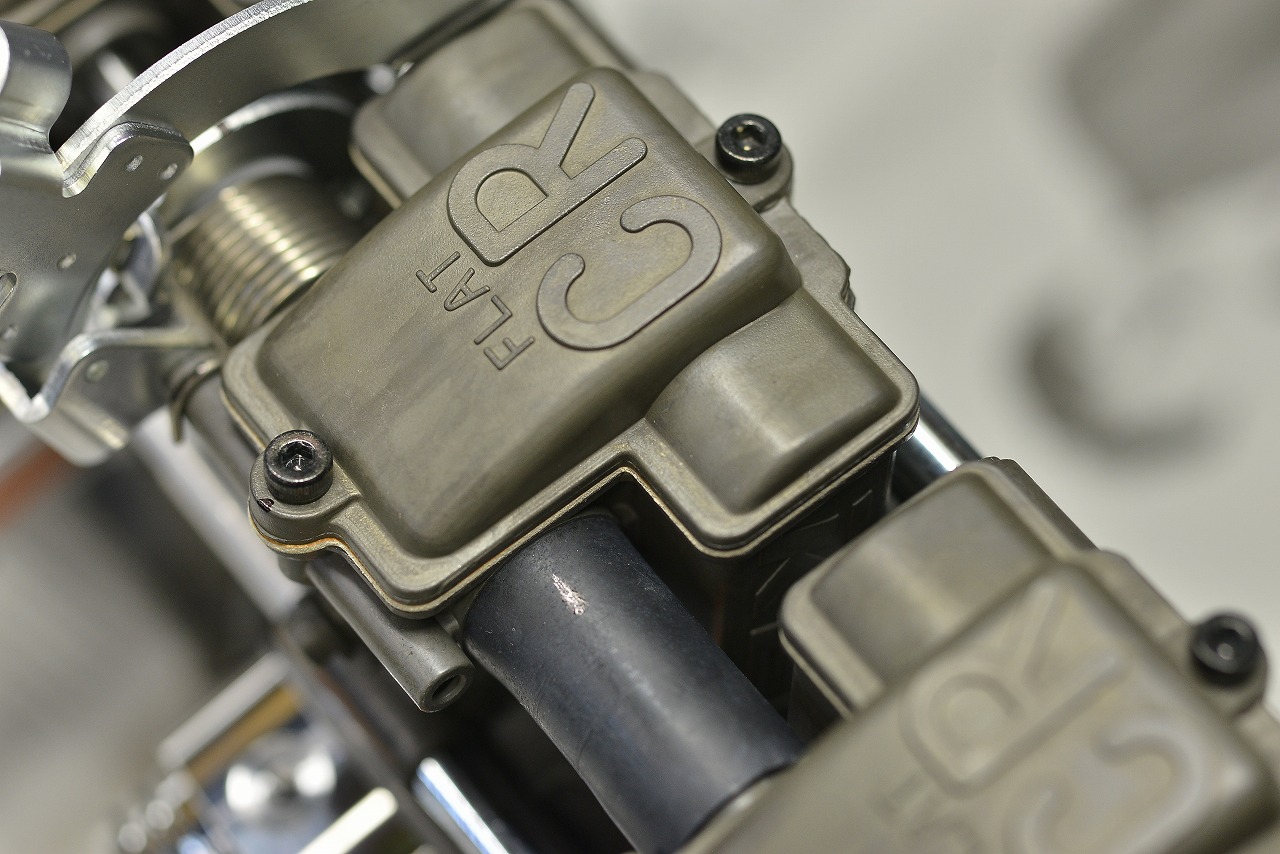
The problem is fixed. However, the FCR has been used too much, so the request is to replace it with a new one.
The long-awaited FCR arrived today from BITO R&D~
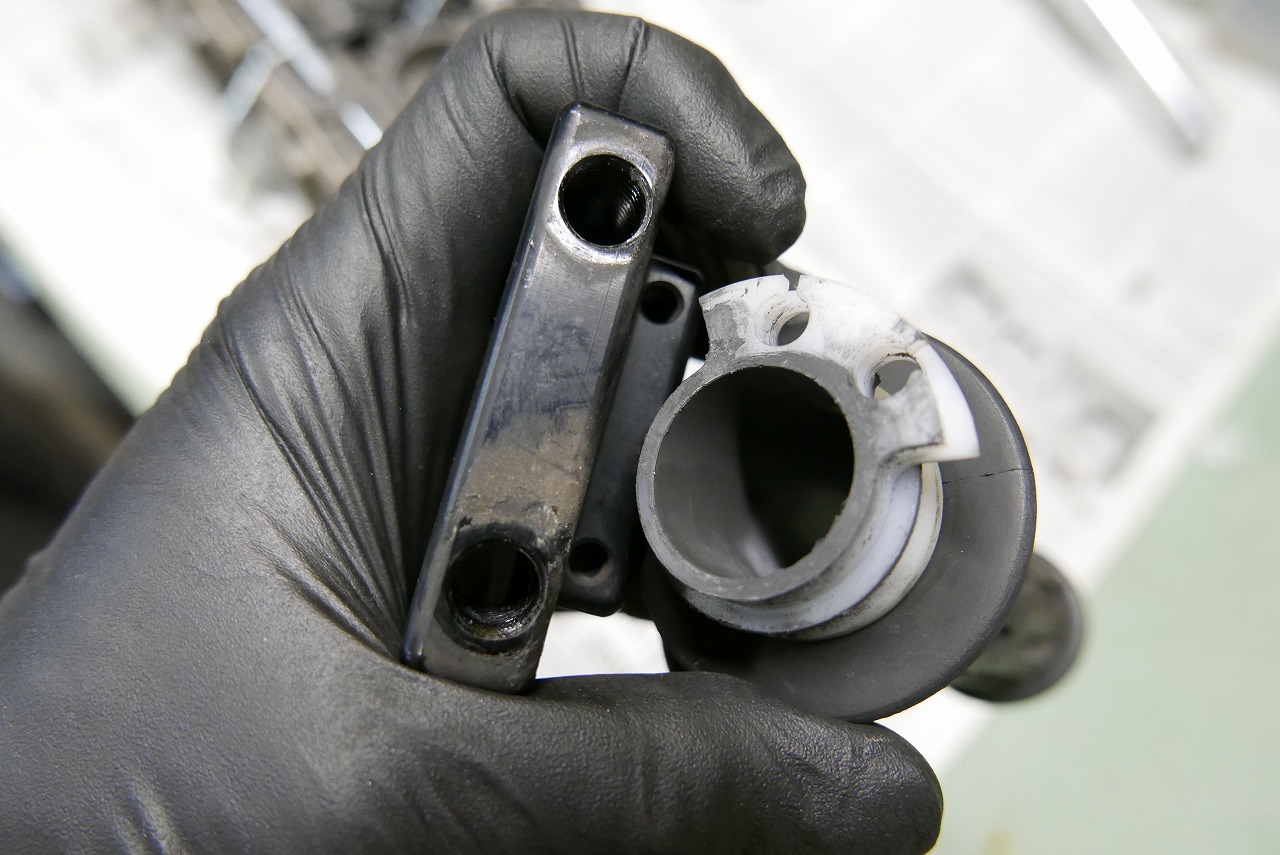
First… I use what I can use. I feel this is kind to things.
A really old holder (probably Active brand) with no stopper—a rare item?
The throttle sleeve stopper fan is also small. ← This one cannot be used.
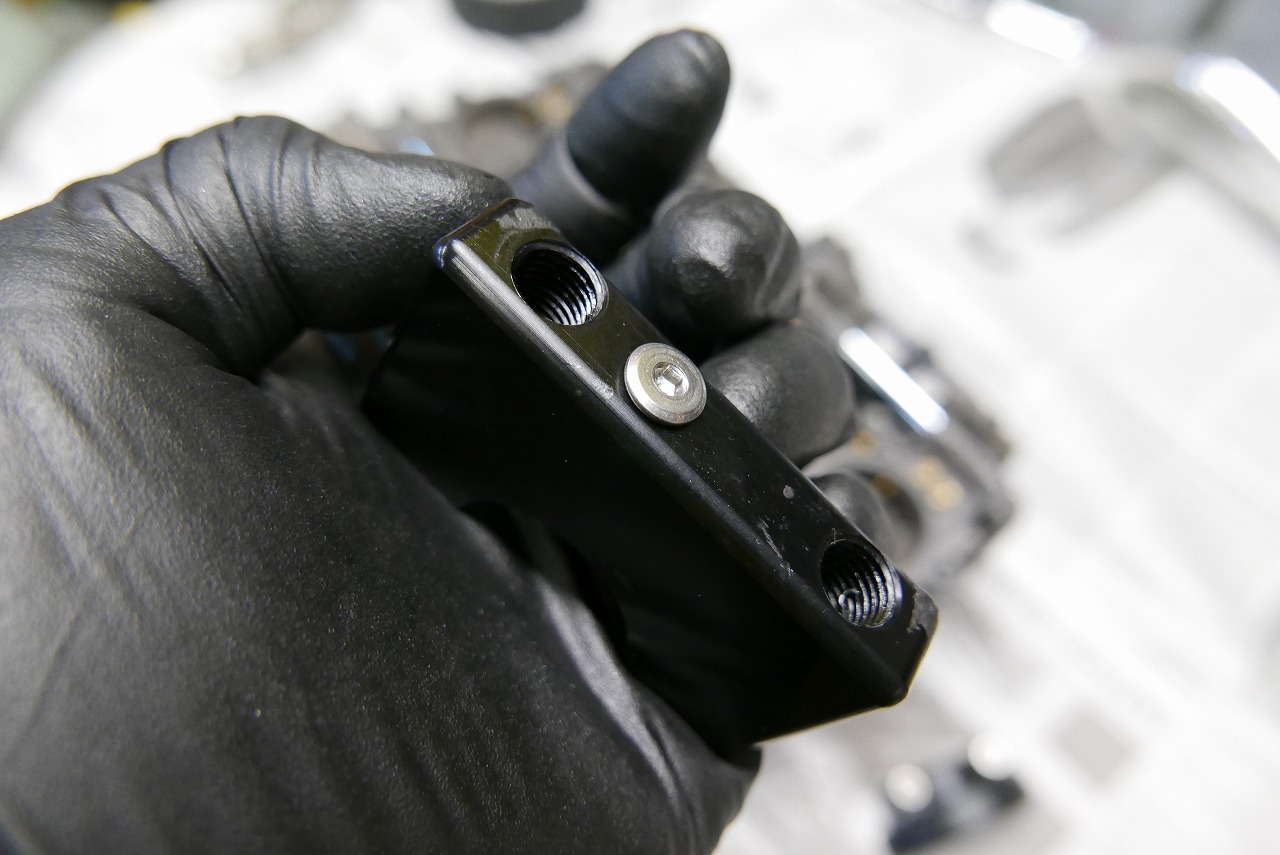
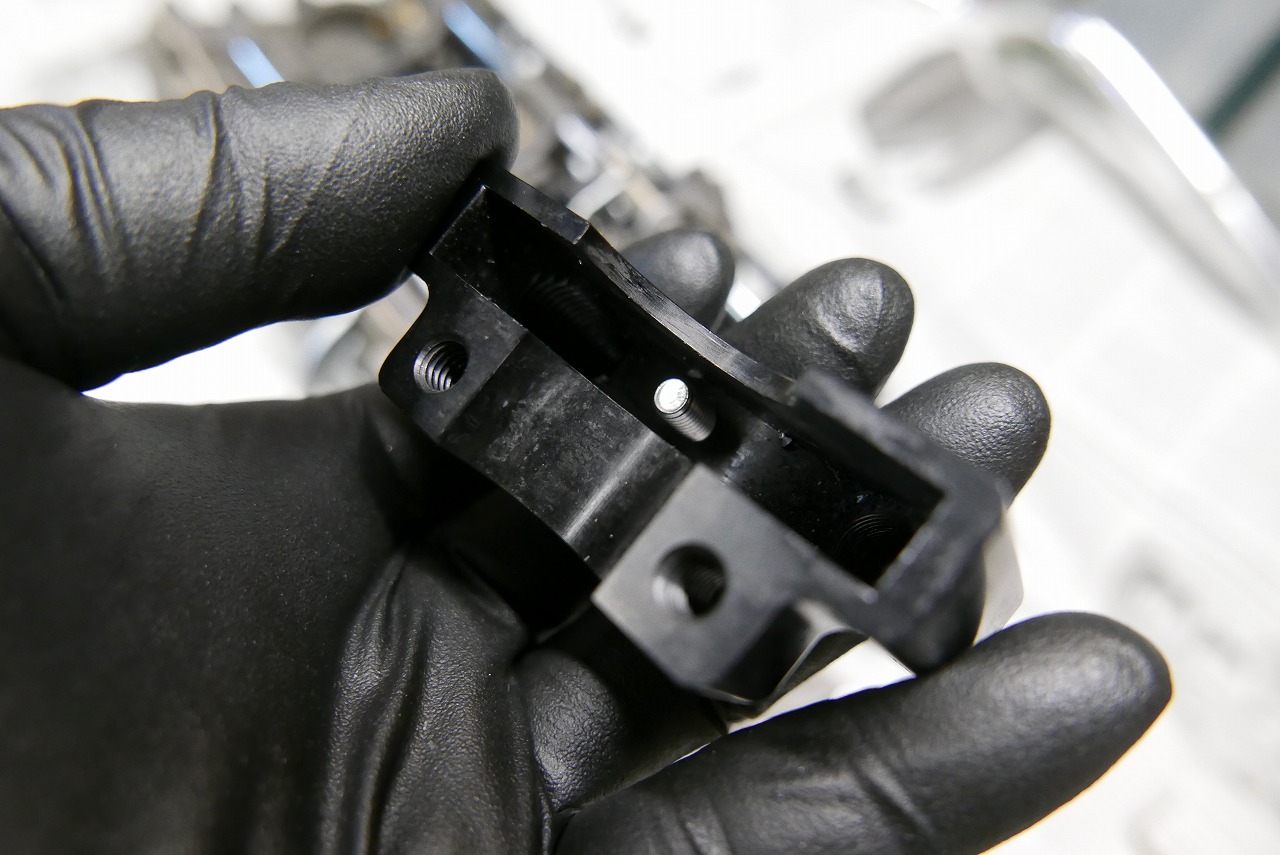
Cut an M5 thread to a good length and lock it. When replacing aftermarket carburetors or holders, it feels better to engage the stopper.
If you don’t engage the stopper
• The OPEN/CLOSE wire tension maintains throttle play, resulting in a squishy, unpleasant throttle feel
• When you turn the throttle OFF, there’s no “crisp, solid contact” feeling at all, which becomes very unpleasant.
The included stopper is a long M5 bolt and nut. I think this is designed to work with any spool. Since I’ve cut threads into the holder, a crisp lock and flush, ultra-low-profile fit should be perfect.
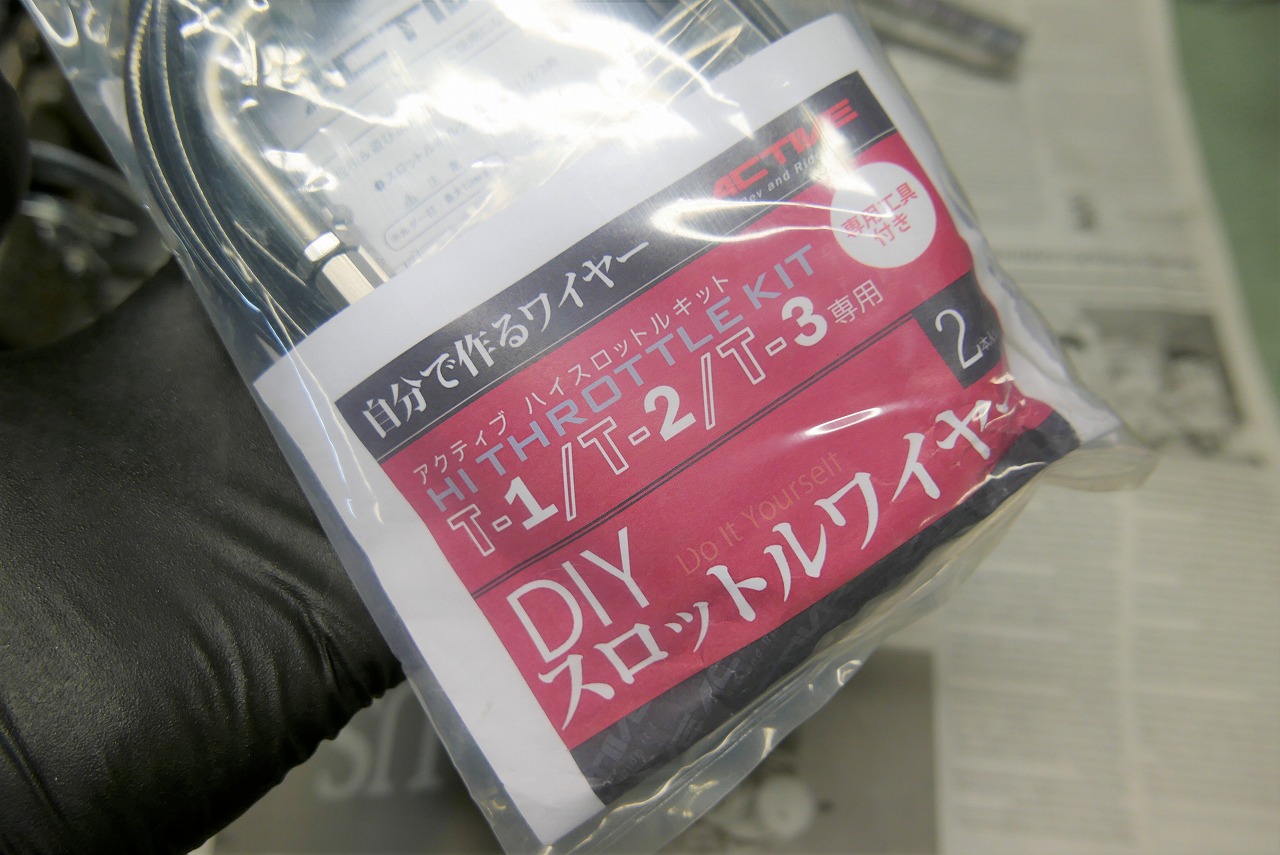
Next.
I’ll use the usual DIY throttle cable. Honestly, I think there are pros and cons, so please take this as reference~
Pros
• Optimal length allows optimal routing.
Cons
• Labor to make it and risk of failure on the first try
• The carburetor-side mounting bracket won’t be free
Generic cables typically come in 100mm increments (700/800/900/1000mm) and so on.
When a motorcycle turns the handlebars left and right, the cable gets tight or slack.
• If too long, it can break when slack, which is dangerous.
• If too short, it gets tight, which is dangerous.
With off-the-shelf products, you have to route through various places to find the optimal position.
By the way…
Taking up slack = outer cable total length increases = gets longer → it’s better to avoid mid-span adjustment cables as much as possible.
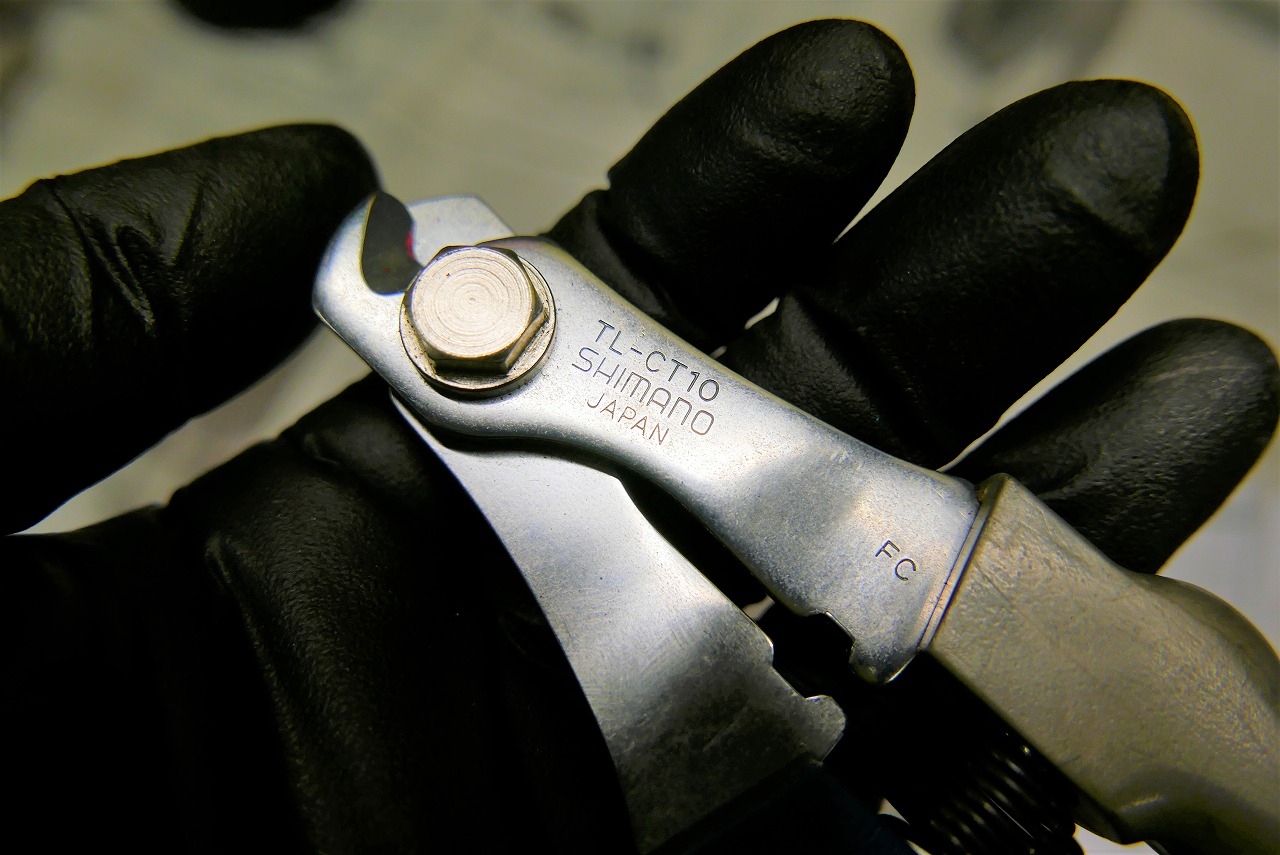
With bicycles, I make cables every time, so it’s routine work. A Shimano cable cutter cuts cleanly. You need to smooth the outer cable path somewhat, but…
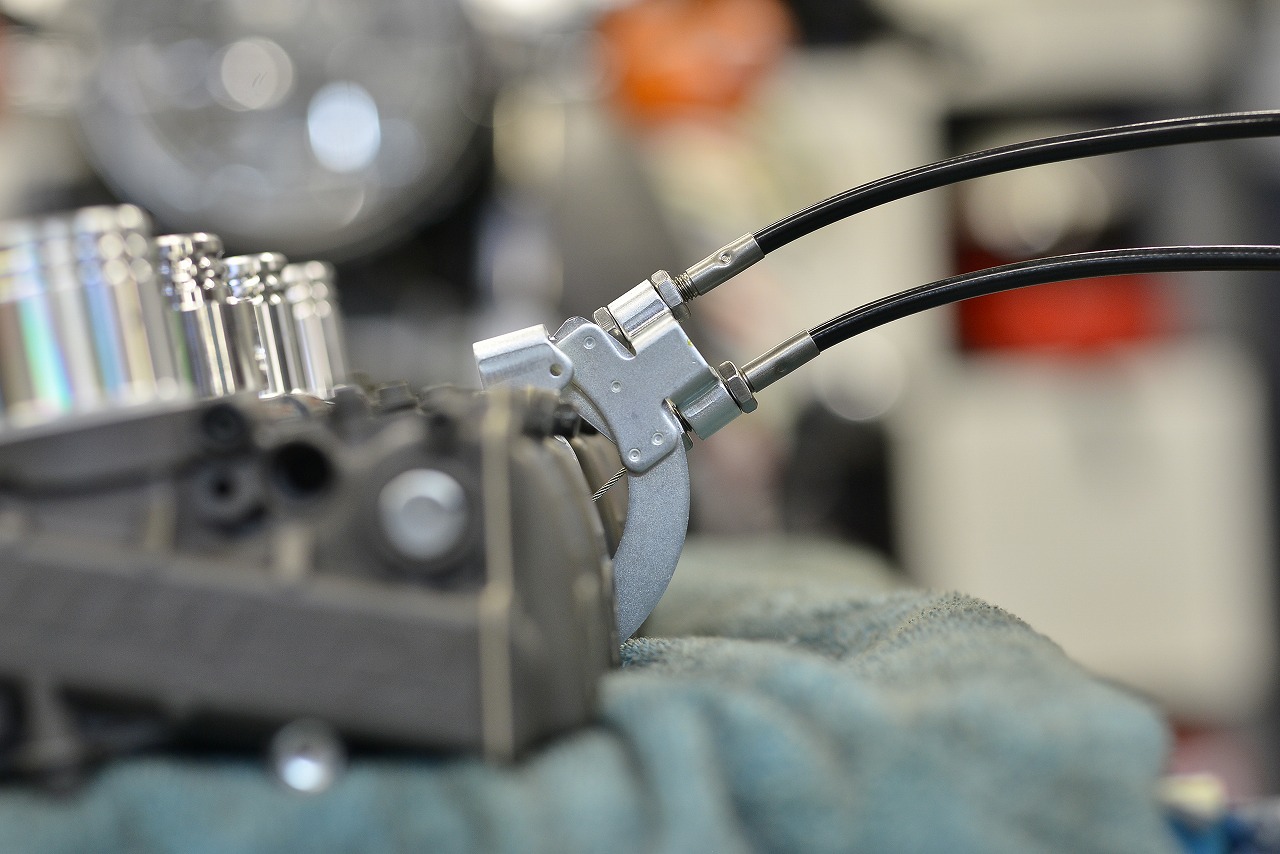
And that’s how it’s done. ↑ Diagram showing the carburetor-side mounting bracket not being free
There’s a separate free bracket available, but whether it can be crimped is still being explored—please look forward to future updates.
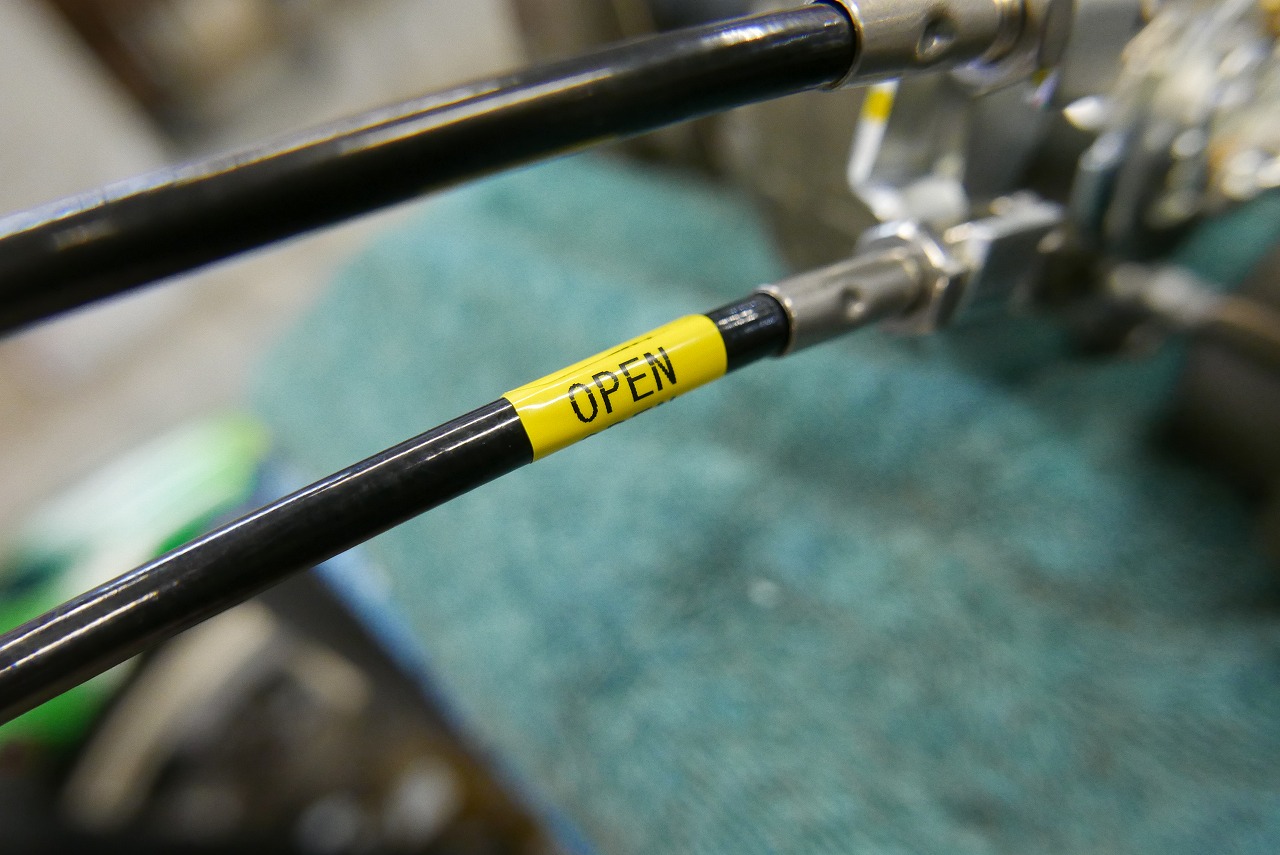
I’ll label it so I don’t make a mistake.
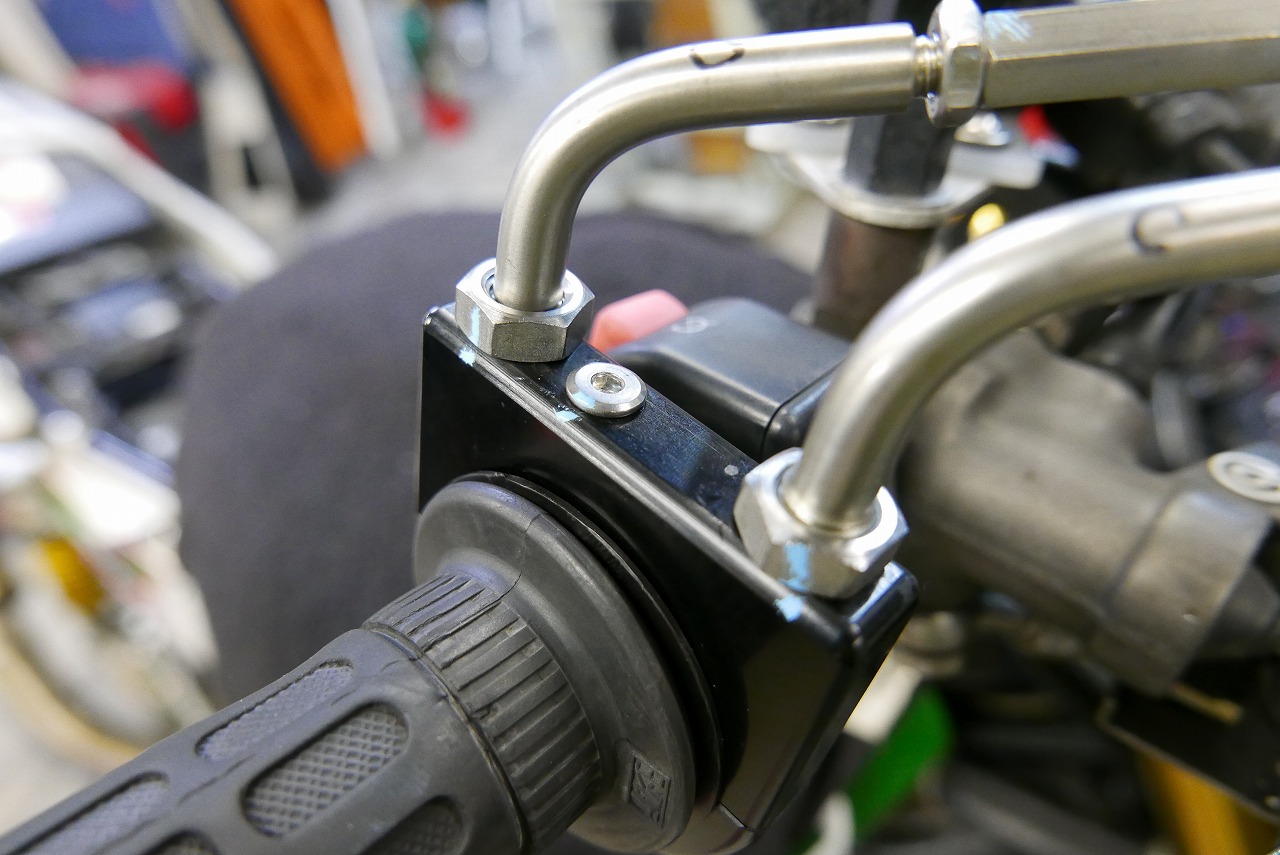
The top exit looked smarter, so I did it this way.
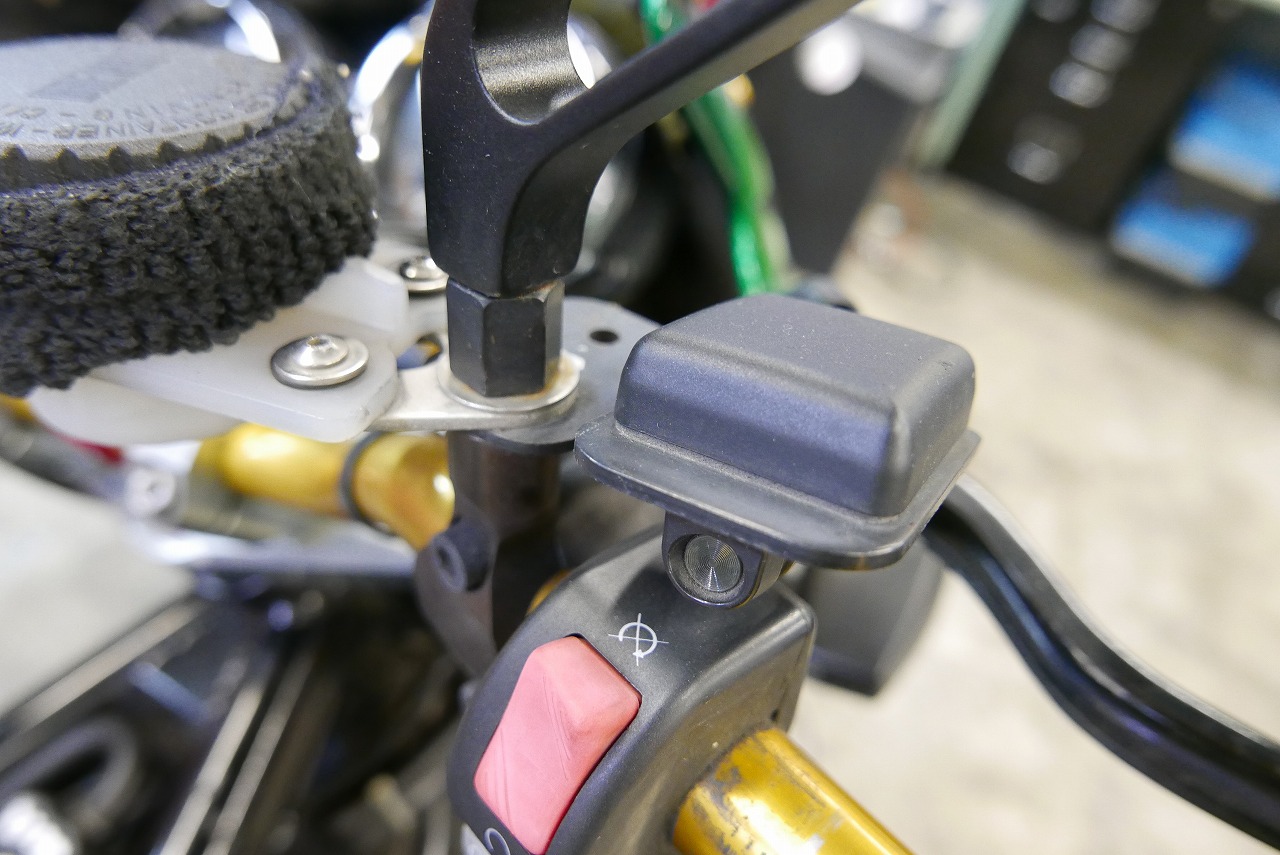
This one is being relocated.
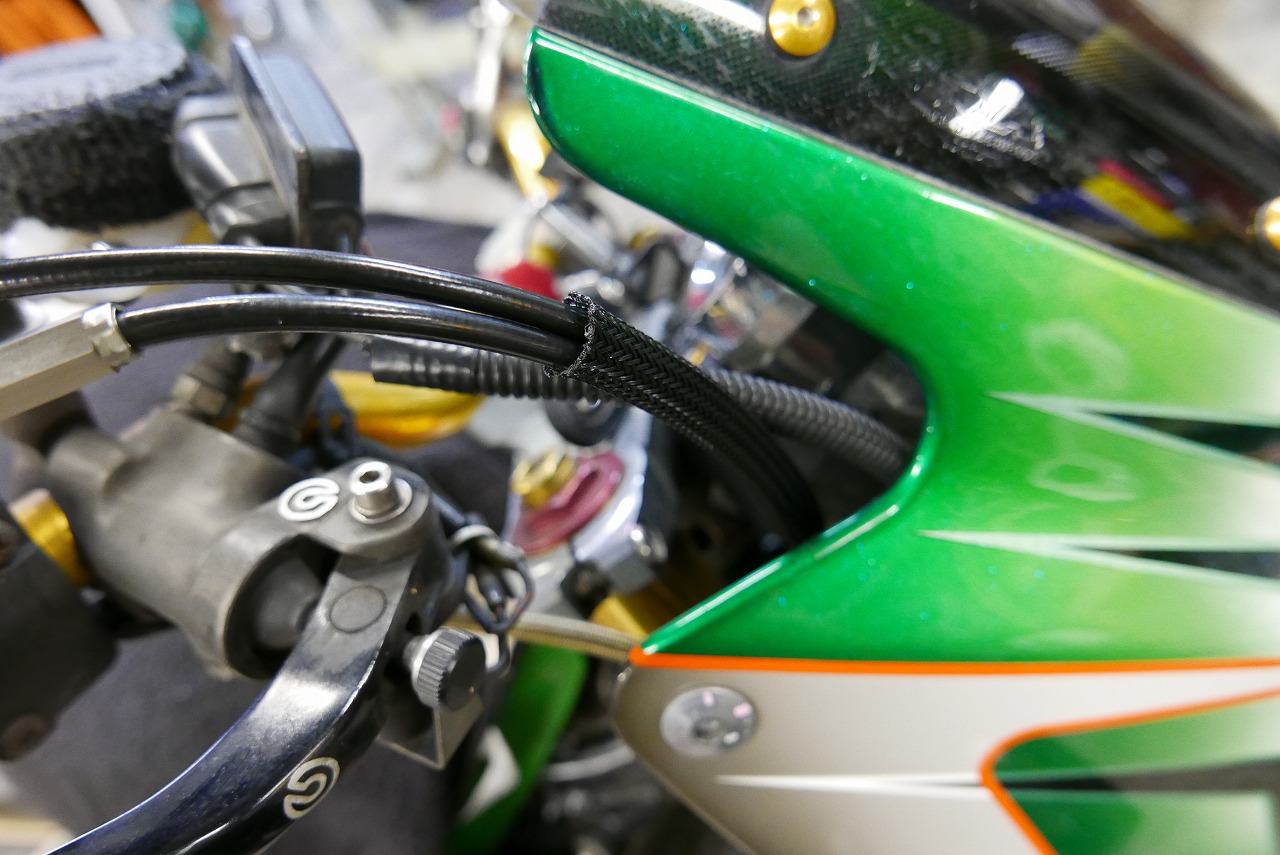
Cable ties on wires are a no-no. Movement becomes stiff, so it’s better to bundle with mesh or similar and let it move inside.
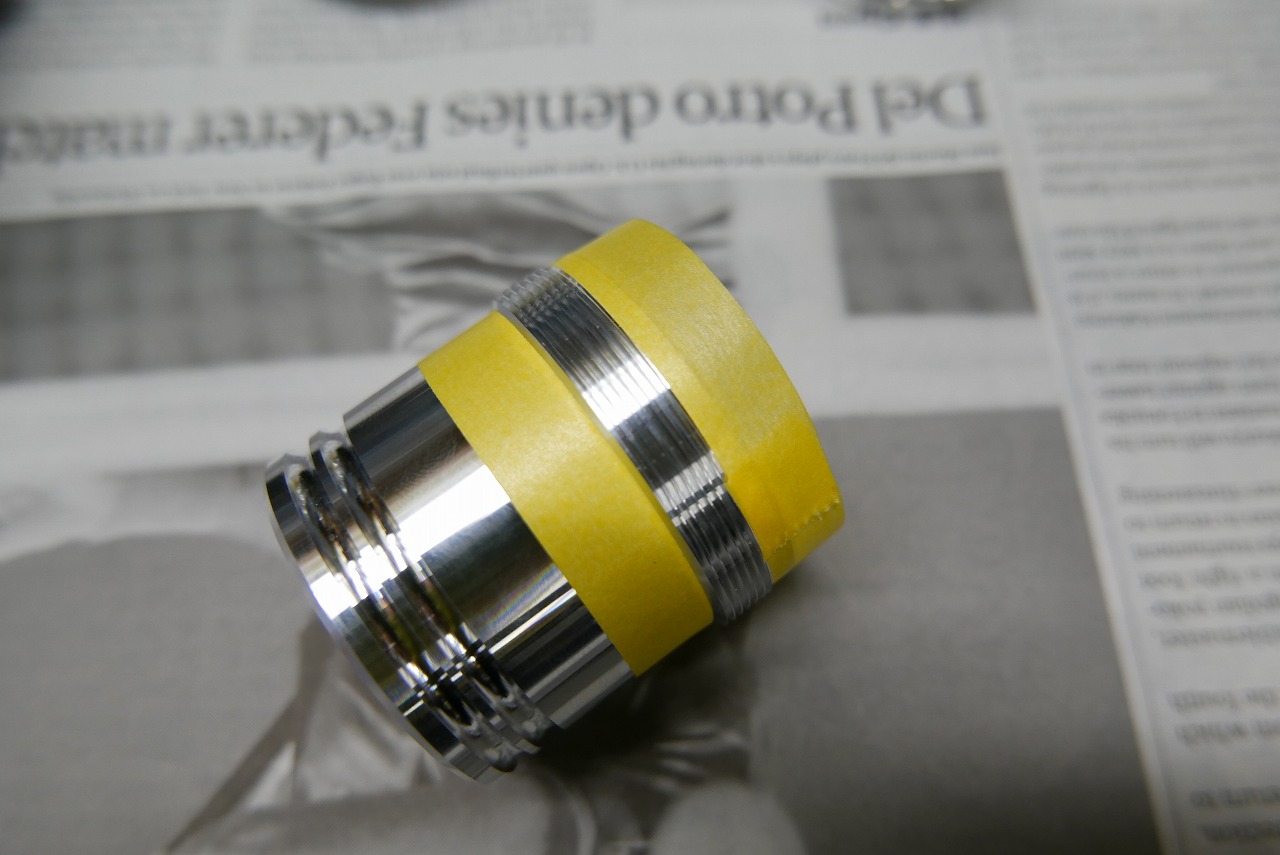
Next.
The FCR uses liquid gasket on the threaded part. The spec sheet specifies it, but I use Daytona’s gasoline-resistant small-size portions.
Like everything, I think most are made by the same manufacturer, just with different packaging.
Spillover looks messy = wiping is a pain → masking from the start is better.
You can go at it boldly and manfully.
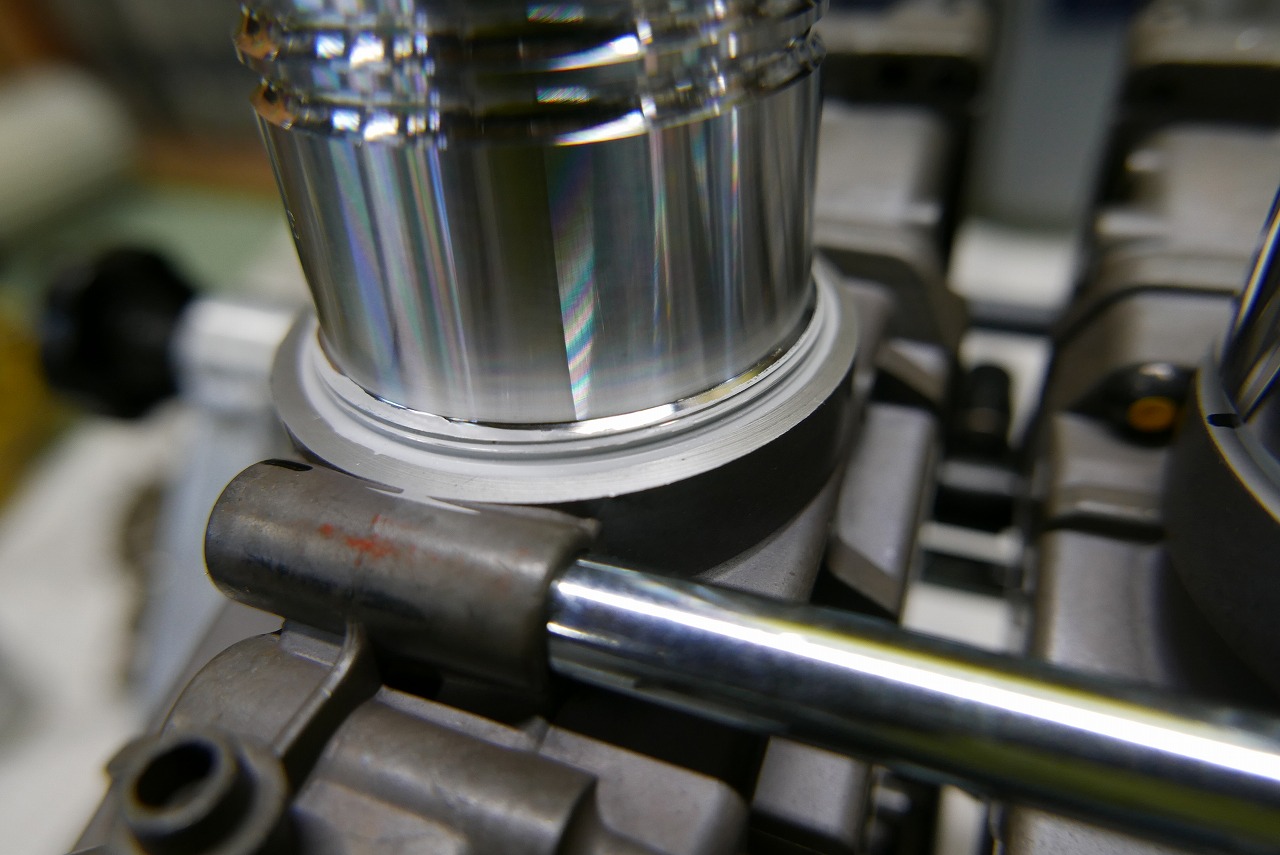
It fits nicely.
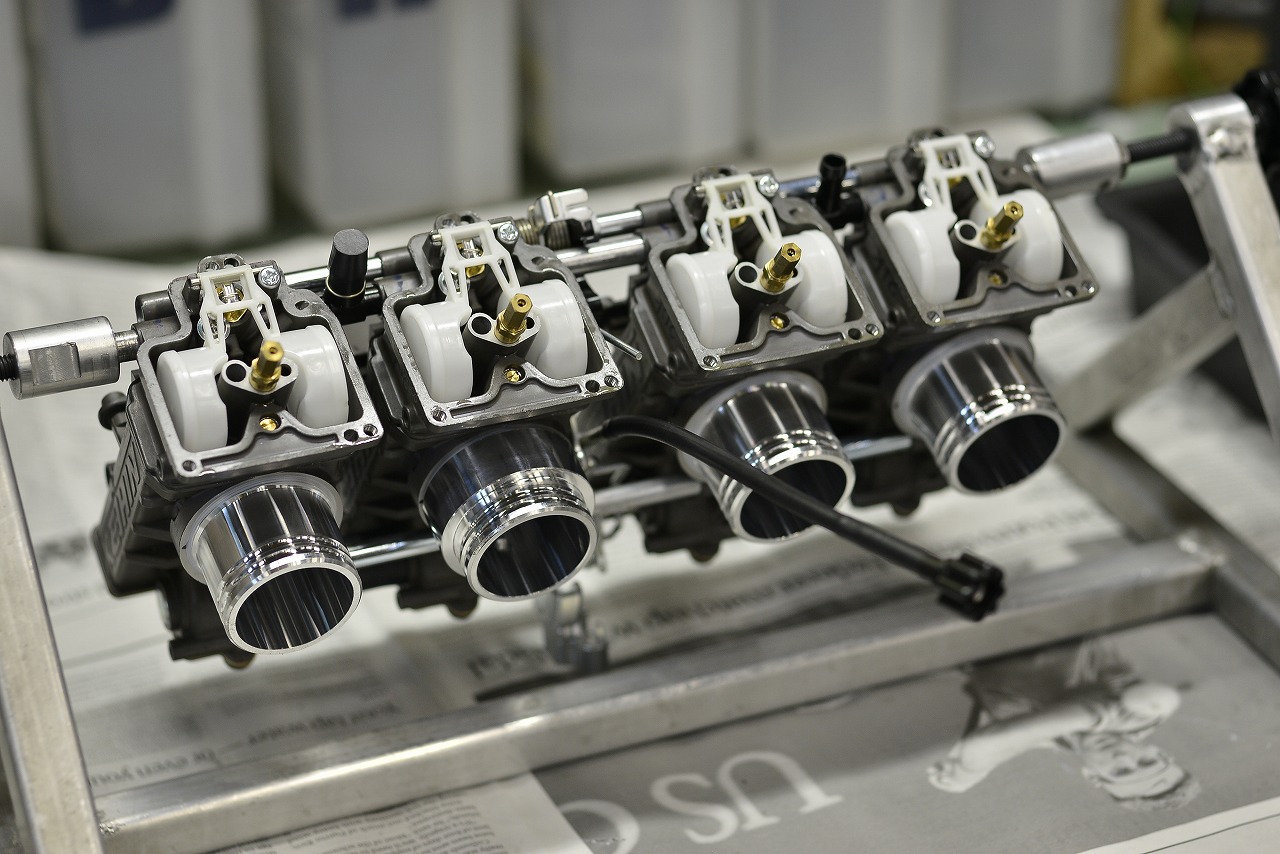
Next.
Checking the new and old internals~ I see… it’s quite large.
It has jets, so let’s lean it out. Back in the day, I used to do carburetor tuning on the street a lot. Thinking about it now… it was dangerous, license and all~
I’ll stop at a reasonable point, so if you want to fine-tune it, please put the bike on a stand.
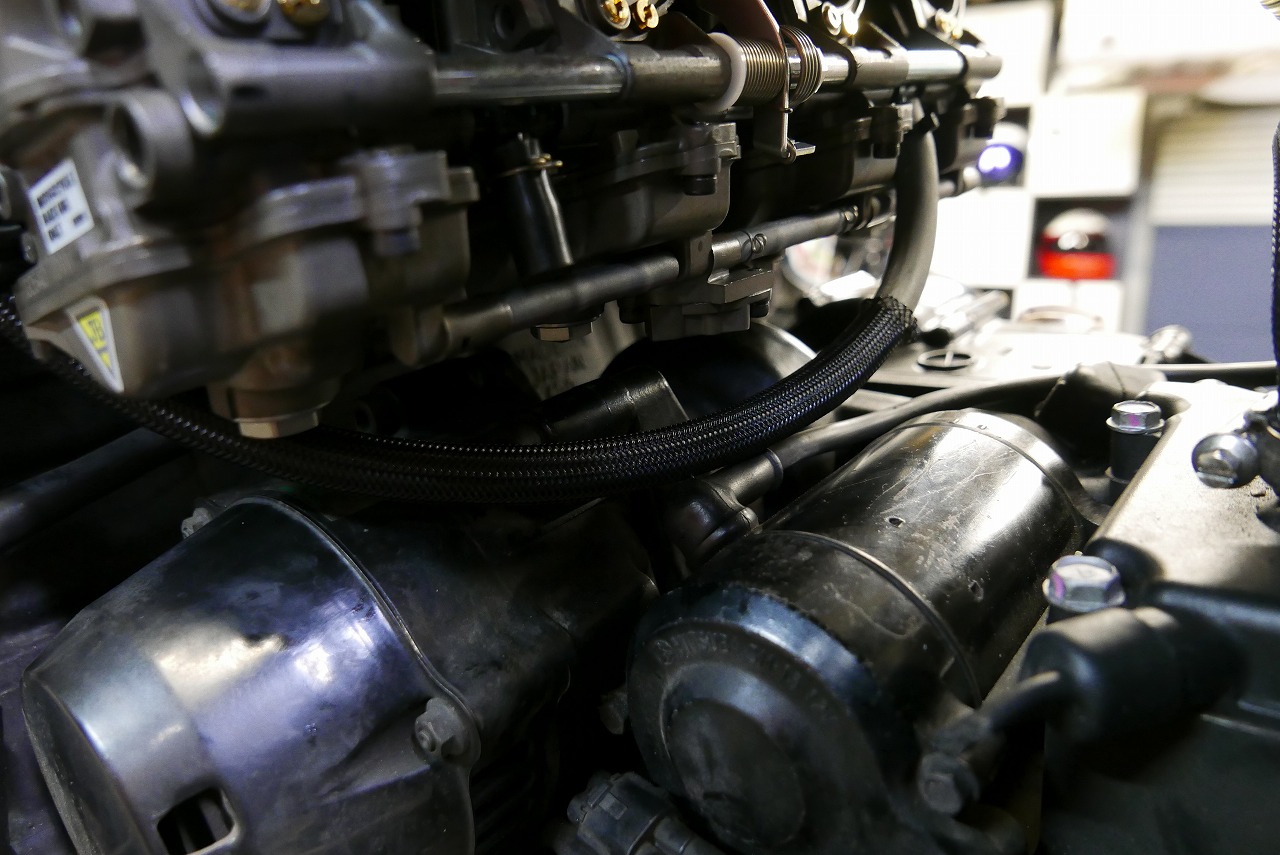
Common with stock setups~
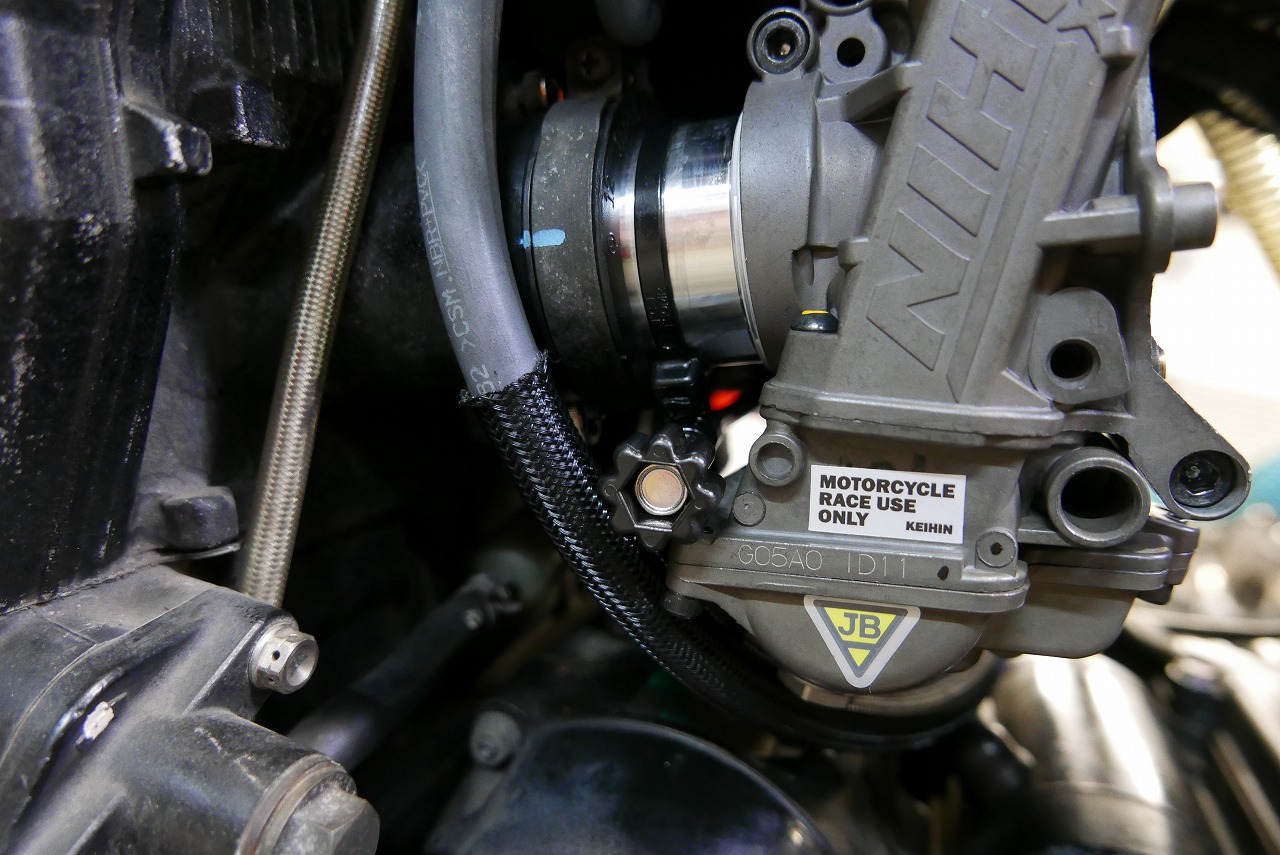
Make contact! Rub away! Prevention with mesh stockings~
Test ride is complete. Still need to do the oil and coolant…