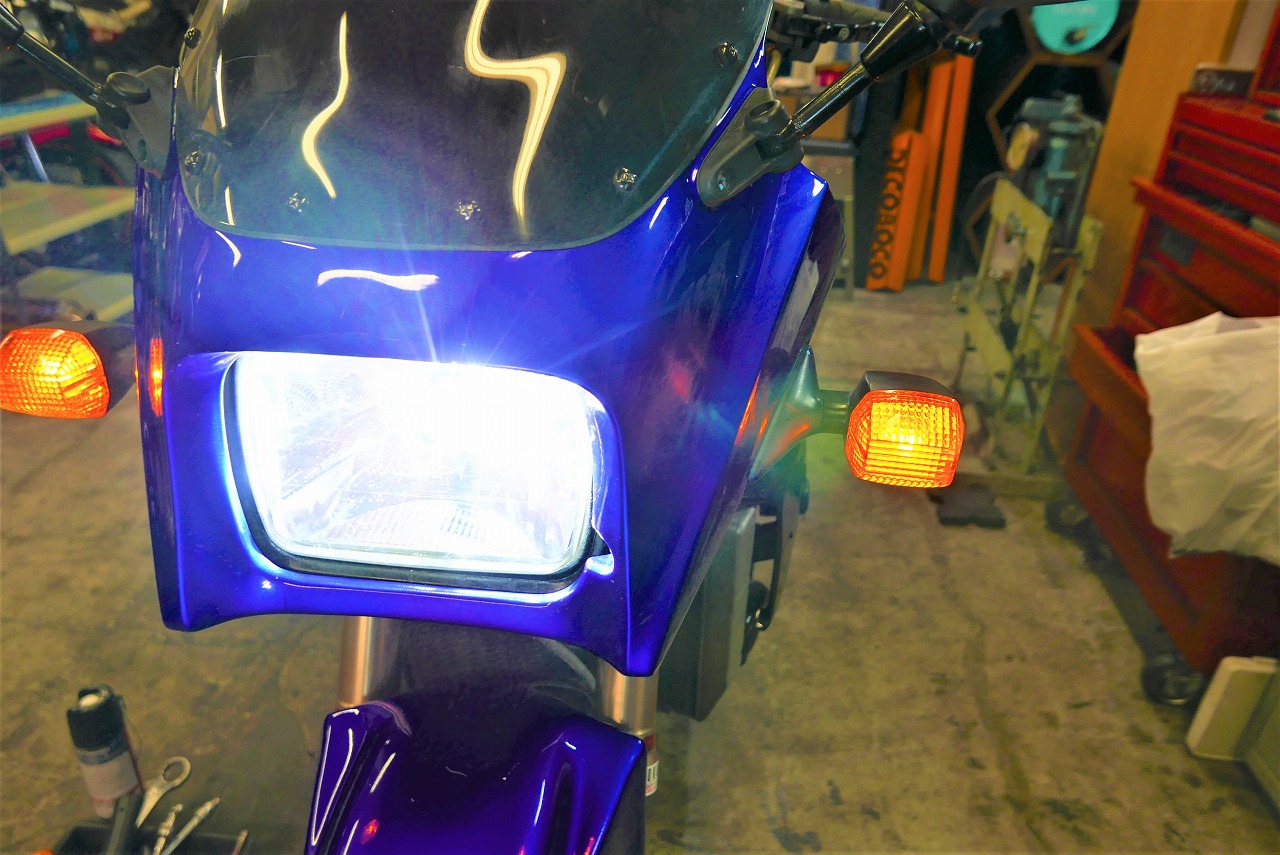
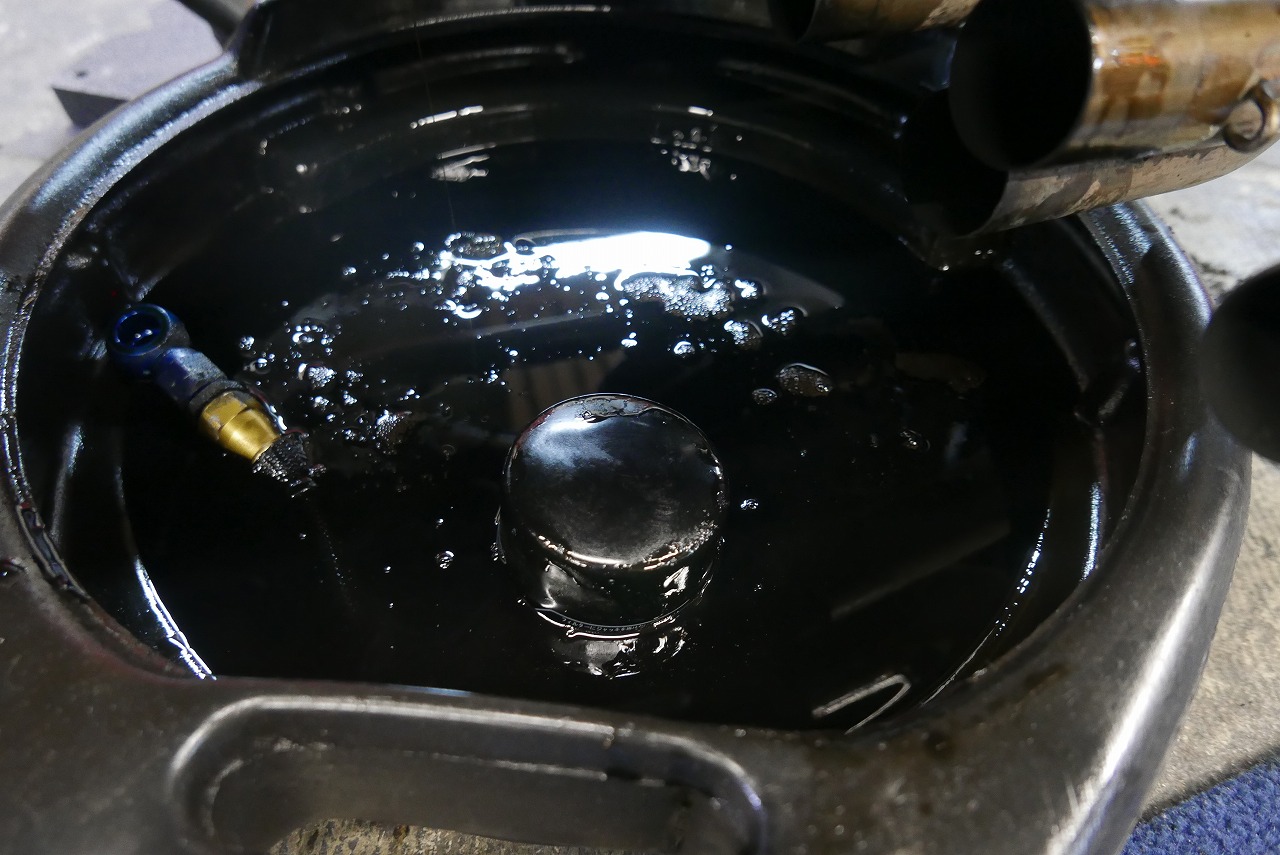
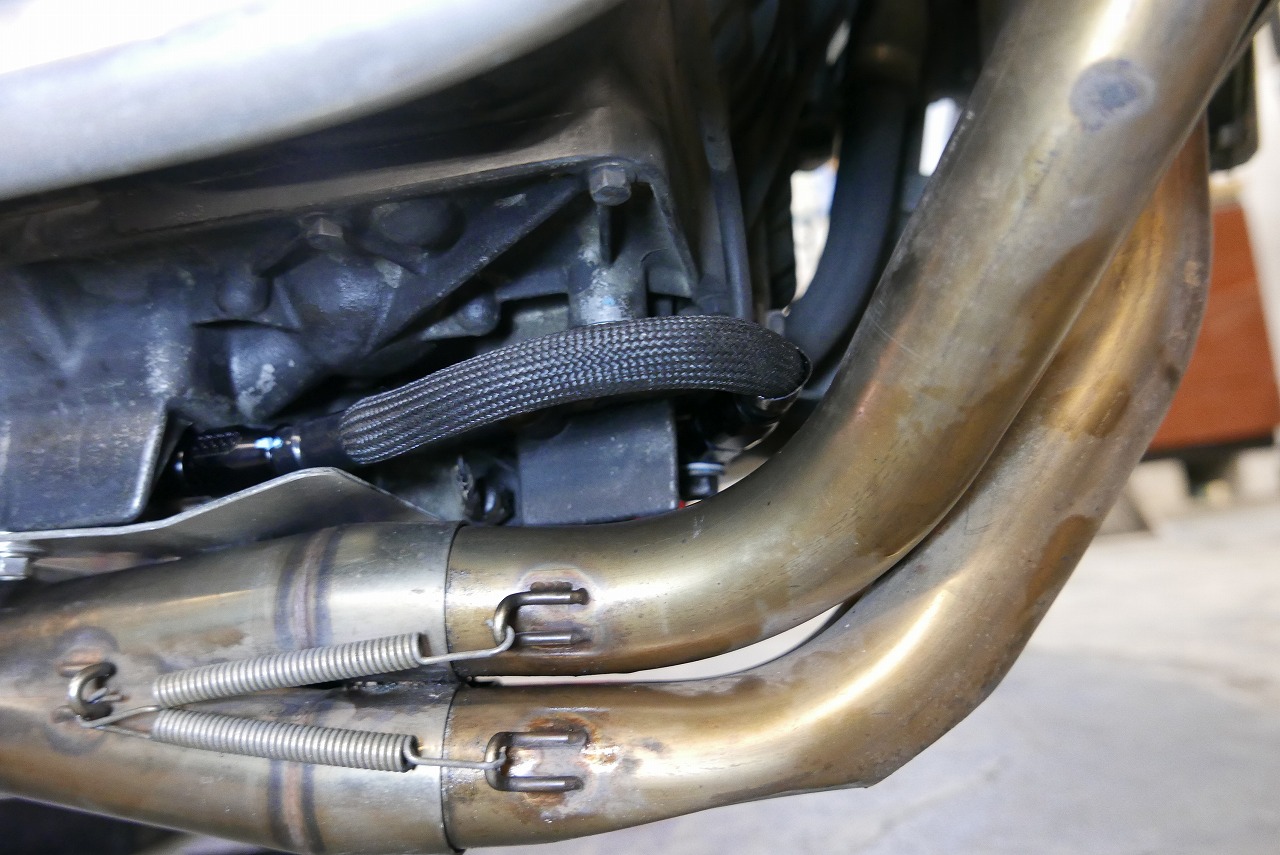
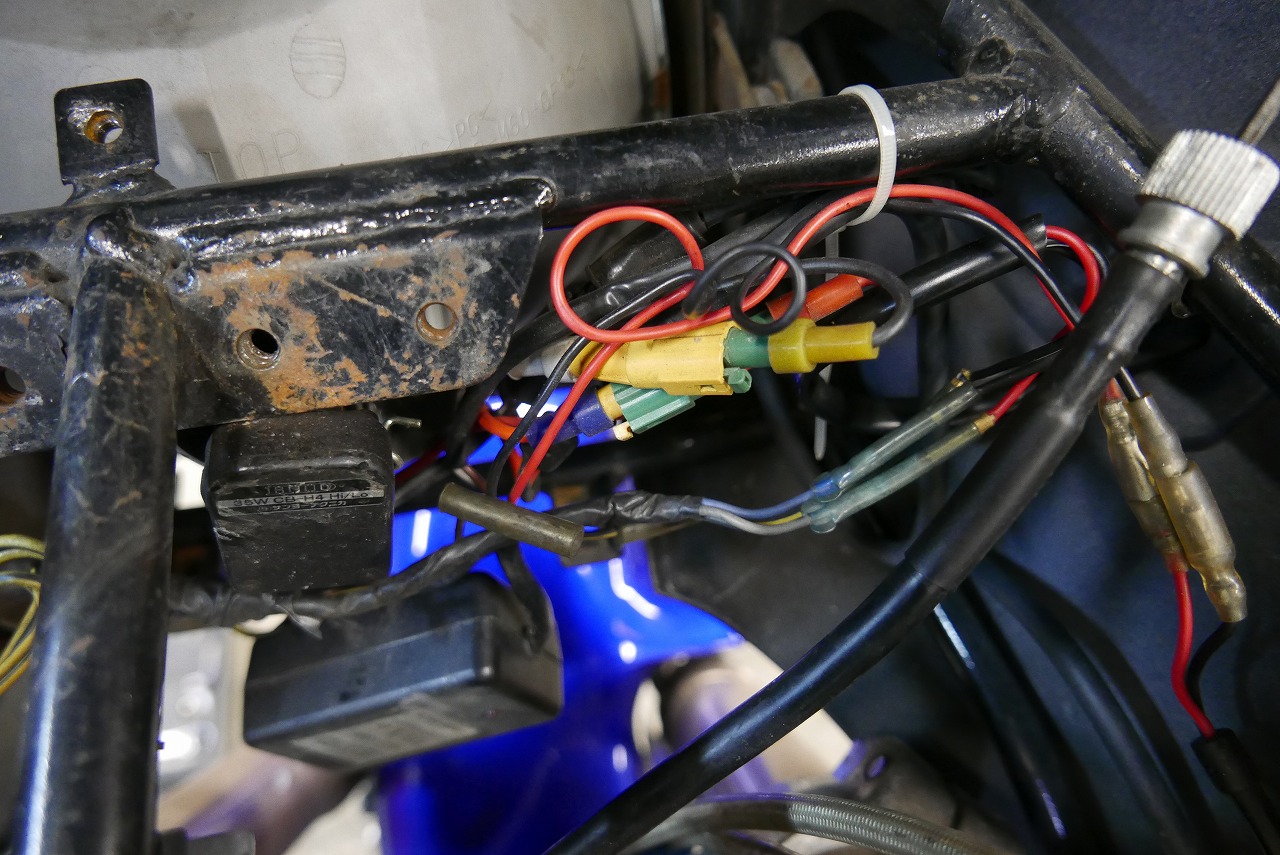
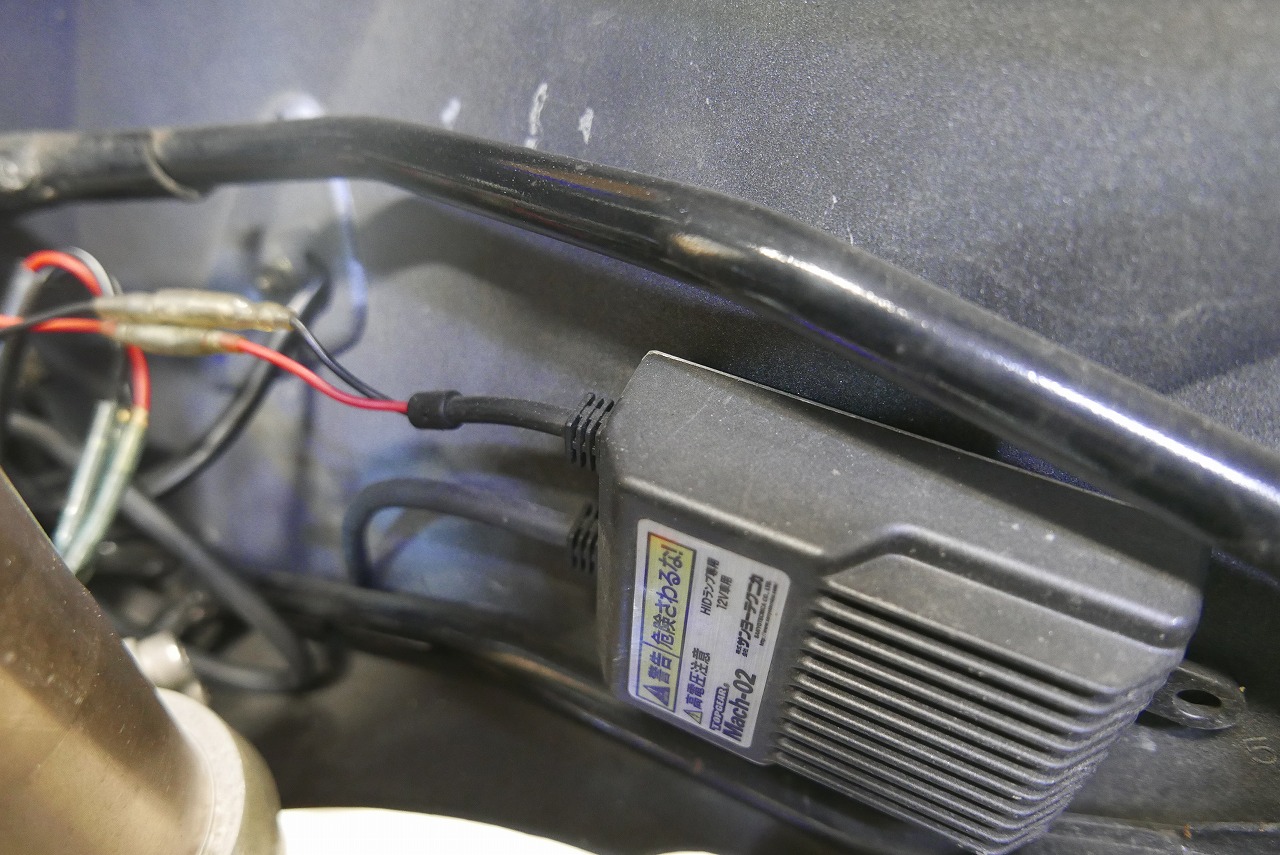
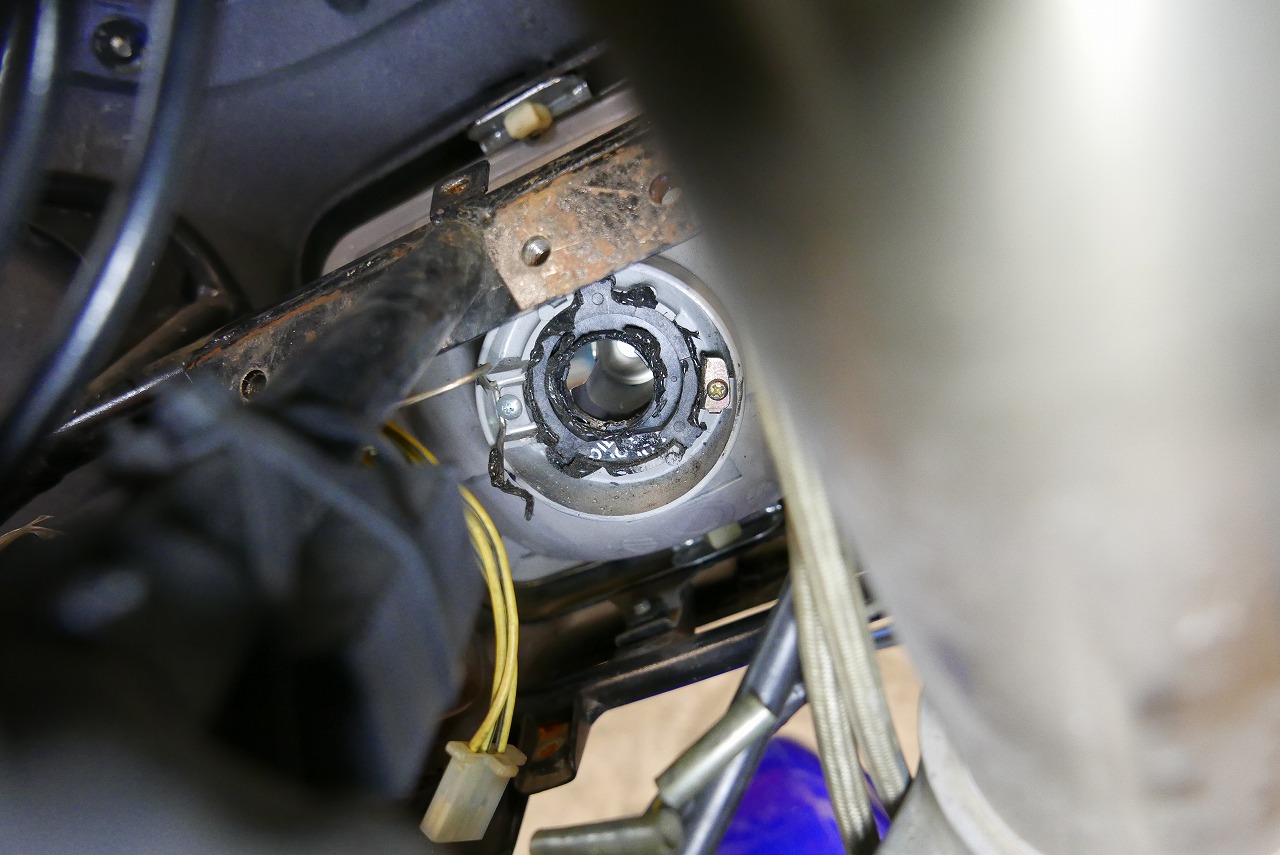
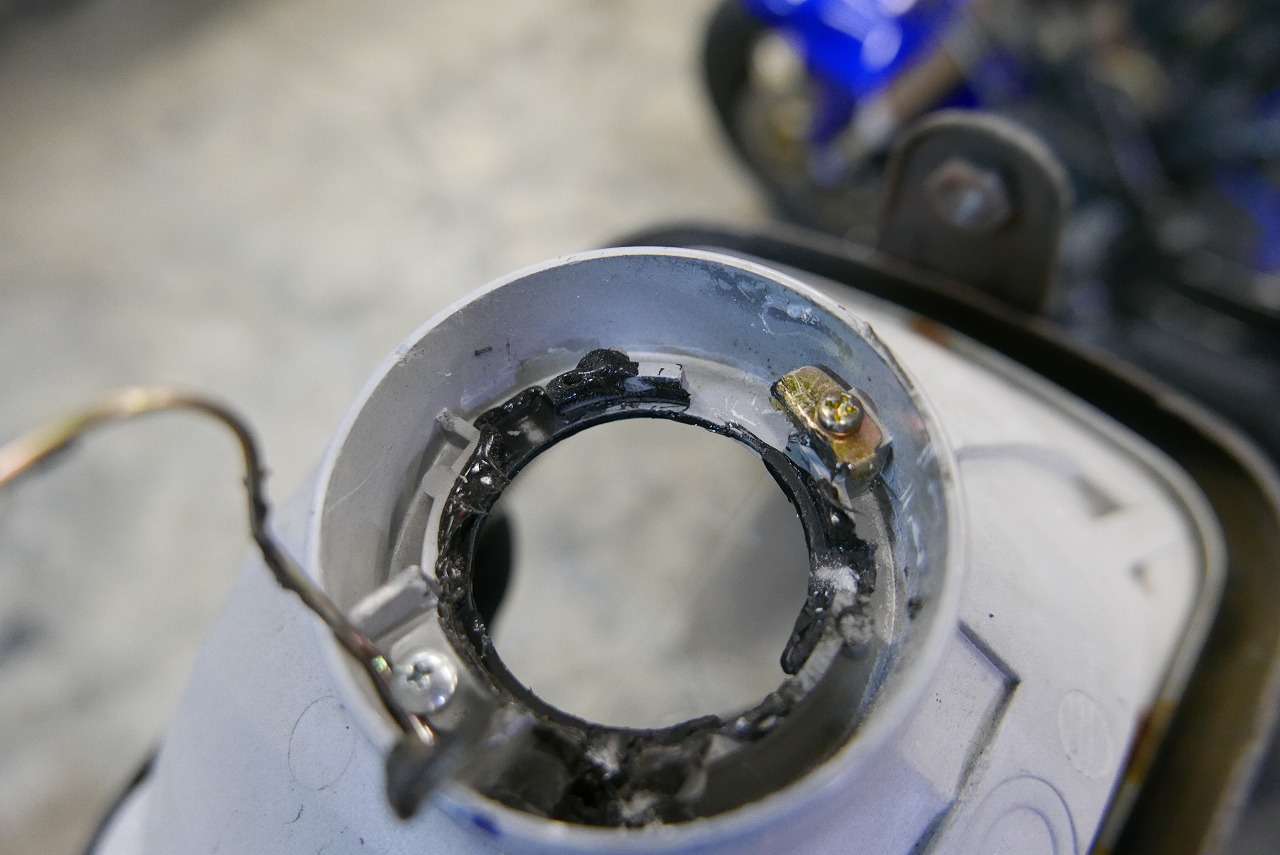
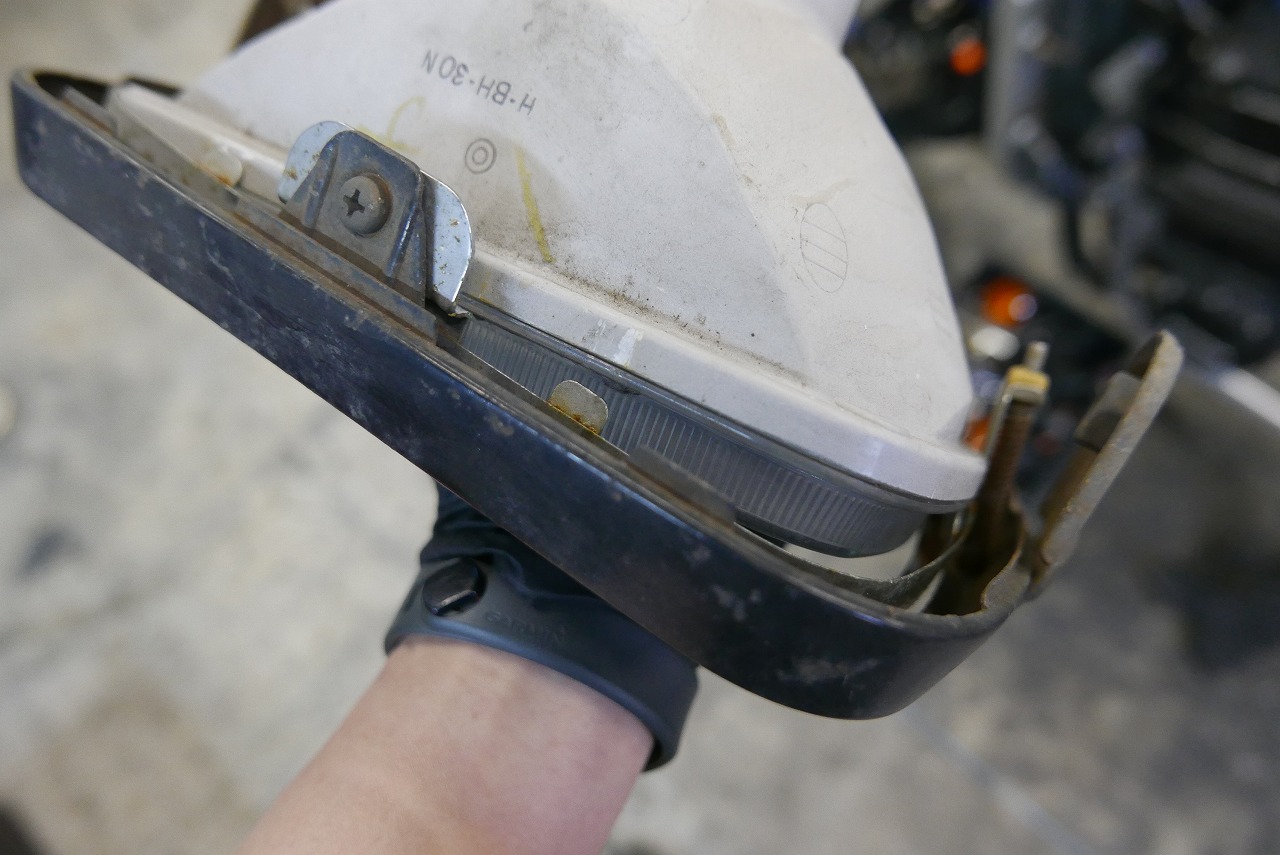
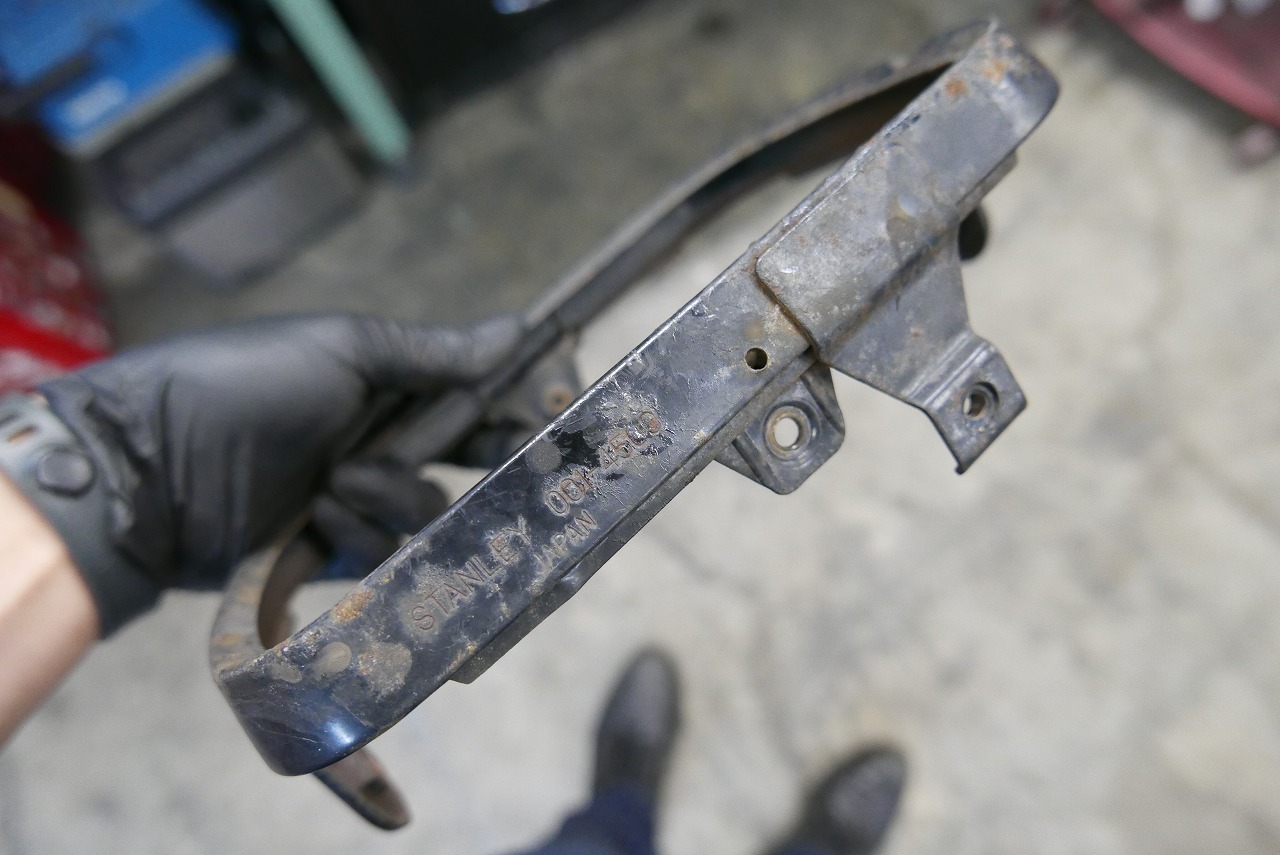
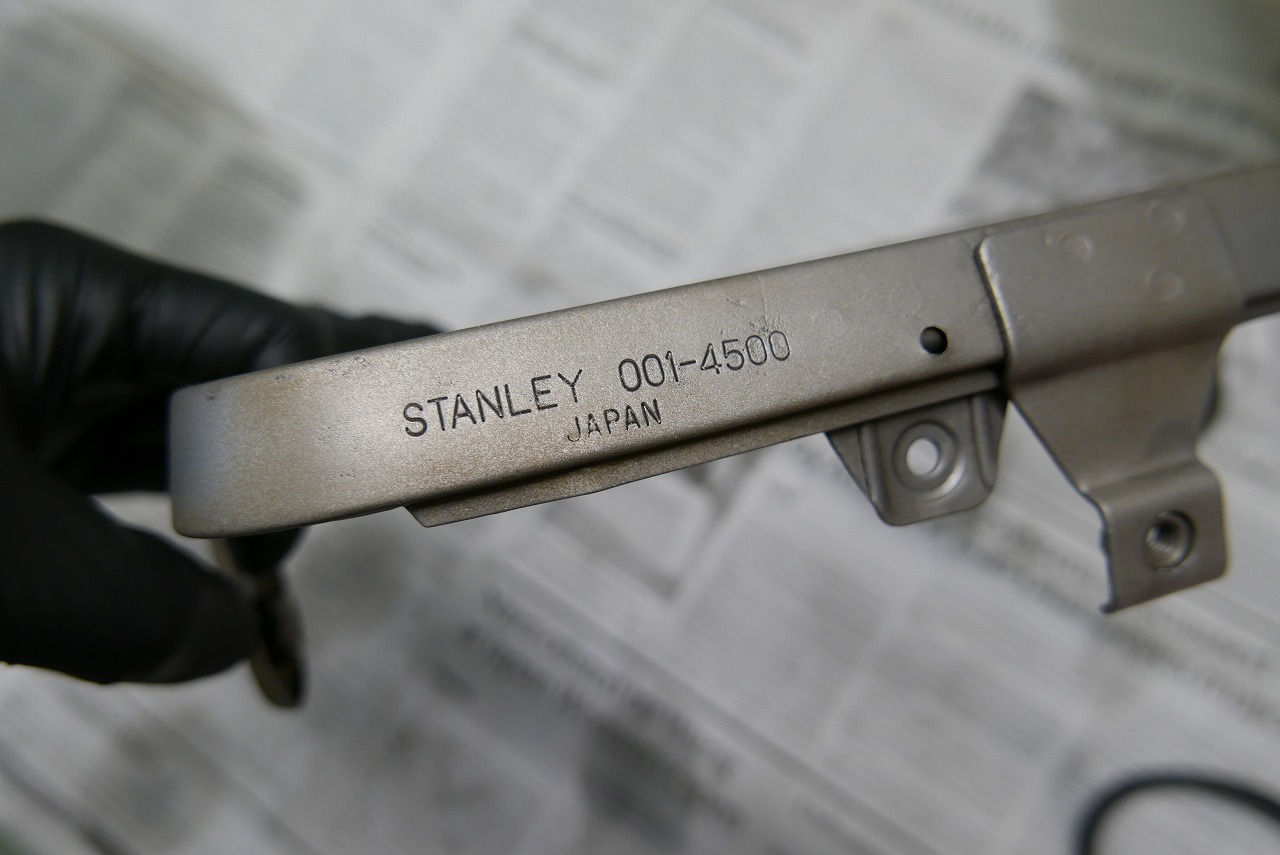
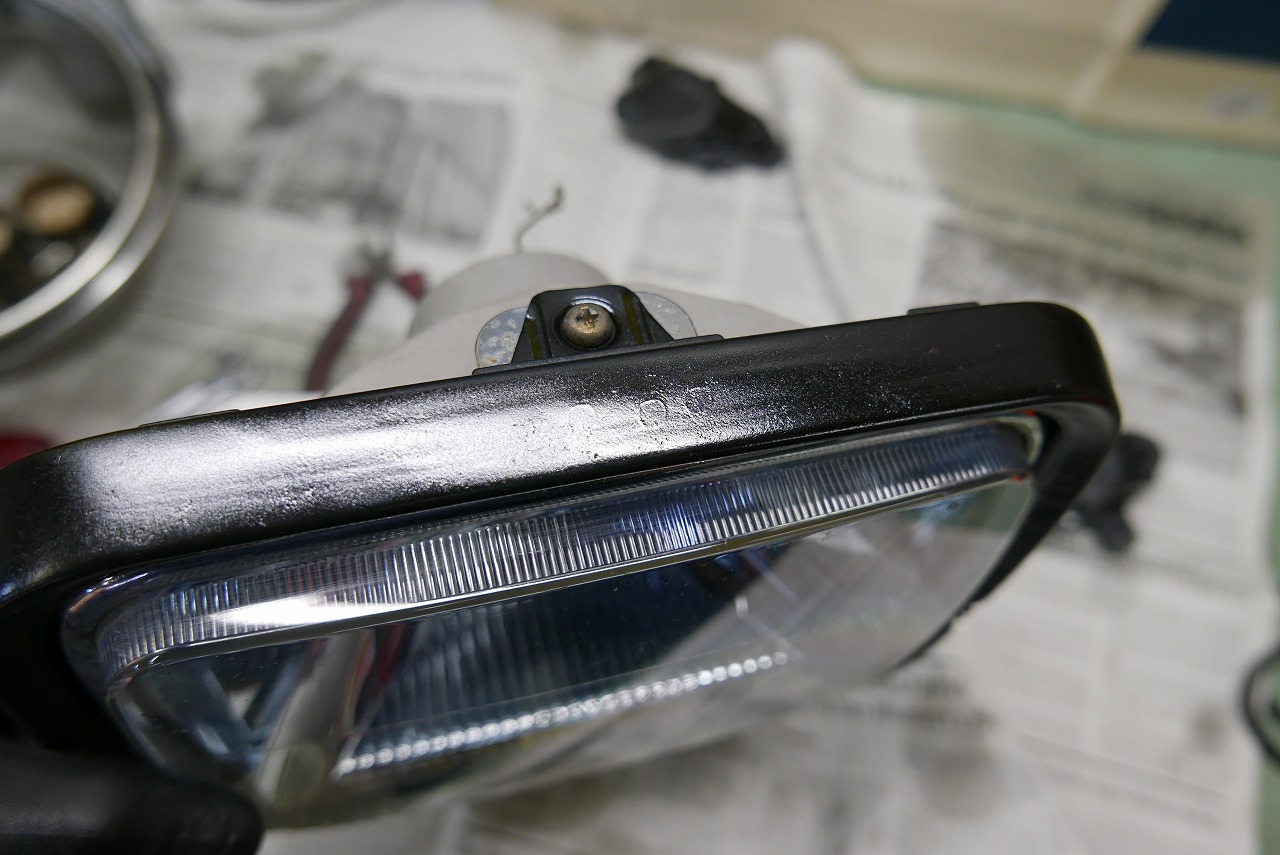
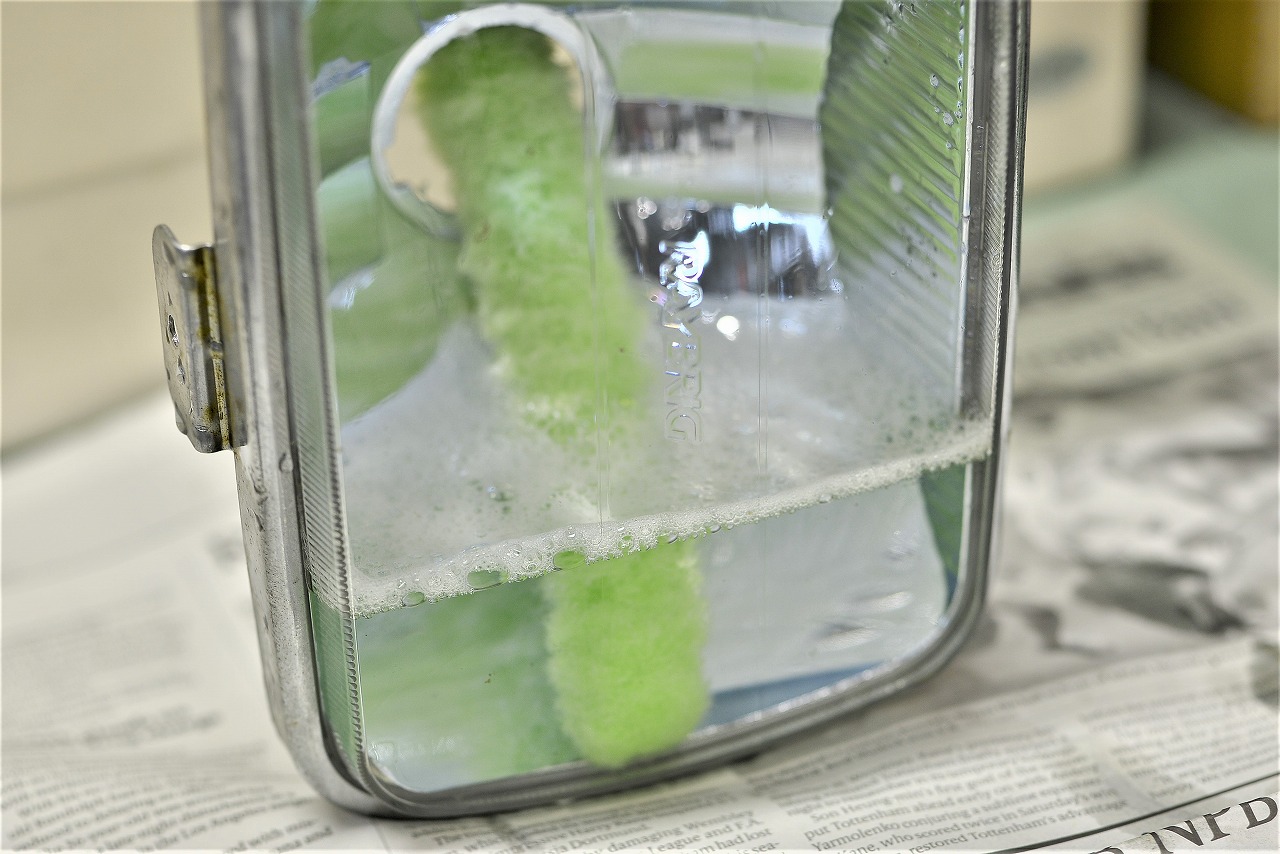
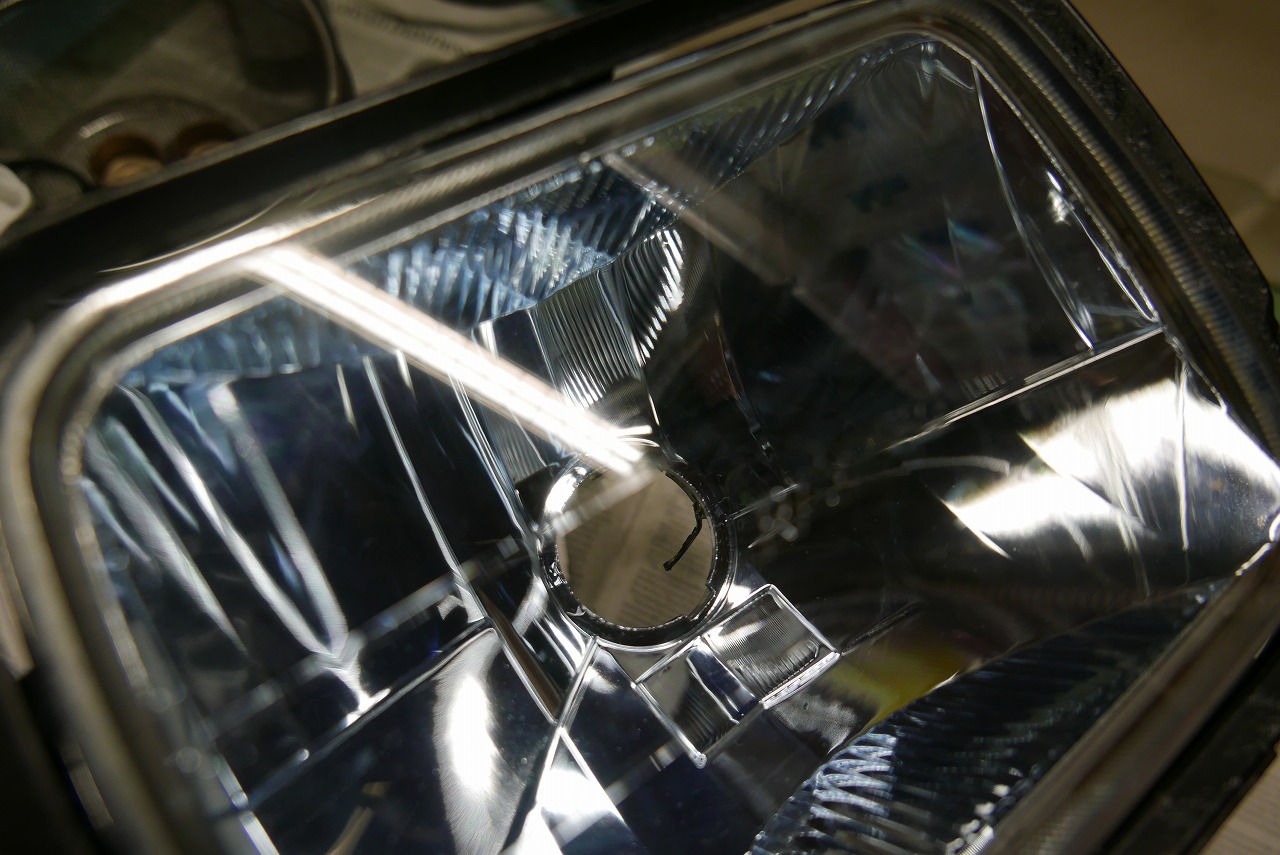
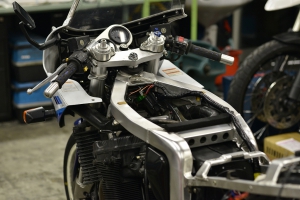
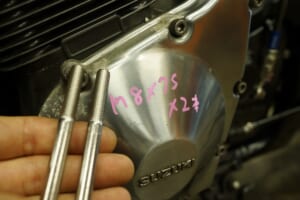
GPZ900R Inspection (New Plan) LED Headlight Oil Cooler Cancel KIT Installation request. We drained the oil and got ready. This cartridge-style design is really convenient. The engine oil is Newtech NC50 10W-50. It was just a matter of installing the KIT that was brought in. I always think about this… an installation with not a shred of care. “Can’t see it anyway, so whatever.” That kind of vibe makes it a bit sad. Double-sided tape on the cowl! It’s better to avoid that if possible. We used spade connectors, but the cowl won’t come off now. When installing aftermarket parts, if you “don’t get in the way of maintenance and work flow,” I think everyone would appreciate it. The best approach is to install something so subtly that people don’t even notice it’s there, don’t you think? I got the HID bulb out, but… the socket… the socket… won’t come off… right? So we had to remove the upper fairing. Why did they use liquid gasket? It’s a bit unclear… but it’s a pain to remove. Honestly, whether we remove this gasket or not doesn’t change the performance or appearance, but when I think “if this were mine,” I’d want to clean it up… That’s the flow of thinking. I mean… the rim isn’t even crimped… you’ve got a strong heart. Hmm… what should I do? I hate this. Well, let’s do it! If we do it now, it’ll pay off in the long run! That’s the thinking. Equipment matters! We sprayed it all clean and peeled everything off. We coated it with Gun Coat. The paint film is thin, so we can’t remove the rust marks completely. We also clean the headlight at times like this. This brush is pretty good. A decanter brush works too, but it’s a bit pricey. Sanko Pet Bottle Washer Surprise Fresh Shiny Narrow Bottle Cleaner Green BO-31 is quite handy. The arm isn’t solid metal, so it won’t scratch, and it bends and flexes, which is nice.
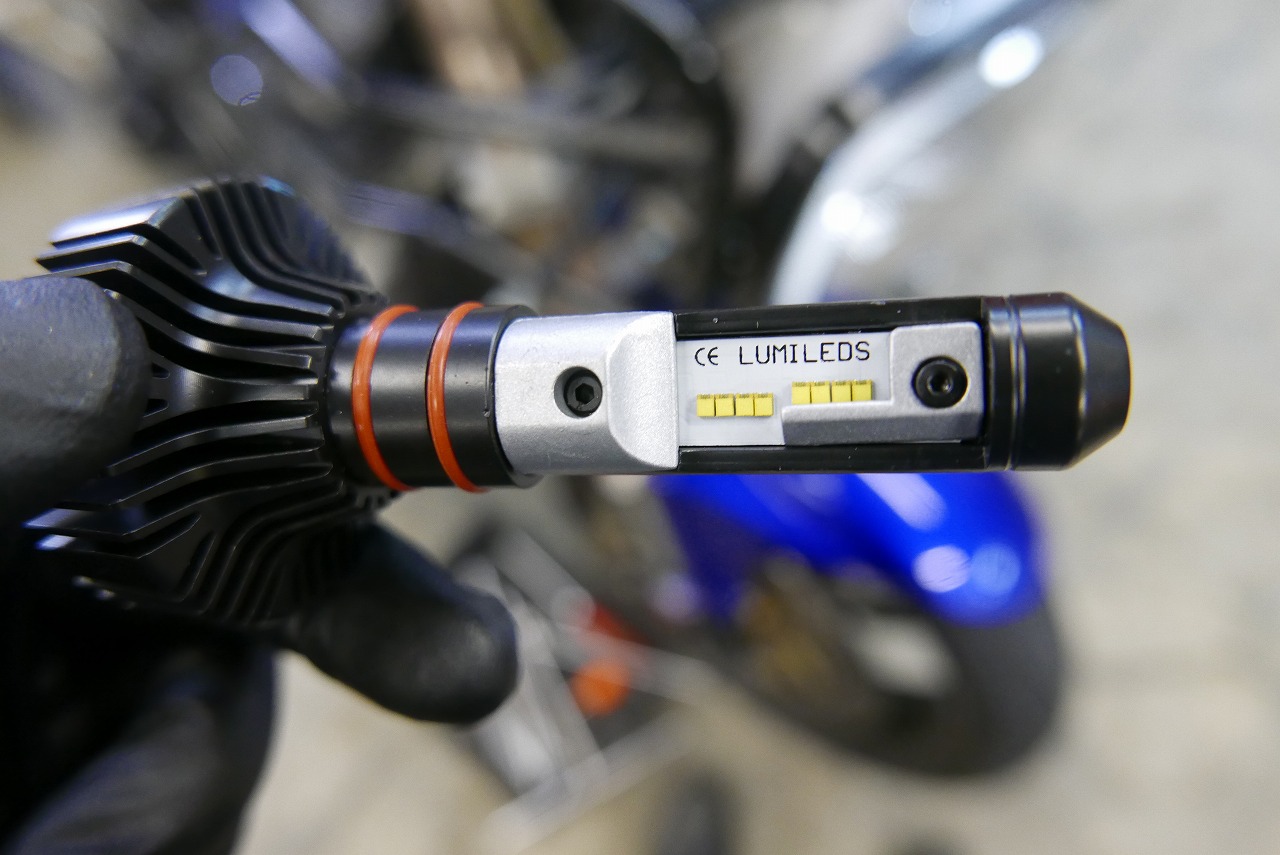
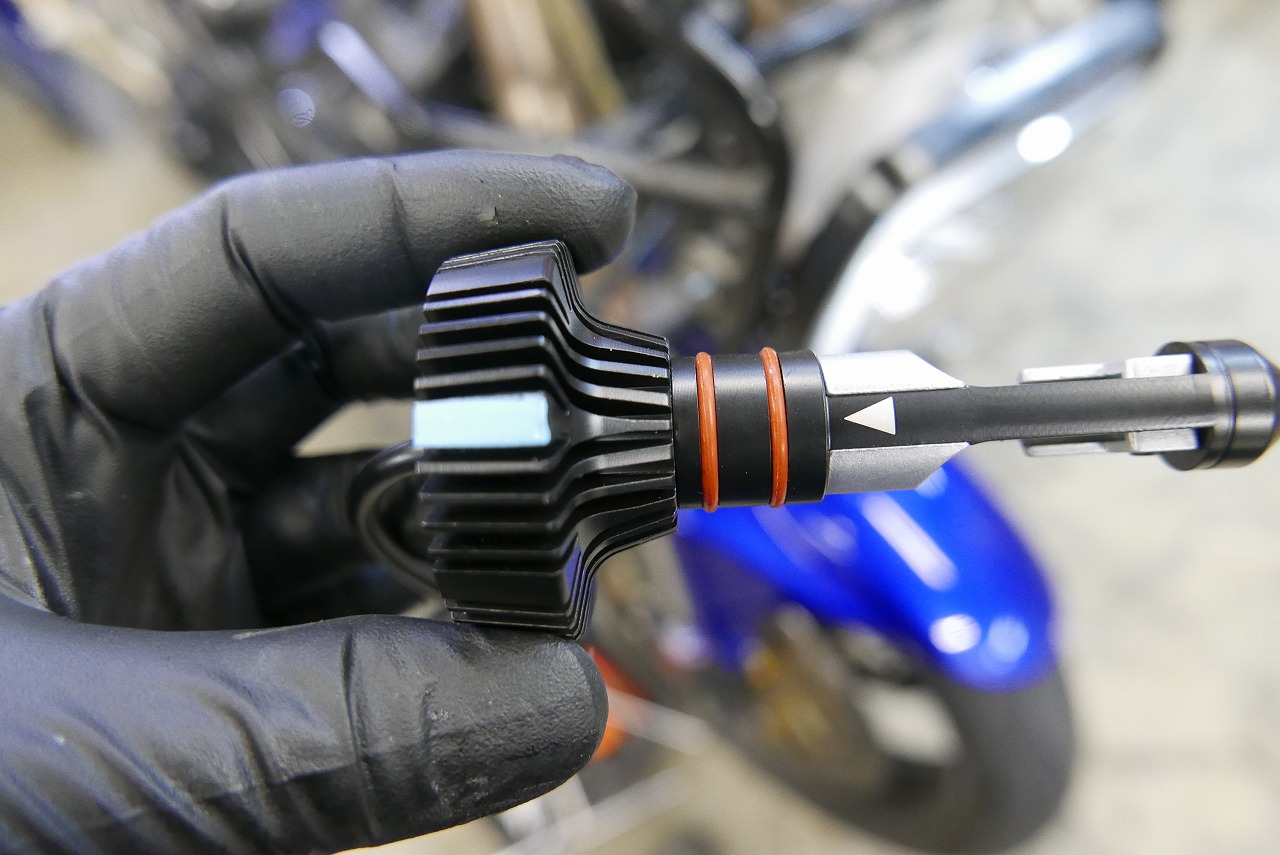
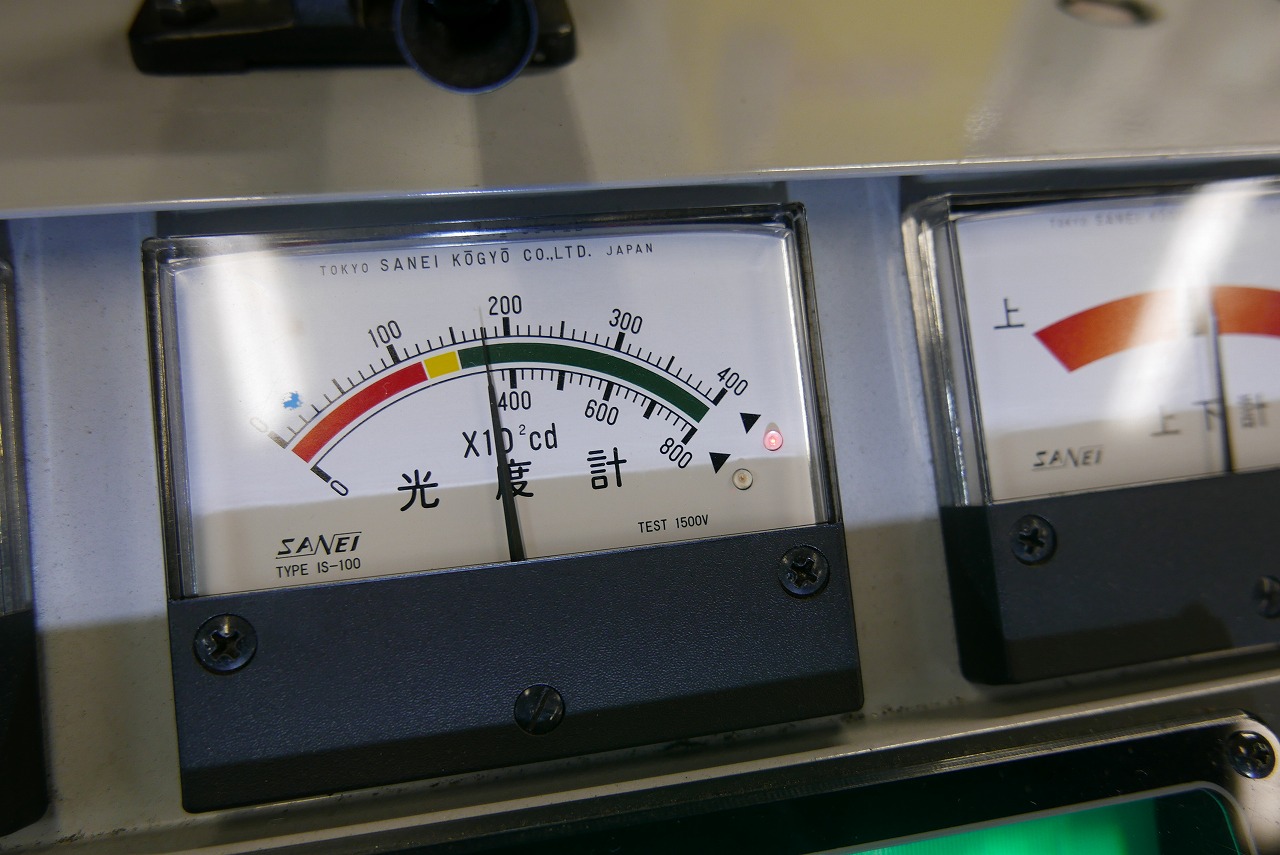
After that, we wipe and dry to finish. I’ll introduce a good cloth for wiping next time we get the chance. The LED brought in (from Amazon). Which one did they buy… it’s always exciting. (Not my problem!) The instructions say to point this arrow upward. Looks promising. Passed inspection!! It was 18,000 candlepower. Y’s GSX750S Amazon LED was putting out almost 20,000… Amazon is amazing! And… this bulb is different from previous LEDs in that “the high/low difference is really clear!” It’s nice. Even if we swap bulbs, we don’t get that disappointing feeling of “high beam angle,” “no high/low difference,” “ridiculously wide angle,” or “low light output.” With rapid progress, it’ll be even better in a year.
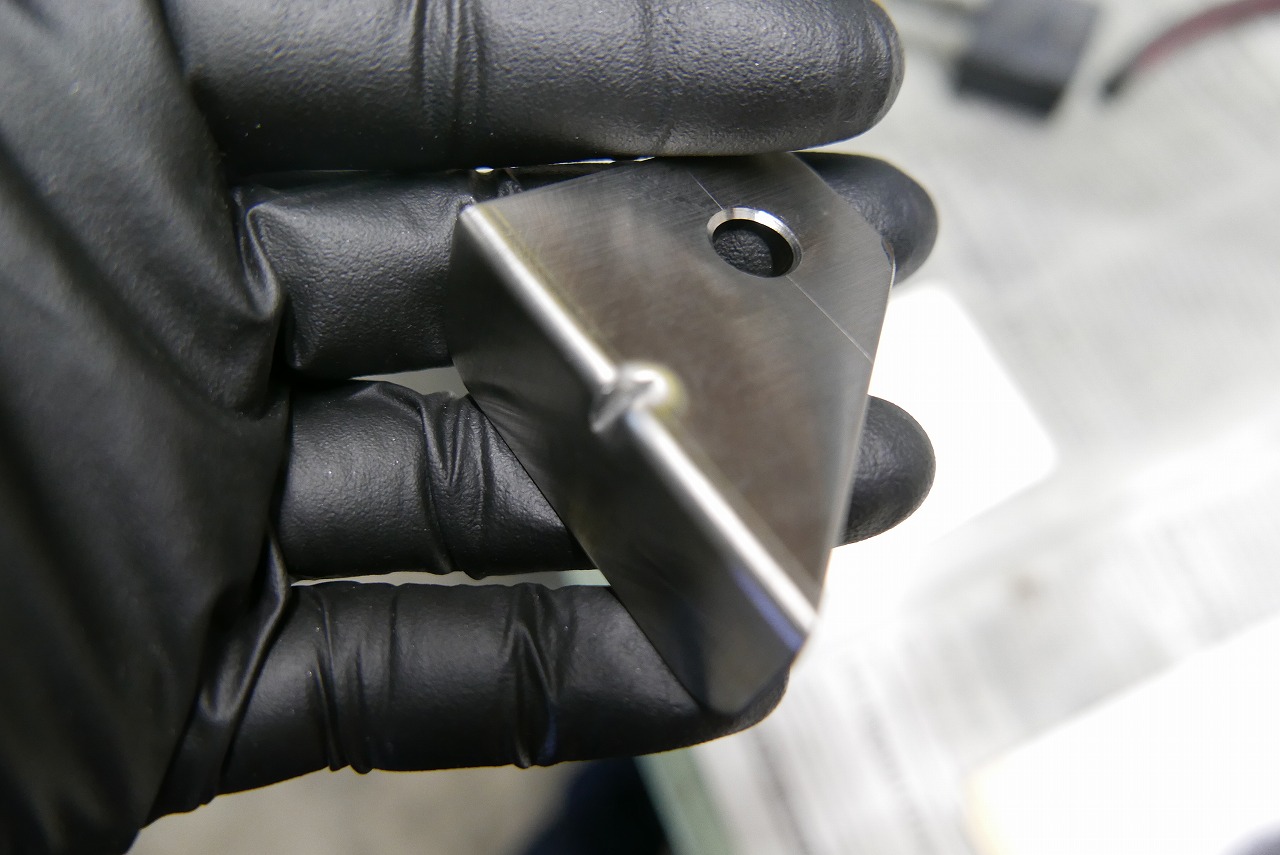
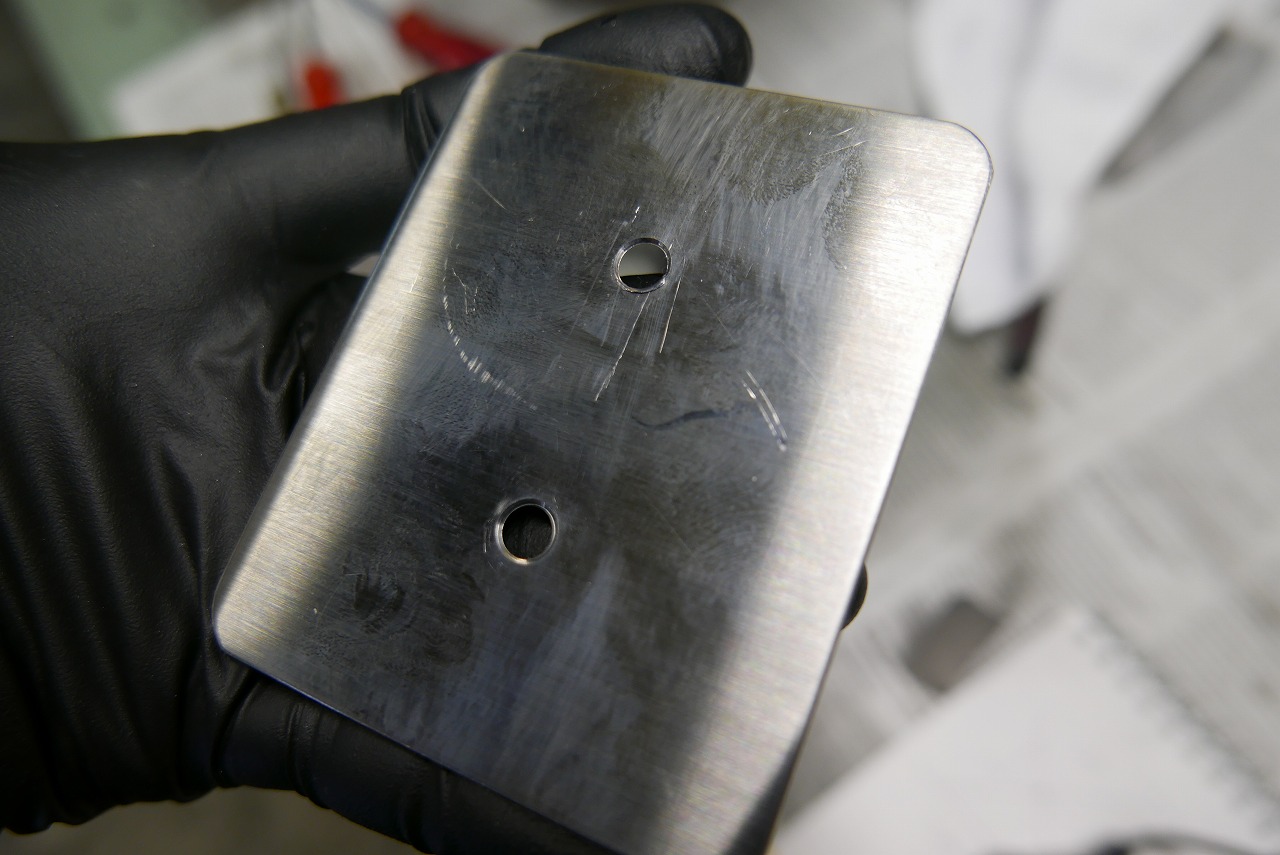
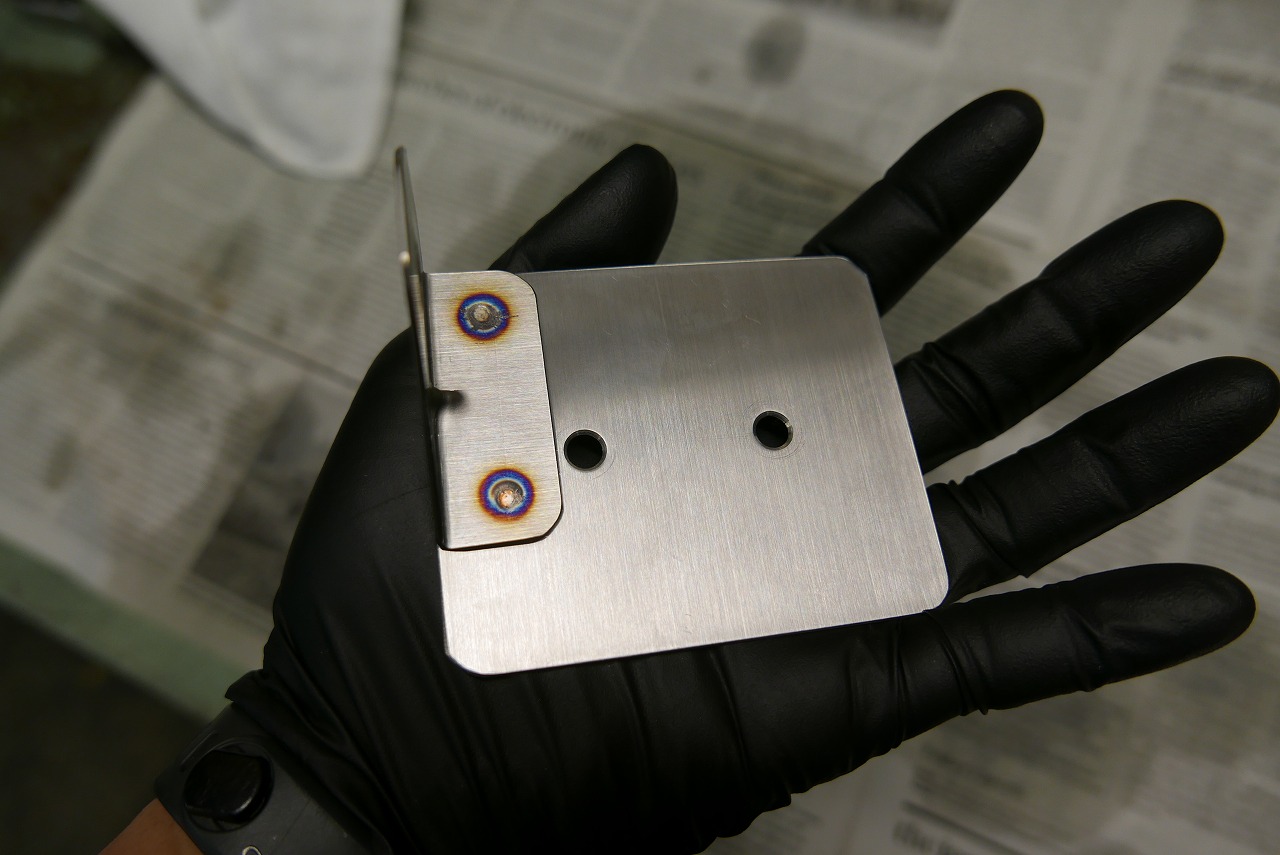
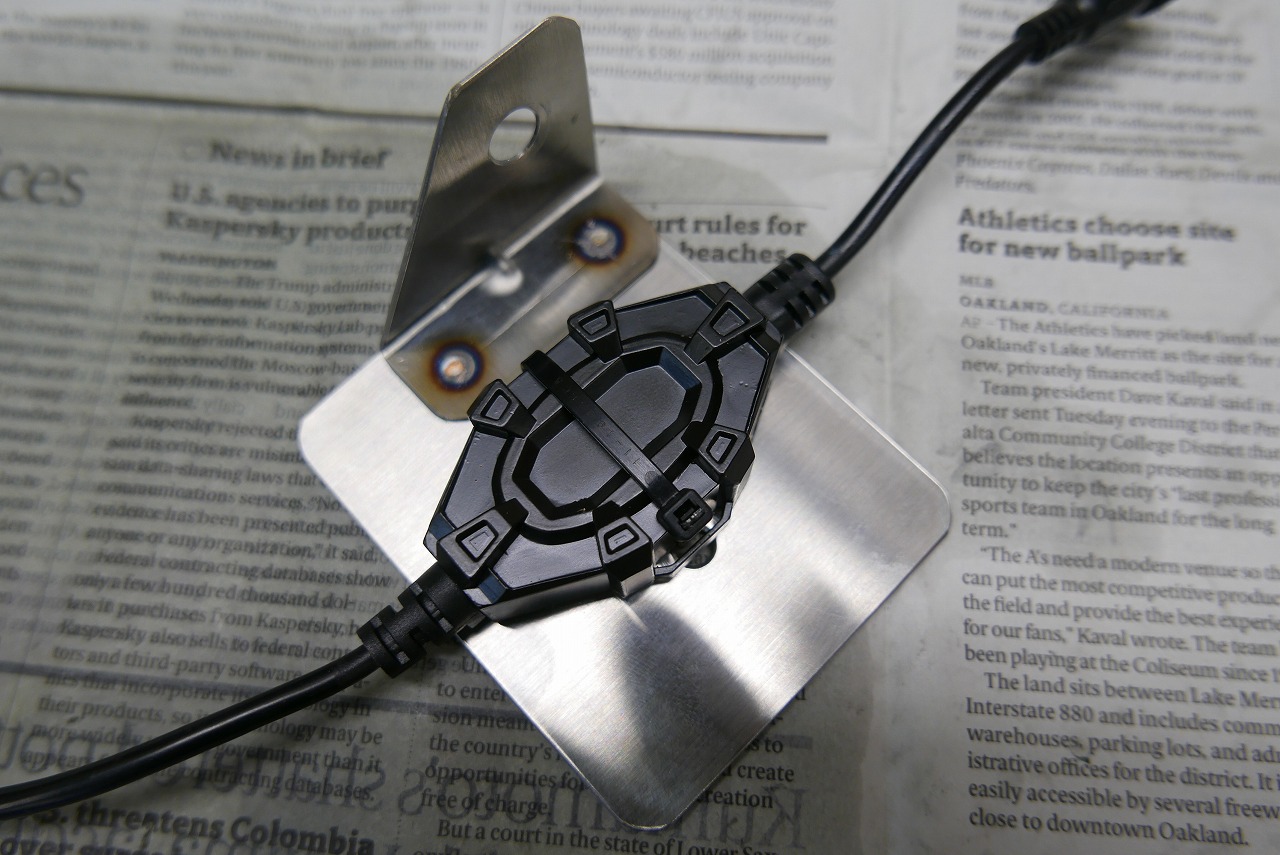
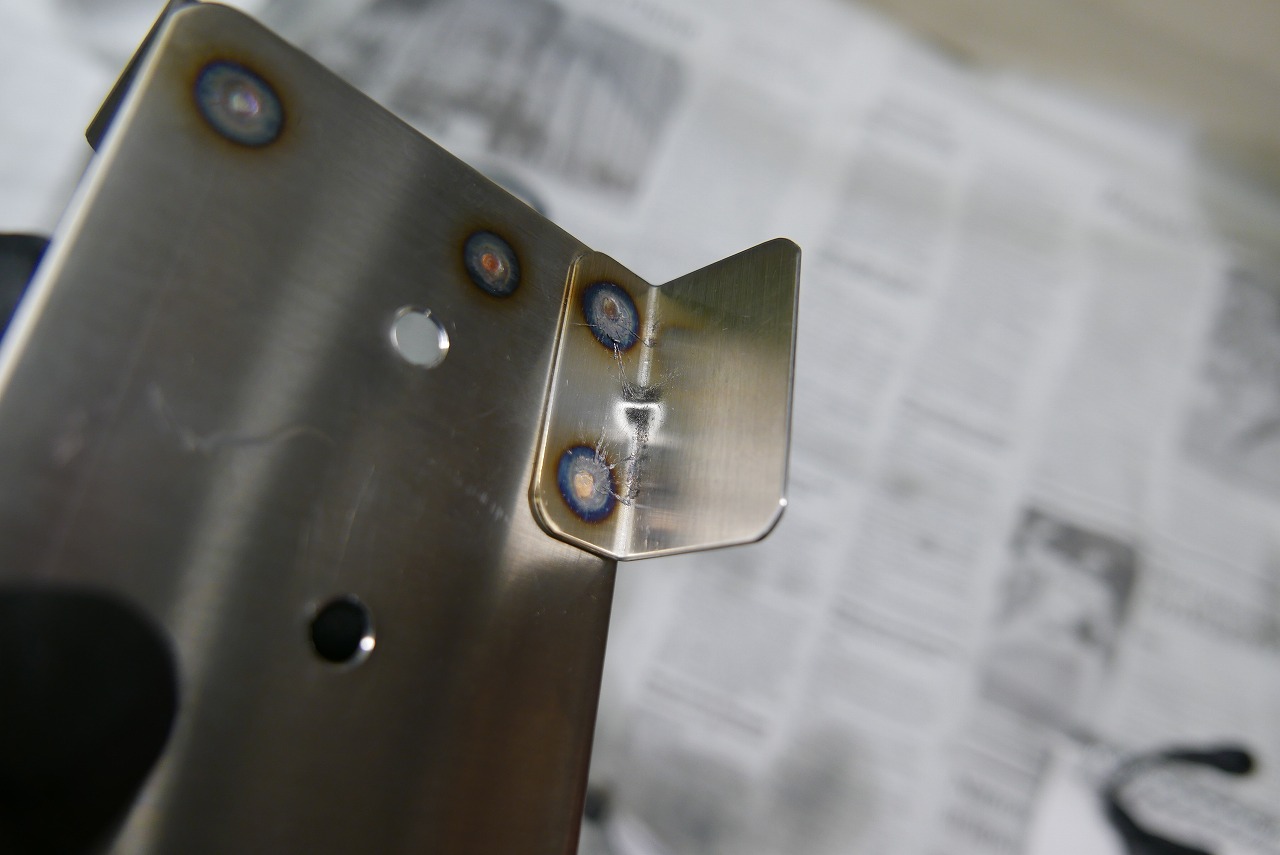
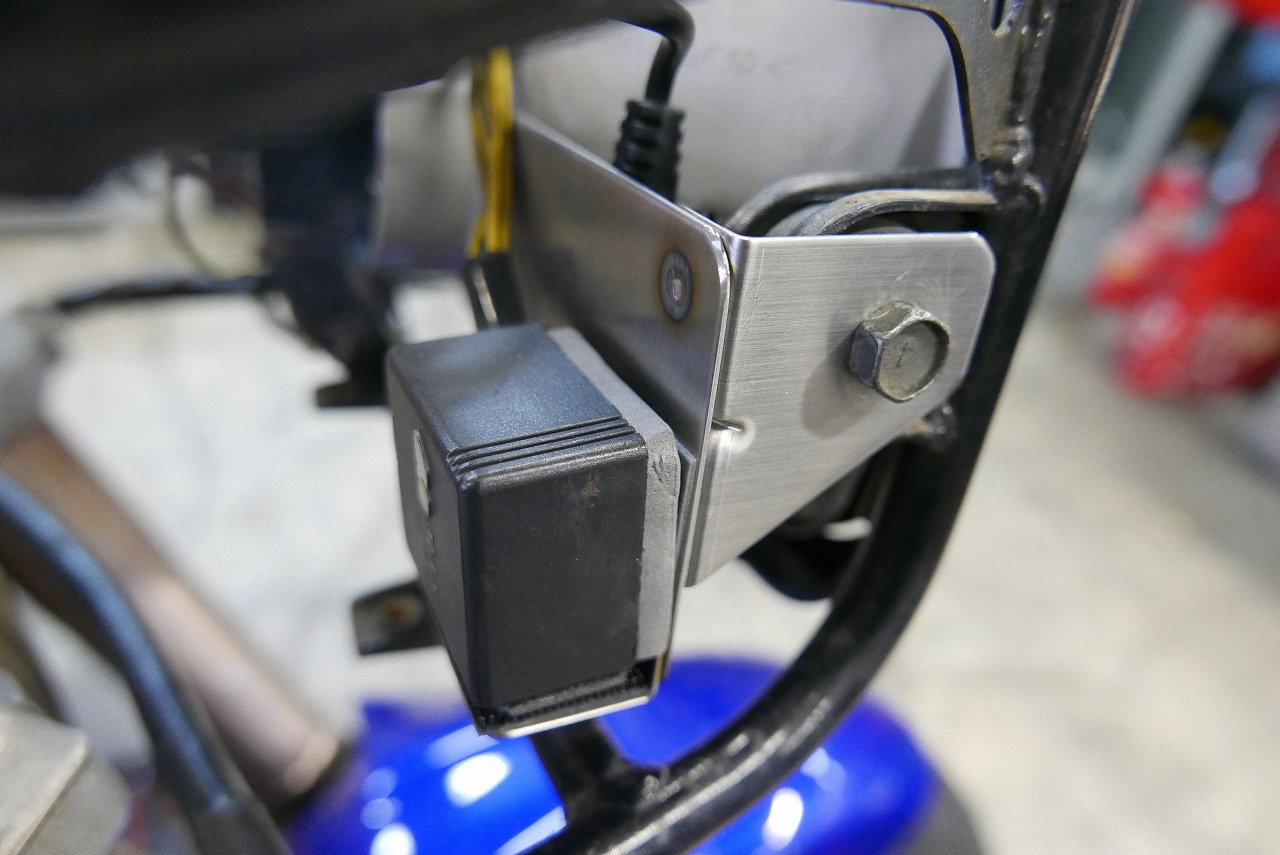
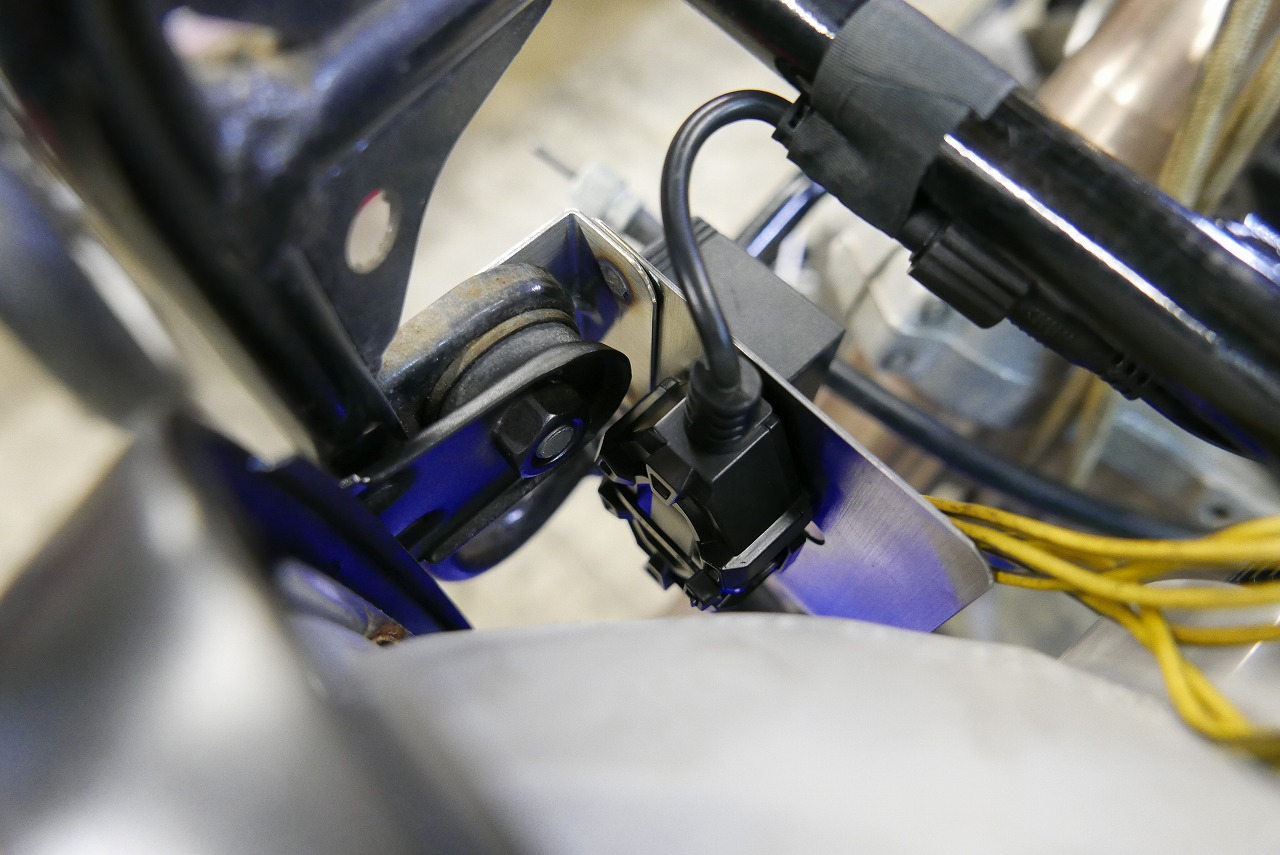
We’re always on the consumption treadmill, so it’s important to figure out where to compromise and get off. If you keep buying things just because they’re “cheap! cheap! cheap!” you end up spending more in the end—scary times we live in. The limiter cut is in an odd spot. There’s an LED module. If we fix it with double-sided tape or cable ties, it’s disappointing… “Don’t become the same kind of person you’re complaining about.” So first, ① headlight bracket co-fastening strategy. Drilling, bending, and ribs. (SUS304HL) ② Base plate. Cut, punch with R8, and 6mm holes. Combine ① and ②. Why not make it as one piece? • Can be made from scrap material (saves material cost) • Can vary wall thickness • Less likely to fail (saves material and time) This is just my approach… don’t take it as a reference. It’s the shop’s situation. We fix it with adhesive tape and cable ties. Next, we fabricate a jaw to fix the M-MAX and spot weld. That’s how we installed it. Keeping aftermarket parts as clean and simple as possible, with maintenance and replacement in mind. I don’t think sloppy installation is necessarily a problem. As long as the person who installed it takes care of it to the end… probably nobody wants to deal with a messy bike = I wouldn’t do that myself → less trouble? I think so. What do you think?
That’s all for this job. We’re looking forward to your inspection (especially new customers)!