We’ve entered the rainy season—looks like it might be a blessing for us bike shops too. (Getting through the to-do list!) When the weather and climate are nice, you get that itch, you know?
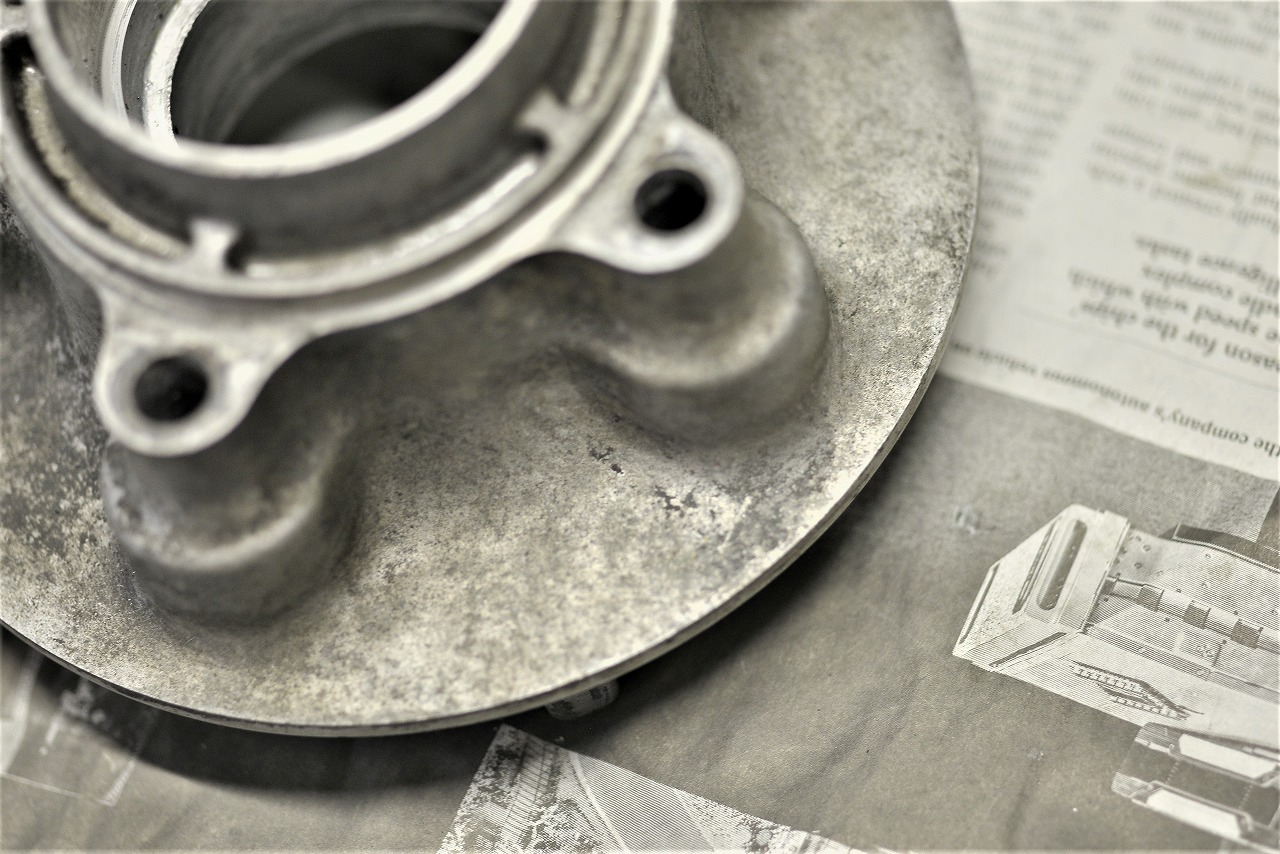
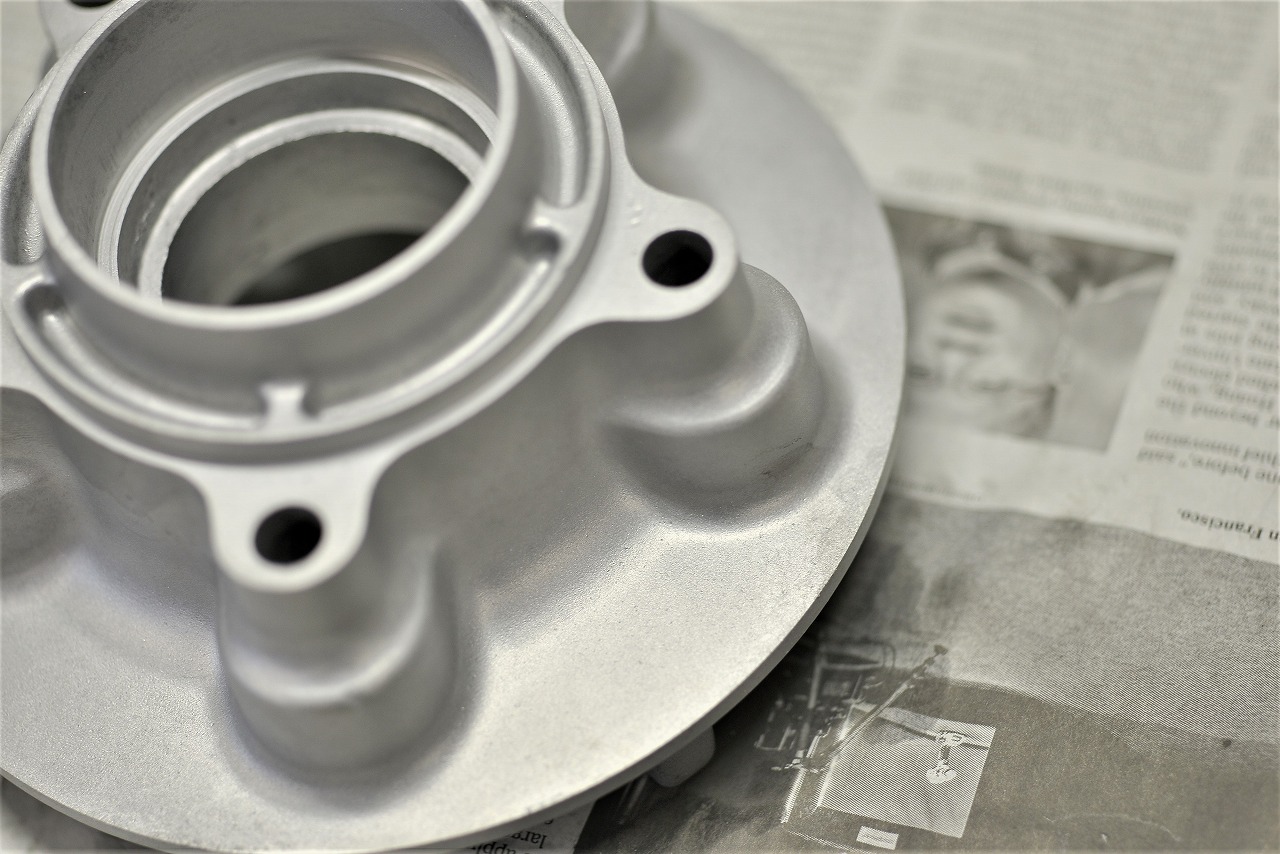
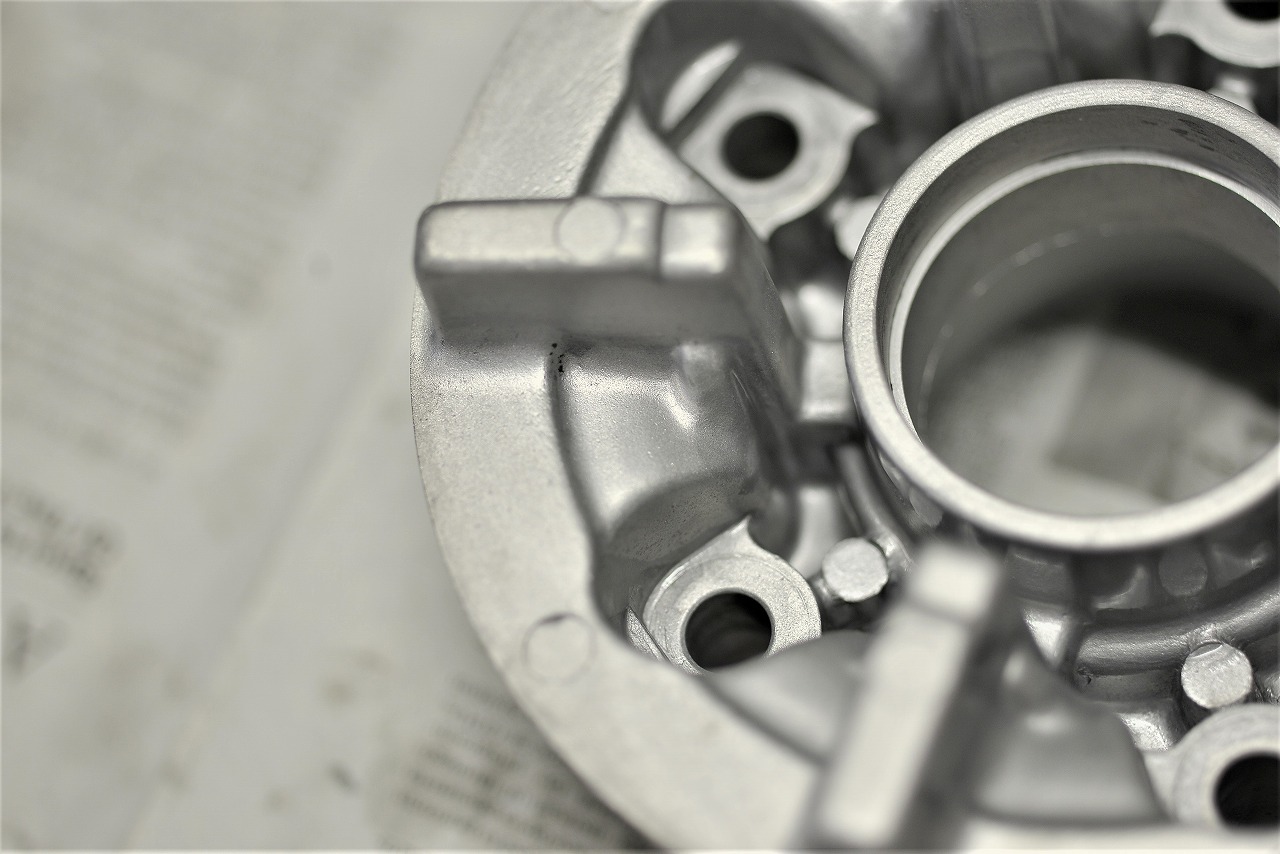
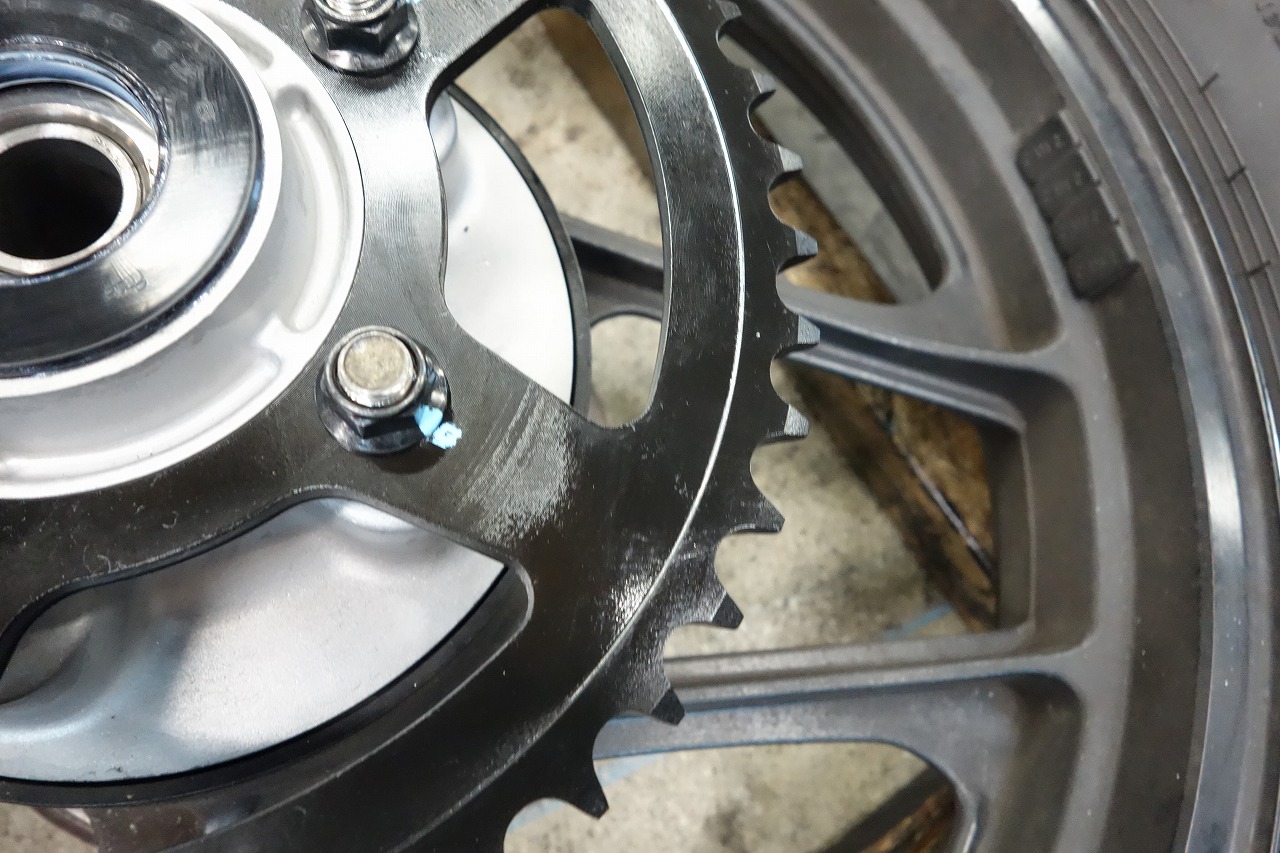
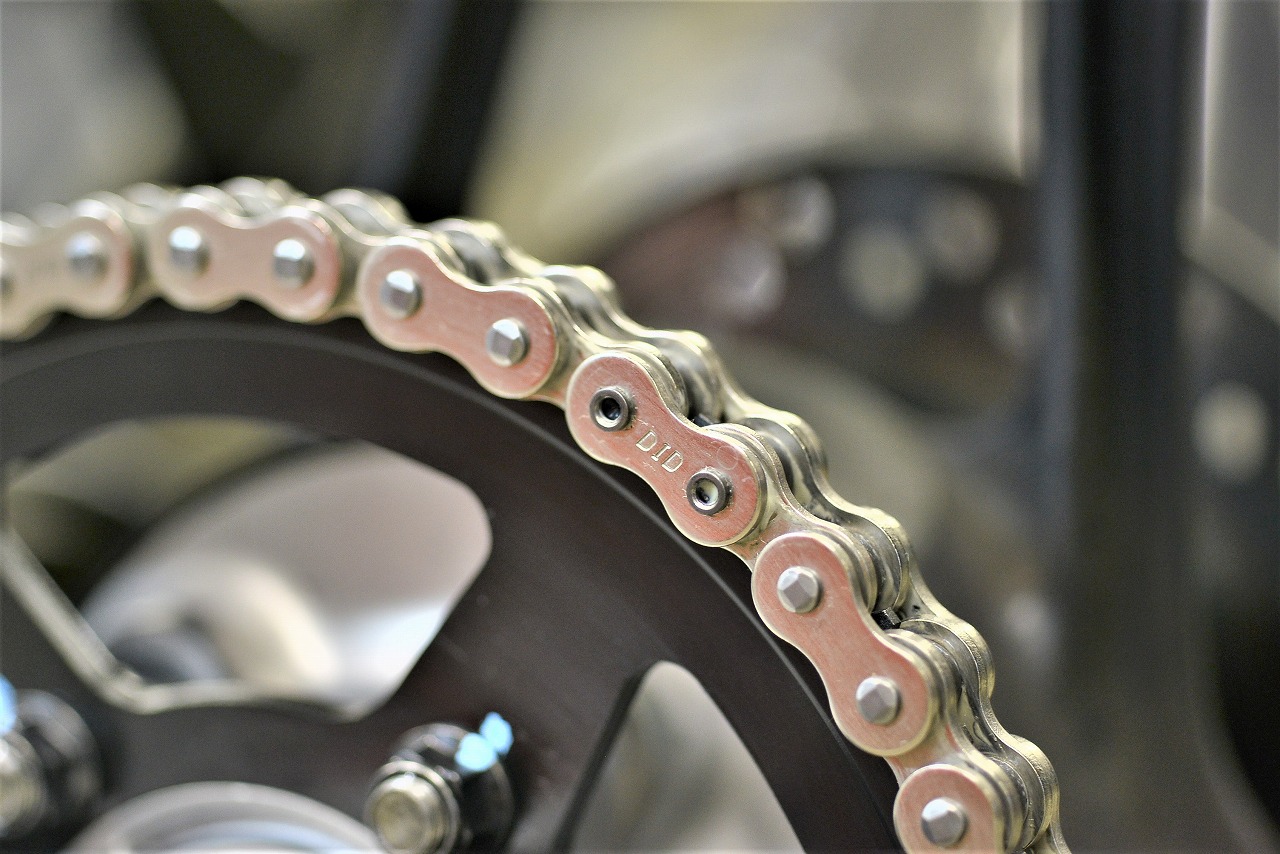
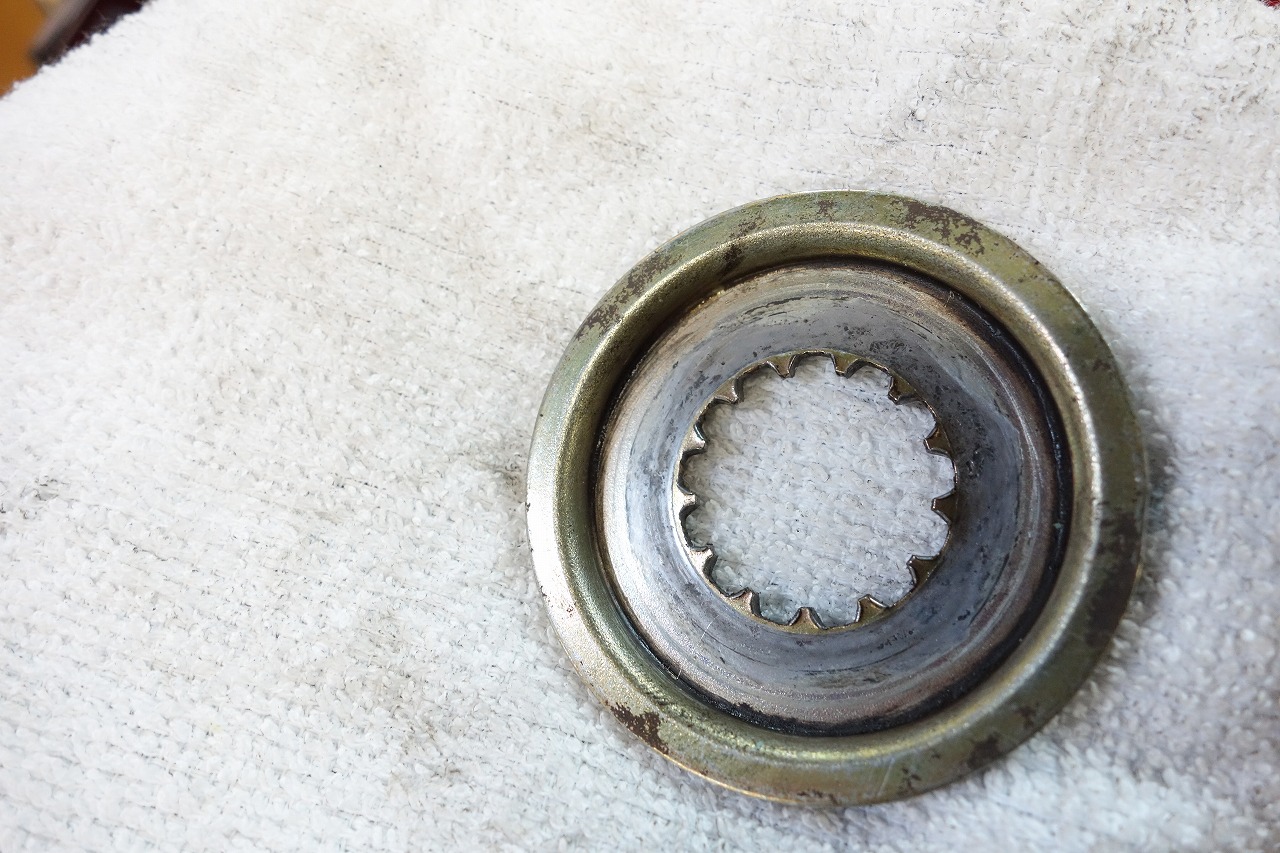
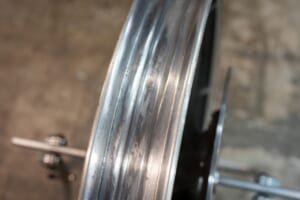
If only it would clear up just for inspections and drop-offs and pickups… that would be nice, right? We’ll start with the DID Sunstar chain kit. Polishing the hub when removing the sprocket feels great. (The hub bearing and oil seal will need replacement.) It improves the appearance, but what’s really nice is being able to remove the damper marks and dents inside. Polishing only: +6,000 yen & tax & bearing & seal parts Polishing + Gun Coat: +9,000 yen & tax & bearing & seal parts .
If you skip the Gun Coat and polish every time you change the sprocket, it might stay cleaner. (Coating, then polishing it off, then recoating is a hassle, that’s why.)
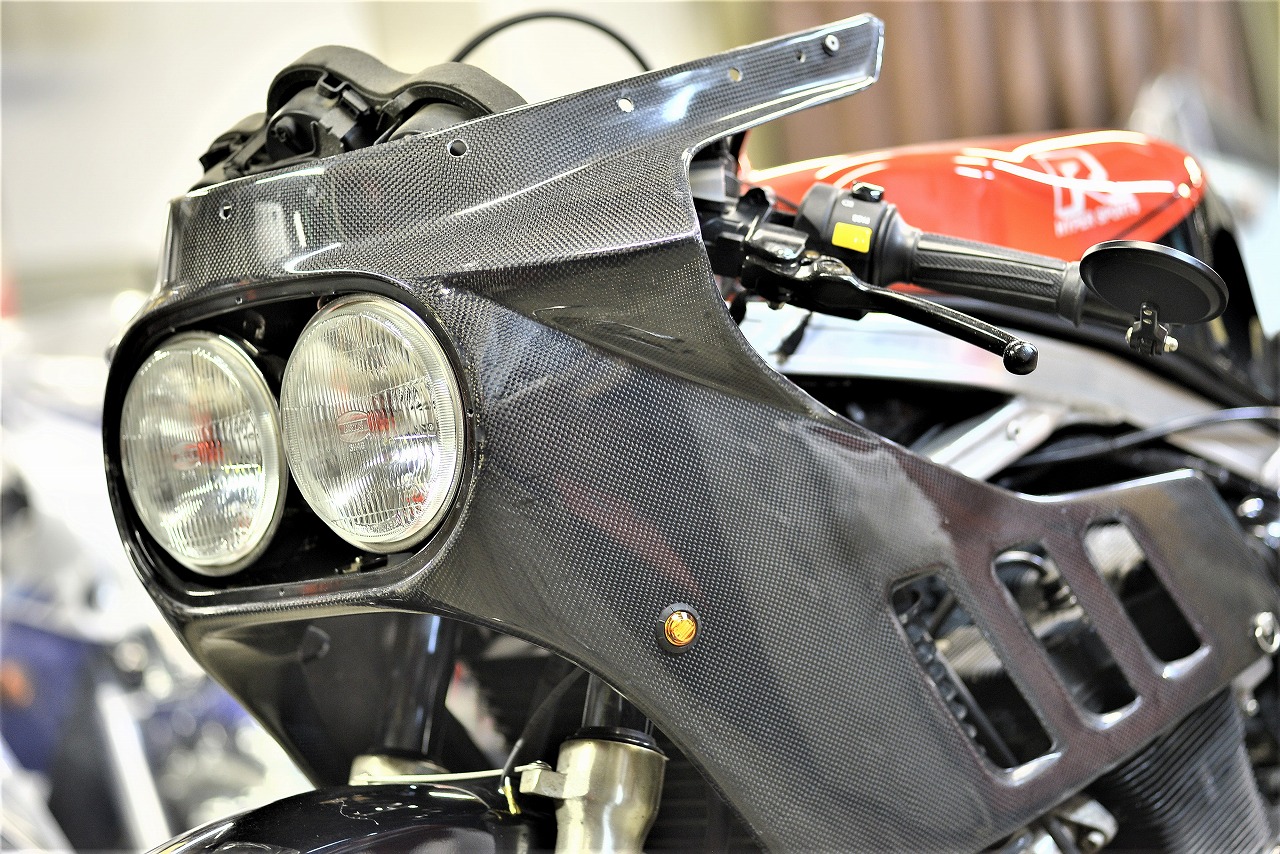
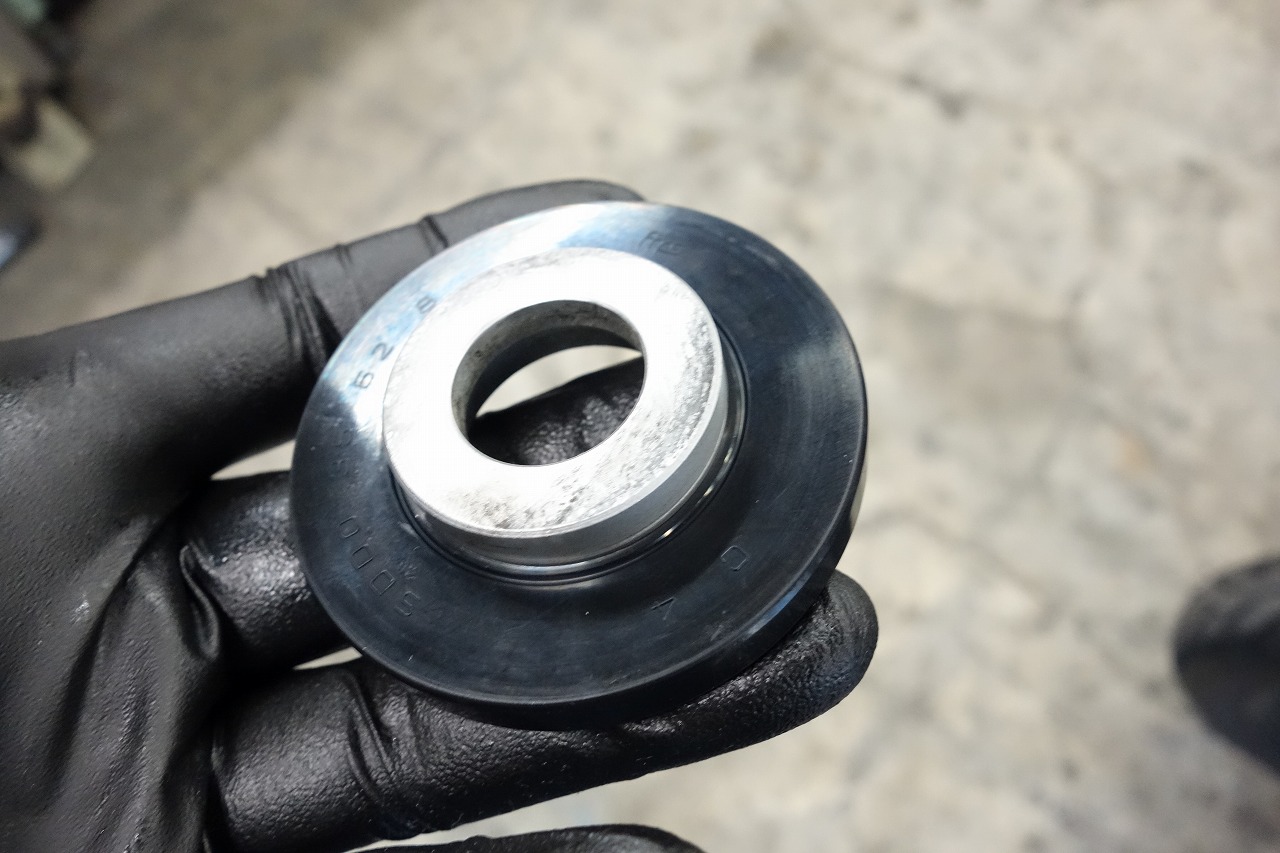
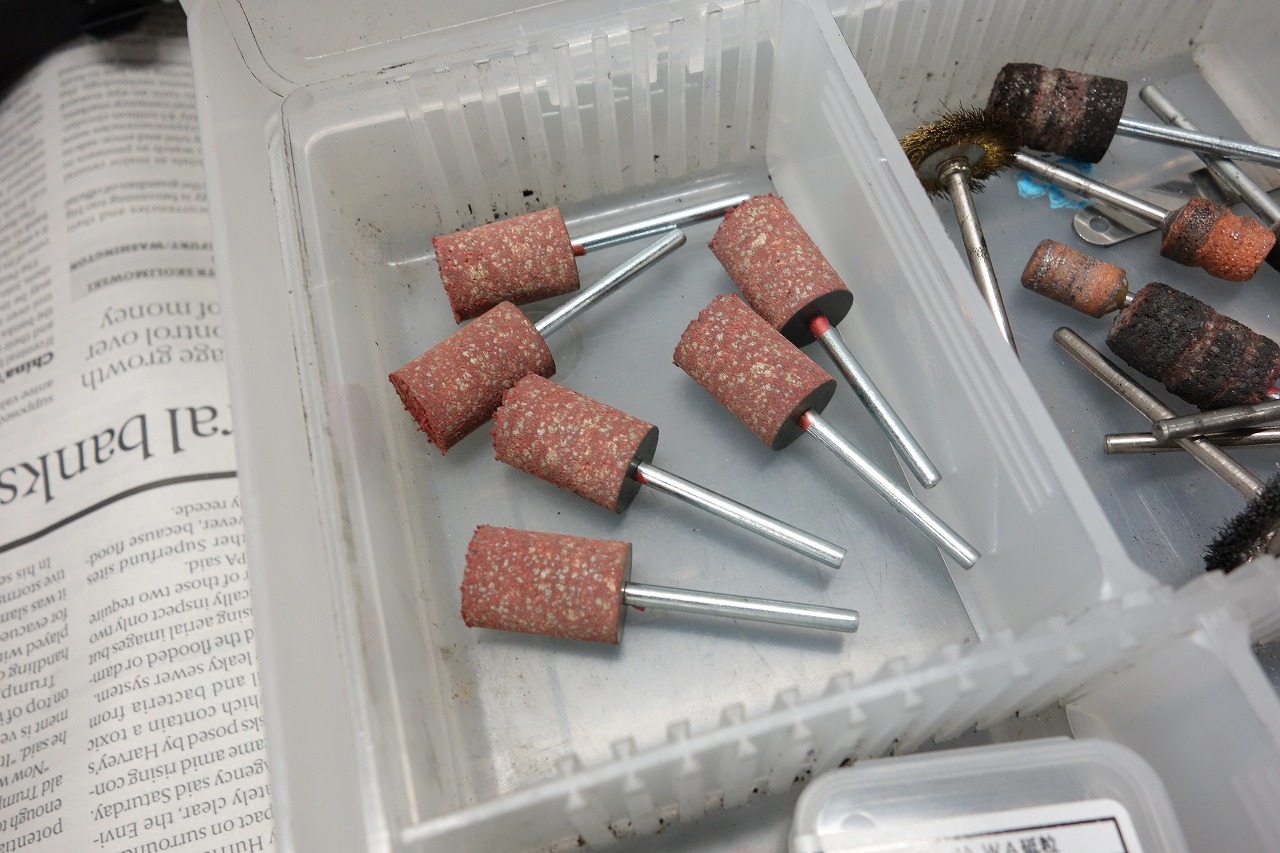
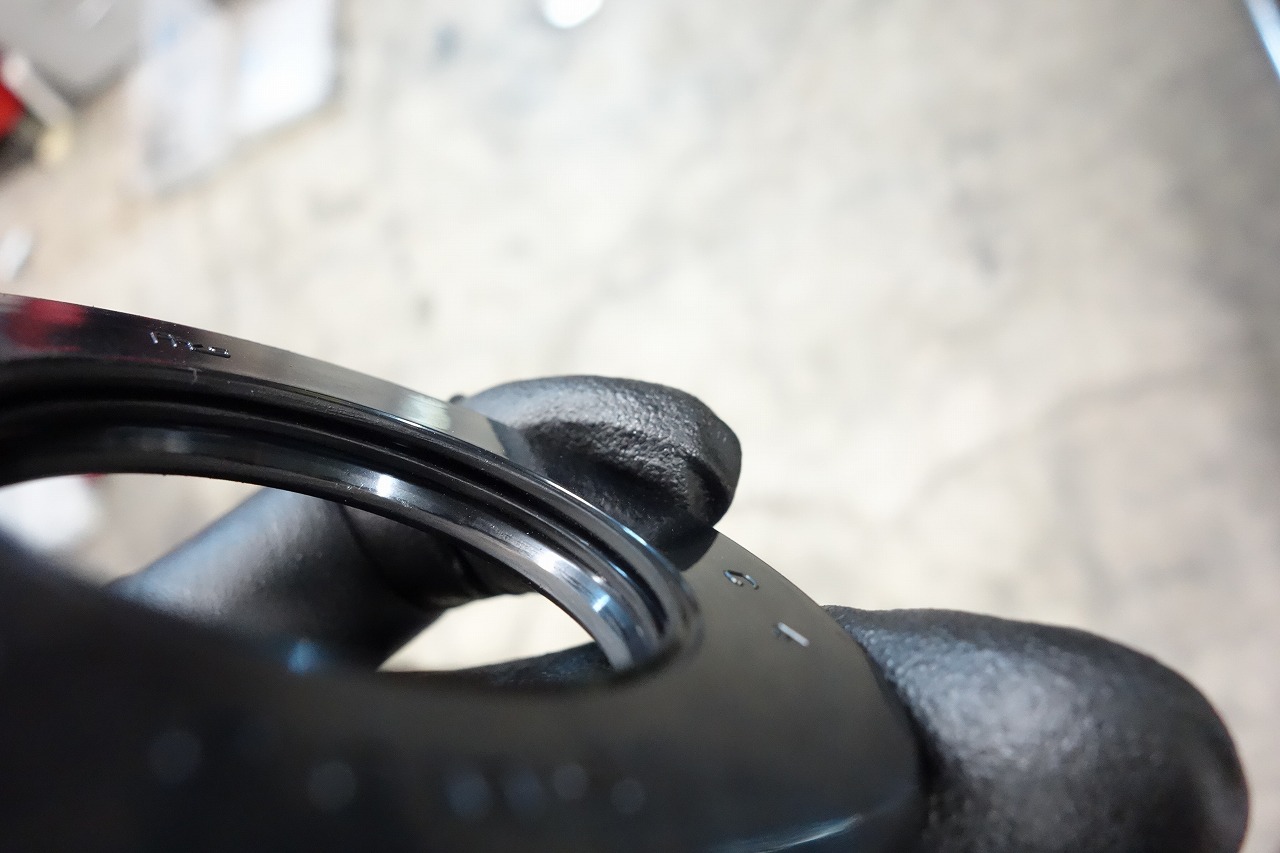
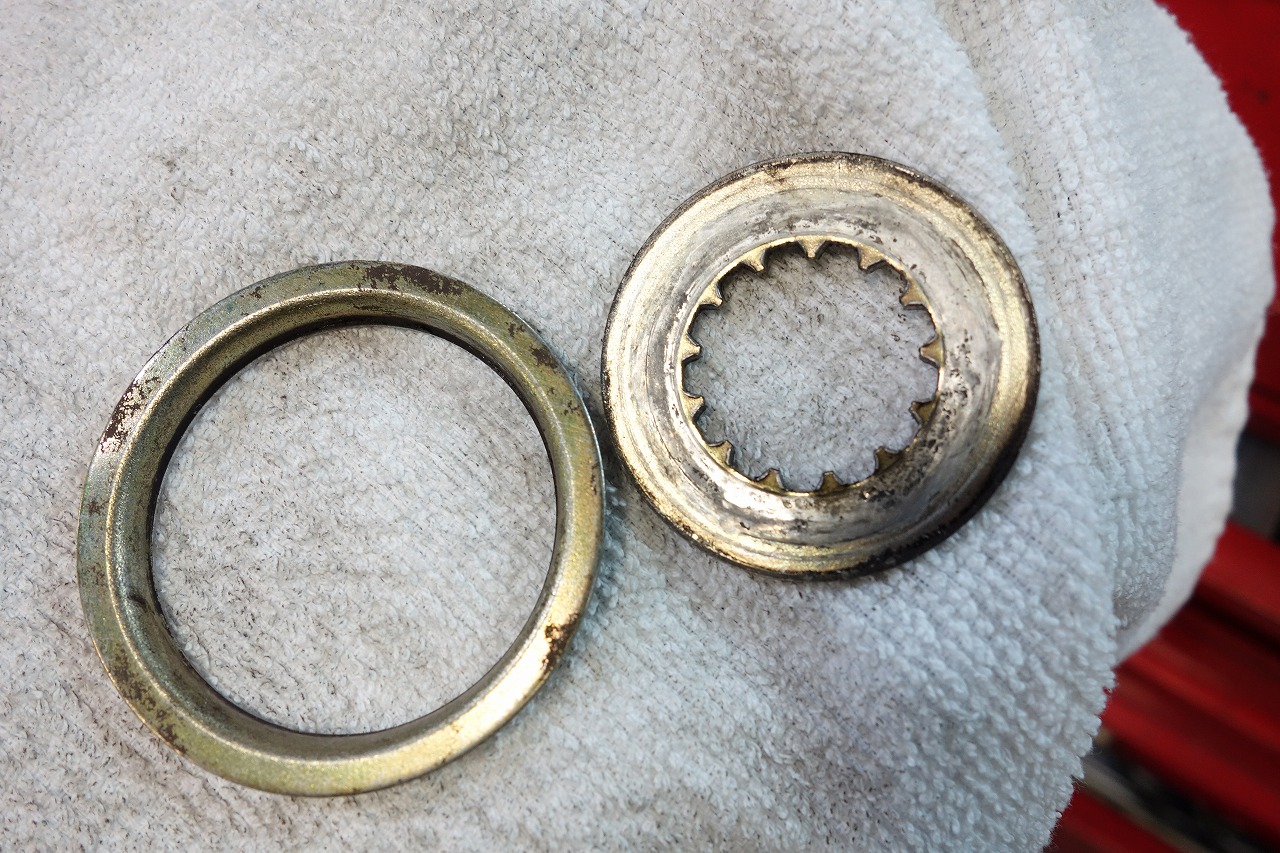
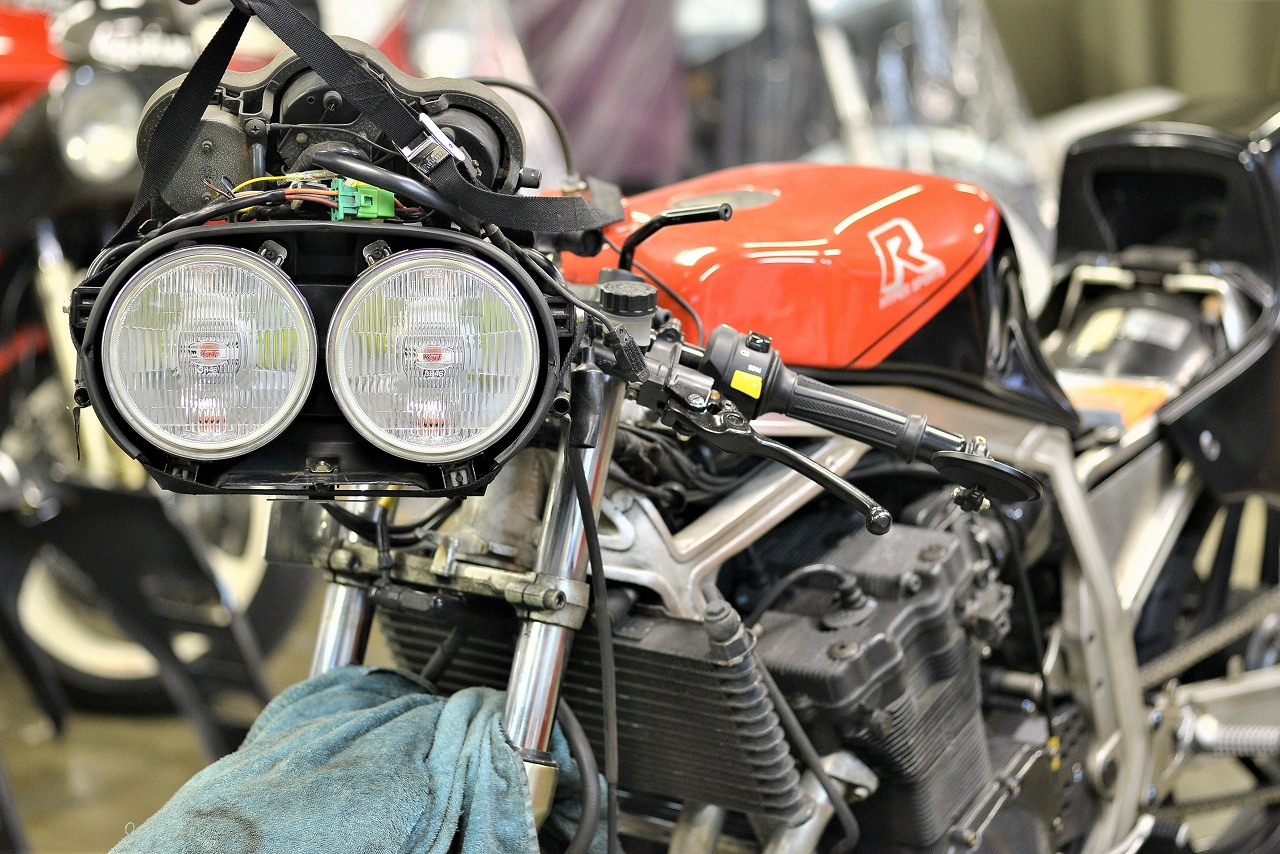
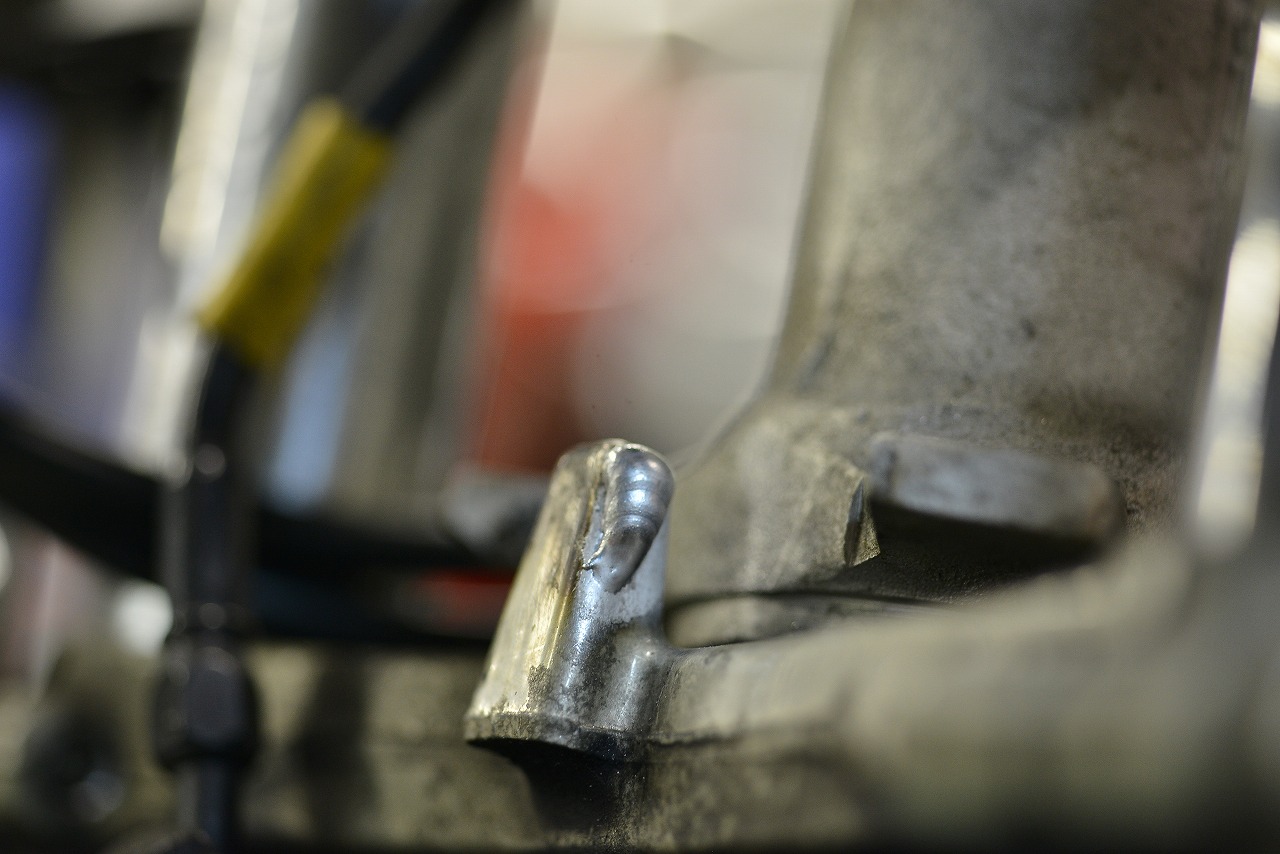
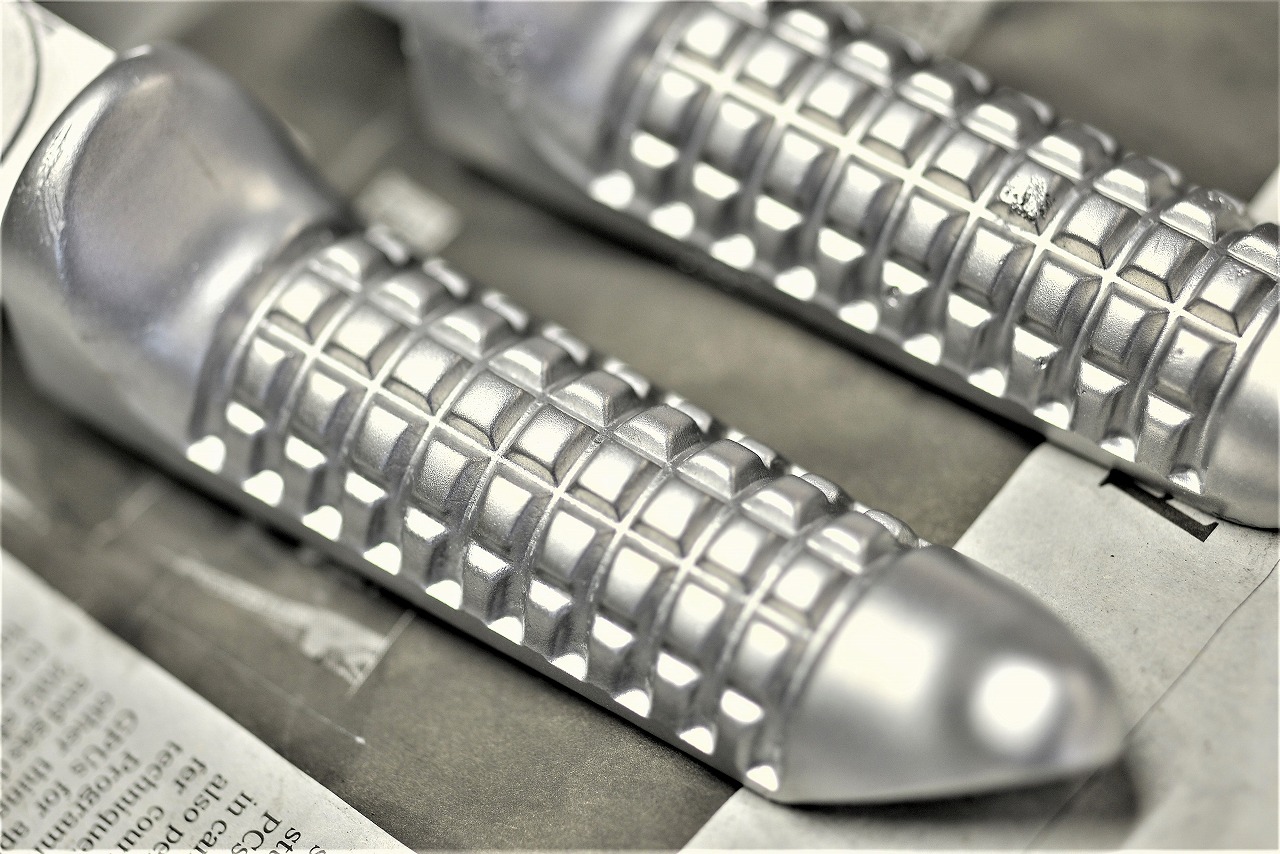
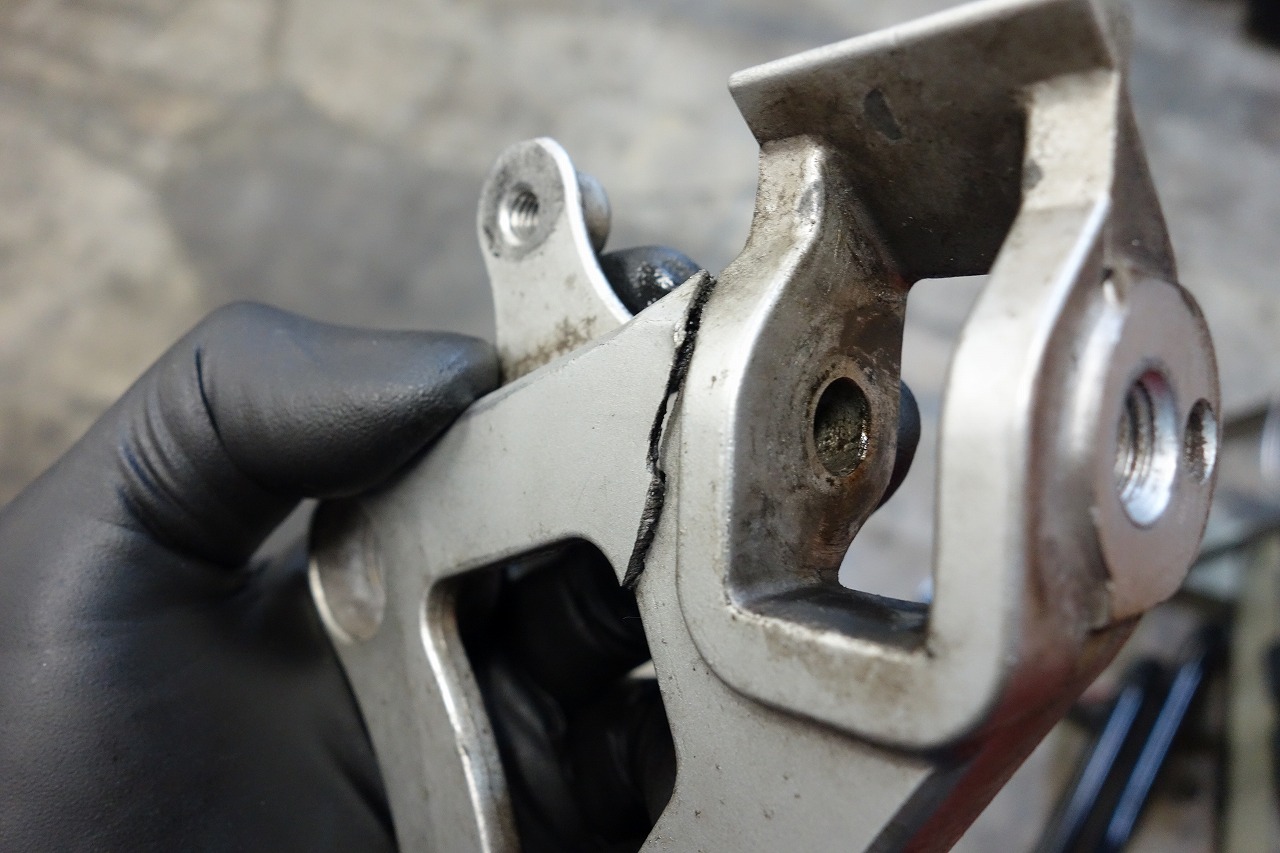
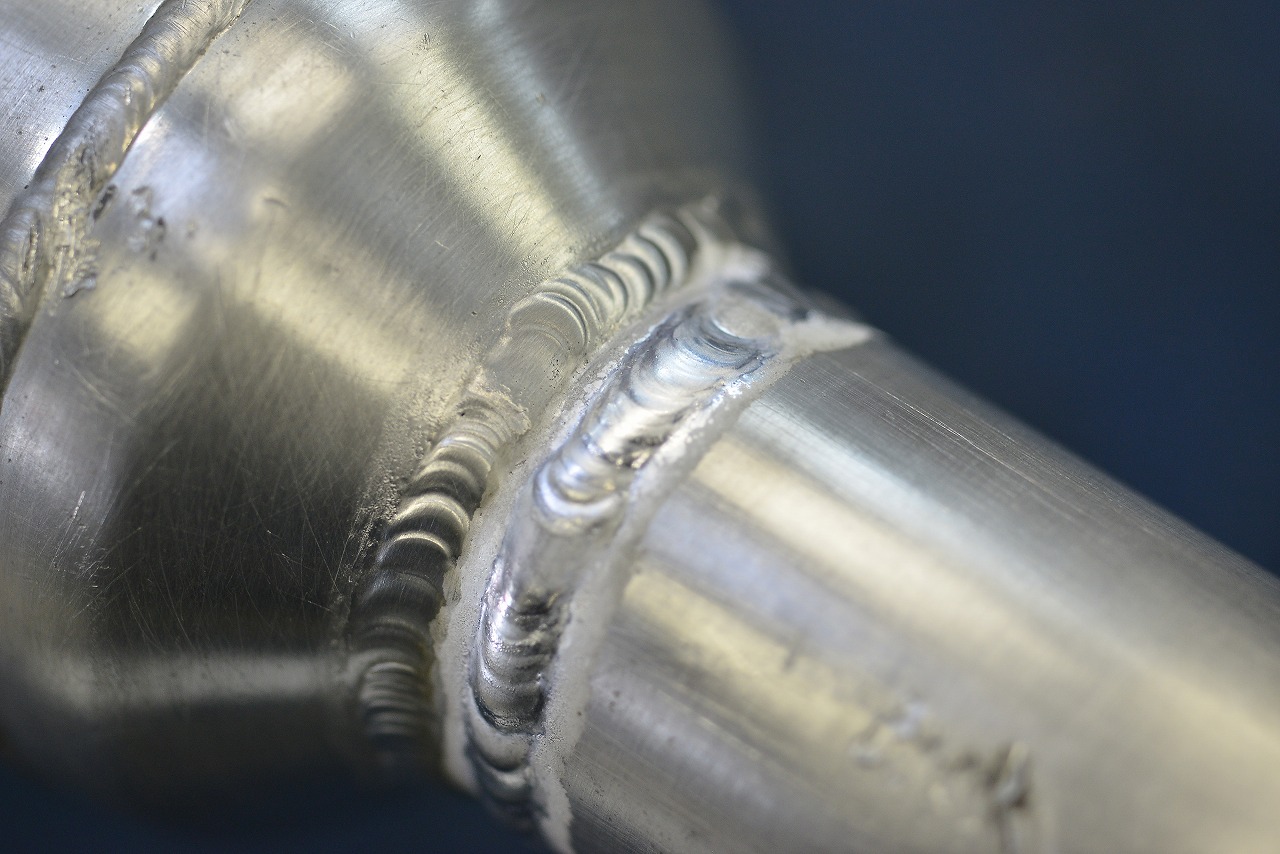
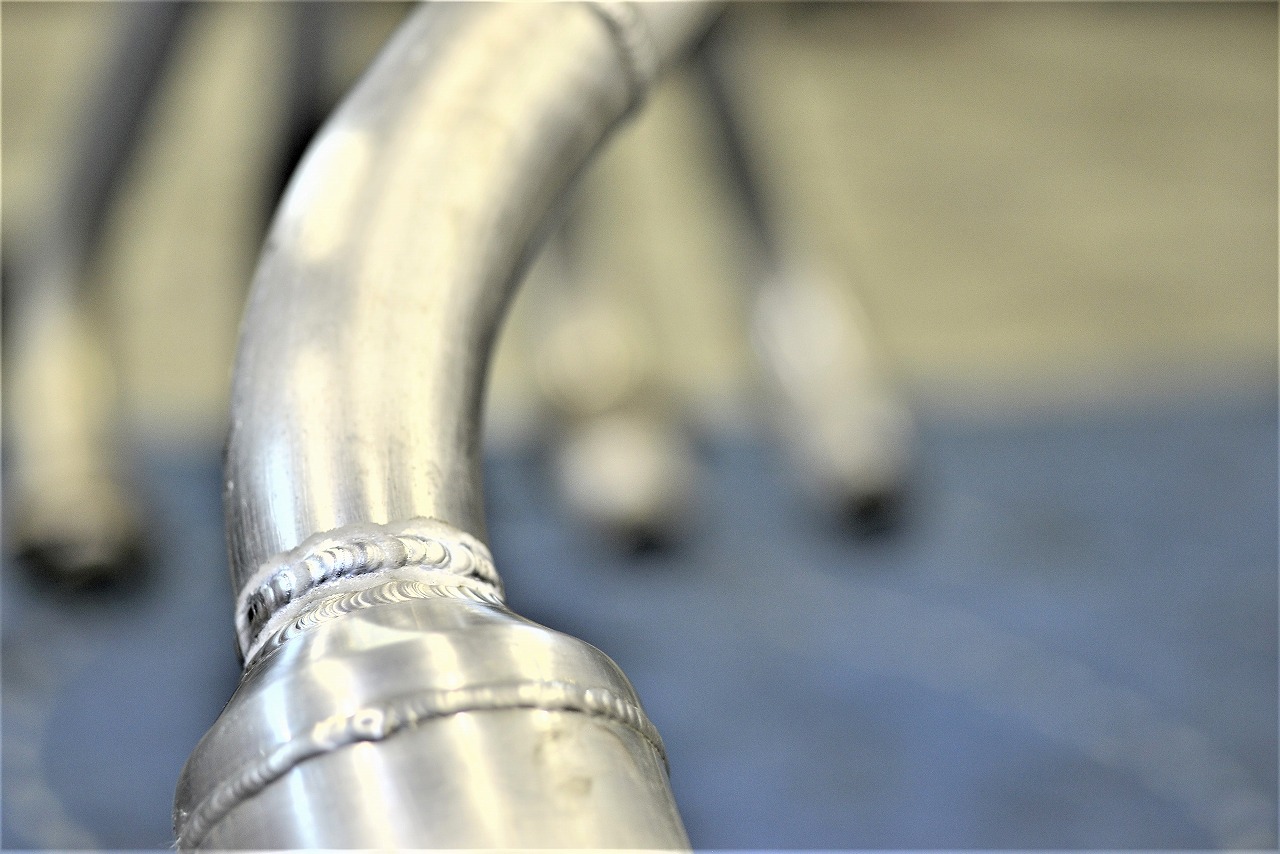
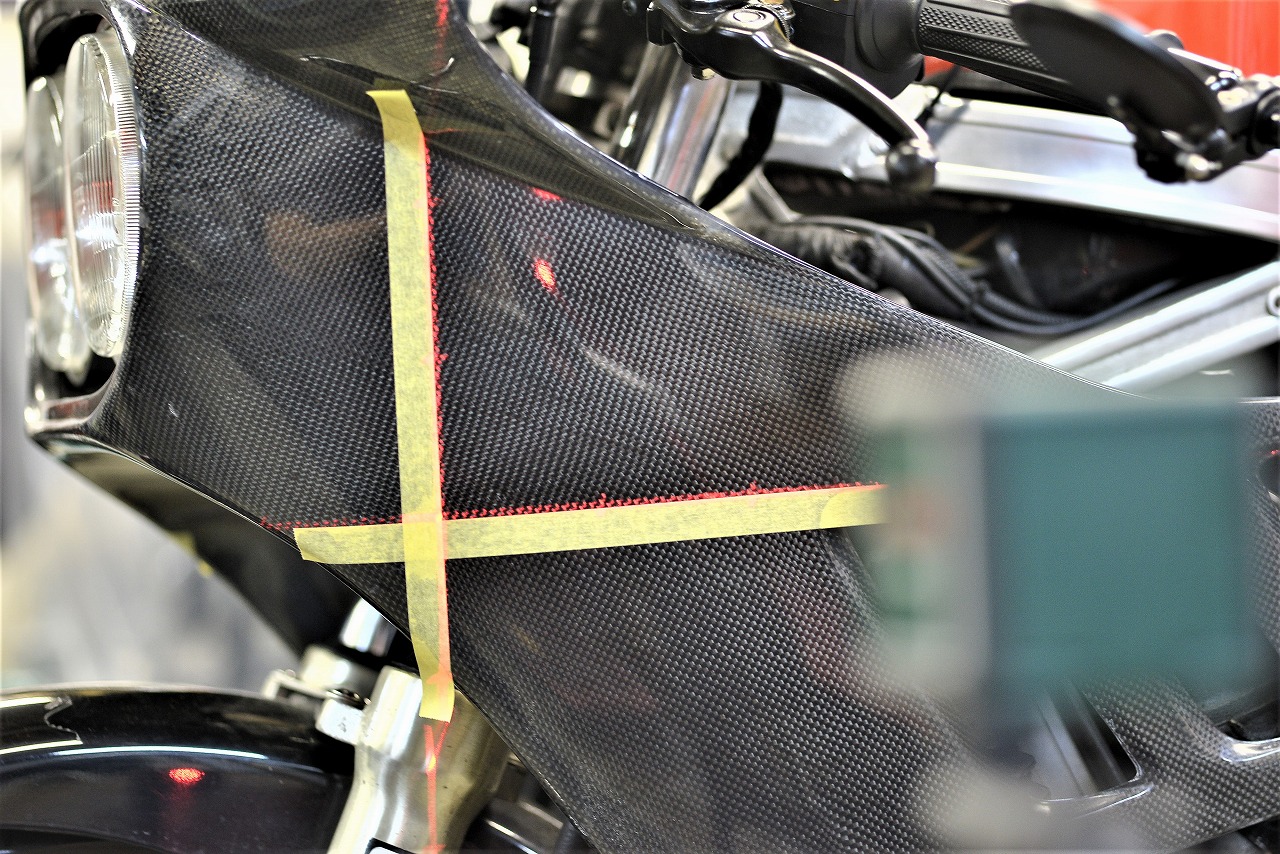
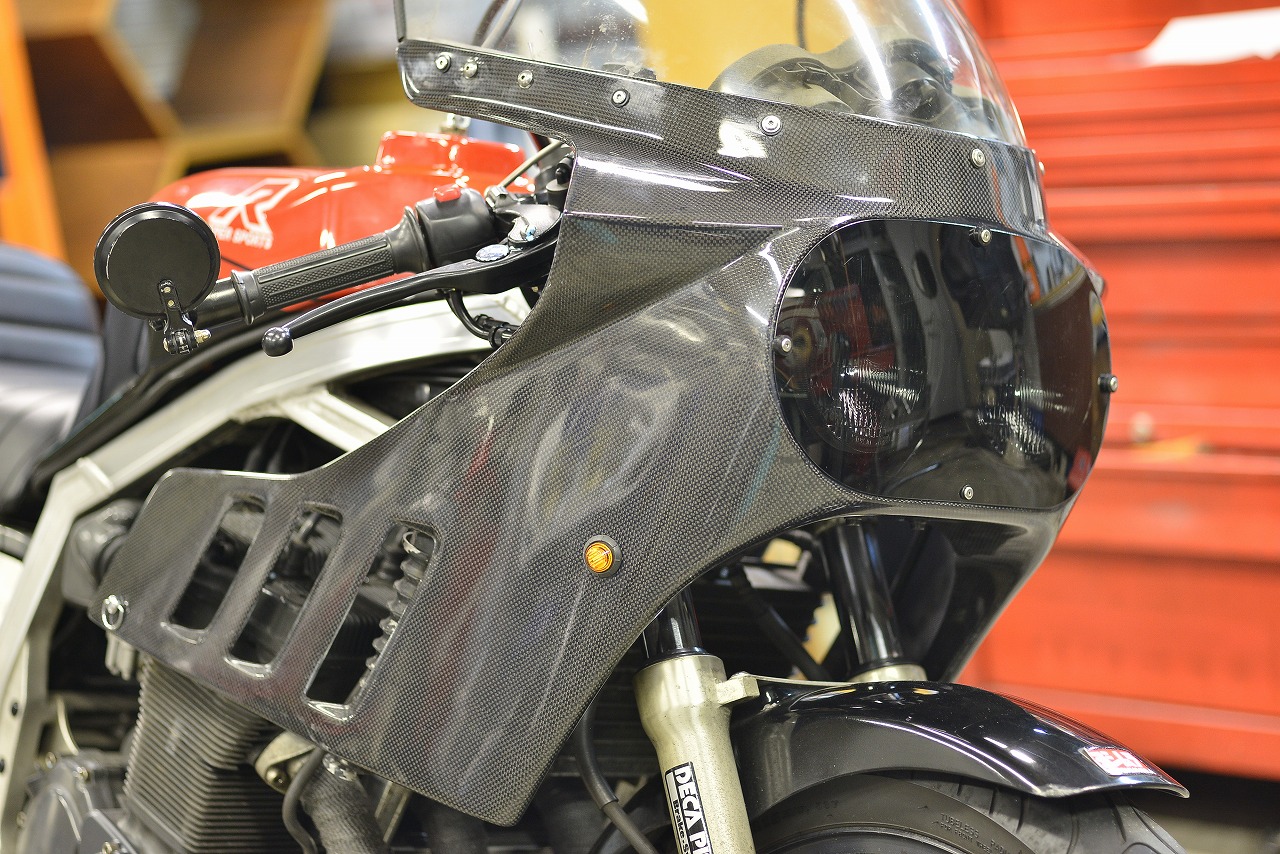
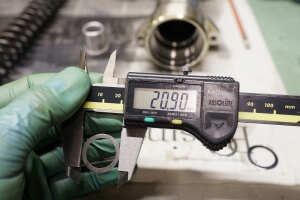
Suzuki’s oil seal is incredibly tight… since oil doesn’t leak out from inside anyway, I don’t think it needs to be this tight, so I’ll break it in a bit before assembly. *The iron collar is so tight it’s developed a step. We use a rubber stone and go at it in circles. Just enough is fine. Until it spins by hand easily—that’s the sweet spot. Small burrs might make it roll a bit smoother. This time we went to 520, so thinner sprocket means it wears faster—that’s just how it goes. We went with a Sunstar custom black steel sprocket. We always use DID chains. There’s just something about the trust we’ve had since way back… the performance is consistent (very little variation), that’s the peace of mind. We punched out and reused the stepped washer. (The thickness is a tricky measurement.) Hmm… does the brake master meter hit it? Right? That’s the issue. The GSX-R750 GR71 usually makes contact, or so I feel. We go a bit generous and then adjust. We restrict the handlebar lock to the range where it works. We polished and reused the pegs and pedals. We also put on fresh pedal rubber. The left plate has a crack in it… for now we’ll cover it with welding. The license plate and tail cowl are covered in soot—they wanted a fix for that. We sat beside it, looked it over with a “hmm,” worked out a plan, and ended up cutting it. This aluminum is easy to work with. Daishin is the best! The cowl arrived, so we’ll drill the turn signal holes. We set a minimum standard, tape it, and position it. Then we look it over by eye and go.
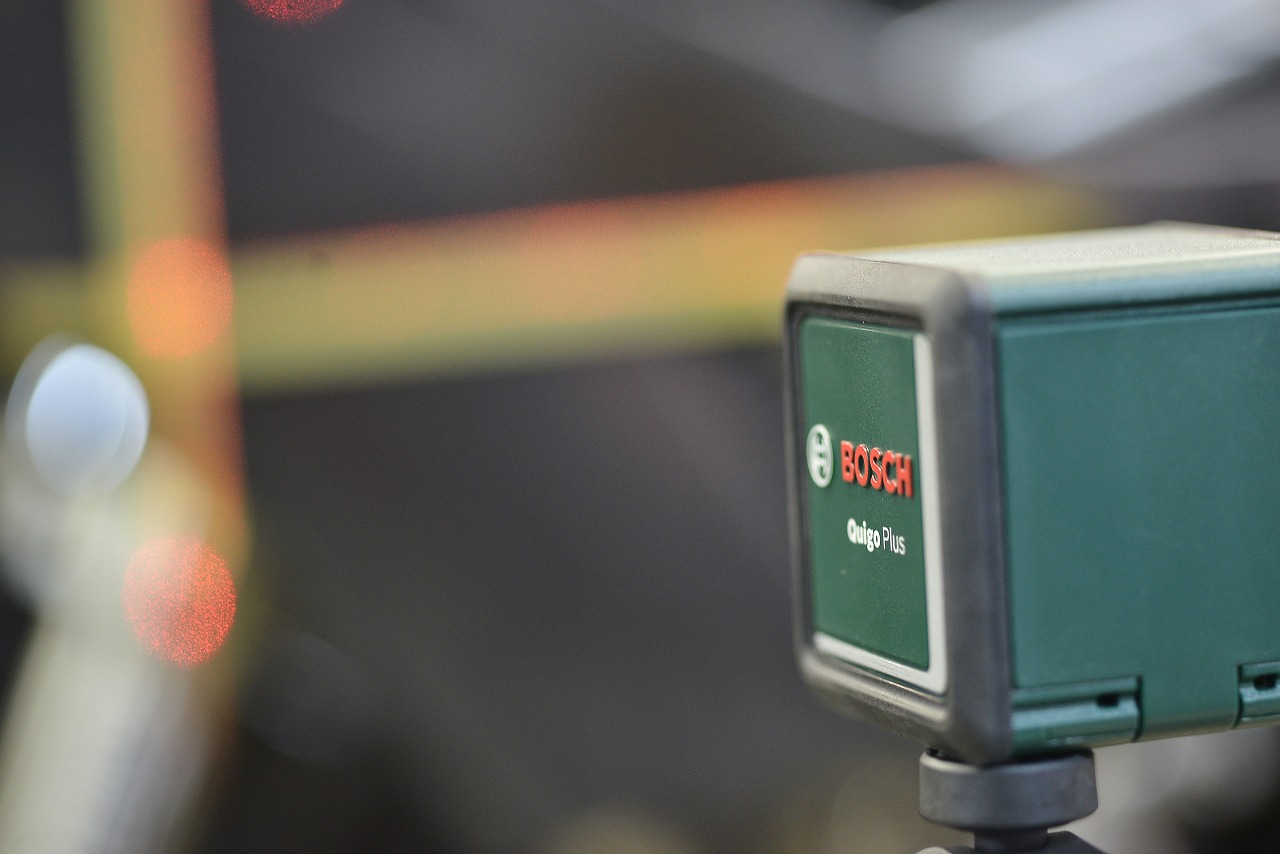
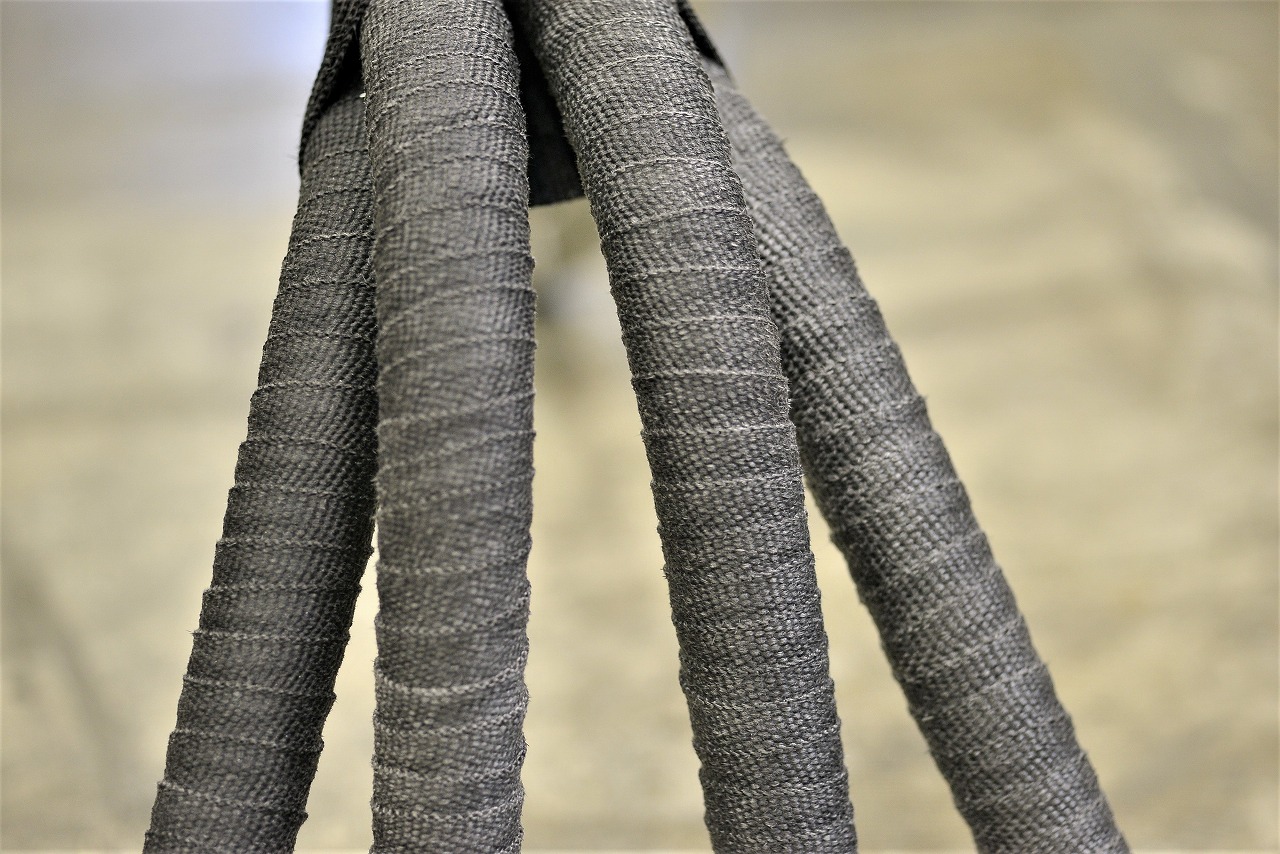
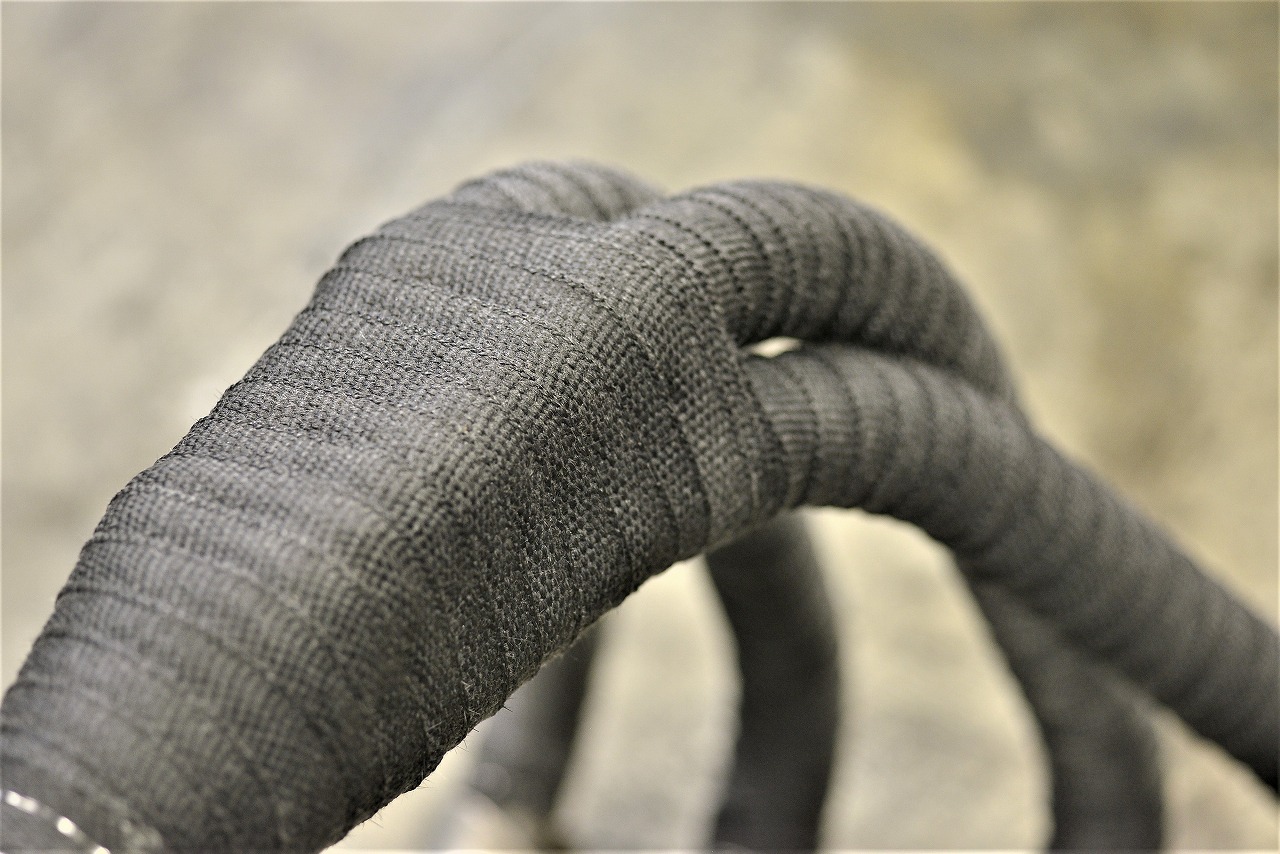
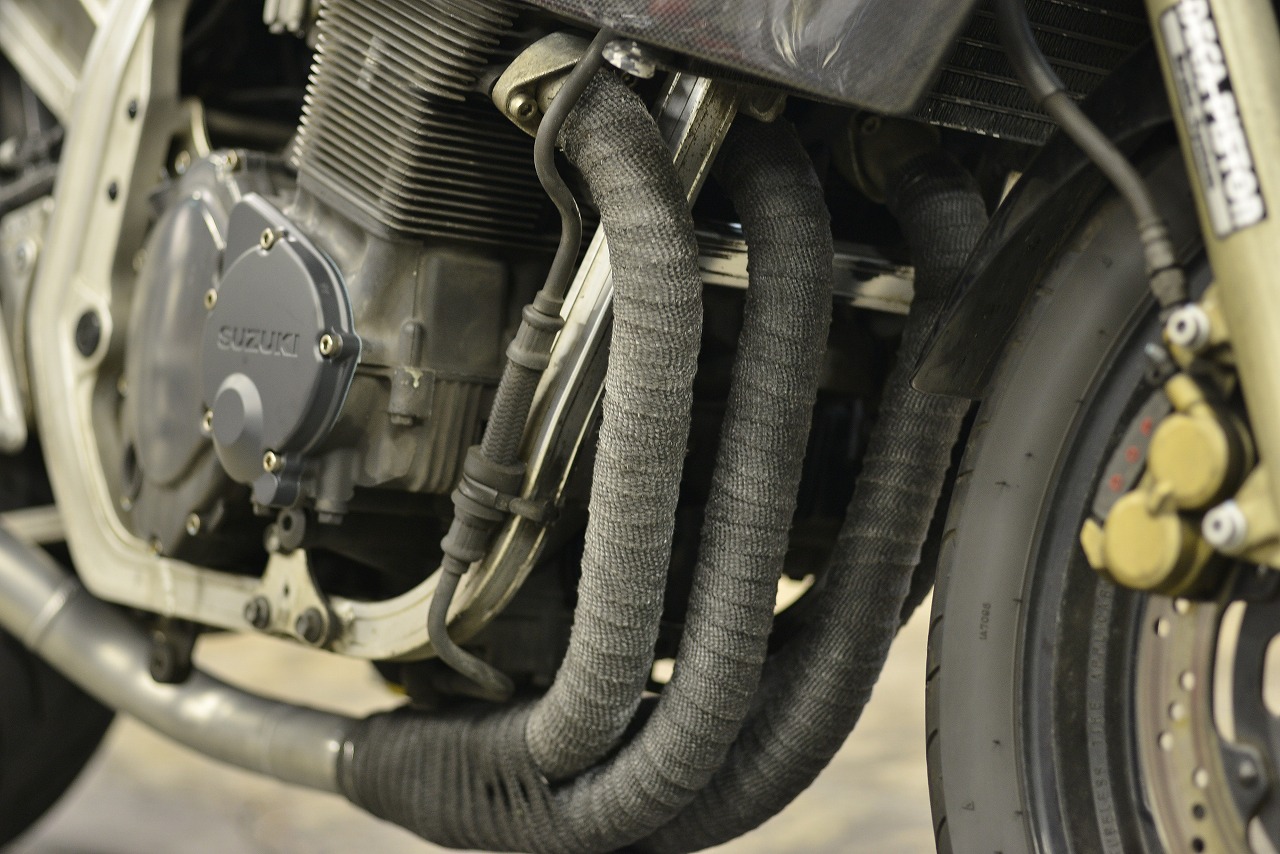
Even if the left and right line up perfectly with a laser, sometimes it looks wrong to the eye. Relying on tools first and then the eye might actually catch fewer careless mistakes. Drilling is one shot, so positioning definitely takes a lot of time… that’s for sure. They asked us to wrap it with Thermo Protect Wrap Graphite (25mm width). One exhaust pipe takes 5 meters, so five sets total… I was surprised how much we used.
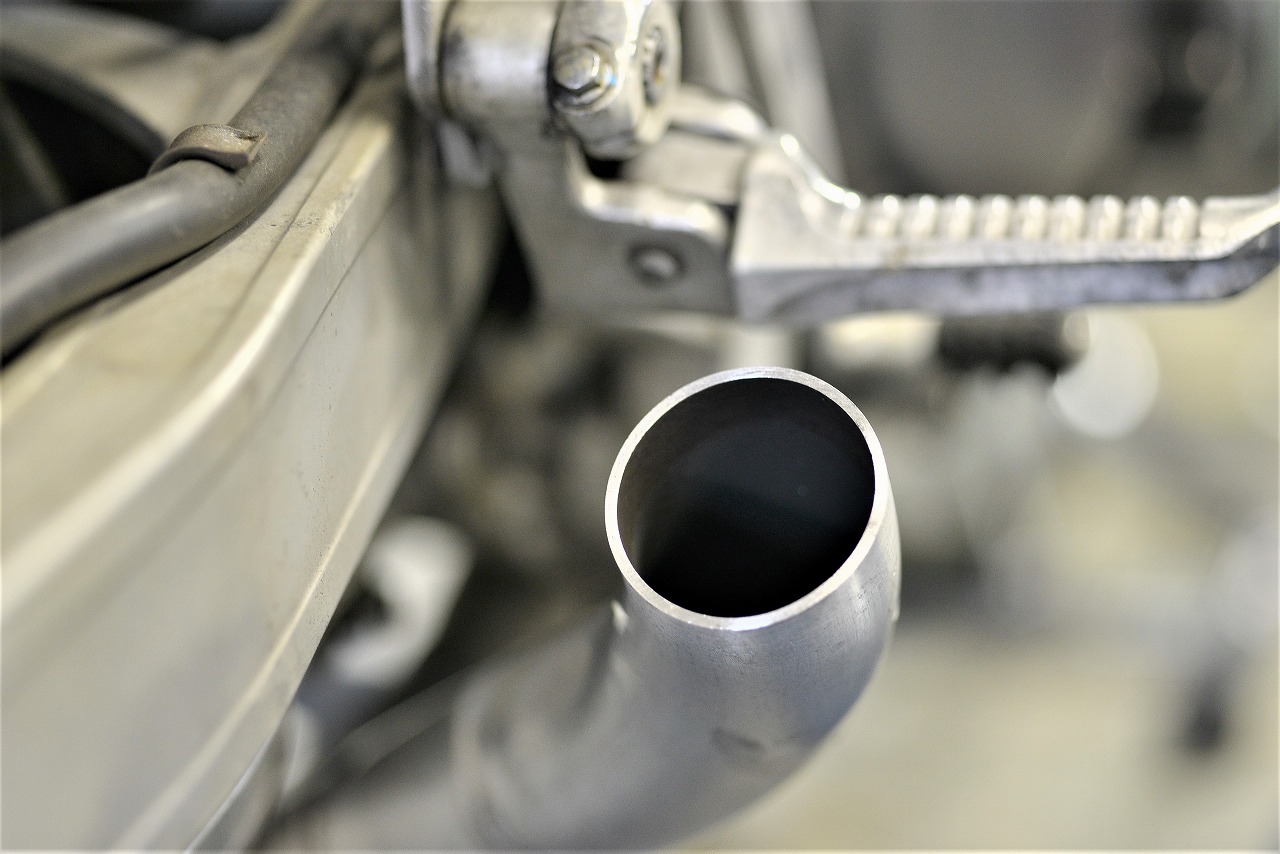
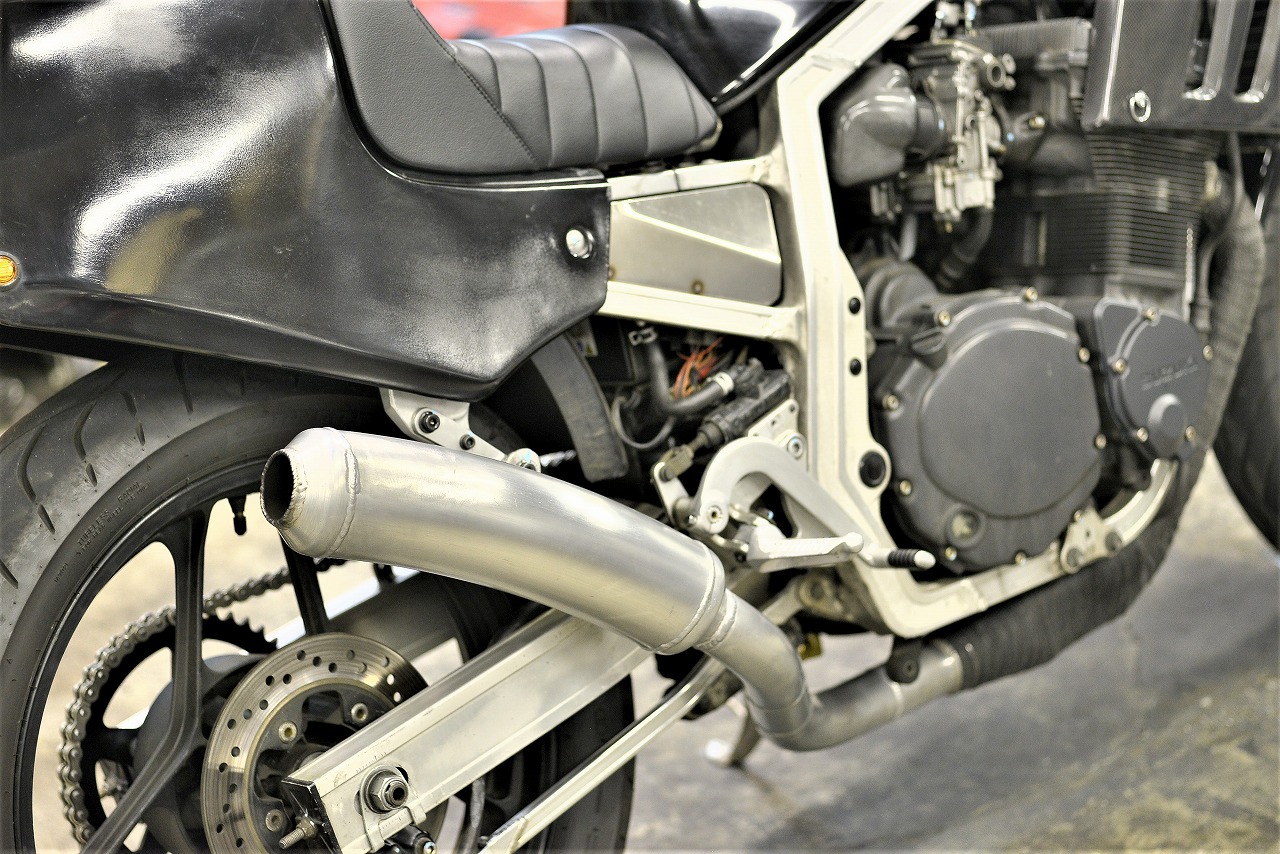
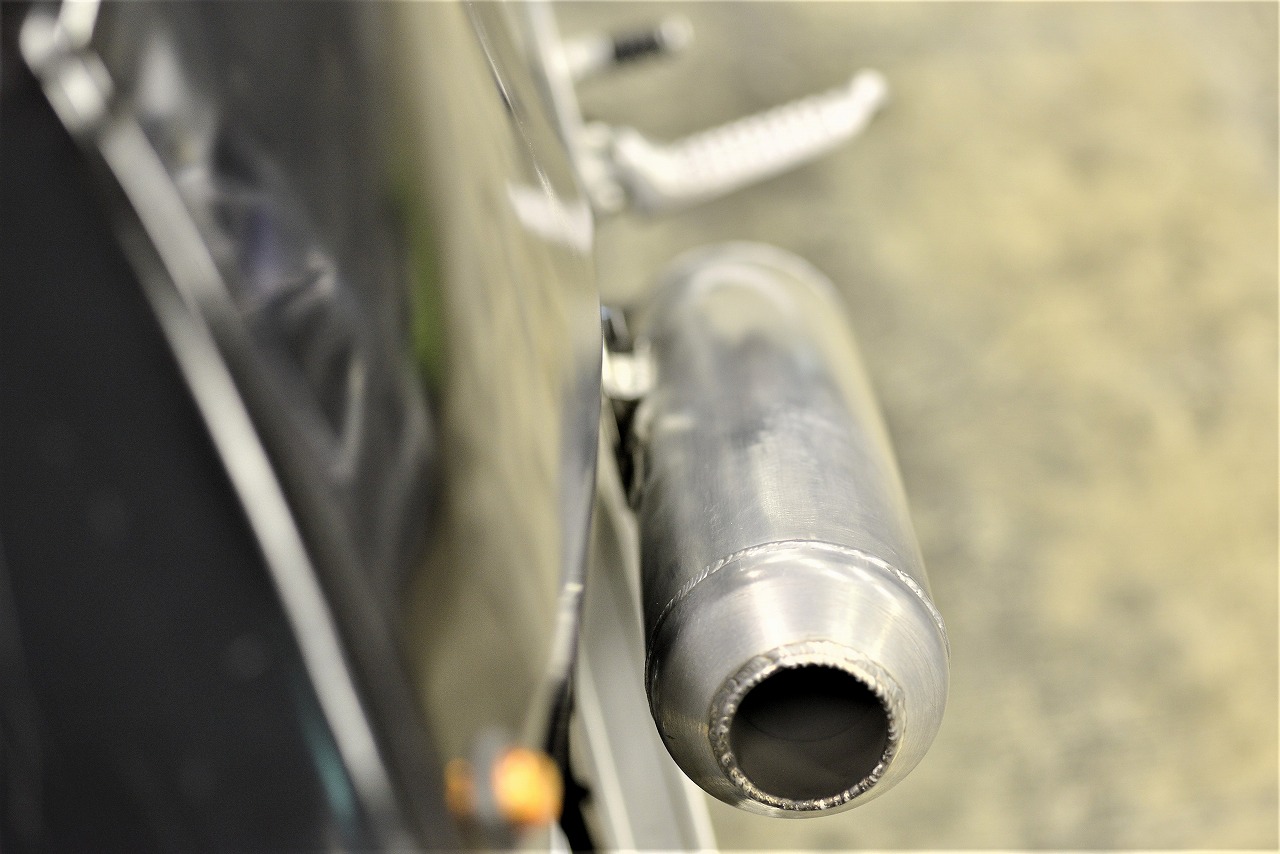
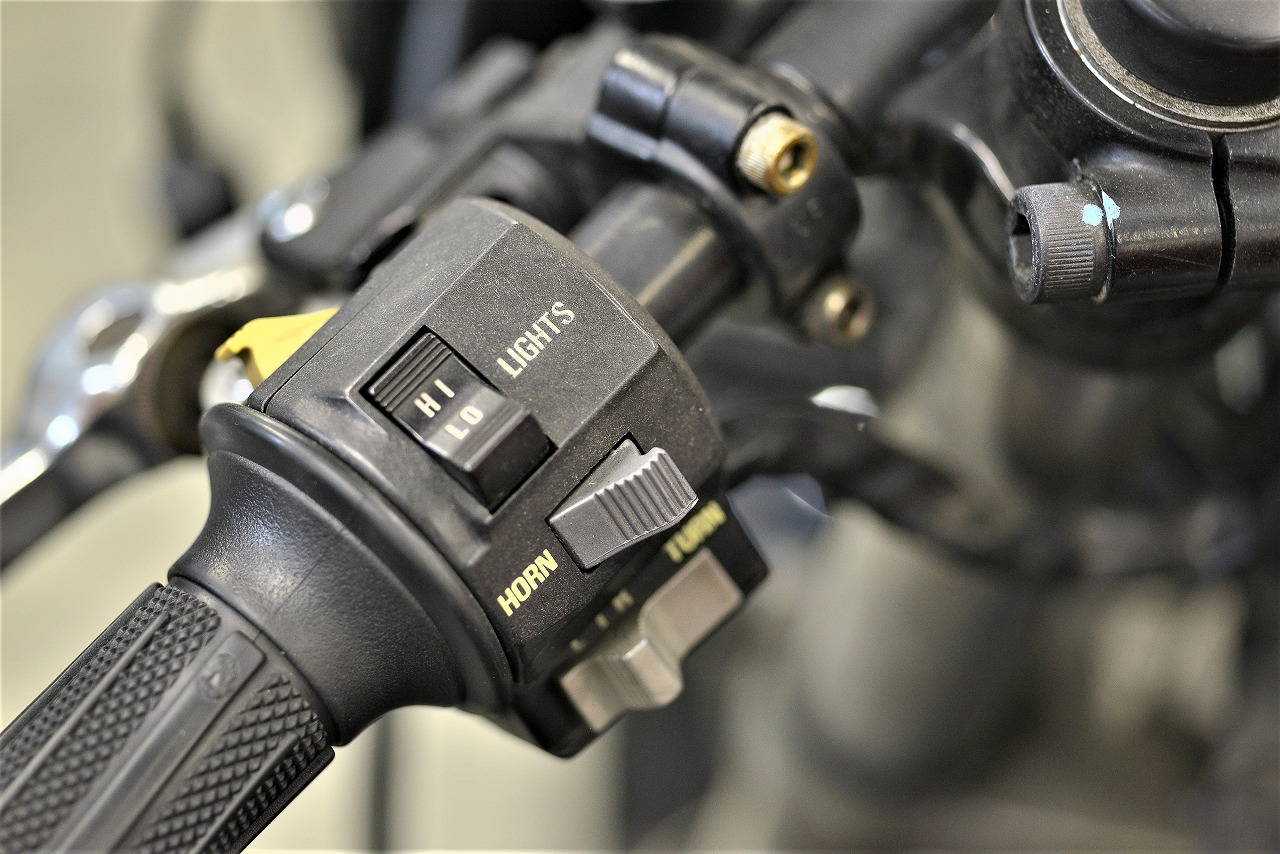
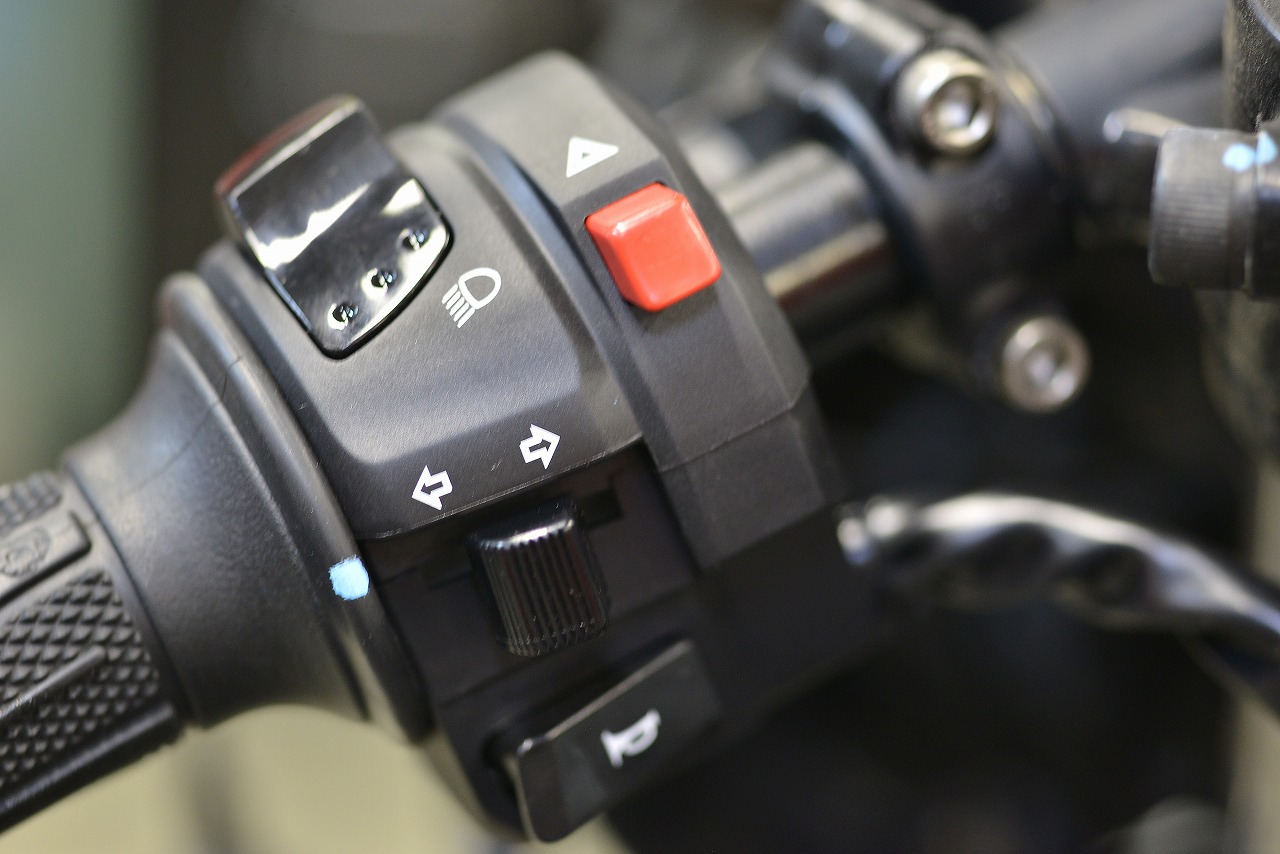
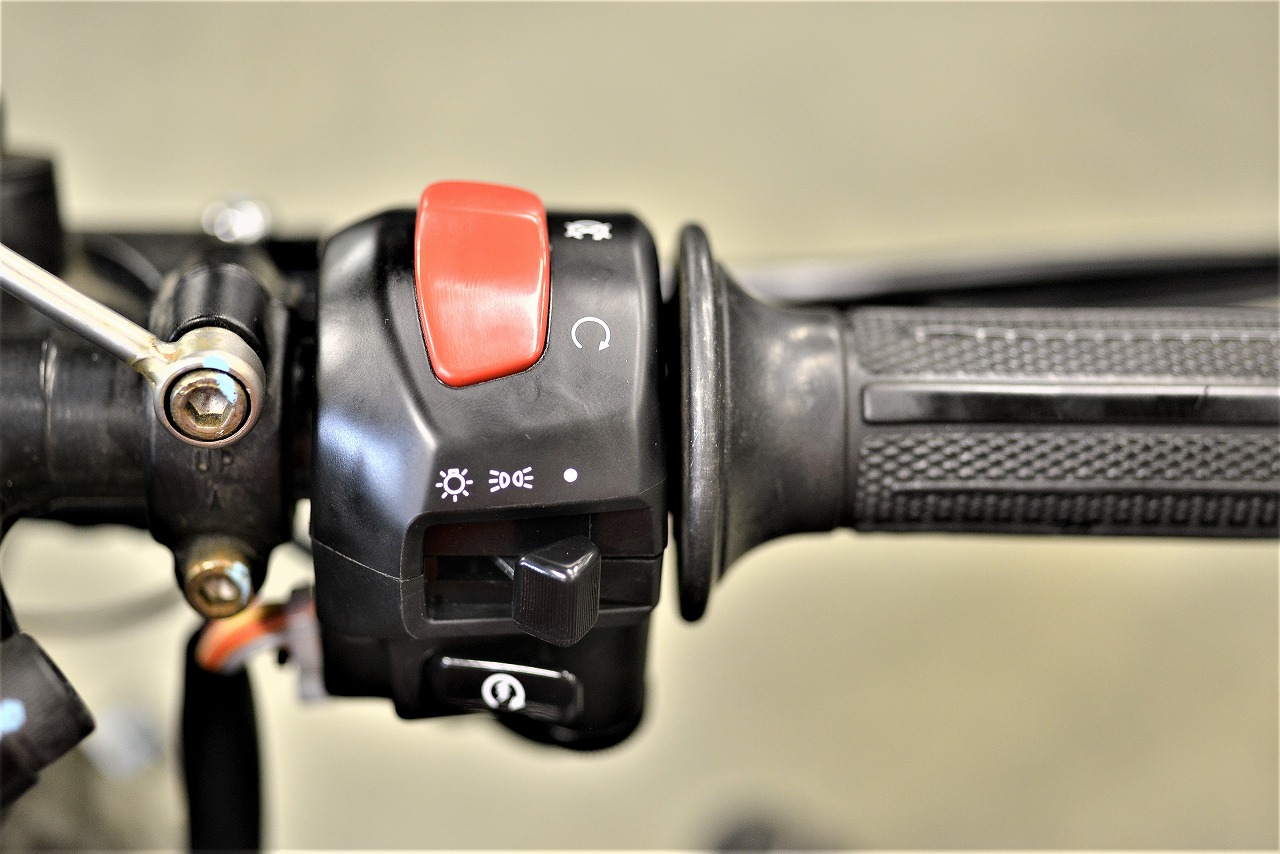
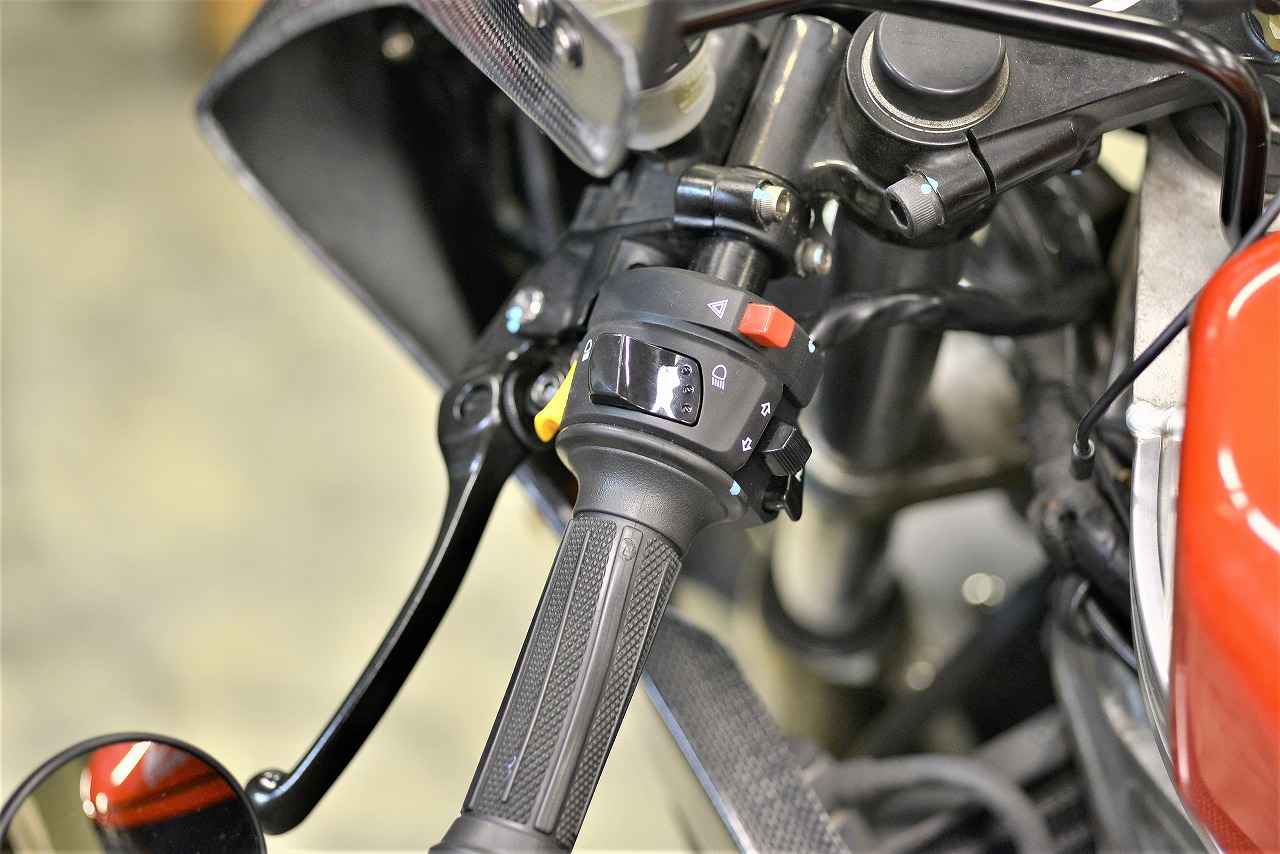
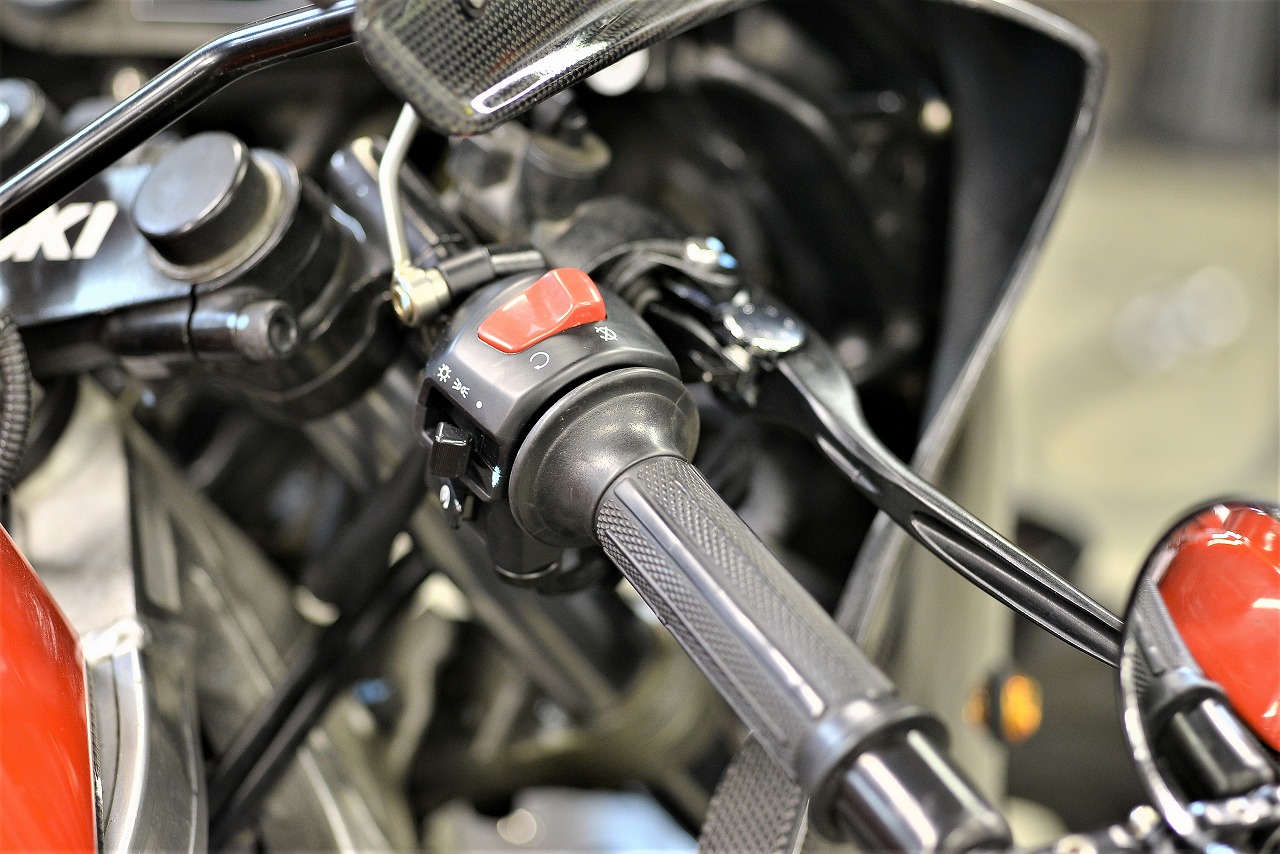
We wet it with water and pull while going “whoosh,” then work it around—it’s a bit prickly and pretty tricky. Yoshimura banana pipe—looks like it, but nobody would think it’s Daishin… or would they? Keep it close to the frame, close to the tail cowl, not sticking out— The look of the silencer and tail pipe is really important aesthetically. Changed to hazard and push cancel. Suzuki OEM-sourced custom parts. (Made in Japan) 19,000 yen + tax. Oil-cooled 750/1100/1200 all confirmed compatible. Same on the right. Operation and appearance both improved. 13,650 yen + tax. GSX-R750/1100 confirmed compatible. Technically it shouldn’t work, but if we could get it on GSF1200/Inazuma 1200/GS1200SS/Bandit with headlight on/off, that would be nice. We’ll check. *GS1200SS didn’t work… I think. We blacked out the left and right levers too. That’s how it turned out. It’s got a strong sense of personal touch and character—nice. Pretty sketchy looking… That’s all for this job. Sorry for the wait!!!