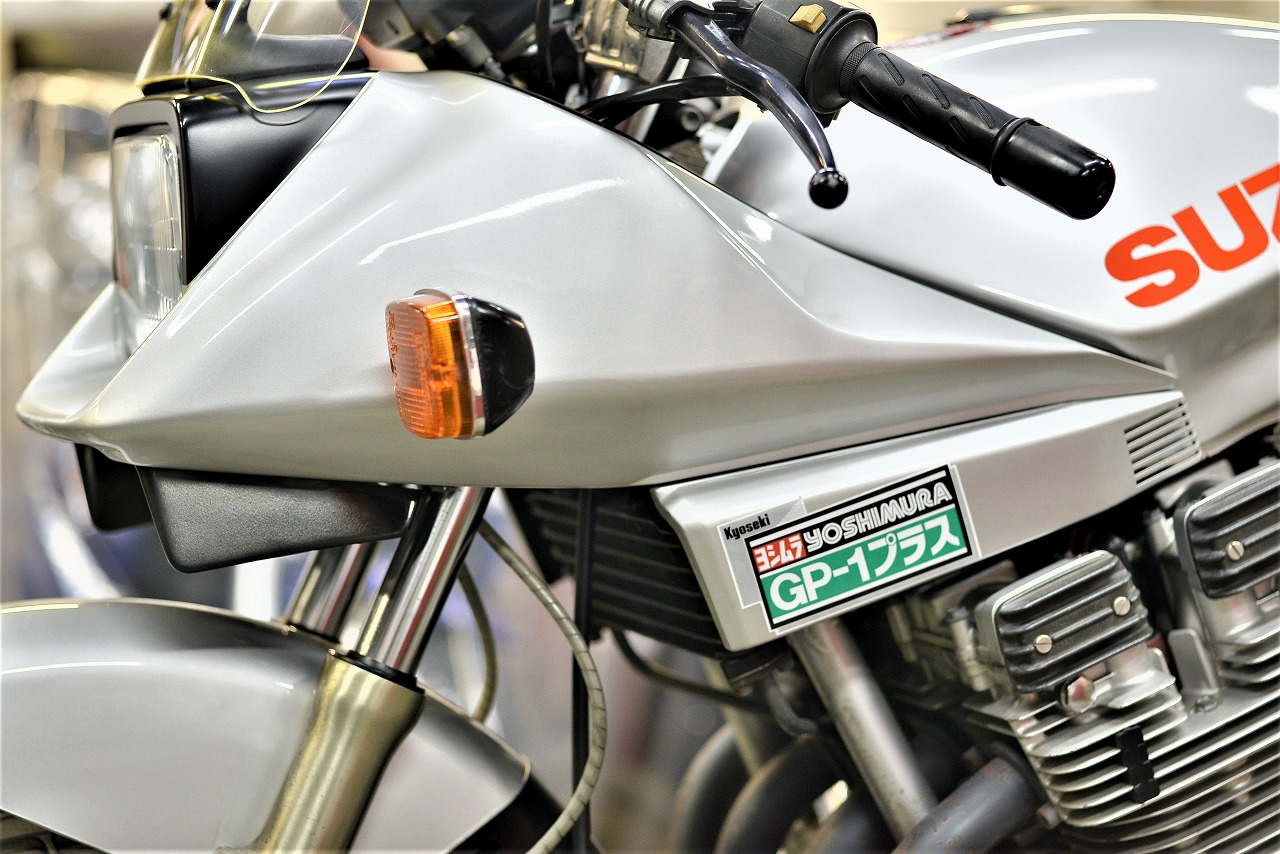
Looking at the Shell GP1 Plus, I feel that nostalgic sense of “oh, those were the days” when you couldn’t choose your gasoline by brand. Gas stations used to be everywhere back then.
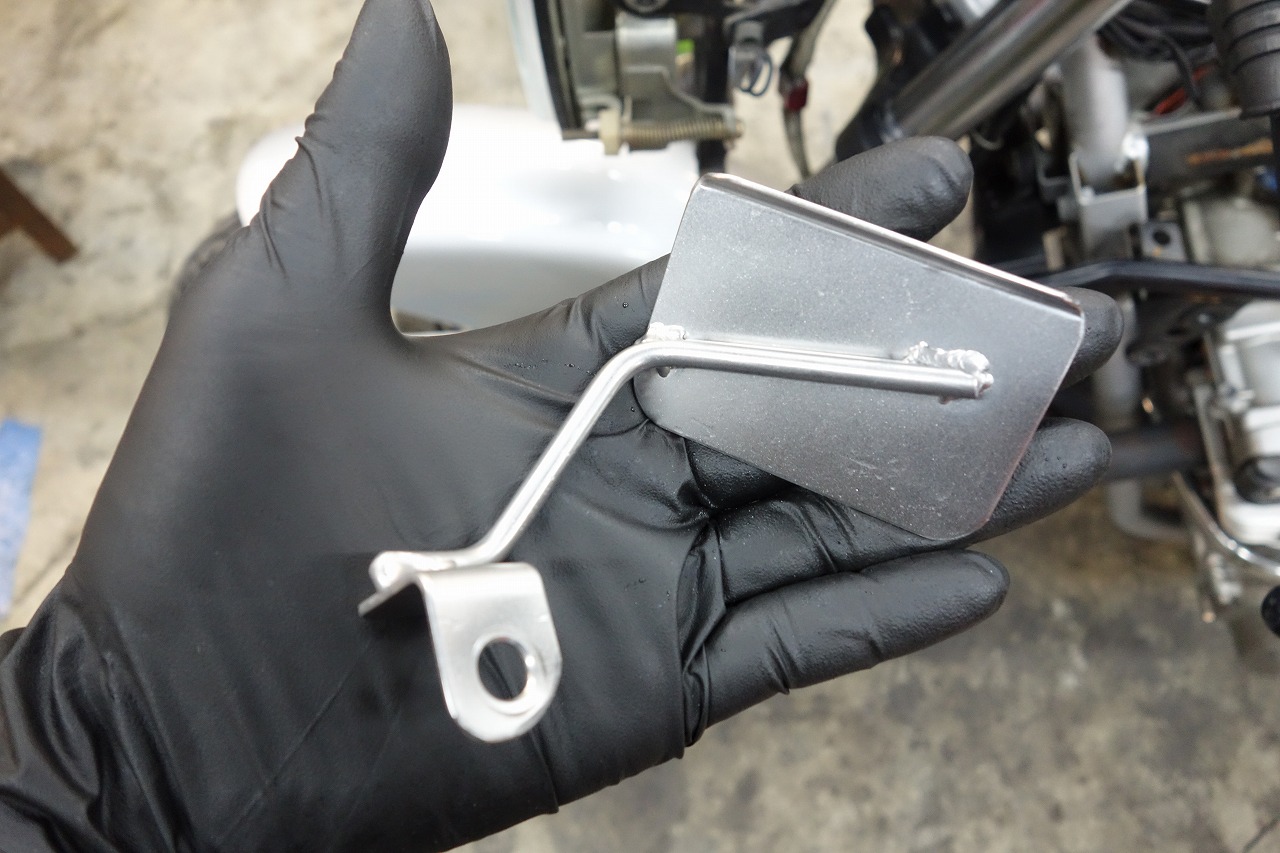
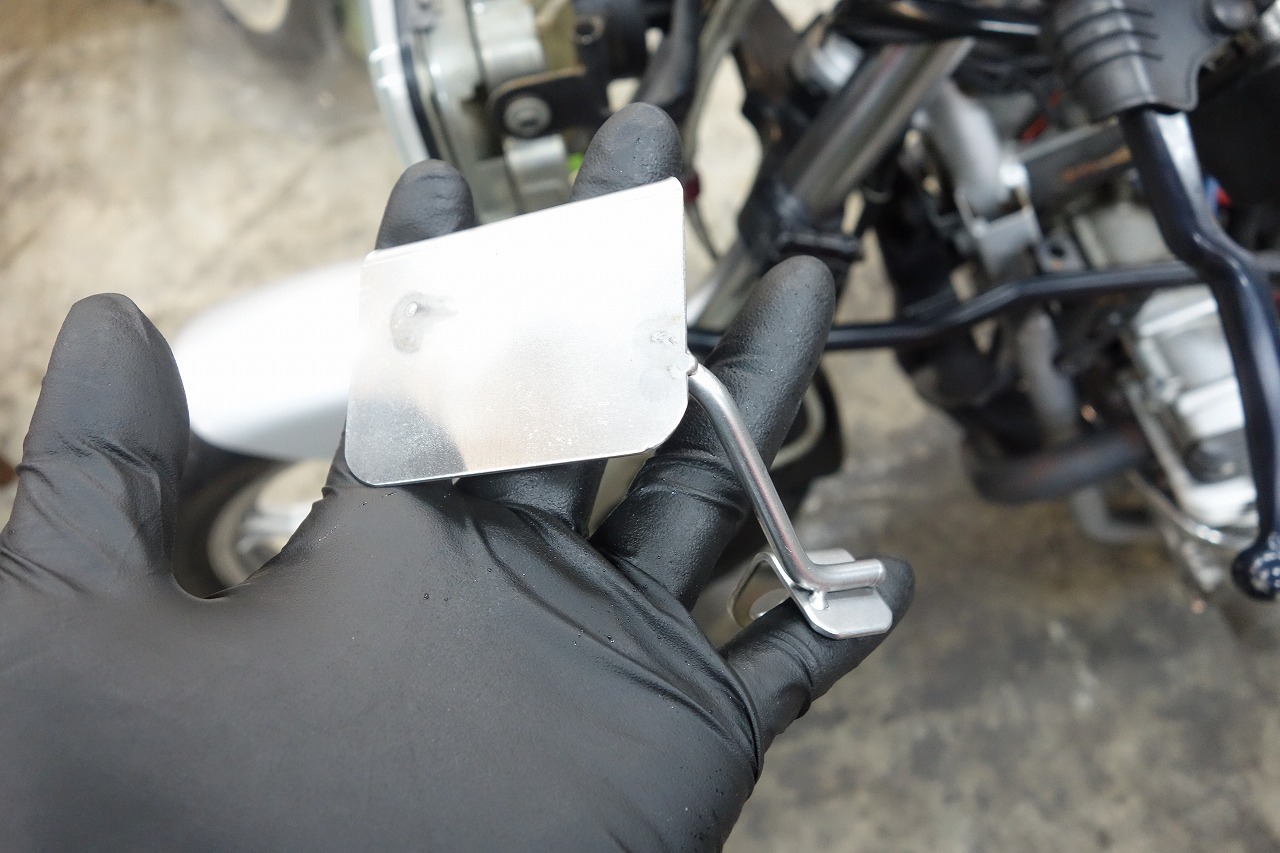
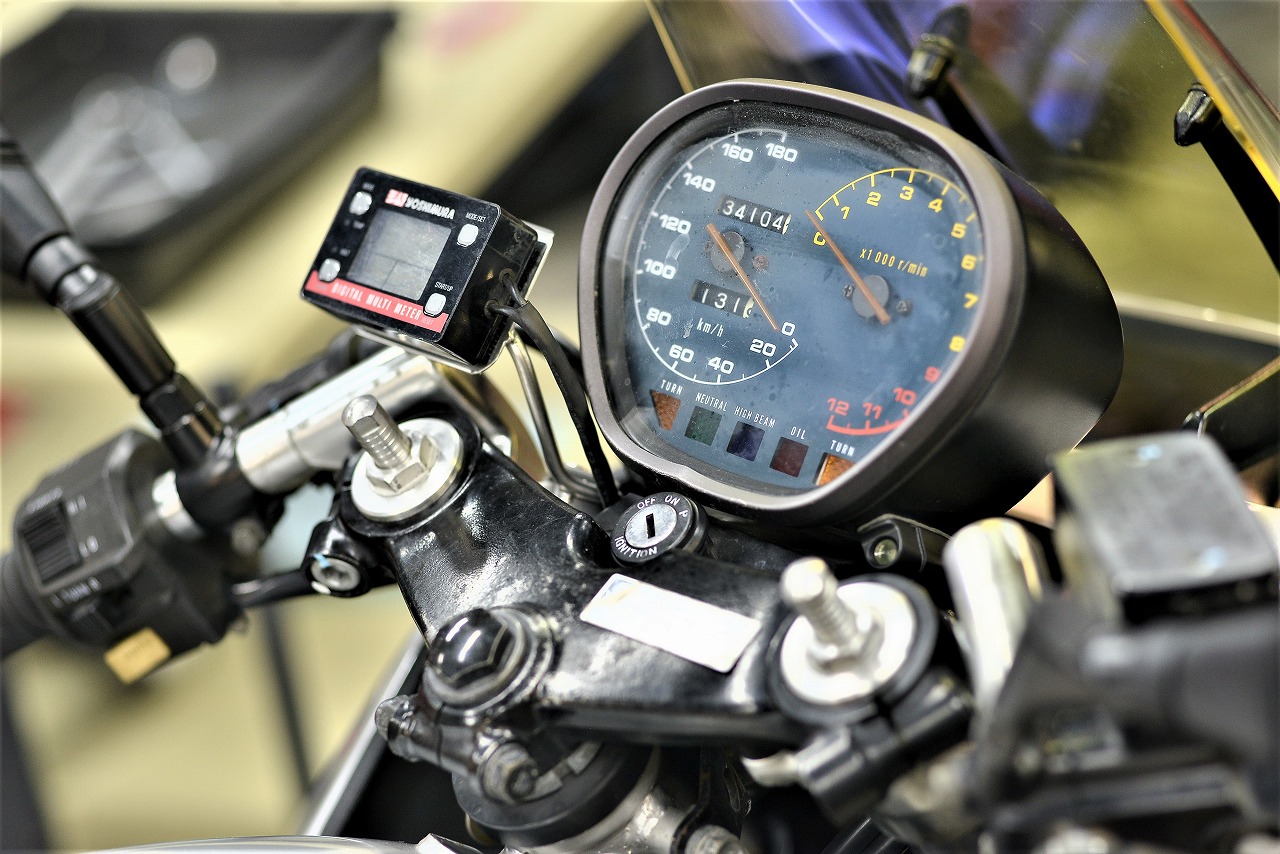
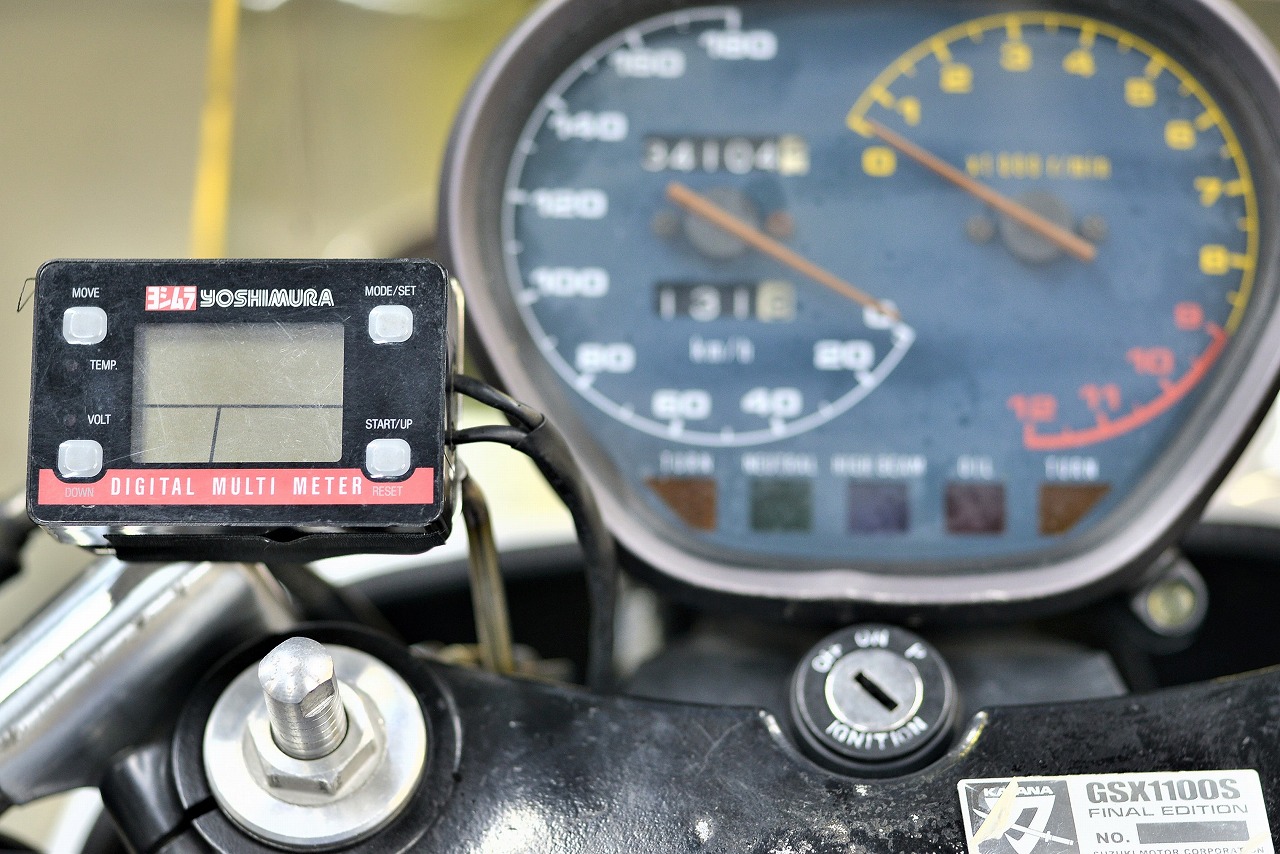
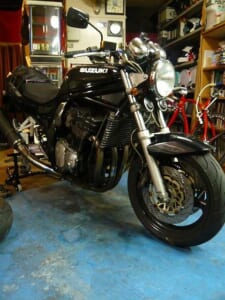
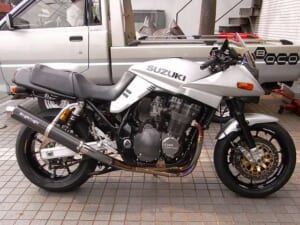
These days it’s Shell, right? Deco-mainte and digital tachometer/fenderless installation work requested. We fabricated the digital tachometer bracket using SUS304 stainless steel with an A+B+C strategy. We positioned it as low as it can possibly go.
We determine where to mount aftermarket parts by process of elimination. In this case, it came down to: • Mount on the left side • Don’t co-bolt to the top bridge (reduces maintenance efficiency around the stem)
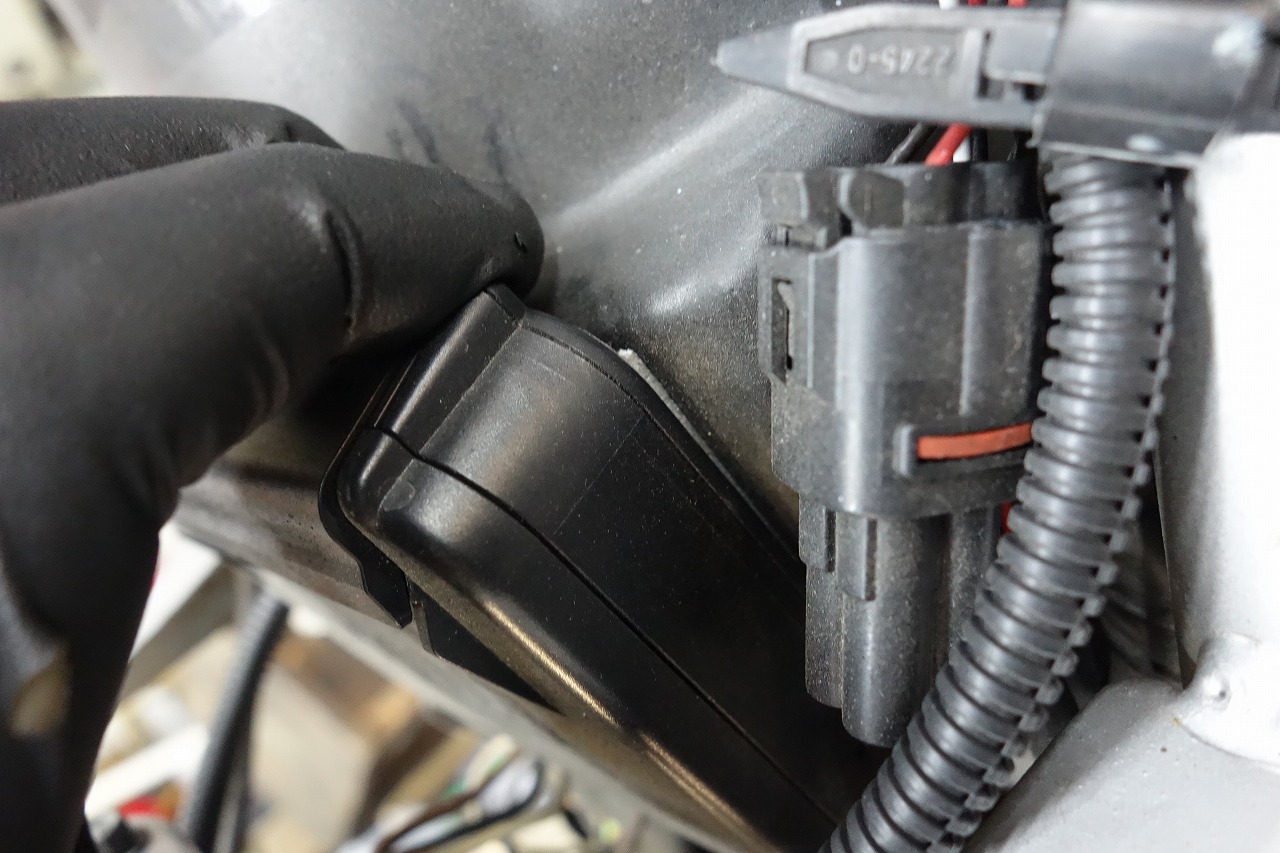
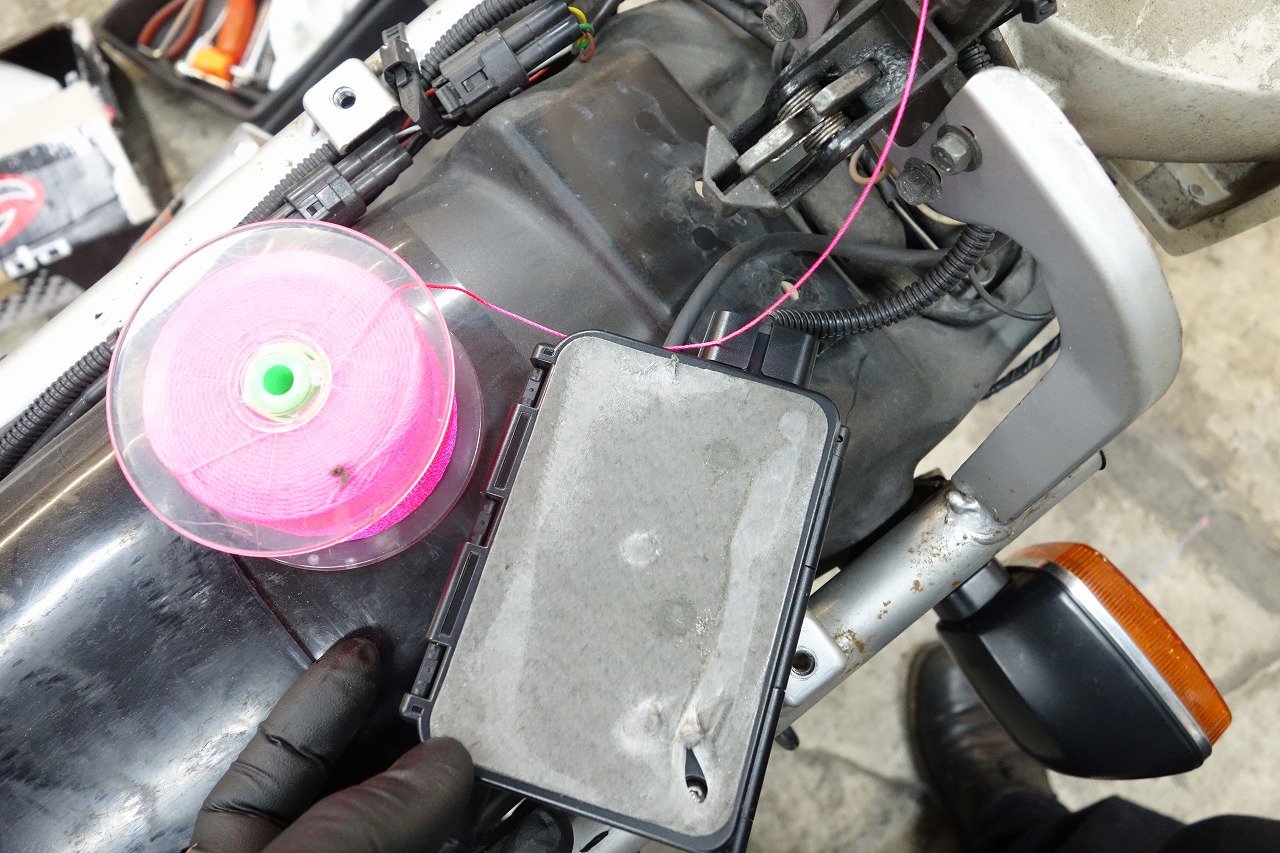
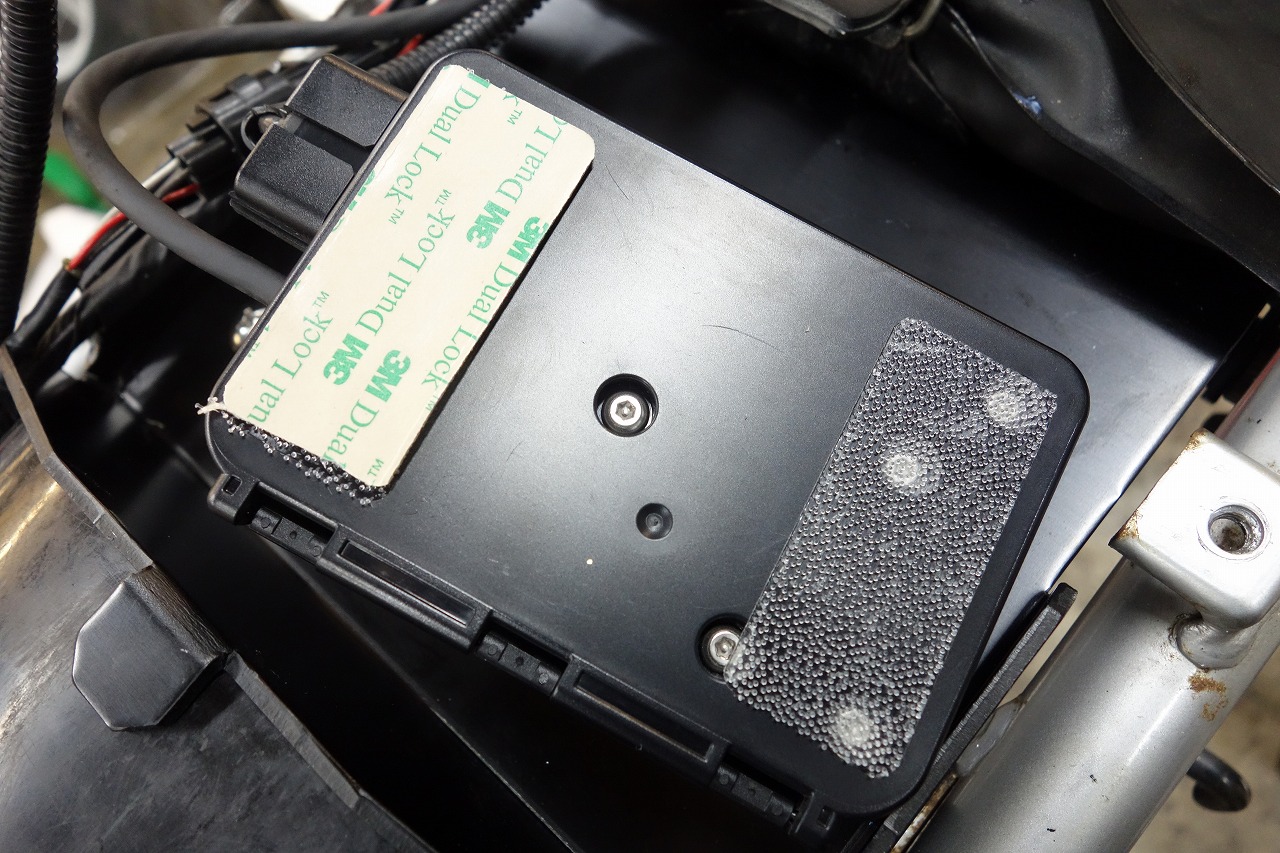
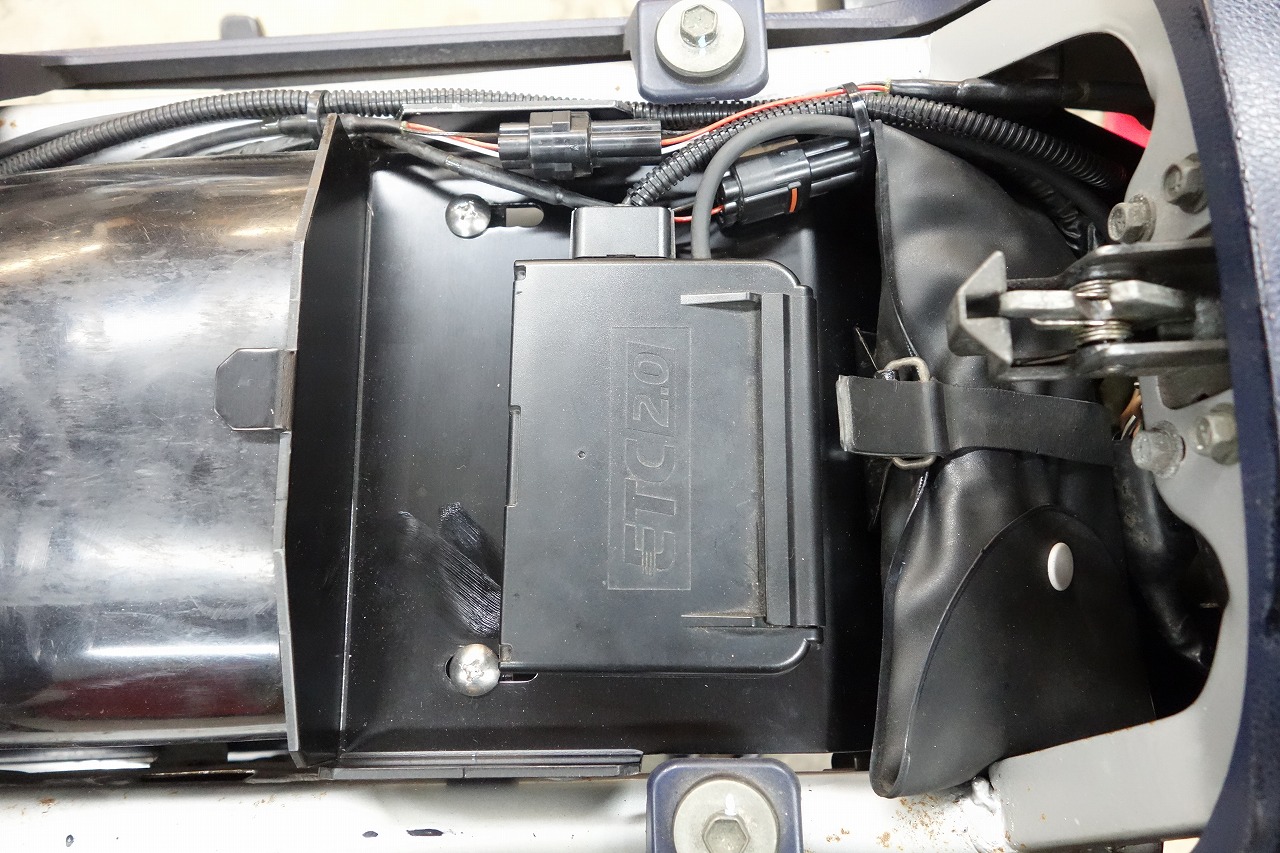
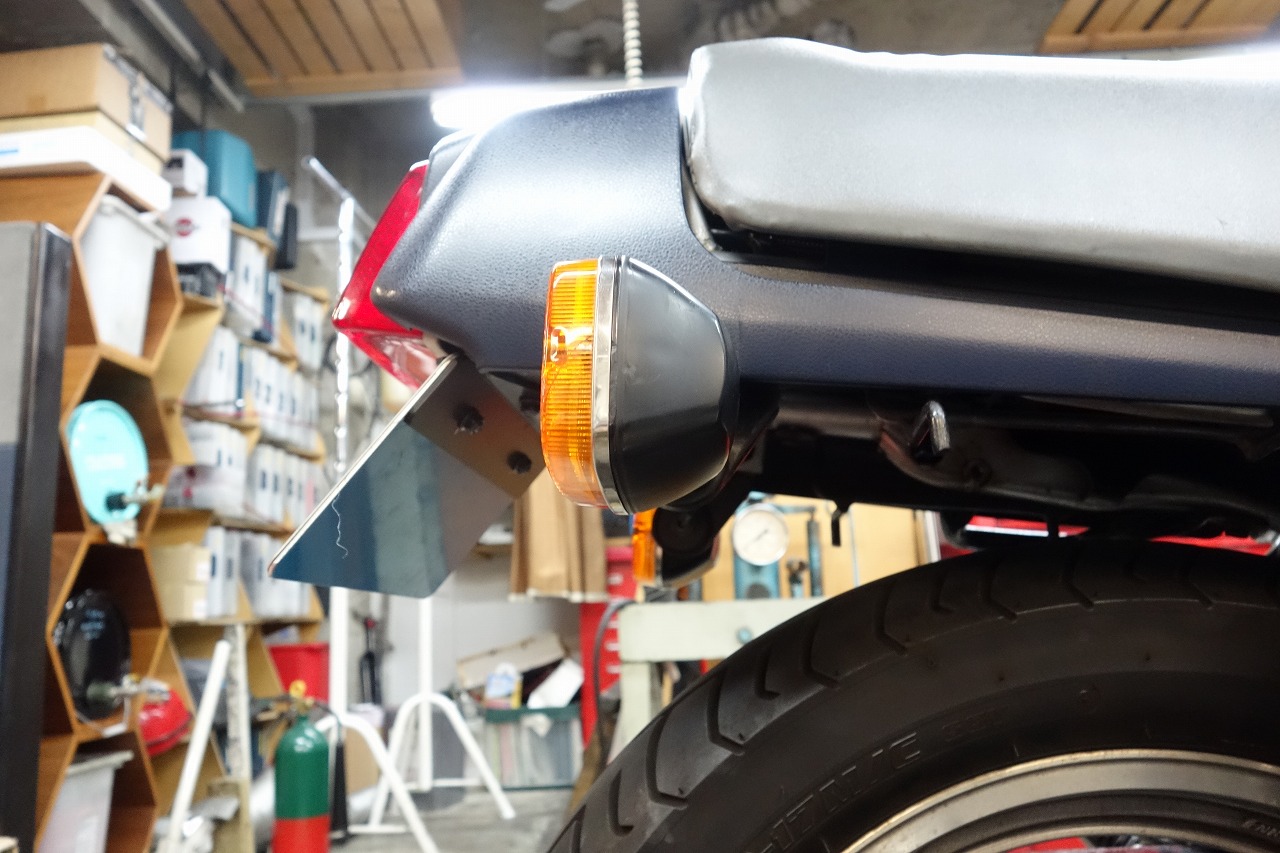
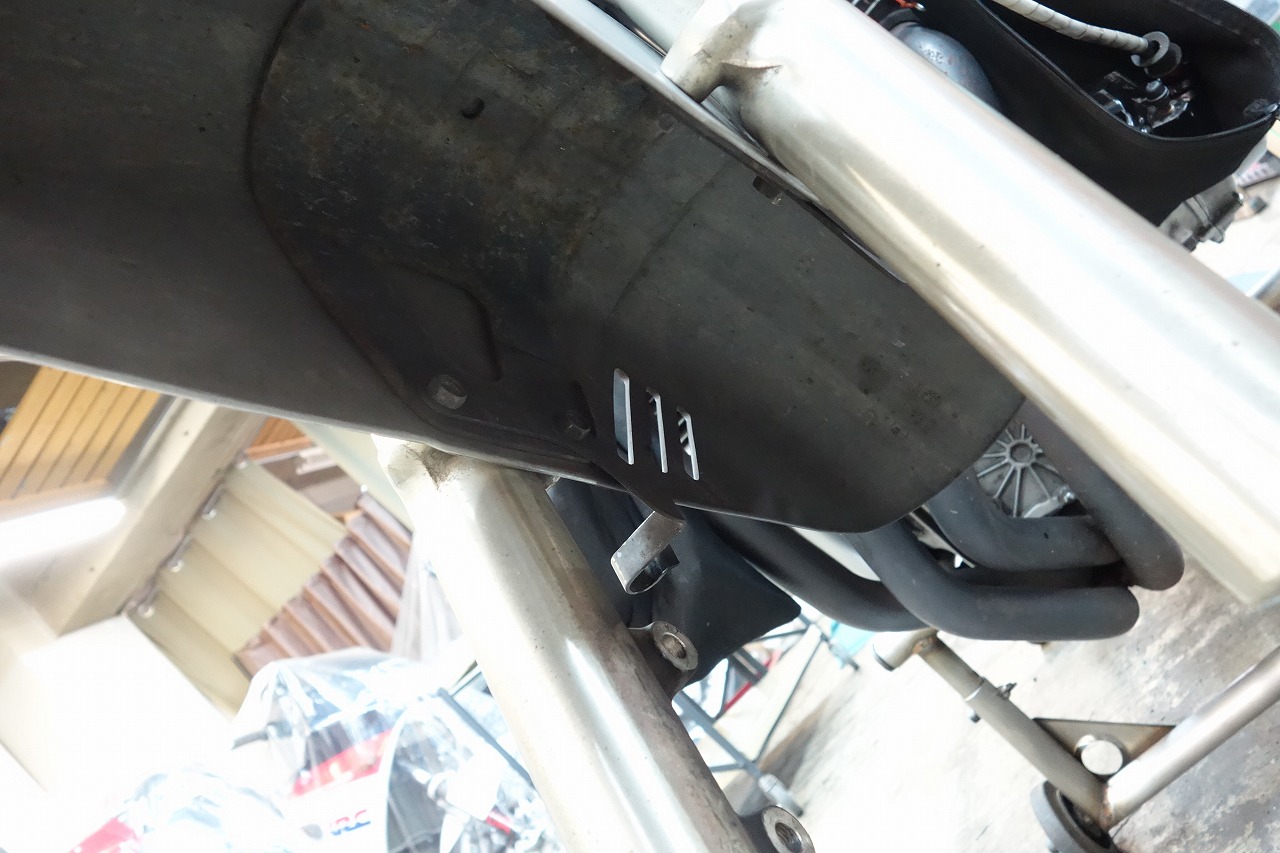
That’s it. Once you do that, the mounting location naturally reveals itself, so to speak. If we went any lower, the trip meter wouldn’t turn, and it would interfere with clutch cable maintenance—lots of complications. It’s a puzzle every time. Now we’re installing the fenderless piece. We need to remove the stock rear fender, but… Wait, the ETC won’t come off? It’s stuck on—glued to the frame.
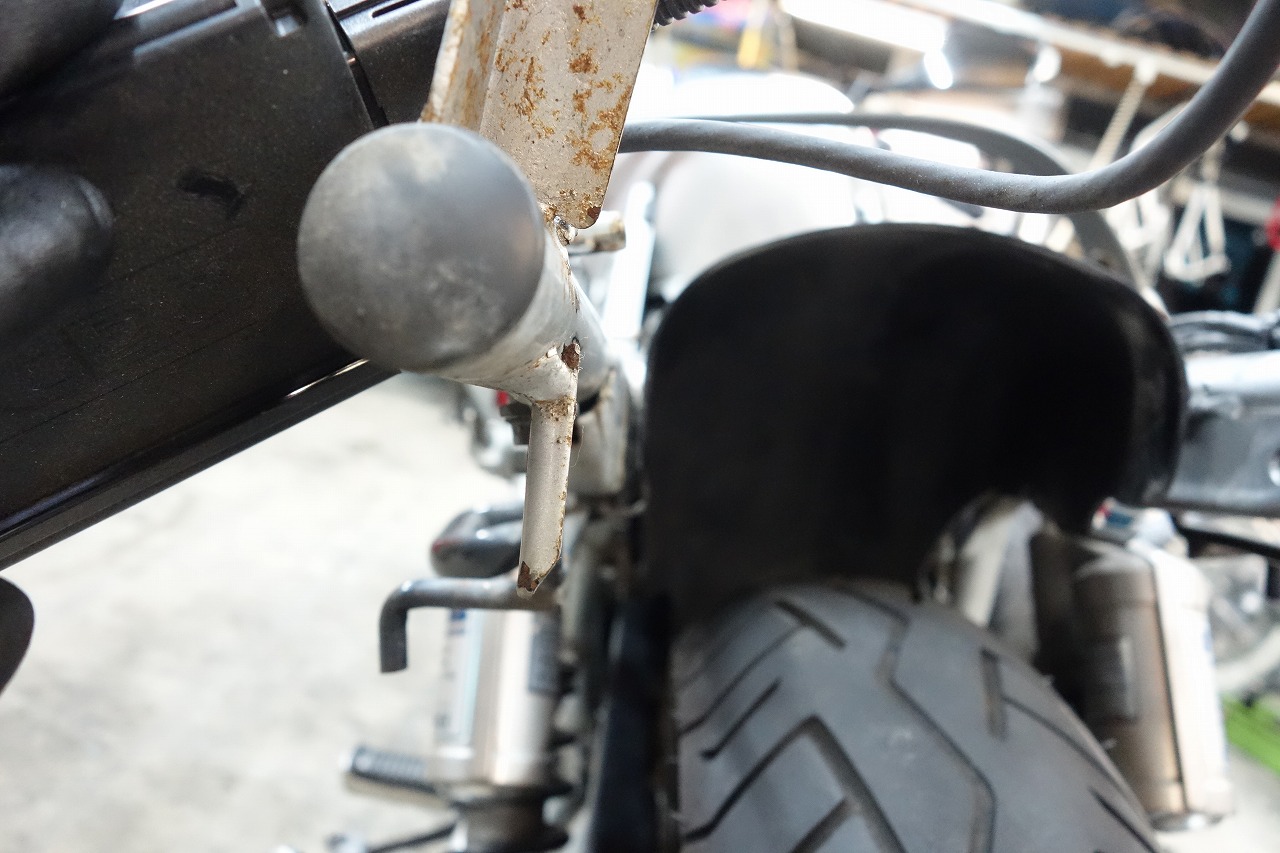
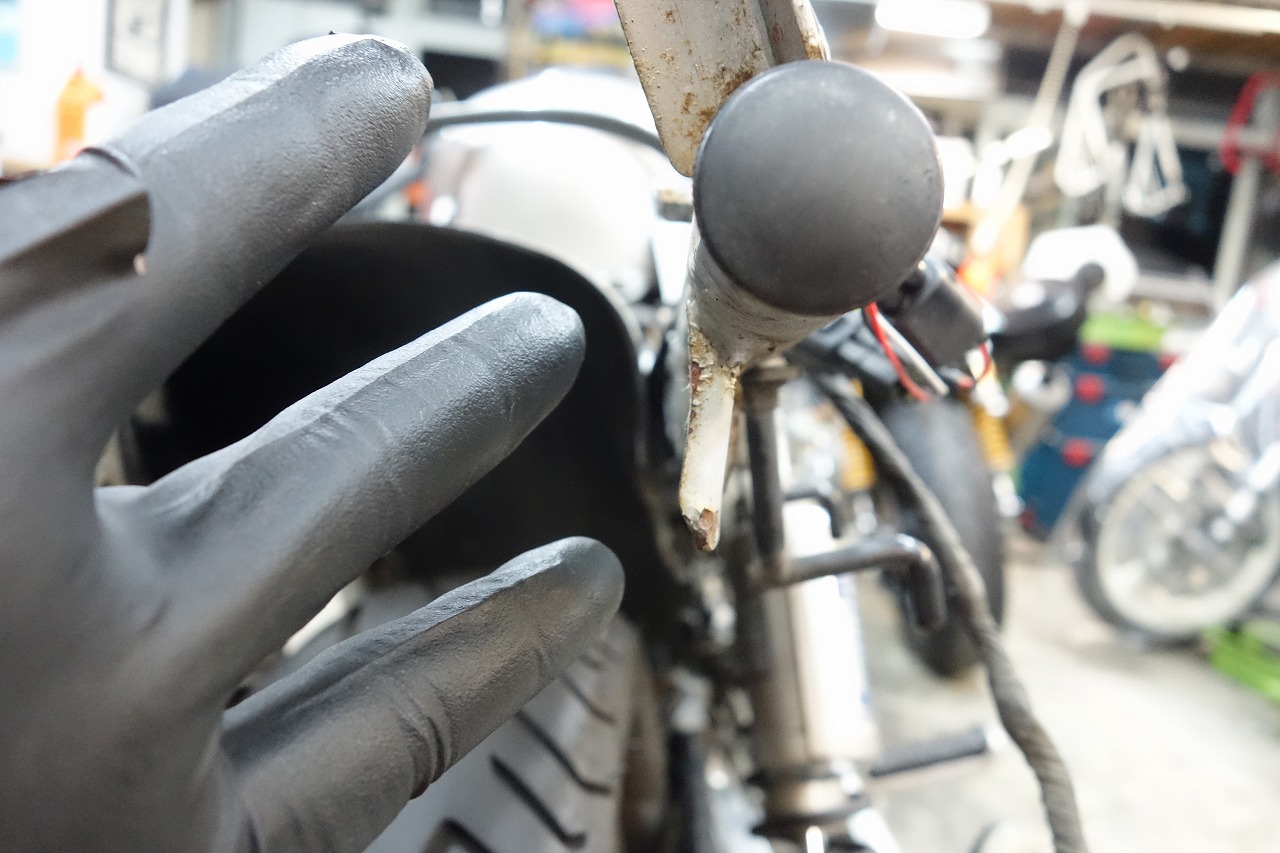
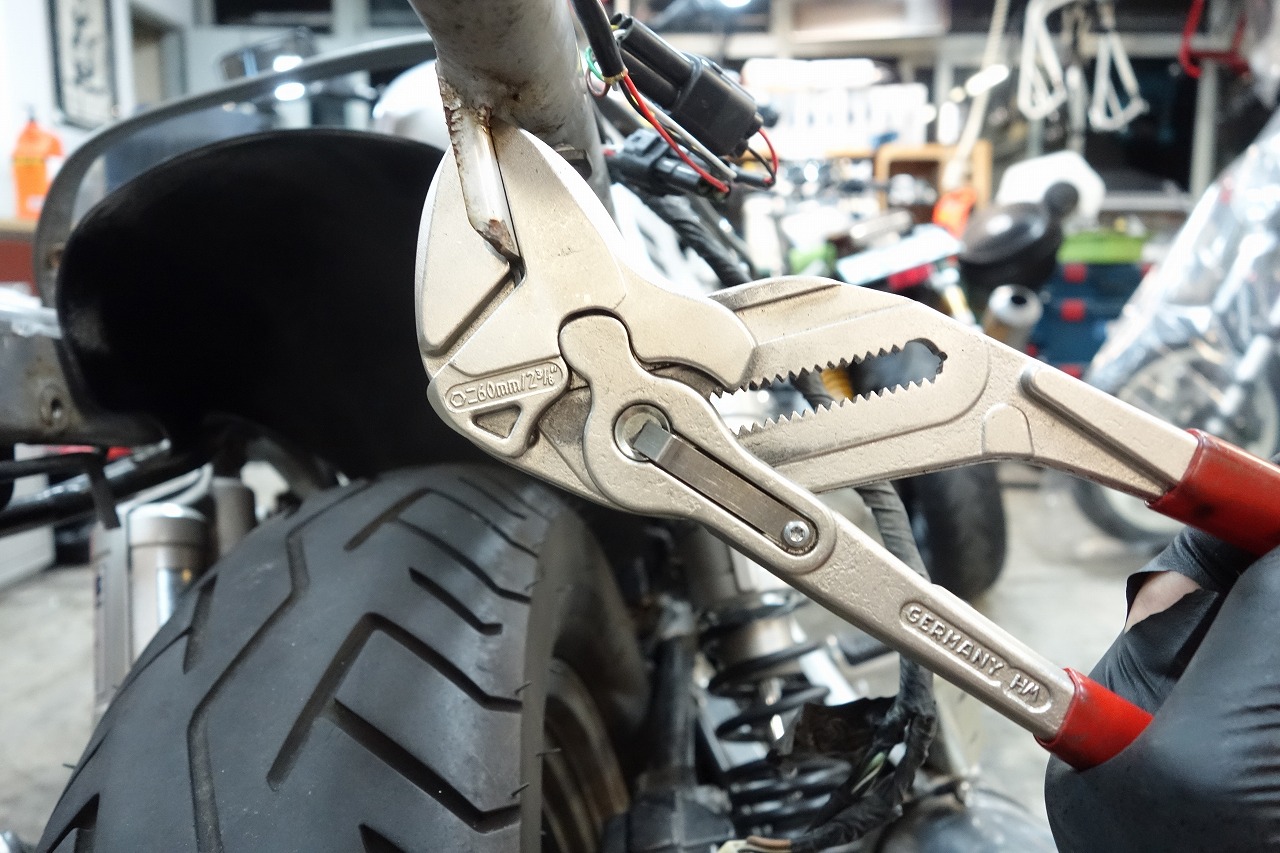
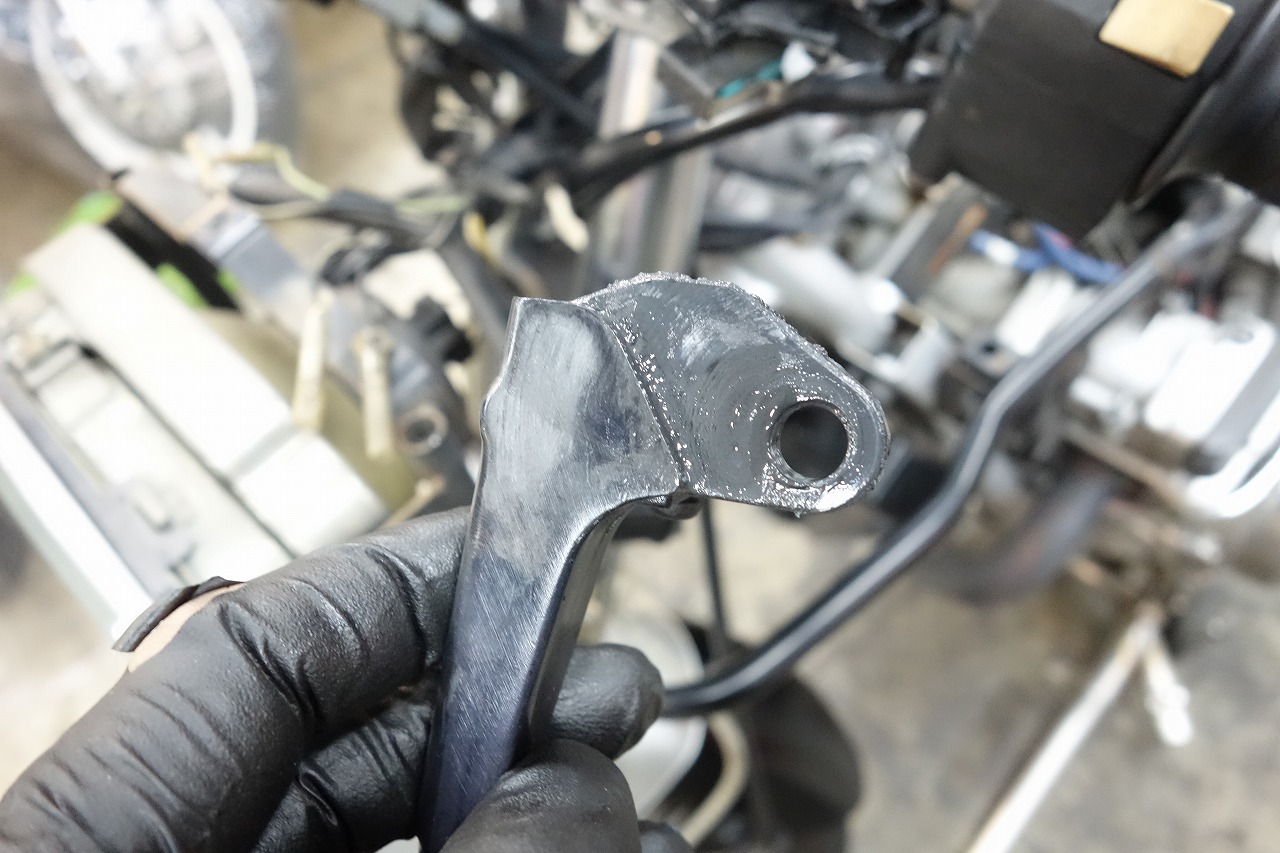
That’s not wrong, really—it’s textbook installation. All sorts of aftermarket parts are designed so anyone can install them without waste. When peeling it off, pulling with a chalk line or similar actually comes off pretty easily. Though you do have to peel both sides… (*´Д`) The right rear turn signal base bracket is bent. I straightened it out with a Knipex smooth-jaw plier—gave it a good pull. These products are amazing. Bent at a right angle like that, and there’s already creasing… and it’s aluminum (52 gauge?), plus it’s rigidly fixed.
Motorcycle parts basically have no warranty. But people who want them and install them use them for years and thousands of kilometers. Those parts aren’t even on the inspection and maintenance checklist, so after that, they’re never checked again.
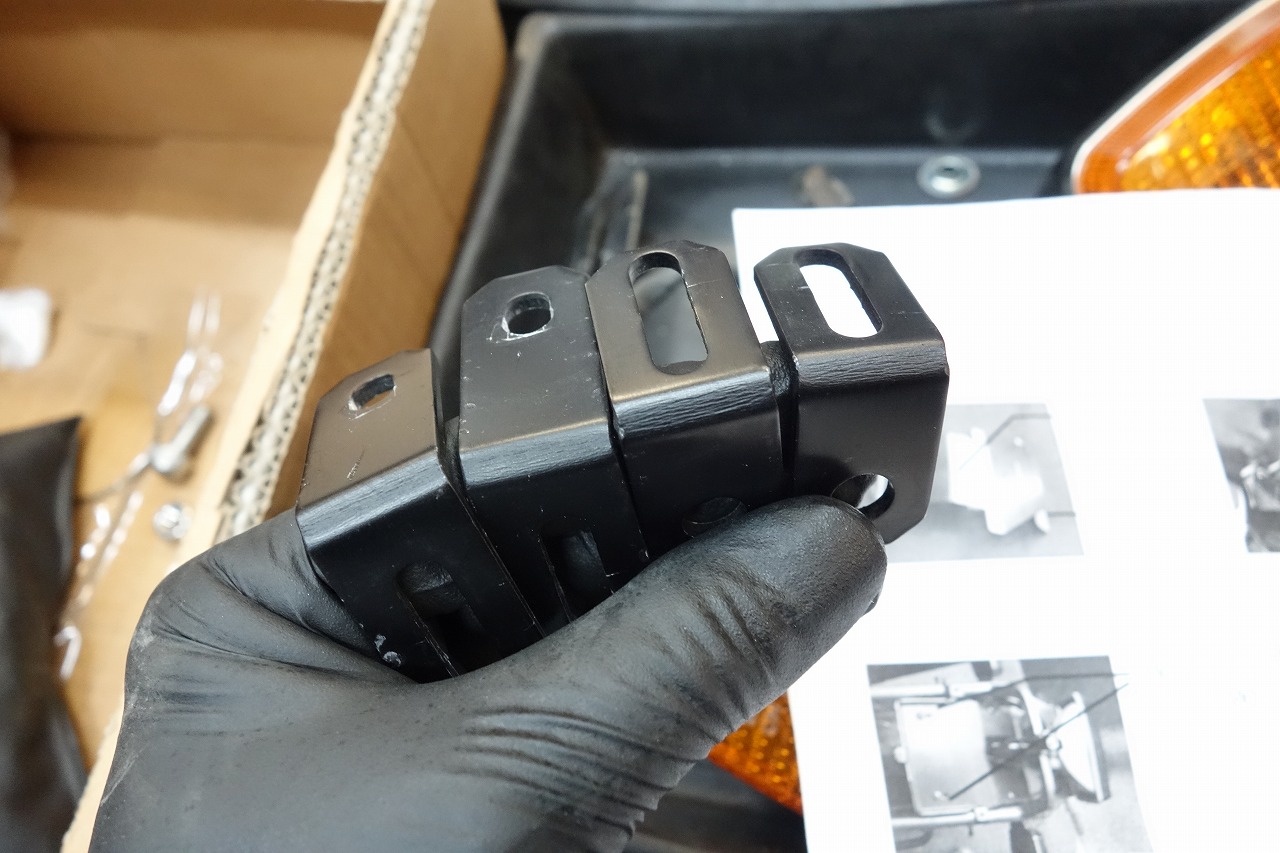
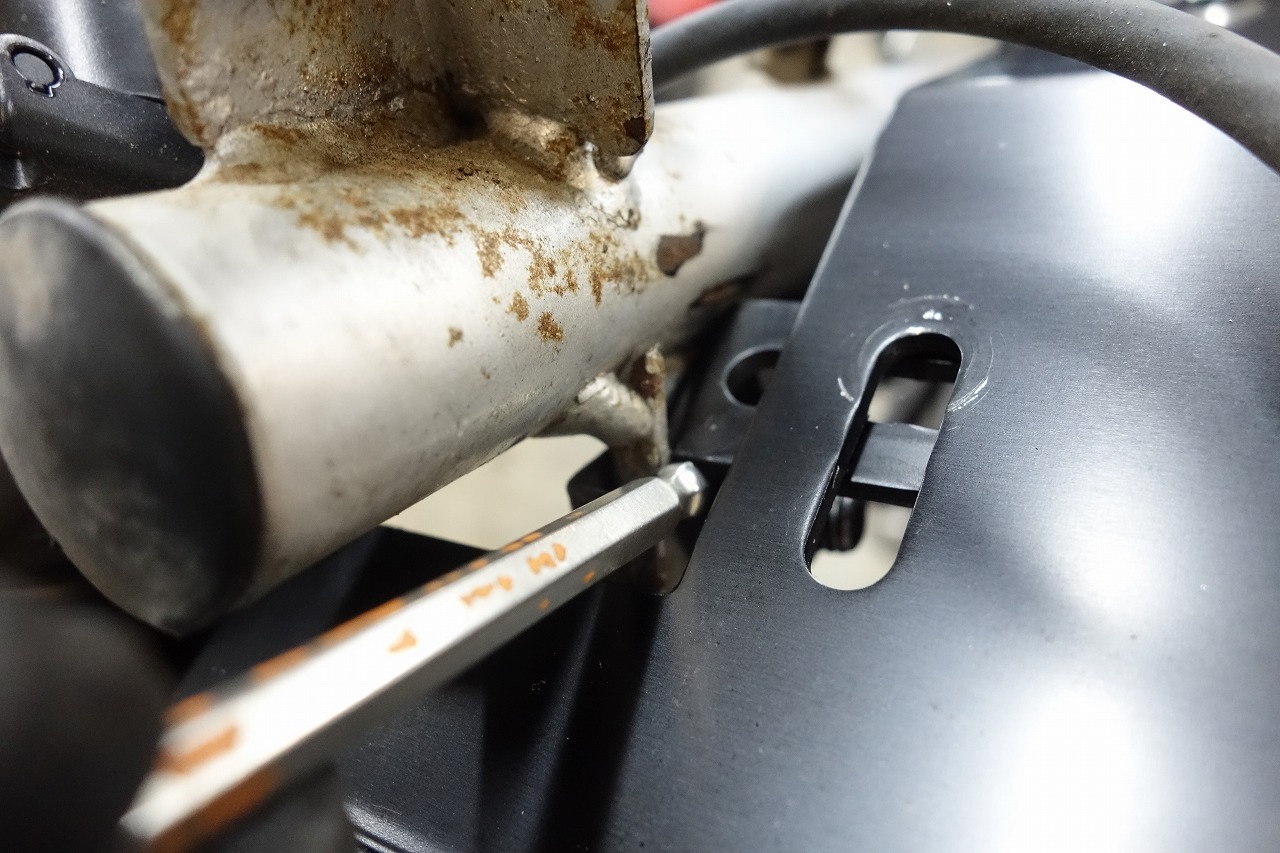
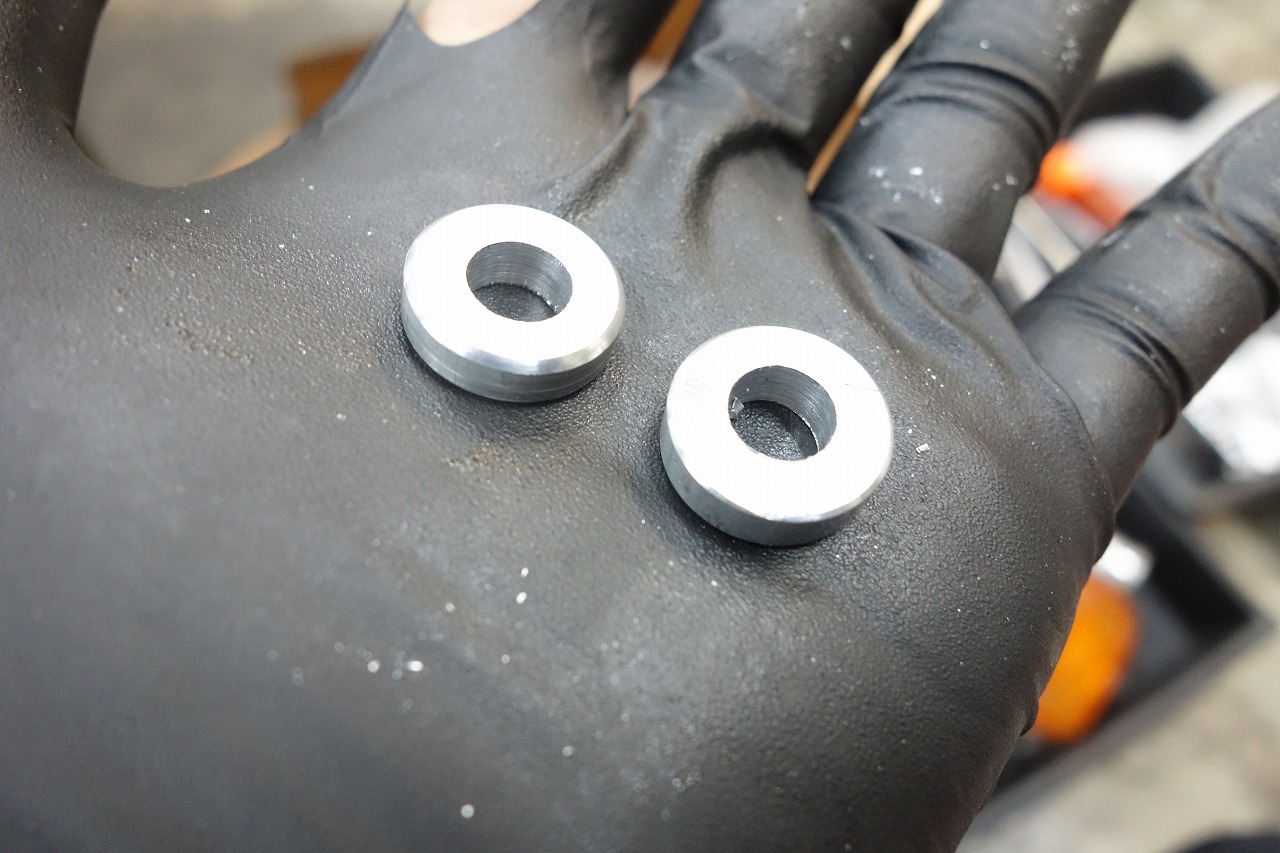
Even if they break or crack, so much time and distance has passed that people just shrug and accept it. That’s the kind of industry this is, for better or worse. I always think about it: hobby riders are so forgiving. The slot holes are uncomfortably long—it’s shocking. Even Nitori furniture doesn’t have slots this long. And then it doesn’t contact and won’t tighten… classic motorcycle parts issue. I made two spacers and pressed them inside, so it holds without stress.
Every time, I think the instruction manuals for aftermarket motorcycle parts are really hard to understand. I think diagrams or pictures would be easier. For overseas products sold worldwide, clear diagrams are really appreciated.
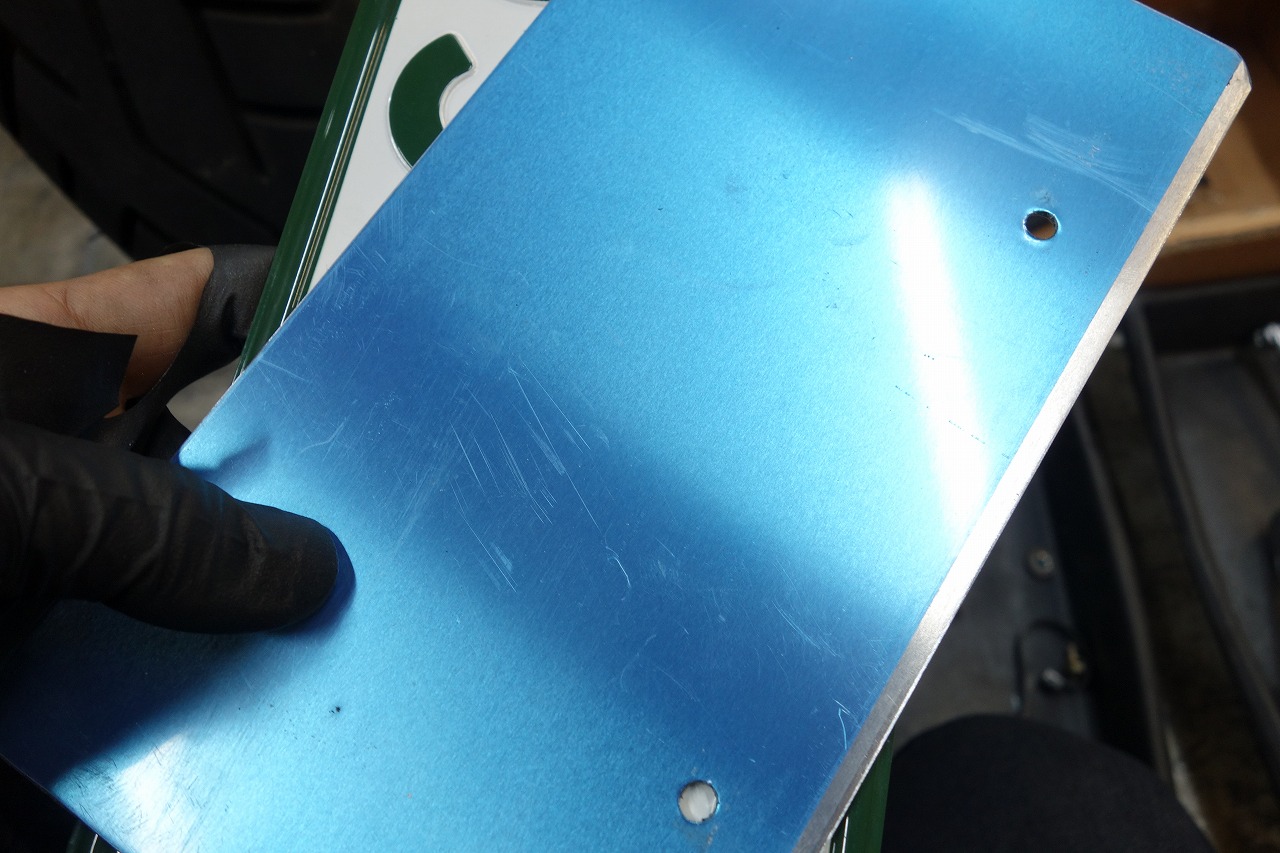
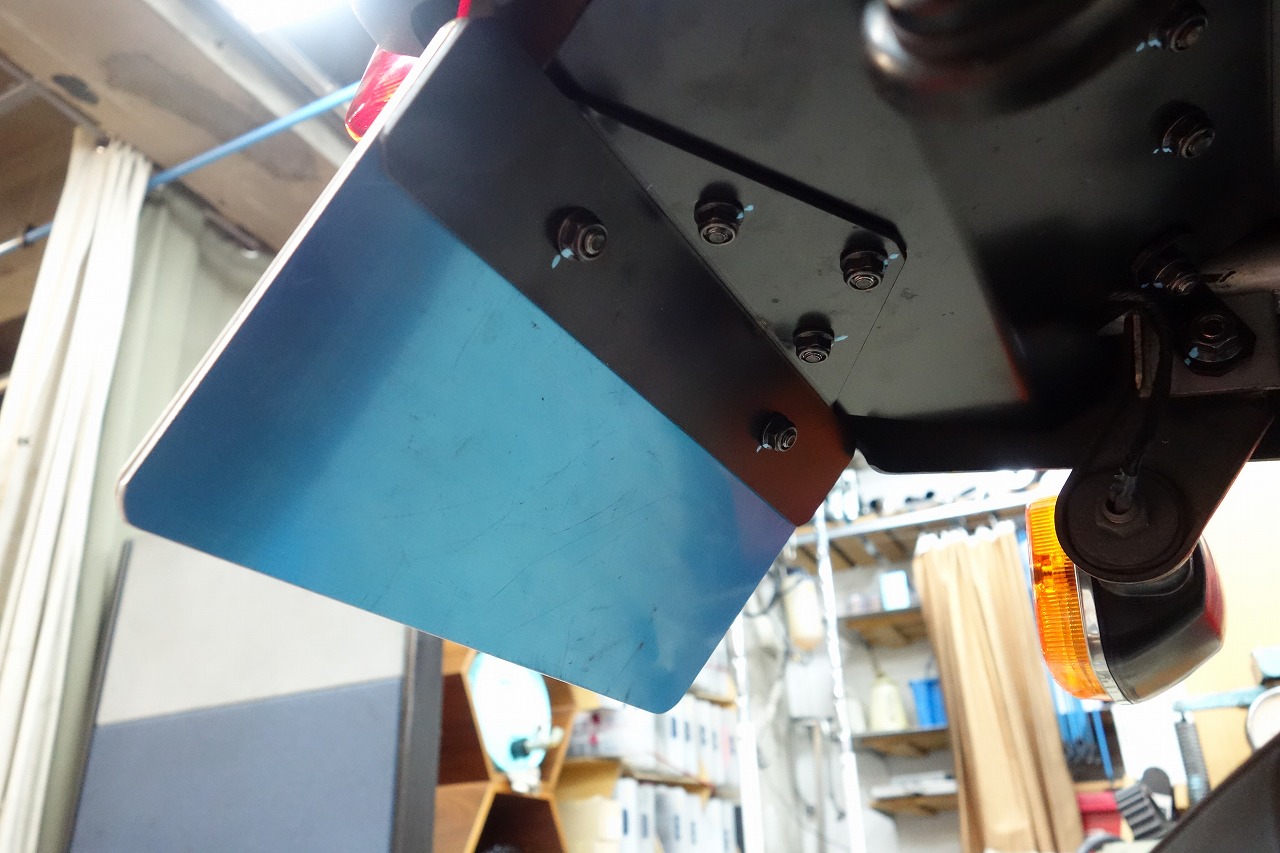
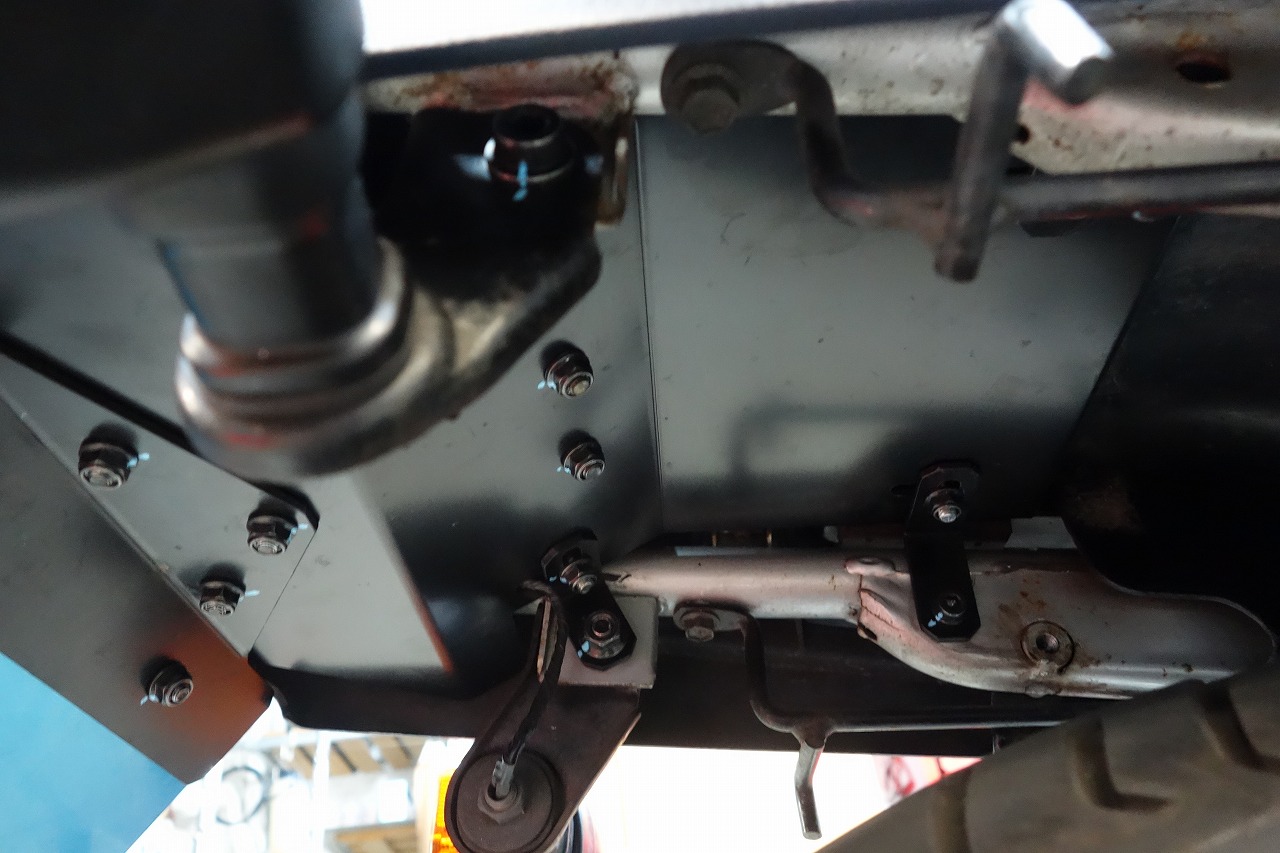
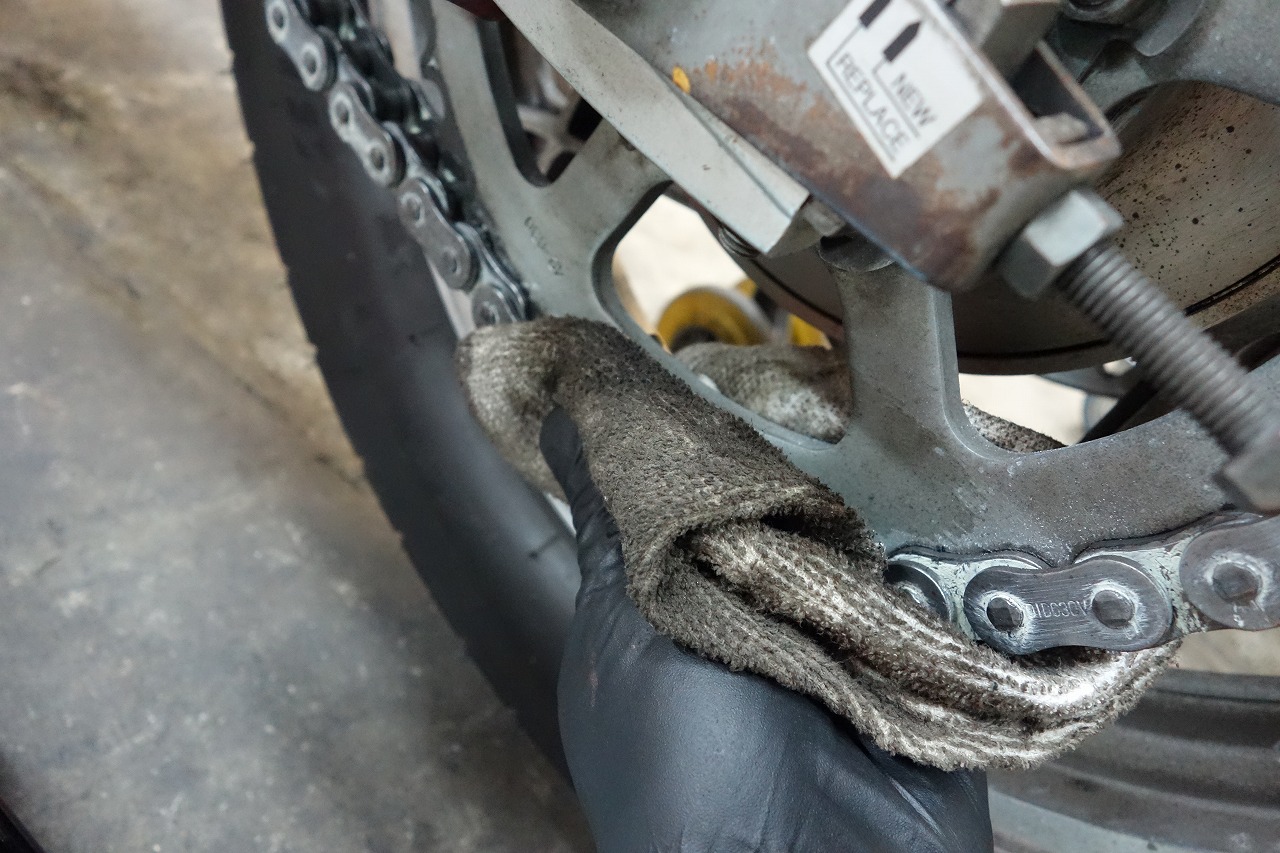
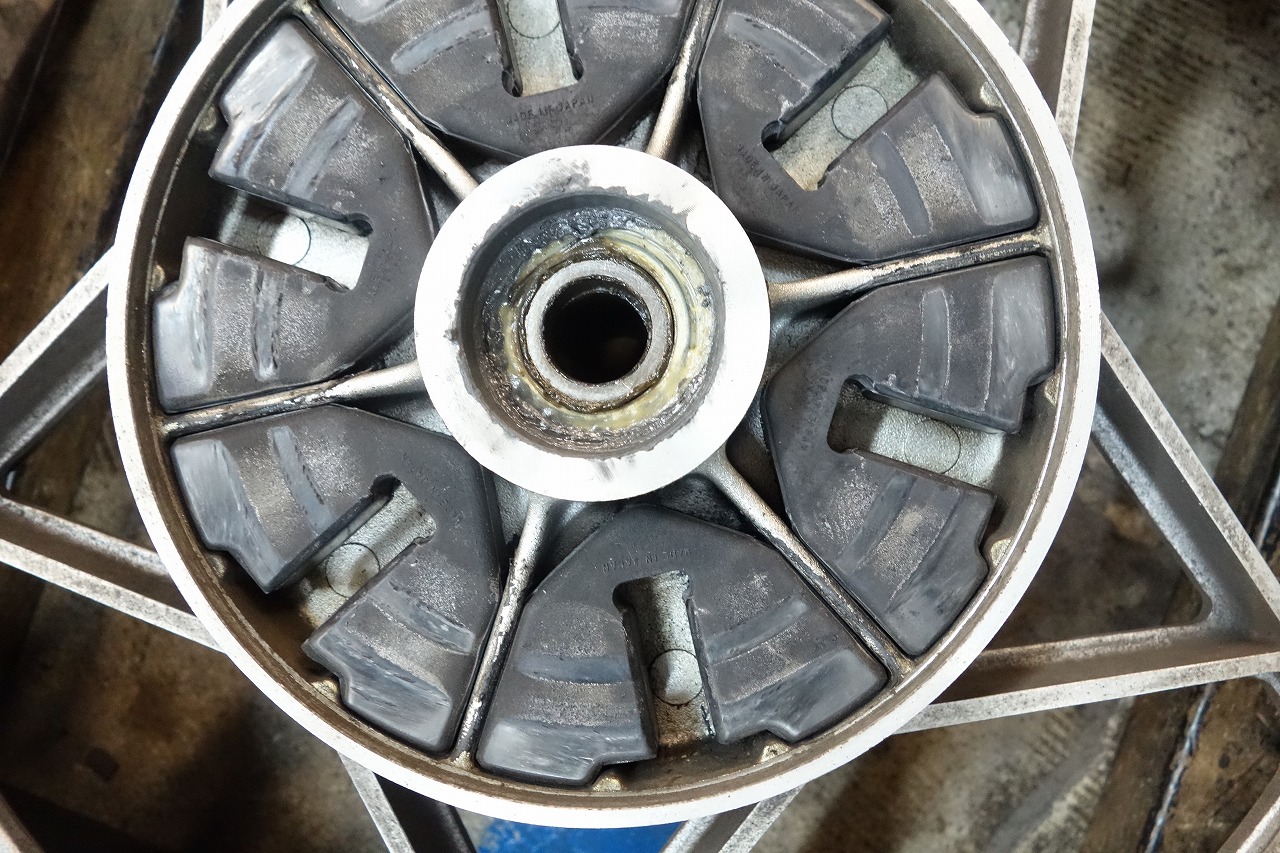
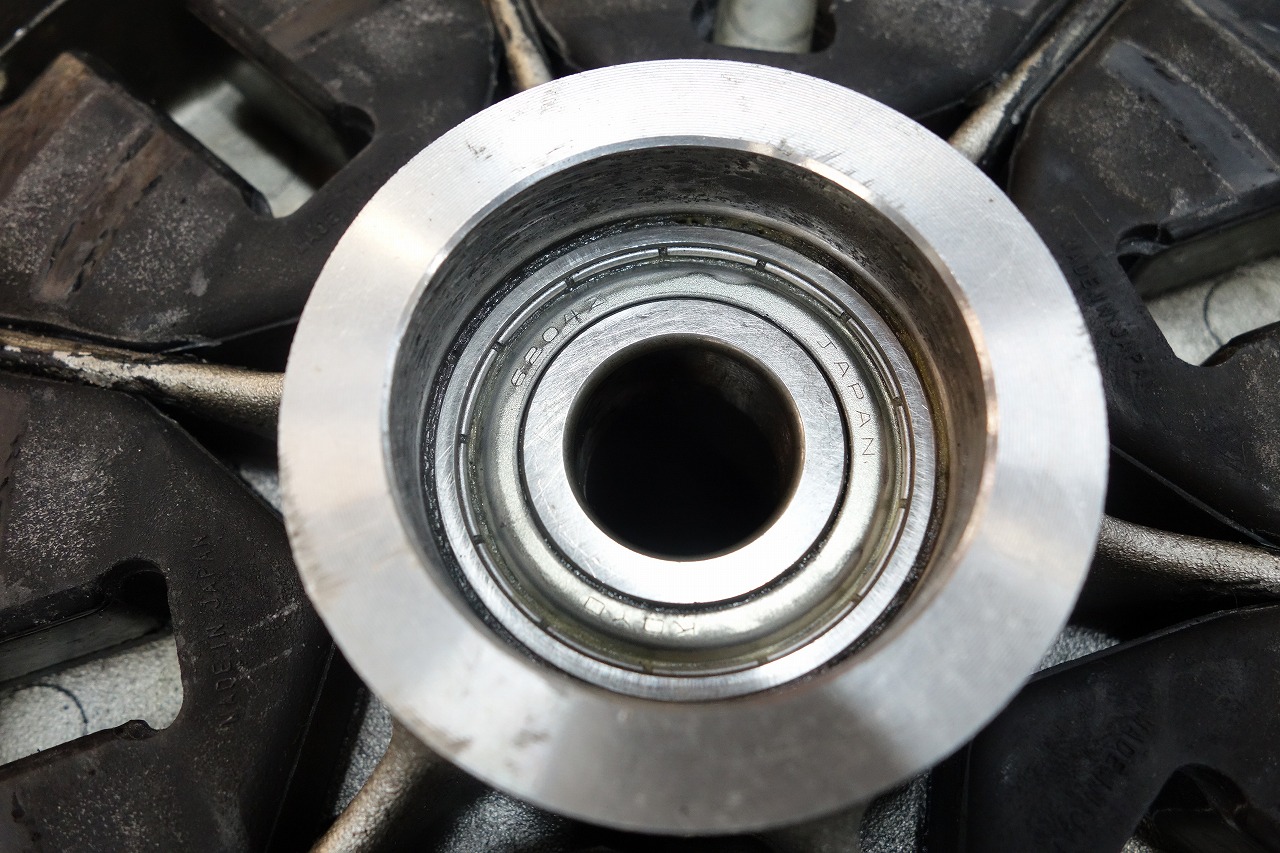
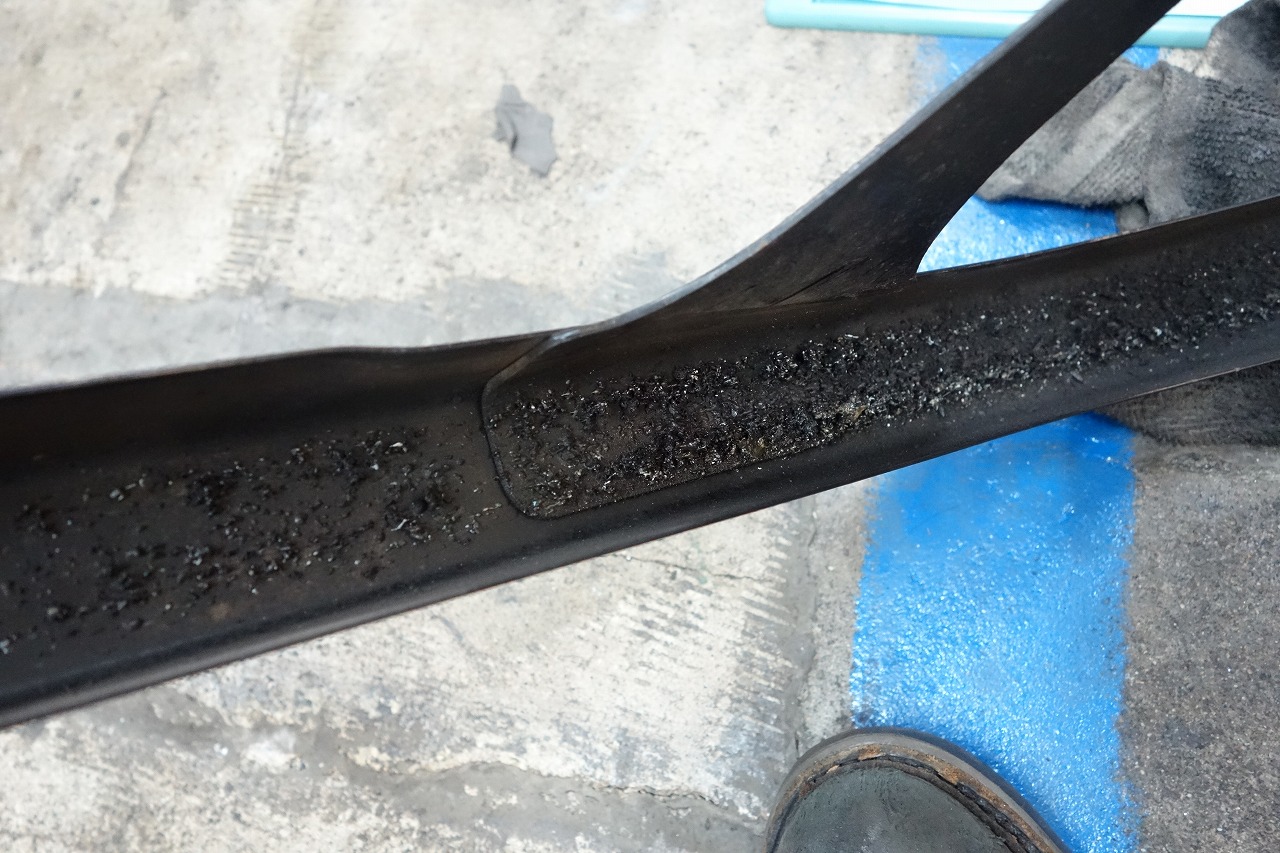
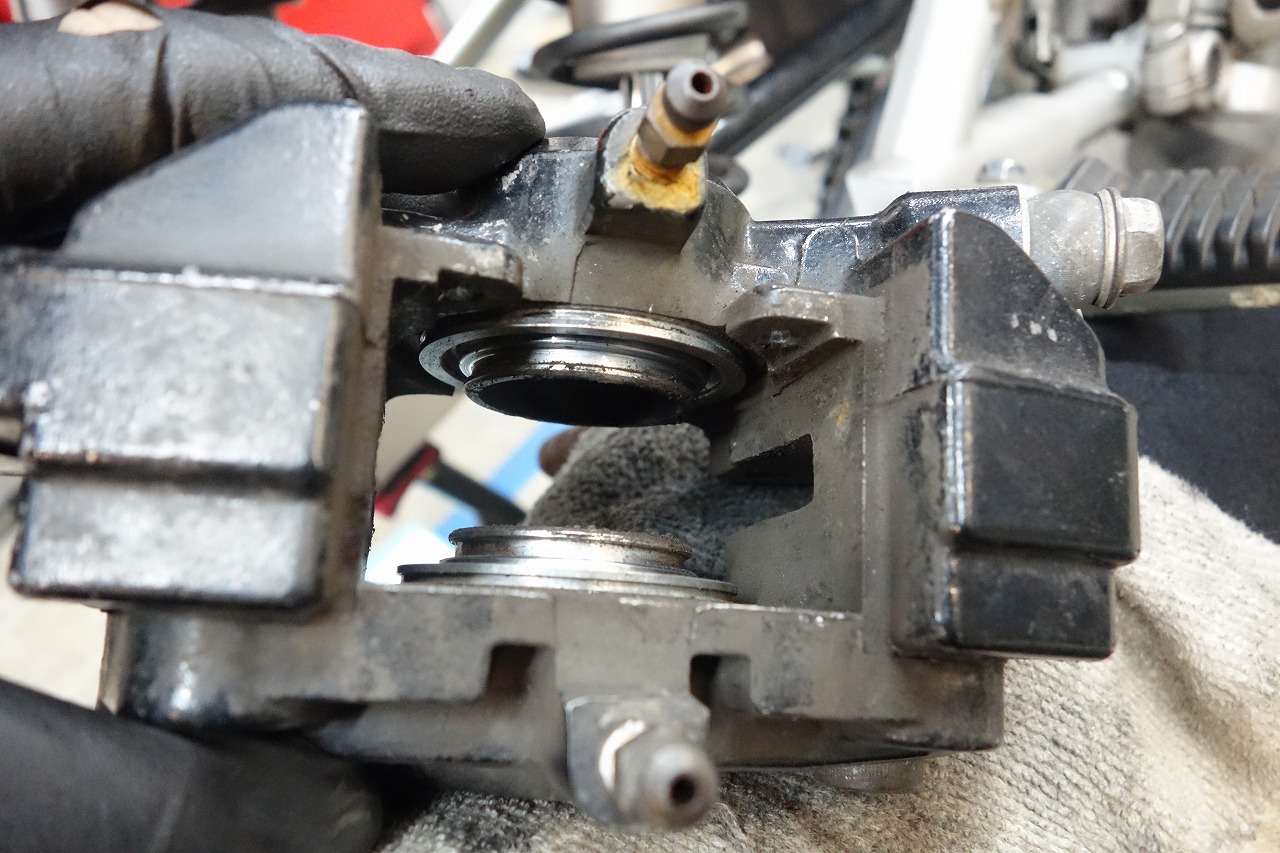
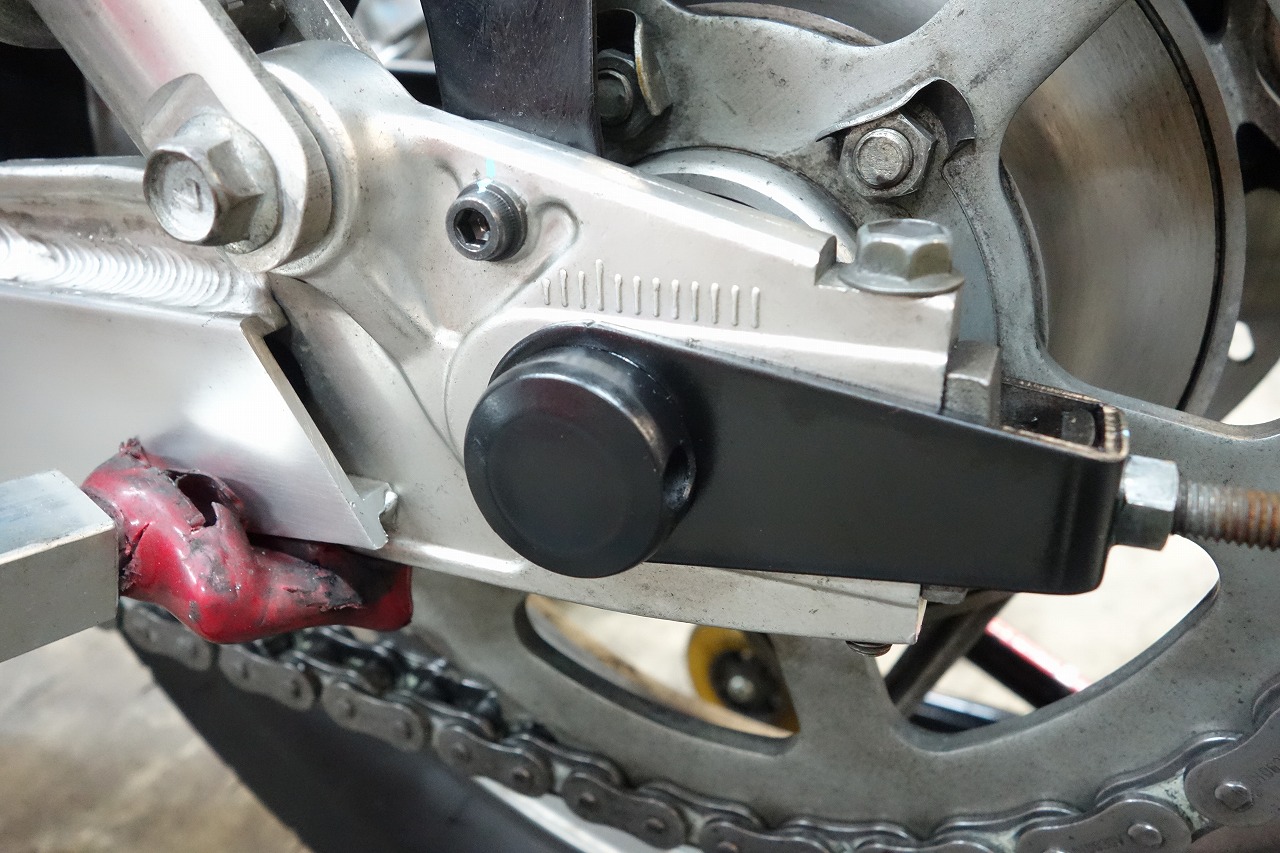
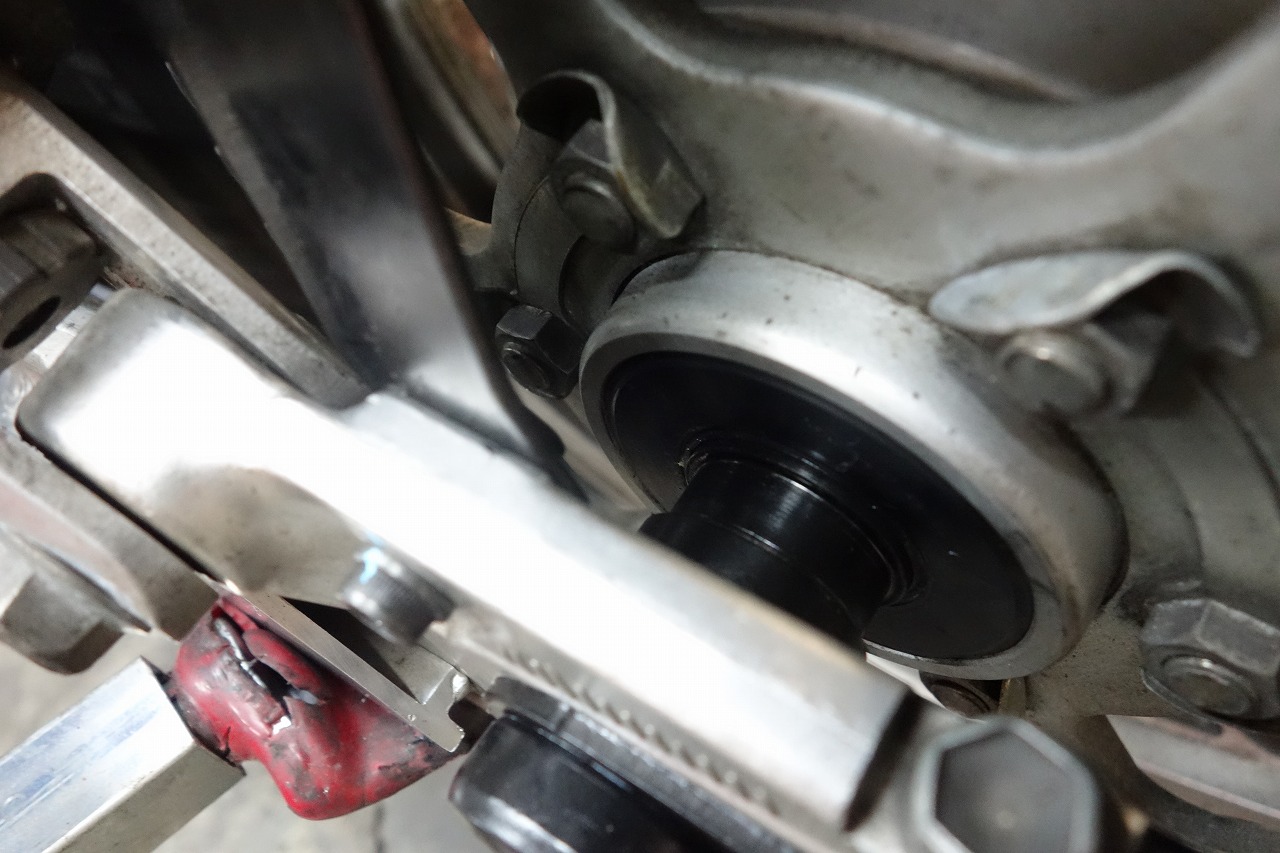
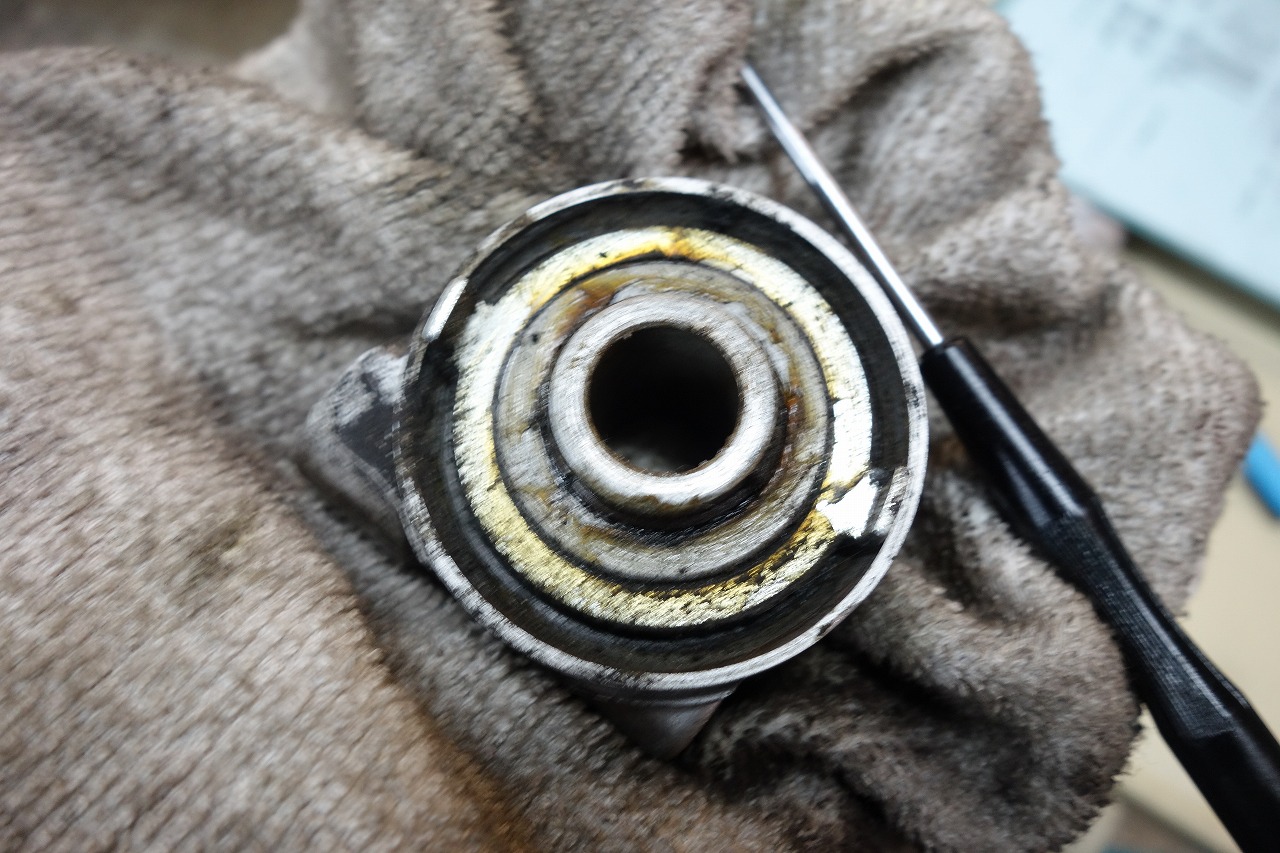
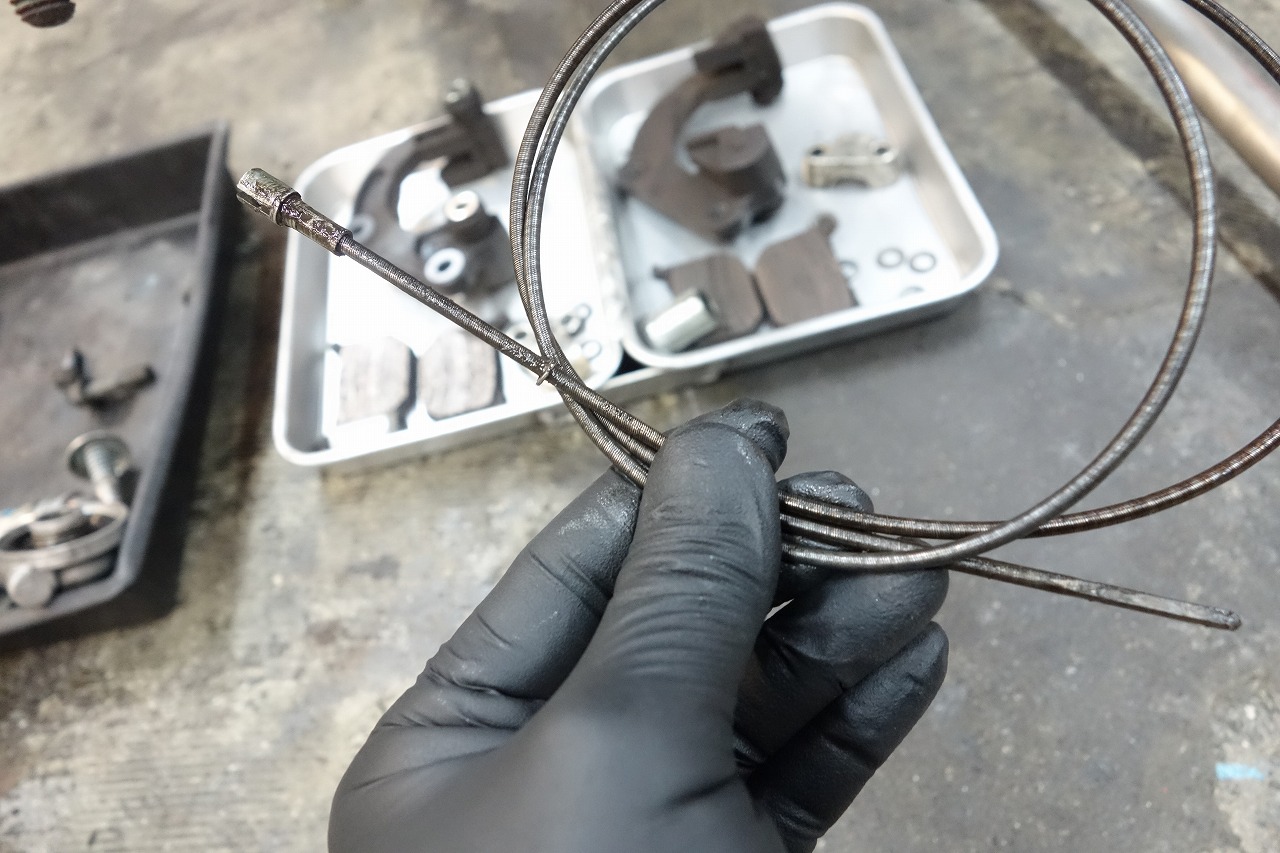
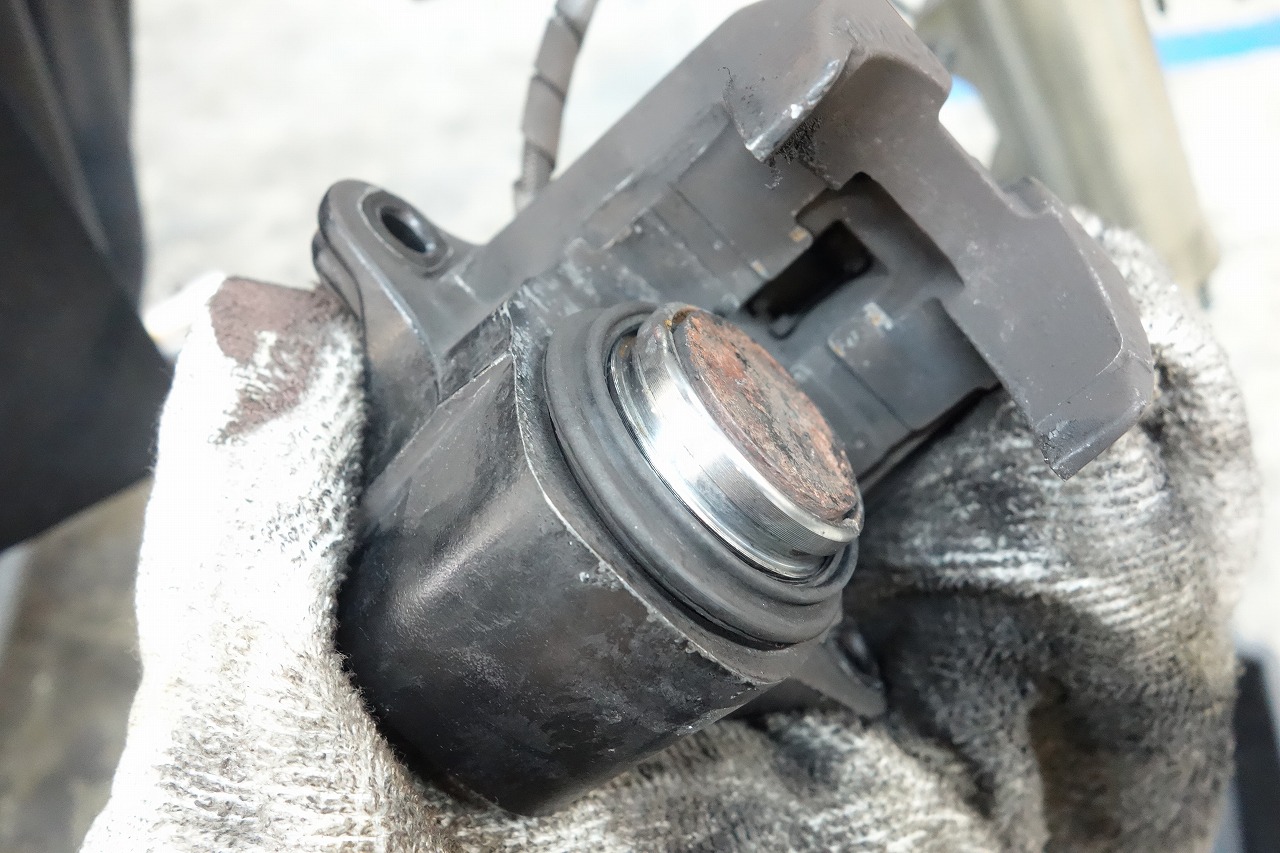
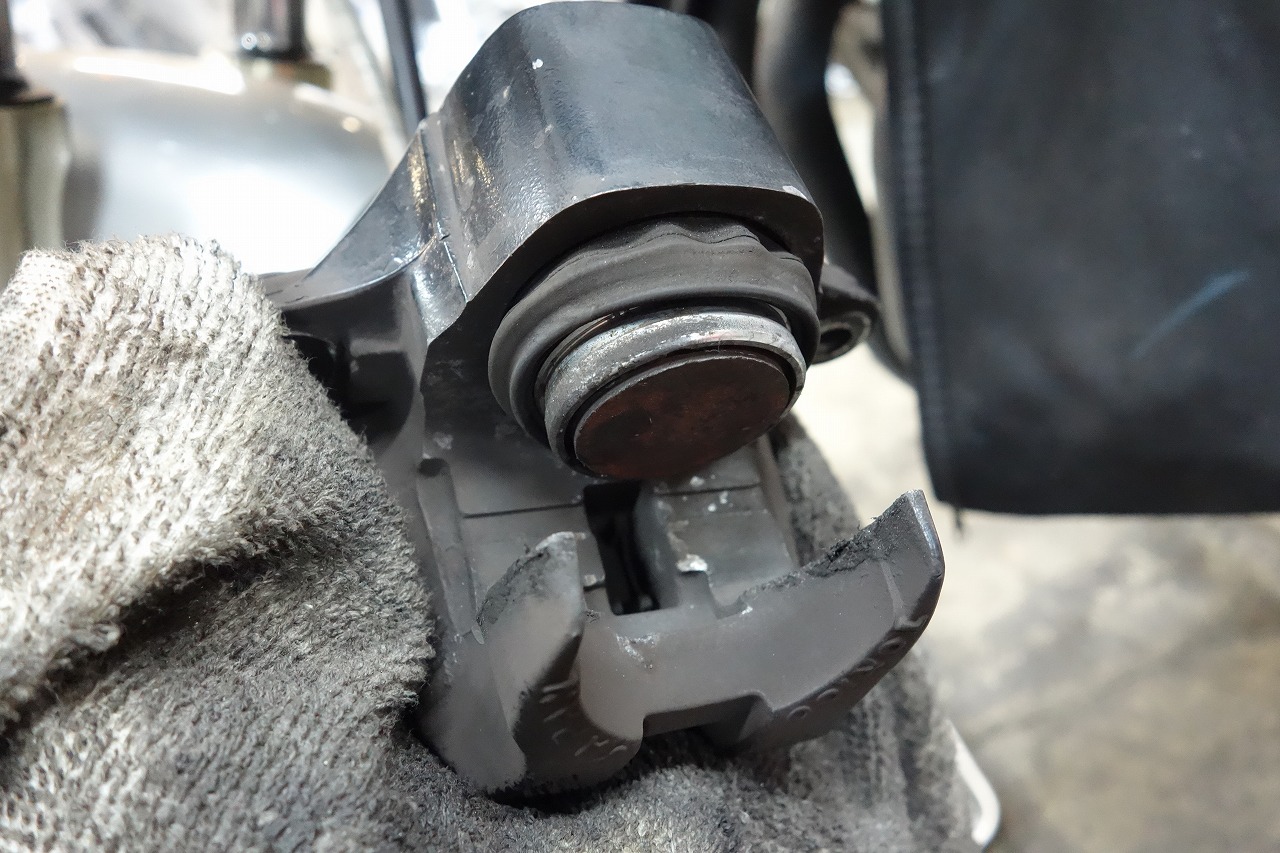
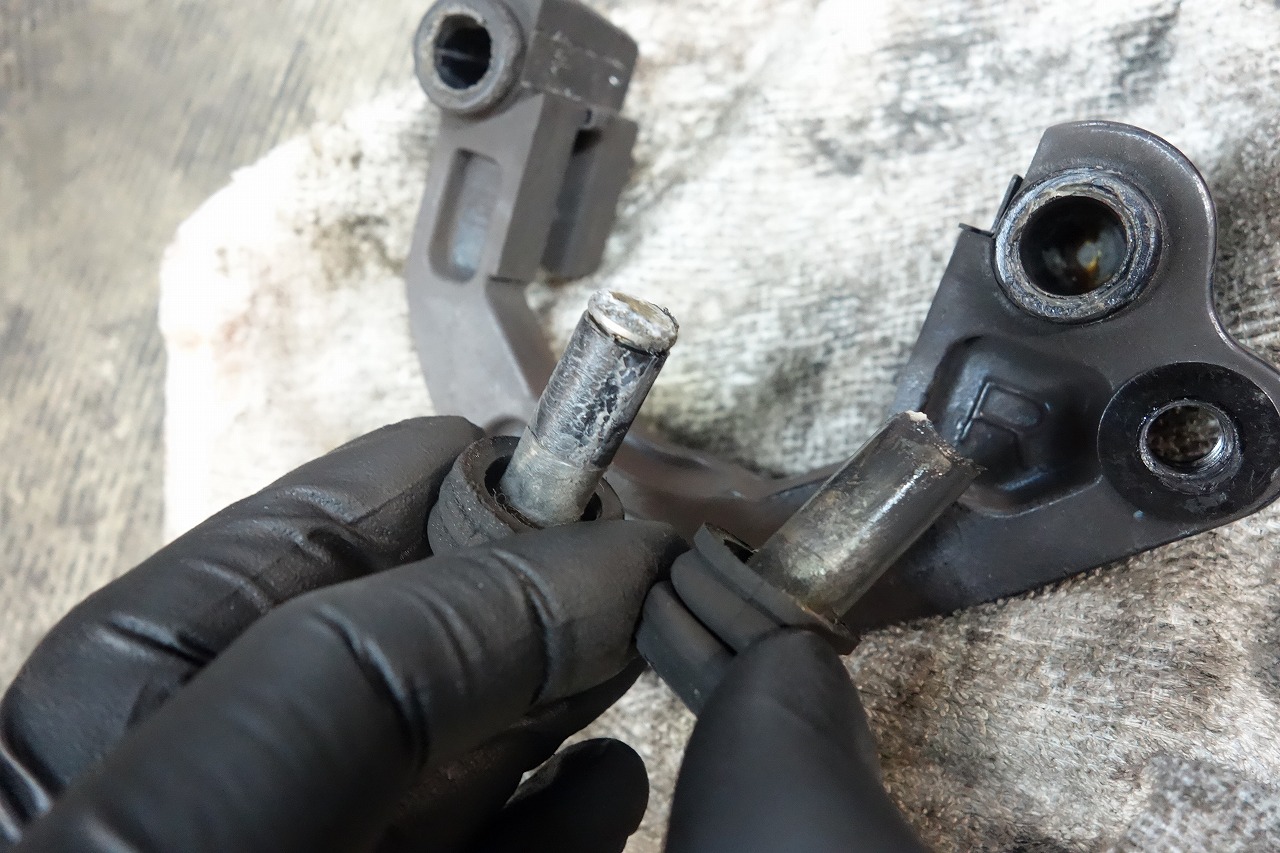
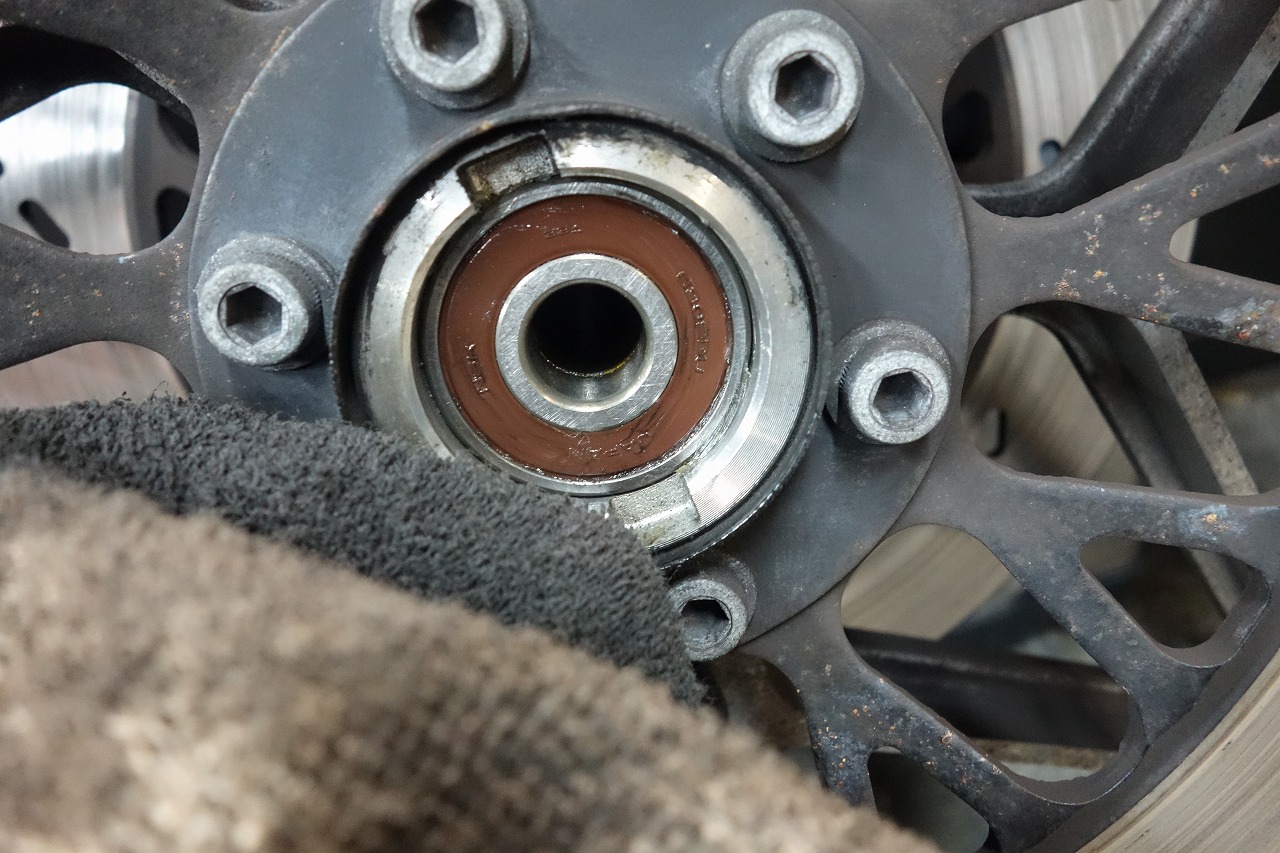
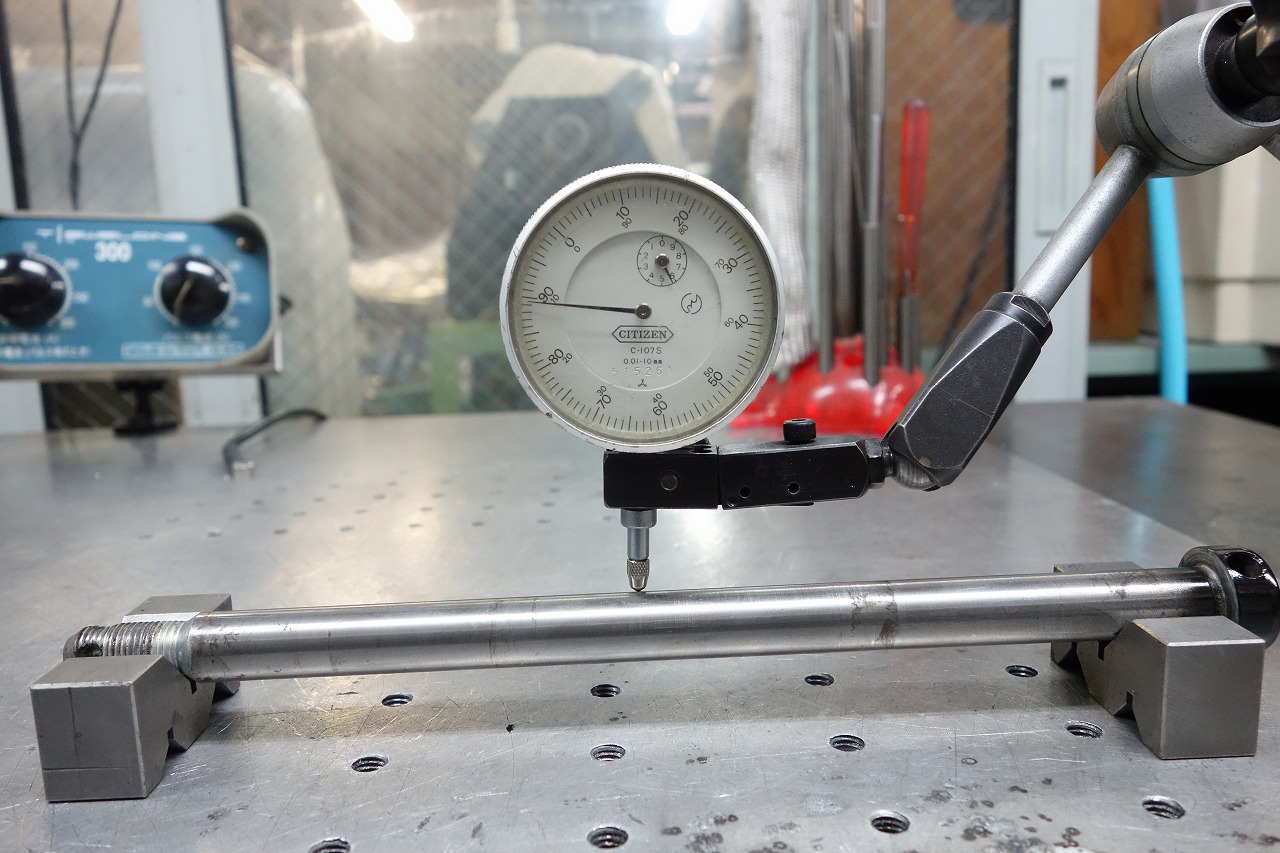
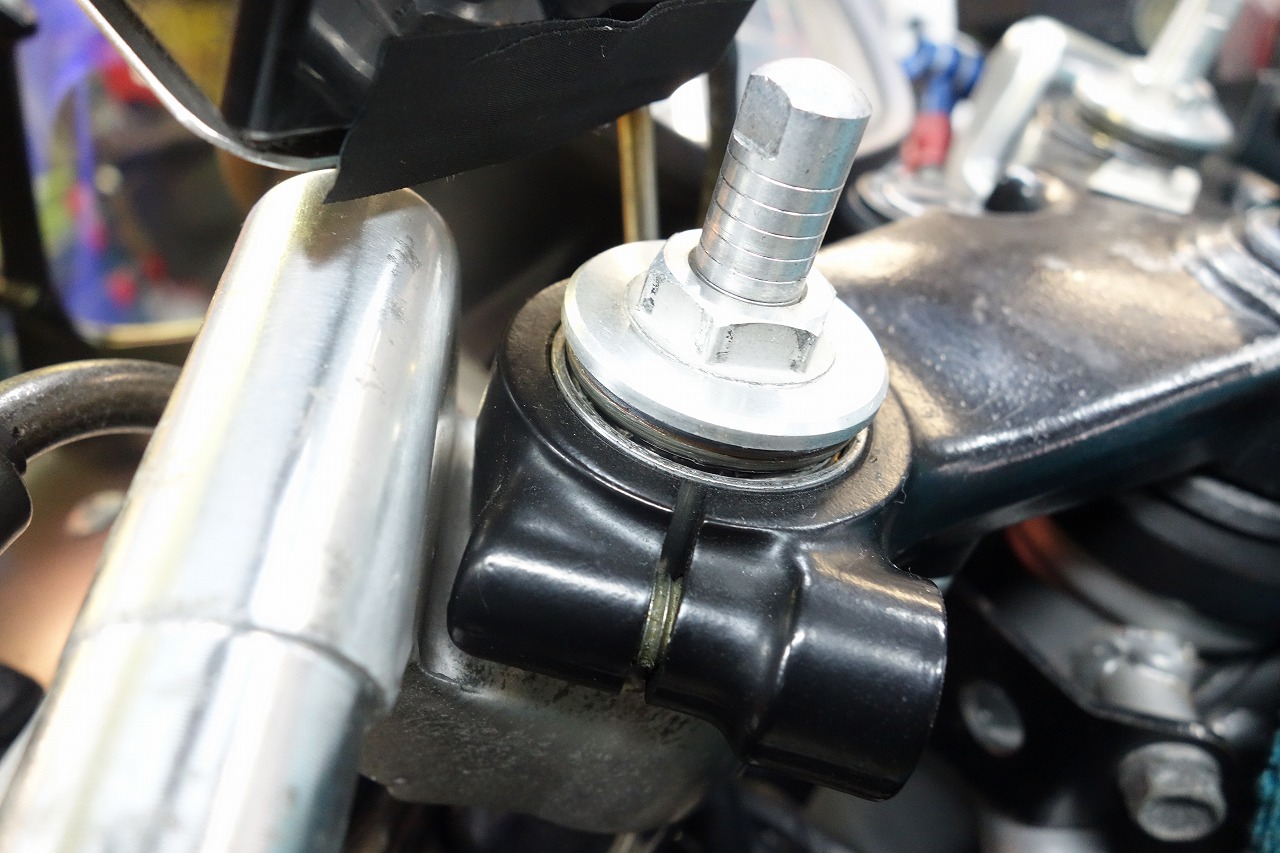
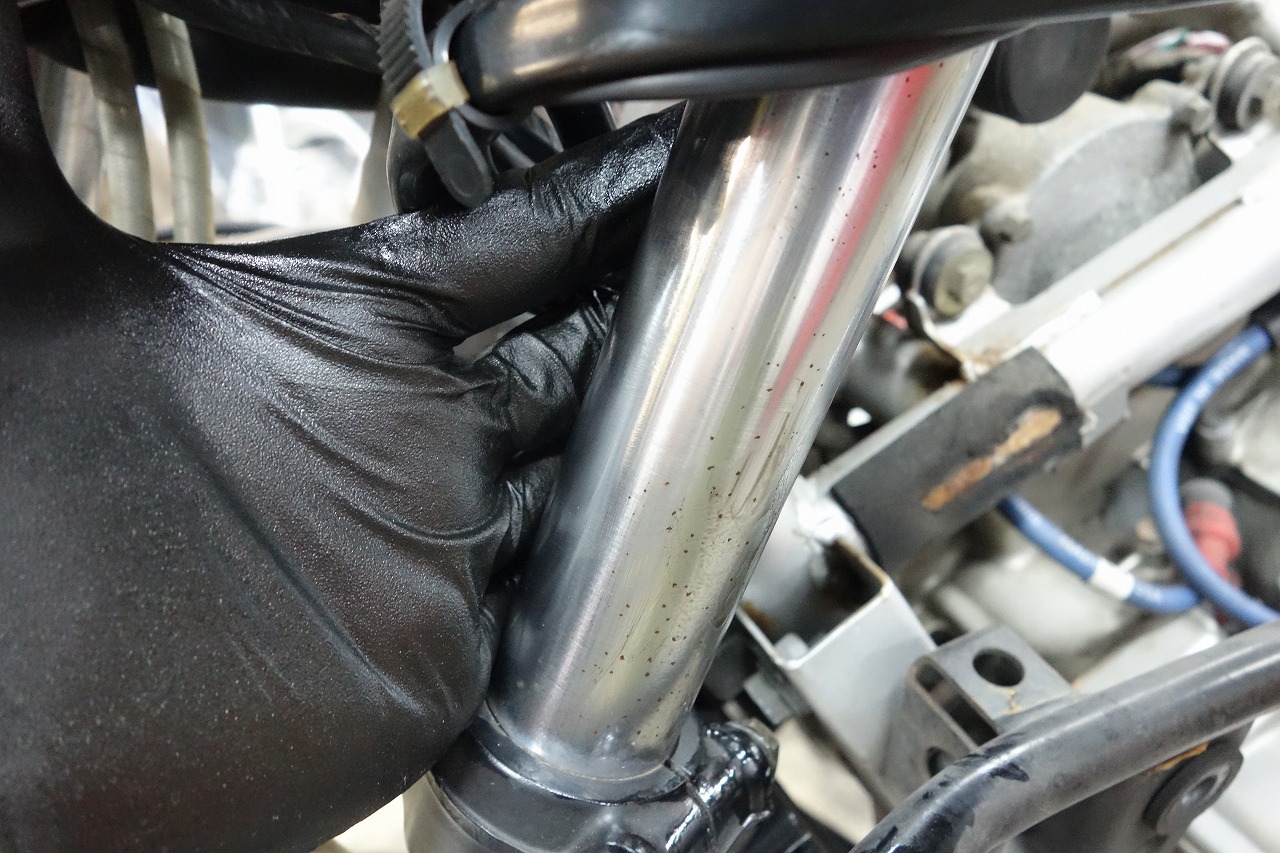
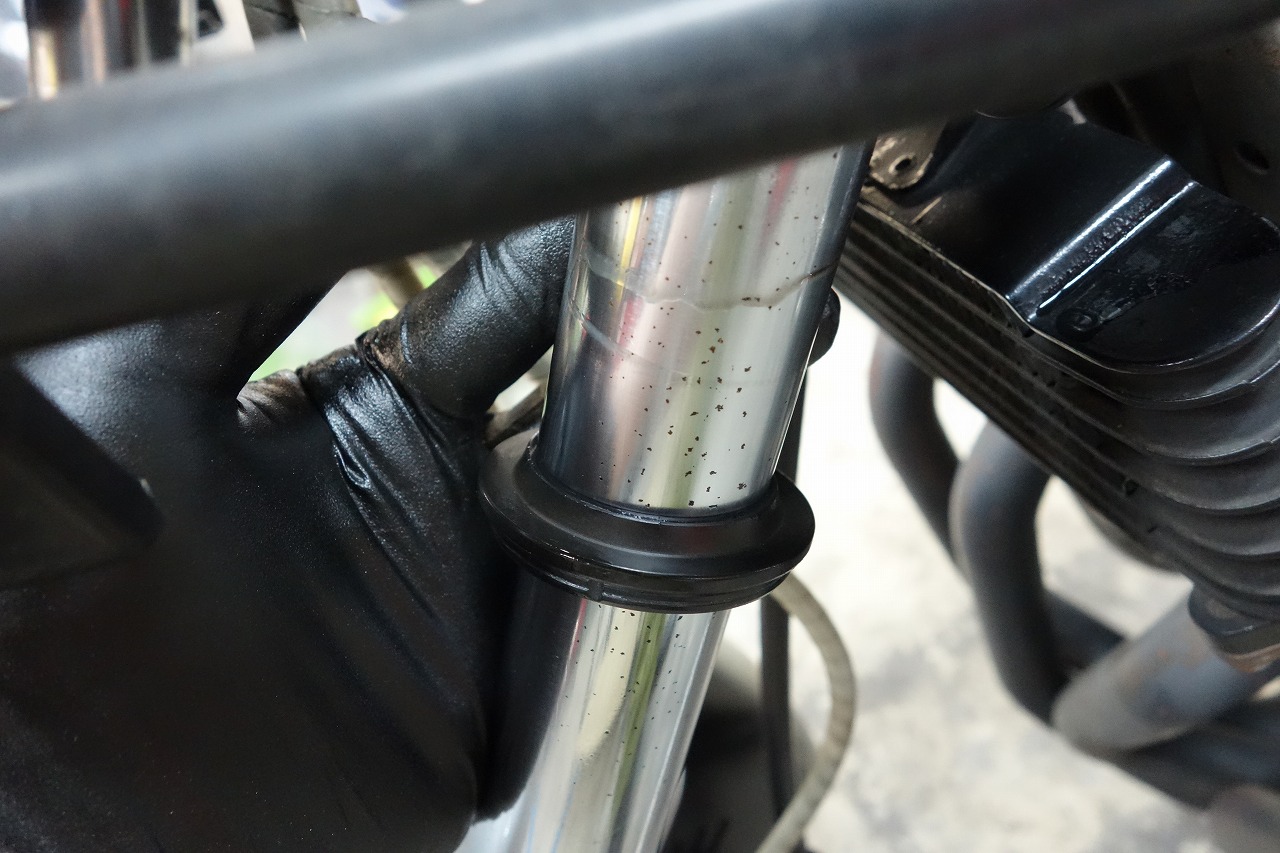
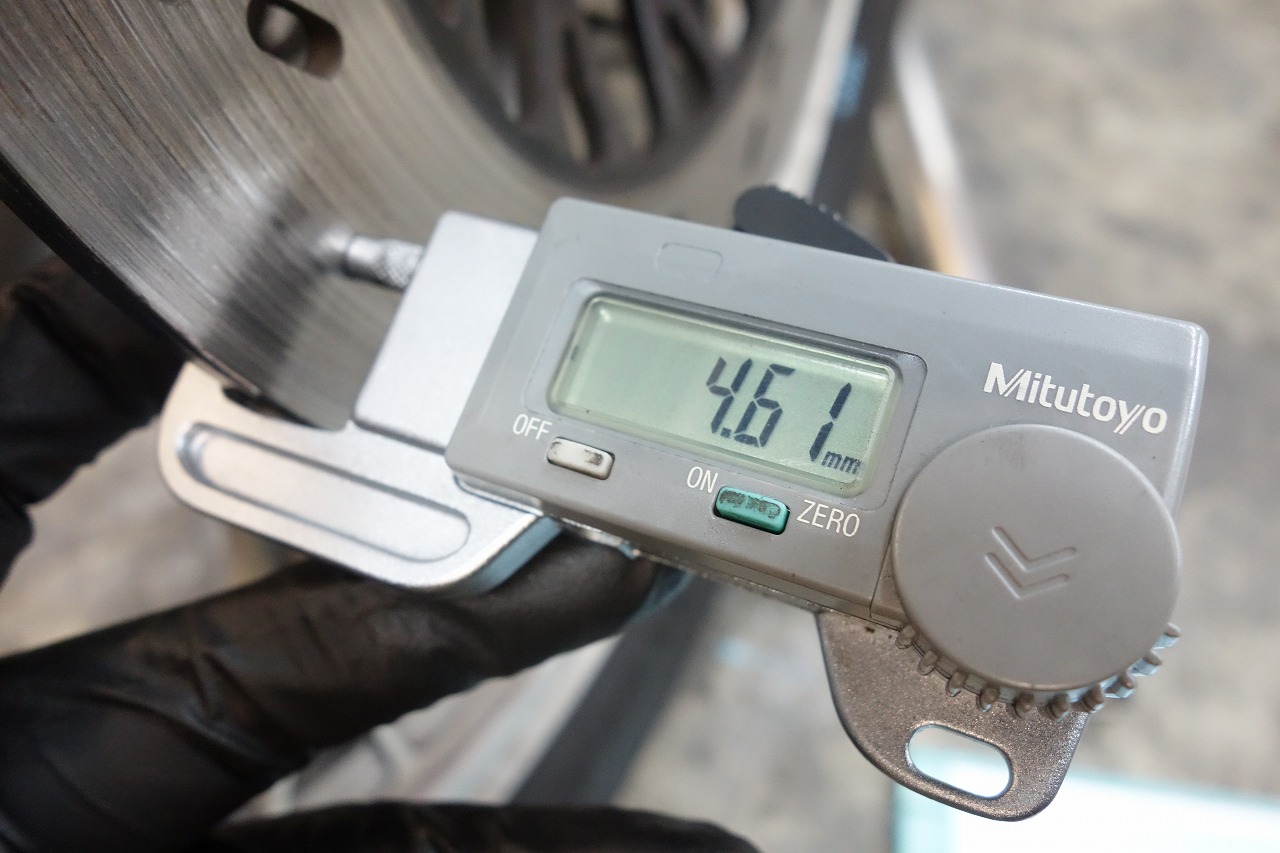
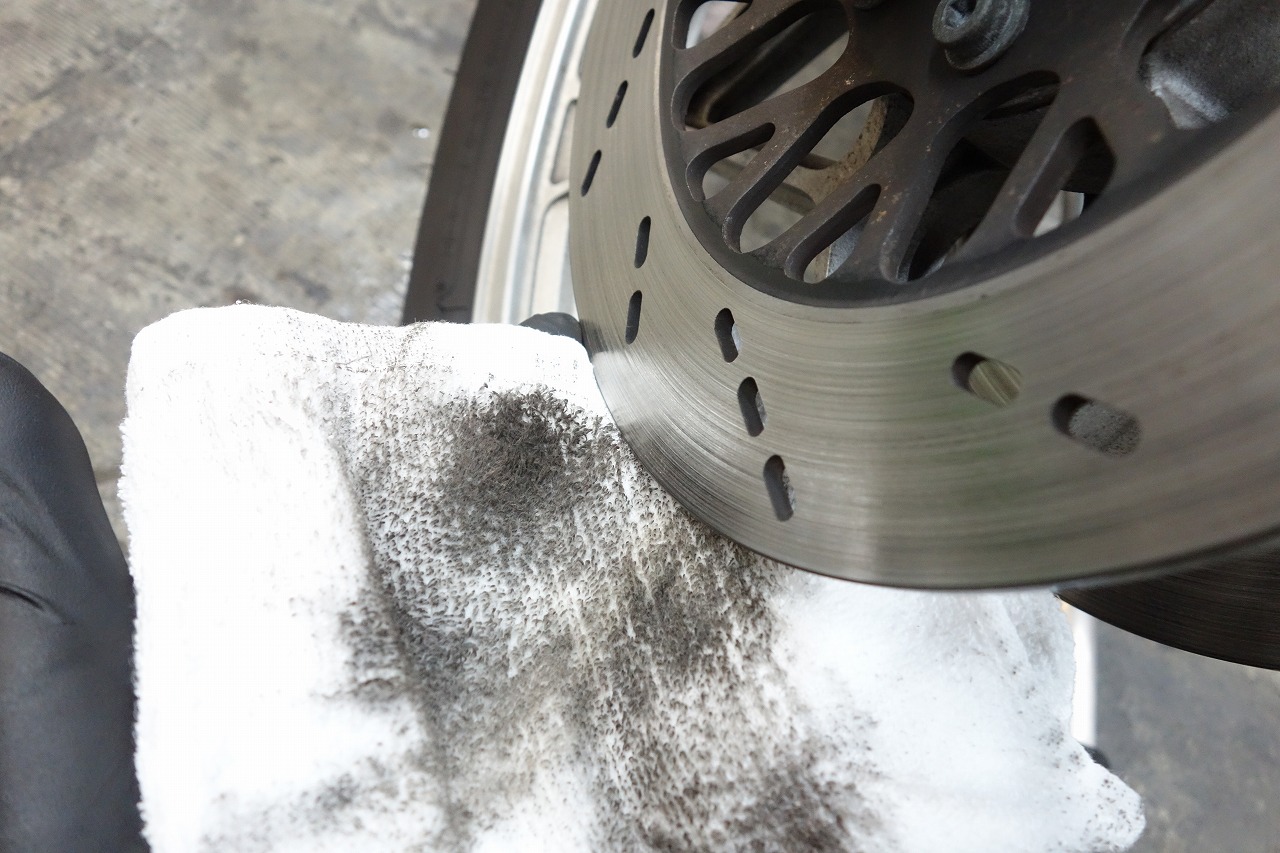
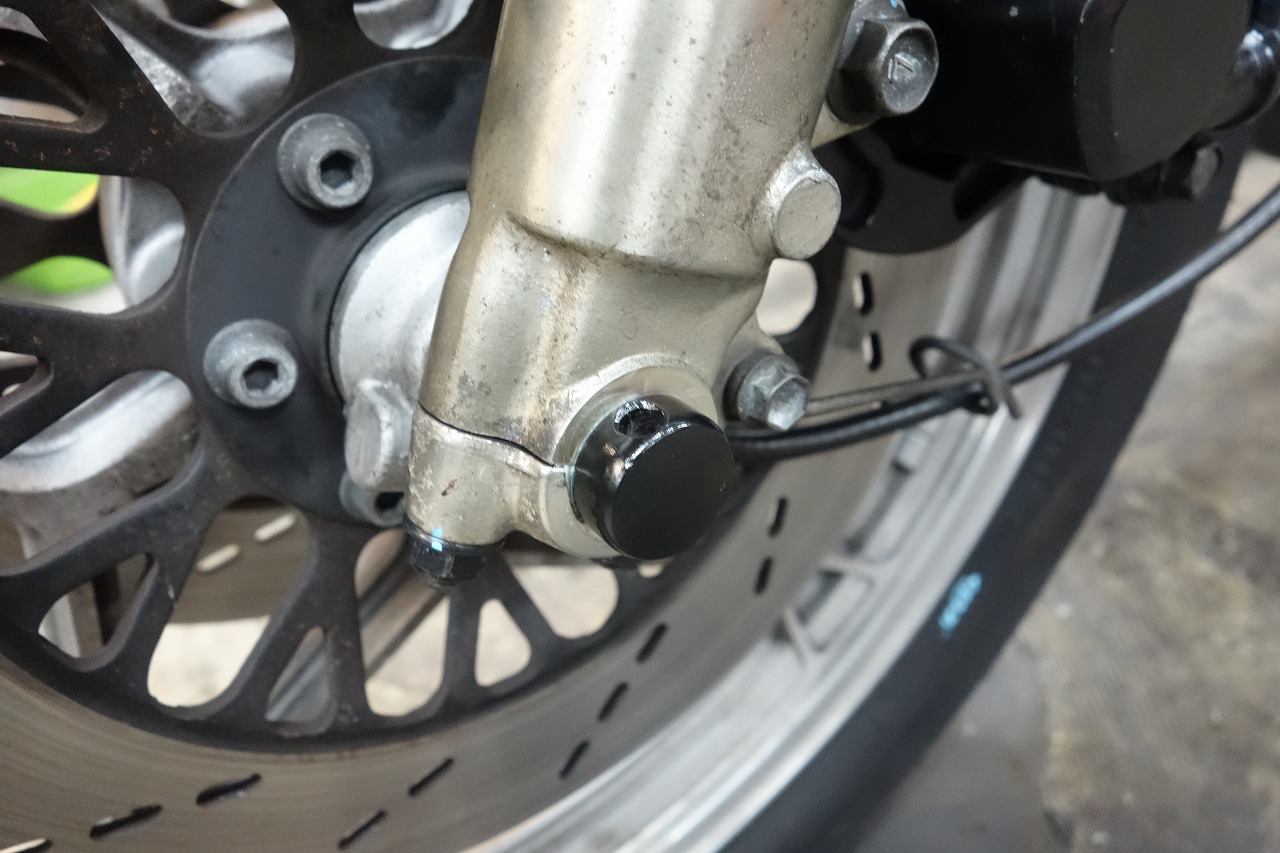
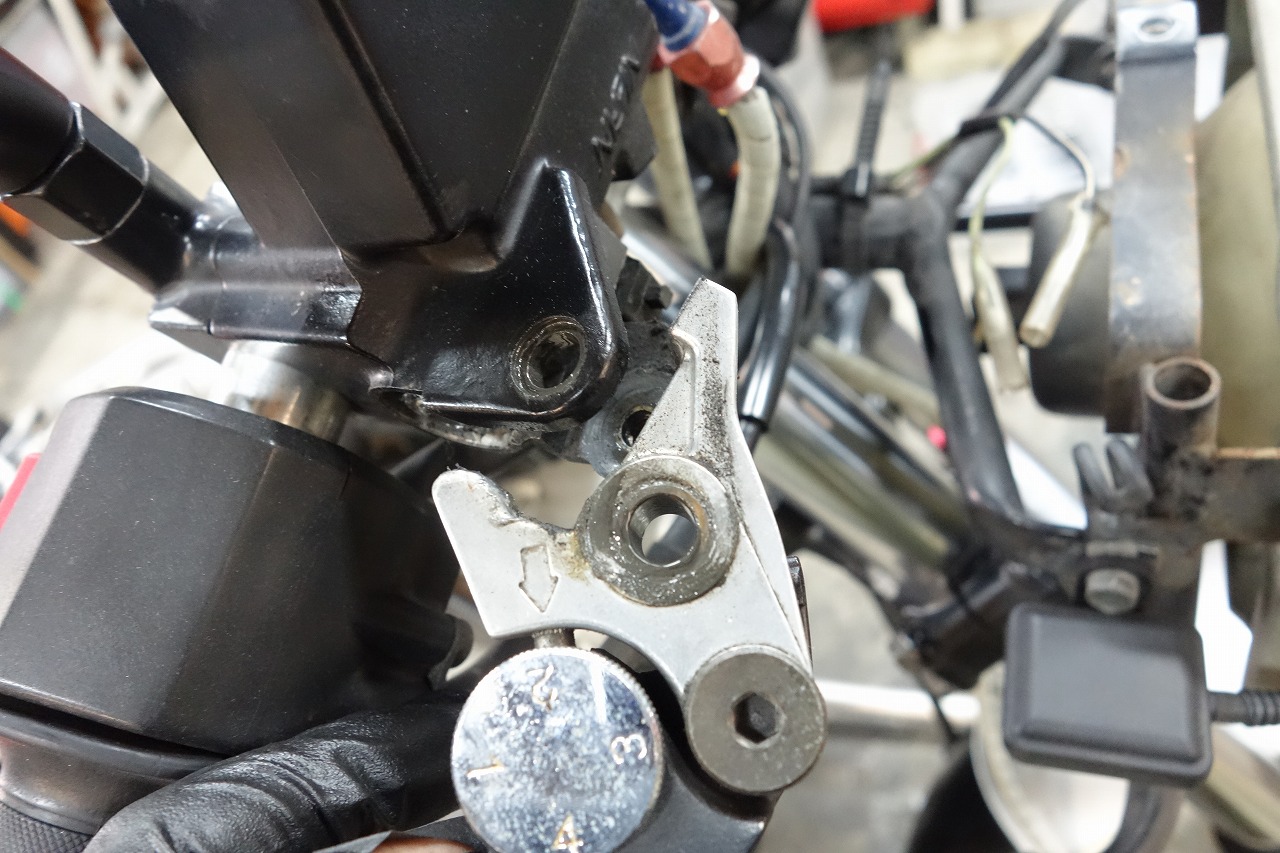
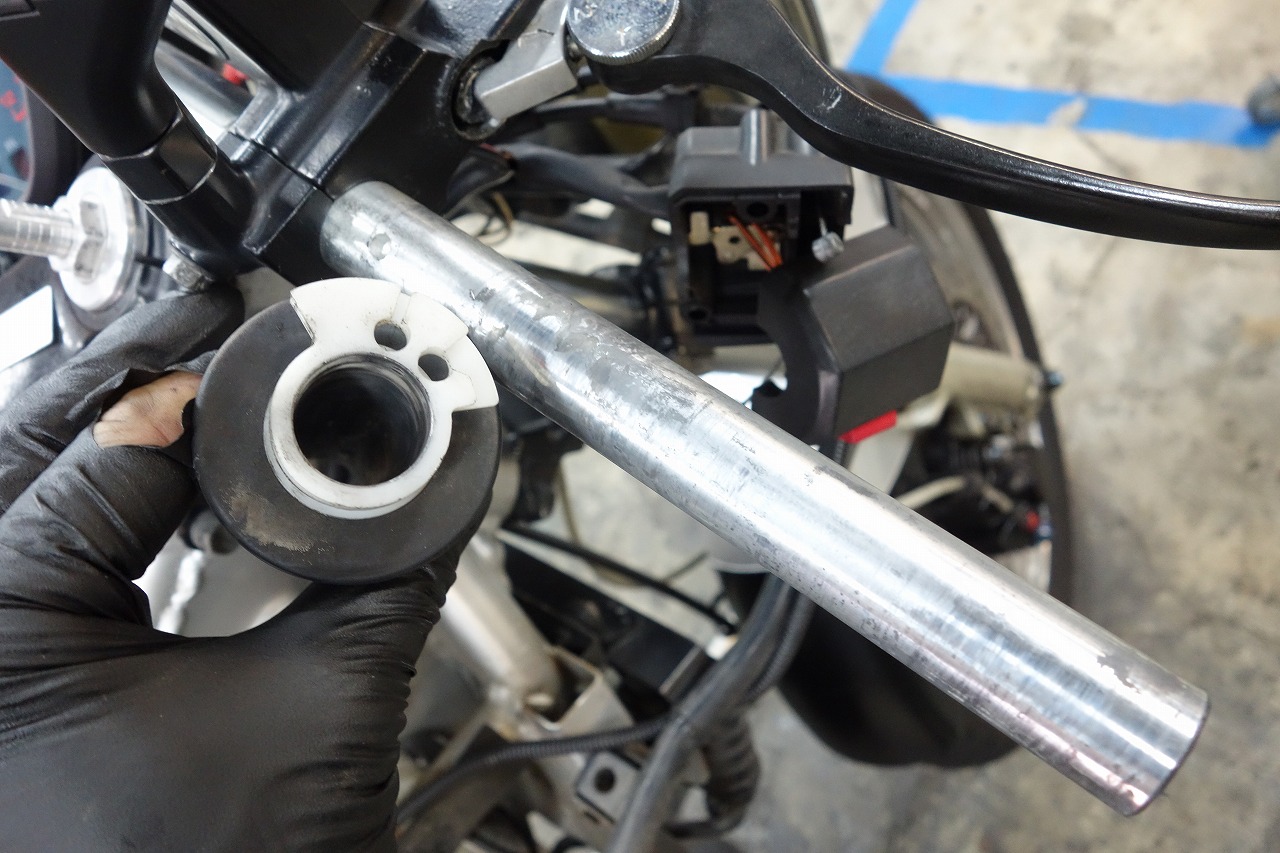
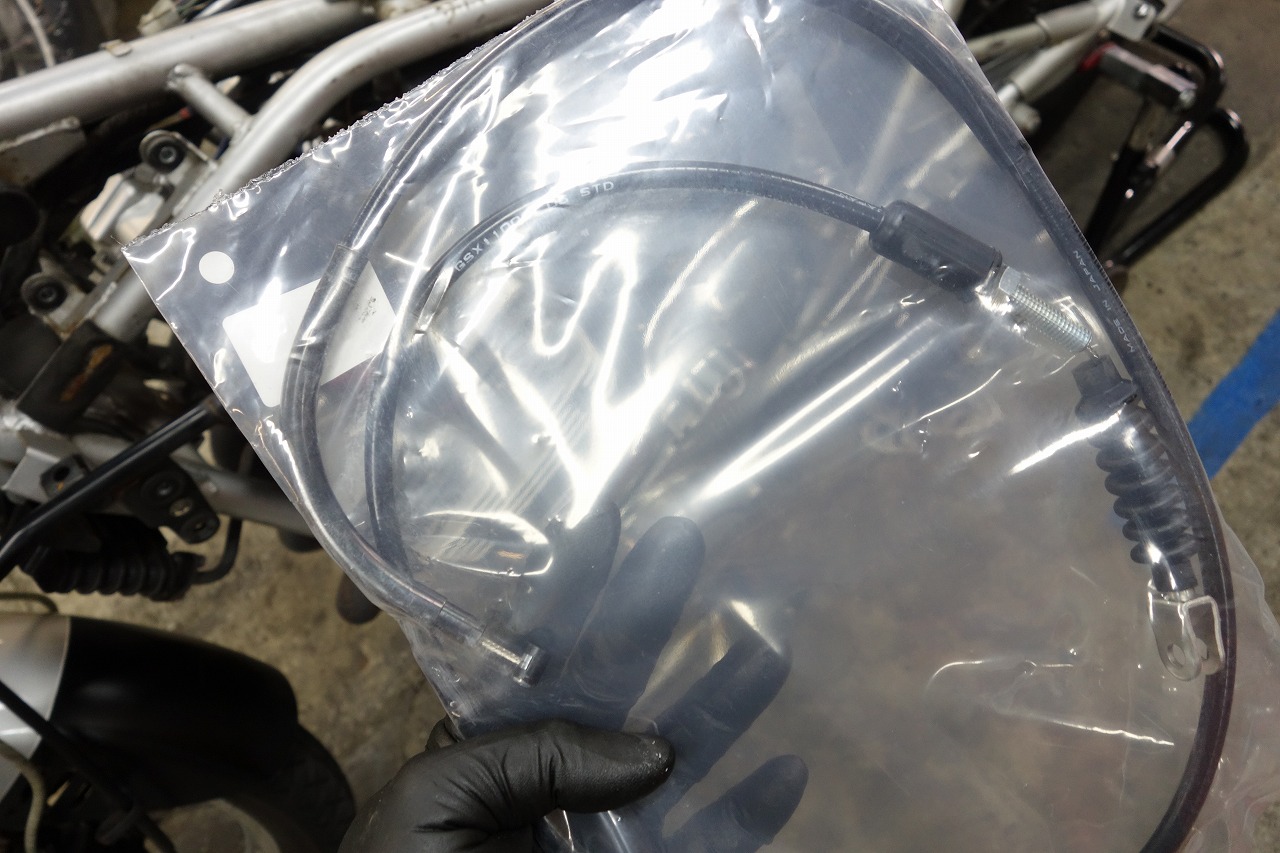
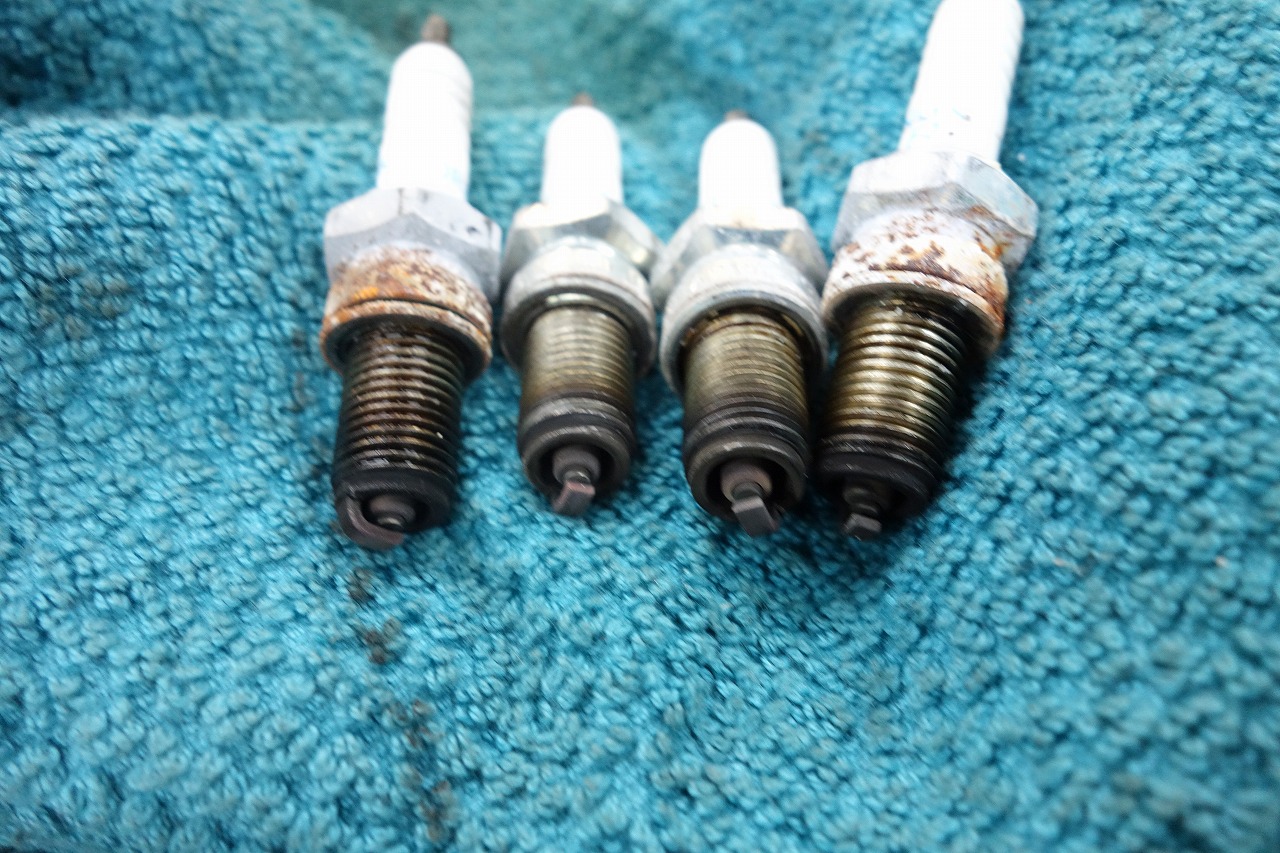
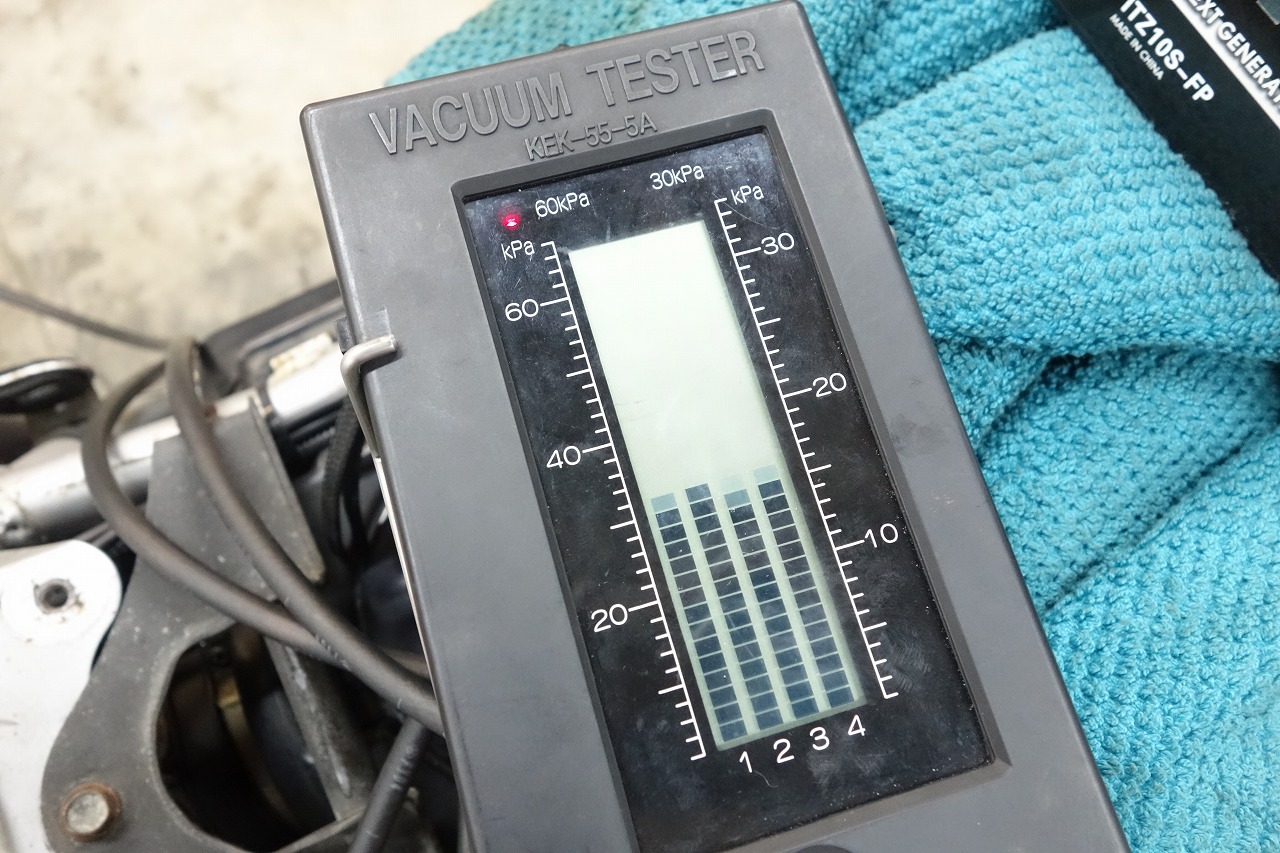
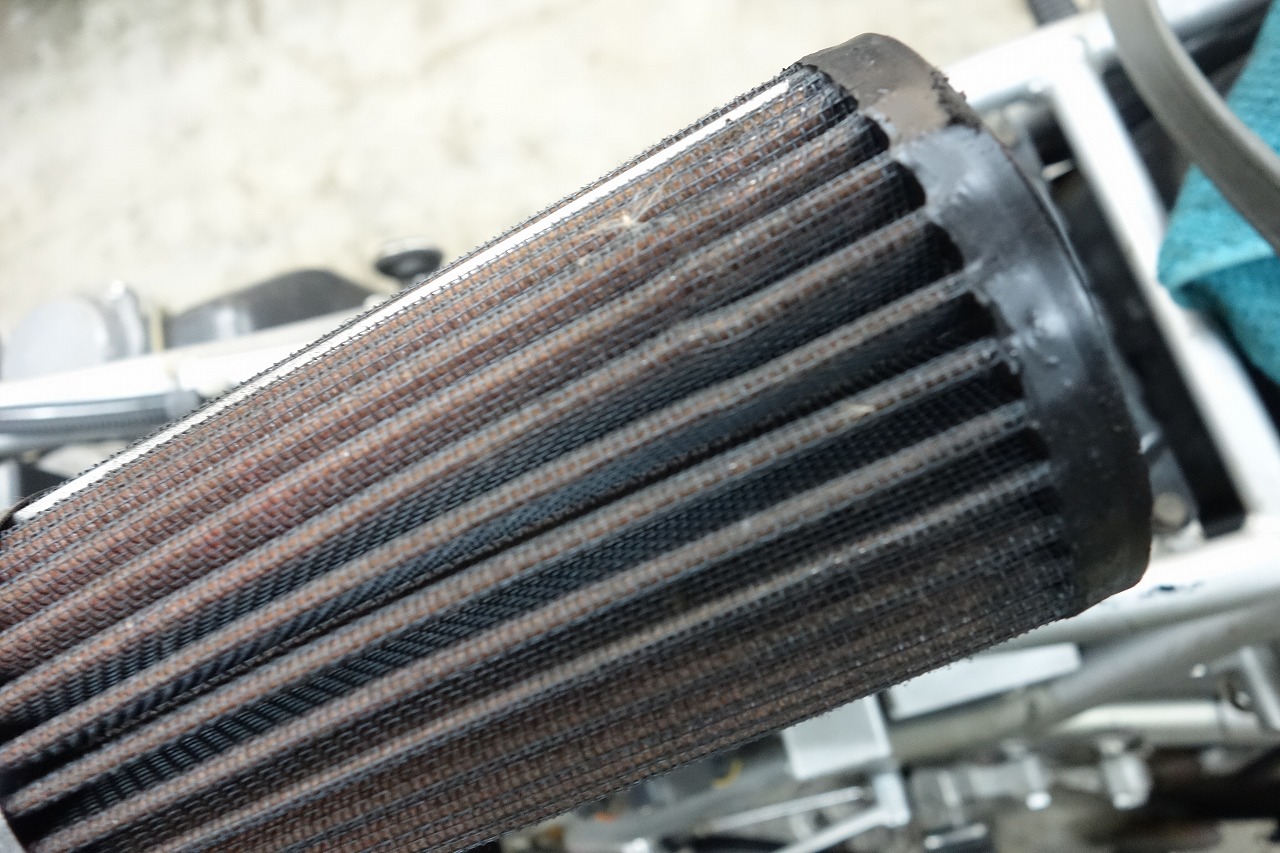
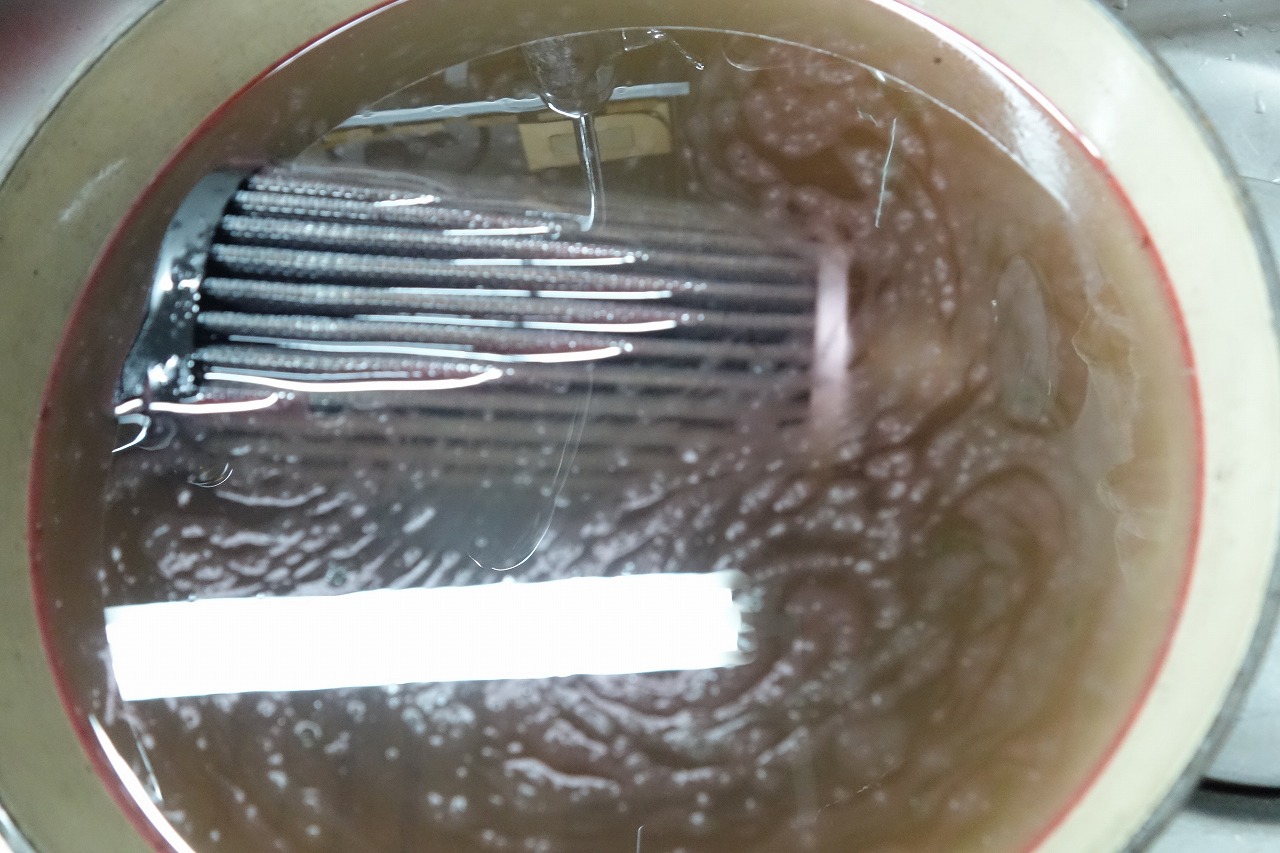
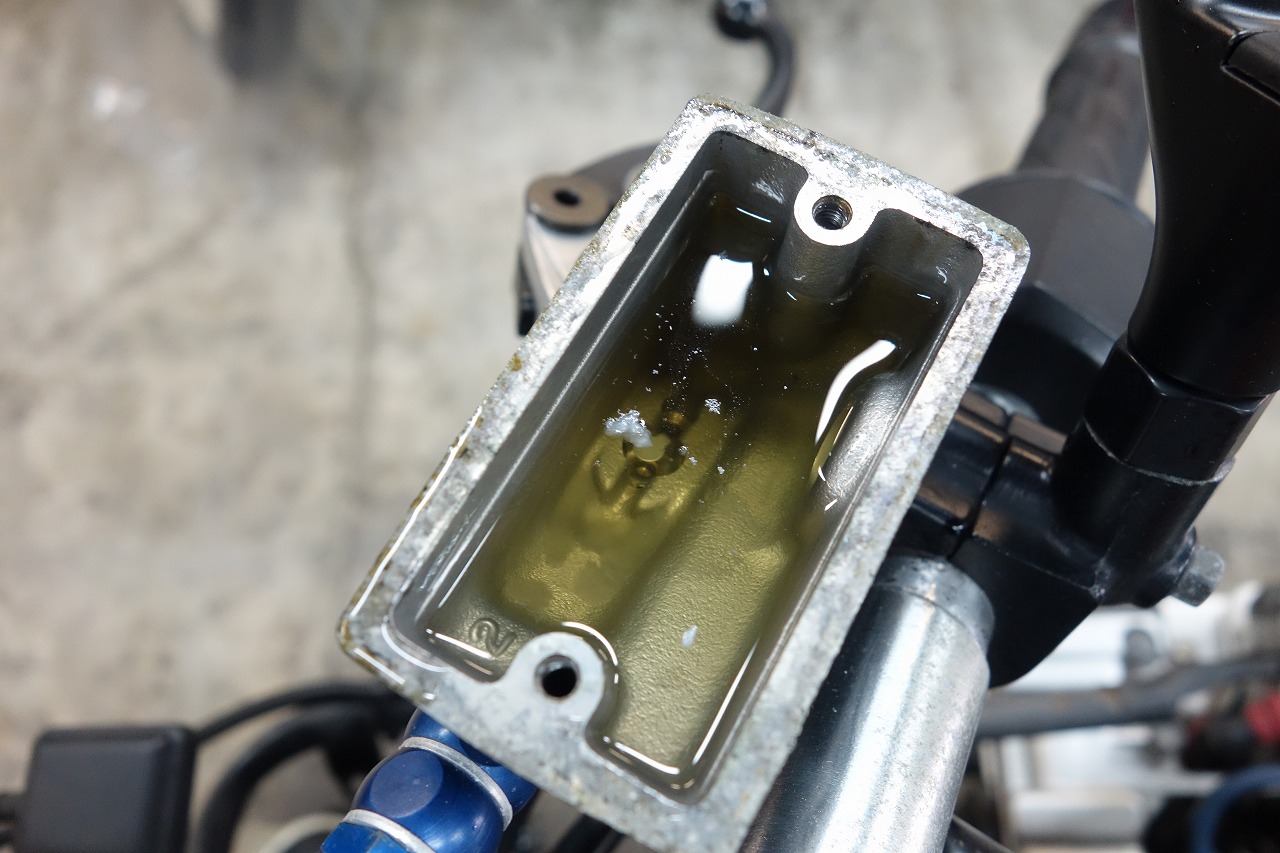
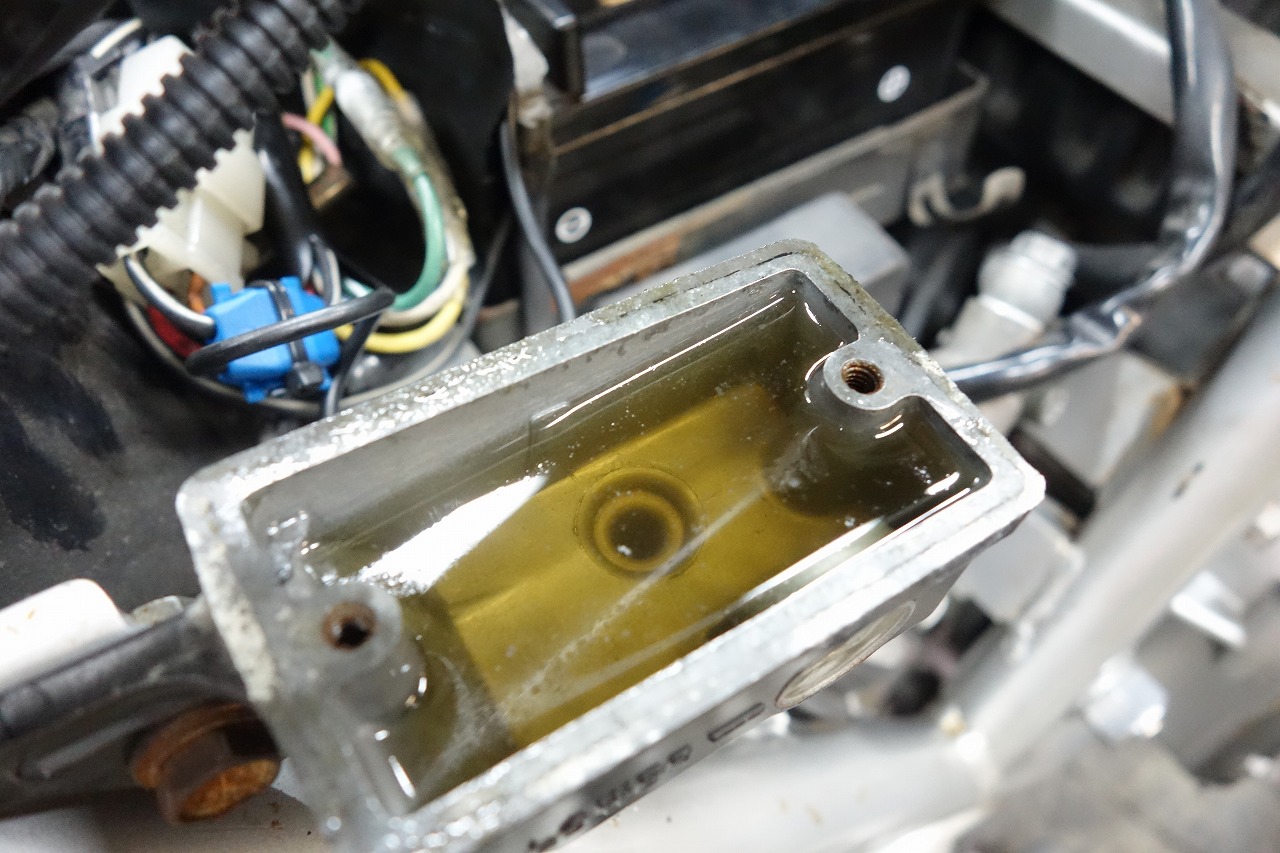
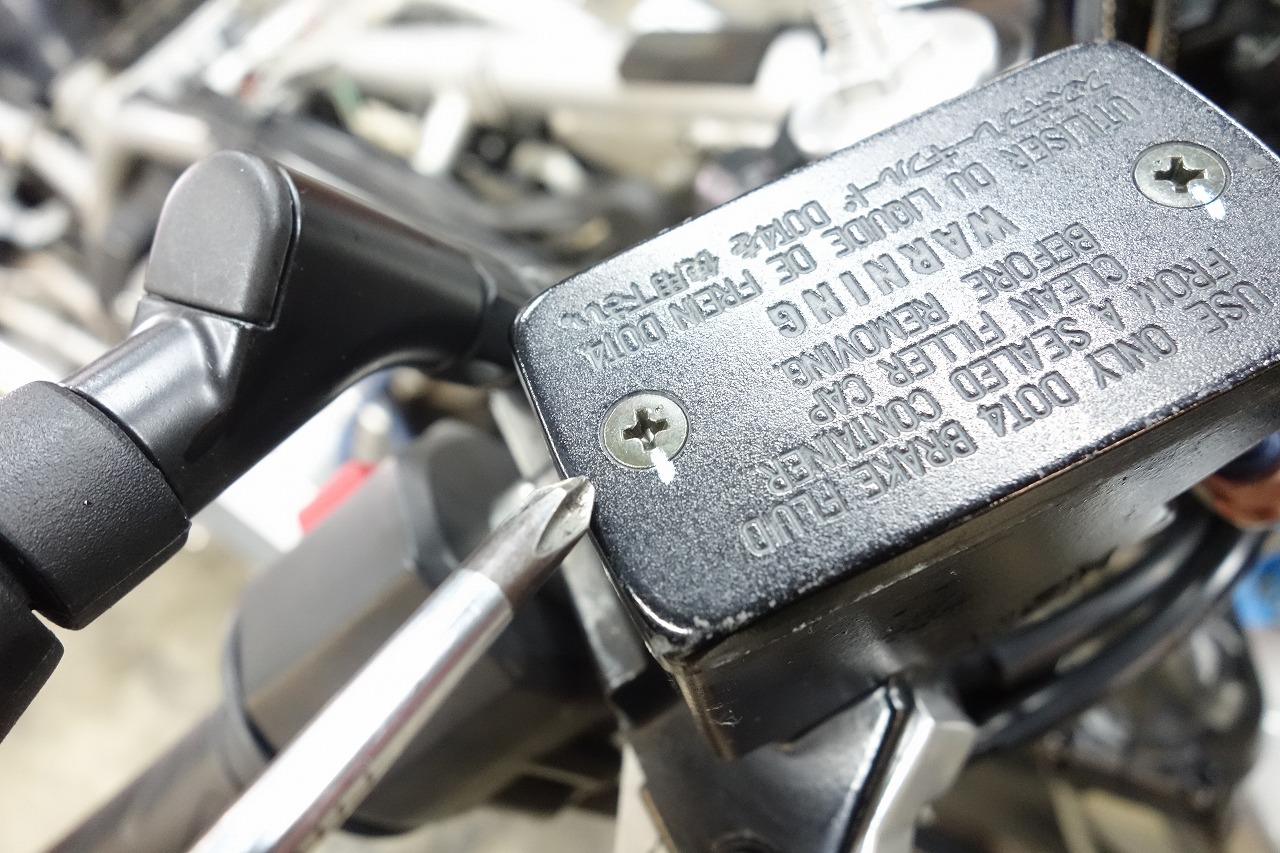
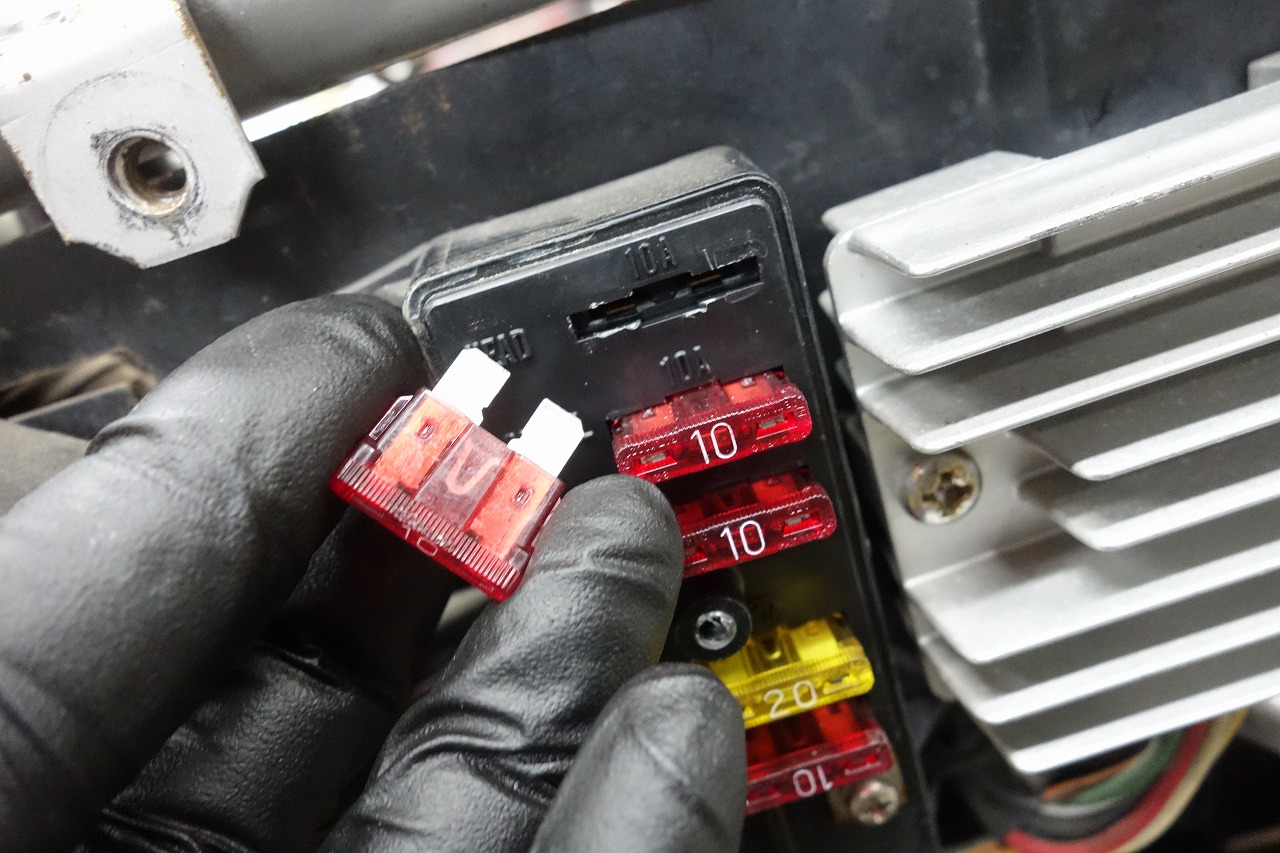
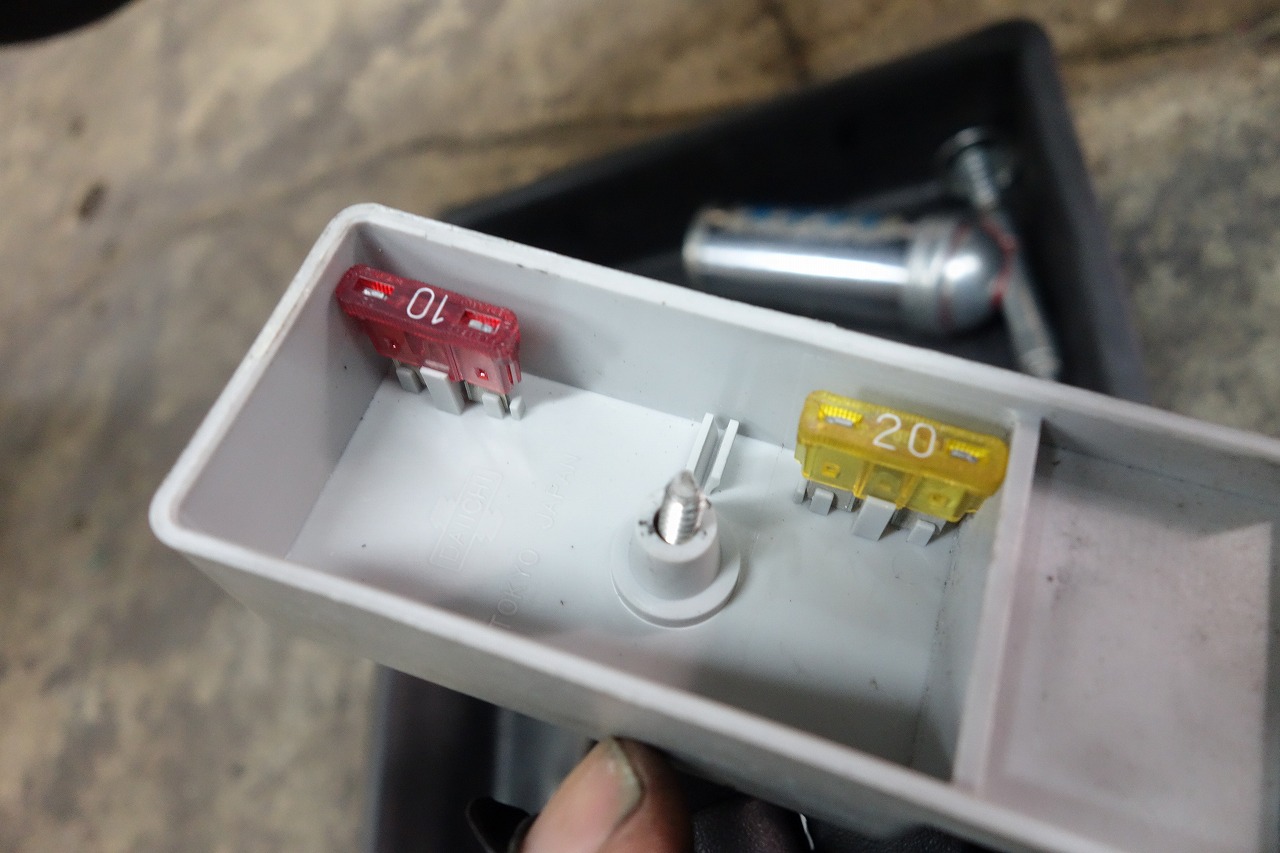
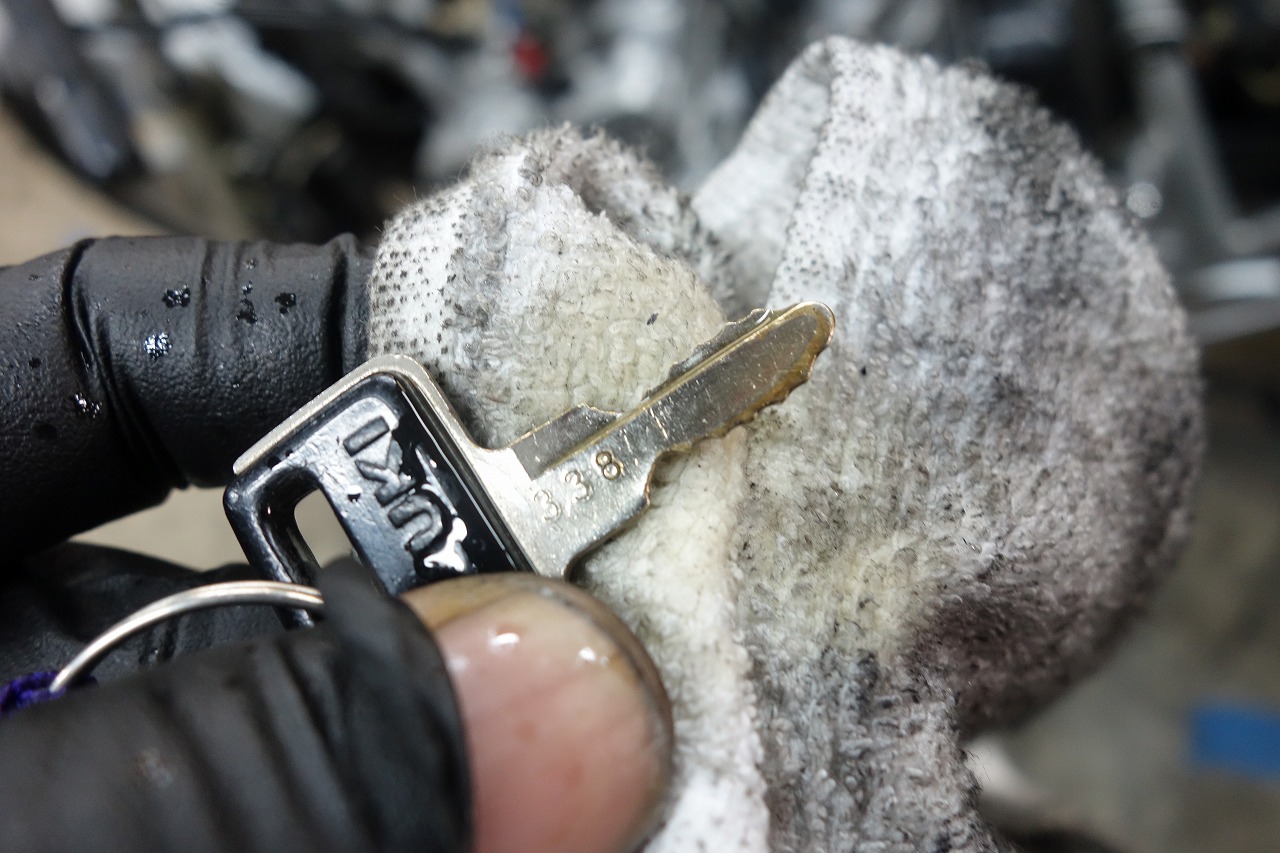
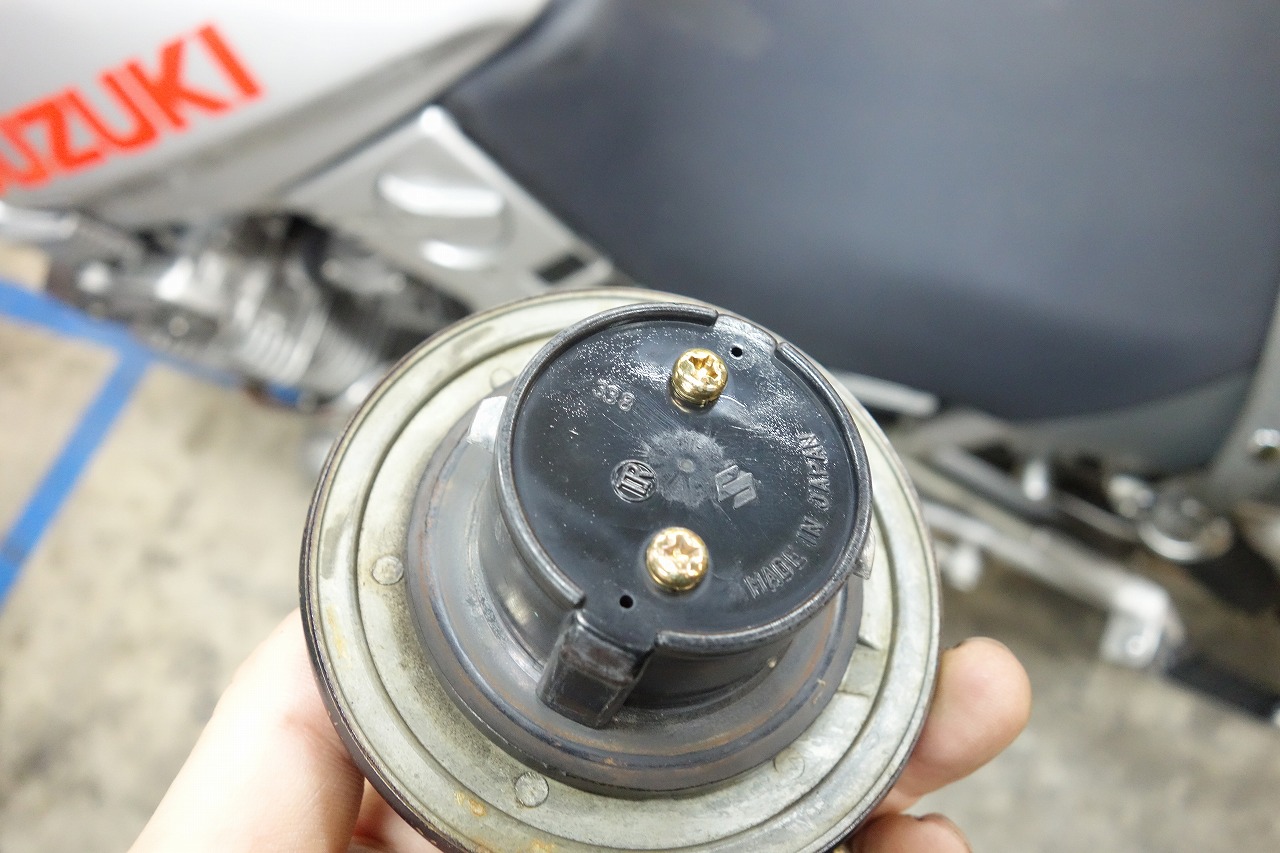
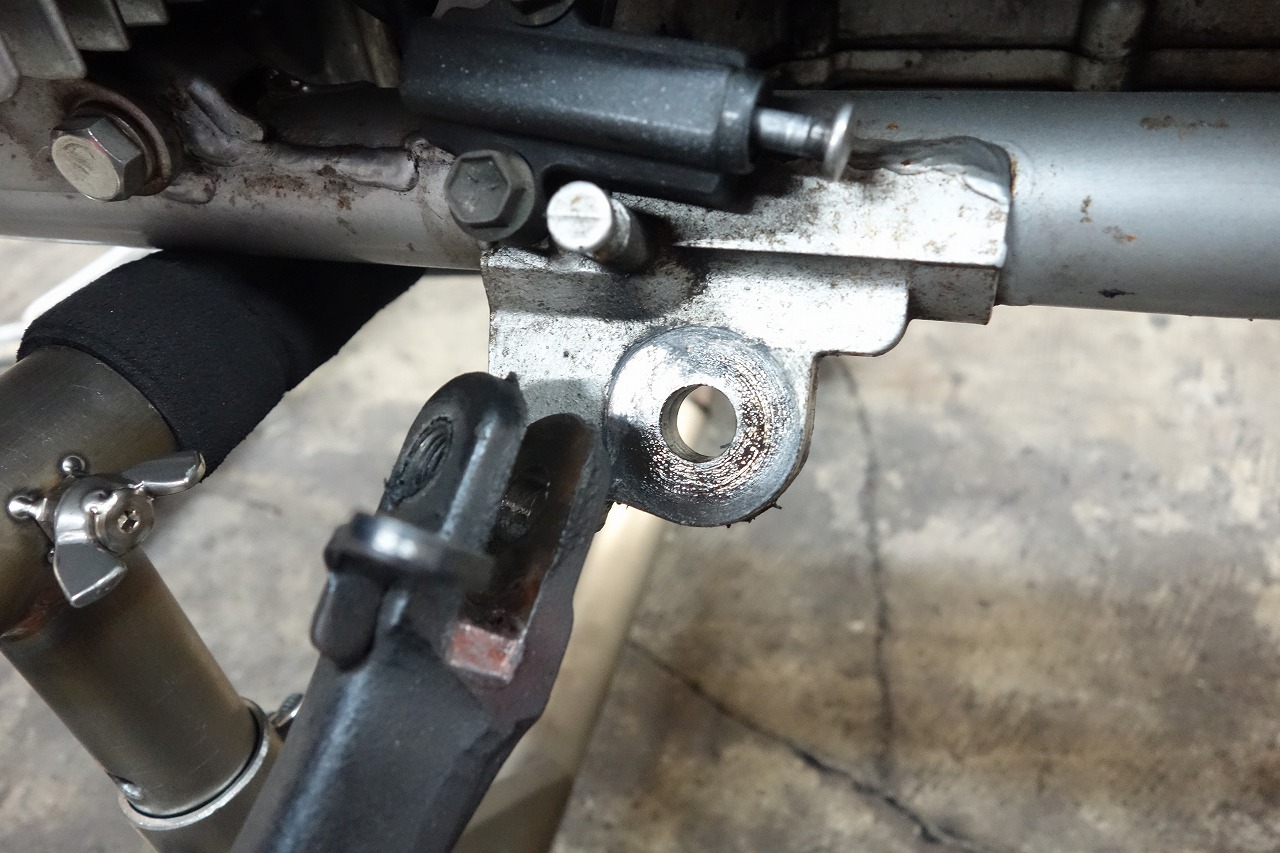
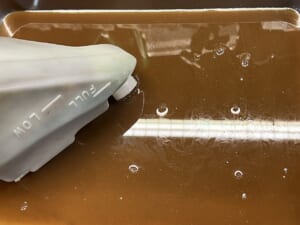
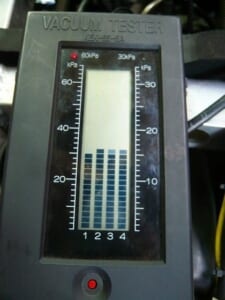
I get it, though… The “Danger! You could die! We take no responsibility!” messaging gets pushed pretty hard. But it’s a harsh world these days, so it’s tough. I cut the license plate holder on the shearing machine—five minutes. If you’re going to stick it, shouldn’t it be removable? I used 3M Dual Lock—the clear version is thin and nice. This is how it turned out. Also, I don’t like the nut + lock washer + washer setup, so I usually swap it for a flanged lock nut. And honestly, do lock washers even work? I’m skeptical. Haven’t you noticed they’re not even on OEM parts anymore? Now for maintenance. We’ll clean and lubricate the chain and adjust it. Wow, it’s been a while since I’ve seen a 630—looks sturdy. We only adjusted the bearings. The damper is a bit worn, but we’re skipping that for now. (I wiped off the dirty grease, though.) (I wiped off the dirty grease, though.) We also cleaned the chain case. It looked scary, but the caliper operation was good. The axle shaft should be fine too. It was dirty, so I touched up the fine spots with Gun Coat. Moving to the front. I don’t think the top coat grease on the speedometer gear does anything, but what do you think? I removed the clip, cleaned it, and lightly coated the inner lip. I wiped the speedometer cable, applied fresh grease, and inserted it. The caliper piston operation is excellent. It looks like it’s been overhauled. The slide pins are really important for single-piston calipers. Swapping in fresh grease makes it smooth. It’s good to lightly wipe the back of the fender and inside the fork while you’re at it. That’s what hobby bikes are all about, I think. The wheel bearings are fine. The axle shaft is right at the limit. It should be replaced soon. 15 mm—pretty thin. We lifted the front, checked steering operation, and loosened the fork cap to ventilate inside the fork. The top of the inner tube. There’s some rust. Applying anti-rust oil is a good idea. The stroke side is rusty too. We applied fork oil, cleaned, and lubricated. We measured the brake disc thickness. We poked out the holes, degreased the disc, and cleaned it. We Gun Coated this too. Let’s clean and lubricate both levers. We cleaned the throttle and lubricated the accelerator cable. The power assist died, making the clutch super heavy, so we removed it. The OEM quote was over 4,000 yen. Oono Speed is 3,500 yen—so we went with that. We replaced the spark plugs. We also adjusted the carburettor synchronization. A washable filter—so helpful. It looks pretty good. The dirt had character. We swapped the fluid for Golden Cruiser DOT4. We buy these washers by the box. If they’re dirty, we replace them without hesitation. I get the feeling the previous owner really loved this bike. Sometimes you want to check the fuses. So, check one, two. Same with the spares. We also cleaned the key and cap. I’ve skipped some details, but that’s the gist of it.
It’s all polished up nicely. That wraps up this job.