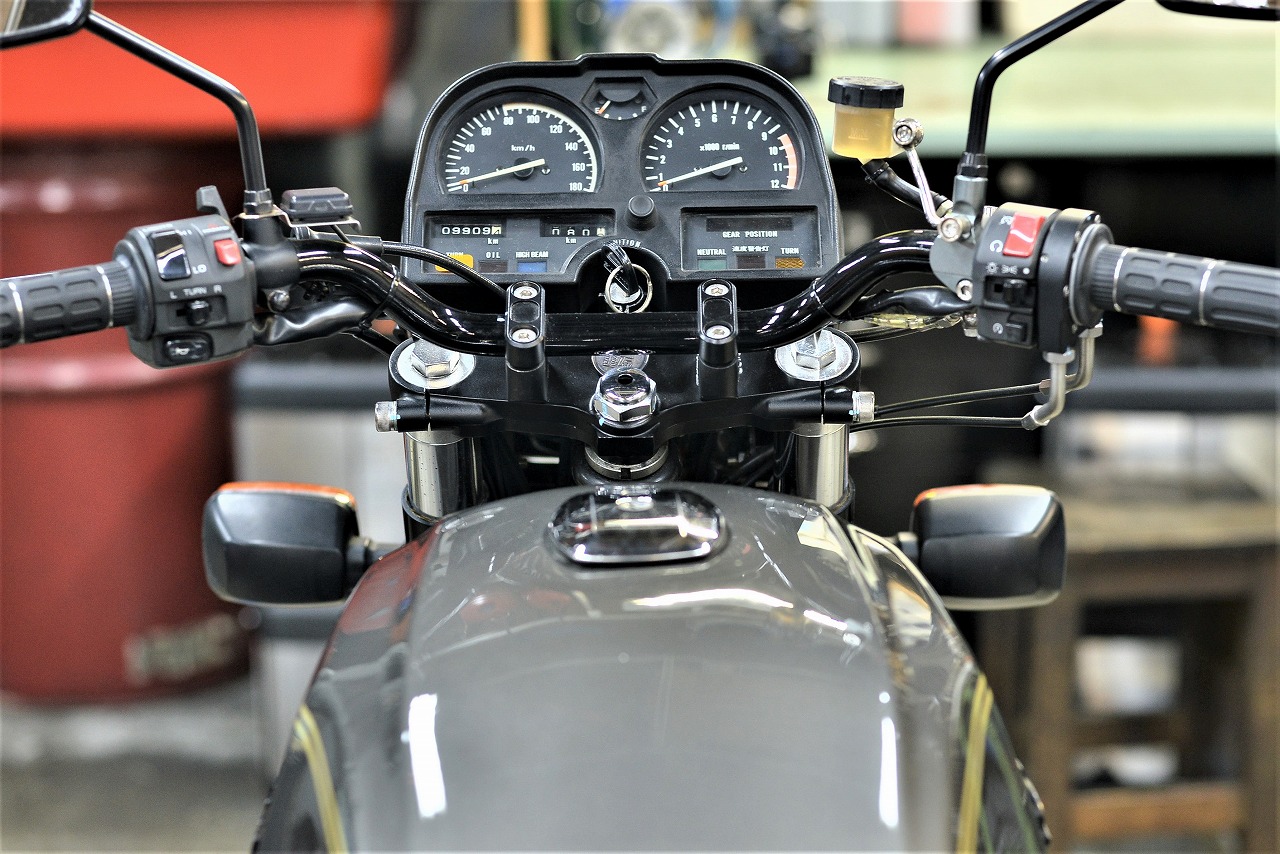
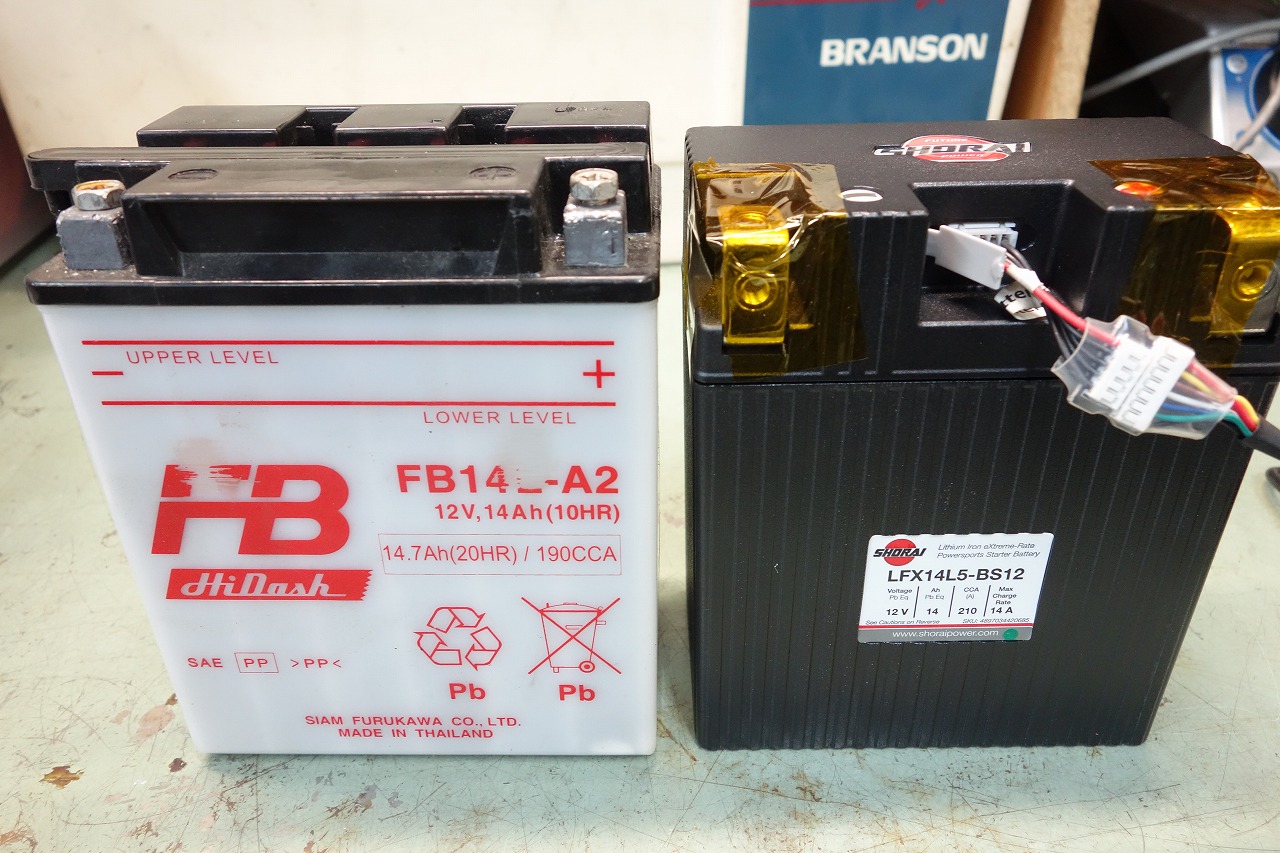
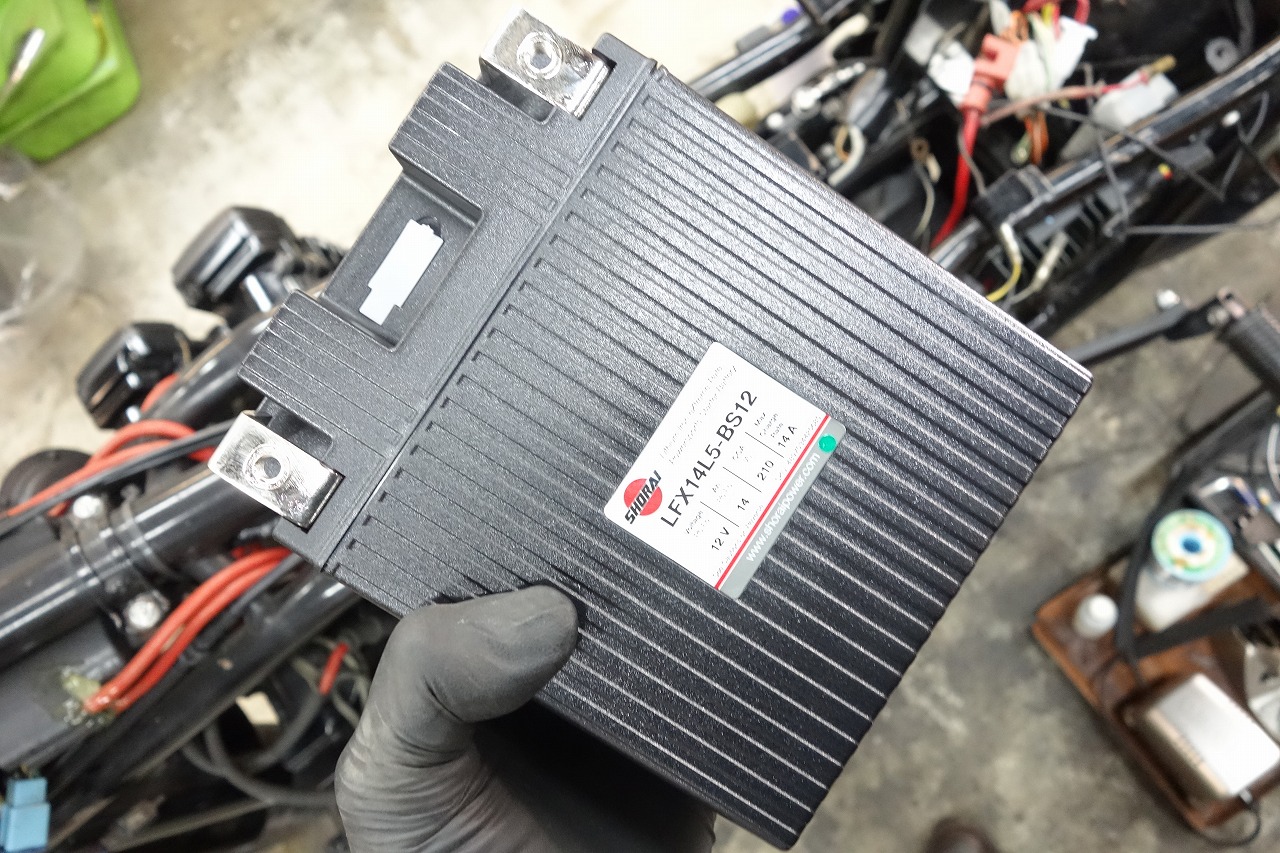
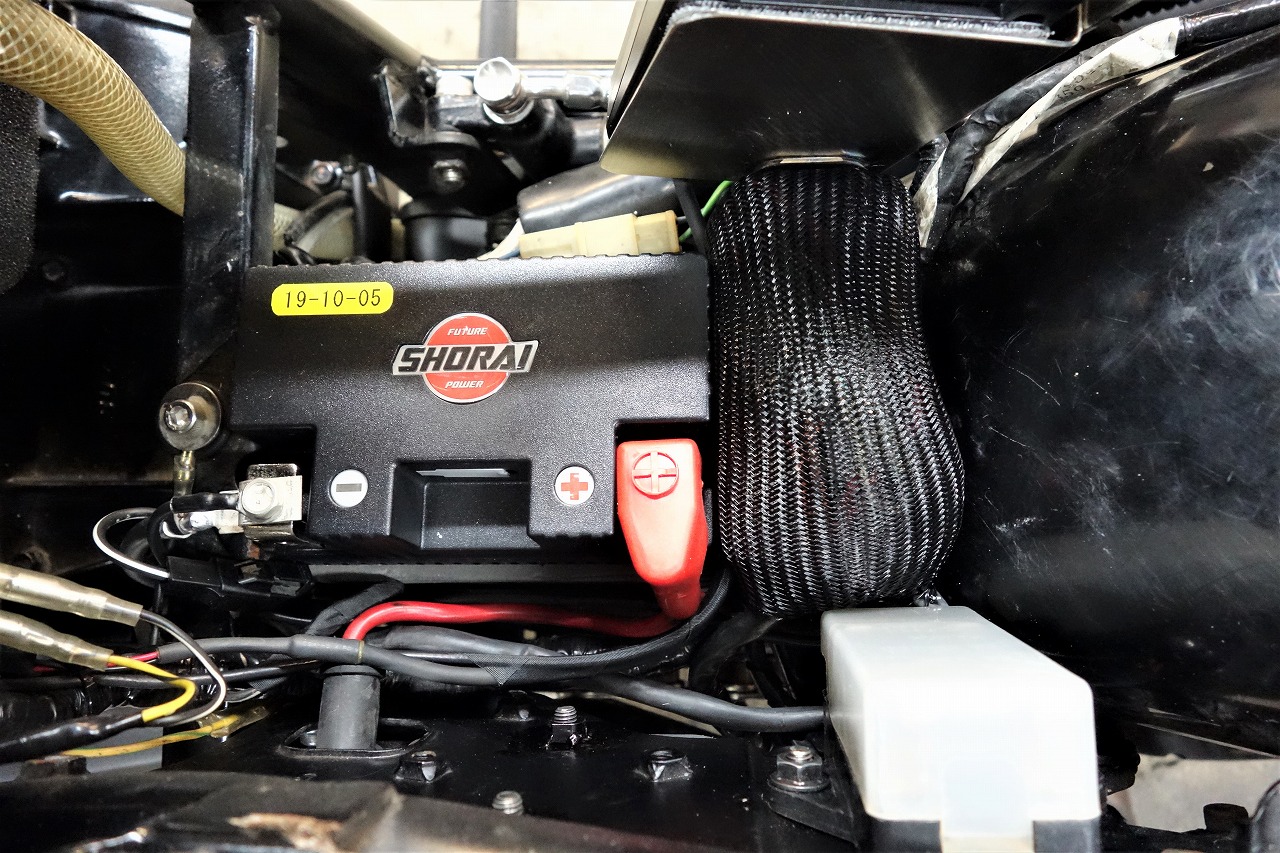
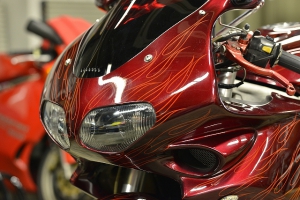
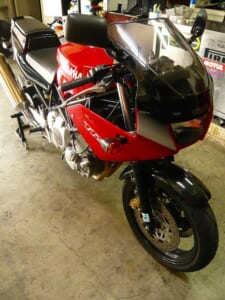
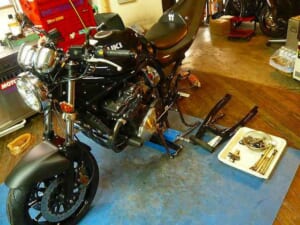
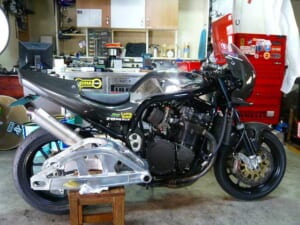
We picked it up during the hot season, and now it’s nice and cool. In a way, the timing is perfect. We’re going to push ahead full steam. Boom! We’re switching to a Shorai battery. The appeal is the light weight and long warranty. I’ve never heard of one turning into a clunker right away, so I can recommend it with confidence.
Budget-conscious → Daytona battery Budget available, lead-acid preference → WESTCO regulator with no restrictions for high durability Budget available → Shorai battery & MOSFET
At our shop, it usually comes down to these three choices. If you want something else, buy it yourself and install it yourself—that’s how we handle it. It’s really light, which is wonderful. When these first came out, there weren’t many sizes available, so a lot of bikes had them mounted with foam padding all around. LED lights are the same way—later entries are always stronger!
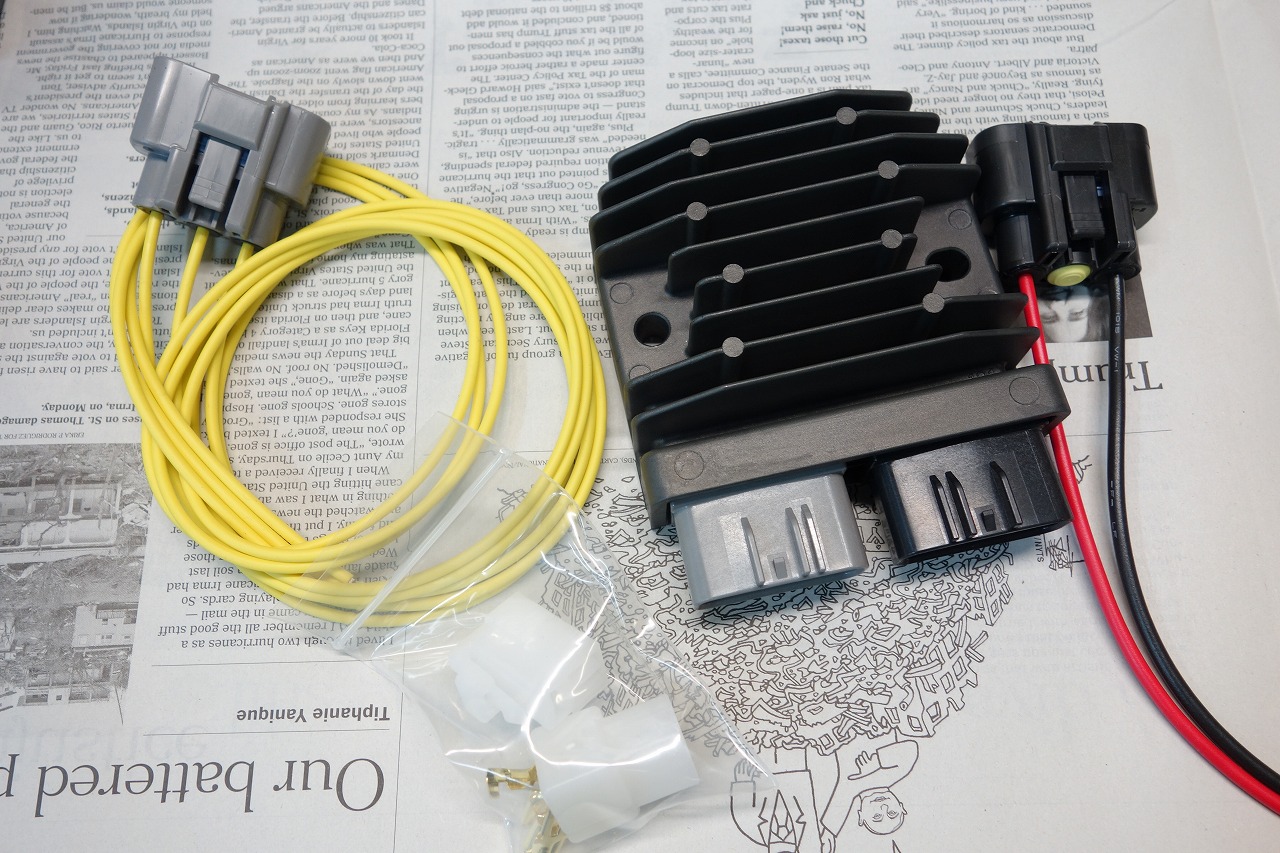
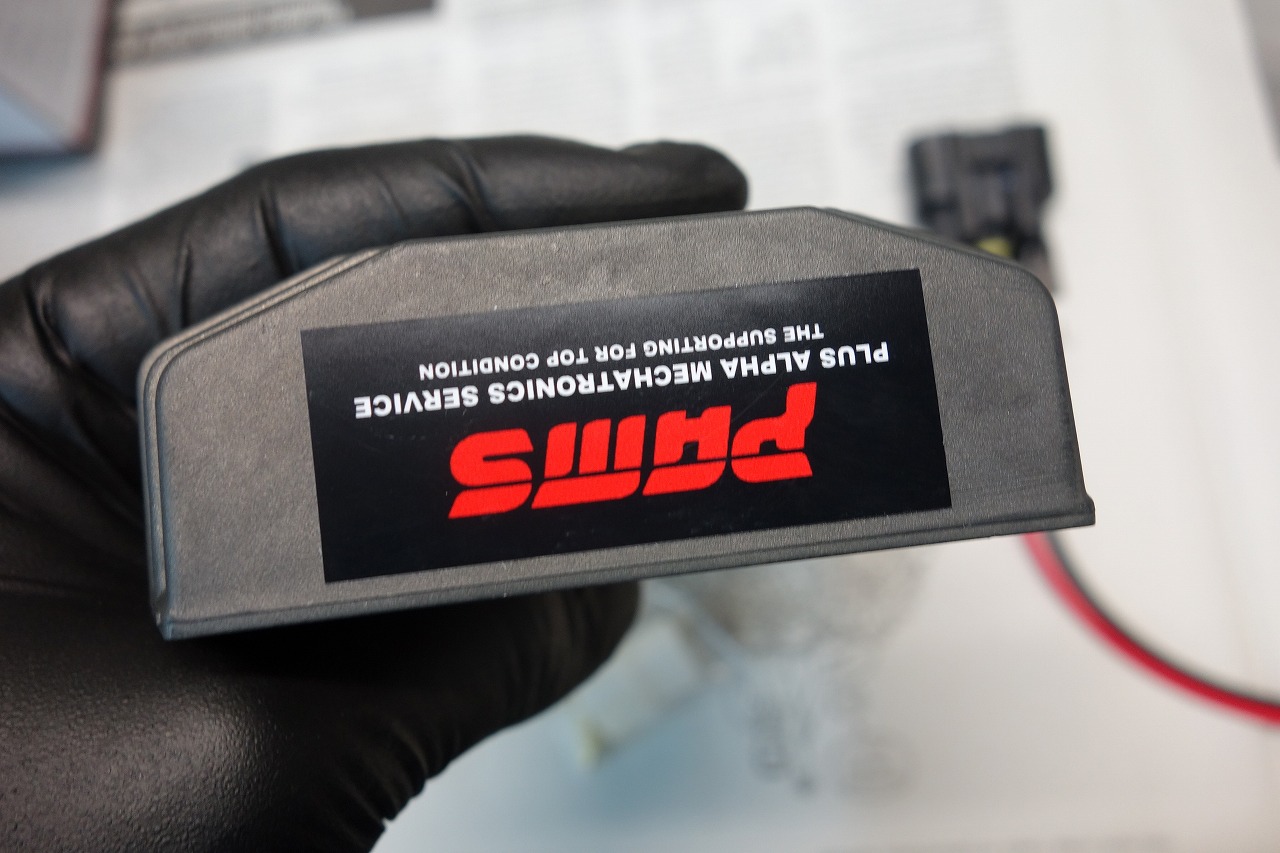
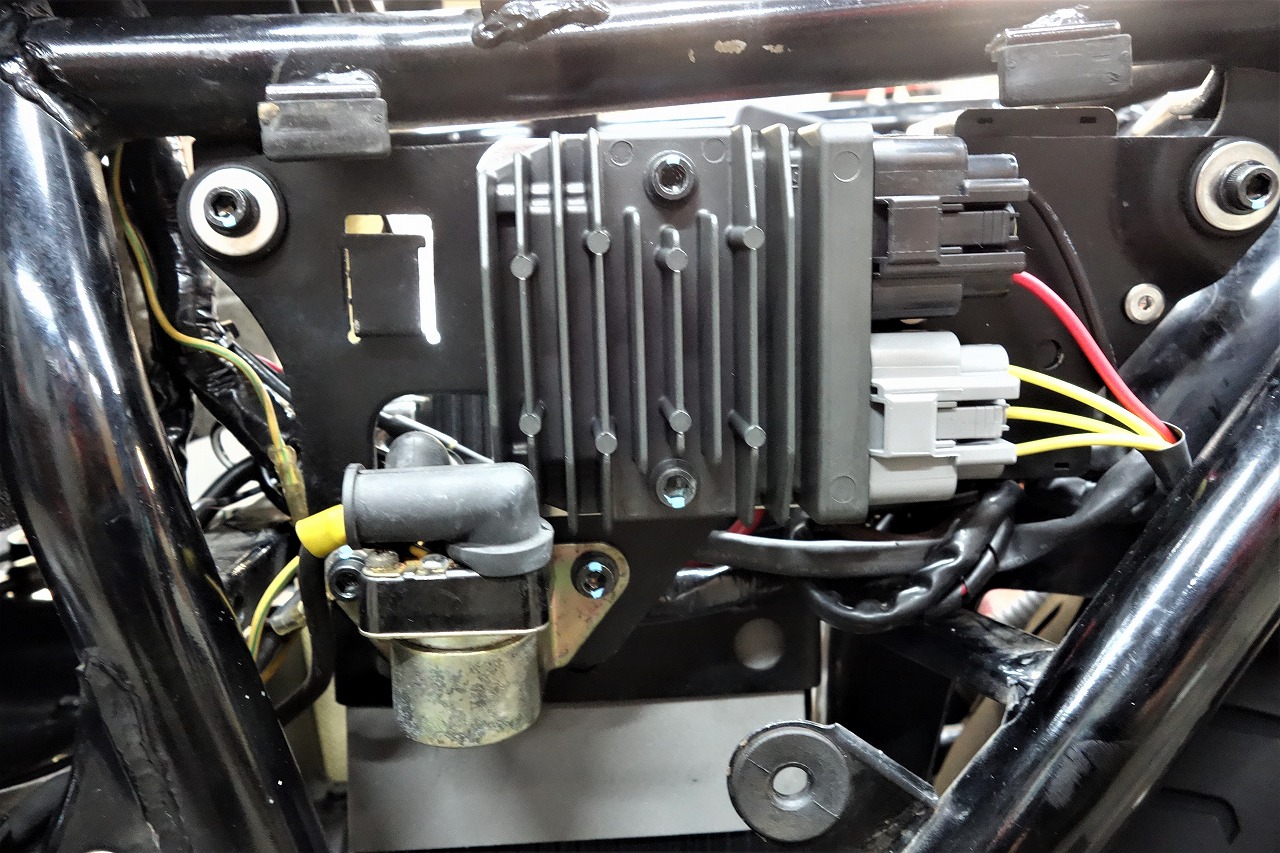
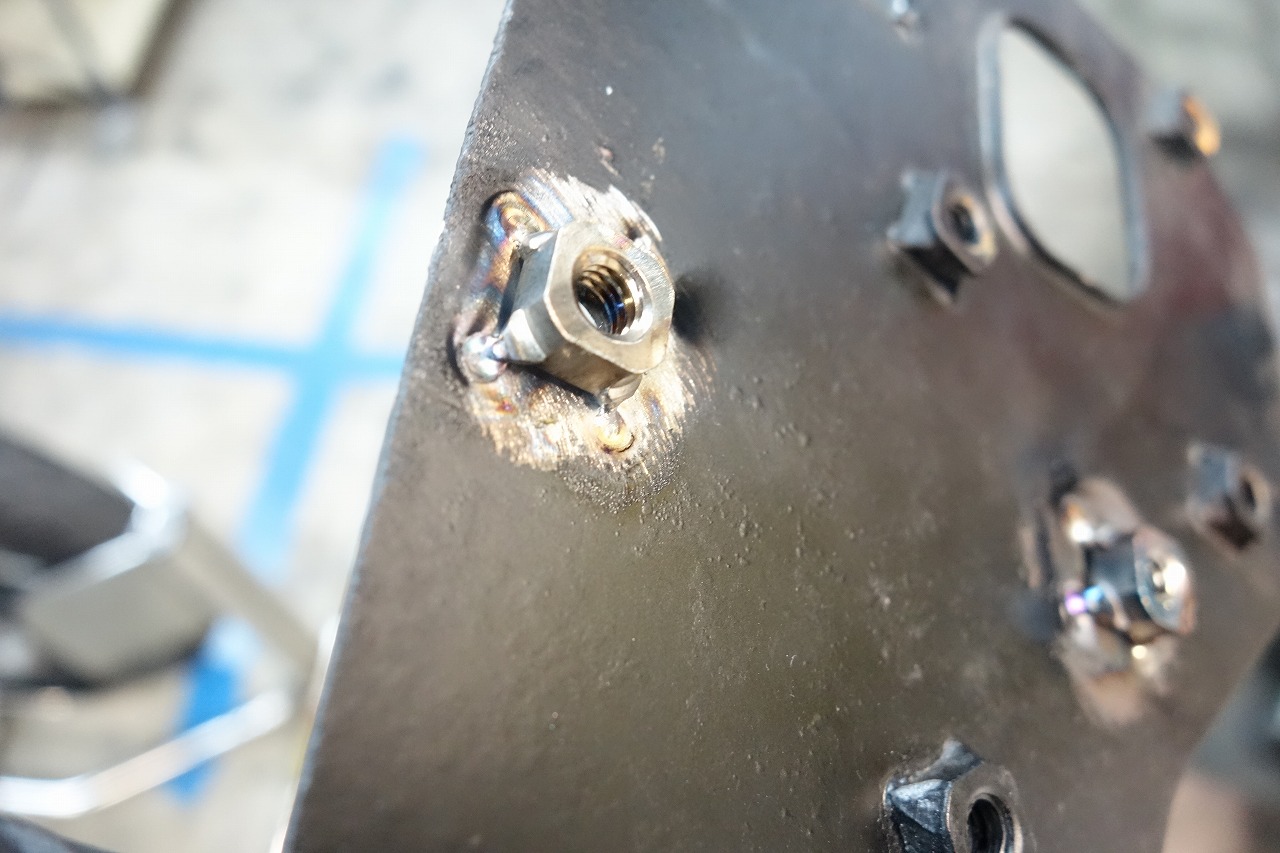
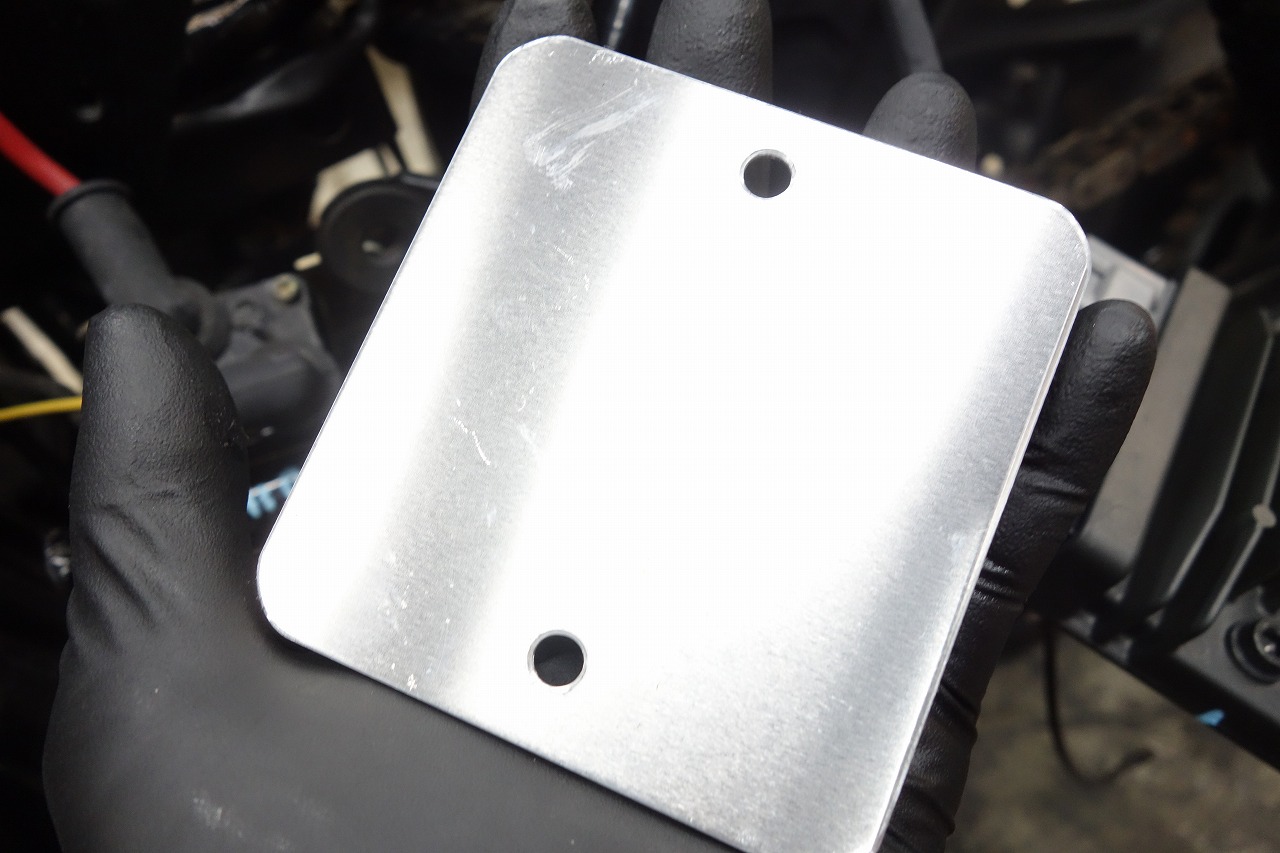
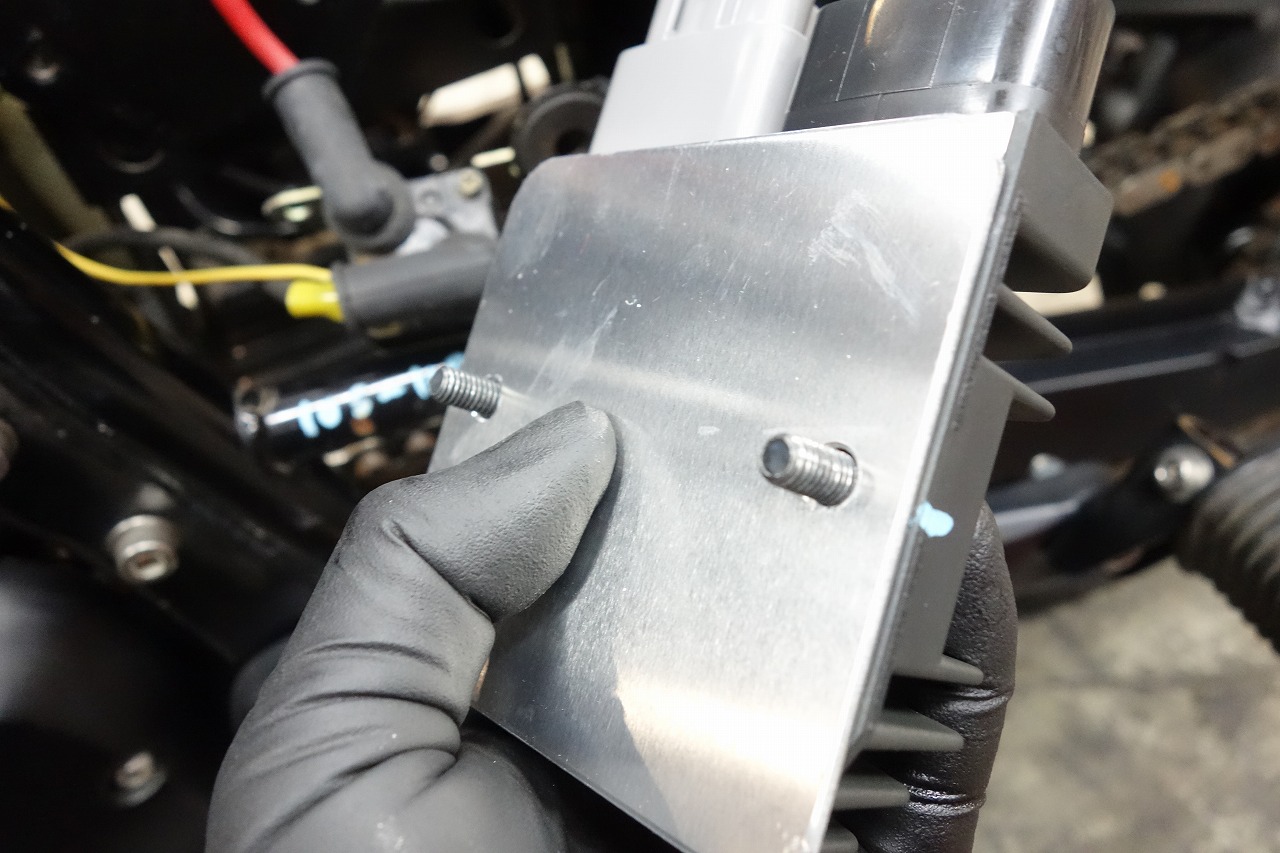
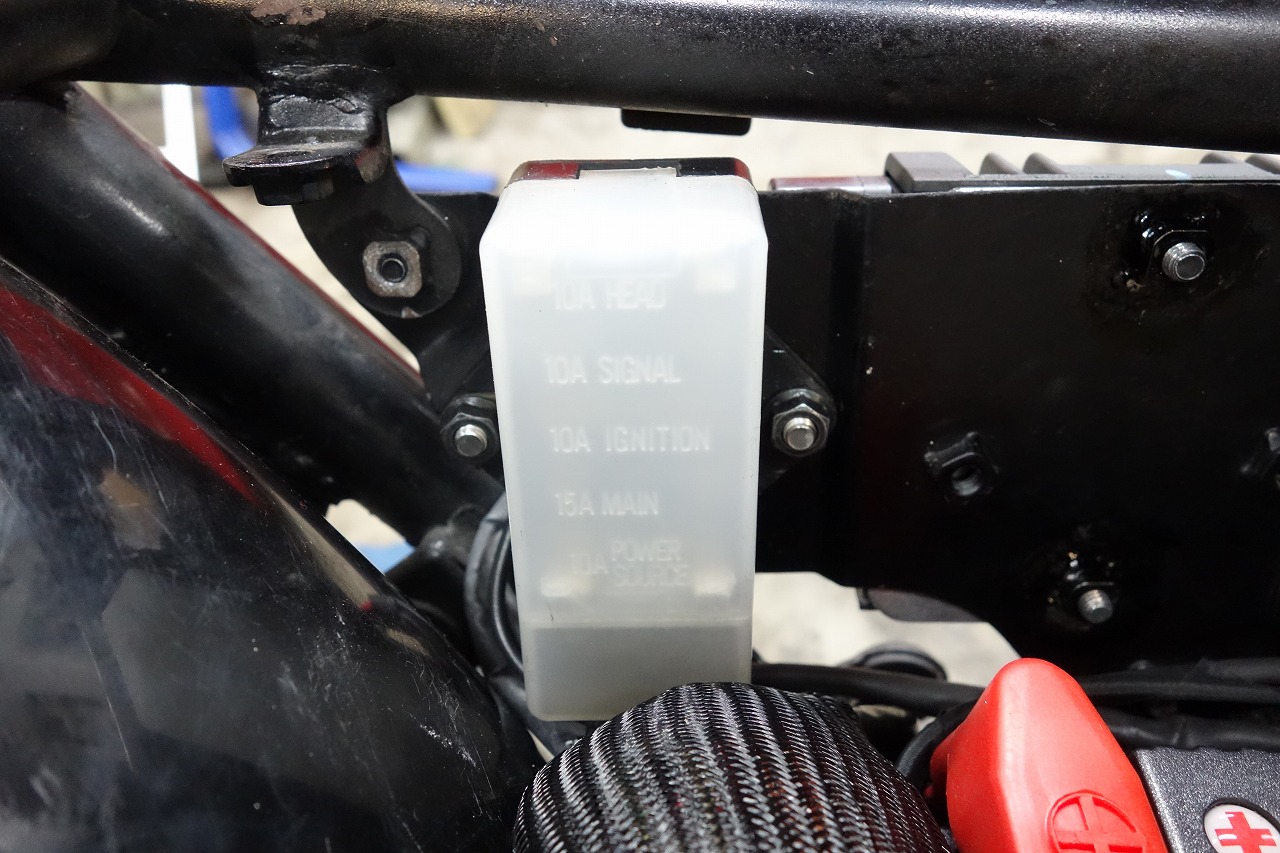
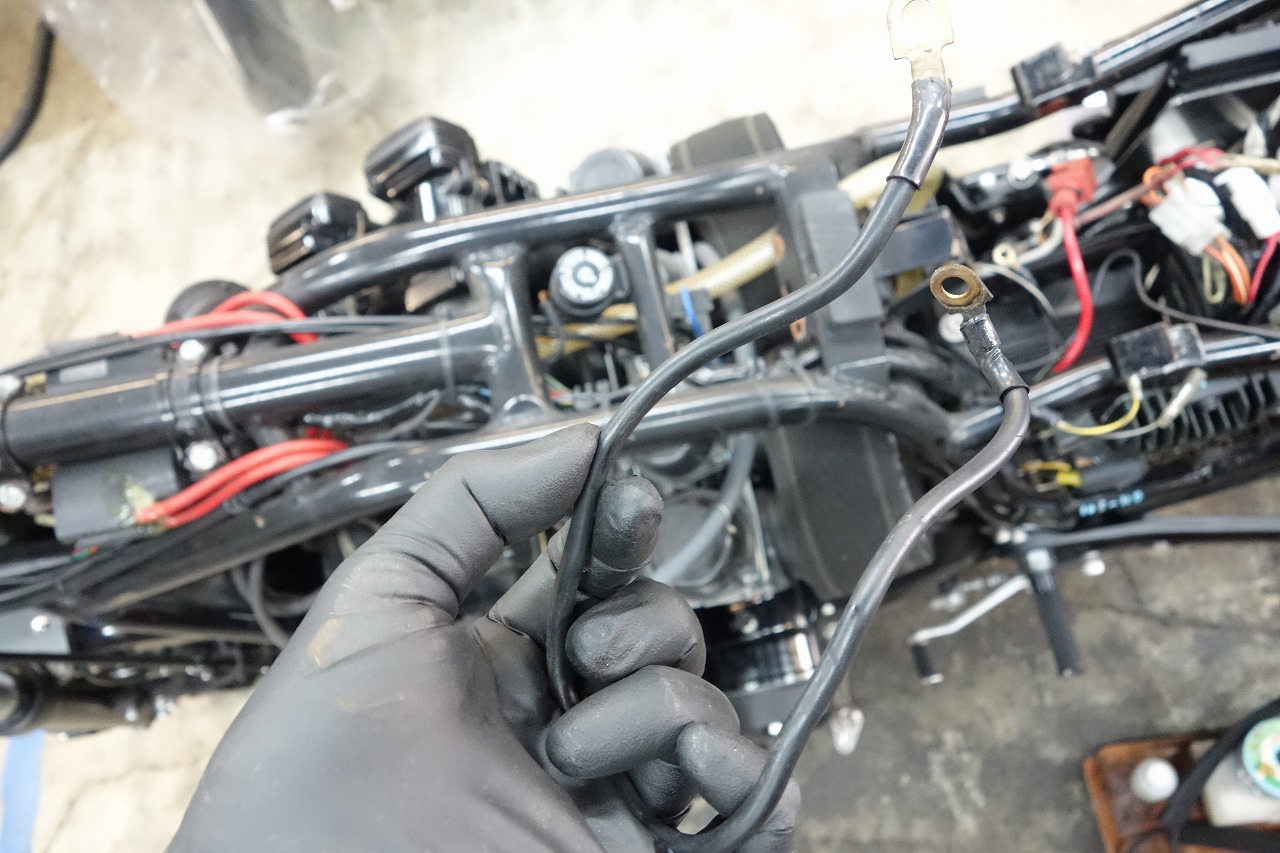
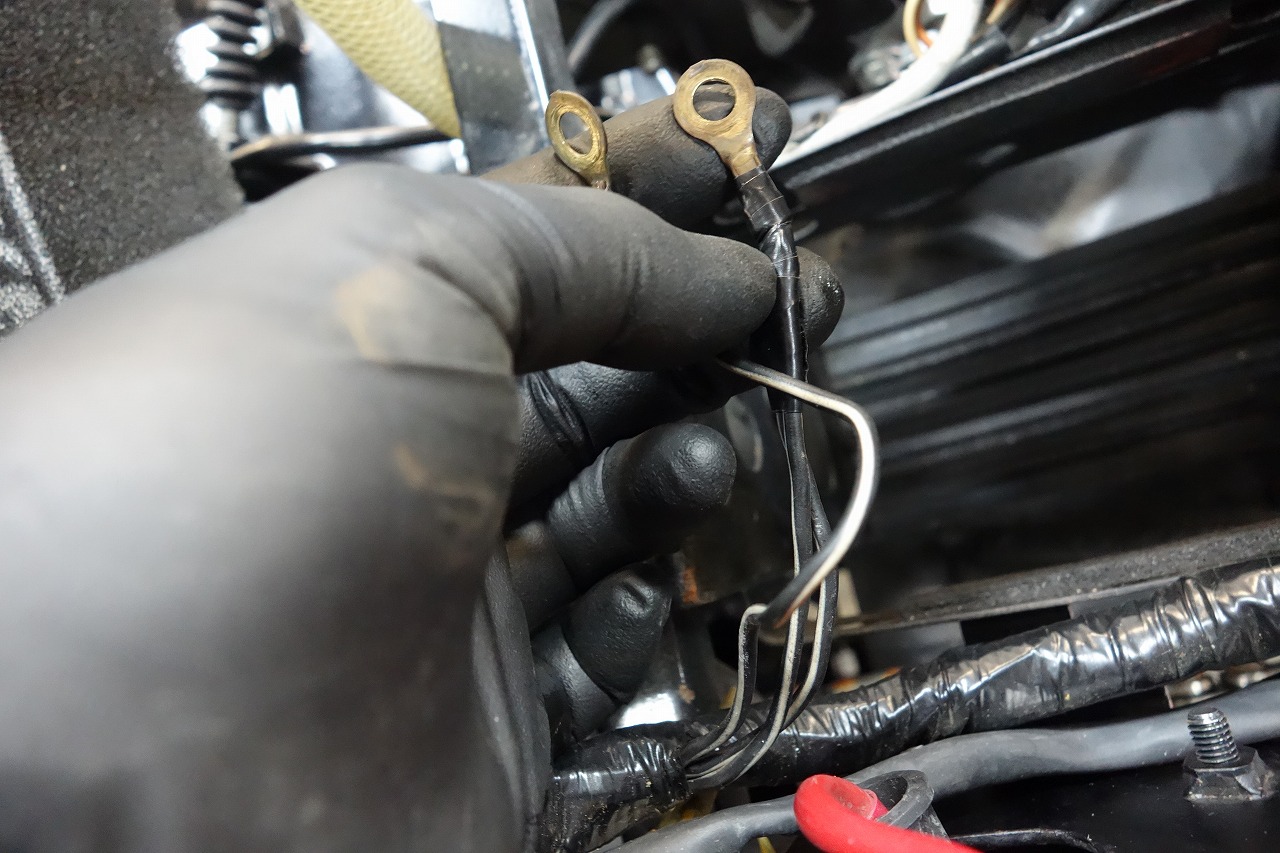
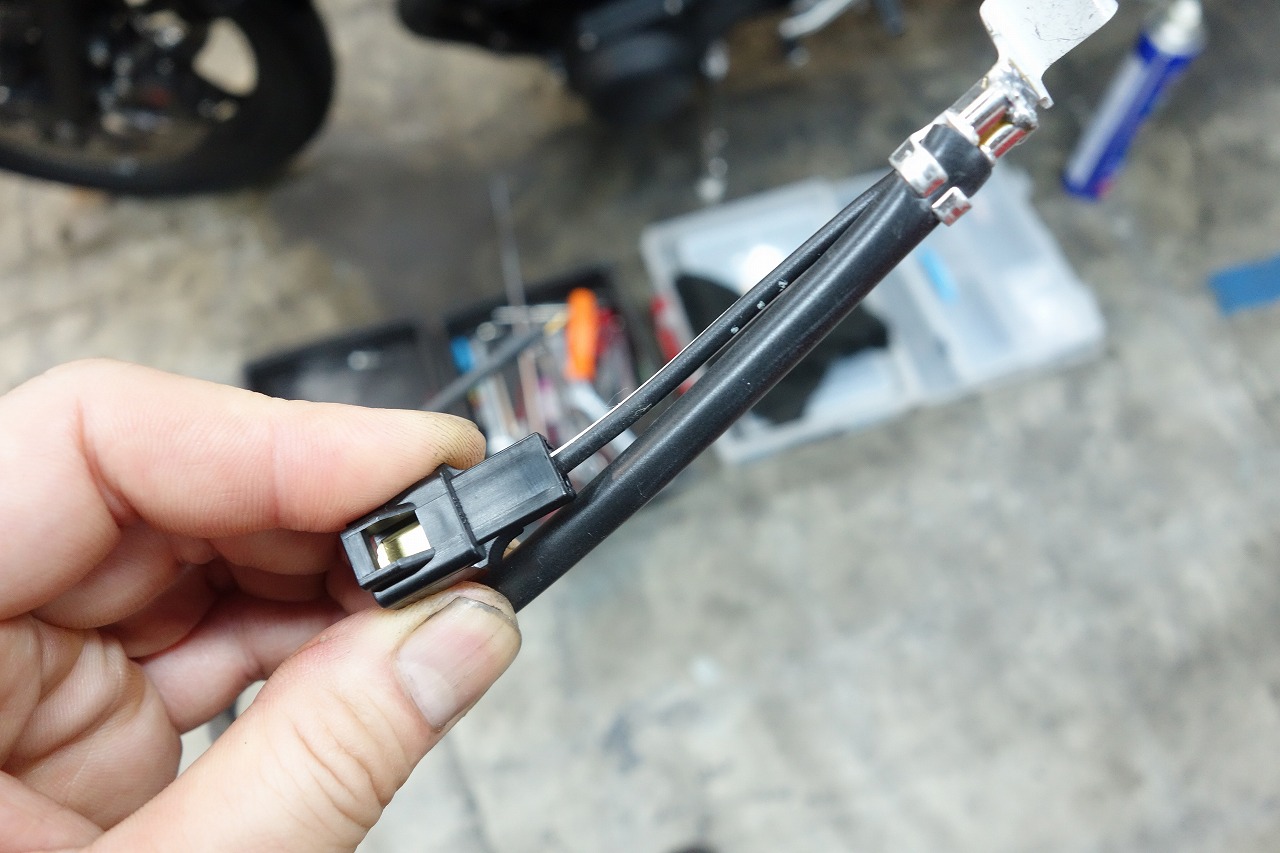
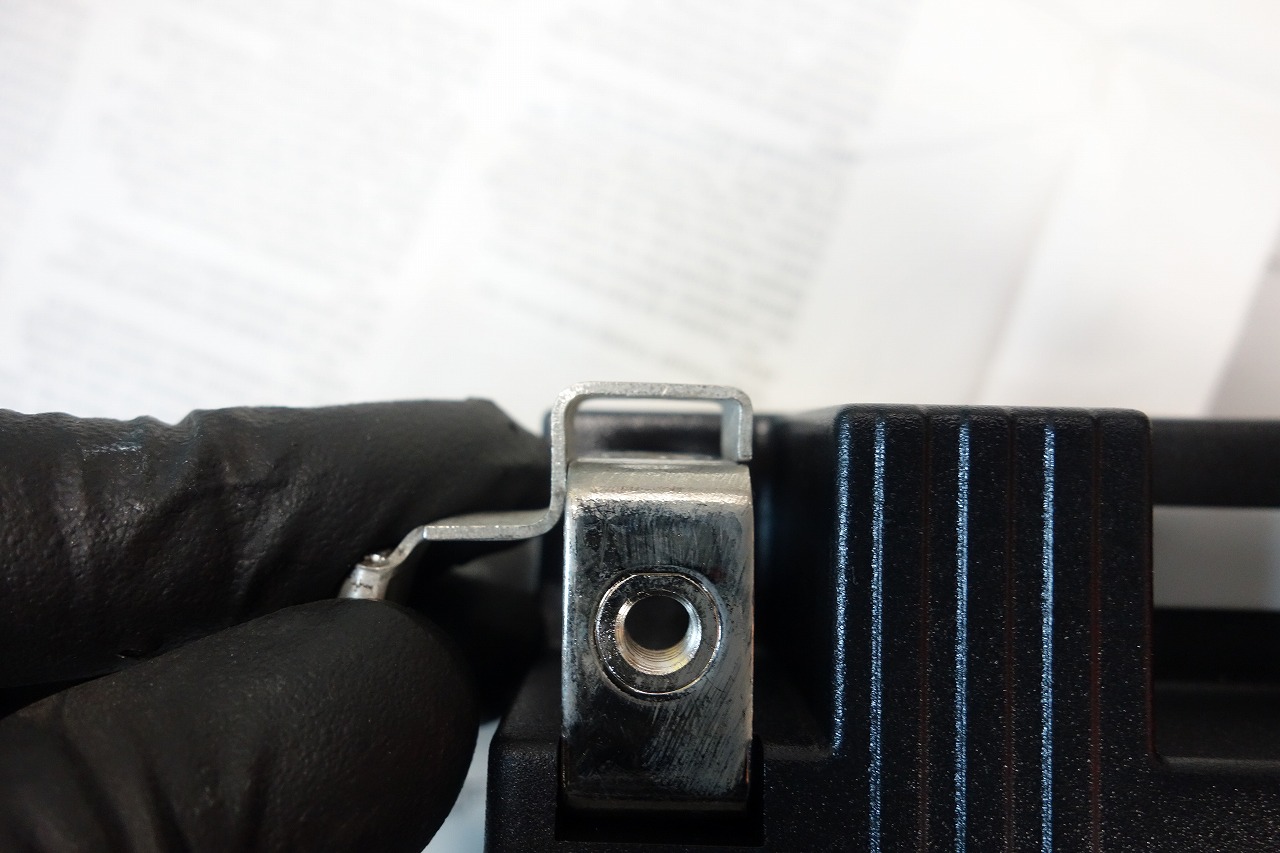
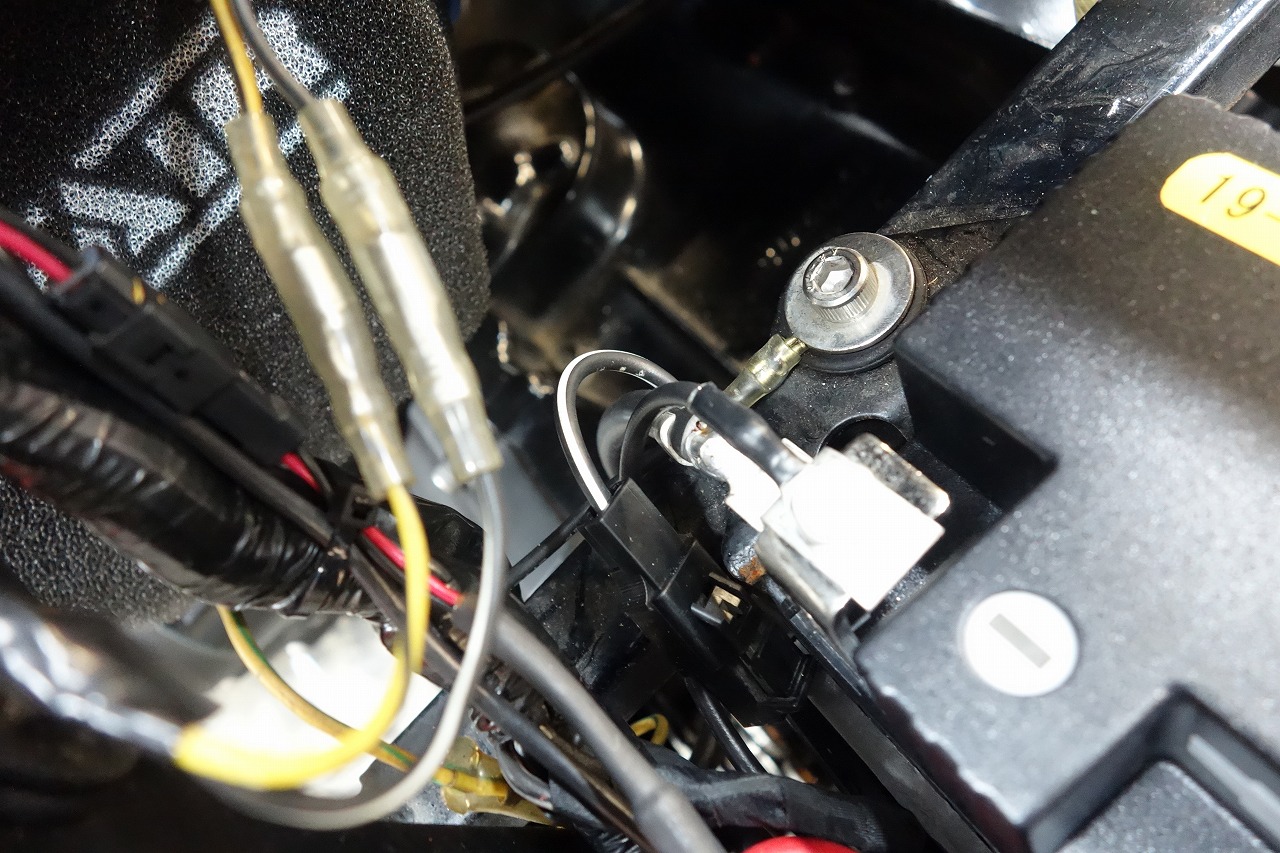
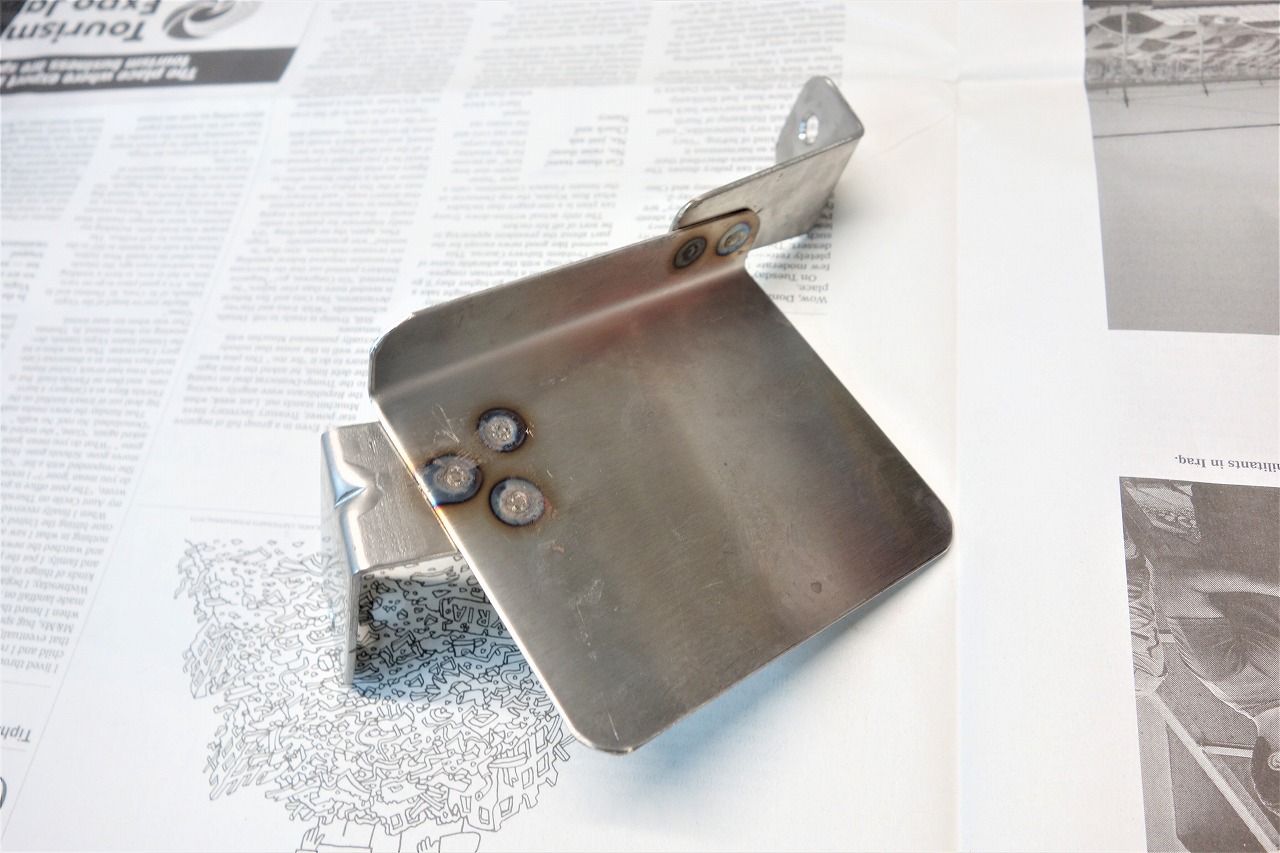
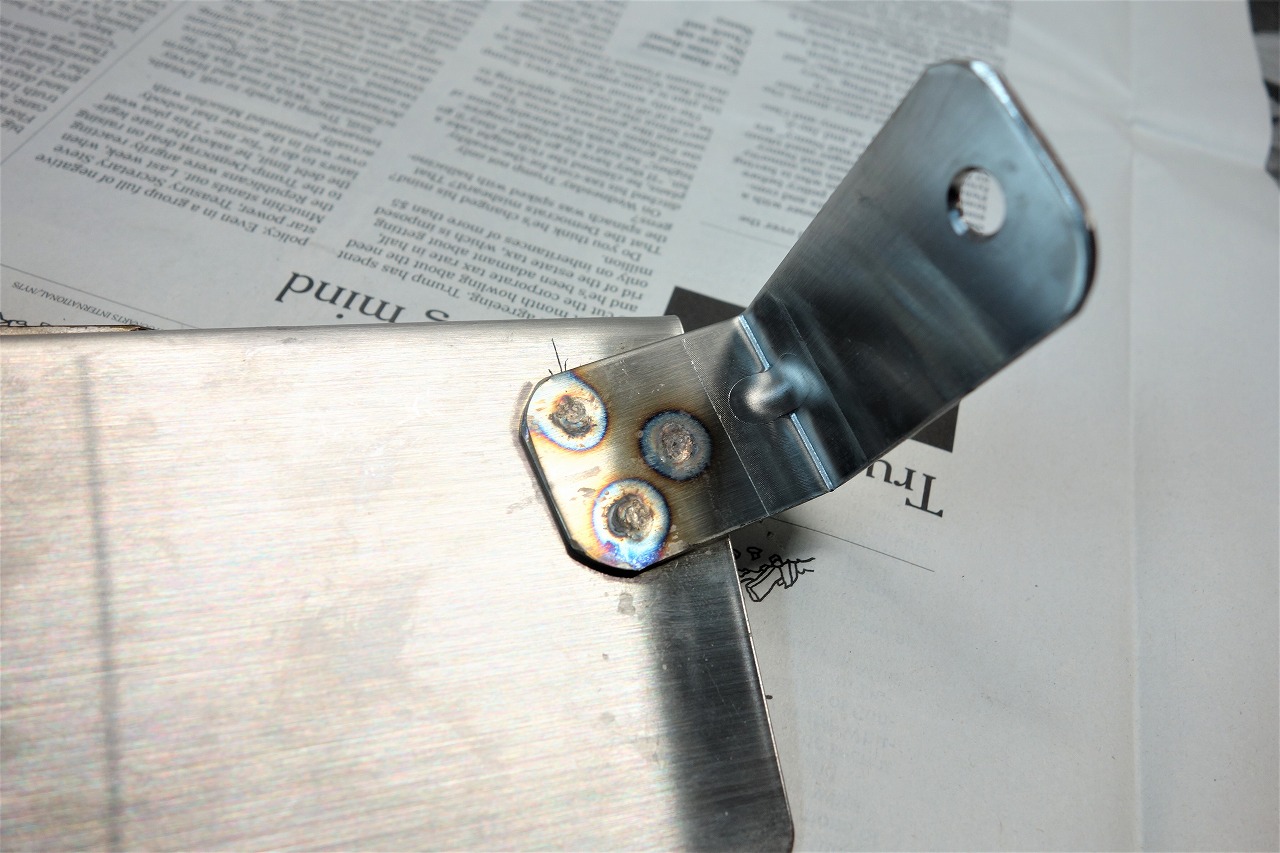
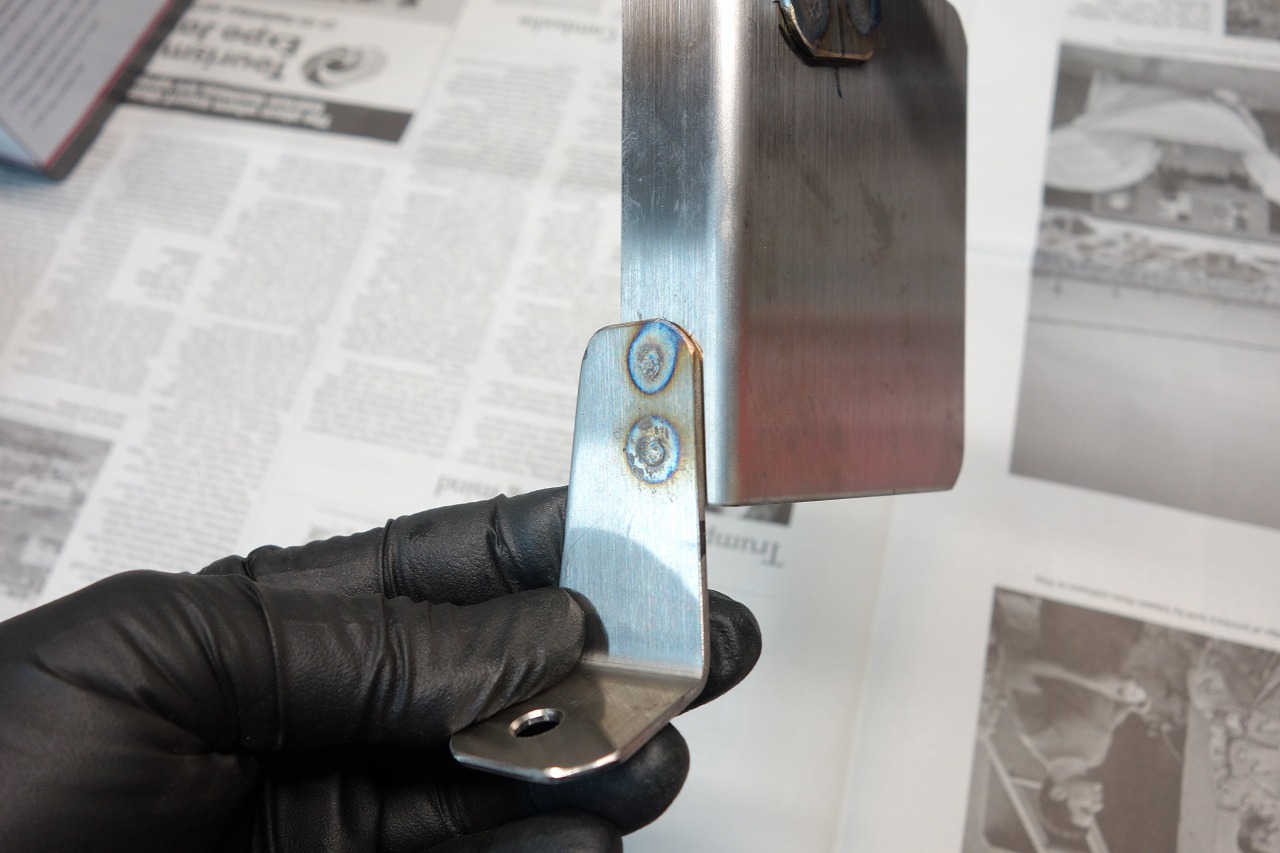
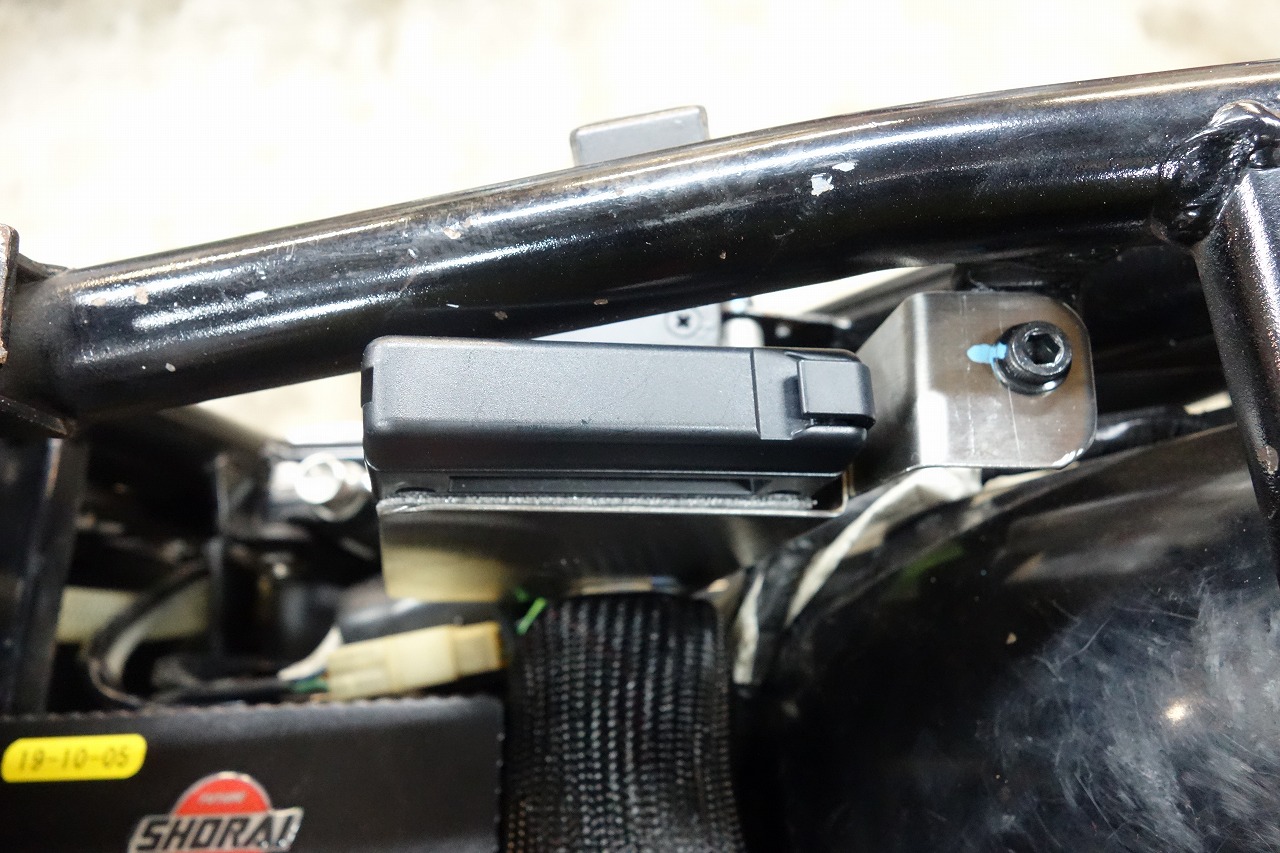
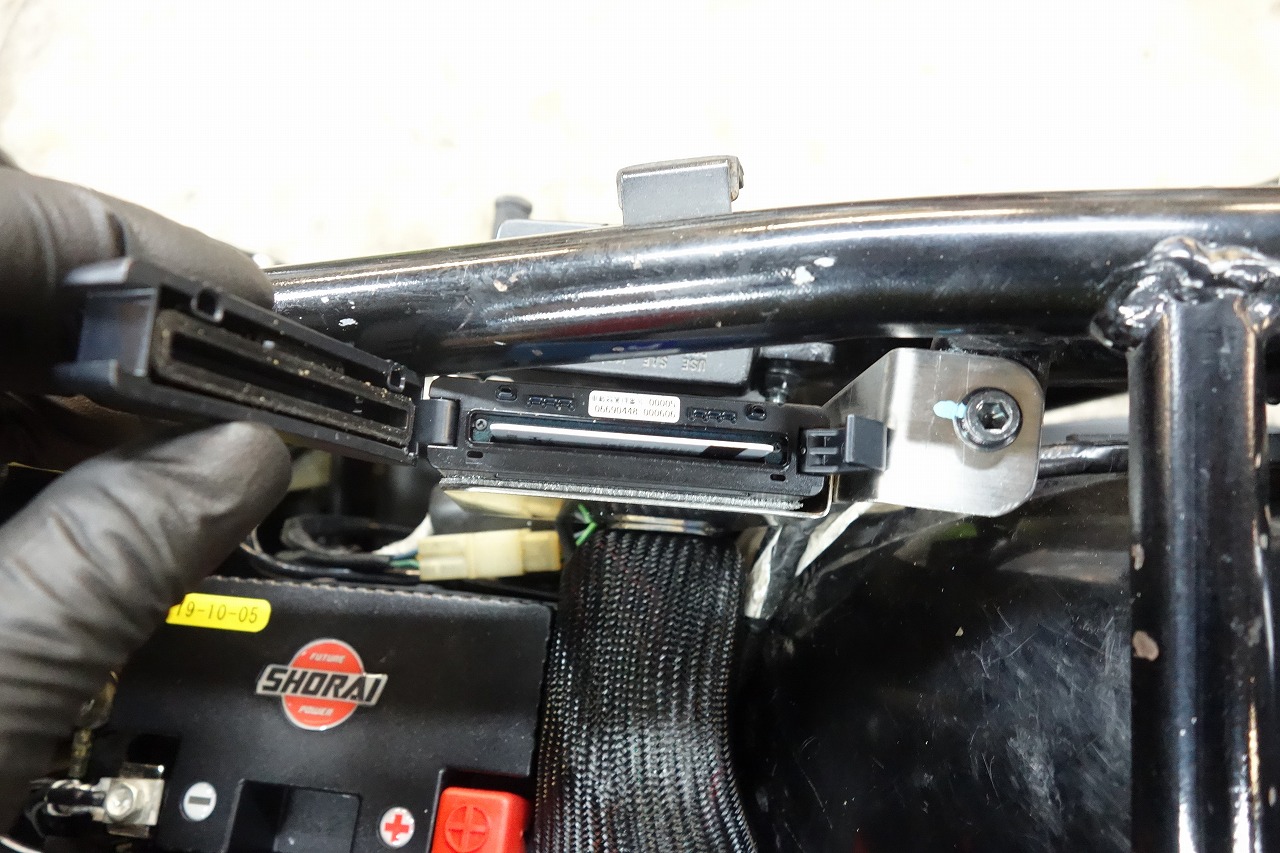
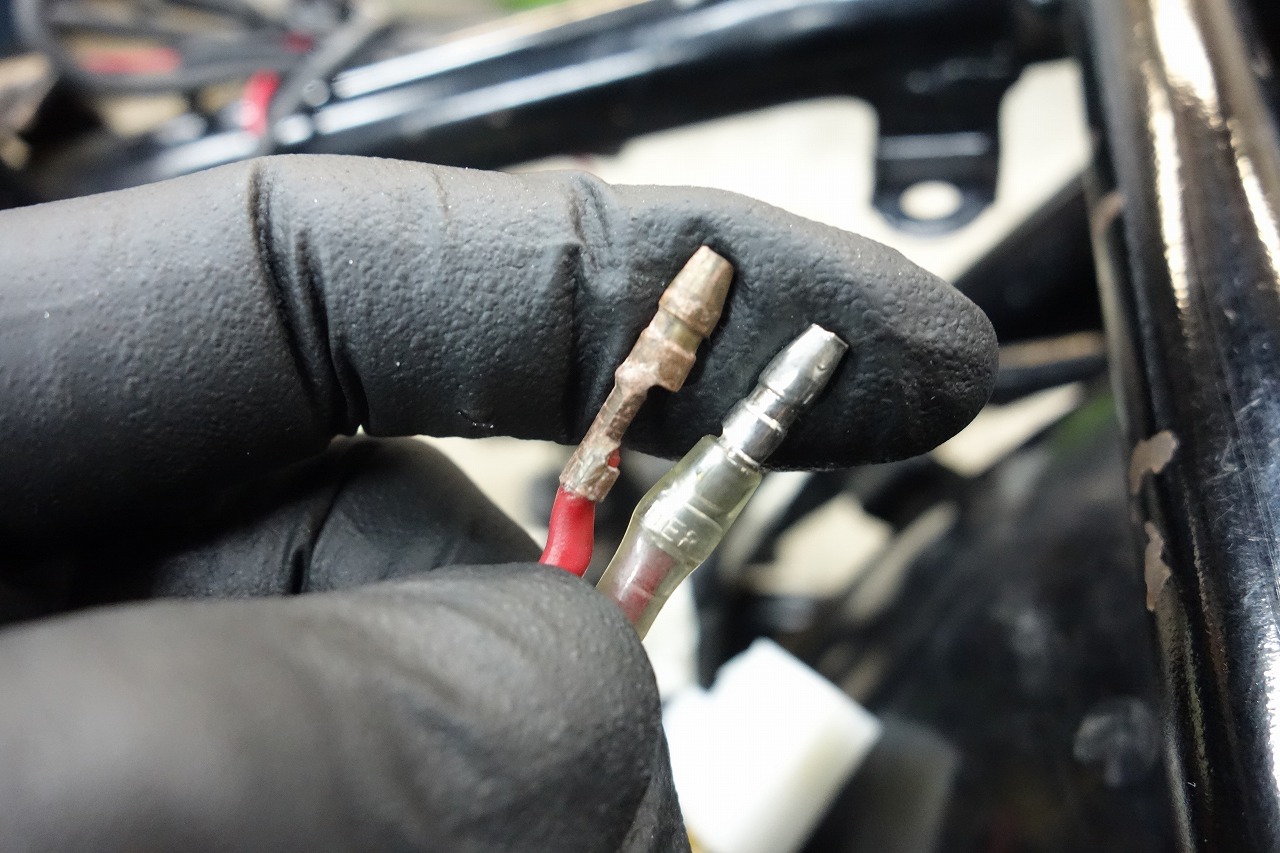
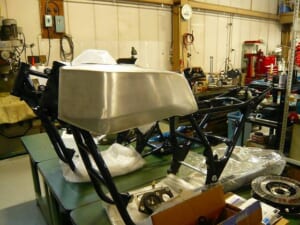
When you think about it, the pioneers are helping people down the road, so they’re doing good work… or so I tell myself. This is the MOSFET regulator. It has stable performance, but it’s quite large. To mount it cleanly, we need to relocate it. When you think about connectors and wiring, it’s faster to buy from PAMS. They’re close by, and you can ride a bike there too. The surface got pretty crowded. We switched the fuse to a blade type and updated the starter relay to a newer model. That means we need to remake the plate. And I’d like to remake this battery case too. Then what was the point of choosing this battery size? My brain was going in circles, so we’re mounting it with current modifications. I don’t like bolt-and-nut fastening, and I don’t like pop rivets either, so we use welded nuts. Once painted, nobody notices, which is perfect. It would hit the step if we didn’t offset it slightly, so we cut a 52 and made a spacer and cooling plate. A shearing machine is really convenient. If you have the space, I’d definitely recommend getting one. The fuse box went here. On Suzukis from this era, the main ground just connects to the battery. The main harness grounds are dropped at various points. The appearance and corrosion resistance aren’t great. We’d like to ground it to the engine (aluminum). There are so many co-fastened connections. I basically hate these ring terminals. If forgetting a co-fastening causes trouble, the wiring should be marked to prevent that. We’re switching to this type. This one is from a GSF1200, but if we search, we might find something even better. When you start doing extra things… hmm. We cut it cleanly with a die. This cleaned things up quite a bit. To improve battery access, we relocated the ETC unit. We spot-welded it sheet-to-sheet. We added ribs at the 90-degree corner for a bit more strength. That’s how it turns out. Making this from a single sheet would be difficult and wasteful. I think this approach saves time, eliminates mistakes, and is highly efficient.
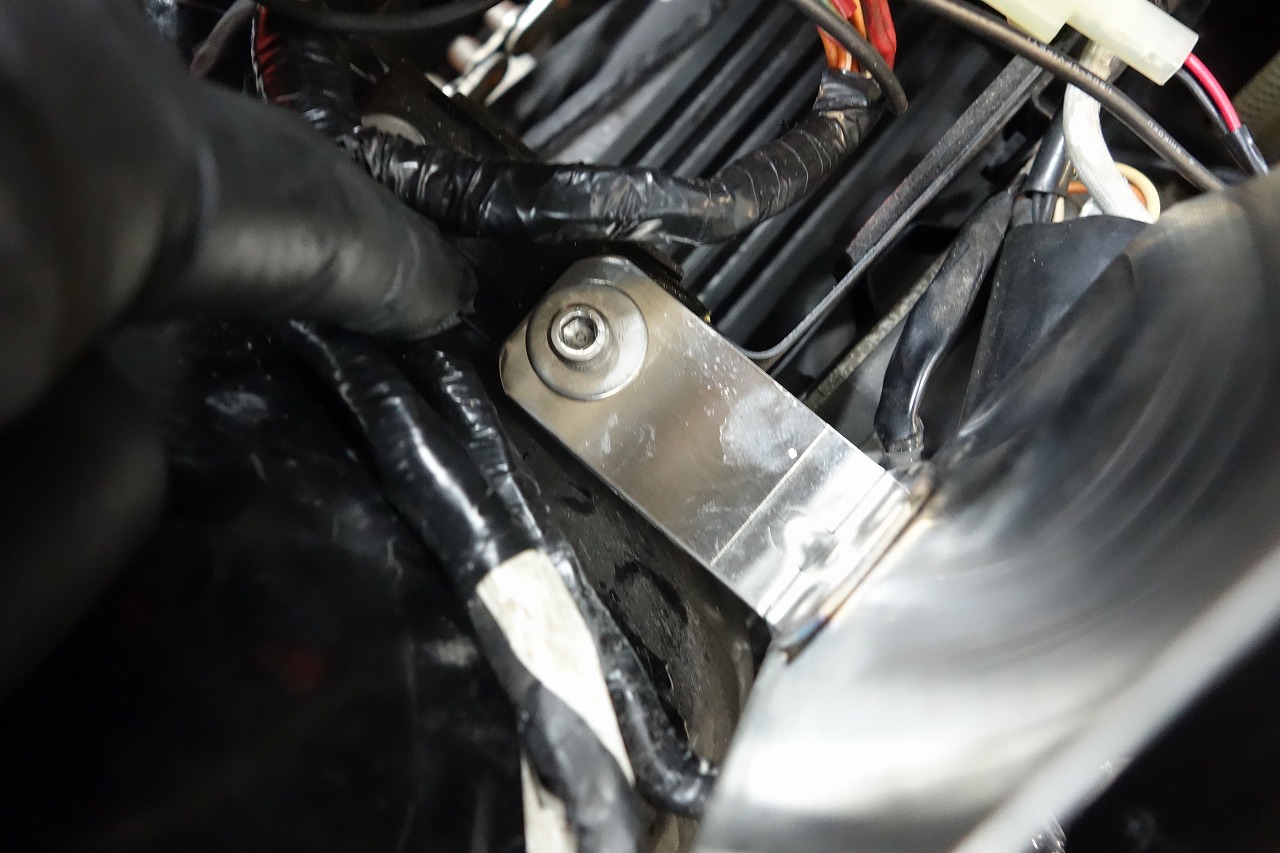
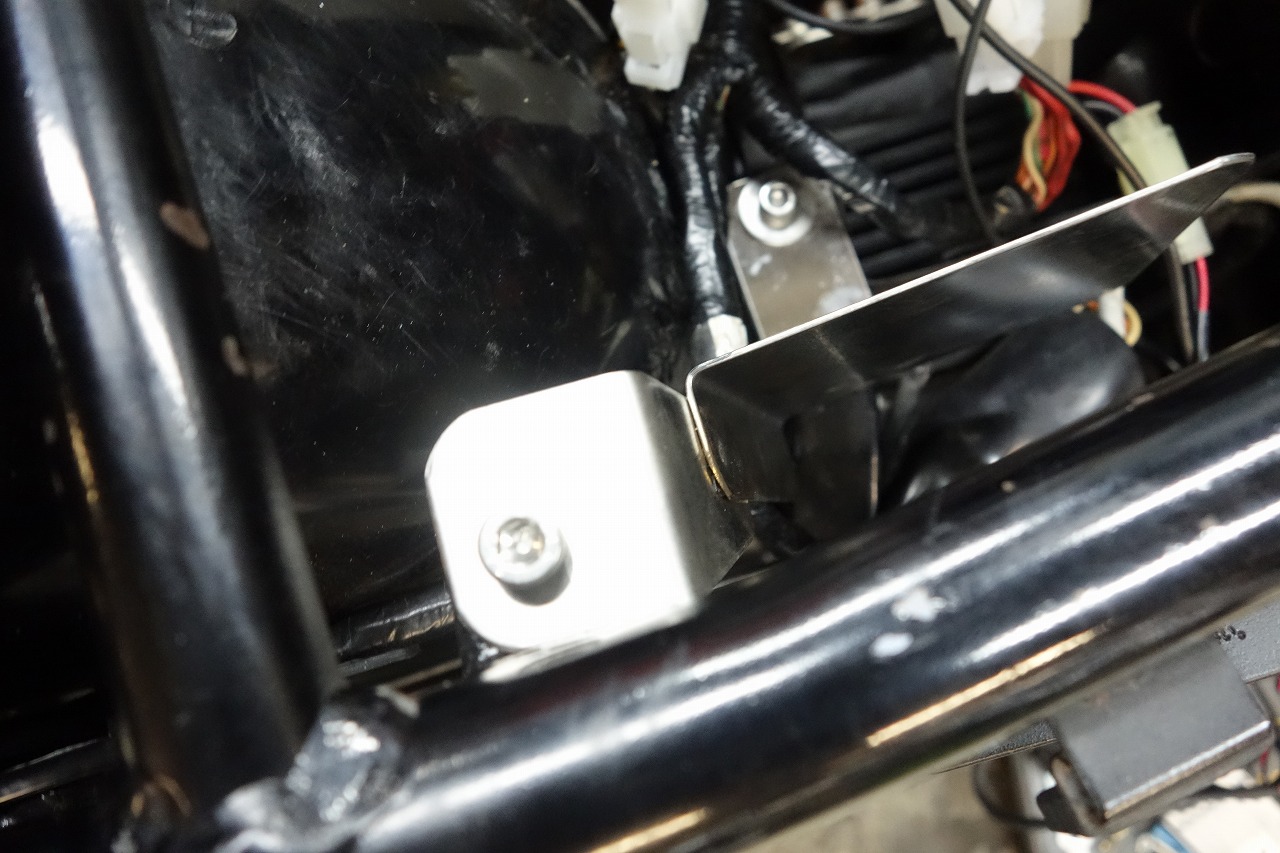
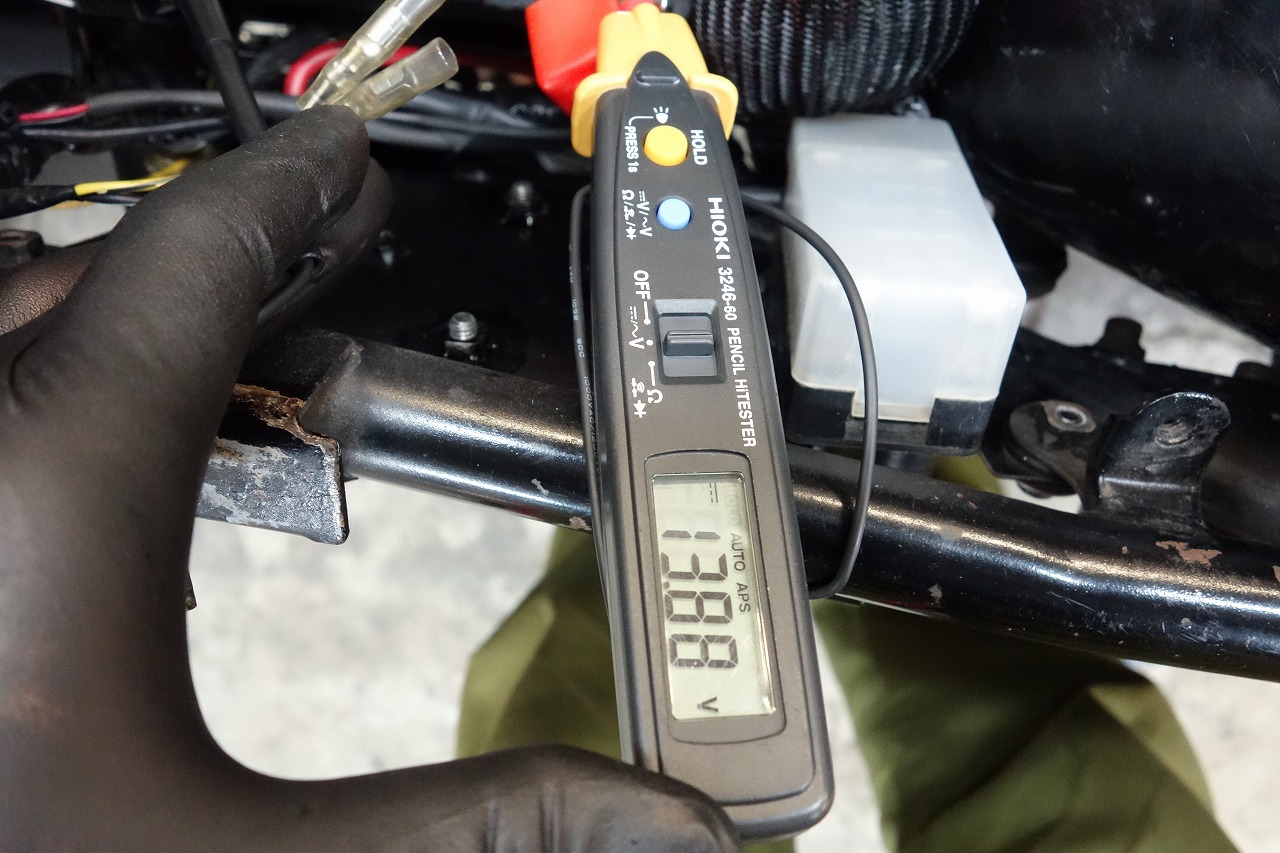
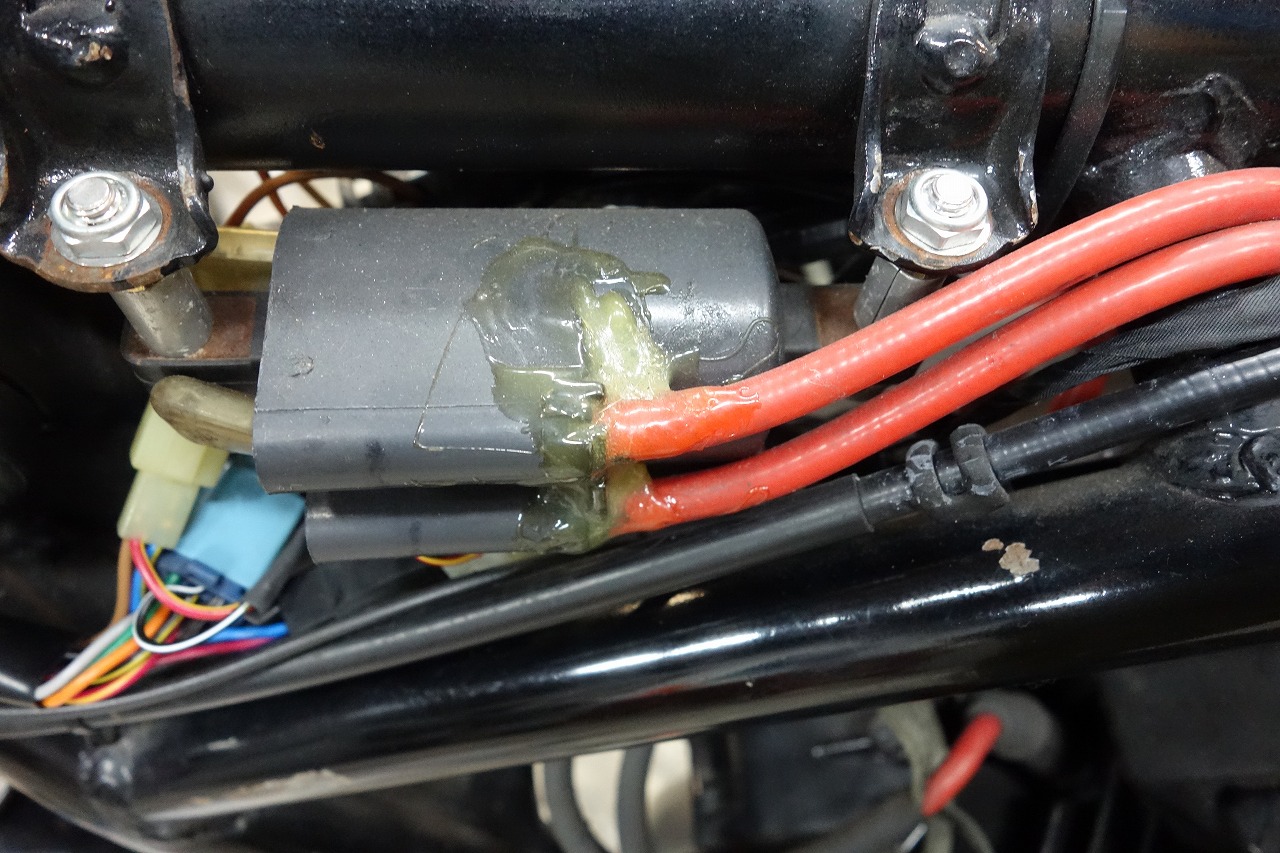
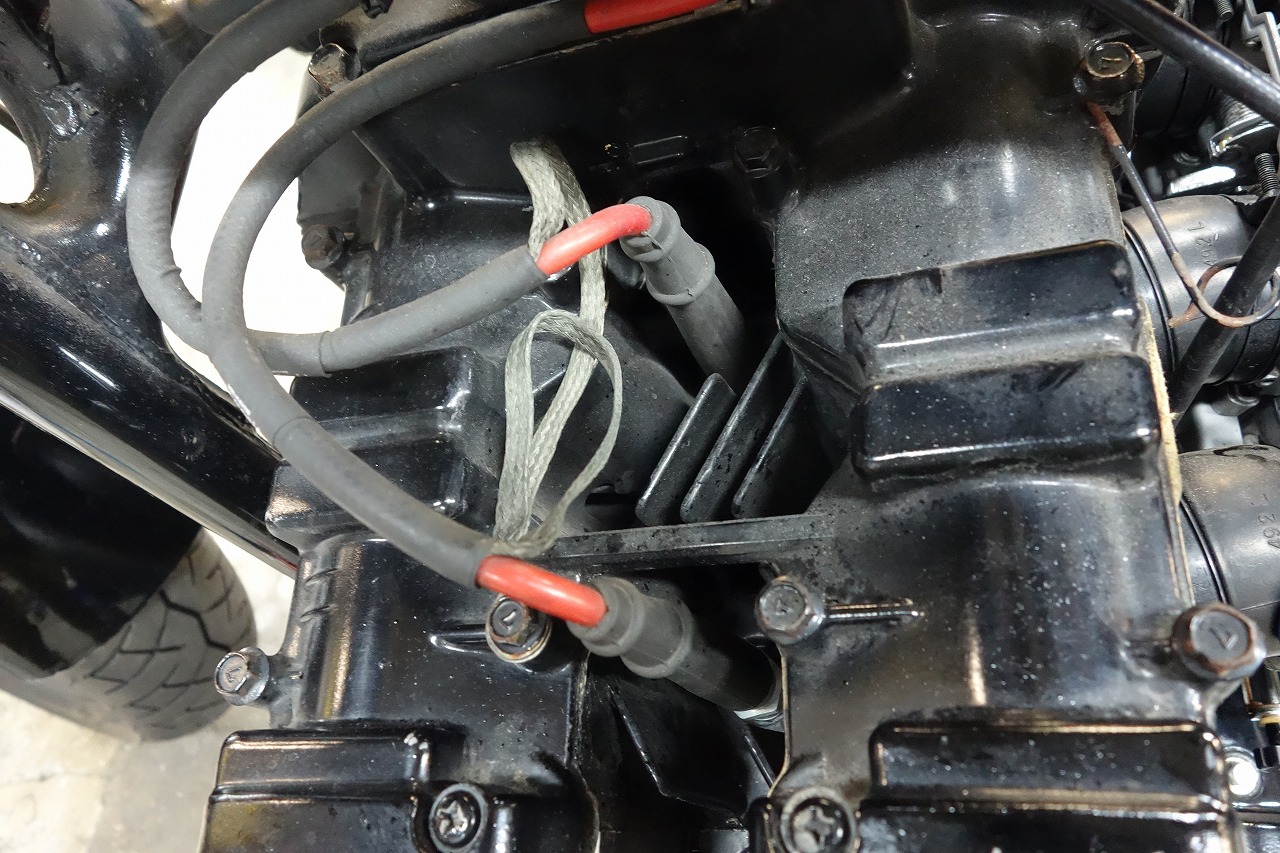
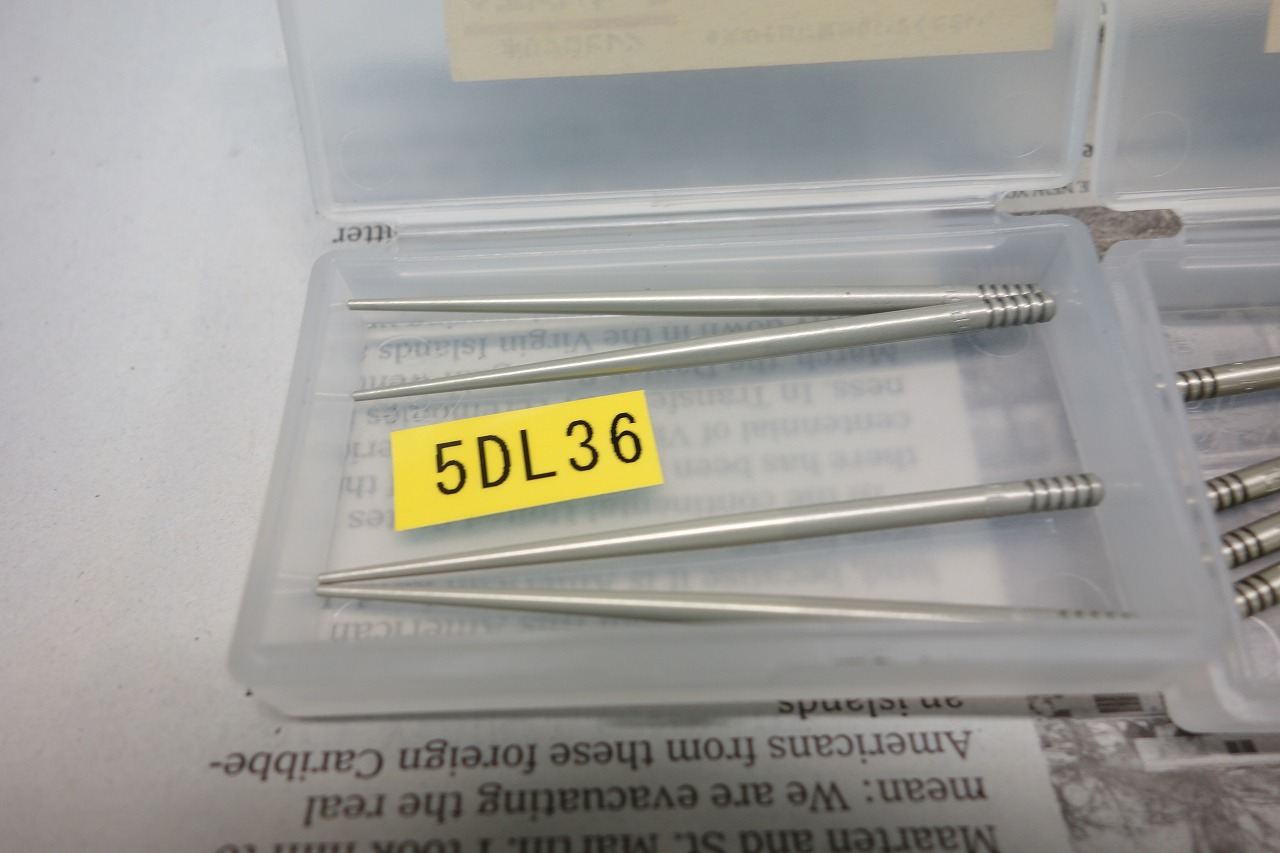
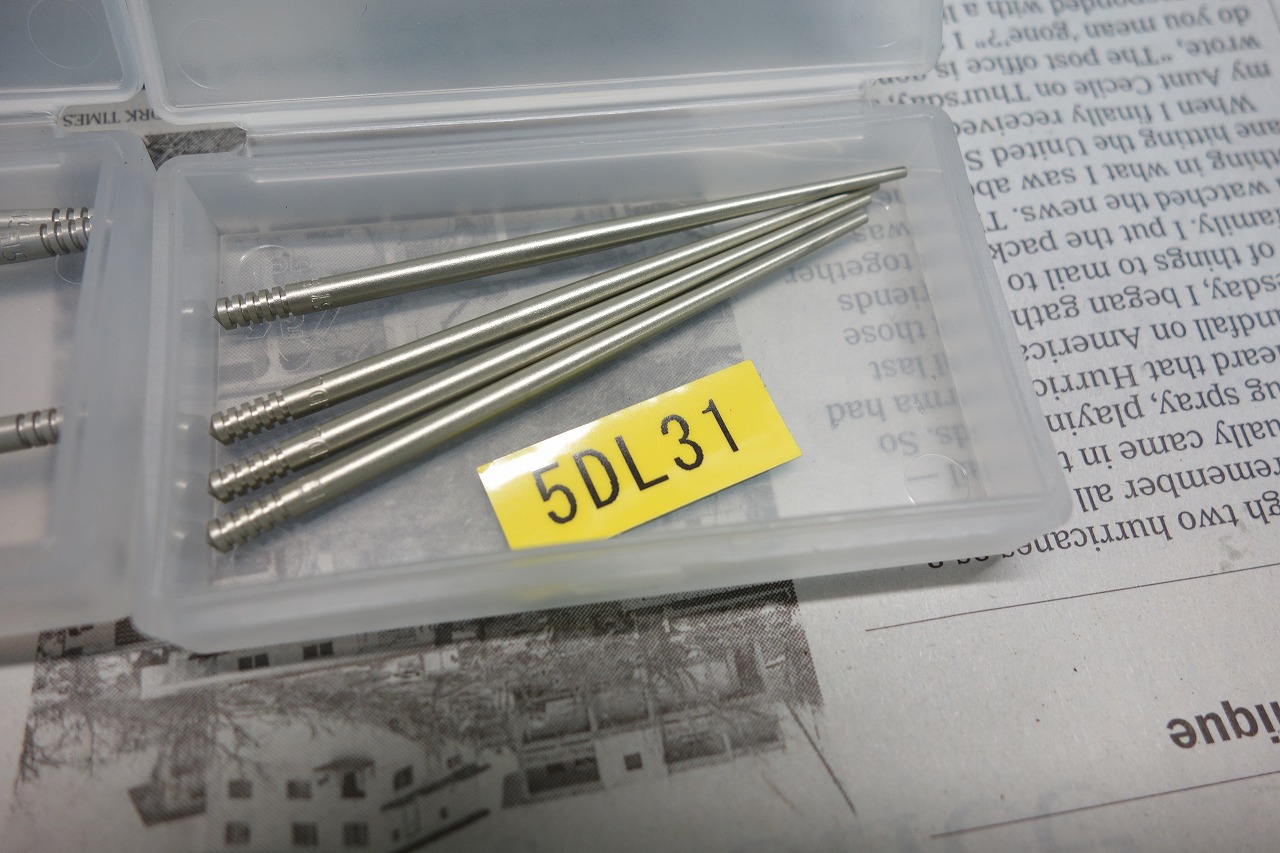
We borrowed one of the battery mounting points. Two-point mounting in the old air cleaner box location. It’s mounted like this. We’re using dual-lock (clear) fasteners, so there’s some flexibility built in. By keeping it as high as possible, opening and closing is easy. When I think about how I’d do it if I were using it myself, the path becomes clear. Here’s how everything is organized. The positive terminal is a Honda angle connector we introduced in a previous post, “Fun and Useful OEM Parts.” We simplified this area too, switching everything to 250-class connectors. At idle, we’re getting about 13.9V. There’s that Nology Hot Wire from some time ago. I remember someone had a ground leak with one… The voltage was weird! The voltage was weird! And there was that strange case where someone rode it every day with that voltage and the battery never died. Memories. We ordered two types of needles from JBS a while back. This should make the BST work properly. The engagement and throttle response are noticeably better.
The rest waits until after we get the inspection. We’re almost there.