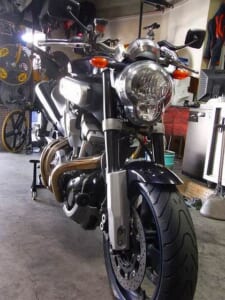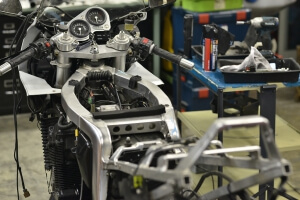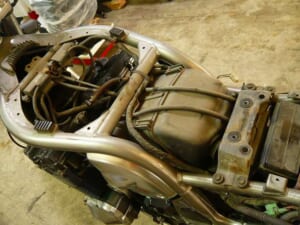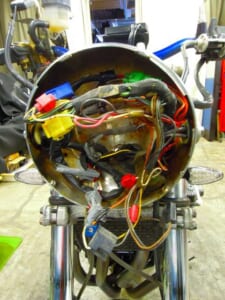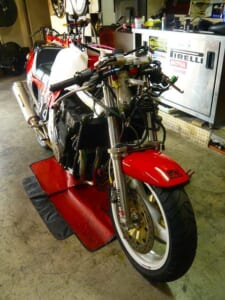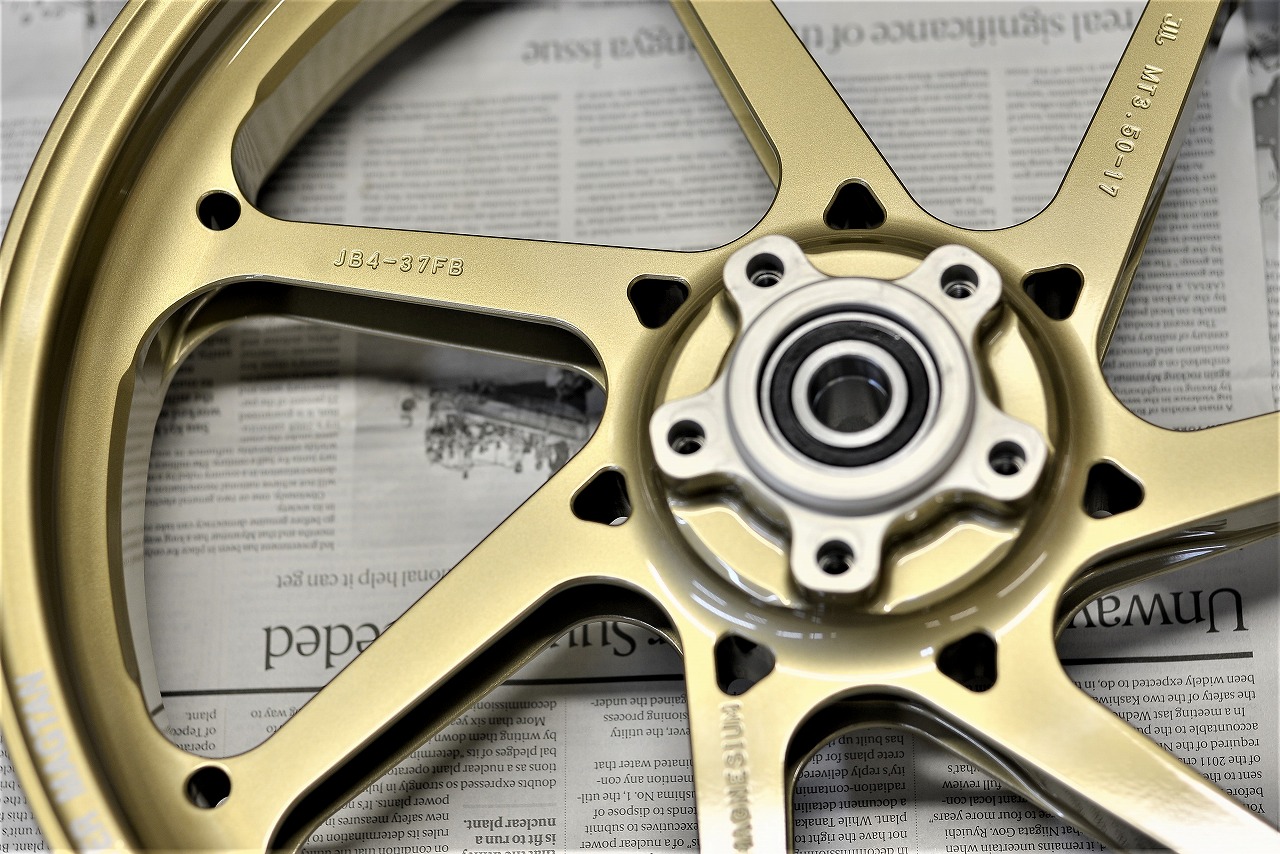
The Magtan delivery schedule was tight—end of year or February next month?—but
someone kind in this world gave up their spot, and we barely made it!
Can’t we do something about the rush at year-end?
This year Golden Week was a 10-day break, wasn’t it? Come to think of it?
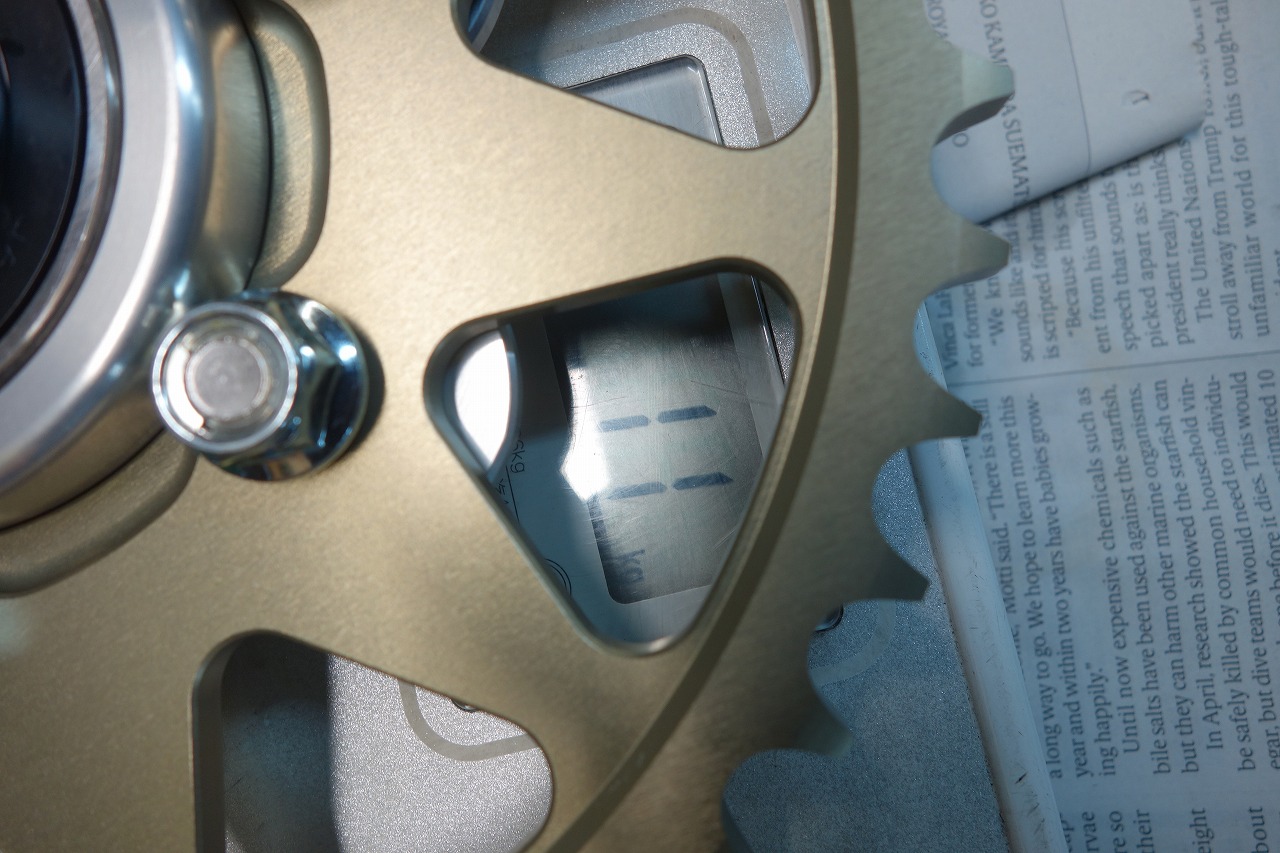
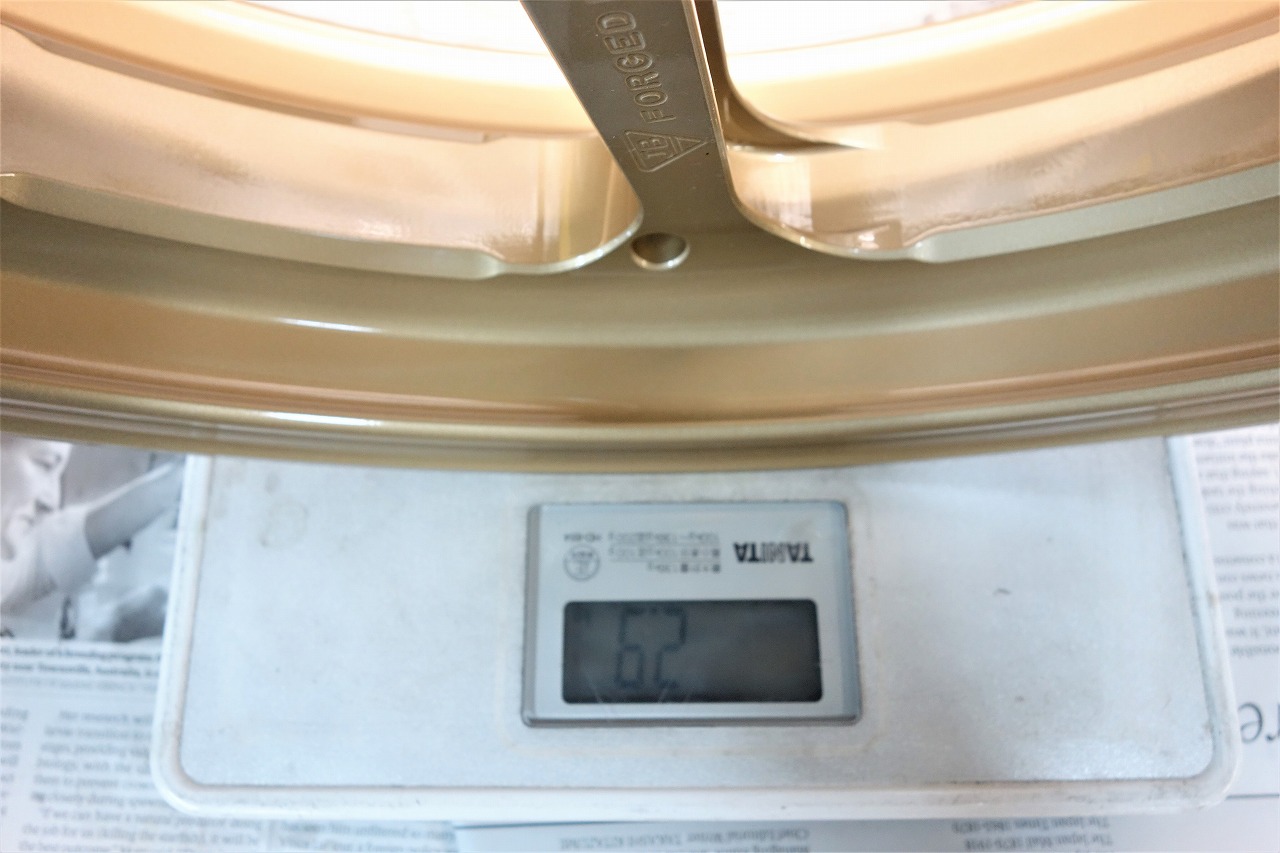
We measured the comparison with STD using our Tanita health meter.
Please bear with the rough measurements.
STD front wheel 4.6 kg
Magtan front wheel 2.9 kg (−1.7 kg)
STD rear wheel 6.9 kg + hub 2 kg = 8.9 kg
Magtan rear wheel 4.1 kg + hub 1.1 kg = 5.2 kg (−3.7 kg)
*Sprocket included.
• Front −1.7 kg
• Rear −3.7 kg
Total −5.4 kg
That’s amazing—I really feel it. It’s like going from steel-toed boots to high-tech sneakers.
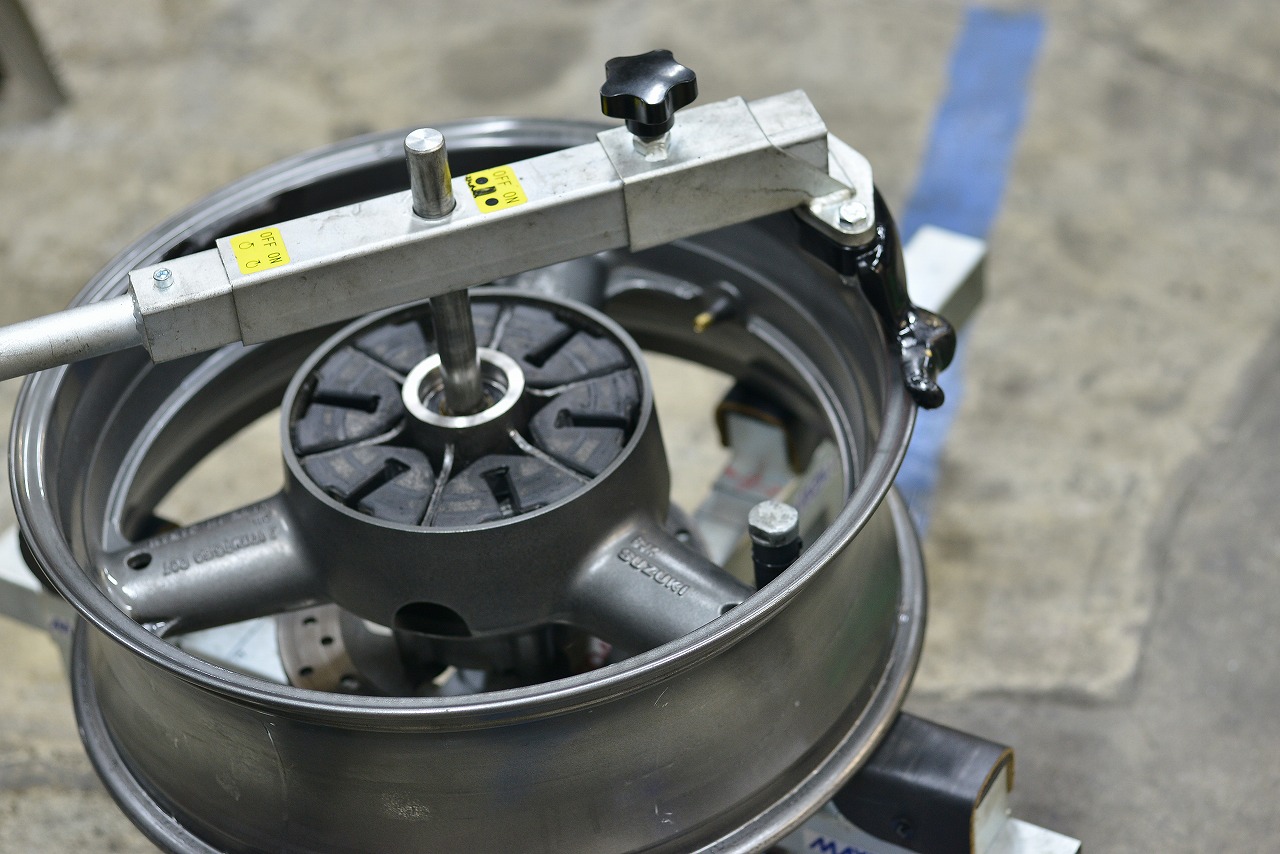
We’re removing the tires—looks like another 170 size is in there.
It’s correct for the Inazuma 1200/GS1200SS STD size, but…
Please refer to that.
Thanks to the manual tire changer MAX2H, removing them is instant.
With these wide-open tires and this hard casing, hand assembly could be rough.
I think there’s no one in this world who doesn’t make mistakes.
But you can lower the probability of making mistakes.
If time is tight, I think you need to hurry. Even just 1 or 2 minutes of extra care can really bring that probability down.
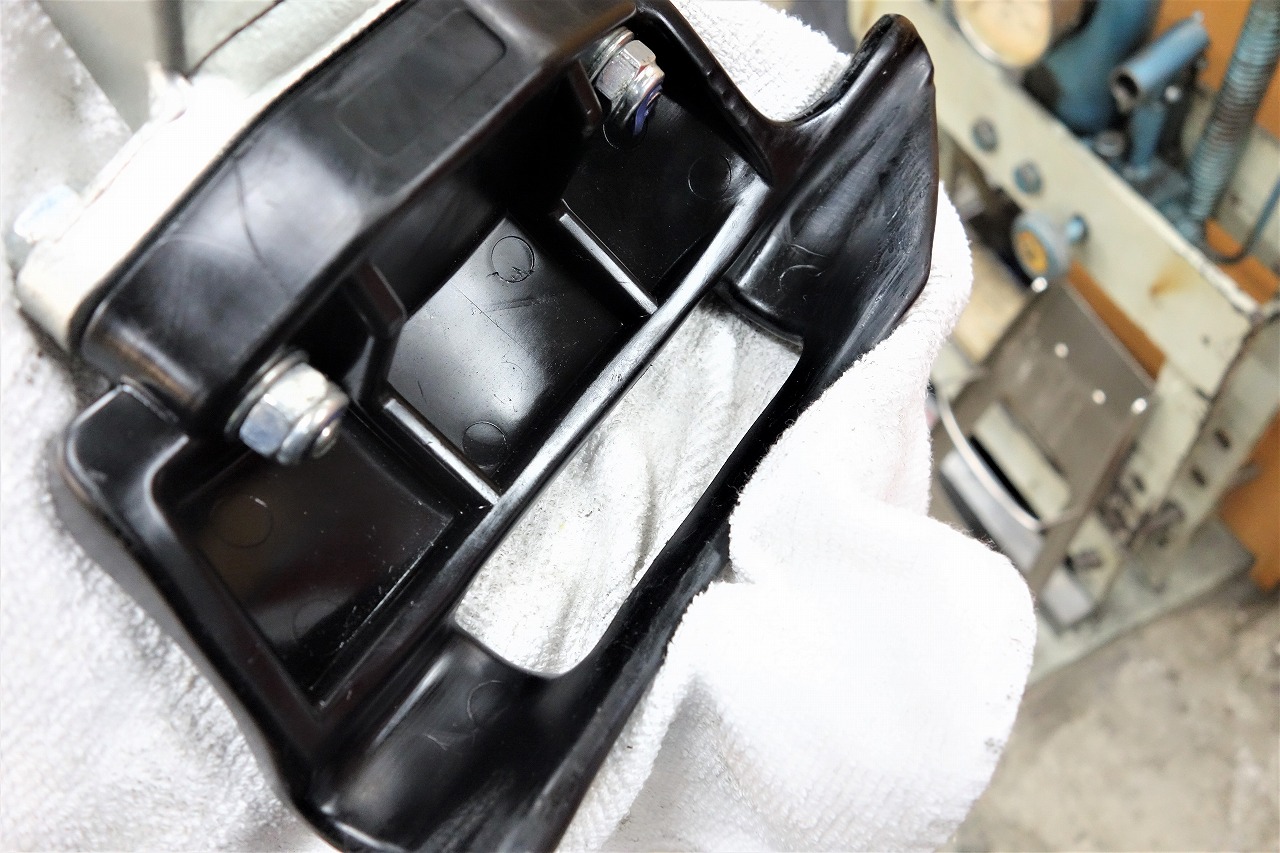
What’s this black stuff?
Before using the tire changer mount head (the thing that goes around the wheel’s outer edge), check it, wipe it, and touch it with your hand—you can spot if something might be caught in there.
*It rarely happens, but it’s a precaution.
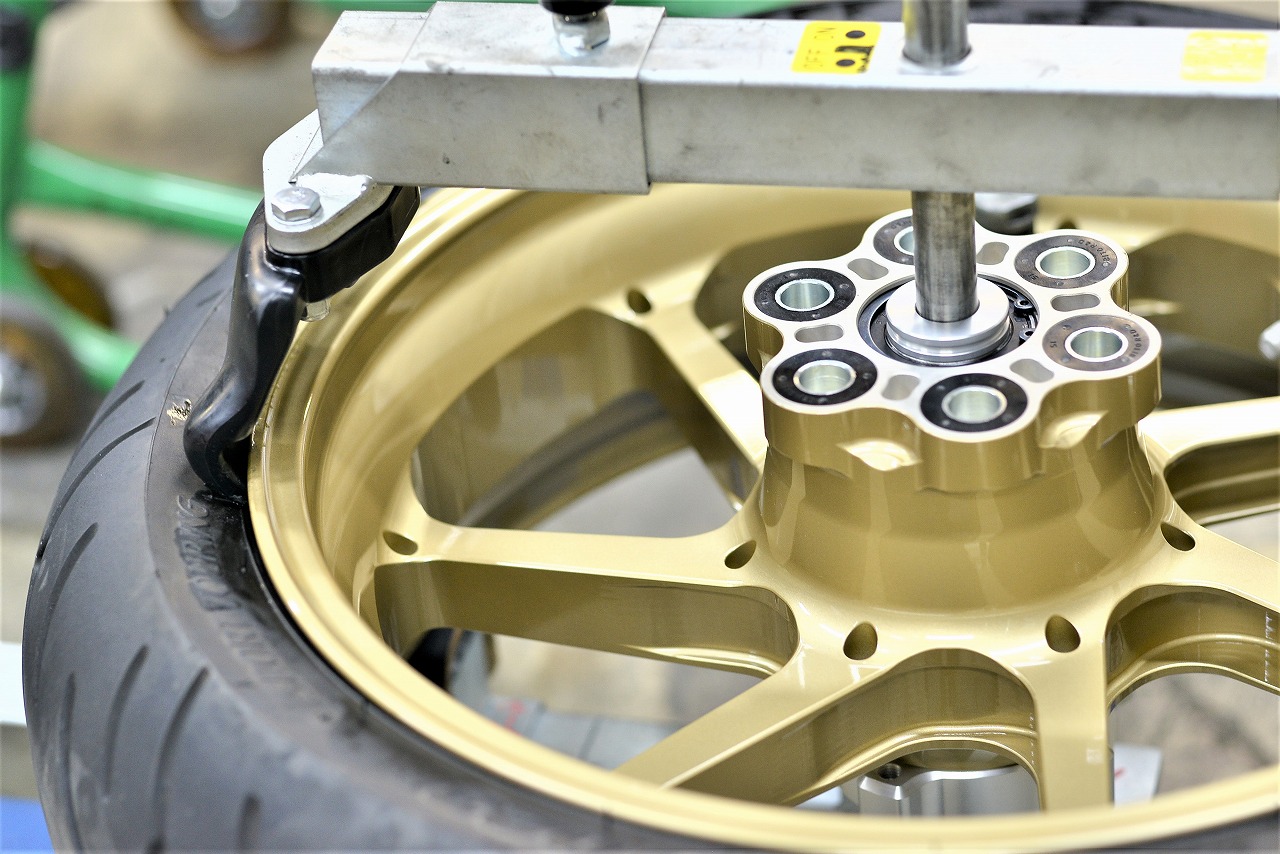
Then we set it up and slide it in with a ‘heave-ho’—done!
There’s no going back to hand assembly.
I was originally a hand-assembly guy.
But shops without a tire changer
• Don’t have the space
• Don’t do tire changes often enough
• Can’t afford the changer purchase and installation
I’d guess.
The benefits of hand assembly, in my view:
• Basic tire-change method, no equipment needed
• Minimal tools
• Using human power means you won’t bend the wheel (maybe?)
The drawbacks of hand assembly, in my view:
• The more times you lever and lift, the higher the chance of scratches
• Modern tires with solid casings are tough
• The very last part of removal feels rough (depends on technique)
It’s like something between an automatic changer and hand assembly.
If you don’t have the basics of tire changing down, it won’t go in smoothly—no brute force allowed.
It slides in smoothly and gently on both tire and wheel.
*Though it does take a bit of technique.
I really recommend it for bike shops.
*You’ll need to do some customization to boost convenience, so it’s not just buy-and-go.
If you can cut and modify things, I think it’s worth it.
Manual tire changer MAX2H
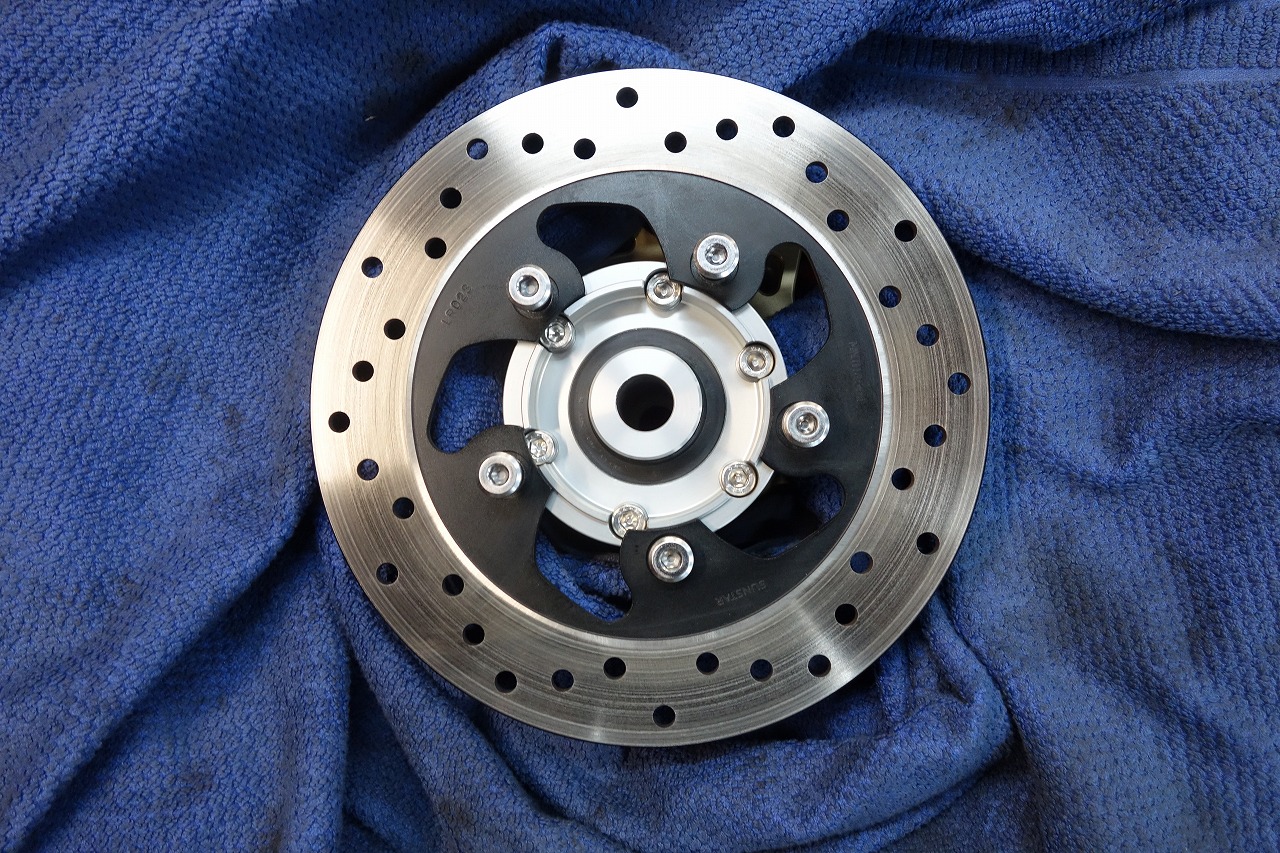
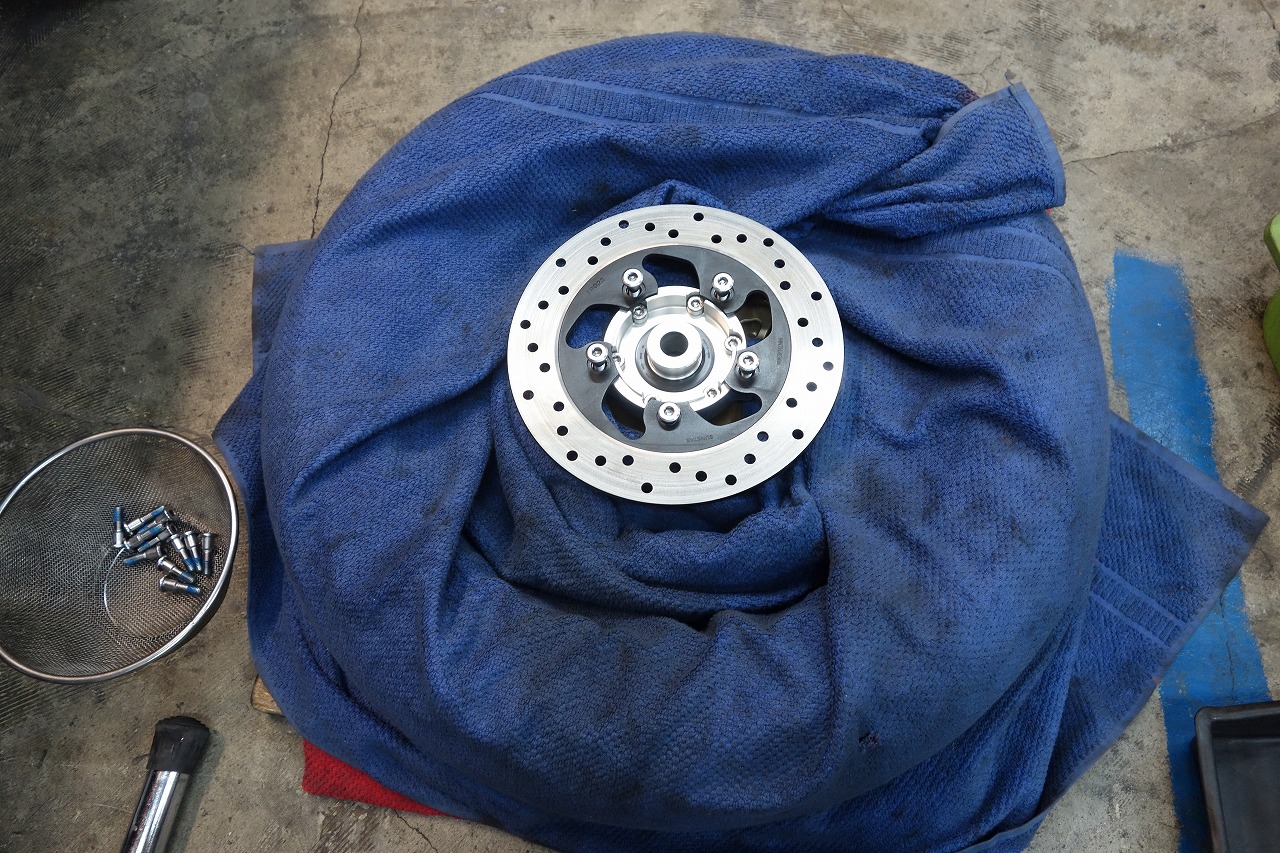
Let’s lower the probability of mistakes this week~
Just wrap it a little. Is it 10 seconds? 20 seconds? Please take that time.
Love and a towel, right?
We transplanted the brake discs. (front and rear)
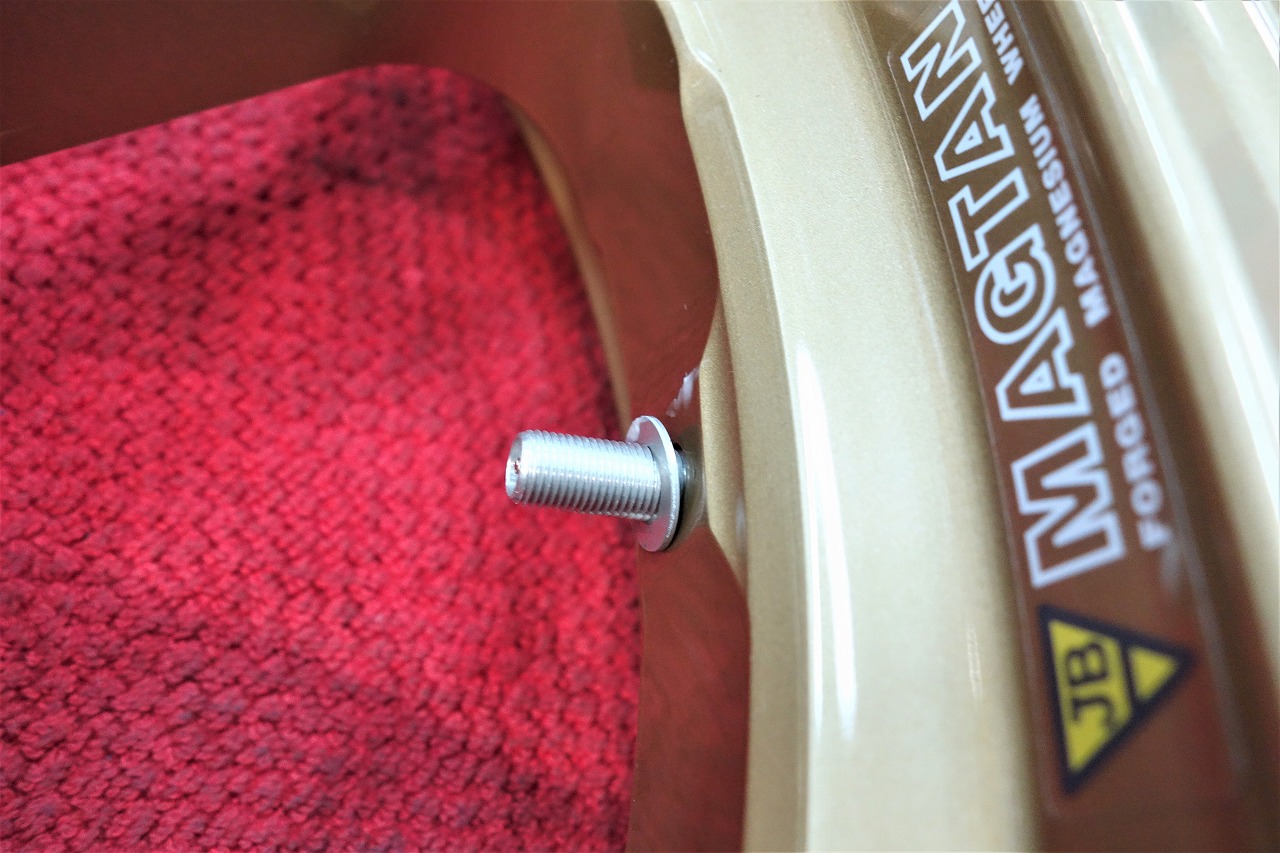
Let me back up a bit.
Direct nuts might scratch, so I use an aluminum or copper washer and lock it.
*Hopefully it helps prevent any leaks.
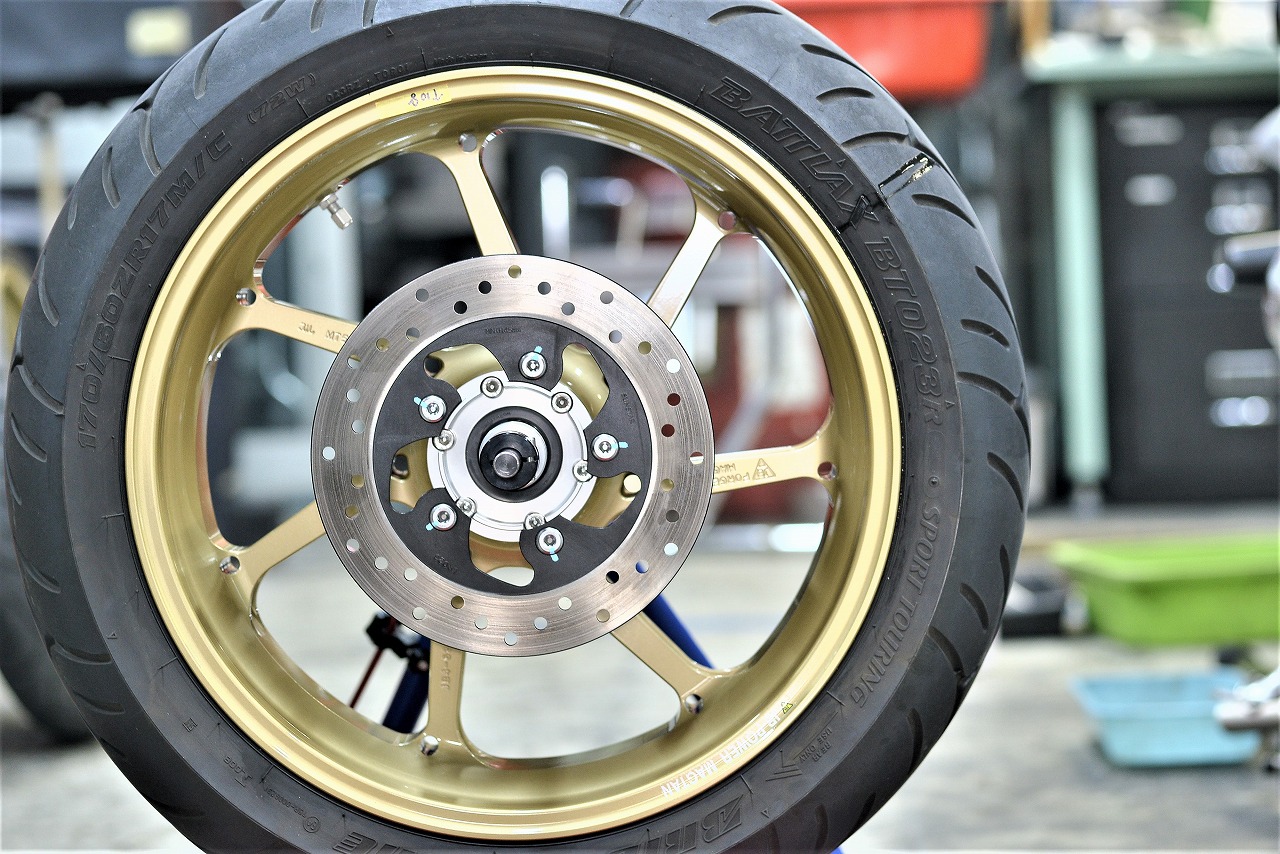
We balanced the wheel and finished assembly.
It looks cool, but this cantilevered wheel balancer was a mistake… I’ll figure out how to make it easier.
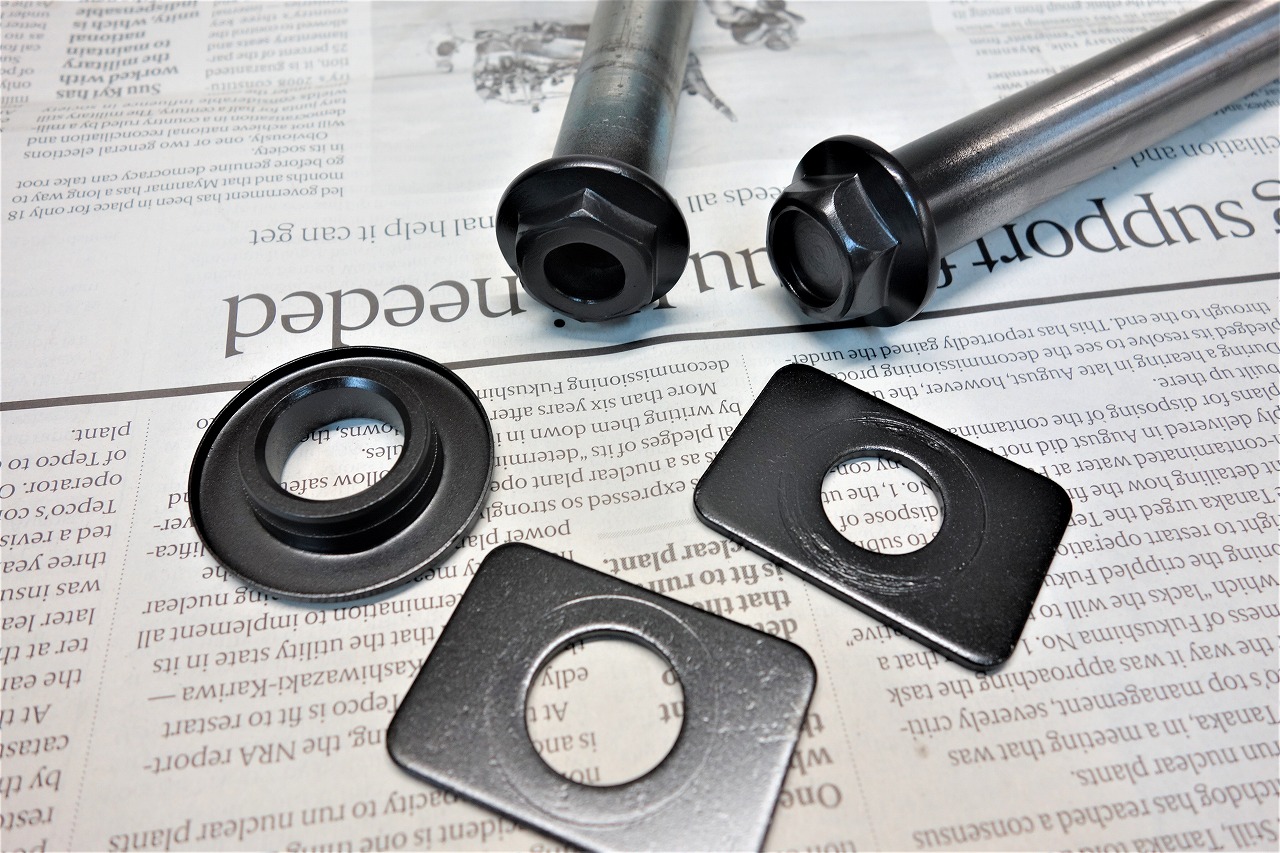
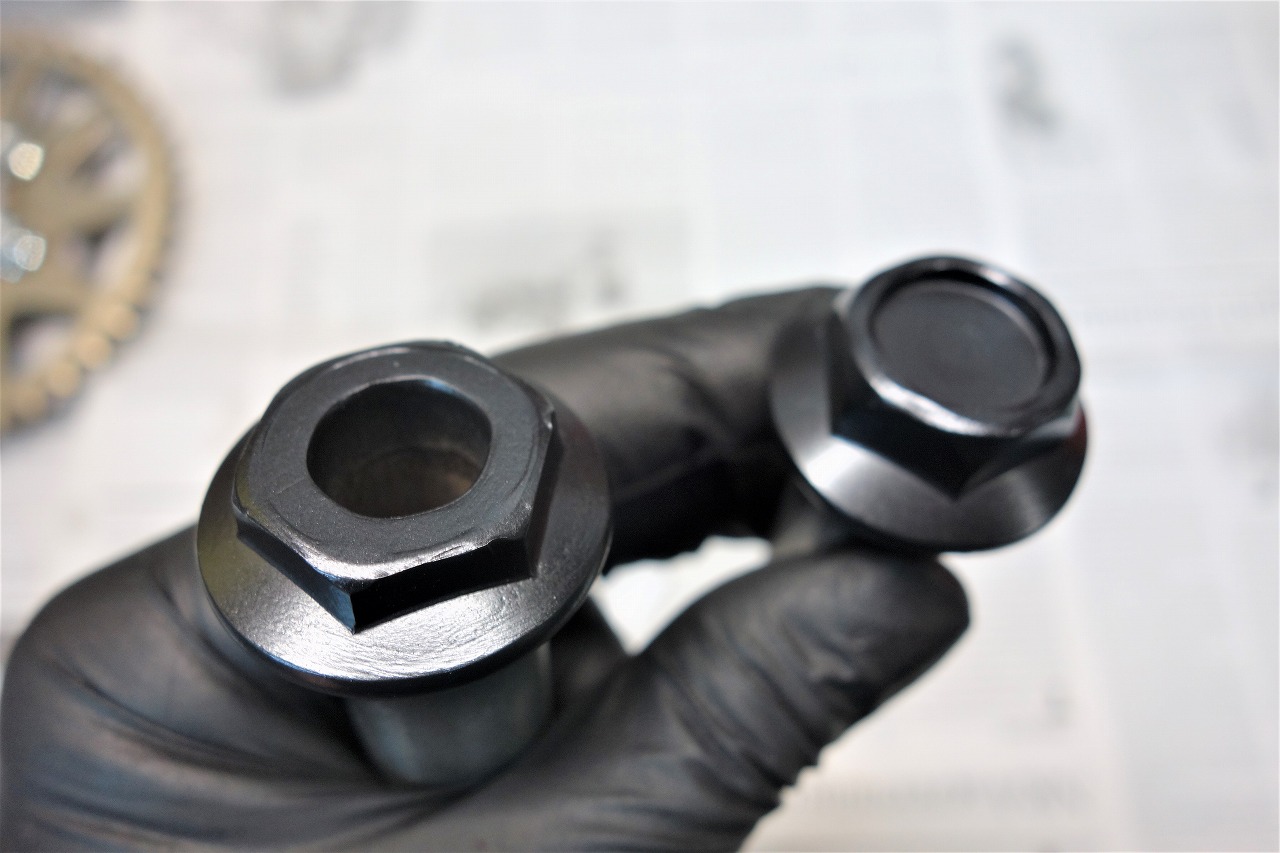
I gave it a light gun coat.
But during assembly…
Oh no! I forgot to coat the nut! More time wasted… it was close.
It ended up looking like an aftermarket shaft.
We’re fixing the chain guard with bolts as requested.
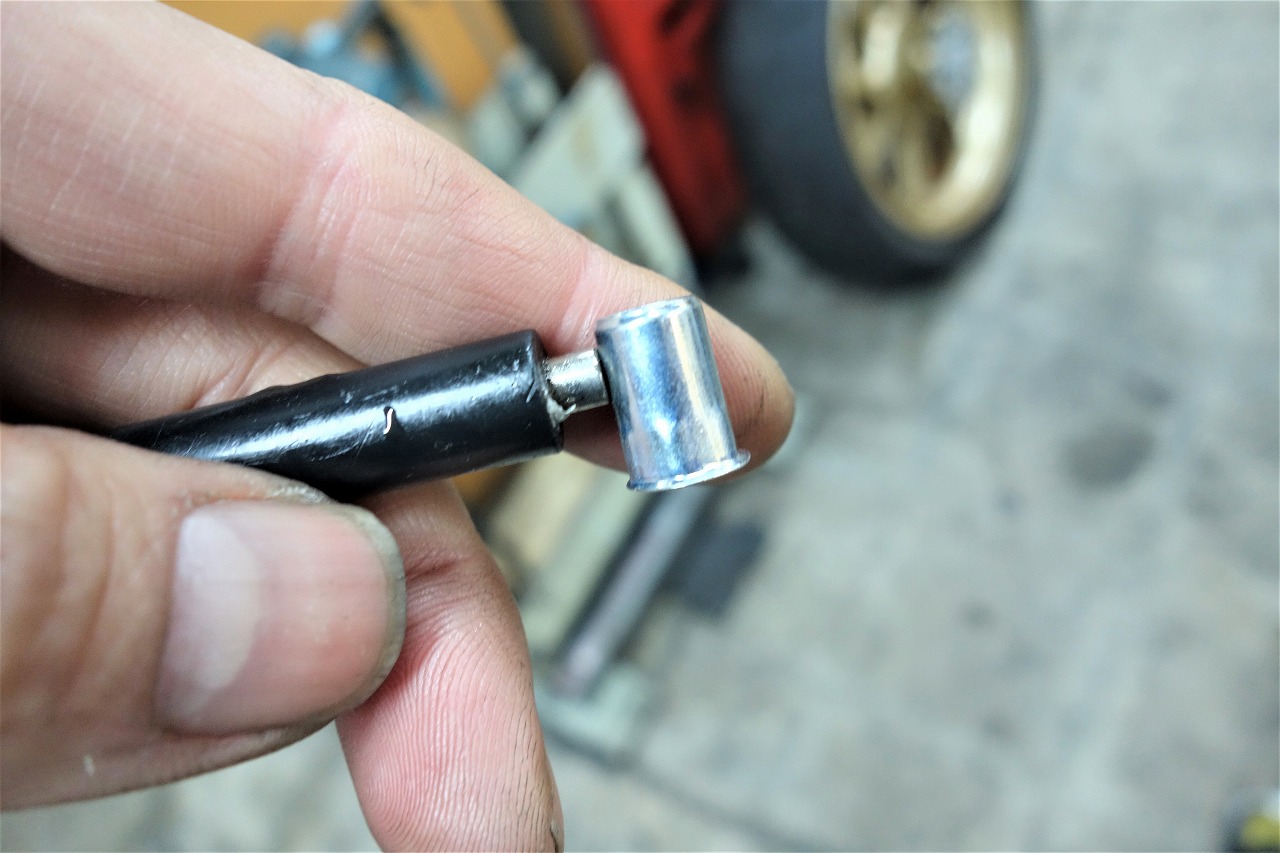
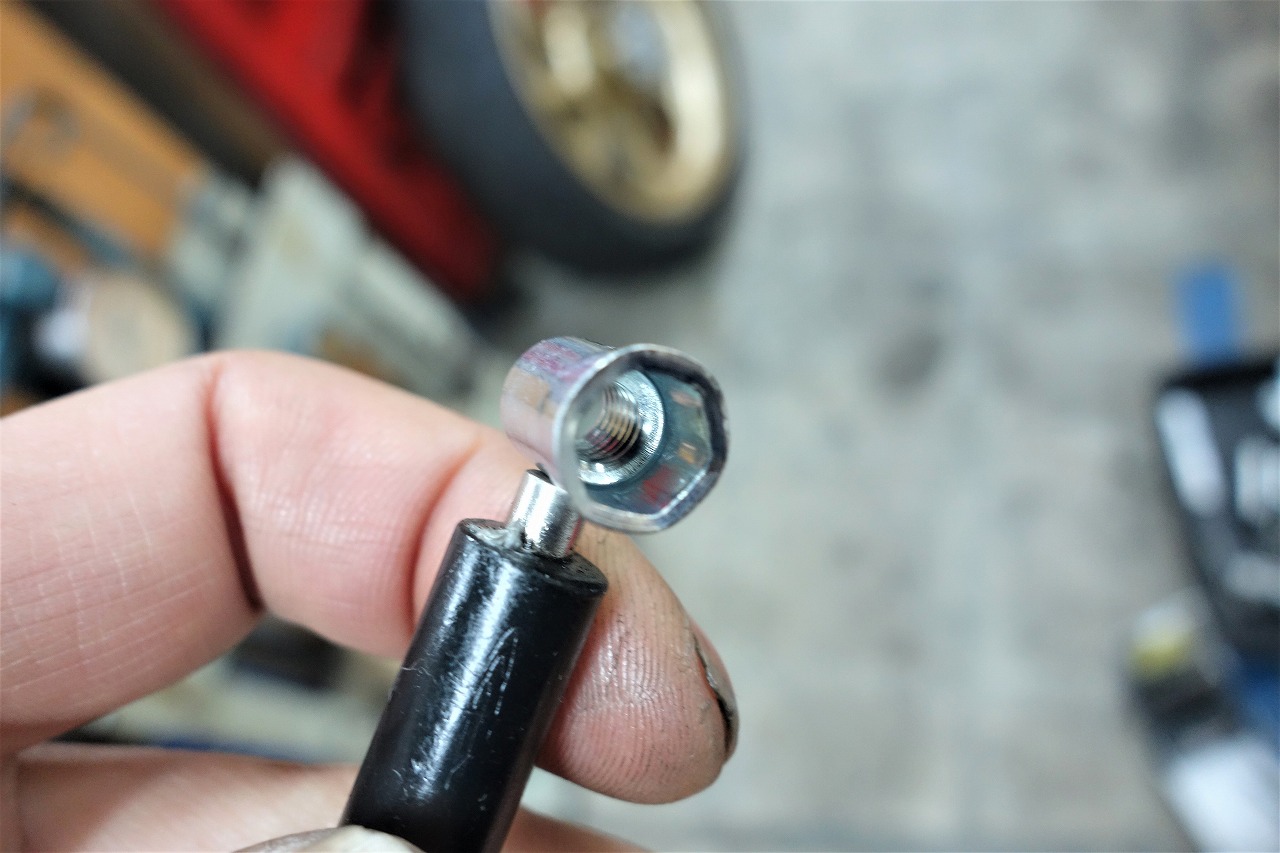
Basically, I hate rivet nuts, pop rivets, so I use them.
I rarely use this material, but it’s handy in a pinch.
Honestly, I’d avoid using them carelessly on the frame…
Here’s why:
• Once you drill a hole, it won’t fill the same way
• If it’s a blind hole, you can’t remove it (it rattles inside)—like on frames
Depending on the situation, I use
• Material: steel, not slippery
• Shape: hex insert, hard to spin
• Shape: low-profile seat, sits flush and solid
types.
I have a dedicated insertion tool, but it’s long and I haven’t used it lately.
Everbilt small rivet nut tool HNC06R —cheap but super handy.
The GSX-R1100K-N steering damper bracket is locked tight, and trying to loosen it can make it spin.
It’s also good when you want to crimp something extra.
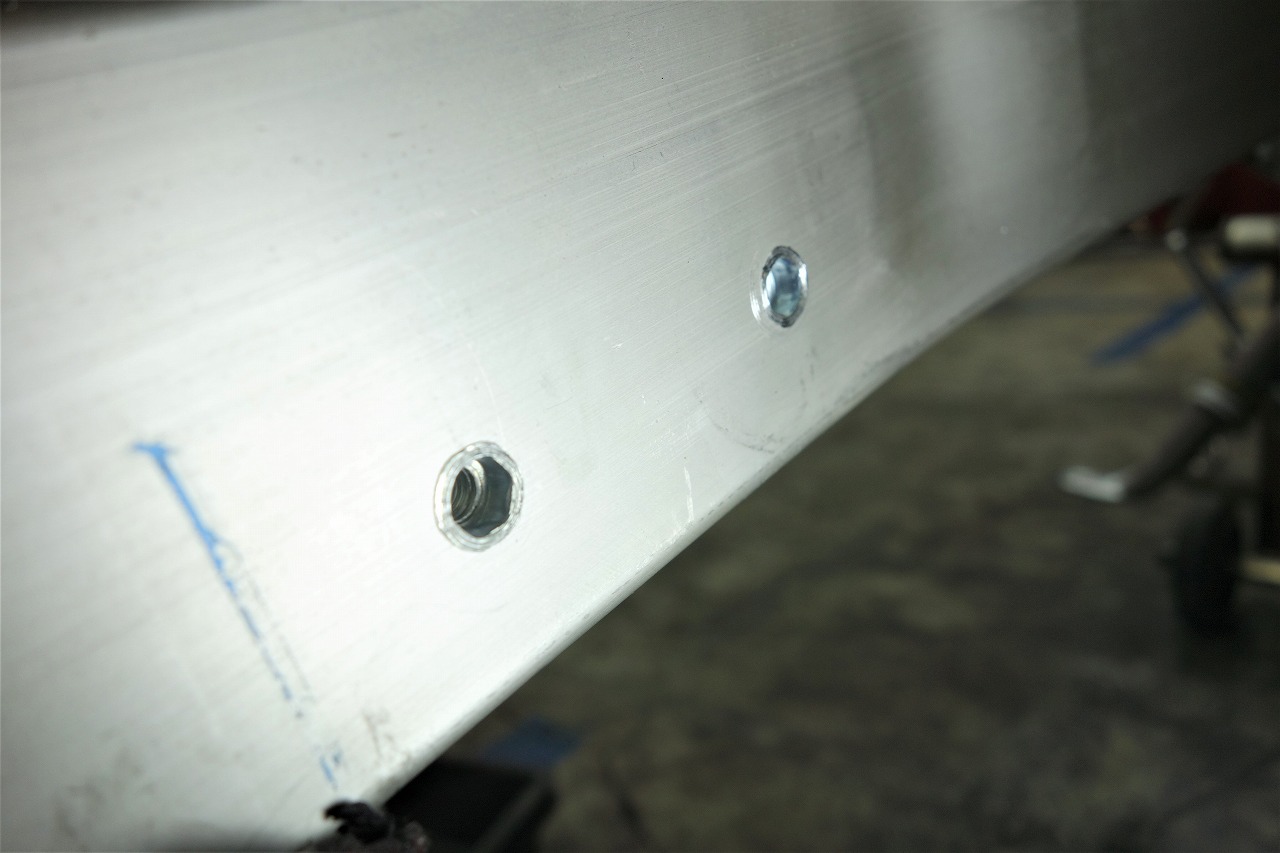
That’s how we inserted and crimped it.
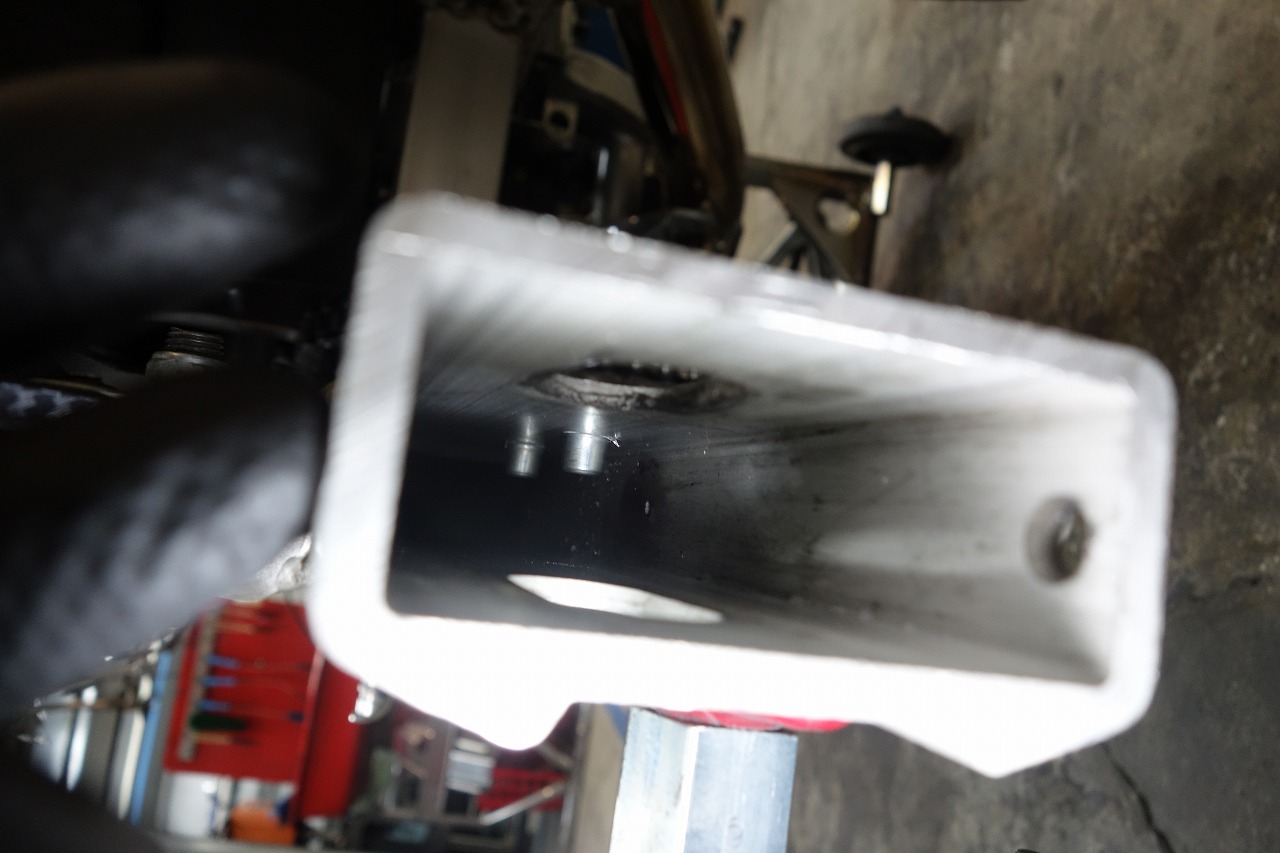
It collapses inside and can’t be removed or turned, so I’d avoid using it in blind holes (especially frames).
*GSX-R models use them from the factory, but that doesn’t mean we should add unnecessary risk.
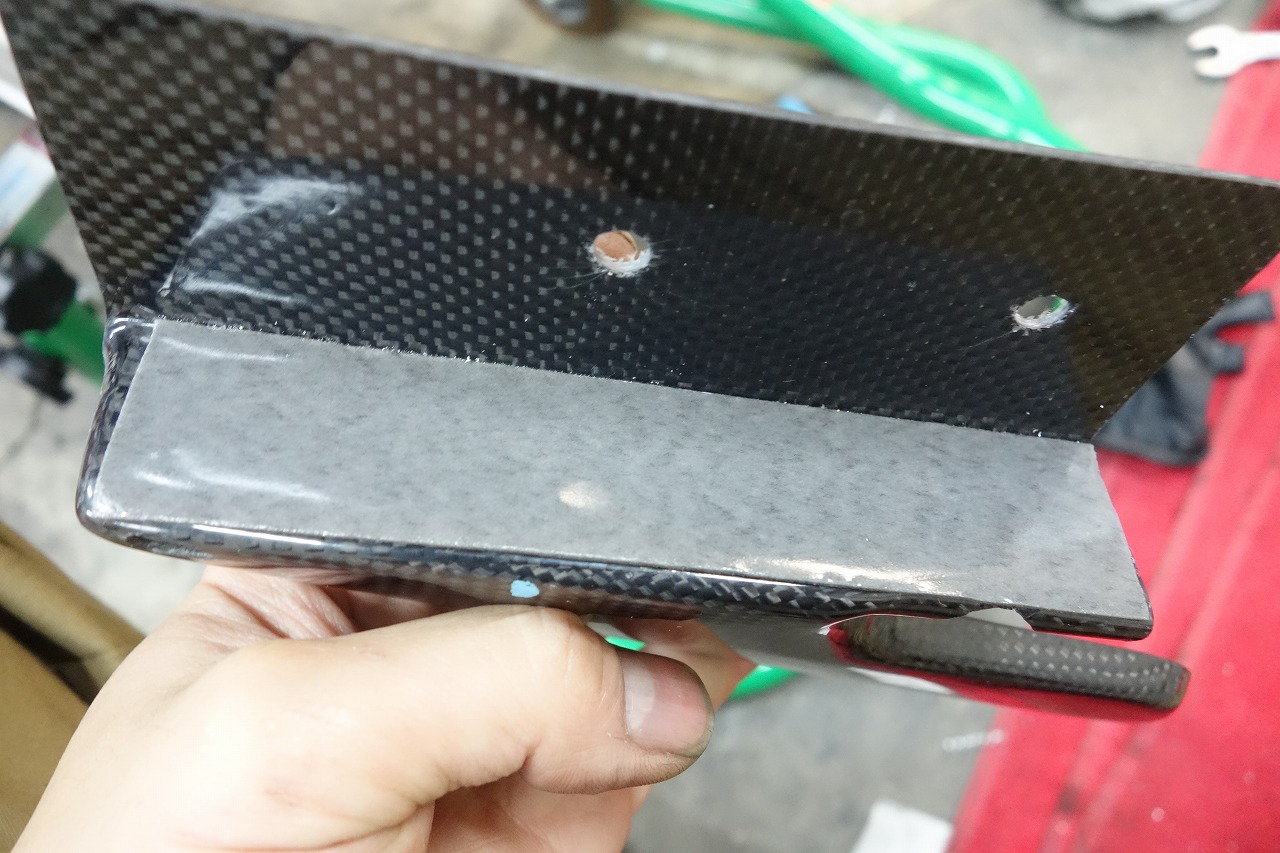
We planned to install from below, but it was hard to tighten, so we added
a bit of threadlocker on both sides as a precaution.
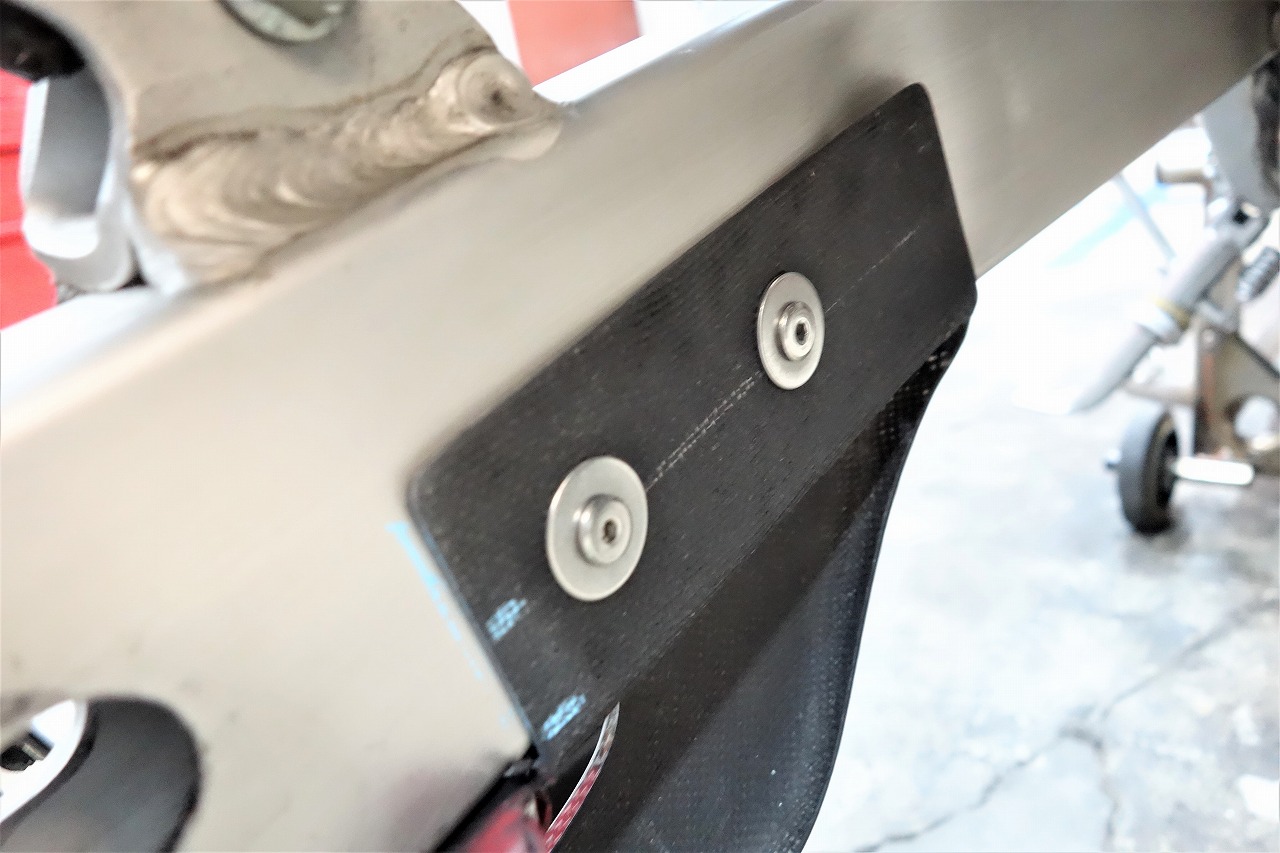
I use them normally, but ultra-low-head cap bolts—do you know how expensive they are? …I’d like you to know.
Or maybe not? Am I just cheap?
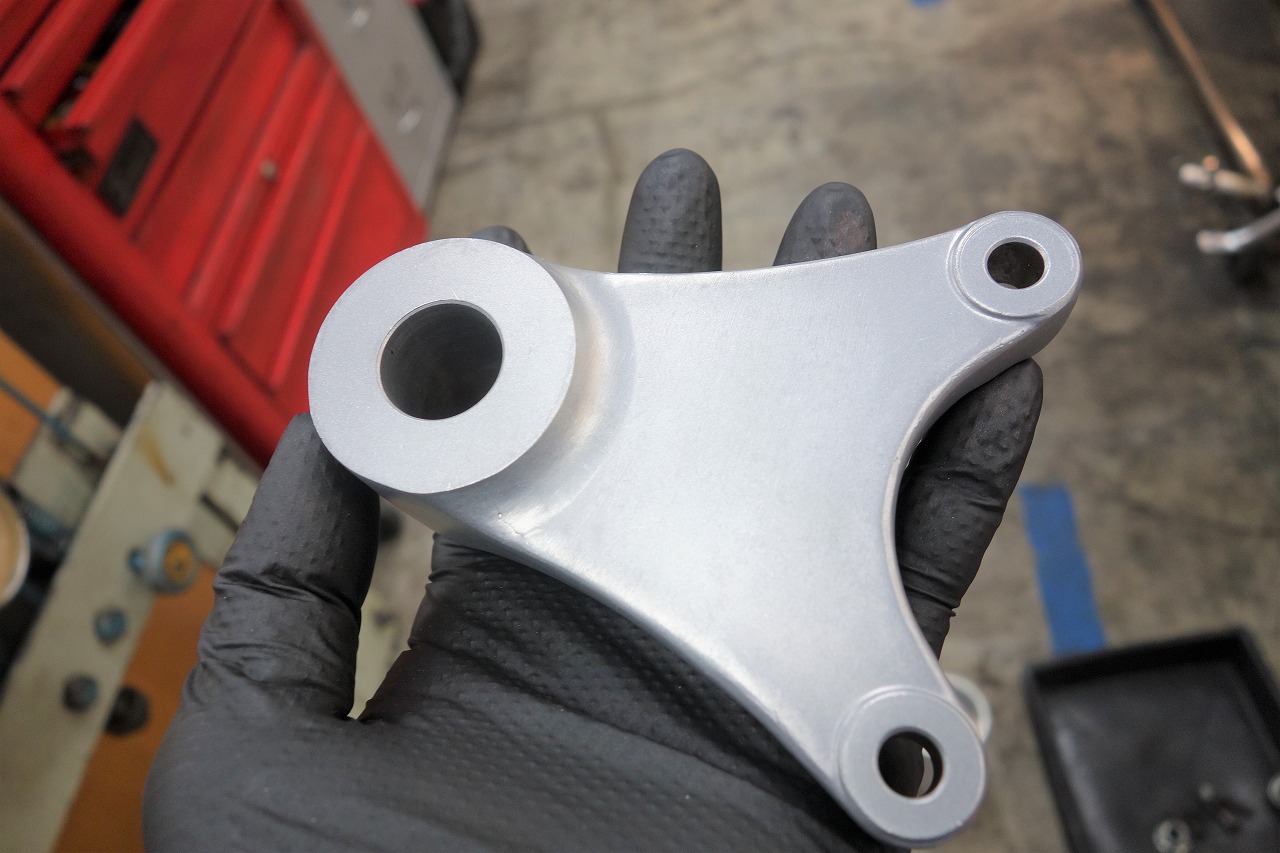
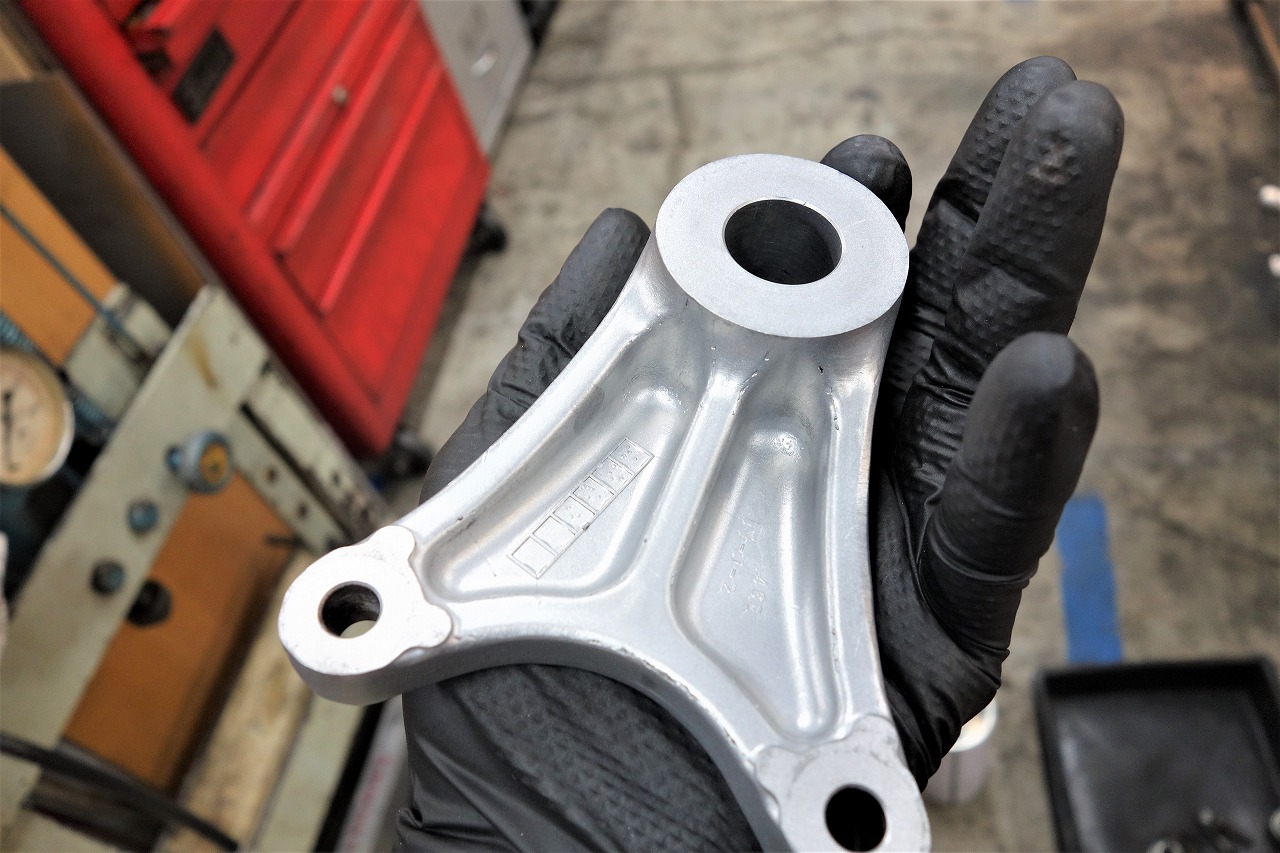
We finish and assemble each piece one by one.
Mmm♪ Beautiful!
When parts are clean,
• The assembler is happy
• The owner is happy
• The next person working on it has an easier time
This job is all about steady work.
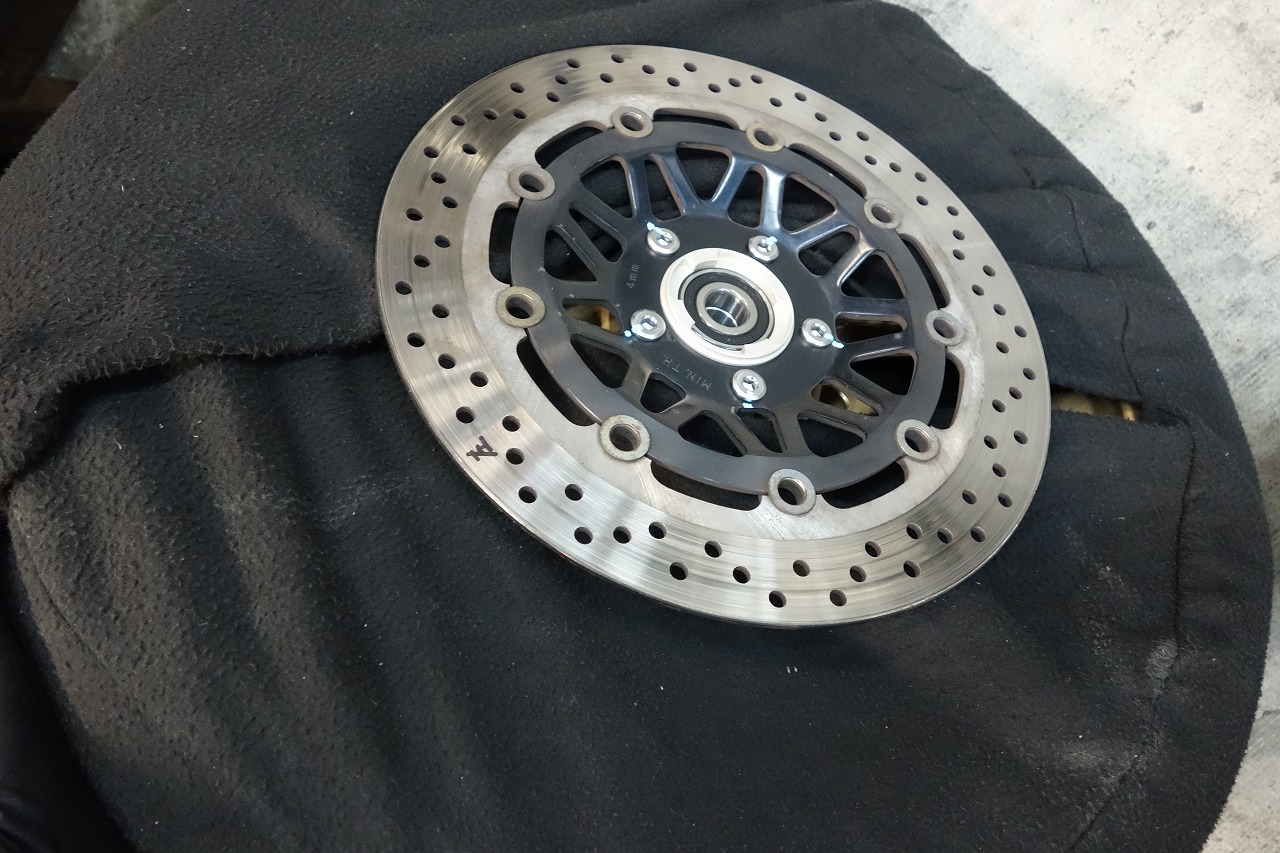
When installing the wheel on the frame, it’s a good idea to wrap it with a wheel cover.
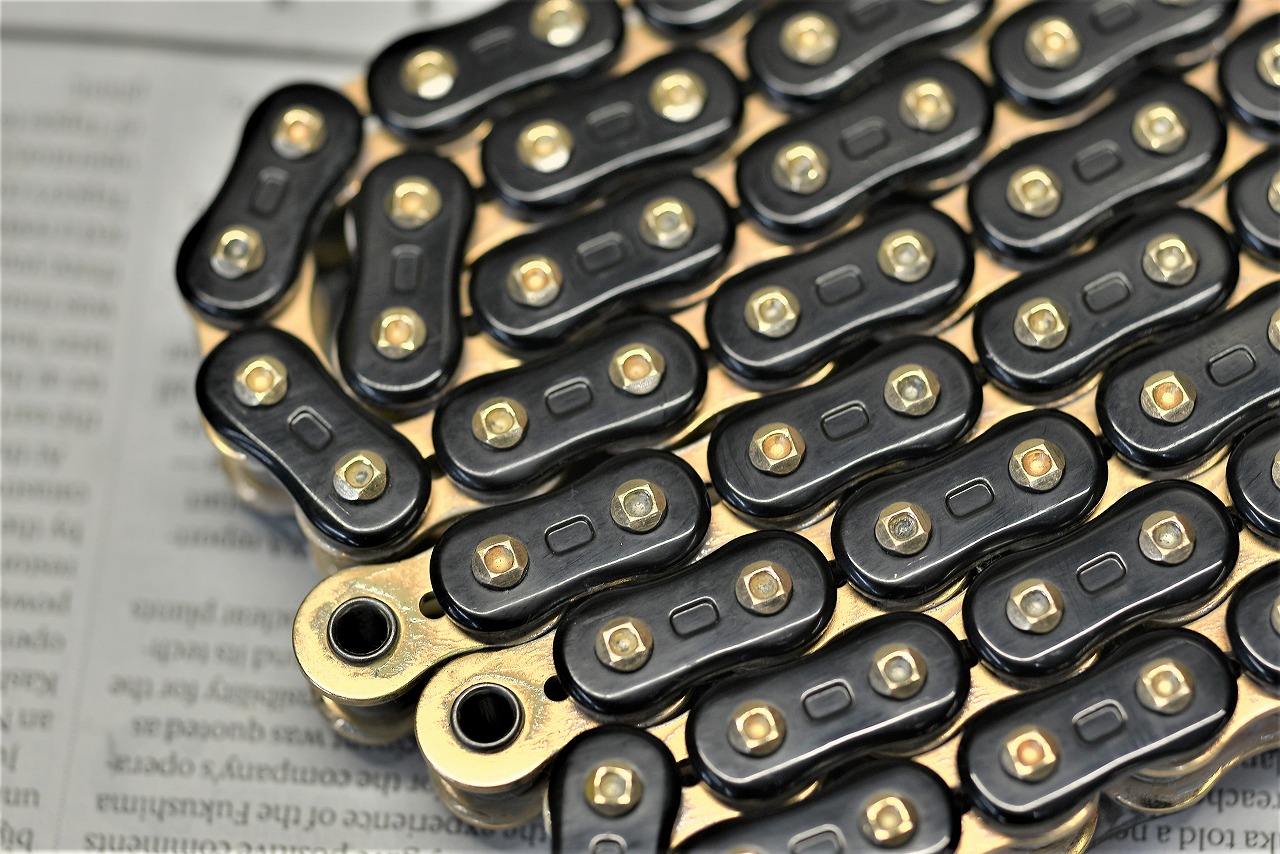
This time it’s EK THREE-D black*gold.
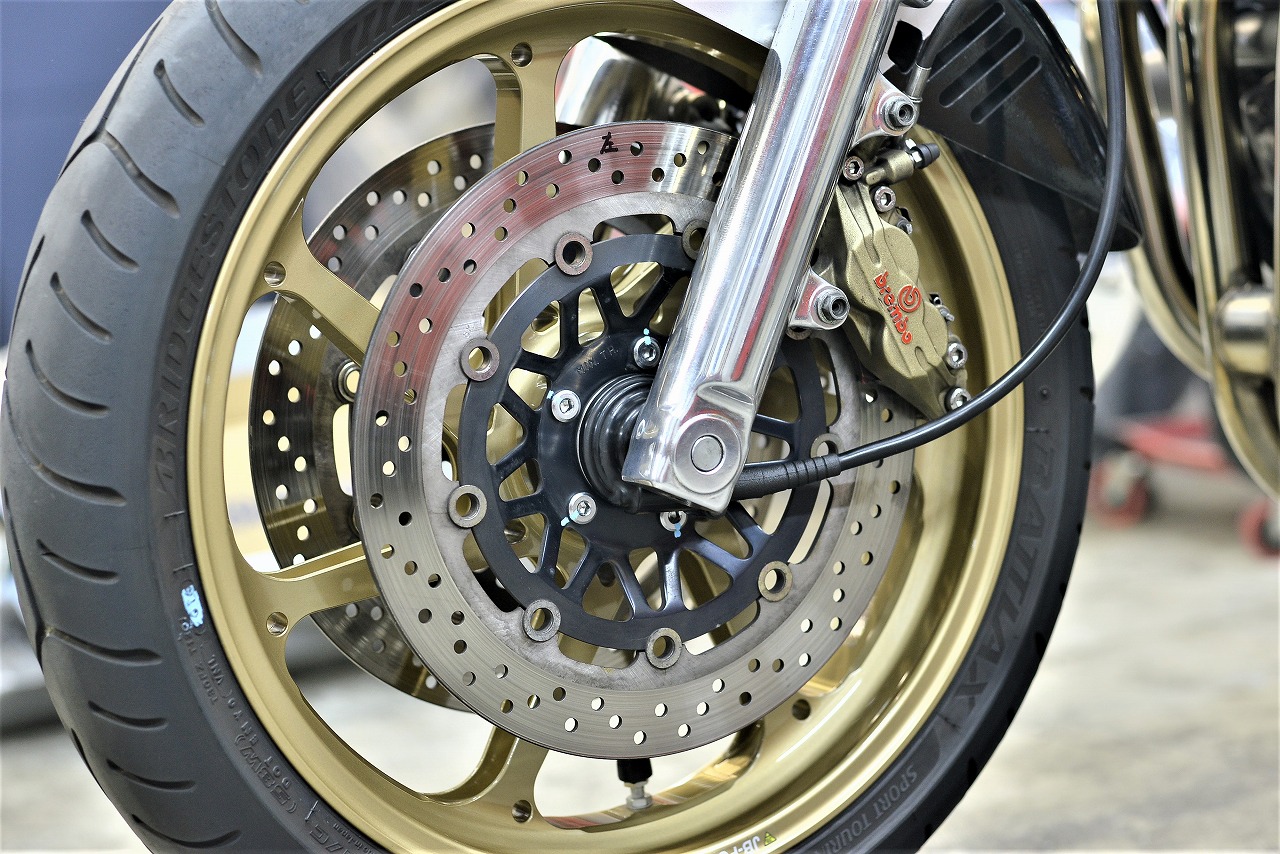
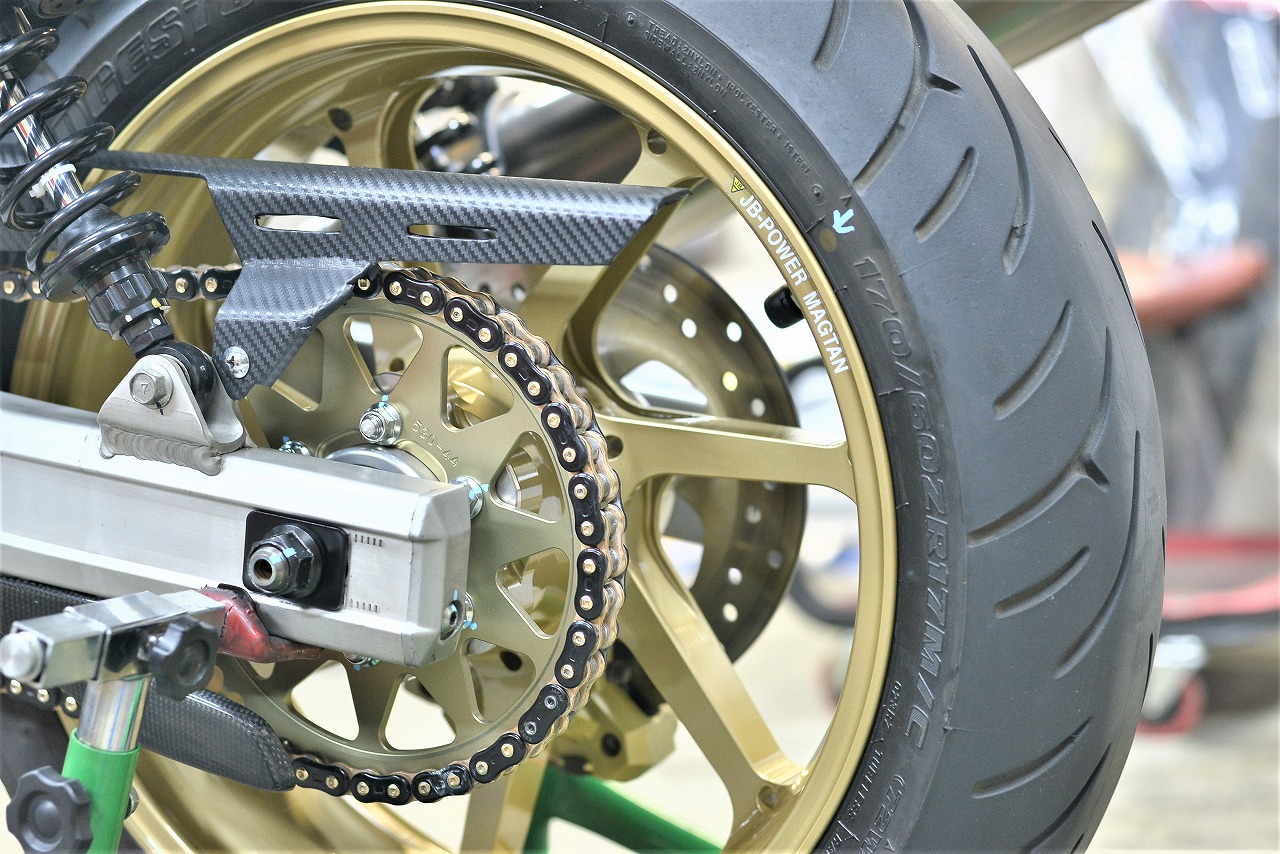
That’s how it came together.
Phew, relief! New parts are scary.
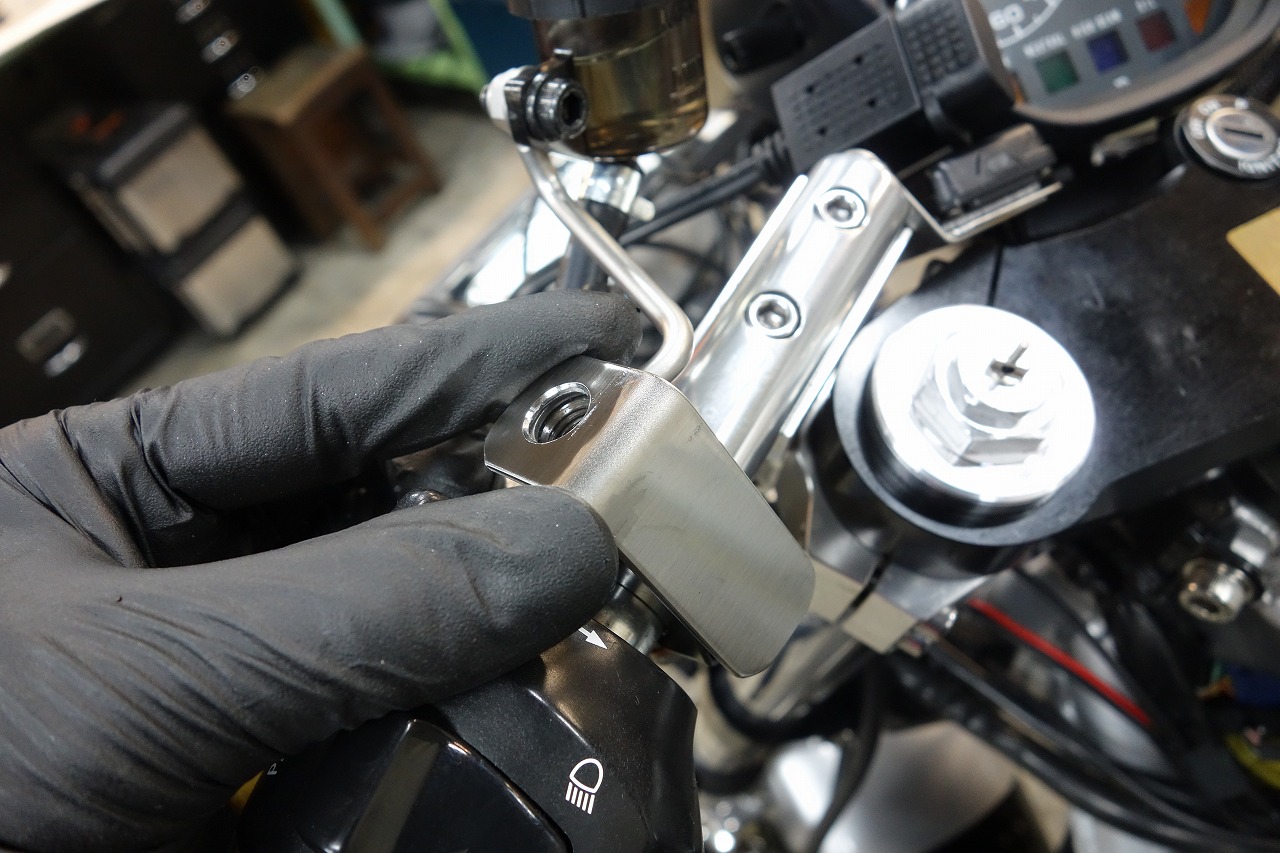
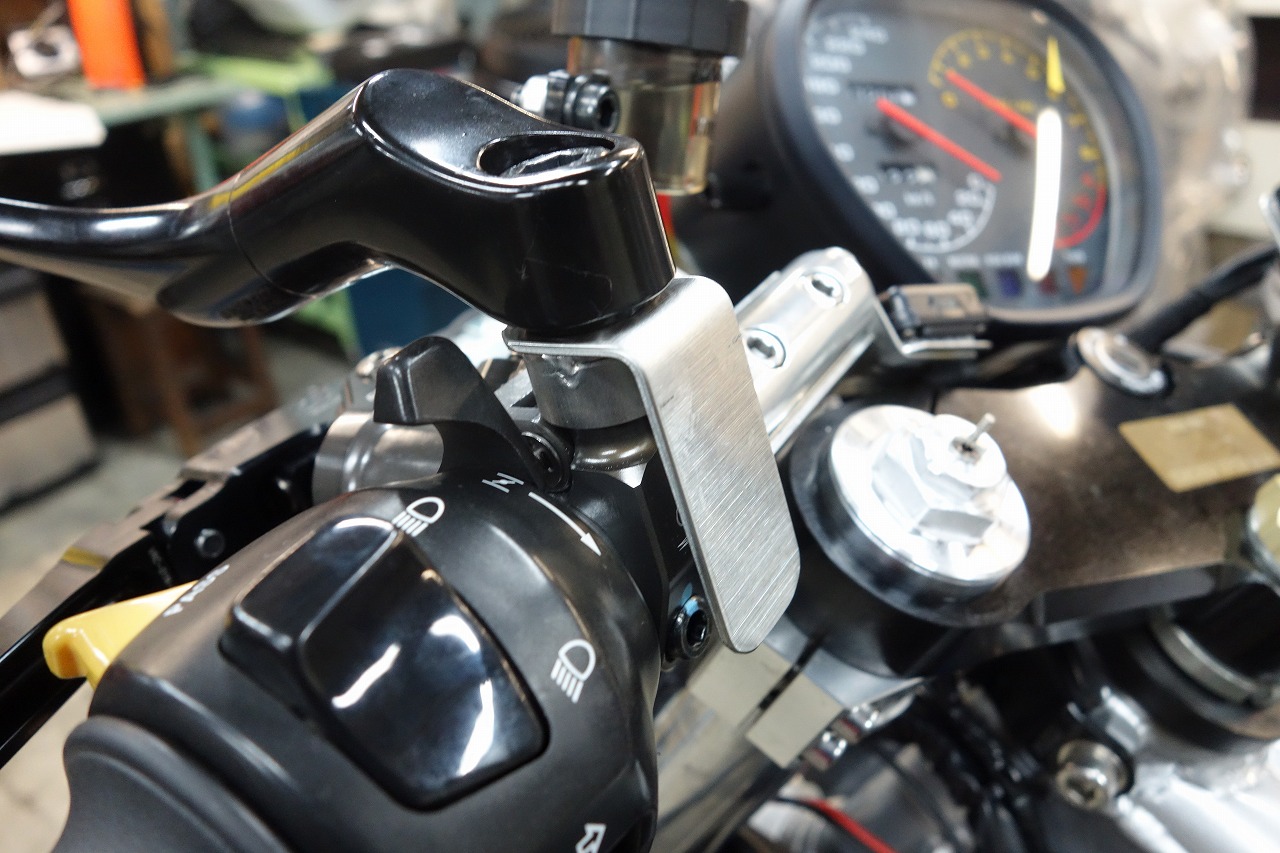
We drilled and bent some 304 stainless steel~
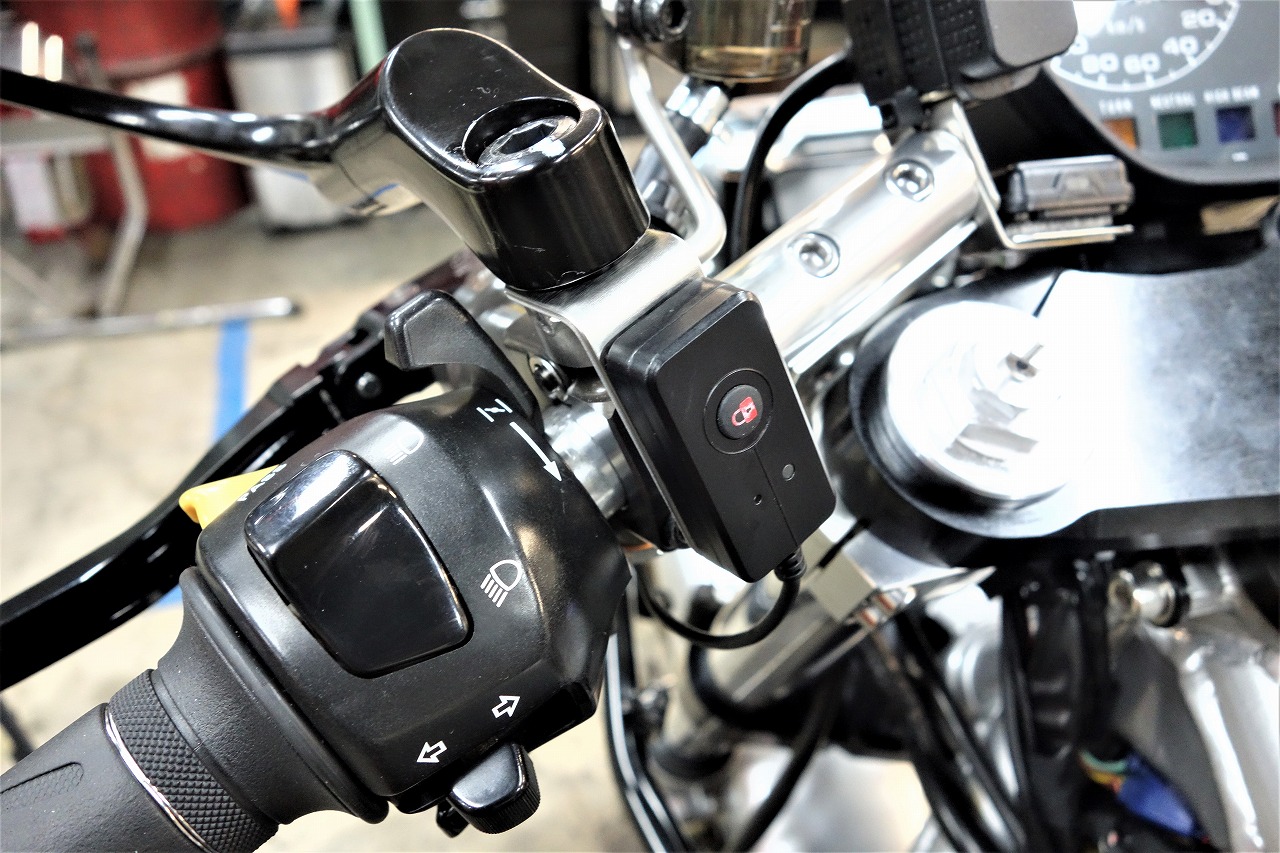
That’s how we installed it.
Aftermarket parts shouldn’t just ‘snap’ or ‘click’ onto the frame.
Using a bracket for mounting keeps things from rattling and makes removal easy.
Haven’t you had the experience of removing sloppy mounting and thinking,
‘Where exactly is this?’
‘Wow, it sits really badly?’
There are lots of pitfalls.
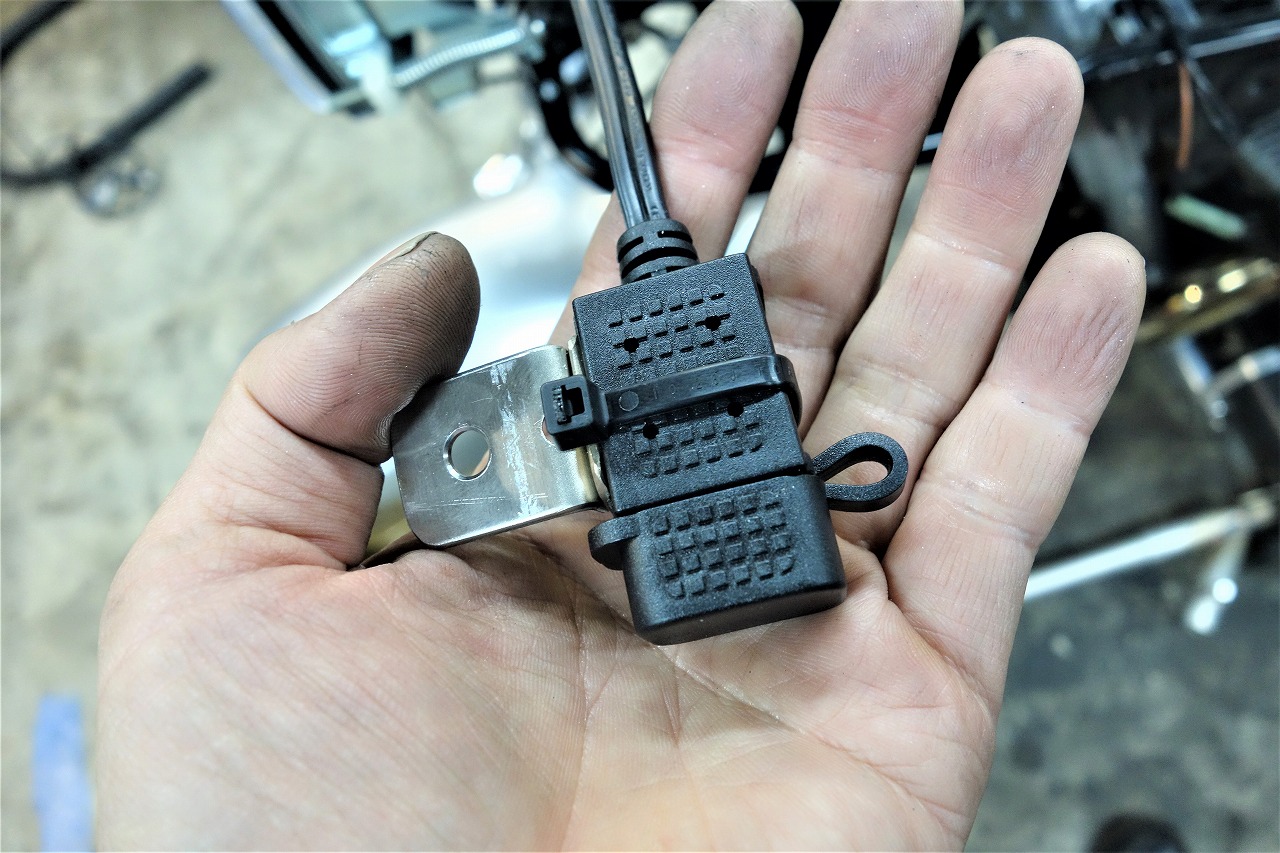
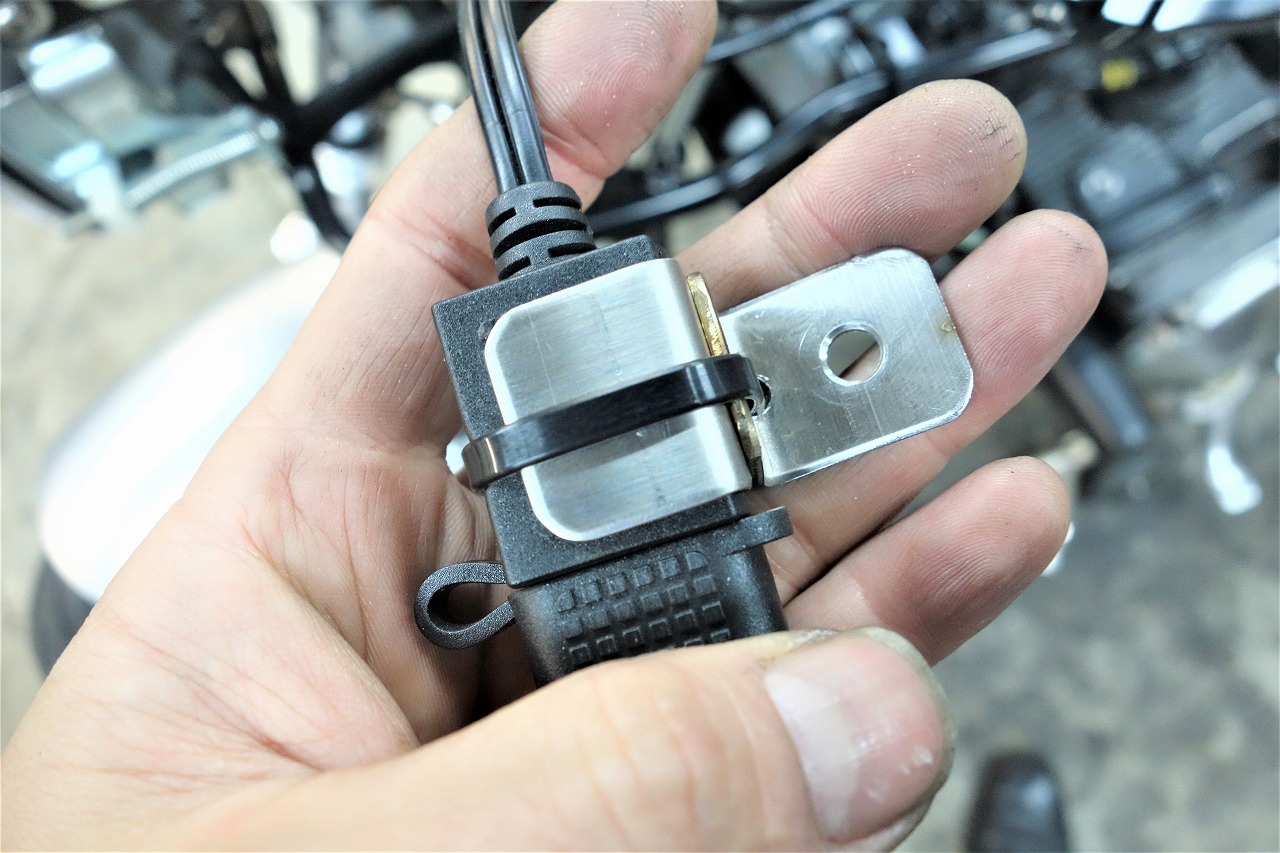
Use cable ties where they’re necessary.
When the other side is plastic, no boss, little surface area—
you wonder what kind of product this is.
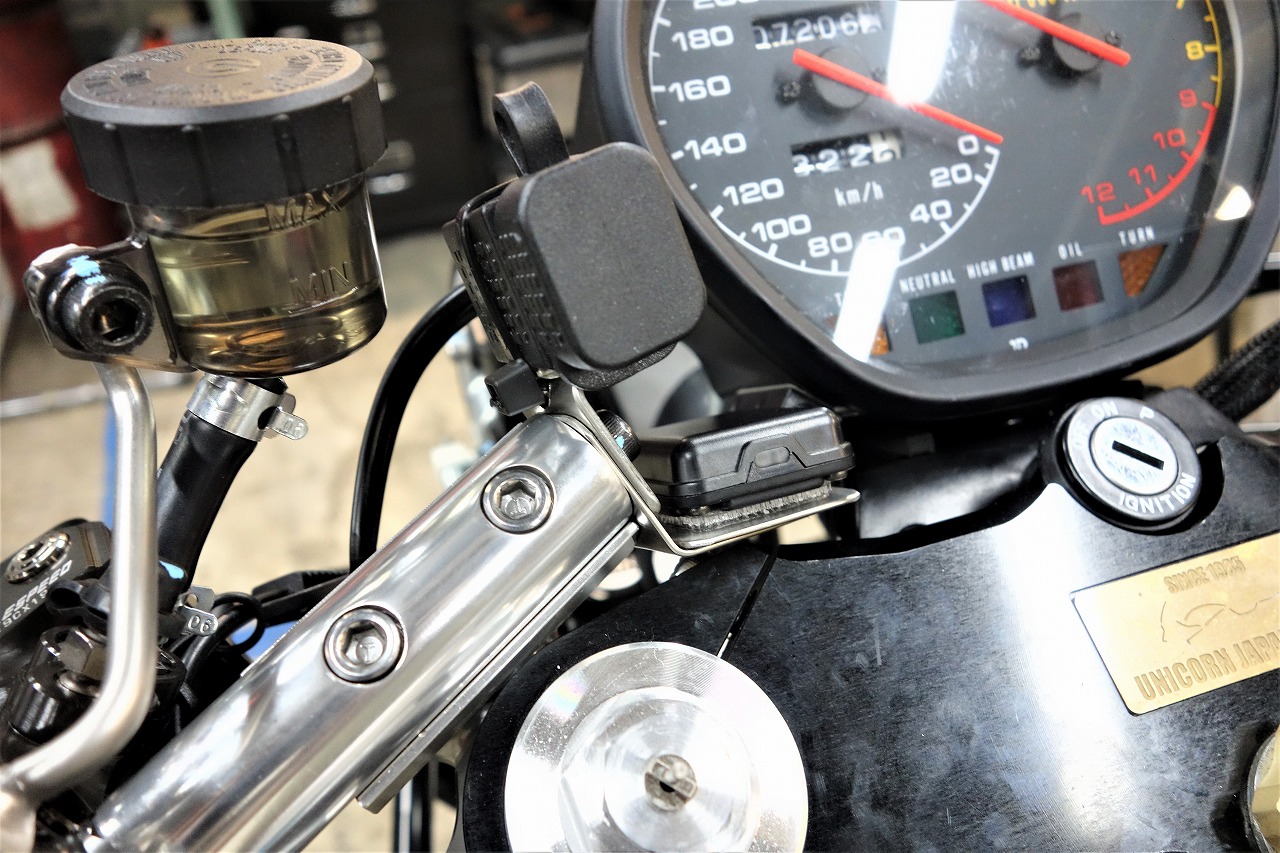
It’s slightly too big, so this was the only place we could mount it. (USB)
That’s pretty much it for completion.
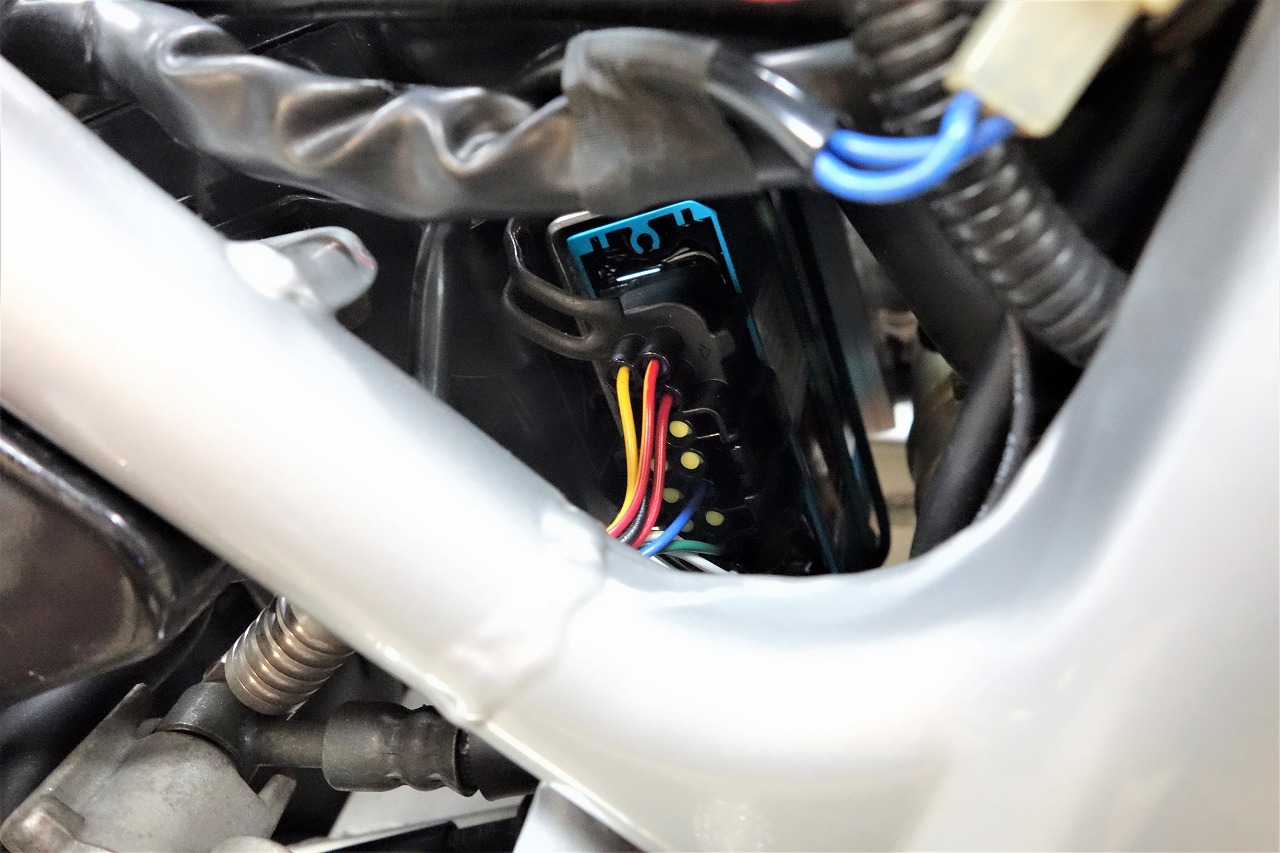
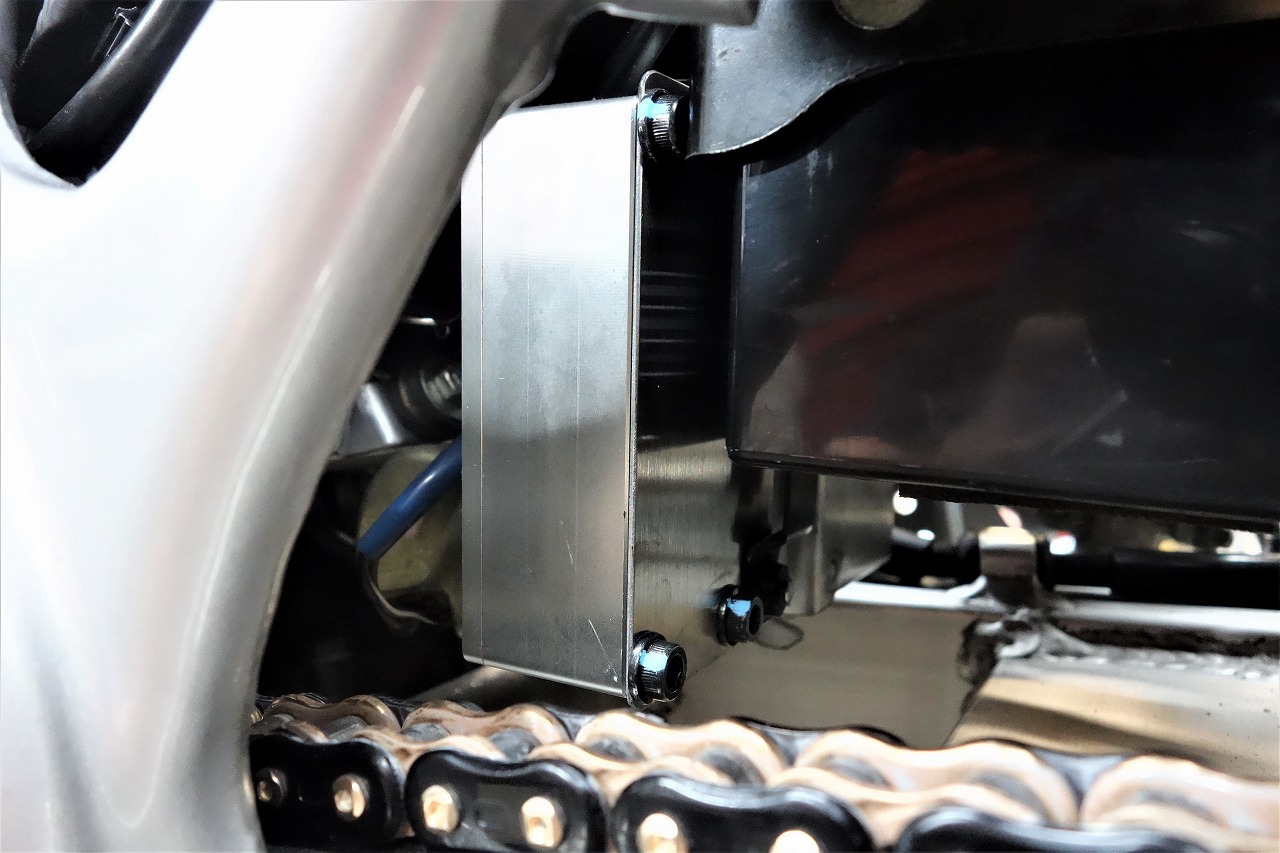
The Watanabe and V-UP are laid out in stock position, nice and clean.
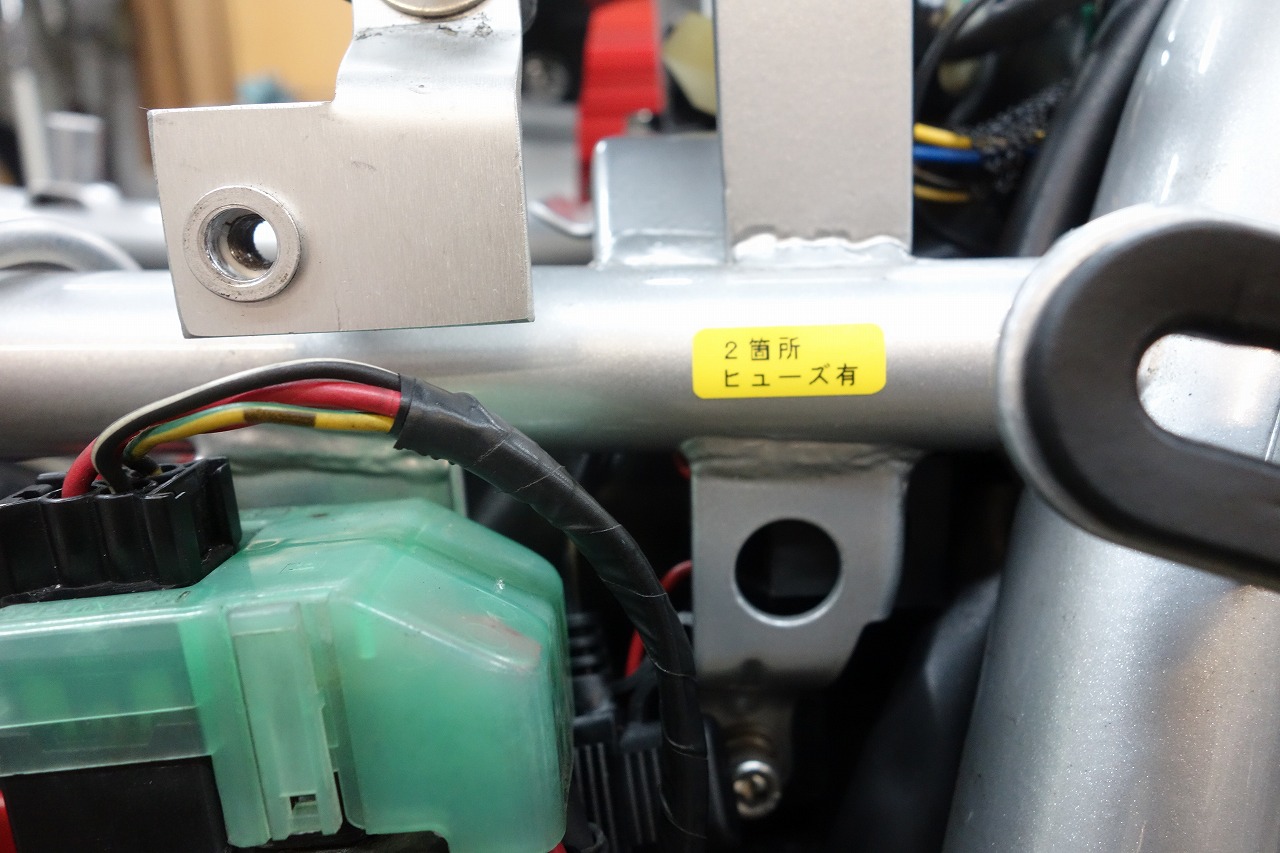
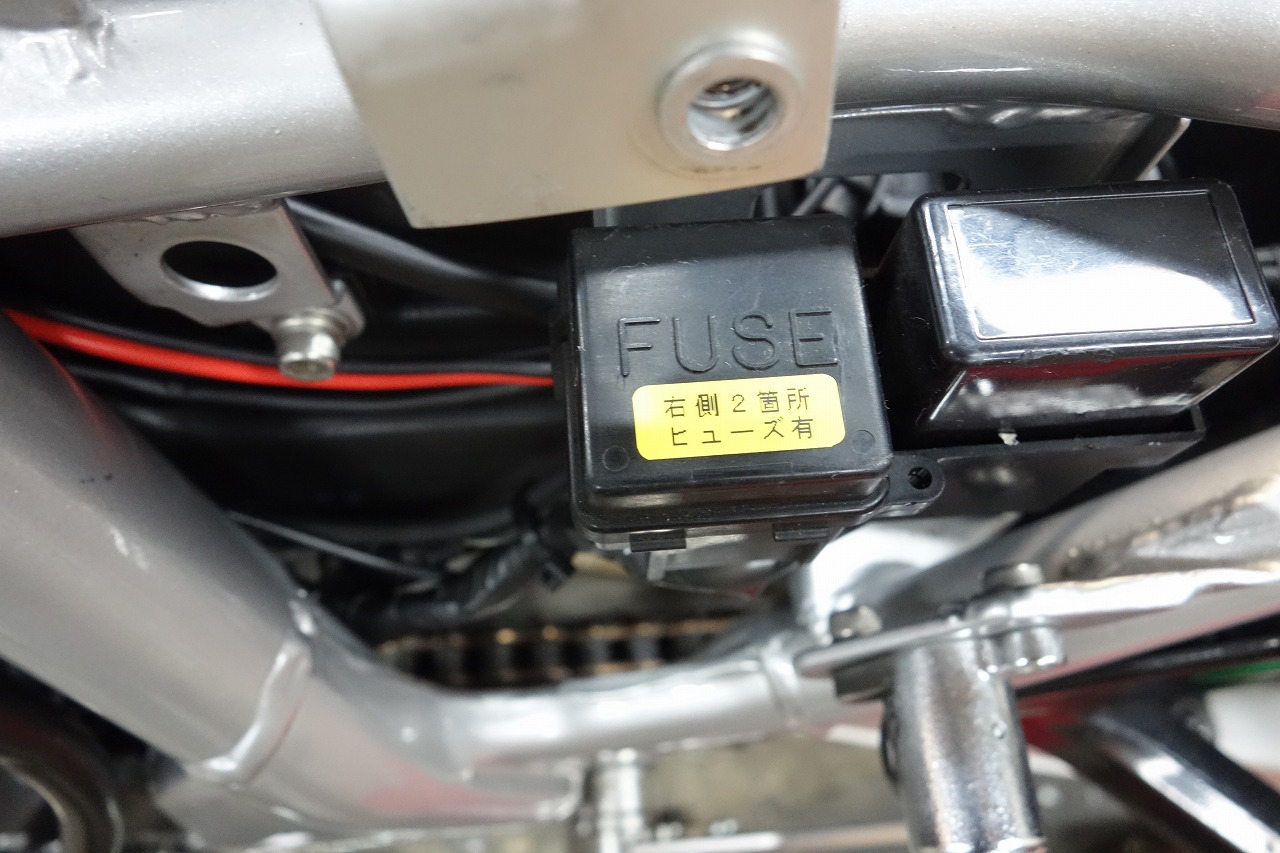
Let’s mark it so anyone can see it~
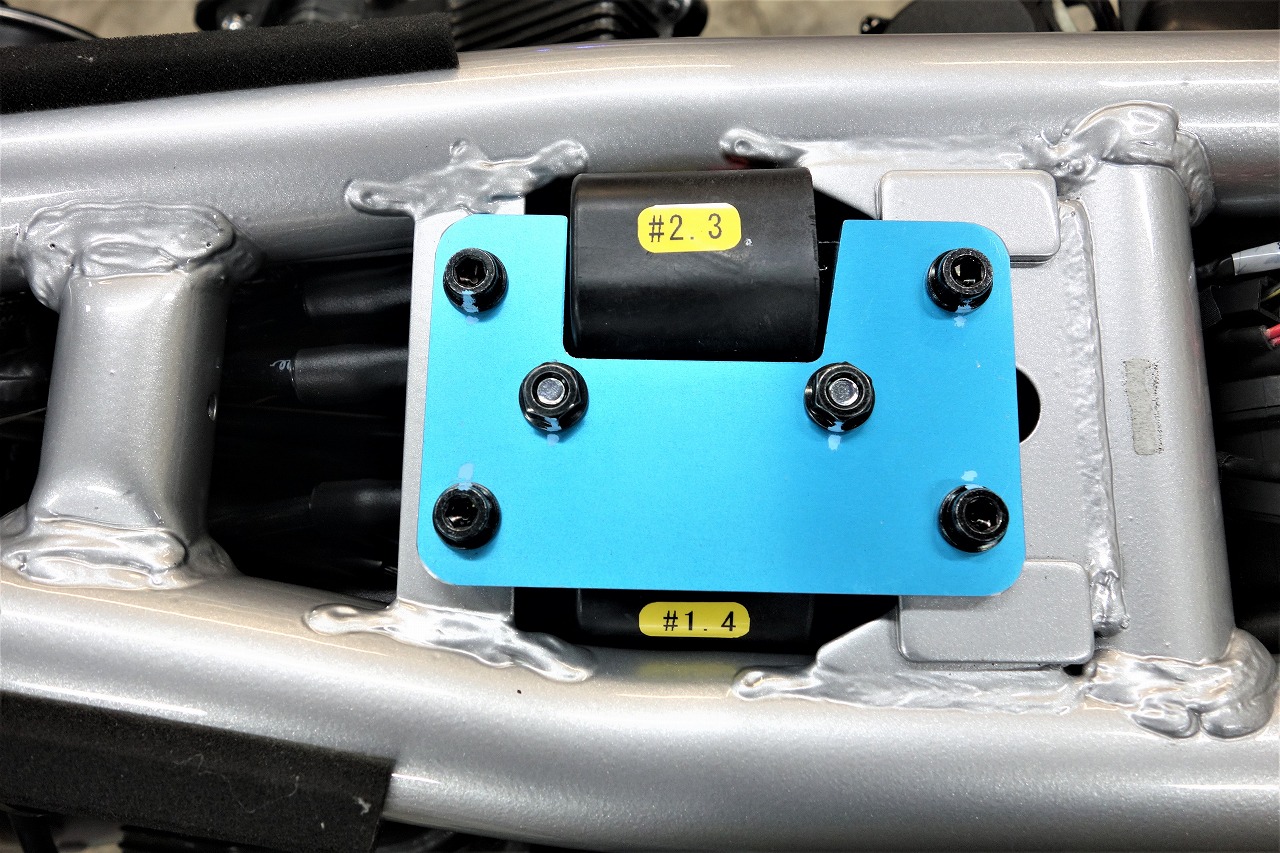
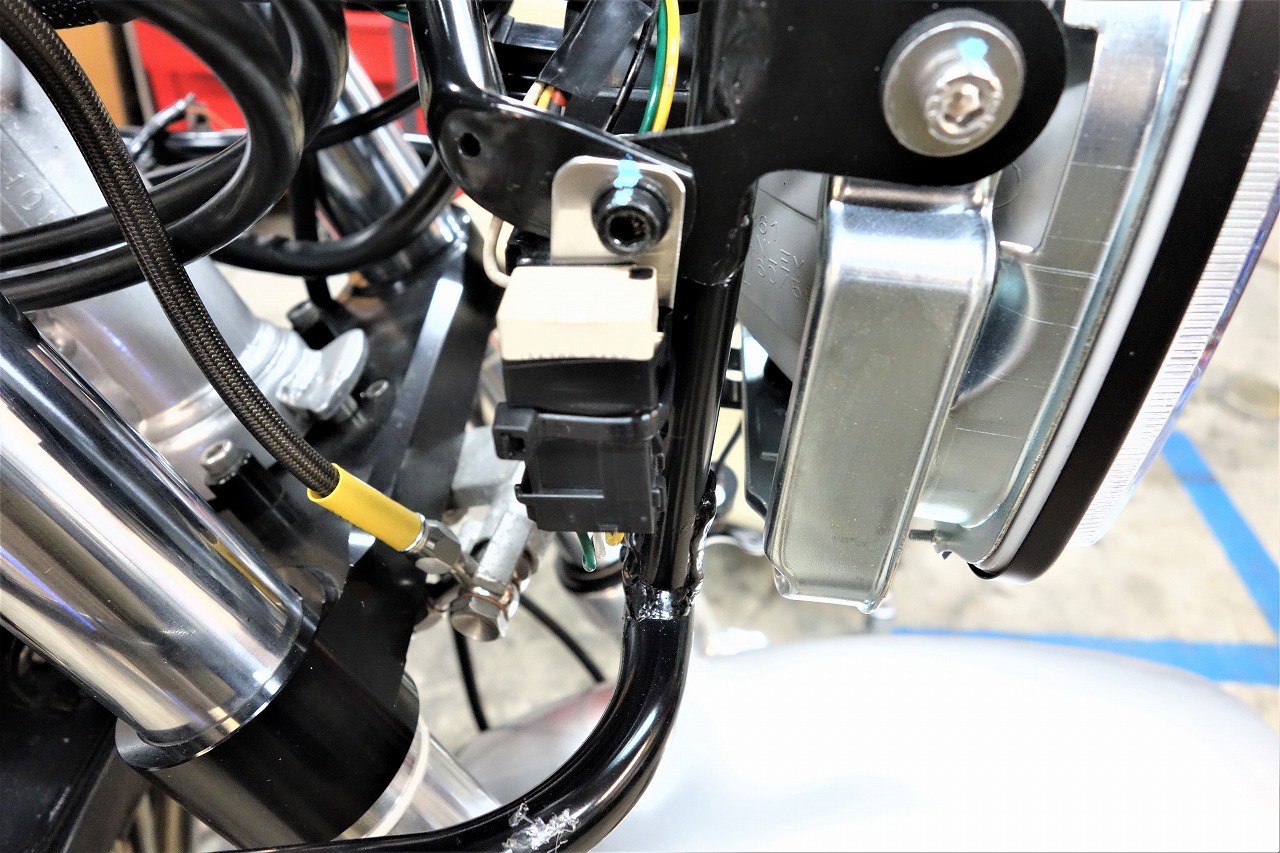
The Watanabe bracket—I haven’t used it in a while. Rounding the corners gives it a slight style boost.
Moto Easy is also bracket-to-cable-tie.
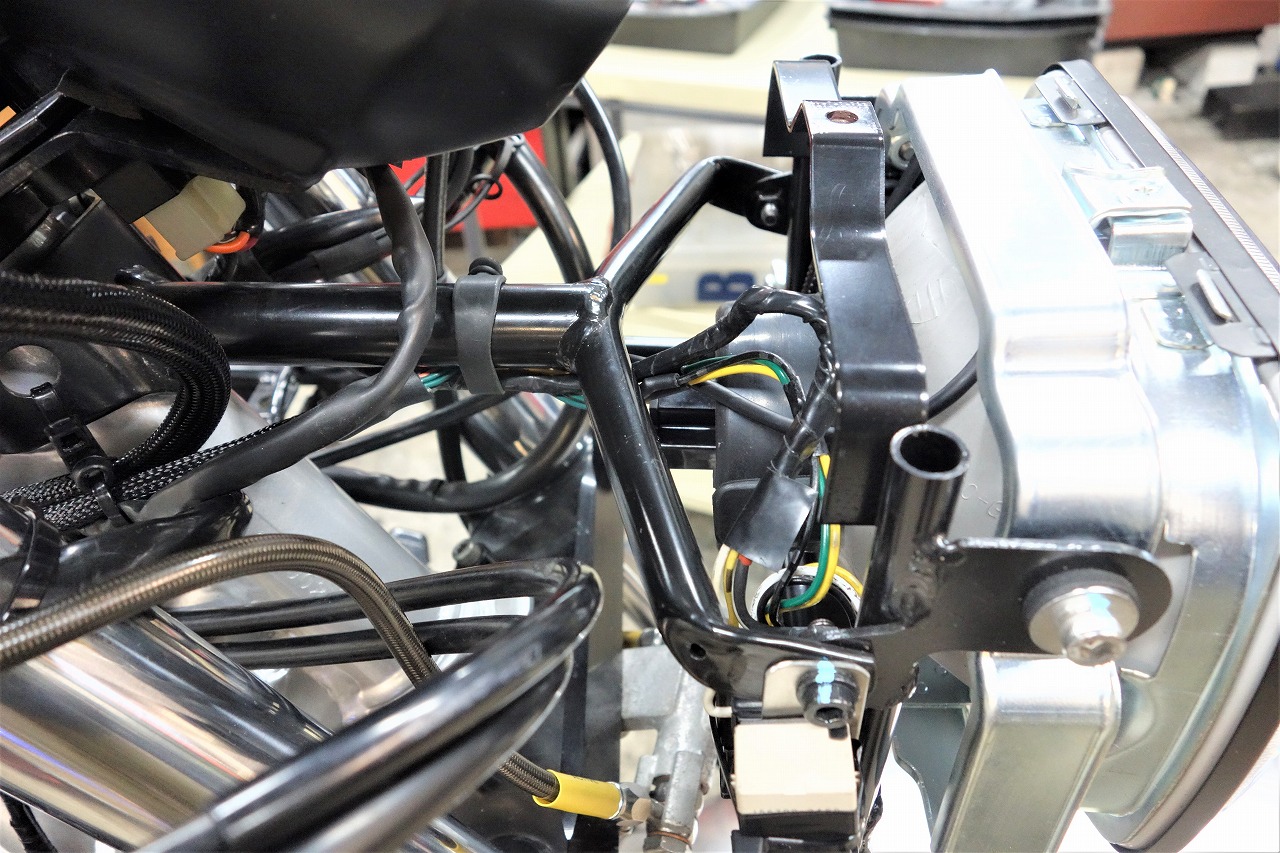
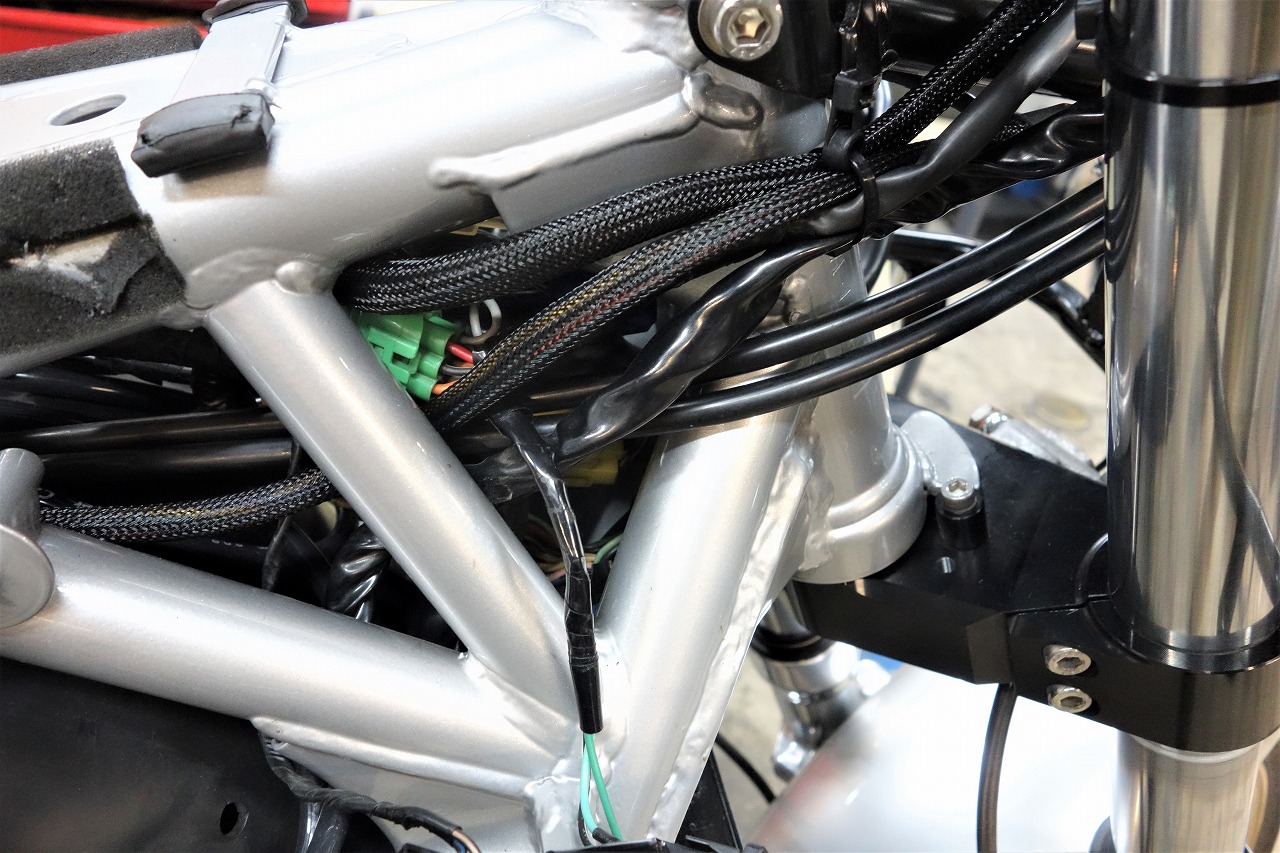
We minimized the wiring and bundled it neatly.
You should think, ‘Wow, it’s really clean!’
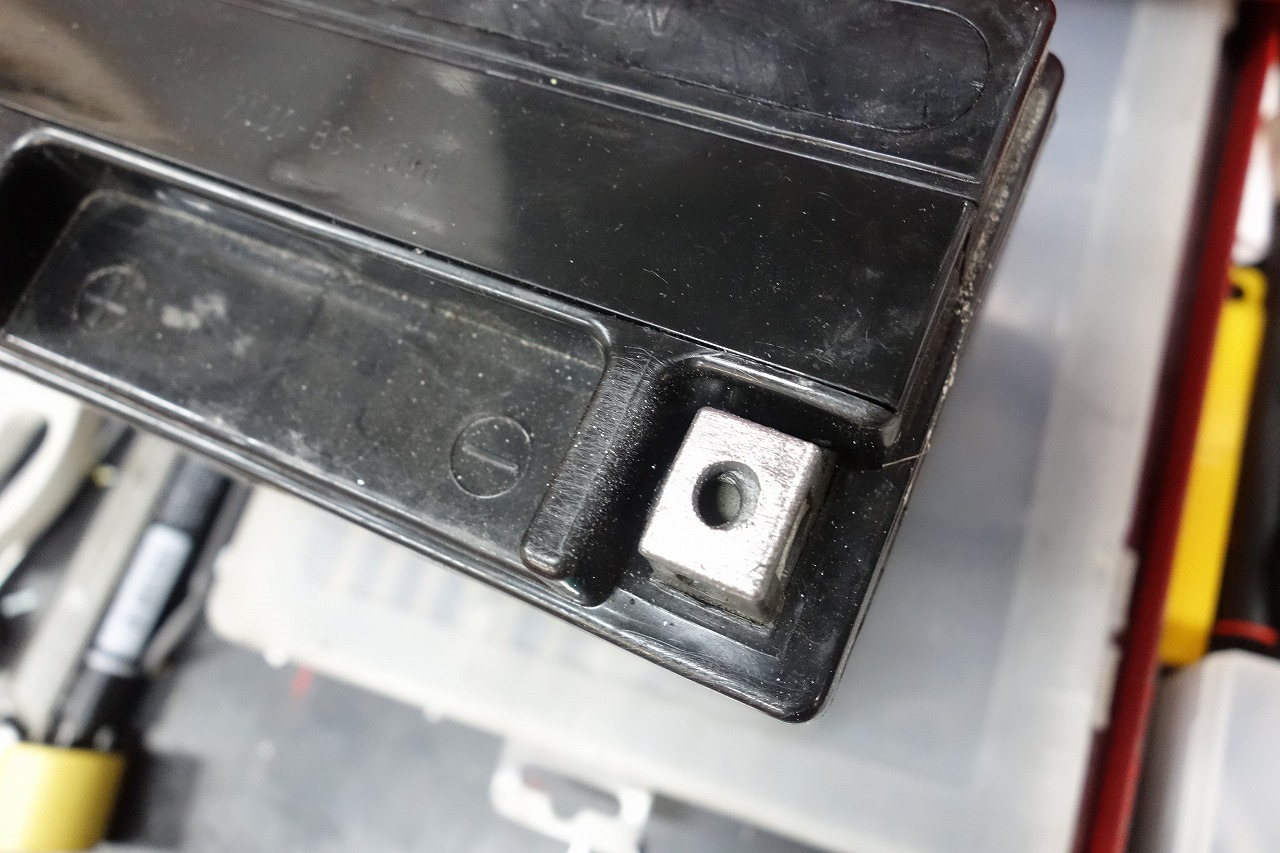
We polished the terminals too.
We’ll get the inspection Wednesday and fine-tune it for completion~