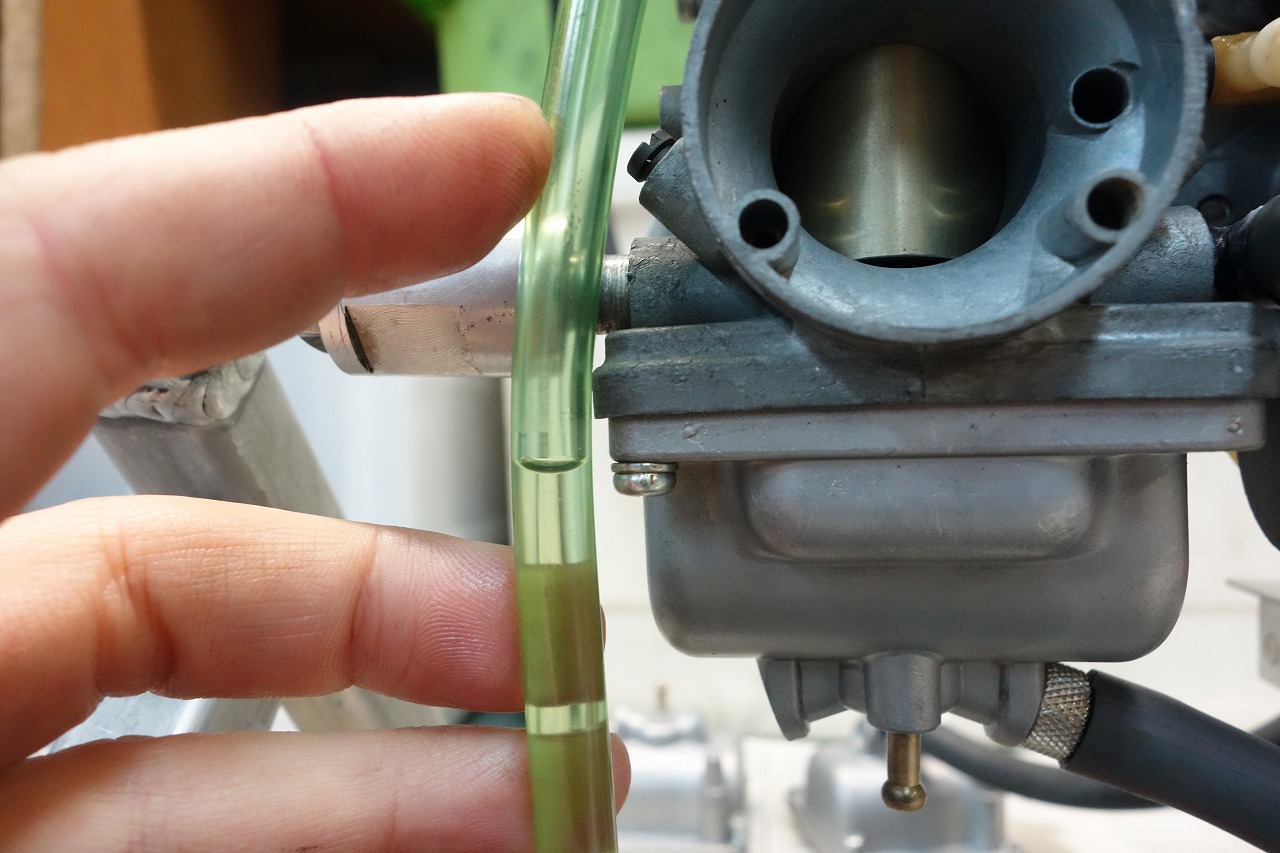
The inside of the carburettor is clean too—lucky! ♪ No hassle—I thought I’d just check the fuel level and then…
whoosh (a leak)
Life isn’t that easy…
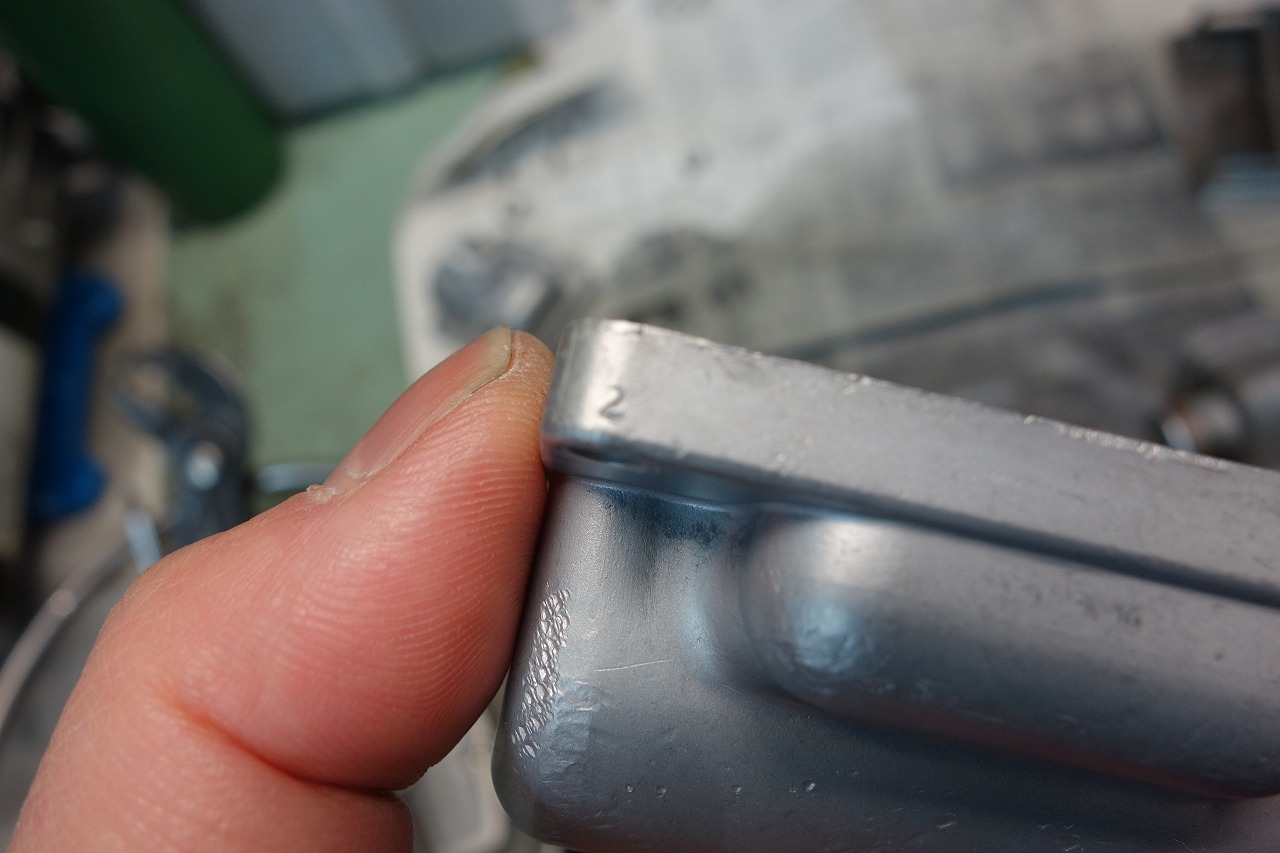
Very thoughtful. There are stamps on both the body and the float chamber.
Hmm, I really like this tiny stamp mark… quite moving.
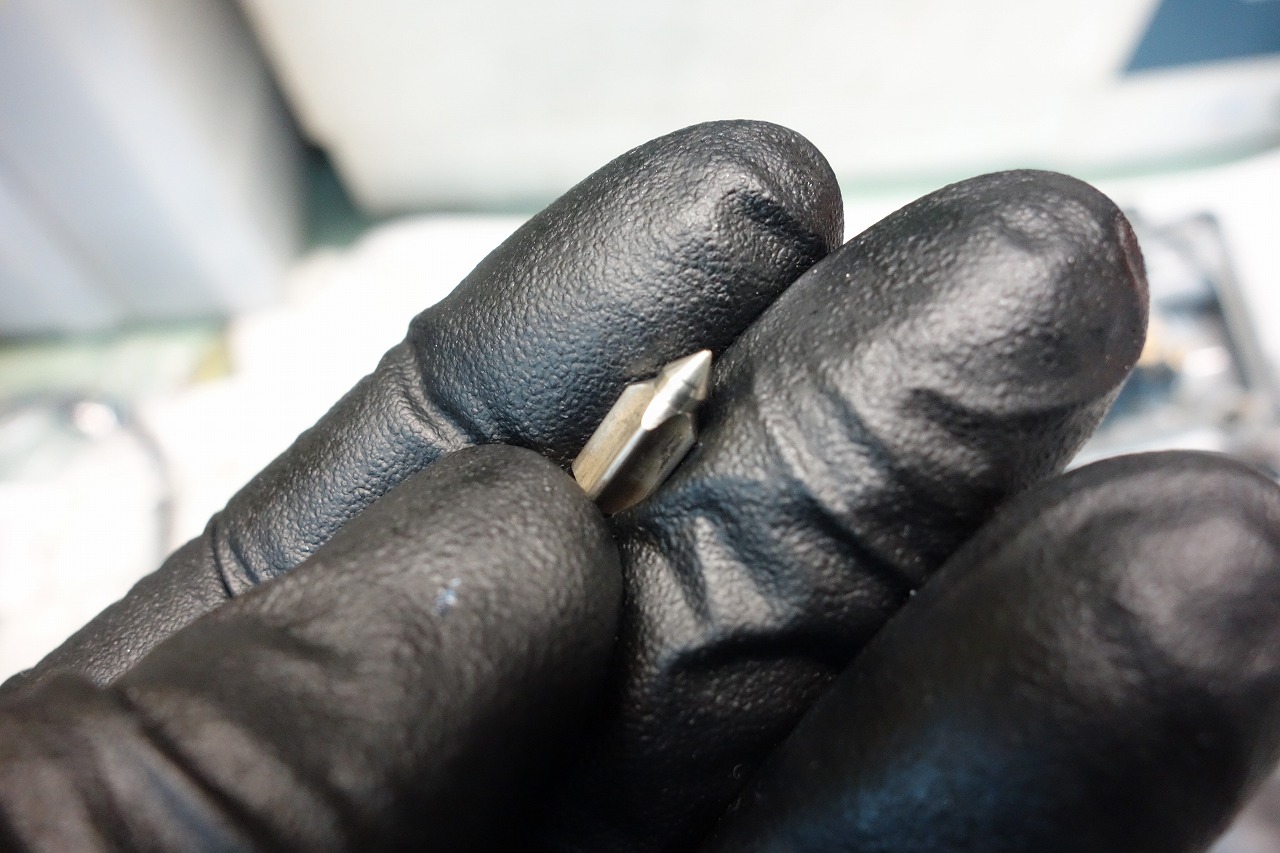
The float valve looks fine too.
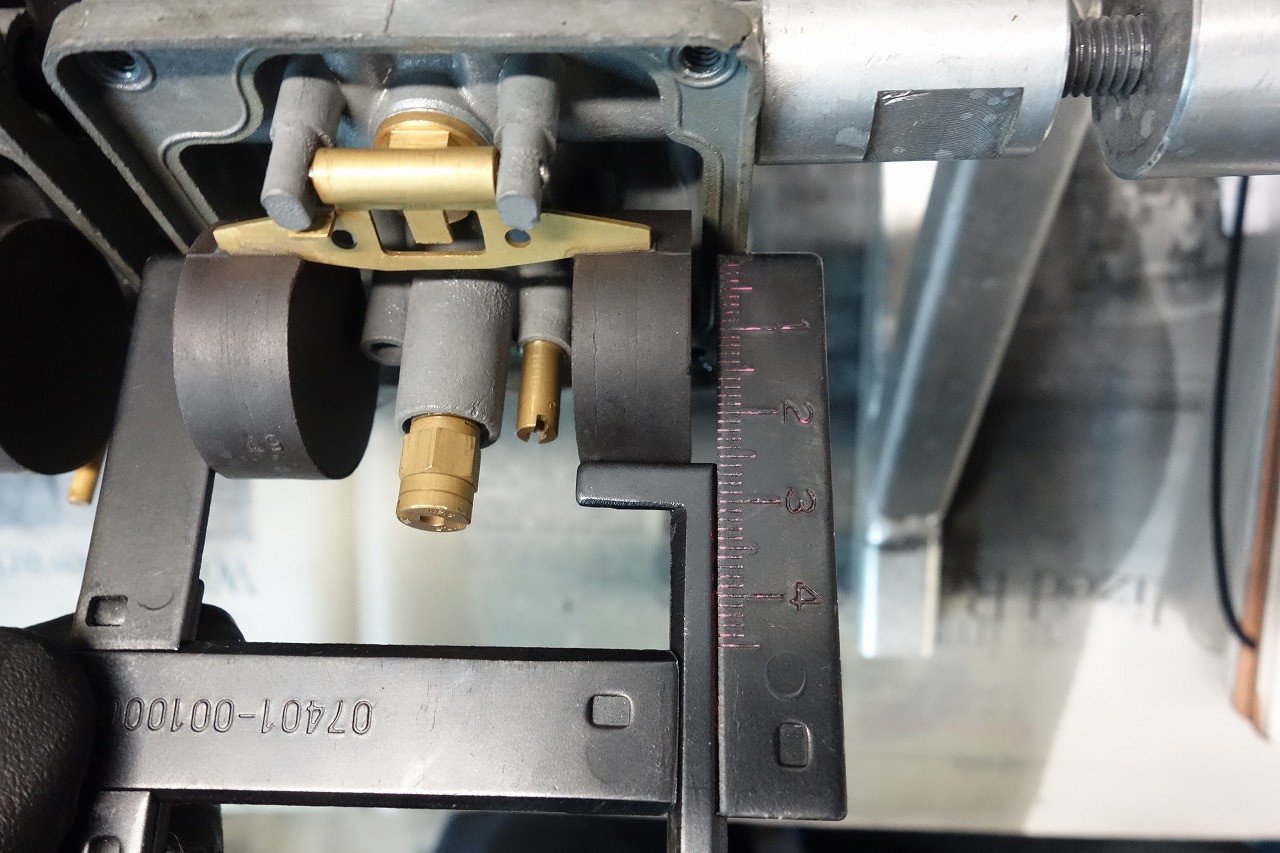
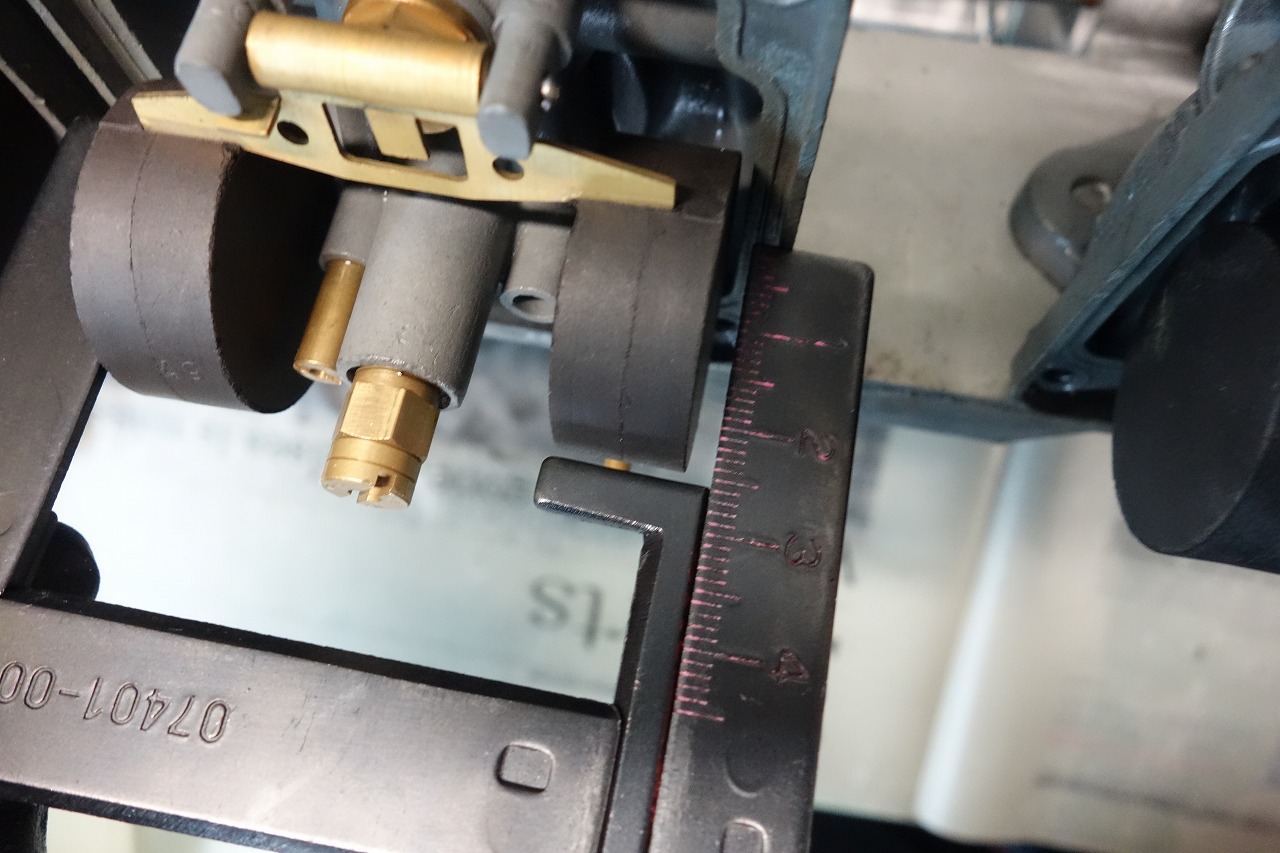
I always check the actual fuel level, and I also verify the float level.
It’s good to check both against each other. You can learn what the actual fuel level is from the float level, and vice versa.
*Since it’s used, take this as a reference only.
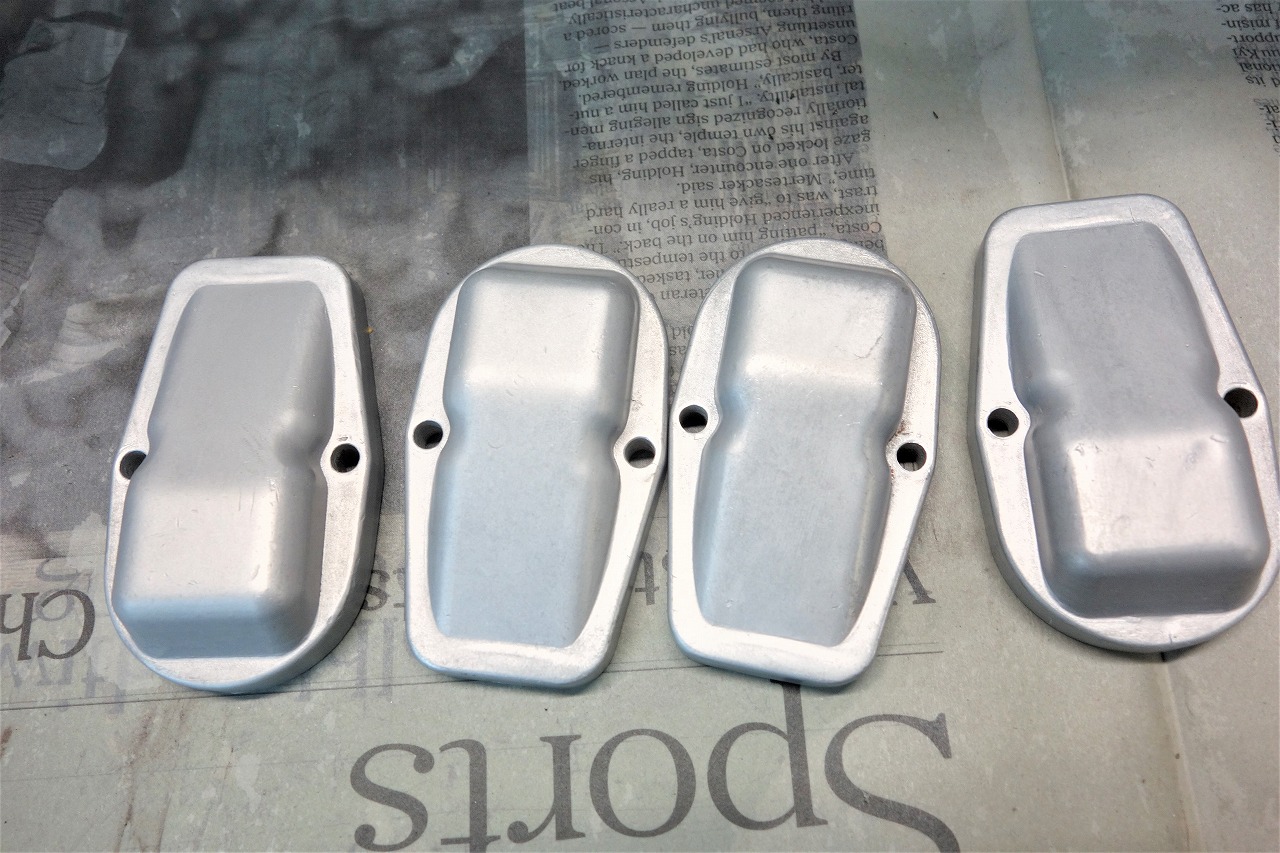
Clean just the top and bottom, and we’re ready to go.
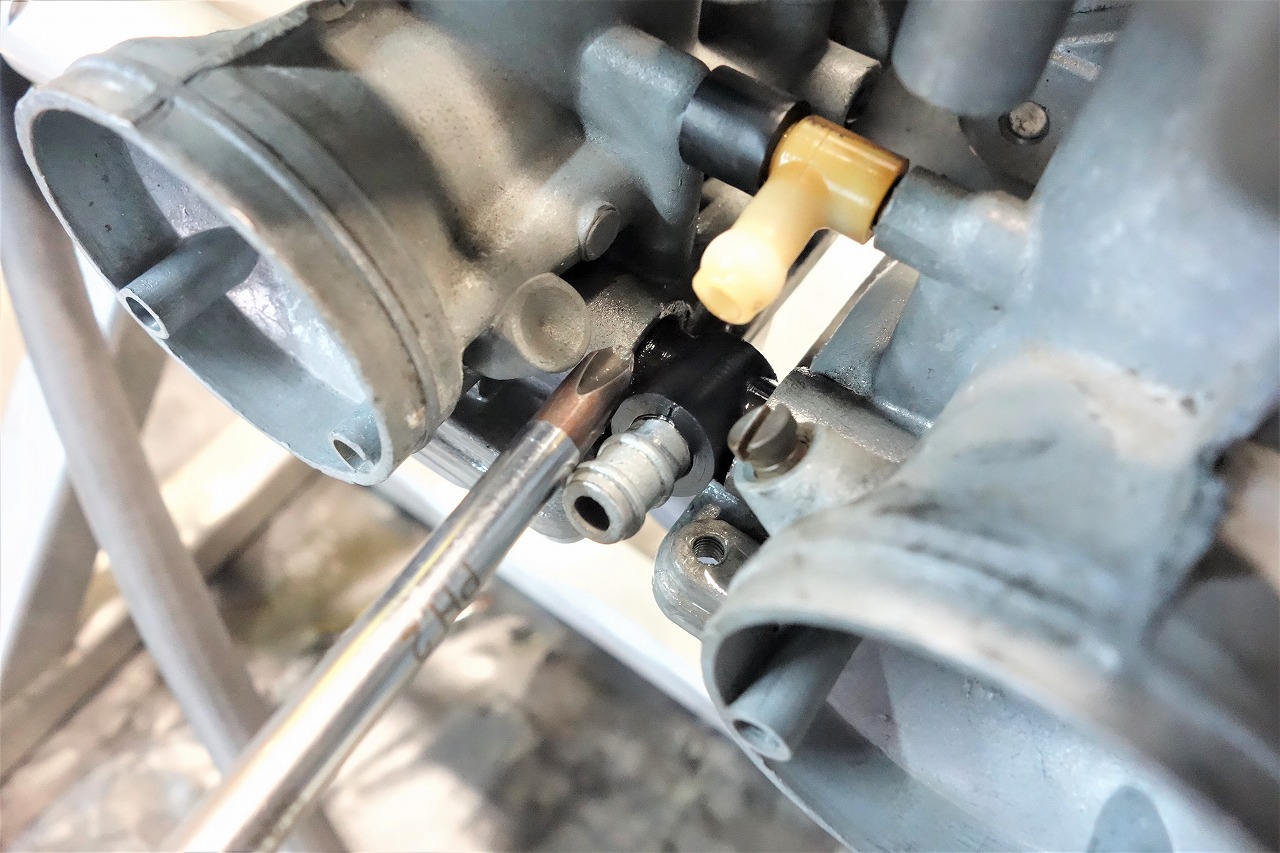
I thought the T-joint was a bit loose, but… sure enough, it’s gushing.
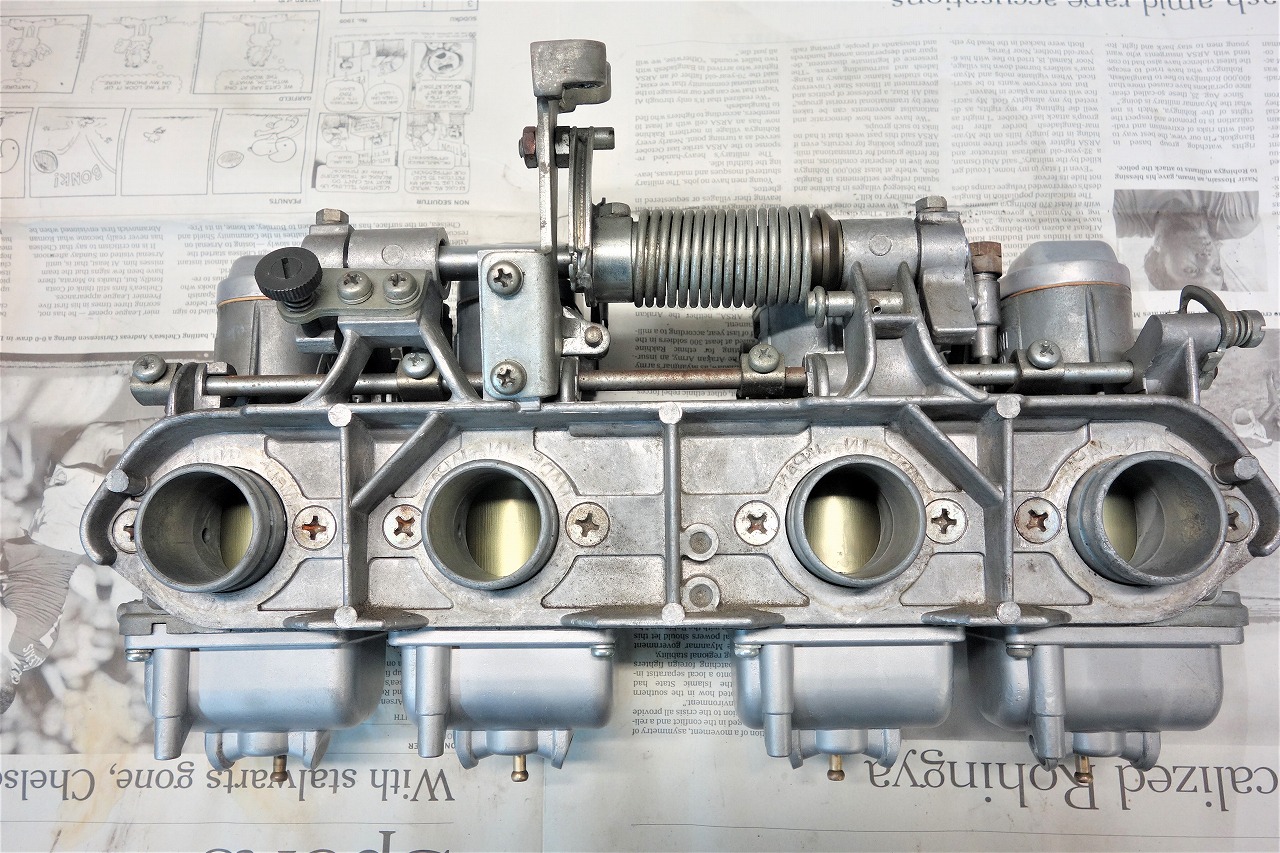
It looks older than the Mikuni on the GS1000S. The structure seems a bit different.
Actually, I’ve never worked on one before.
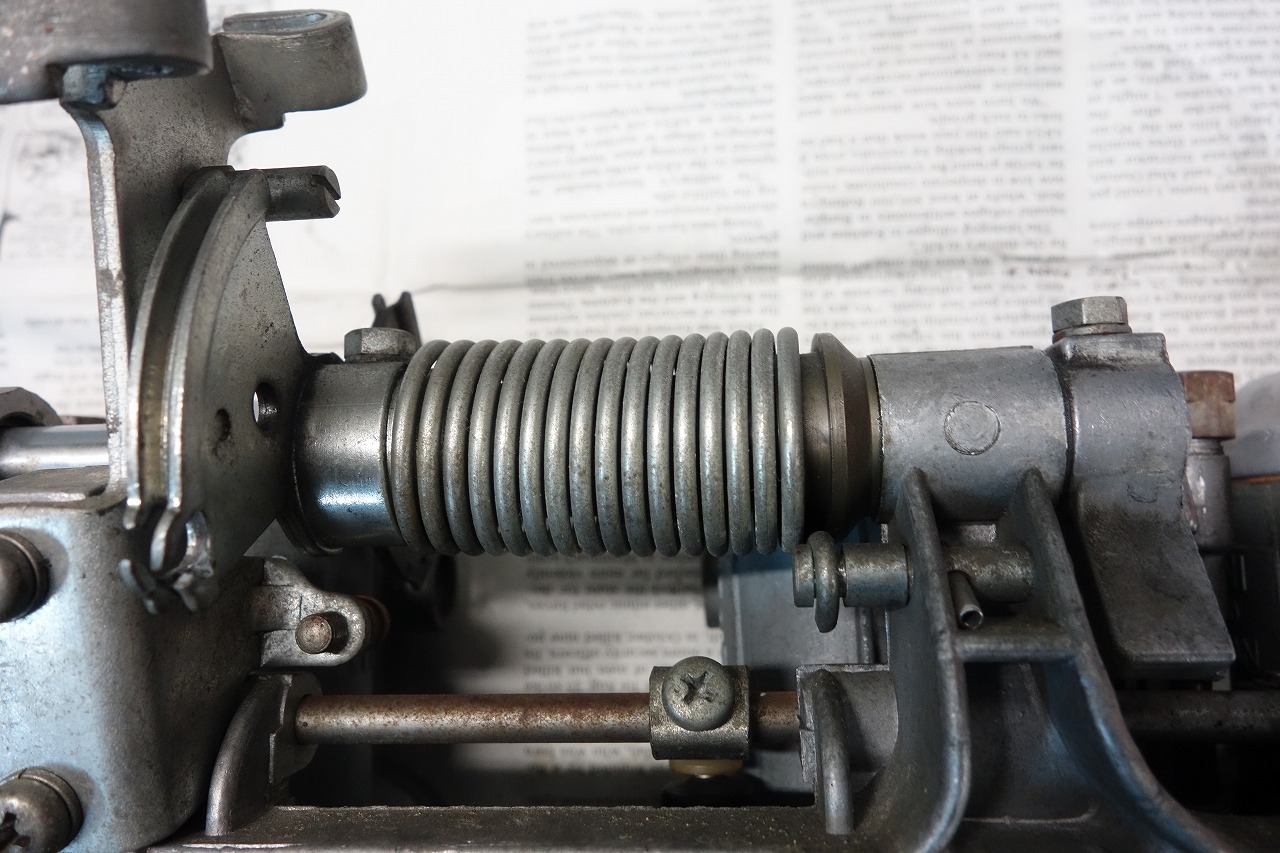
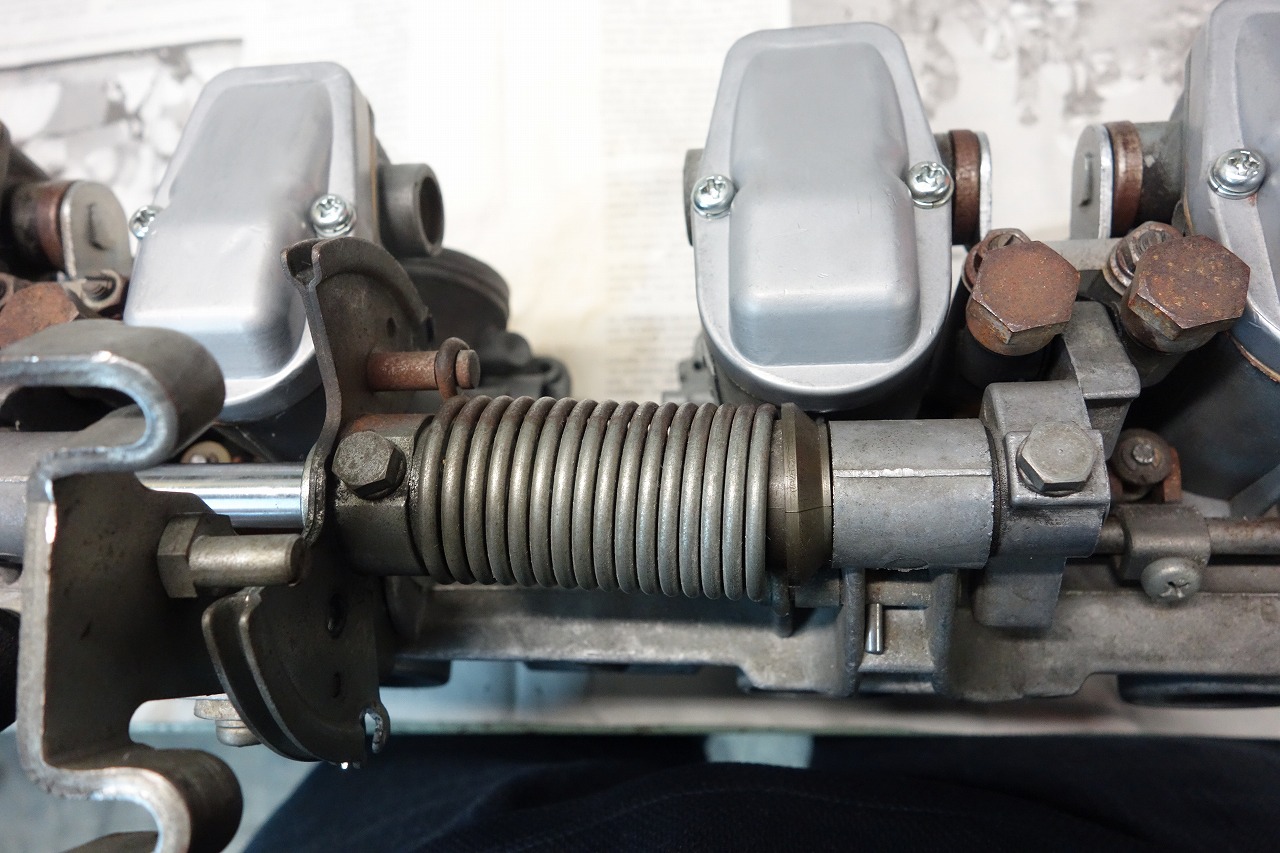
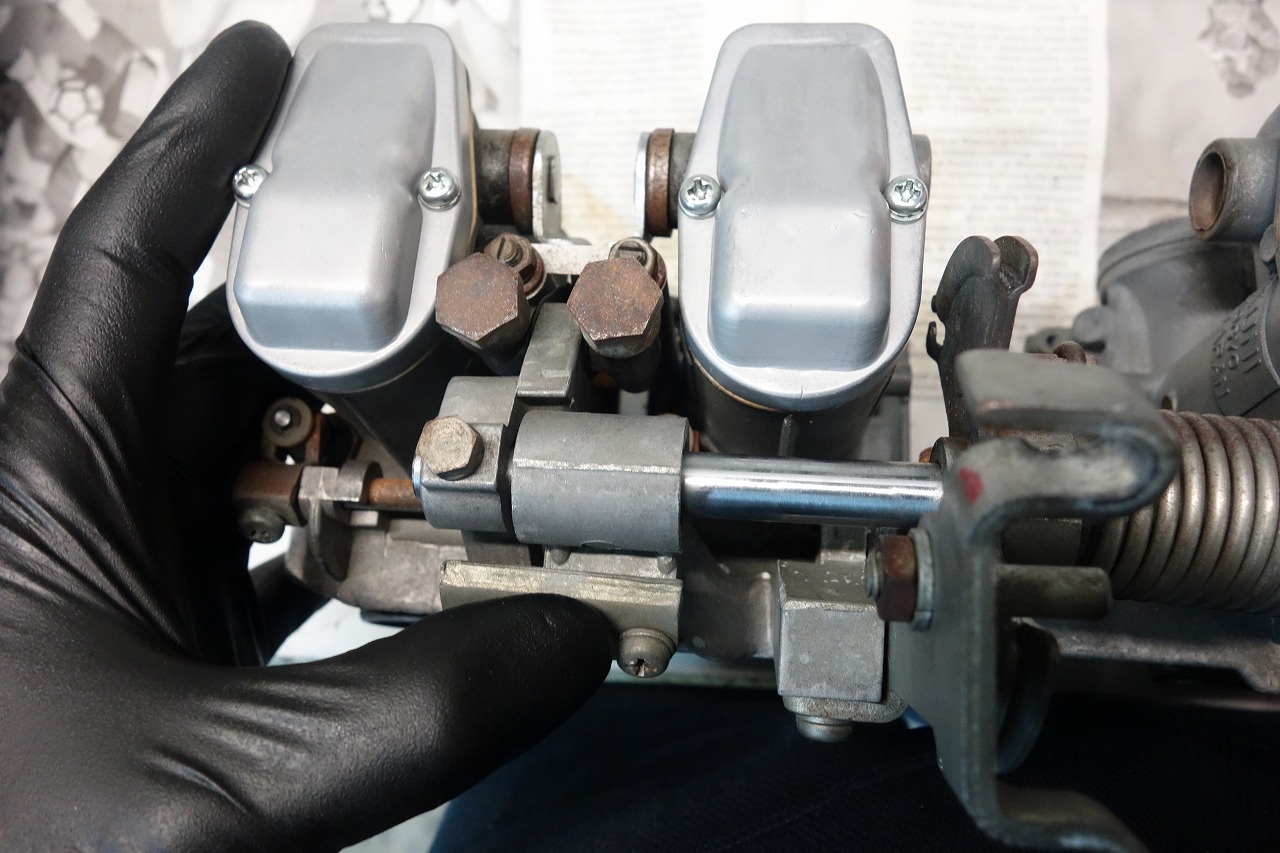
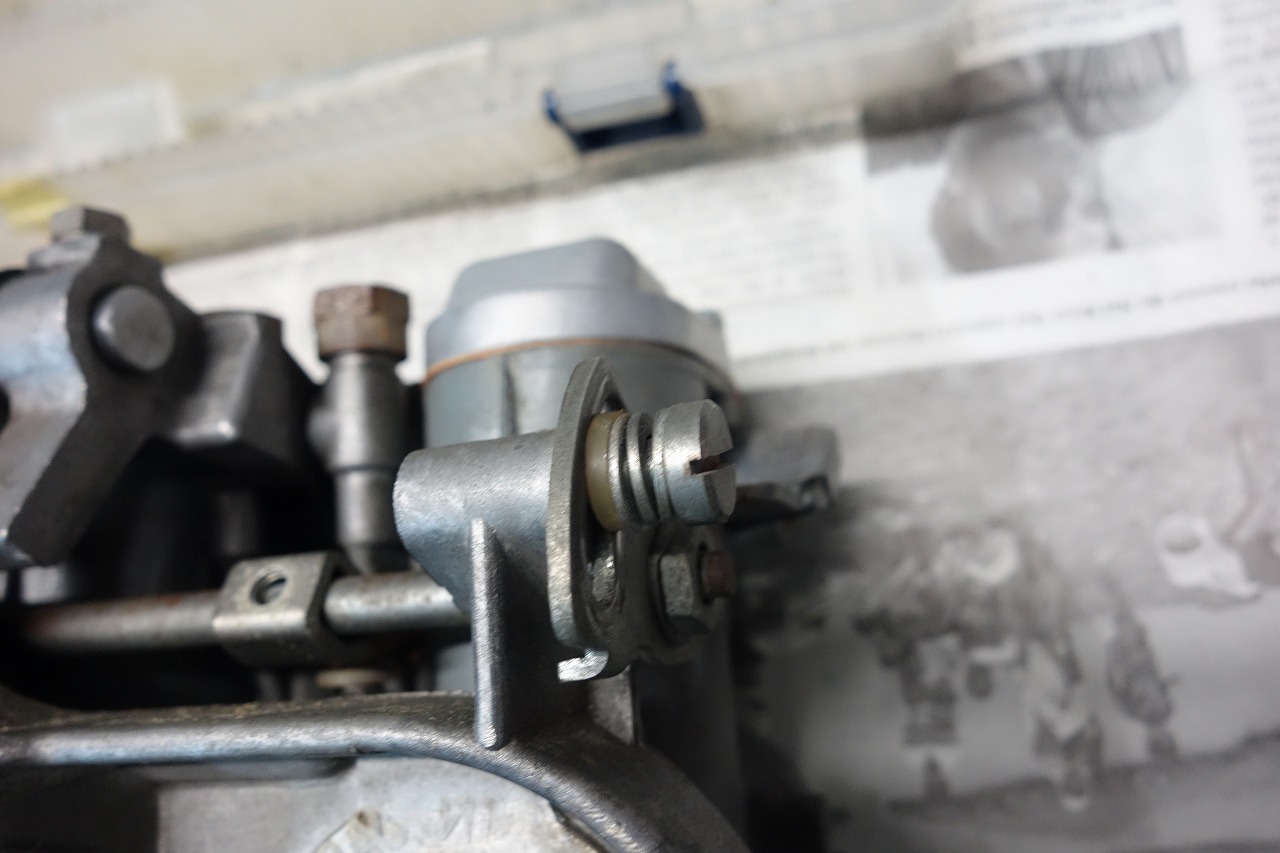
I examine each part carefully and take photos to keep records. Basically, everything is designed so it can be disassembled, so if you think about it logically, you can take it apart and put it back together.
Poorly made custom parts can be more of a puzzle and make no sense.
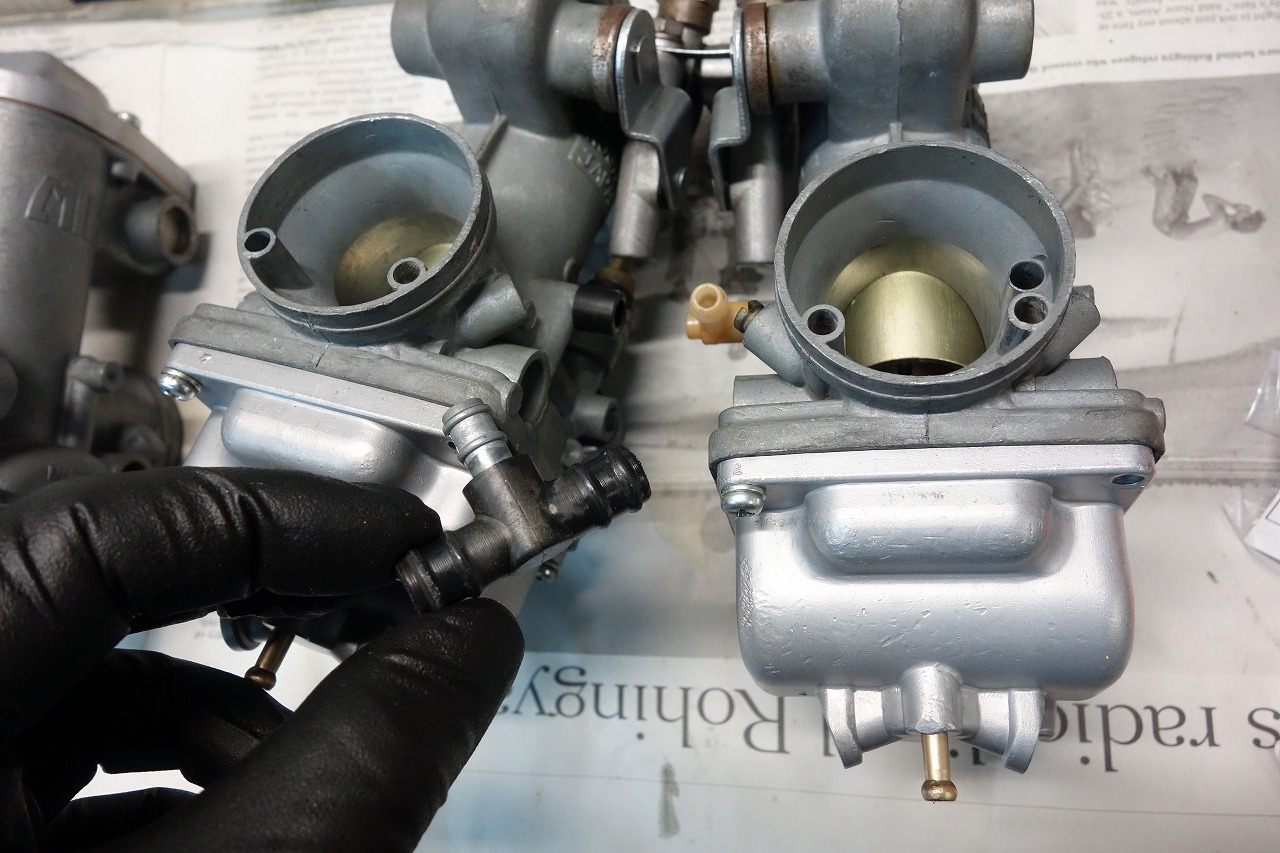
It turned out to be surprisingly simple in construction. The VM on the GSX-R750 GR71 is more of a hassle.
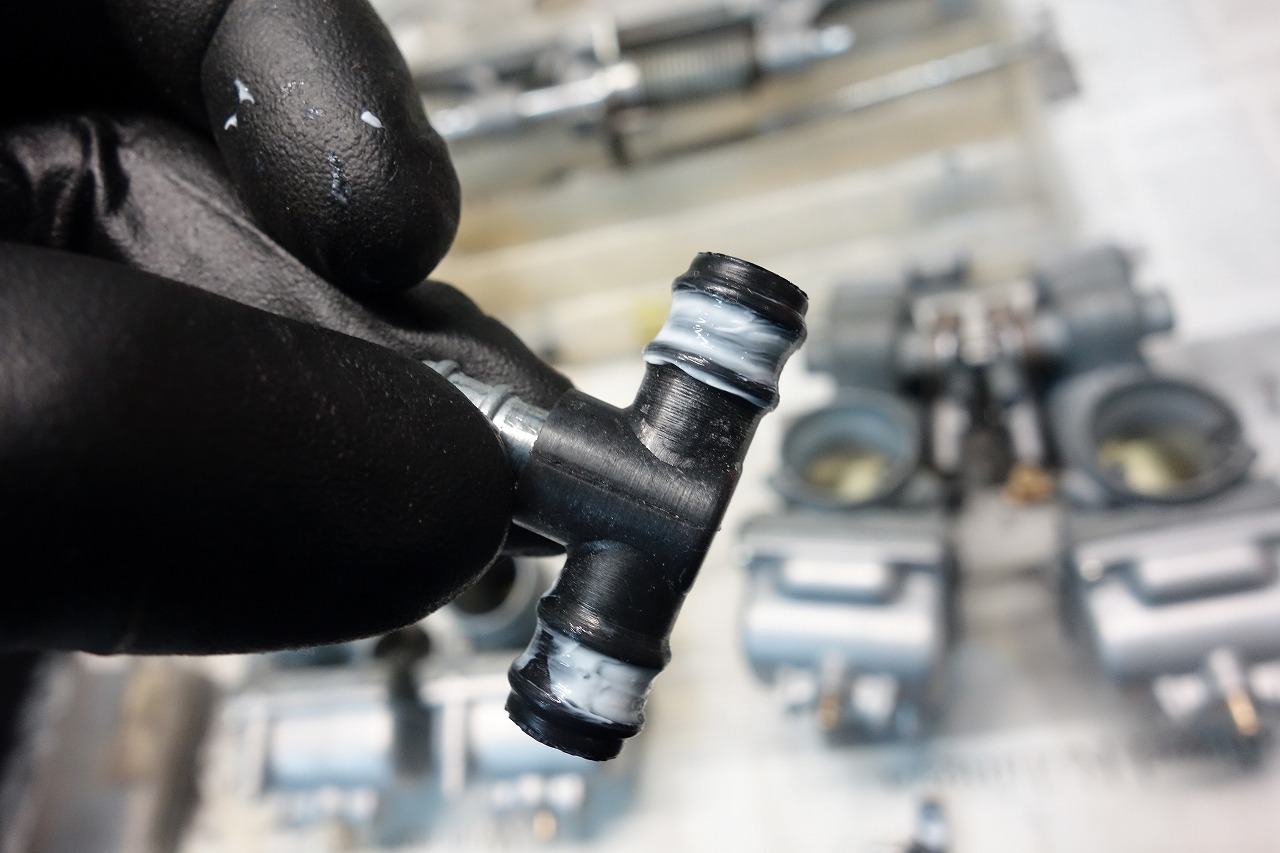
I want the seals to operate smoothly and stay moisturized if possible, so I’ll apply Variel Grease.
I haven’t used it before, but AZ (A-Z) Motorcycle Fluorine 100% Pure Grease [MGR-001] 15g BG022 might work too.
I’ll check the actual fuel level on cylinders 1–4 and readjust.
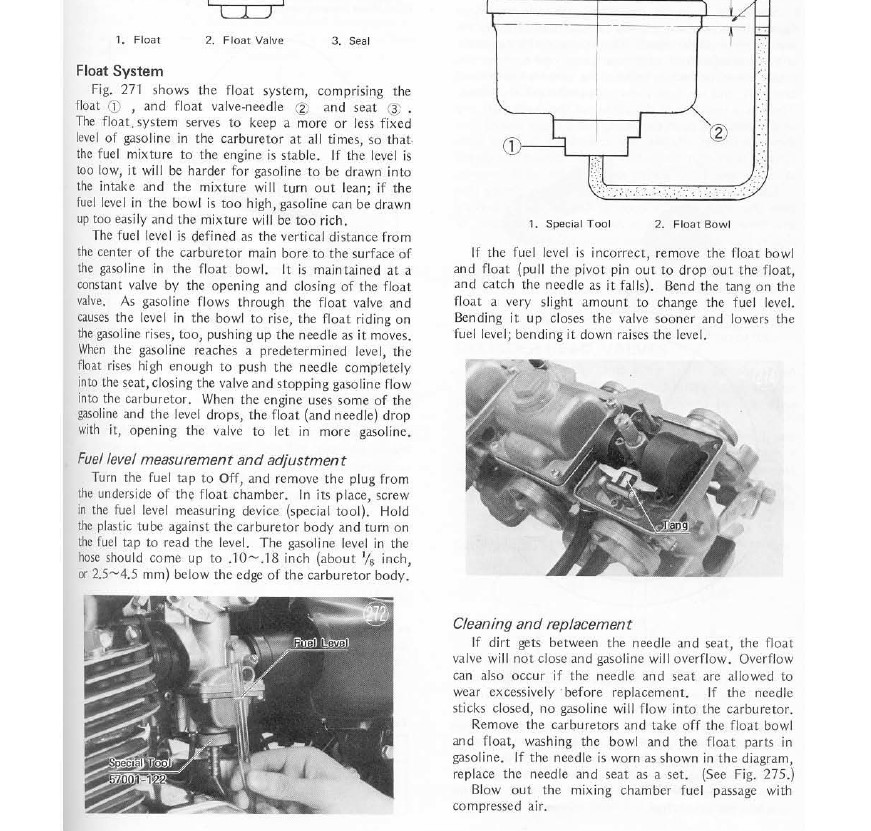
Basically, I can’t do anything without a manual. There are critical numbers you need to know, and they’re right here.
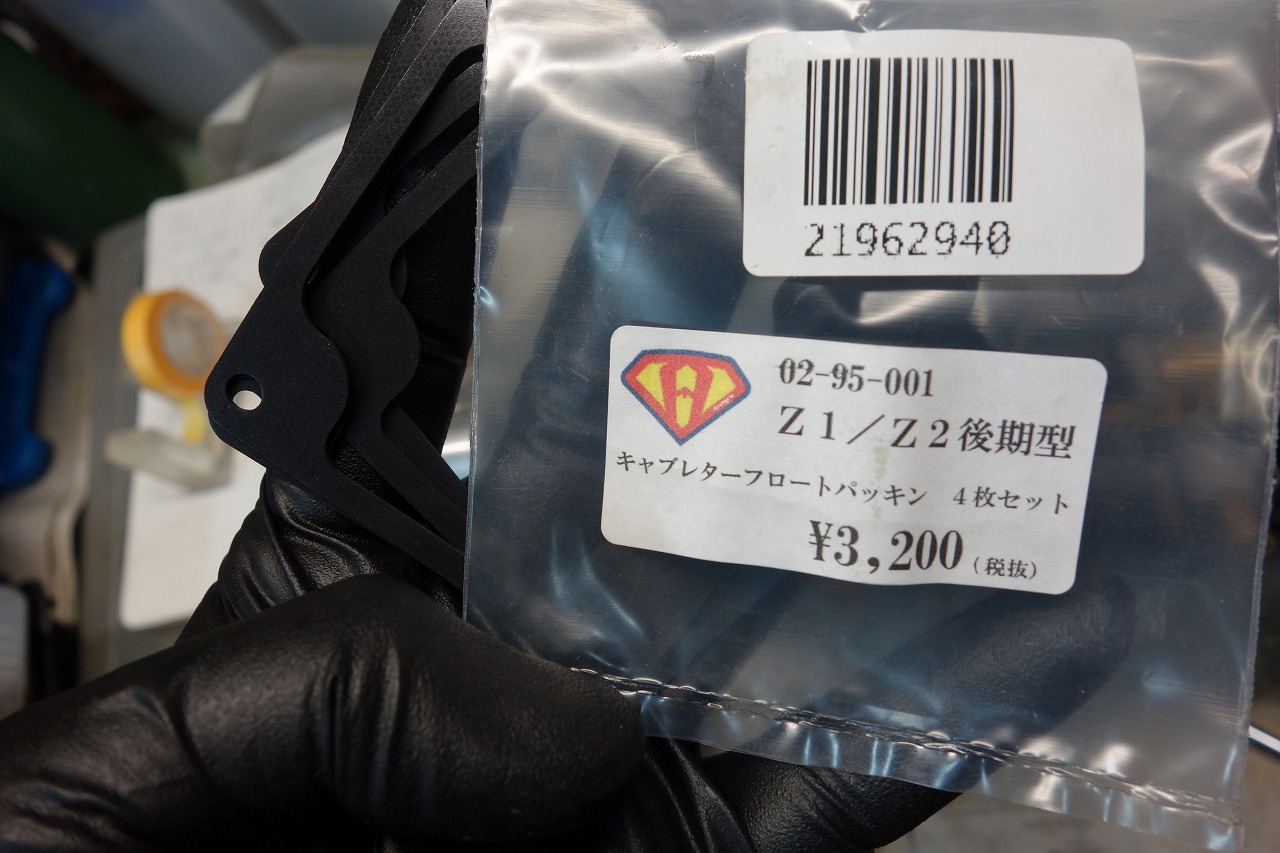
We’ve ordered and will use the gaskets that were originally on it.
The old ones had stretched and looked bad, but these new ones look pretty good.
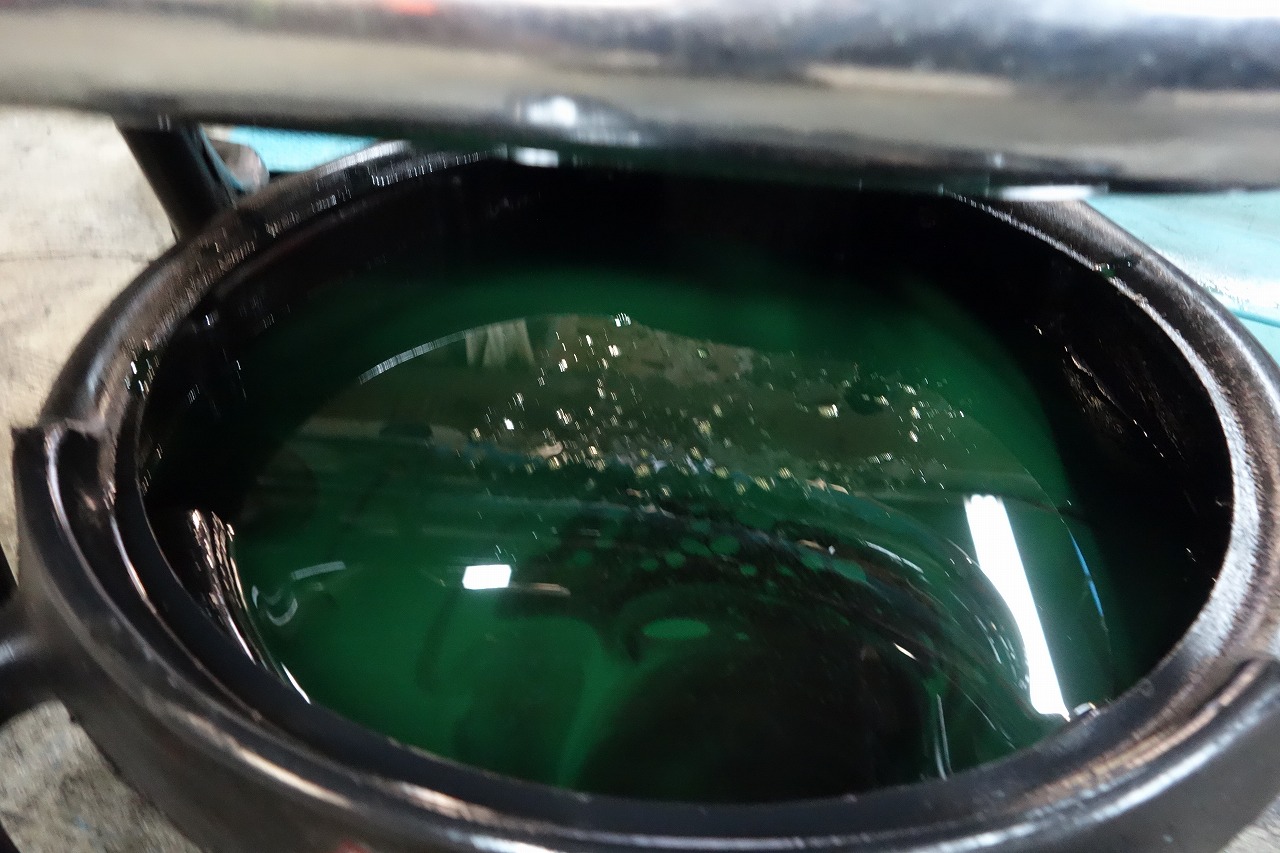
I’ve drained all the oil.
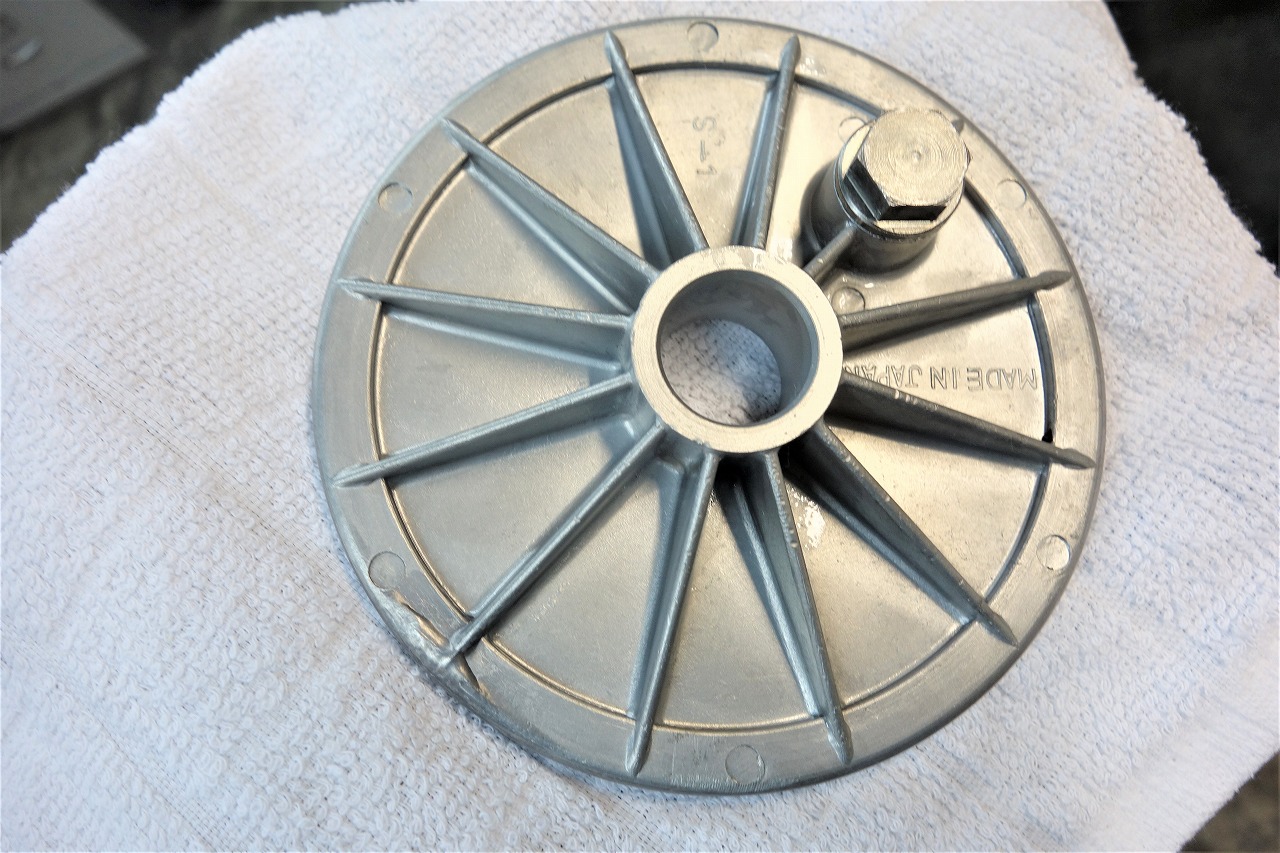
I’ve also polished the filter cover nicely.
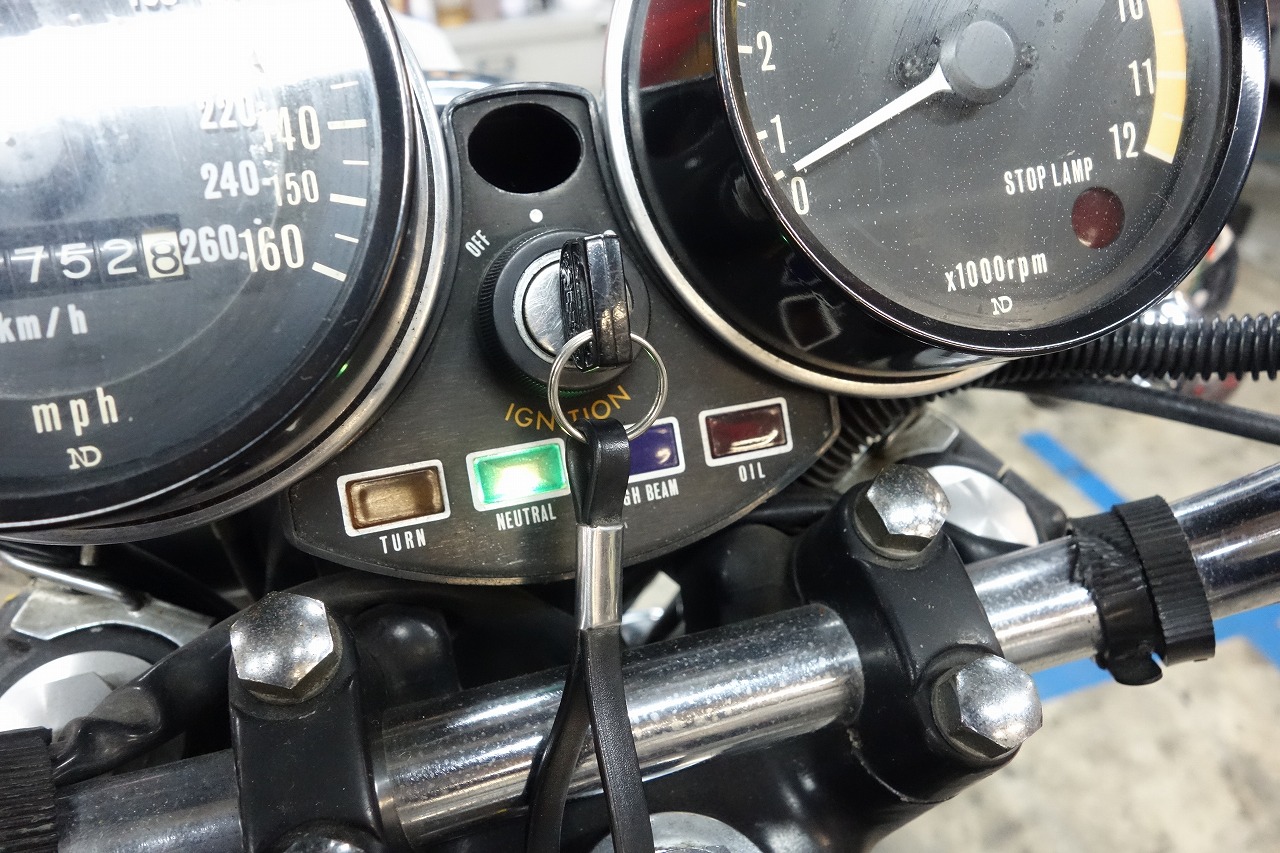
Pull the plug and crank it good!
A customer came in… so I’m putting this on hold here. I’ll start the engine once and give you an estimate.
Thanks for your patience~