Kawasaki Z series.
The wiring seems easy to manage but turns out to be a hassle…
There aren’t many, but doesn’t the harness design and construction feel a bit old?
Running a single ground wire from front to back turns out to be surprisingly efficient.
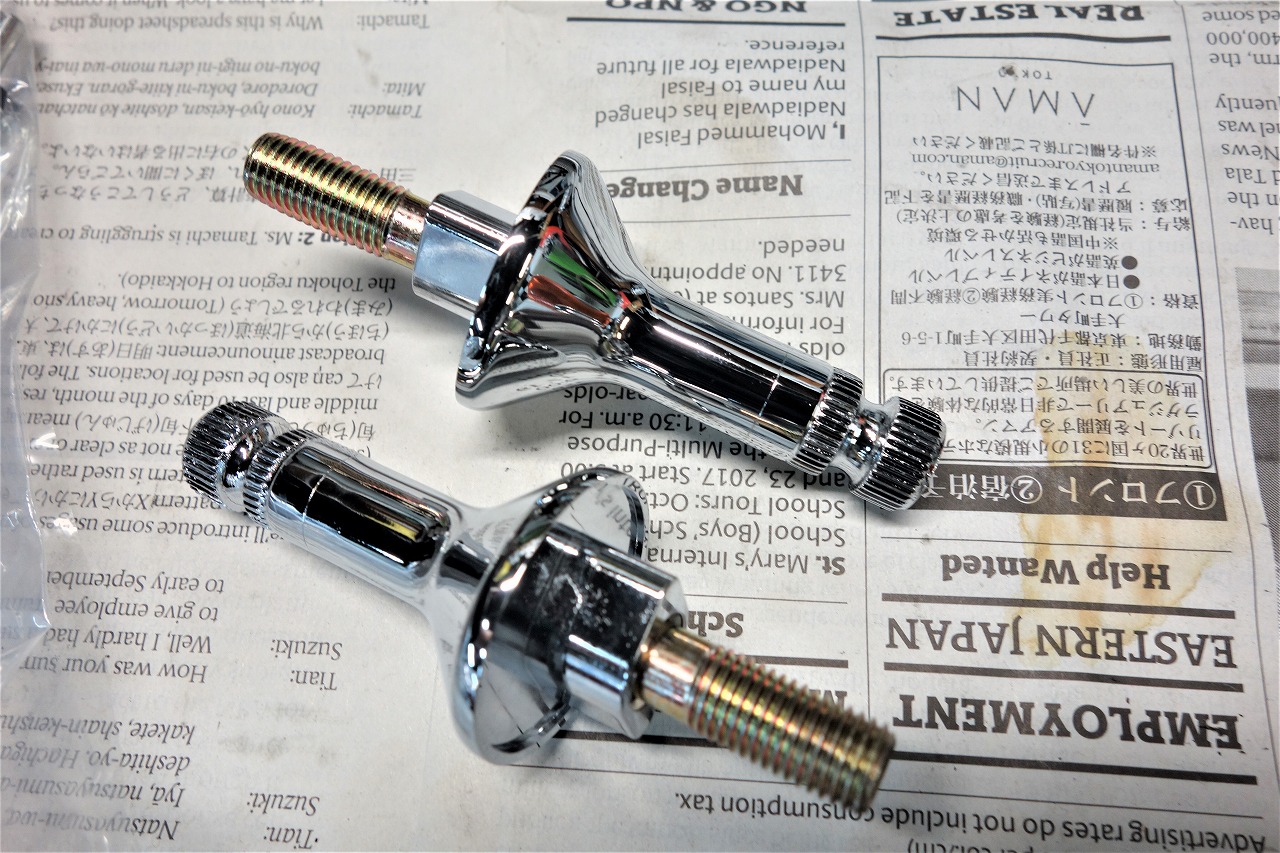
Starting with the easier parts… replacing with a front short turn signal bracket.
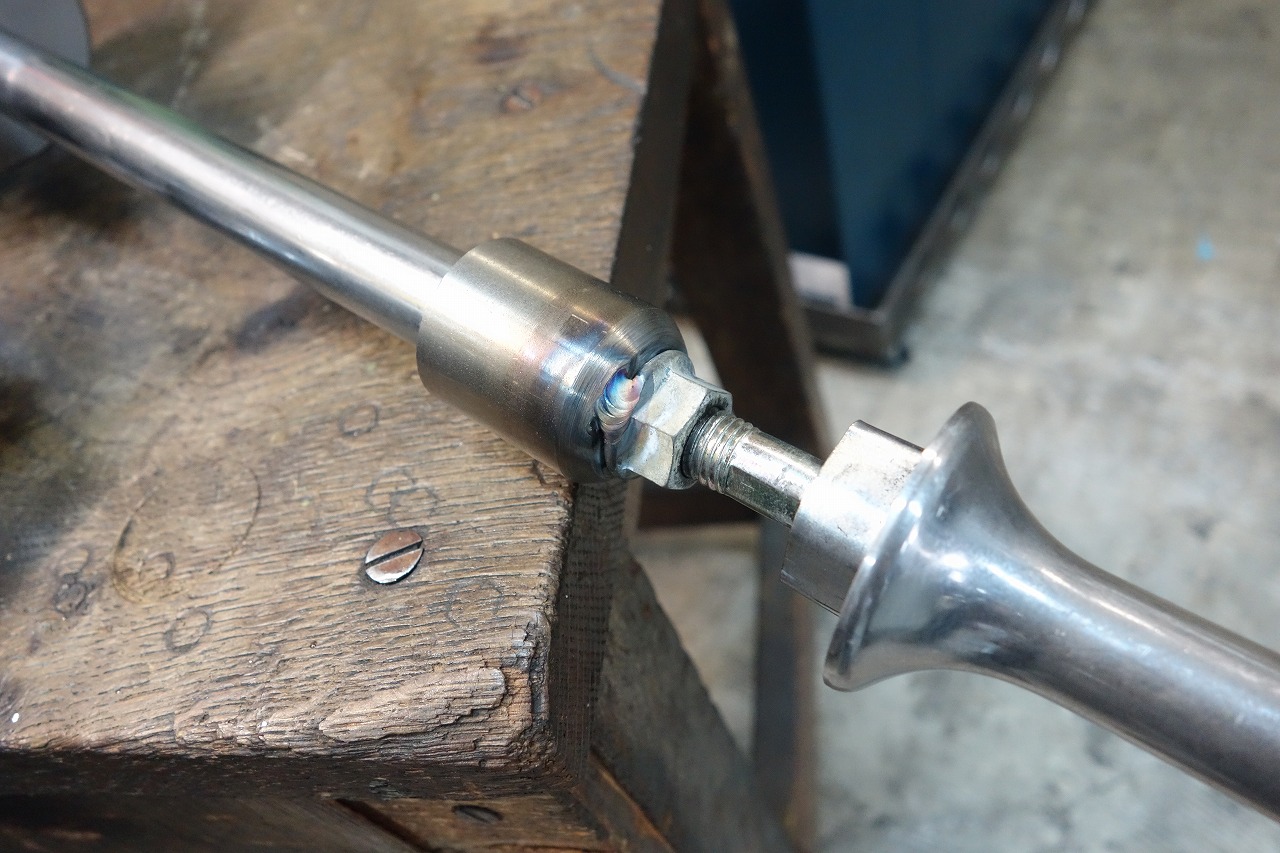
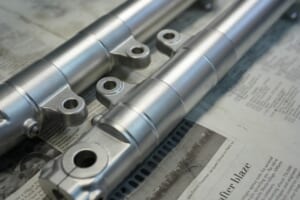
Since tapping it is scary, I’m planning to gently pull it out with a slide hammer.
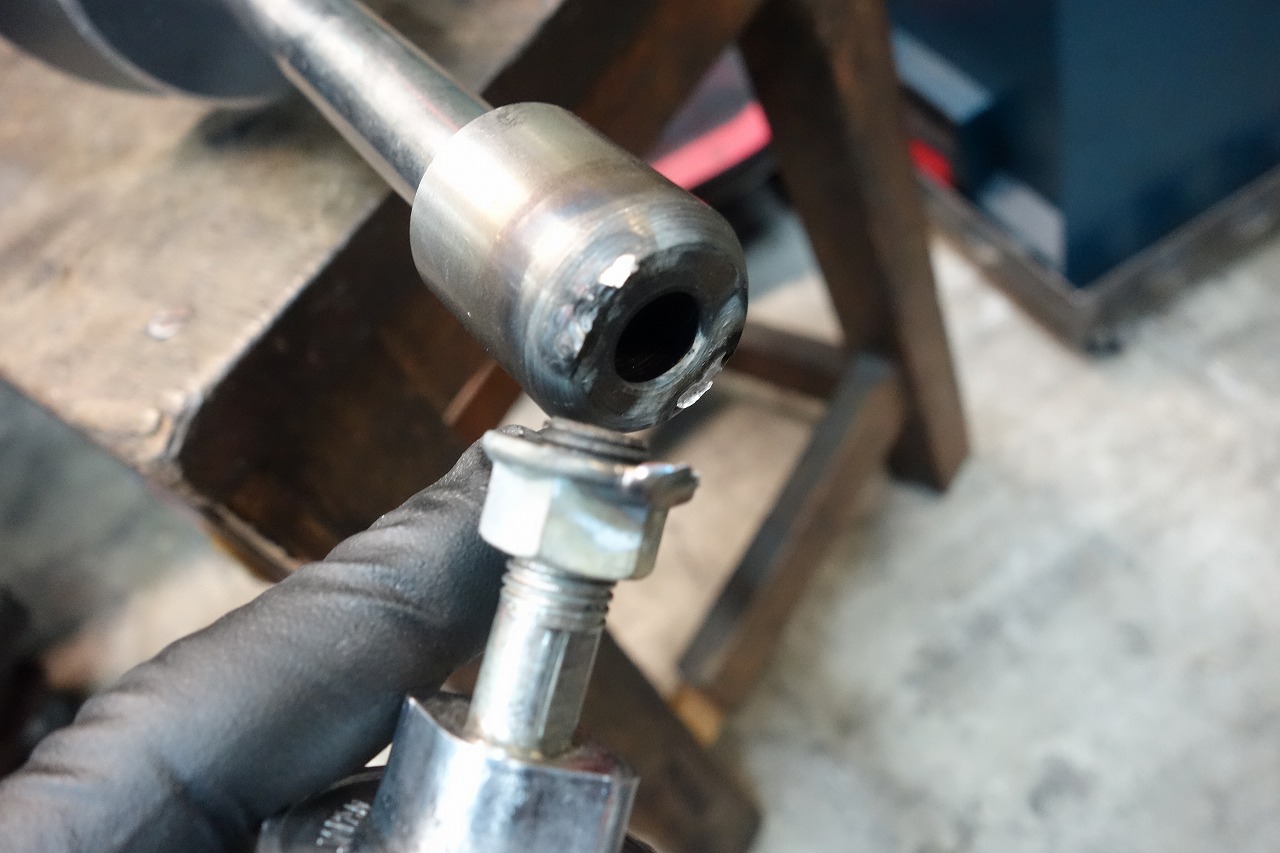
From morning it’s been ugh… Seizing is incredible.
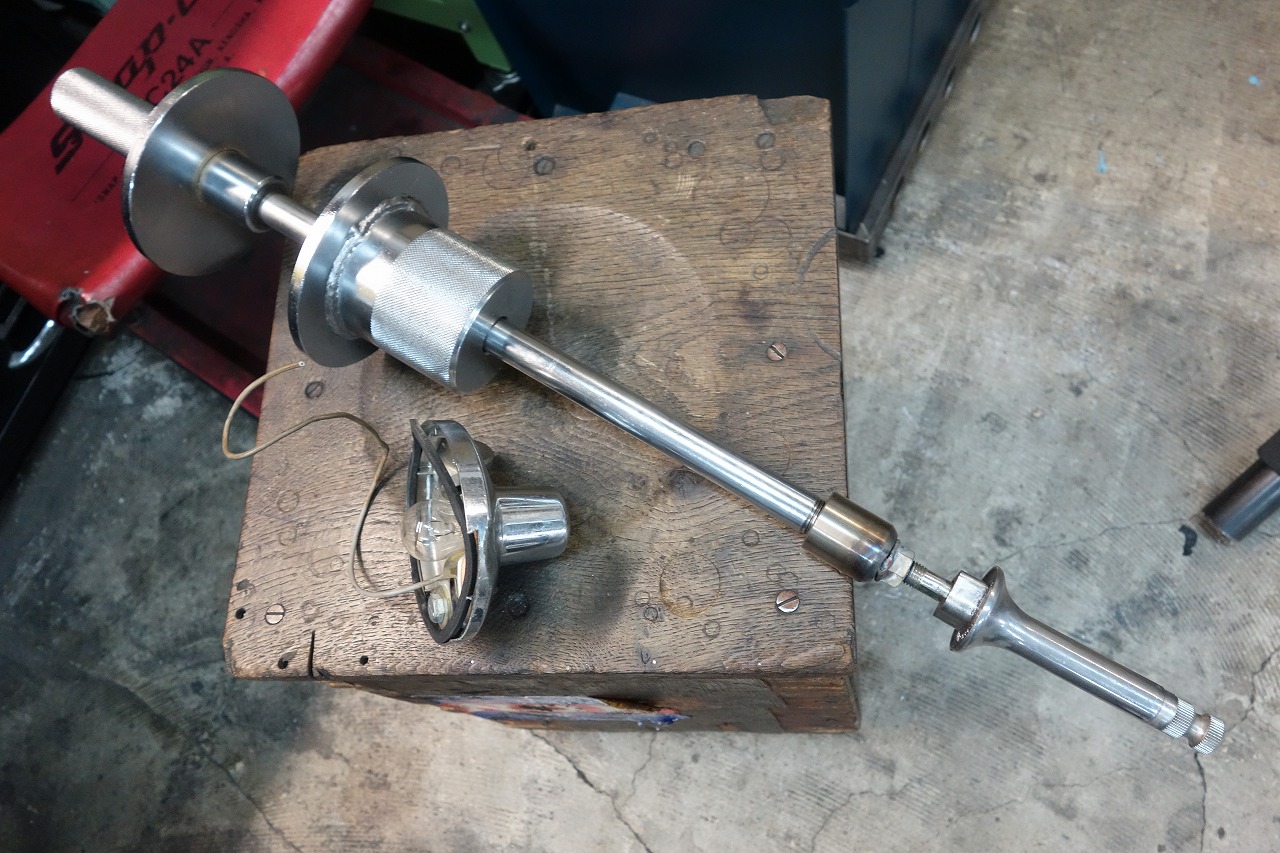
The slide hammer is quite large. Finally got them out… ×2
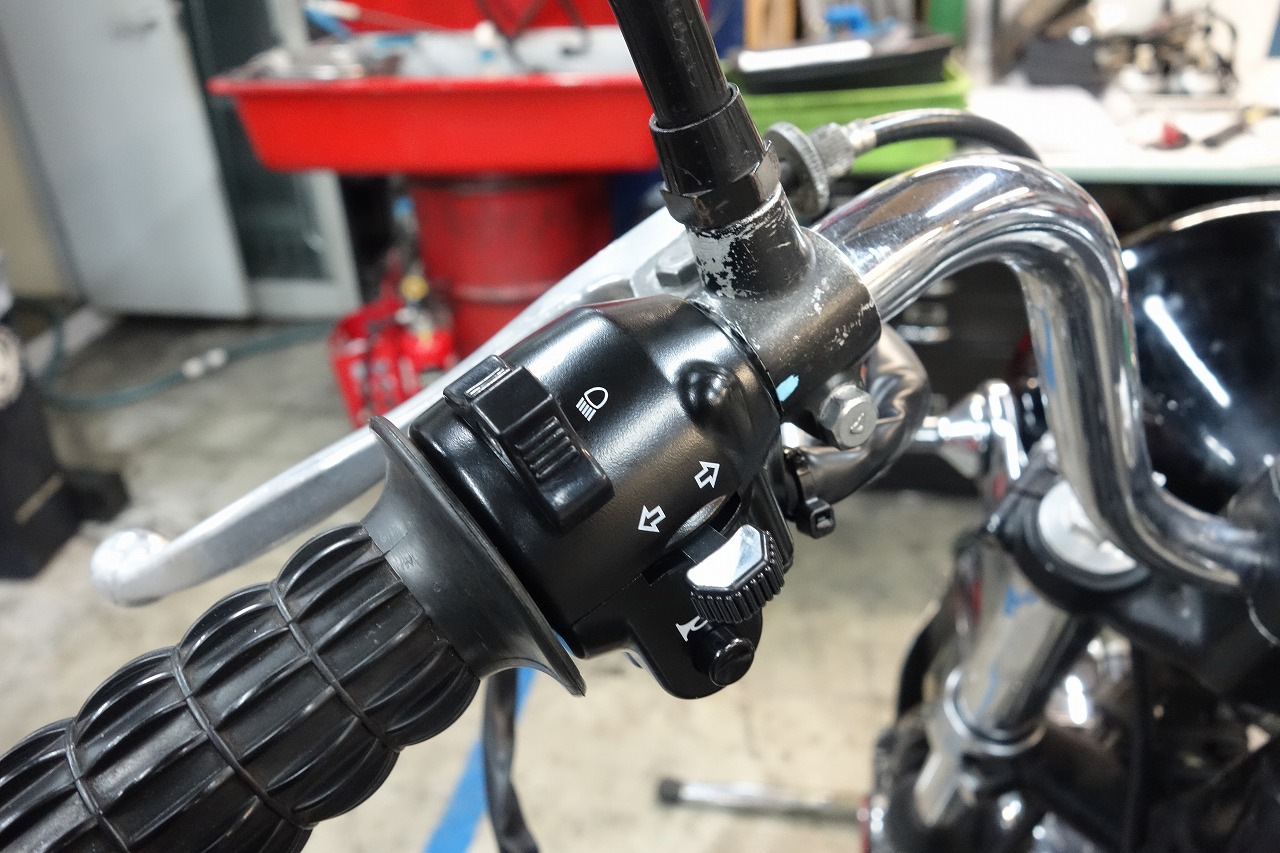
Drilled a hole in the handlebar and installed the left switch.
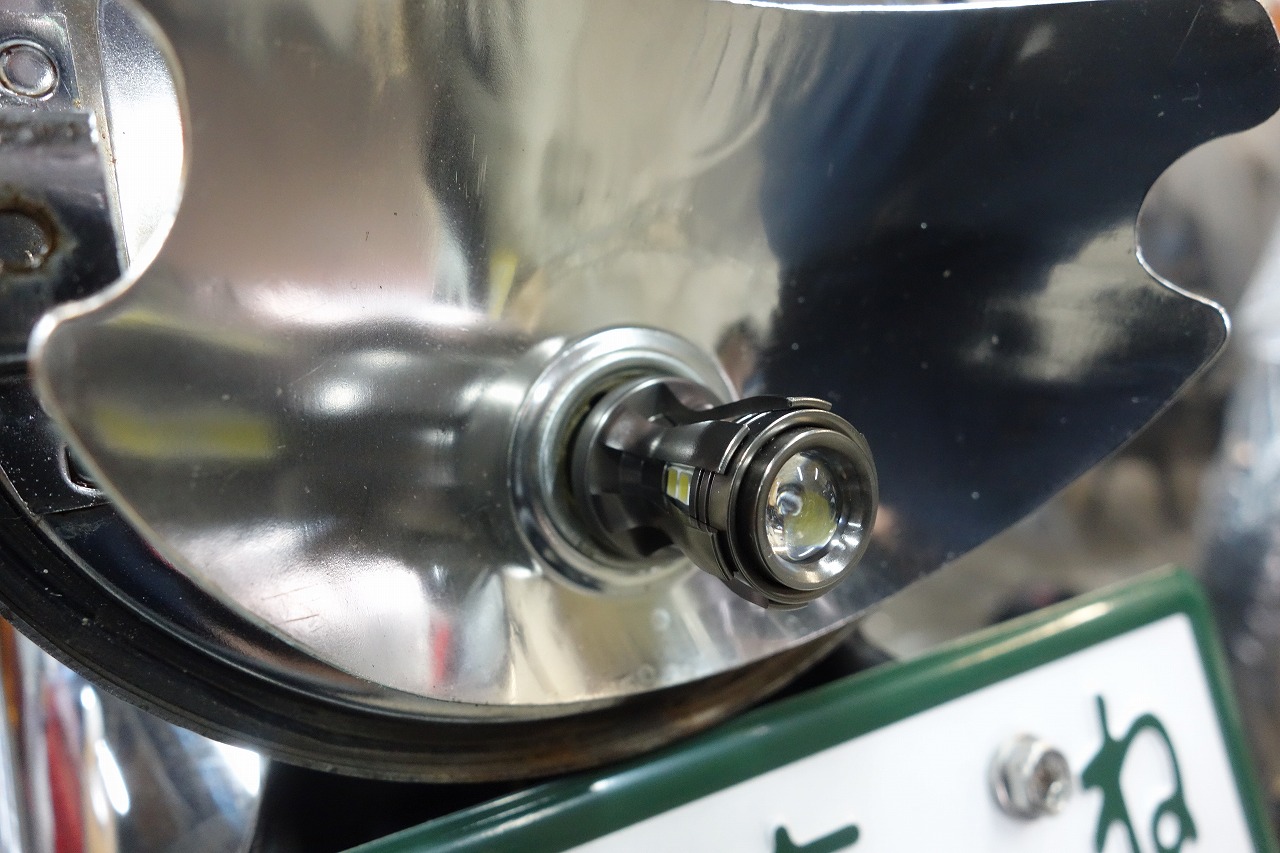
For the tail, they wanted LED, so I replaced it.
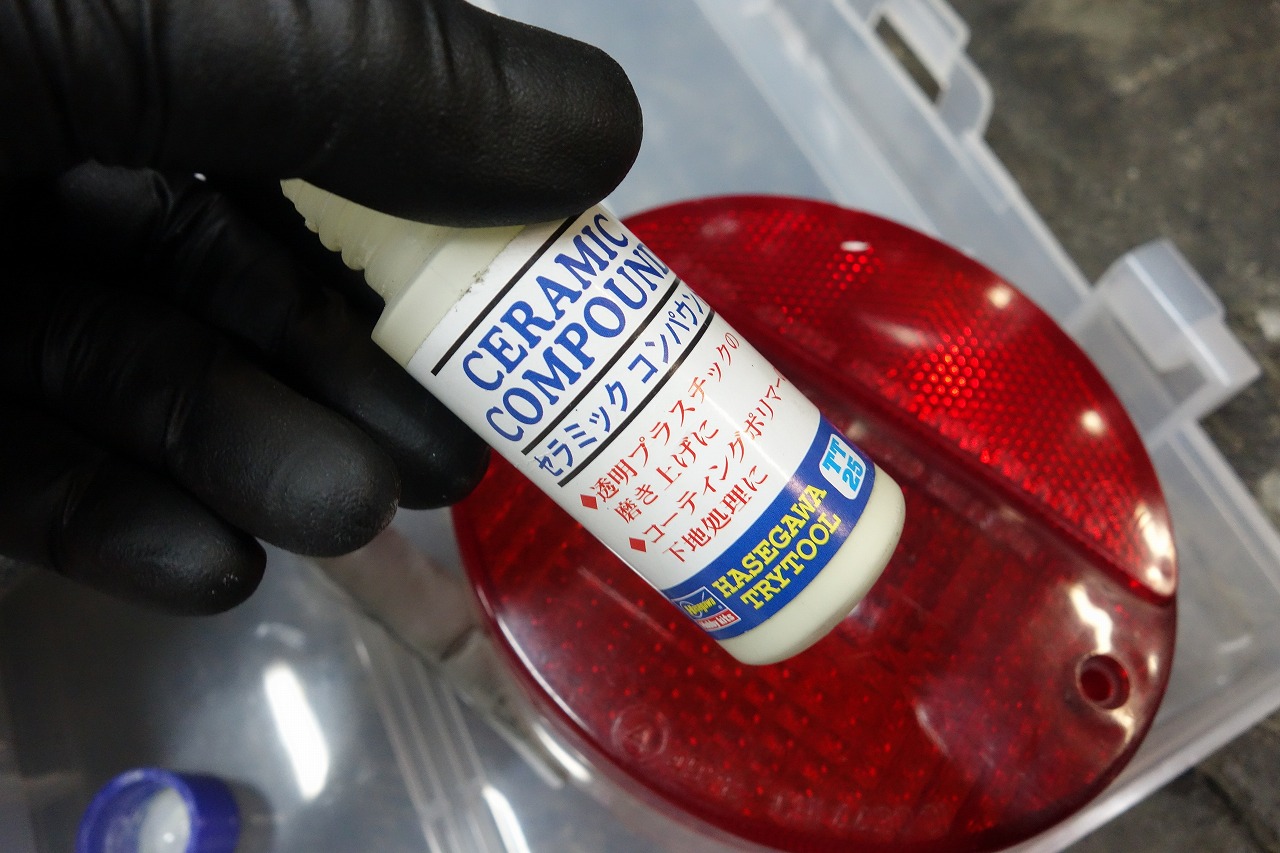
Ceramic compound ideal for screens and plastic parts
It can remove small scratches on screens and such. It’s handy to have one.
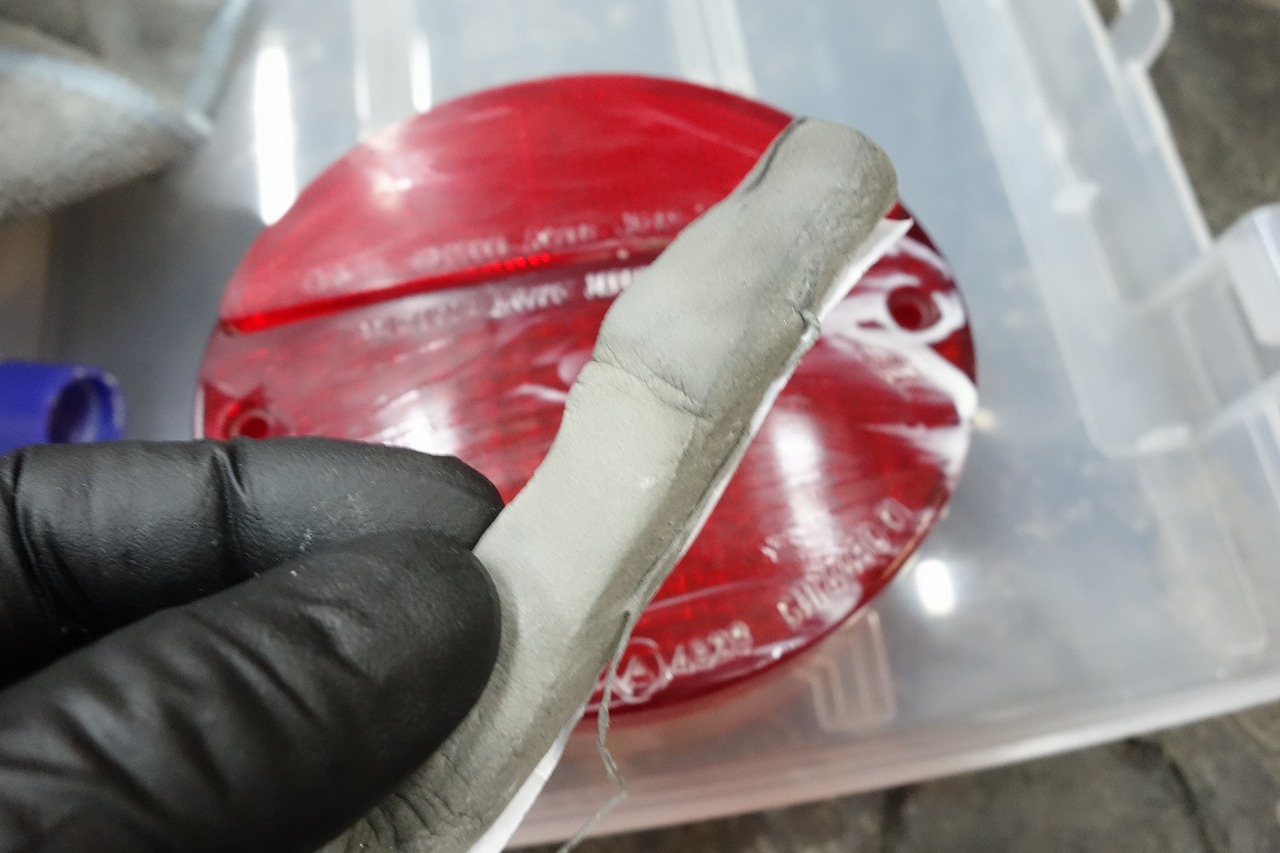
A sponge is best for spreading it. By the way, this is the one that comes with the Shorai battery.
Since the sponge itself doesn’t absorb, it spreads well. (You can enjoy it with just a small amount.)
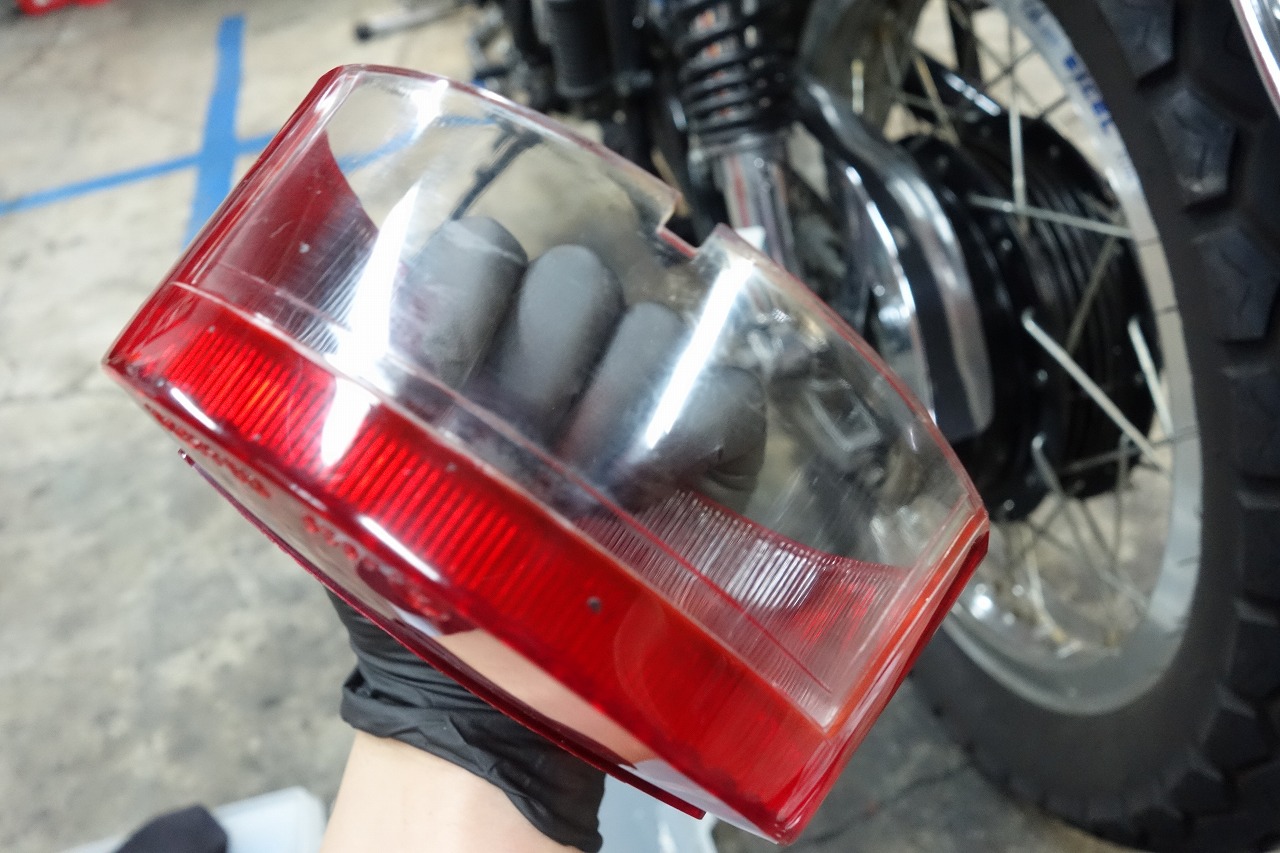
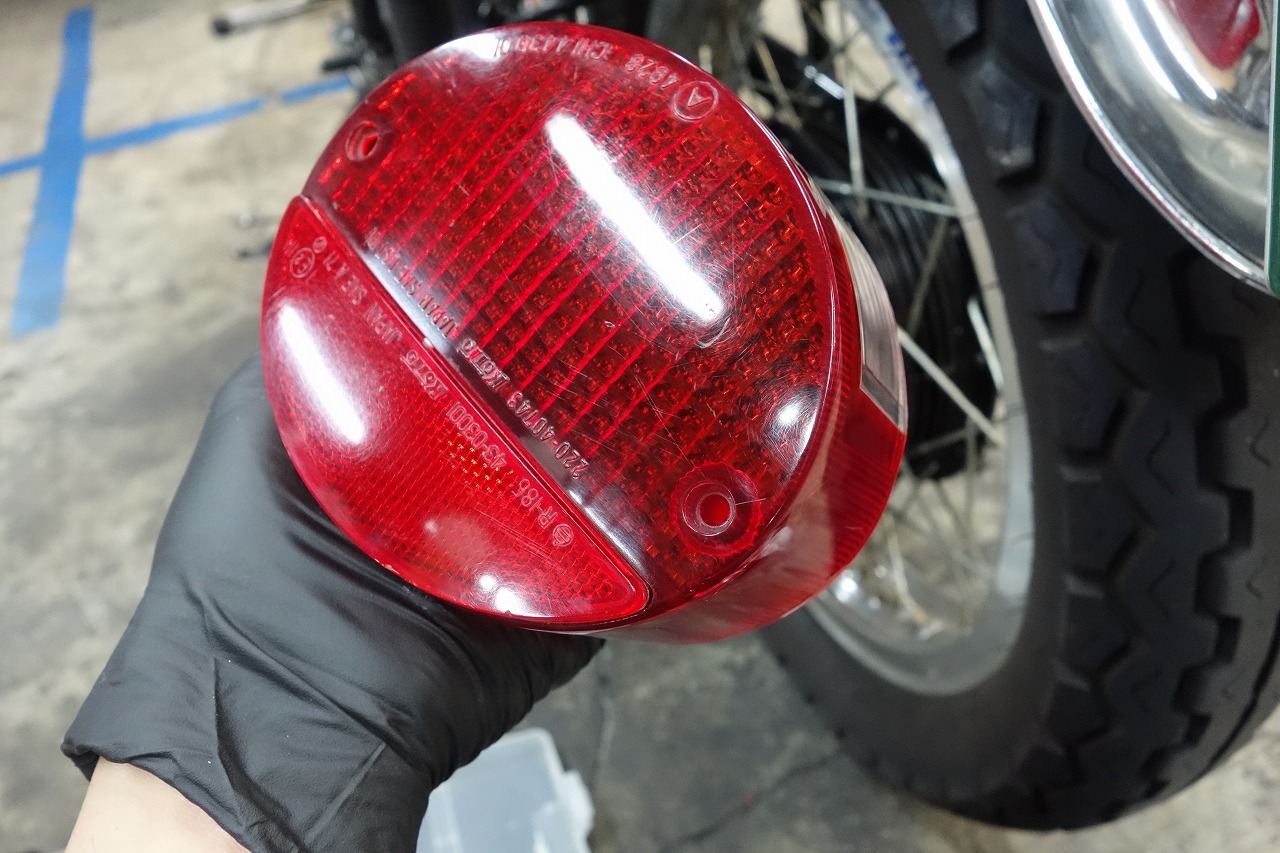
With effort, I think you can make it even cleaner.
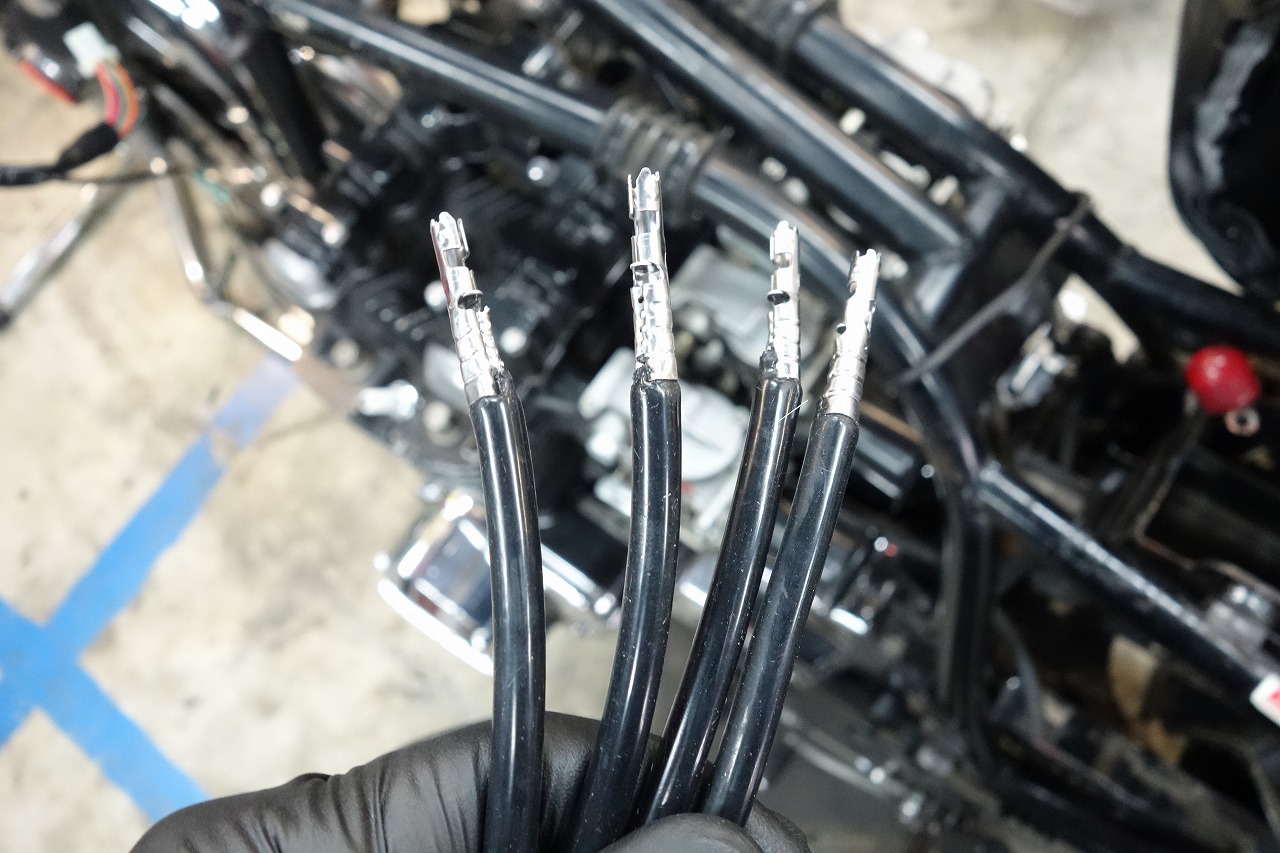
The plug wires come pre-crimped, so it’s reassuring. I’ll cut this and install it.
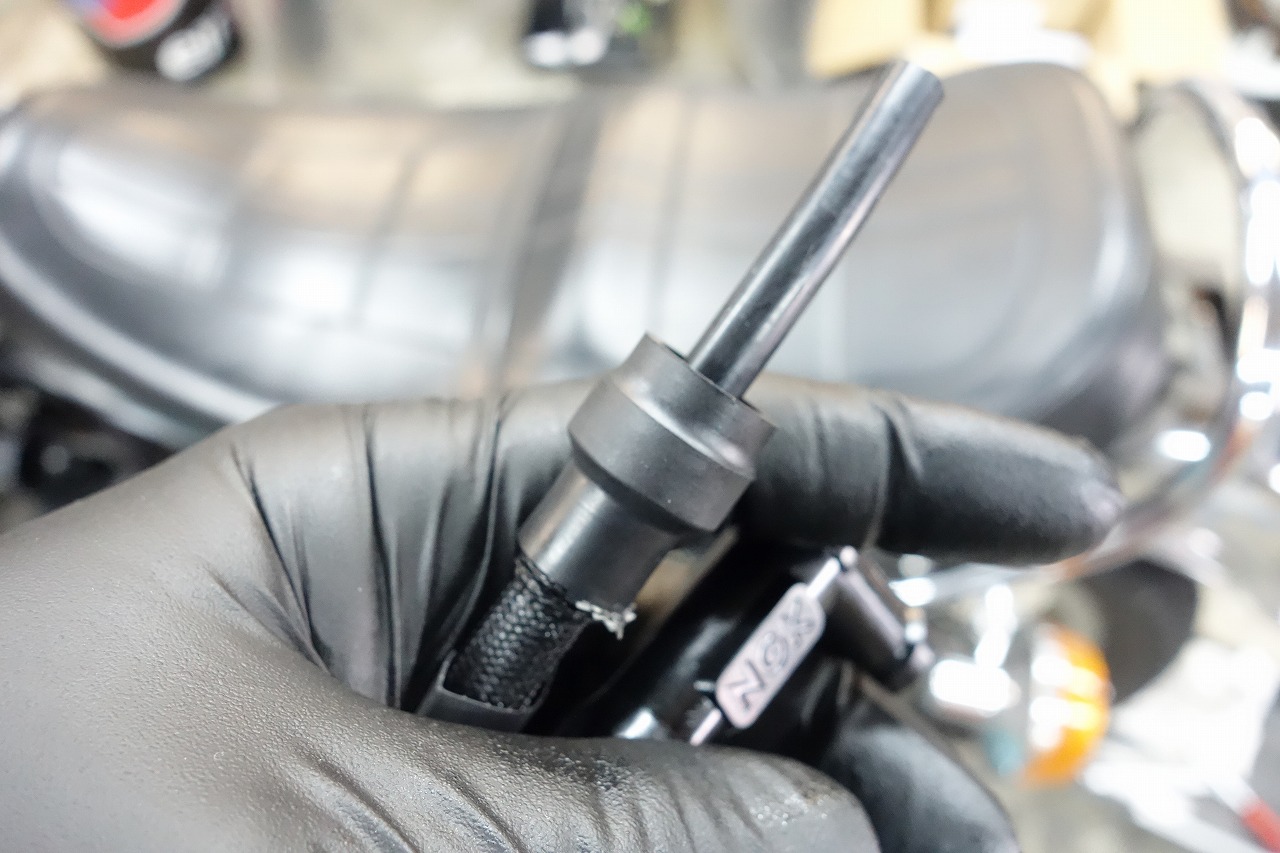
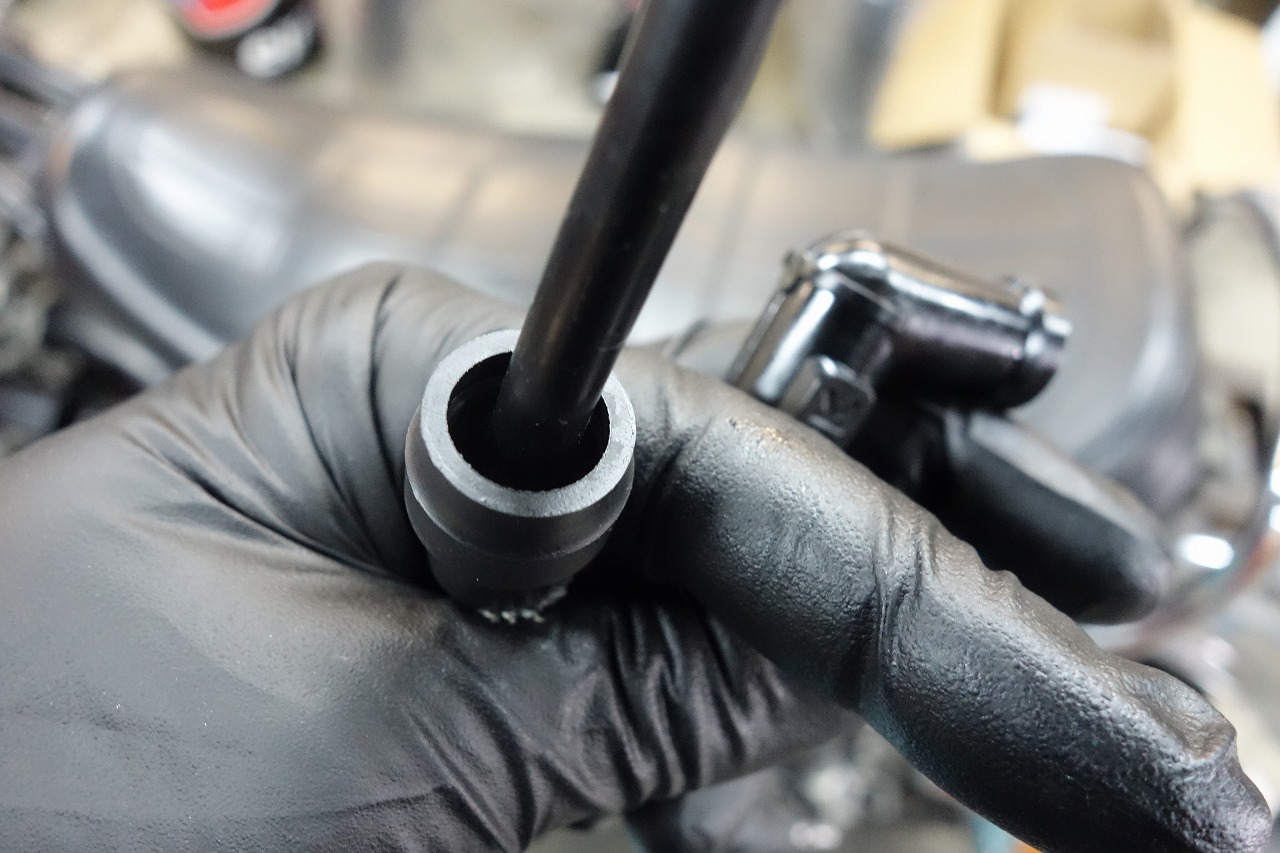
This SP2 ignition coil plug wire set has an excellent coil-side cap.
The one that comes with Watanabe is a bit scary…
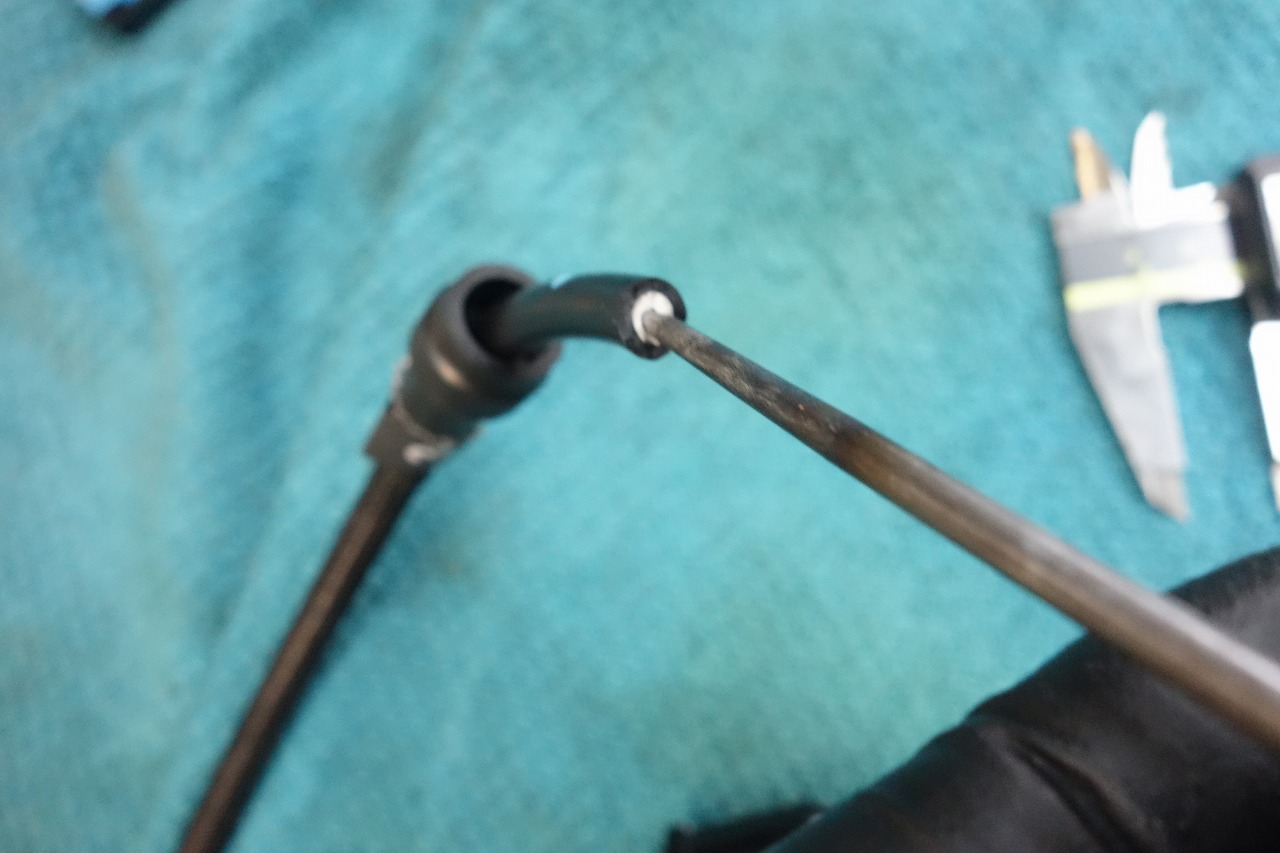
When inserting the cap, drill a pilot hole with an awl or similar.
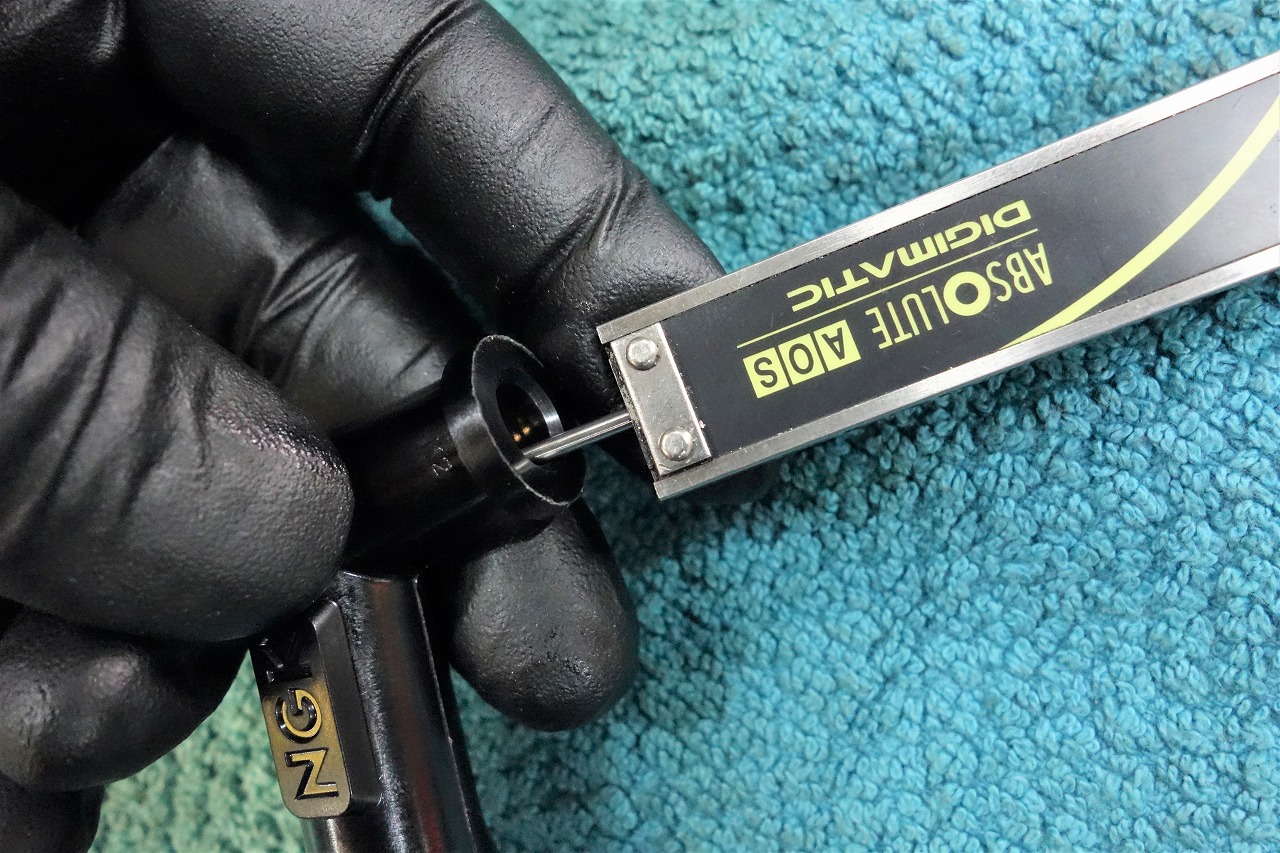
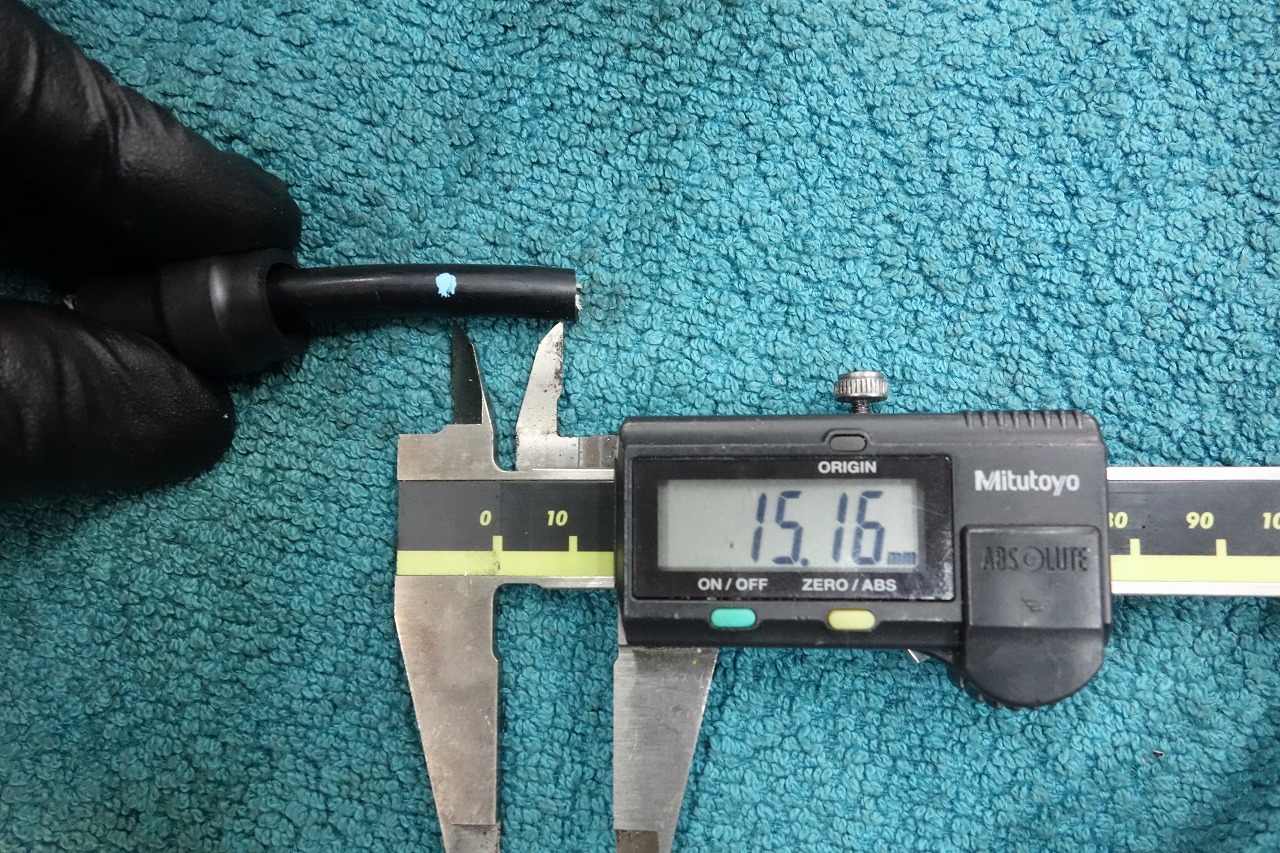
Roughly check the cap-side depth, mark the wire with a marker, and twist it to see how far it’s going in.
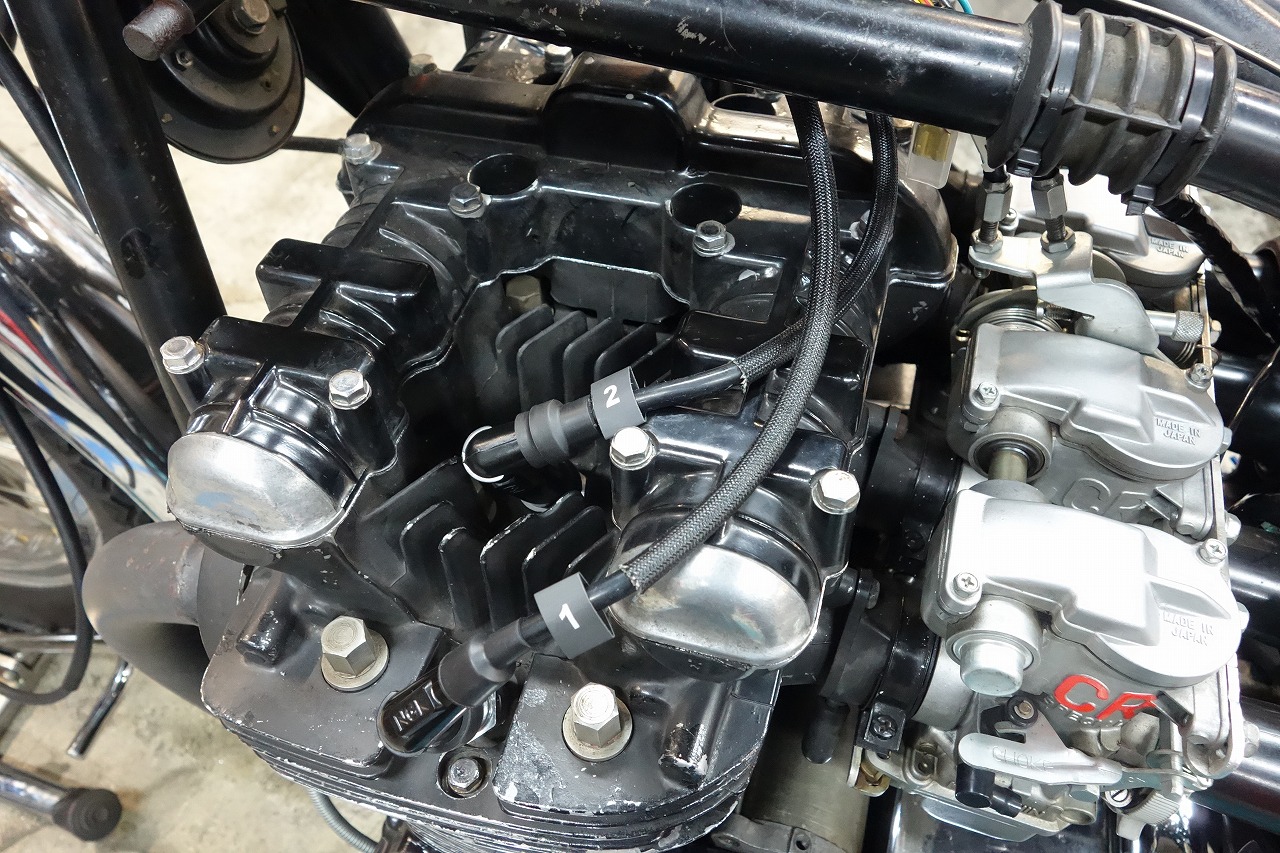
Then I did a temporary layout and we’re done.
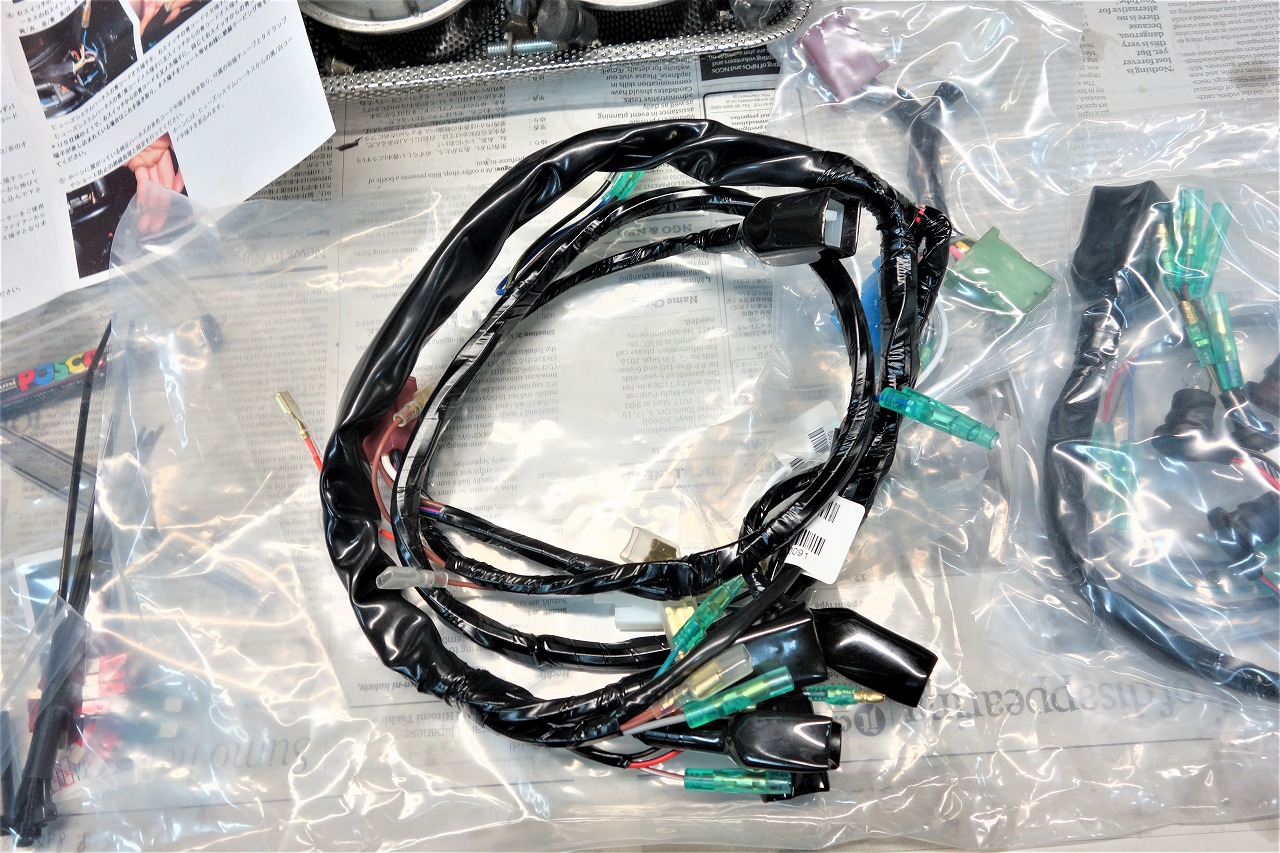
Let me clean up the frame a bit and replace the harness.
Hmm, there’s not much… it’s simple.
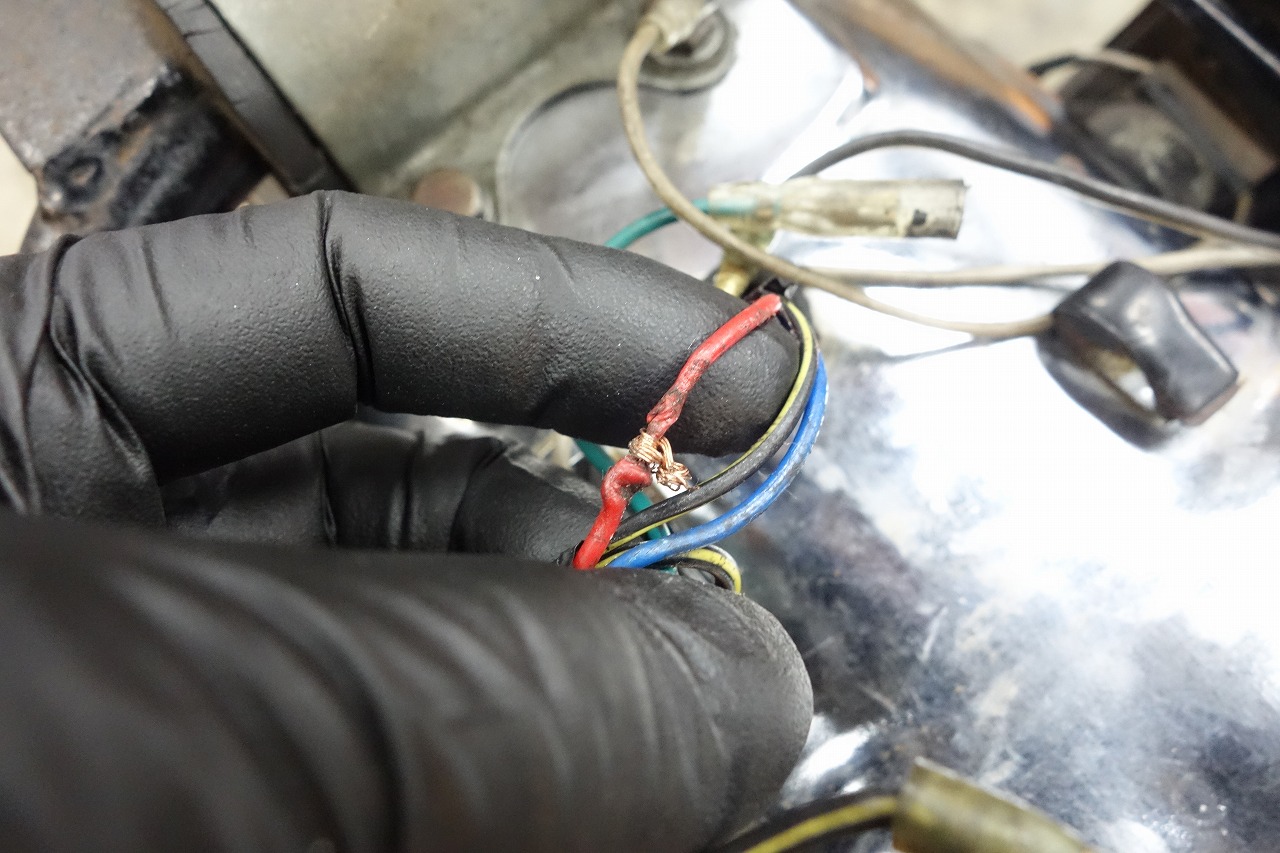
There are some suspicious spots around the tail lamp area too. What could it mean?
It’s always a mystery.
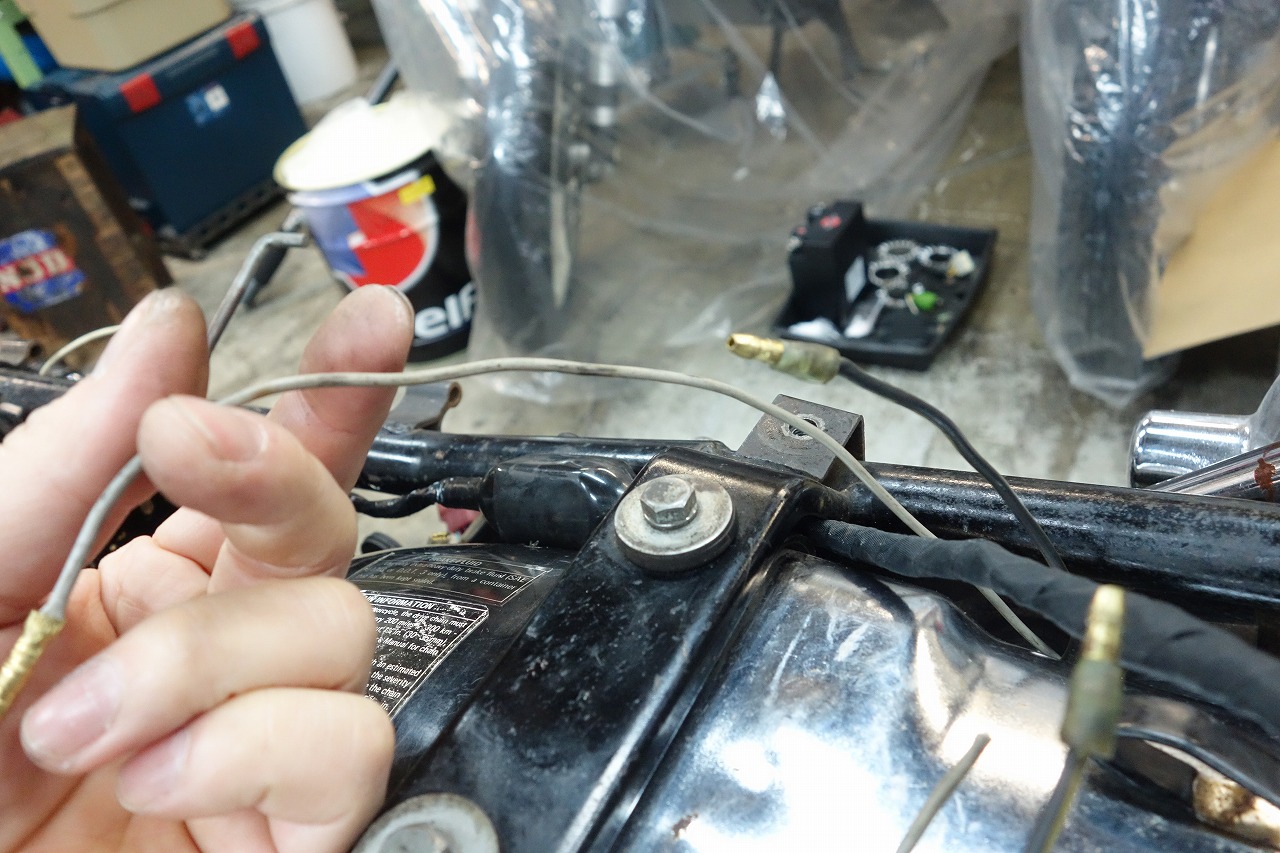
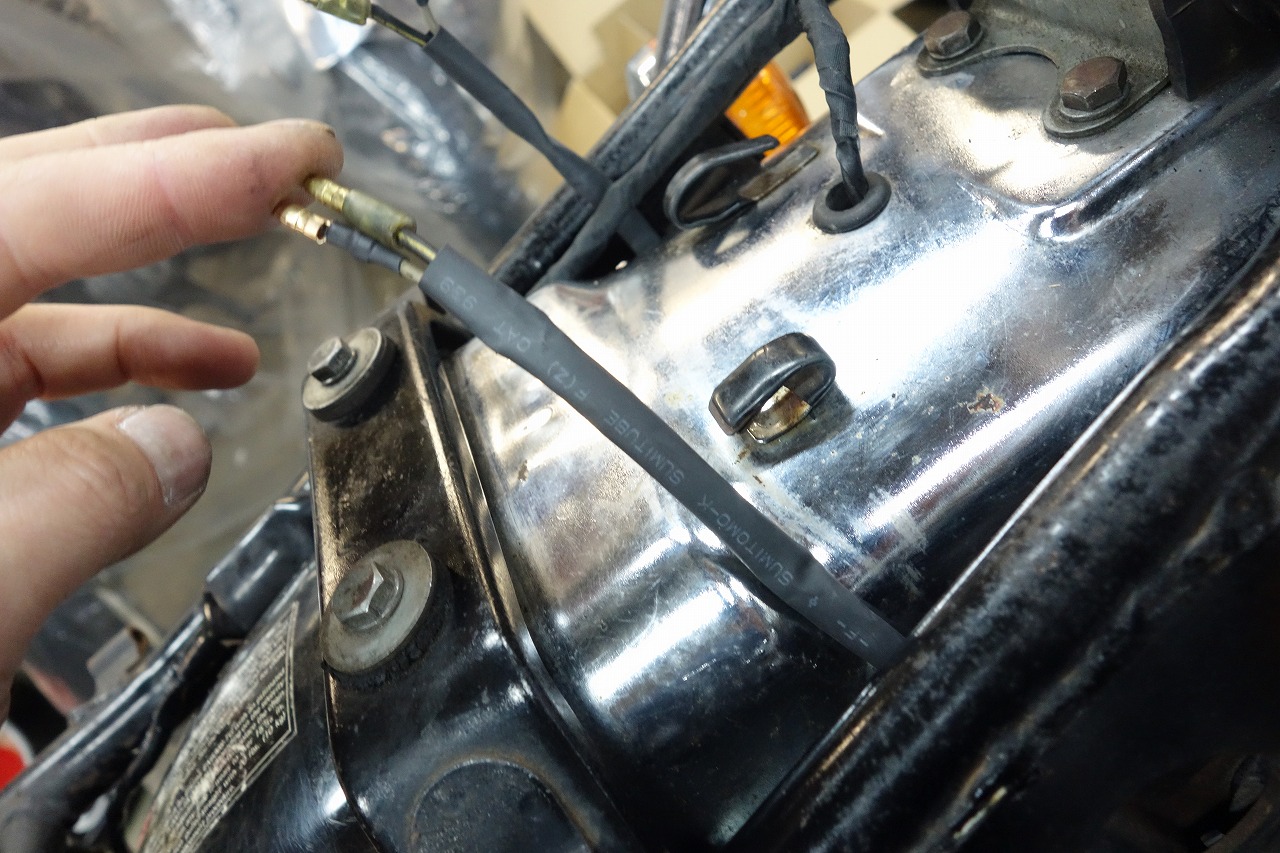
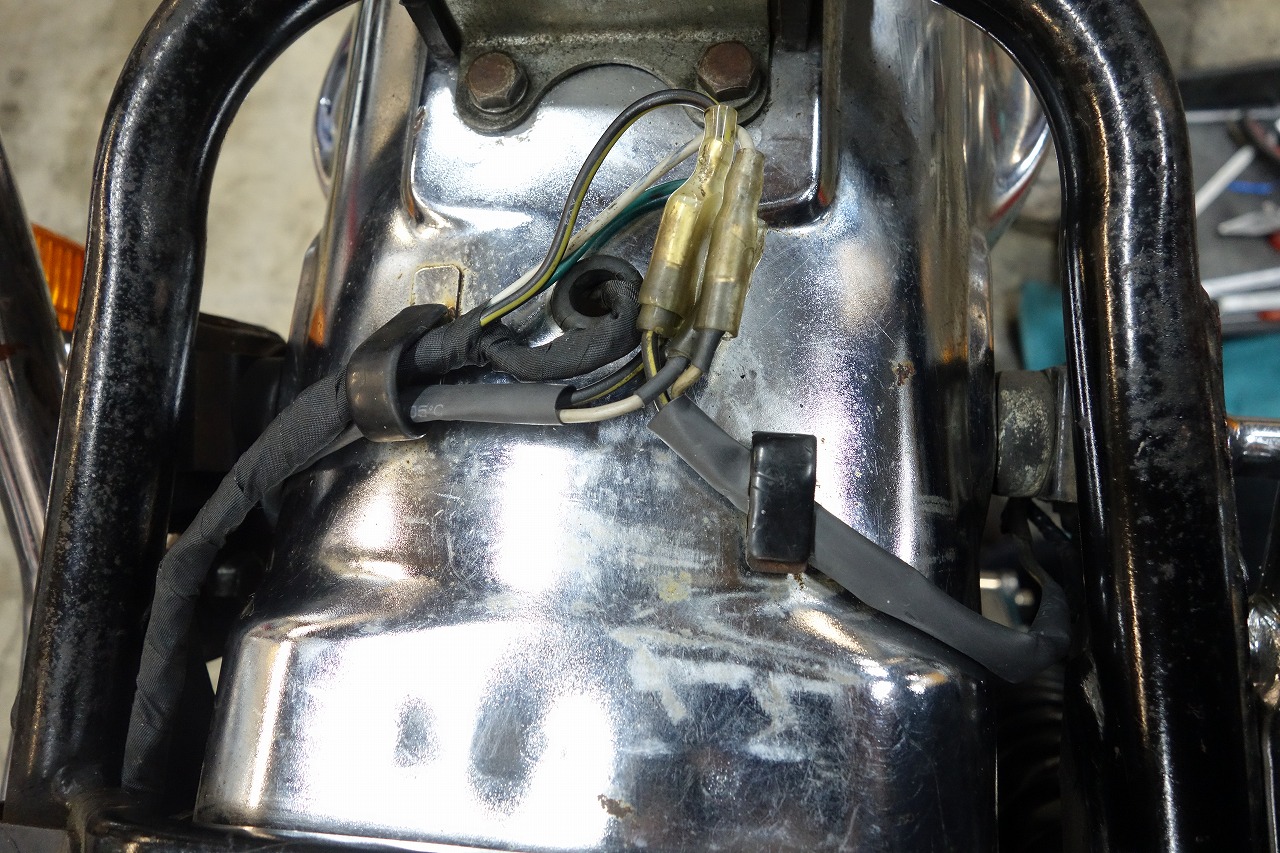
Subtly evening out the lengths and slipping on shrink tubing makes it easier to bundle and looks simple.
It was fun doing some boring after a while.
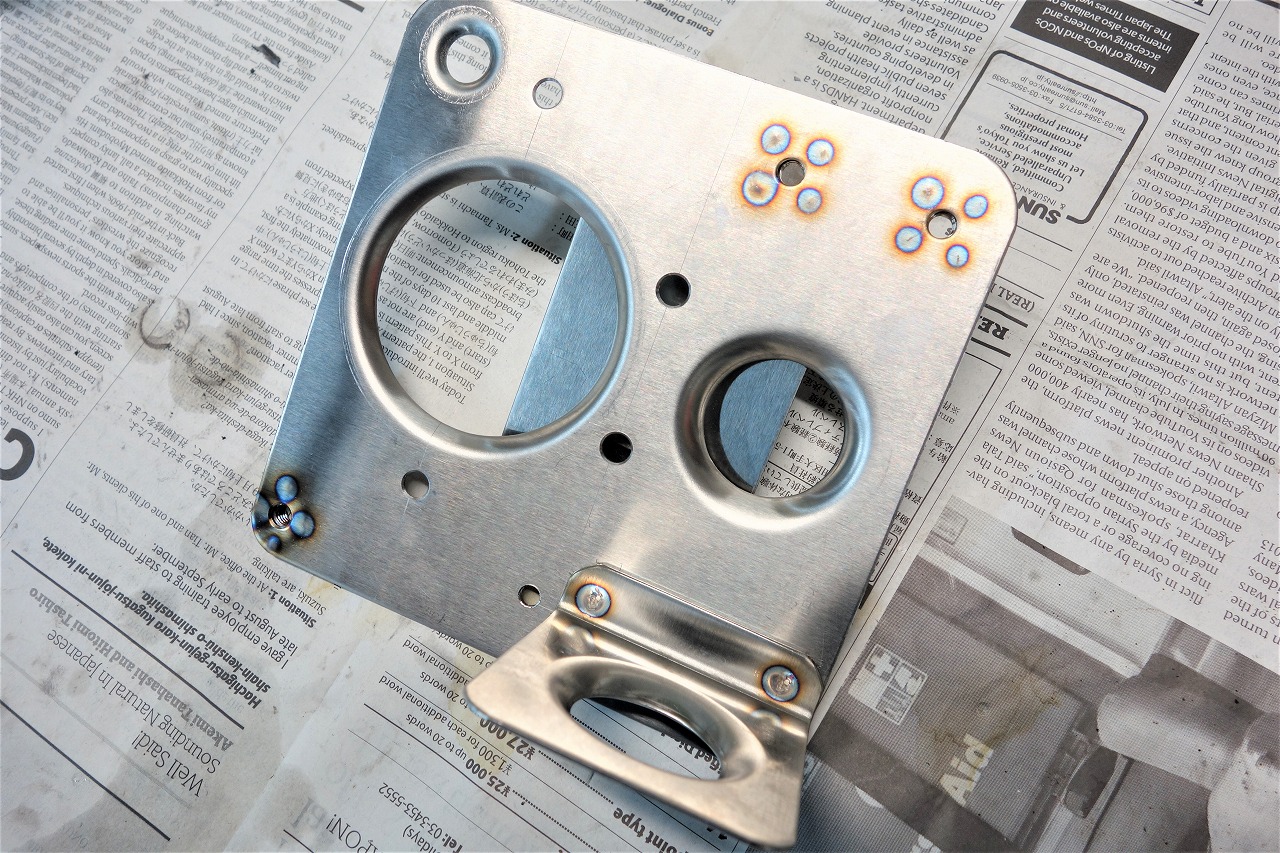
You can go at it hard if you do the lightening of sheet metal last. Be careful though, as getting too carried away can prevent things from fitting on the back side.
It’s super handy to have one, but the blades are expensive.
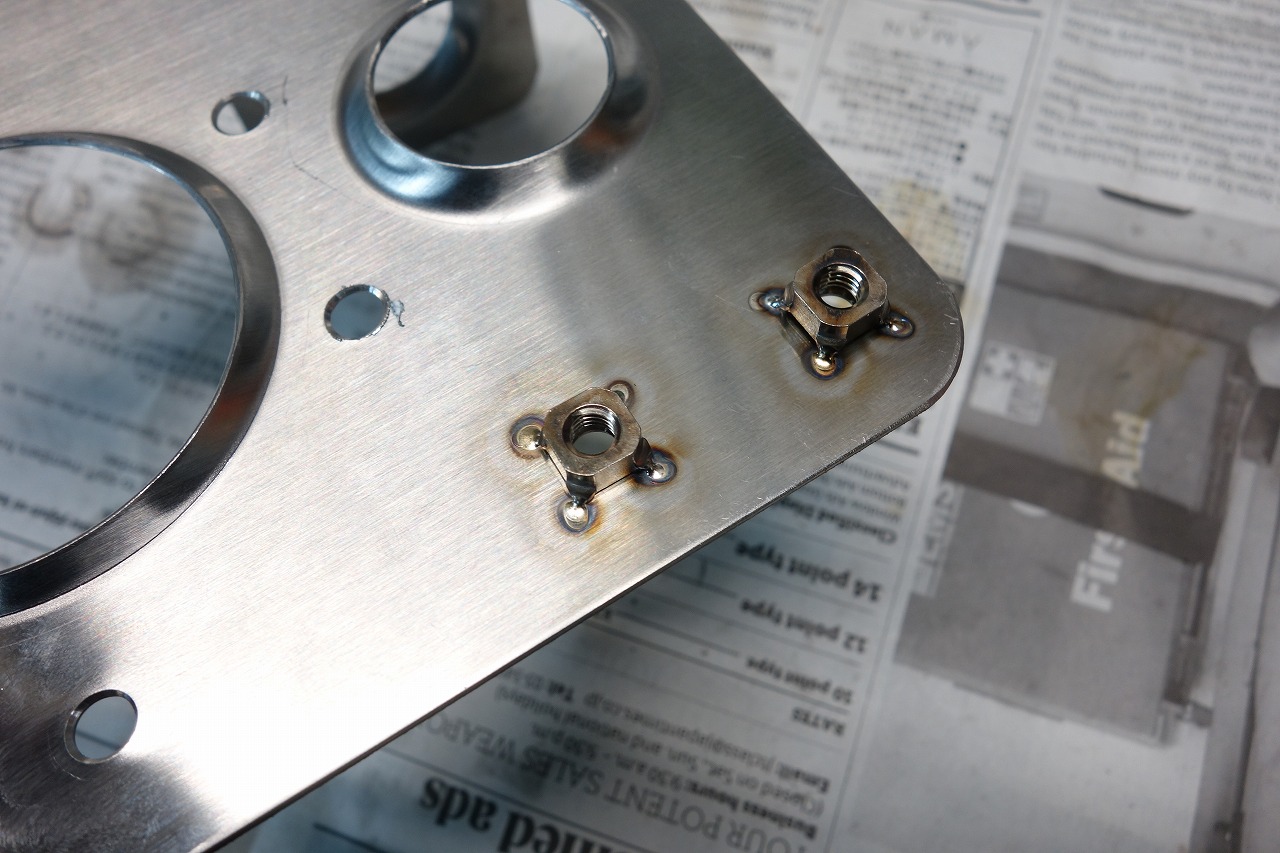
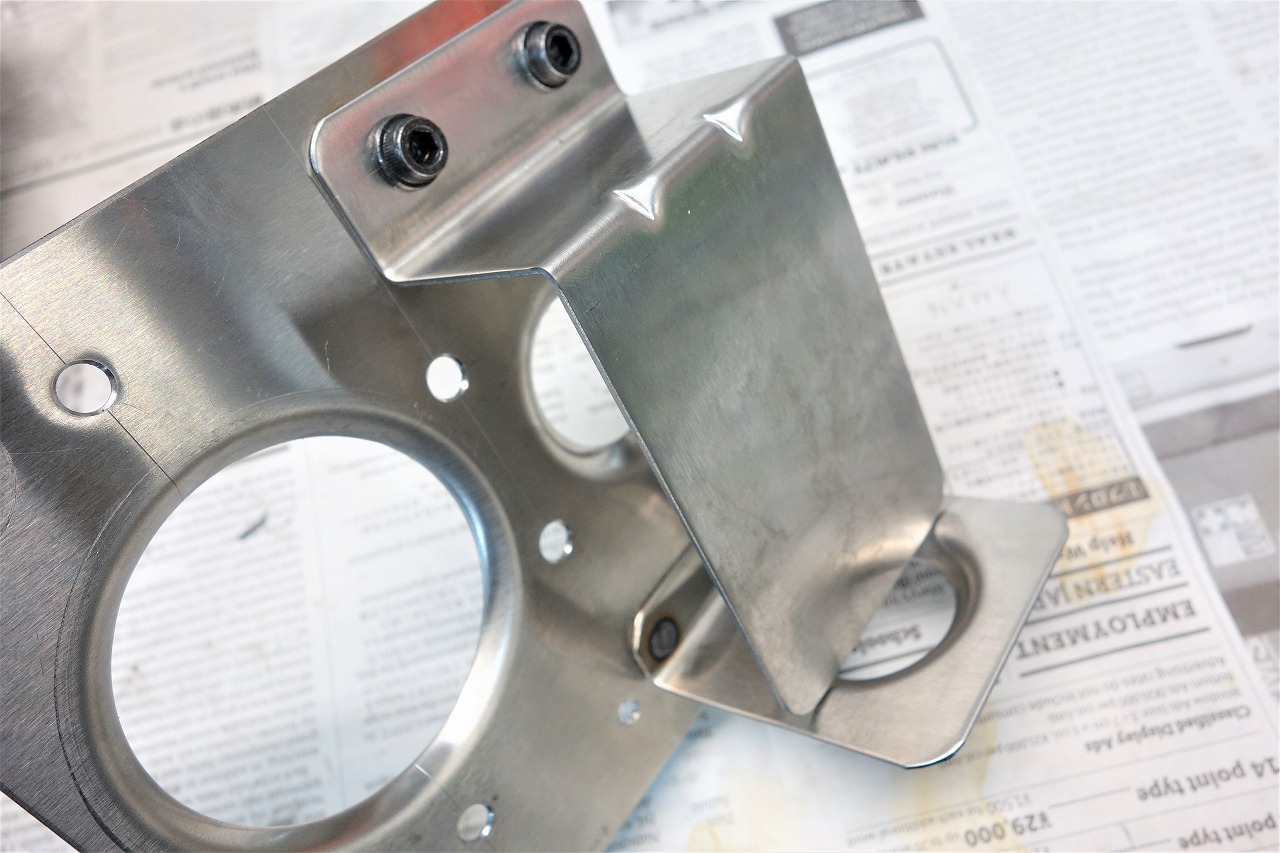
The back-side nut fastening is integrated!
Having things rattle around on the back compromises serviceability. When installing aftermarket parts, it’s good to improve convenience.
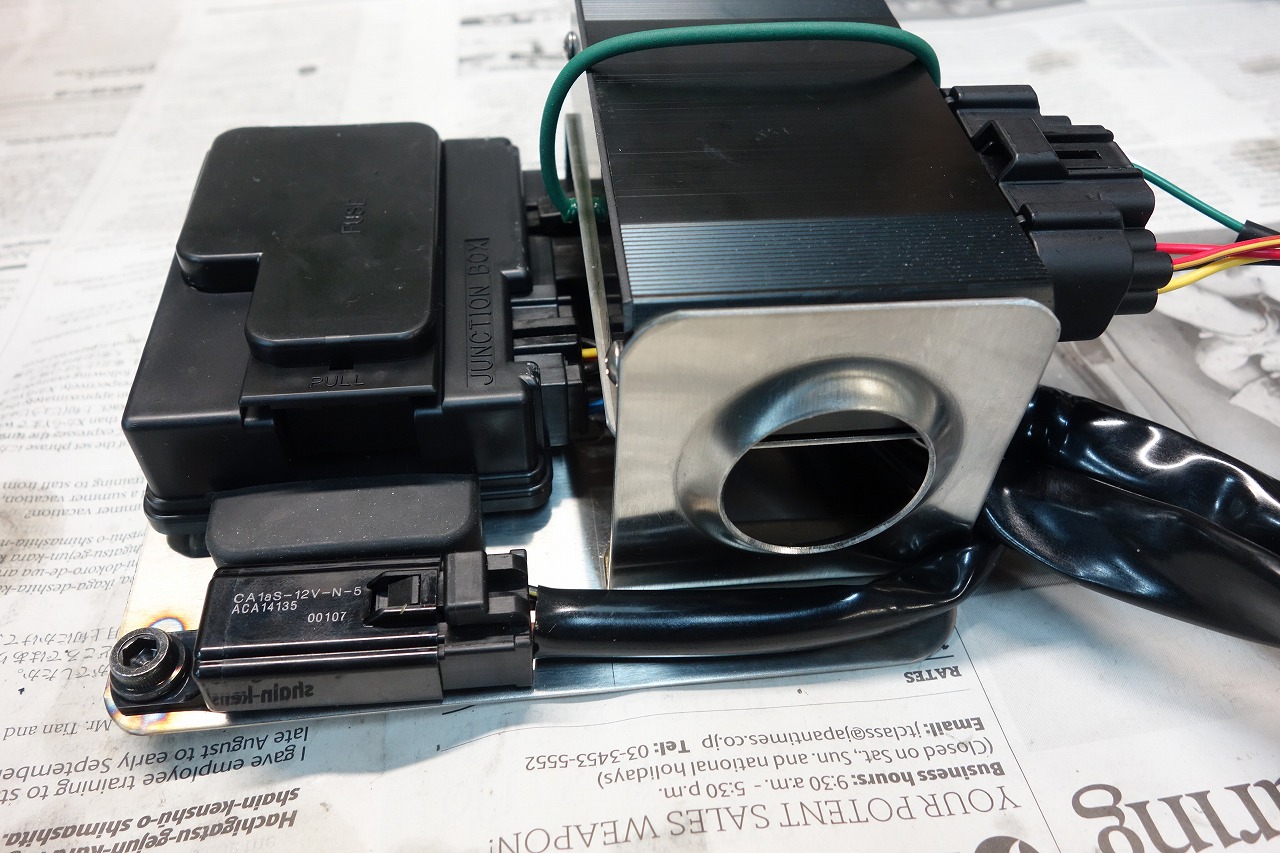
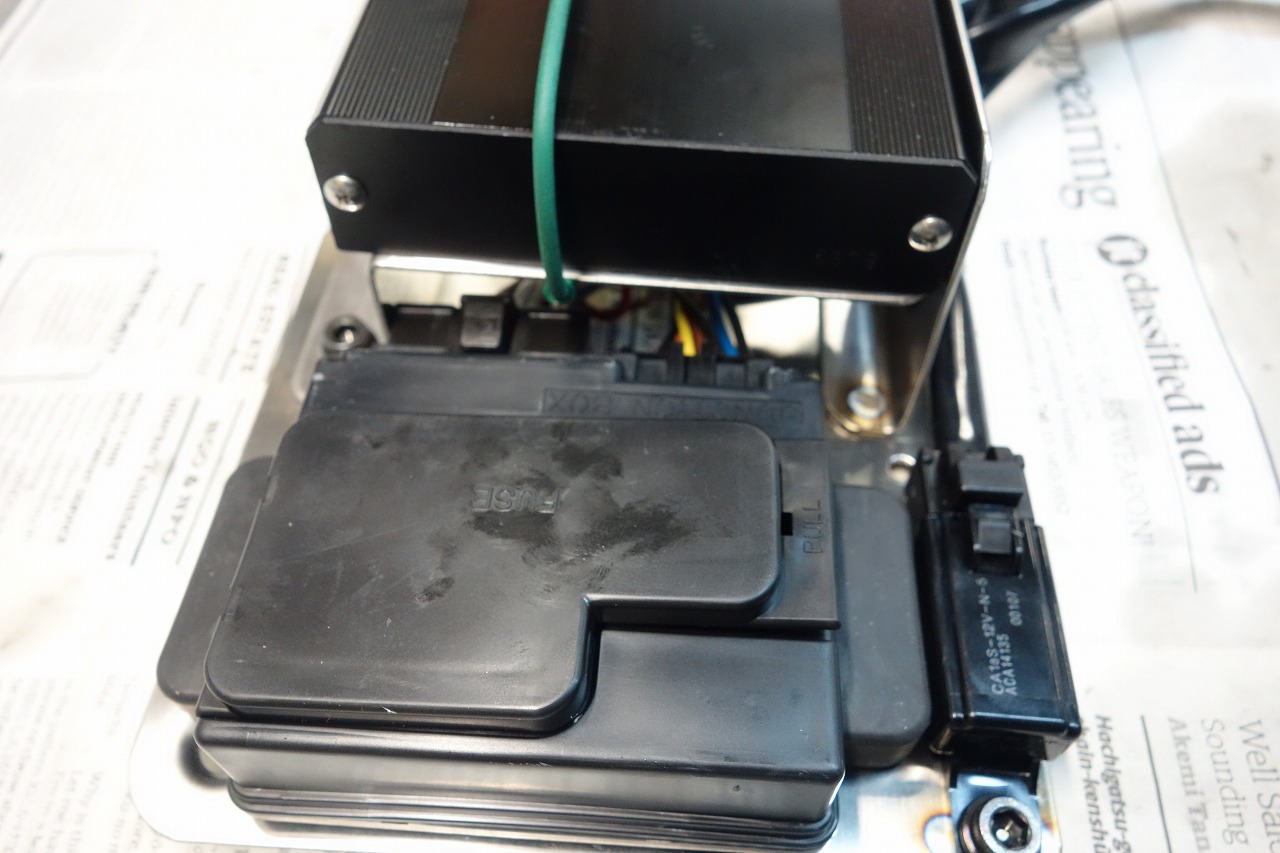
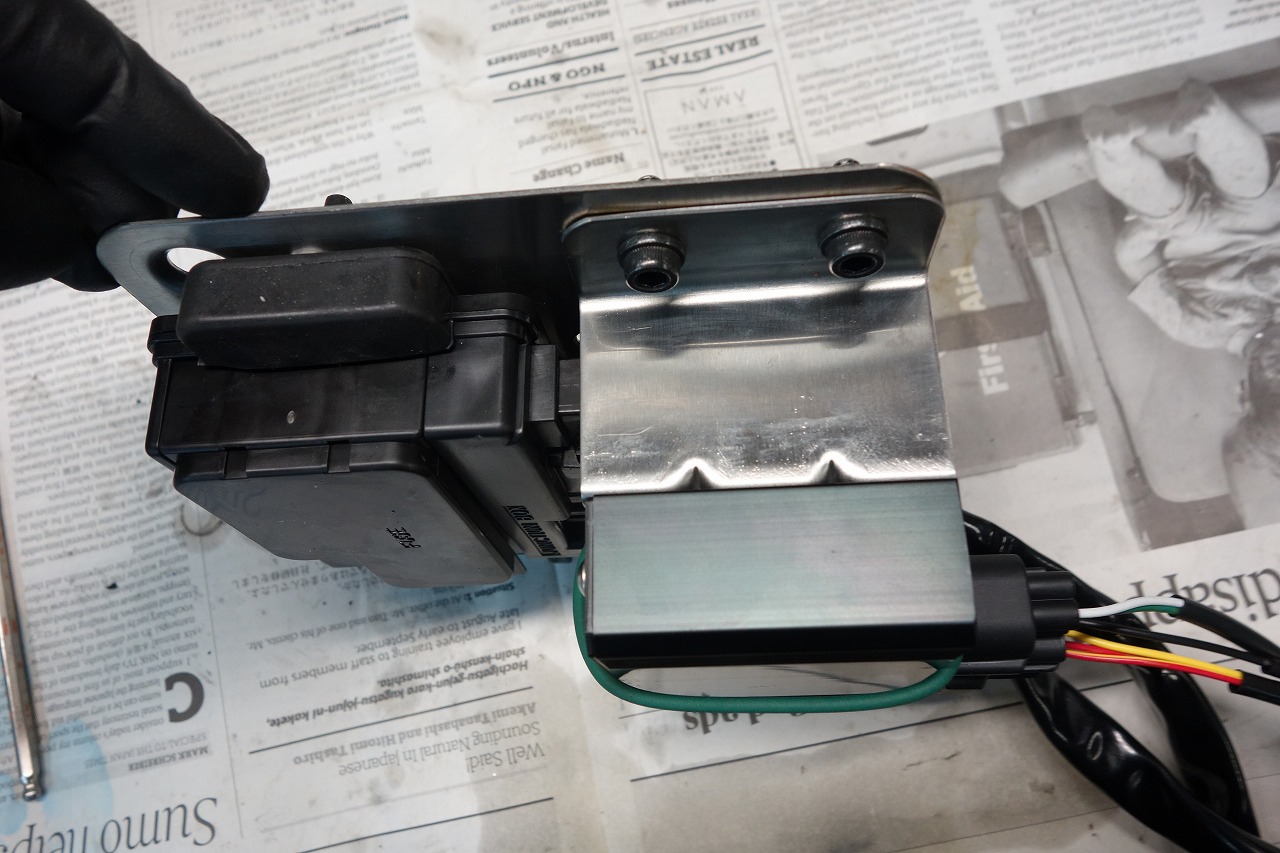
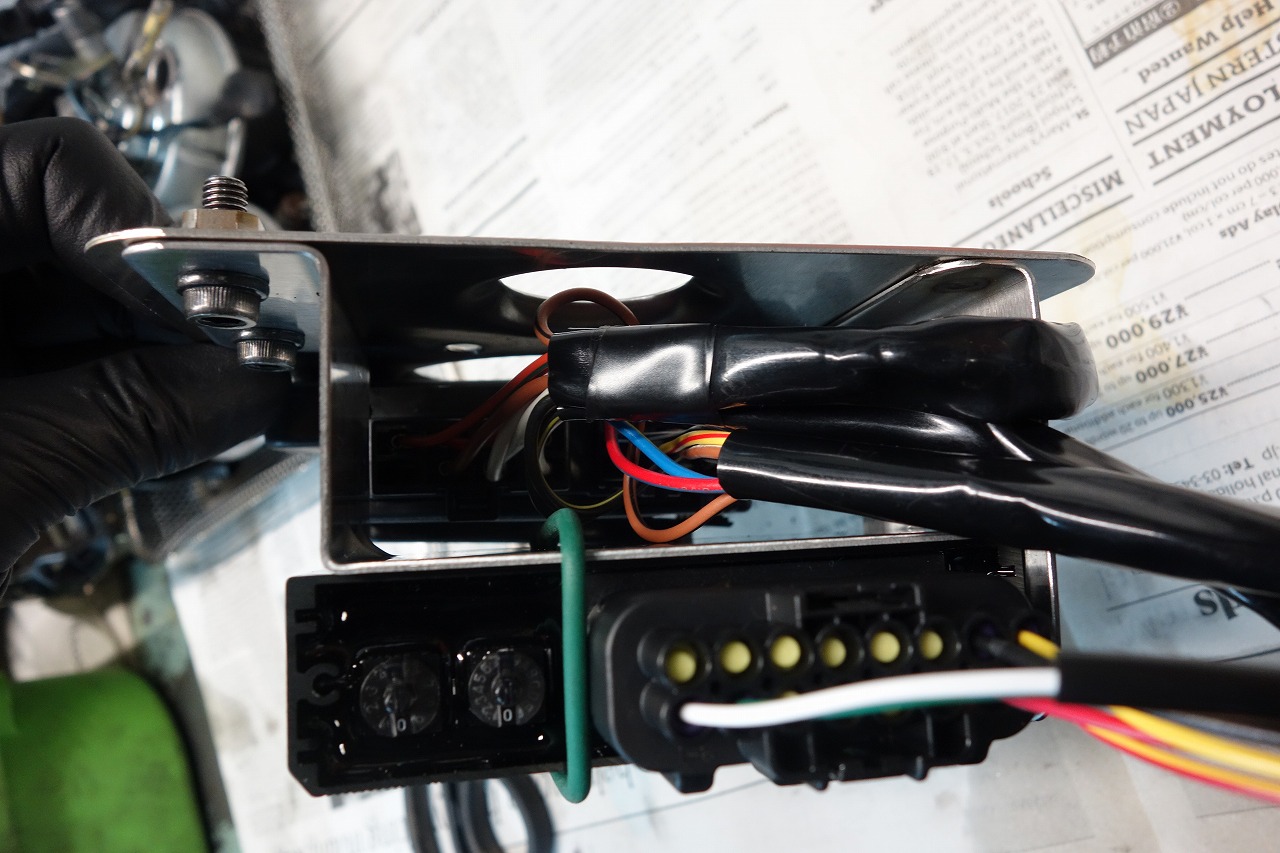
New? Two-story, if you will.
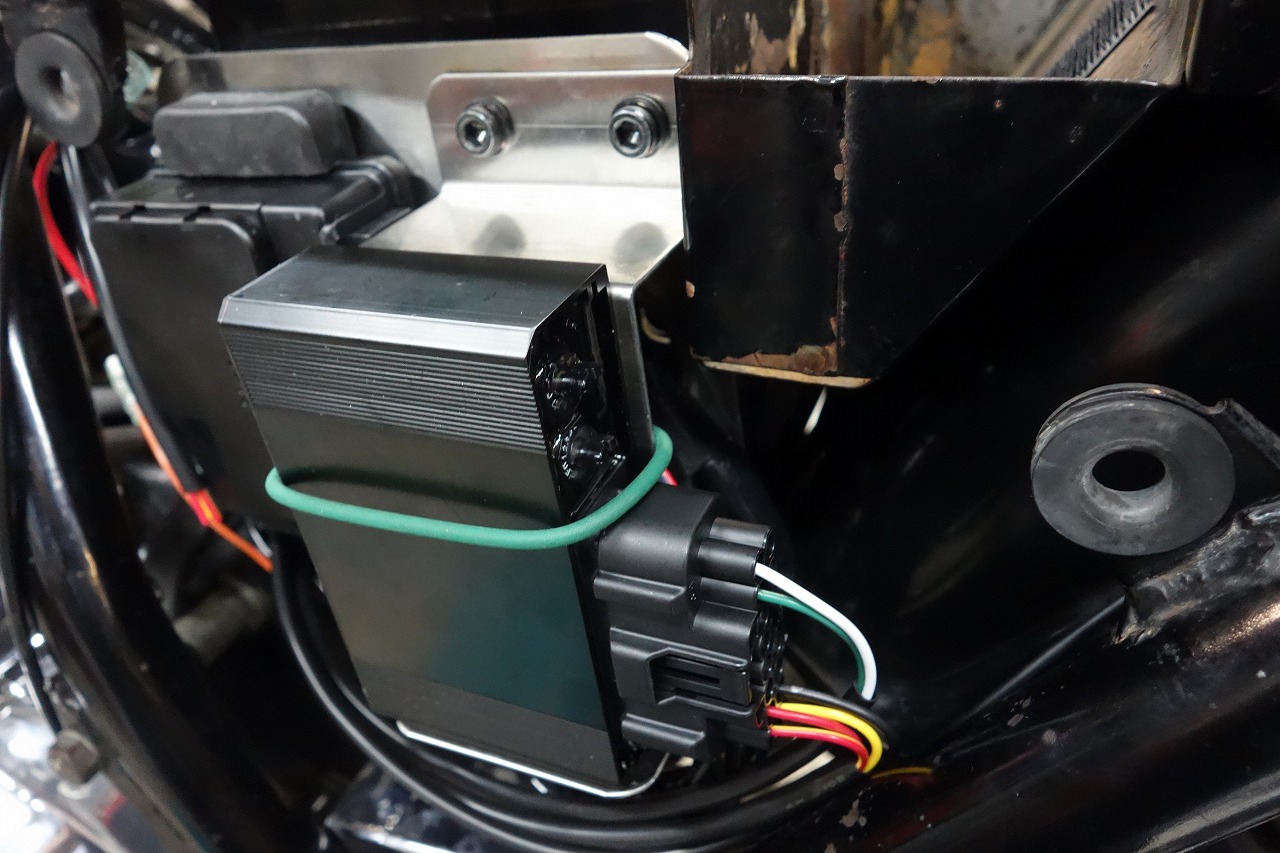
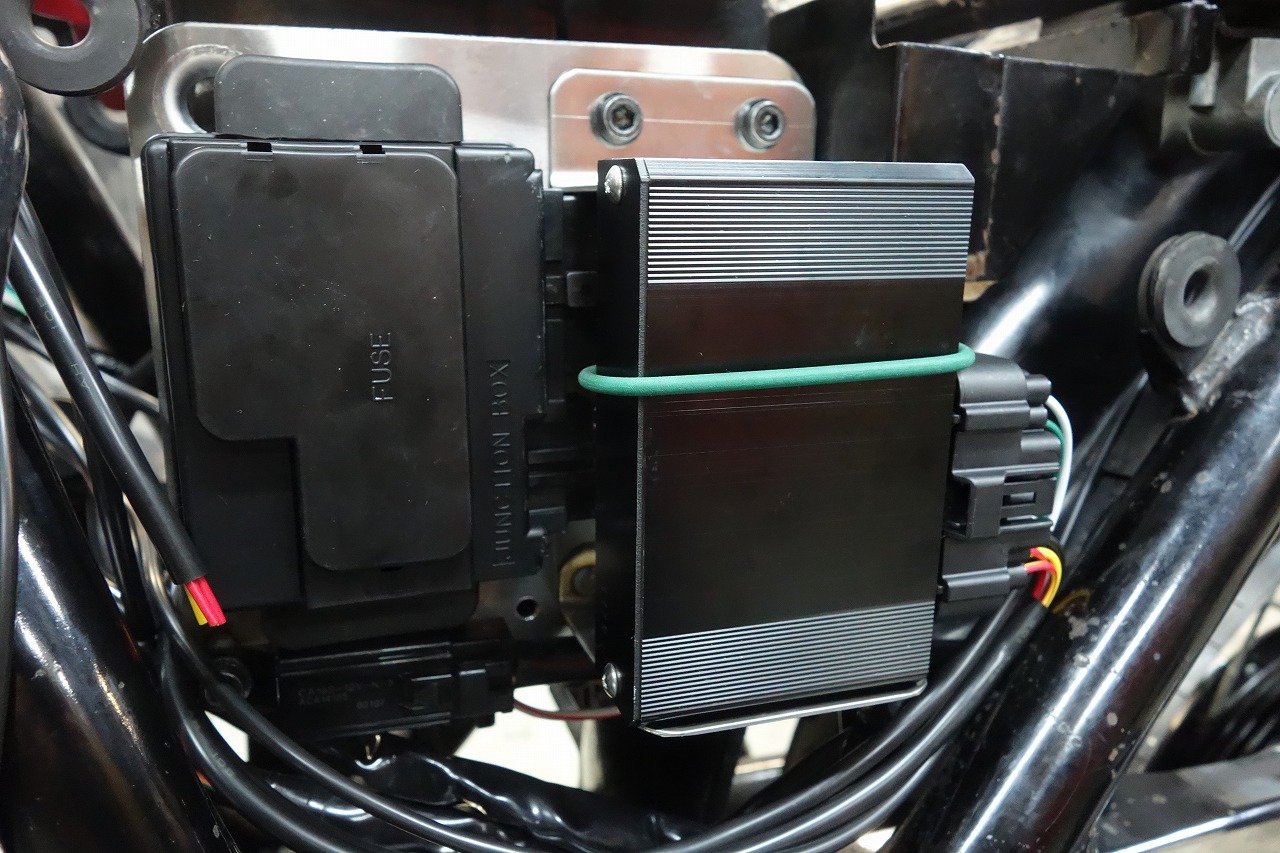
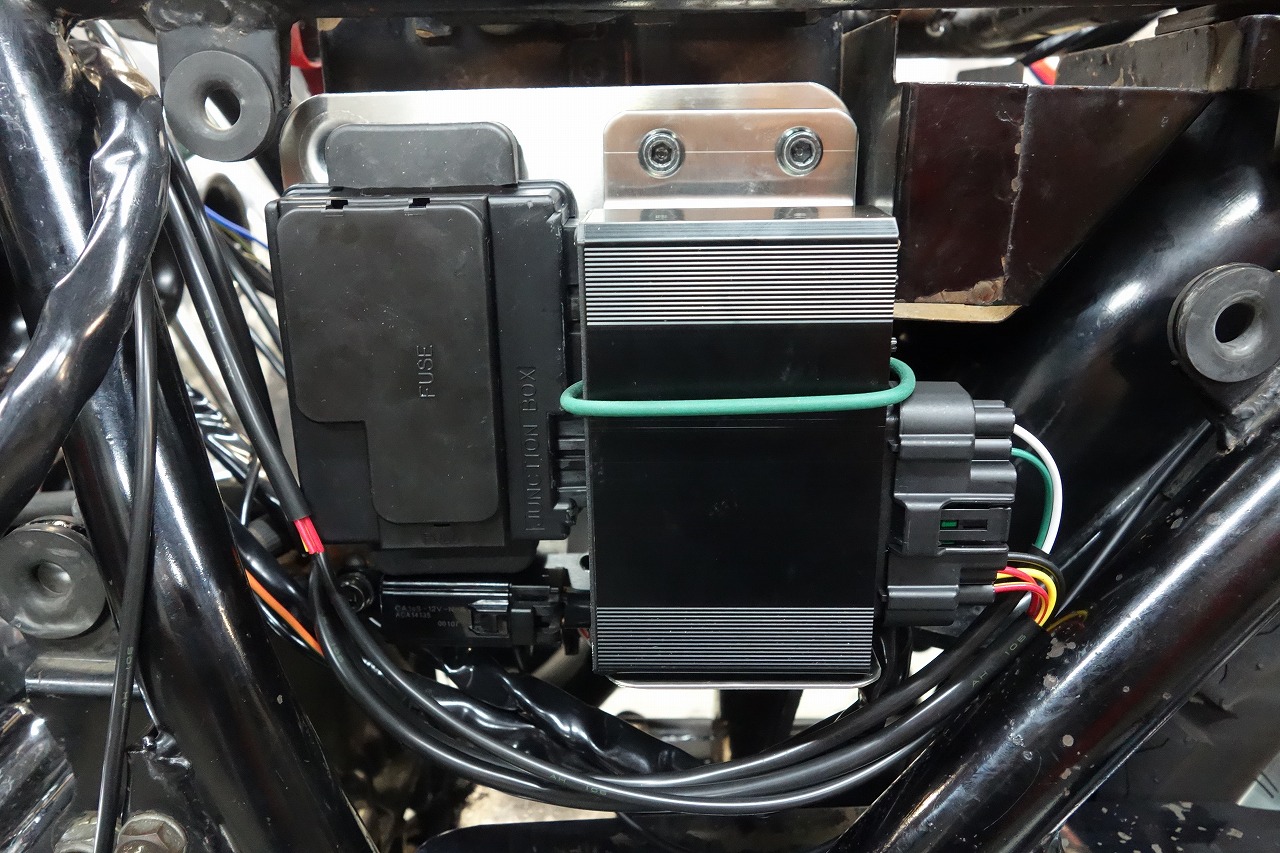
This is how the temporary fixing looks.
Glad the side cover fit in at the end!
When I was taking it apart, the governor mounting bolt was rattling…
Whoa, here it comes—the baptism of an old bike? I thought, but it was just loose.
Ah, thank goodness. It ran well despite that…
Lucky, I must say.
【Work progress】
●Harness removal
●Headlight replacement
●Clutch cover inspection and installation
●Watanabe pulsar installation
●Plug gap adjustment
●Meter disassembly parts ordered
●MOSFET regulator installation
●Left handlebar switch replacement
●Fuse and Watanabe electrical plate fabrication
●Front turn signal short bracket replacement
●Tail lens polishing and LED bulb replacement
●Tail light wiring routing
●Rear turn signal wiring routing