When you see headlight relay installations on blogs and YouTube, it’s “I want to install one!”
It’s subtly effective for business, I realize.
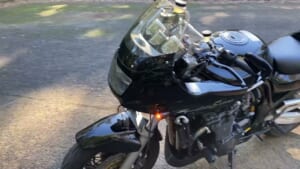
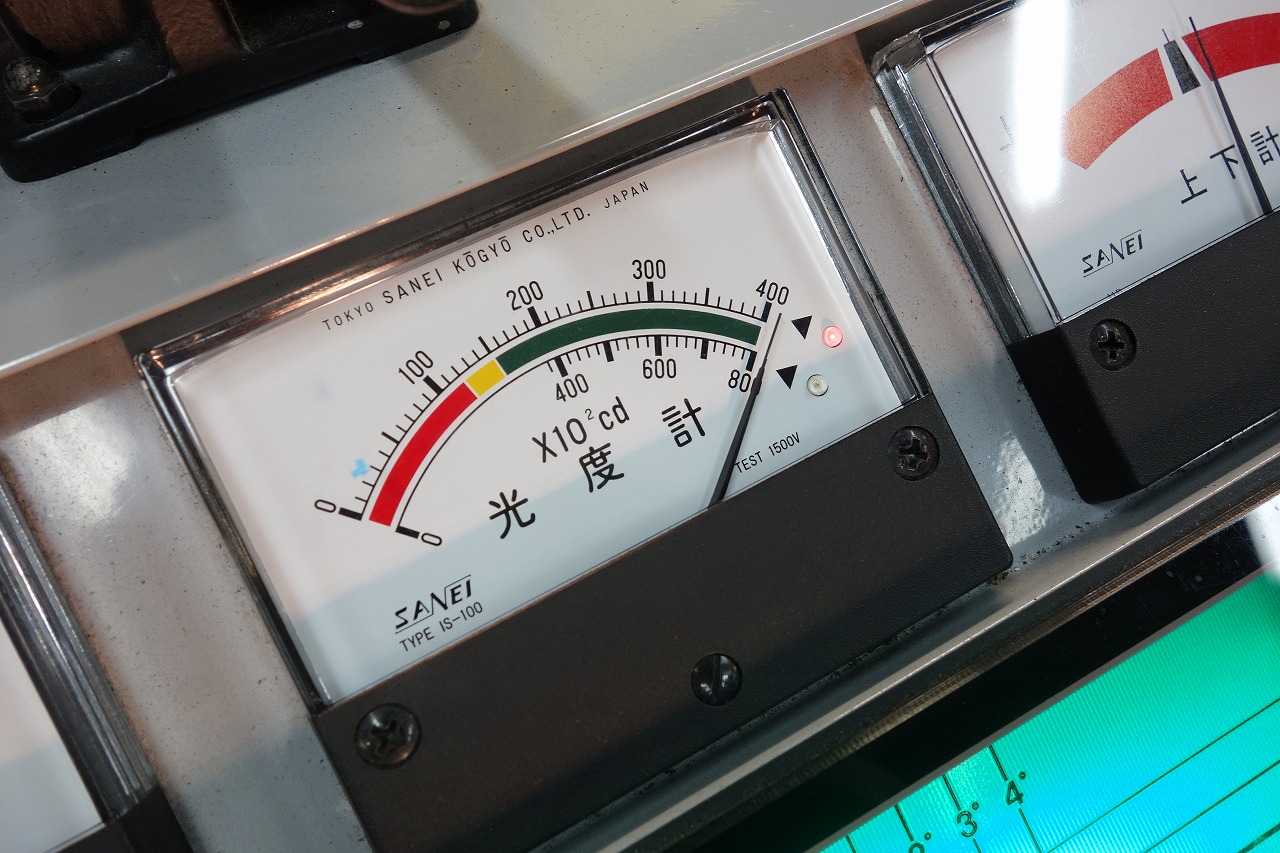
This GSX-R1100L though… the right eye alone exceeded 40,000 candelas.
Seriously? It’s not even the latest model!
First, let’s make the rear brake hose.
New rear caliper. New rear brake hose.
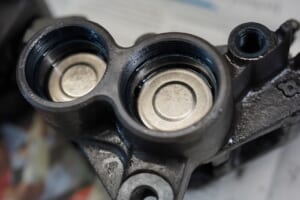
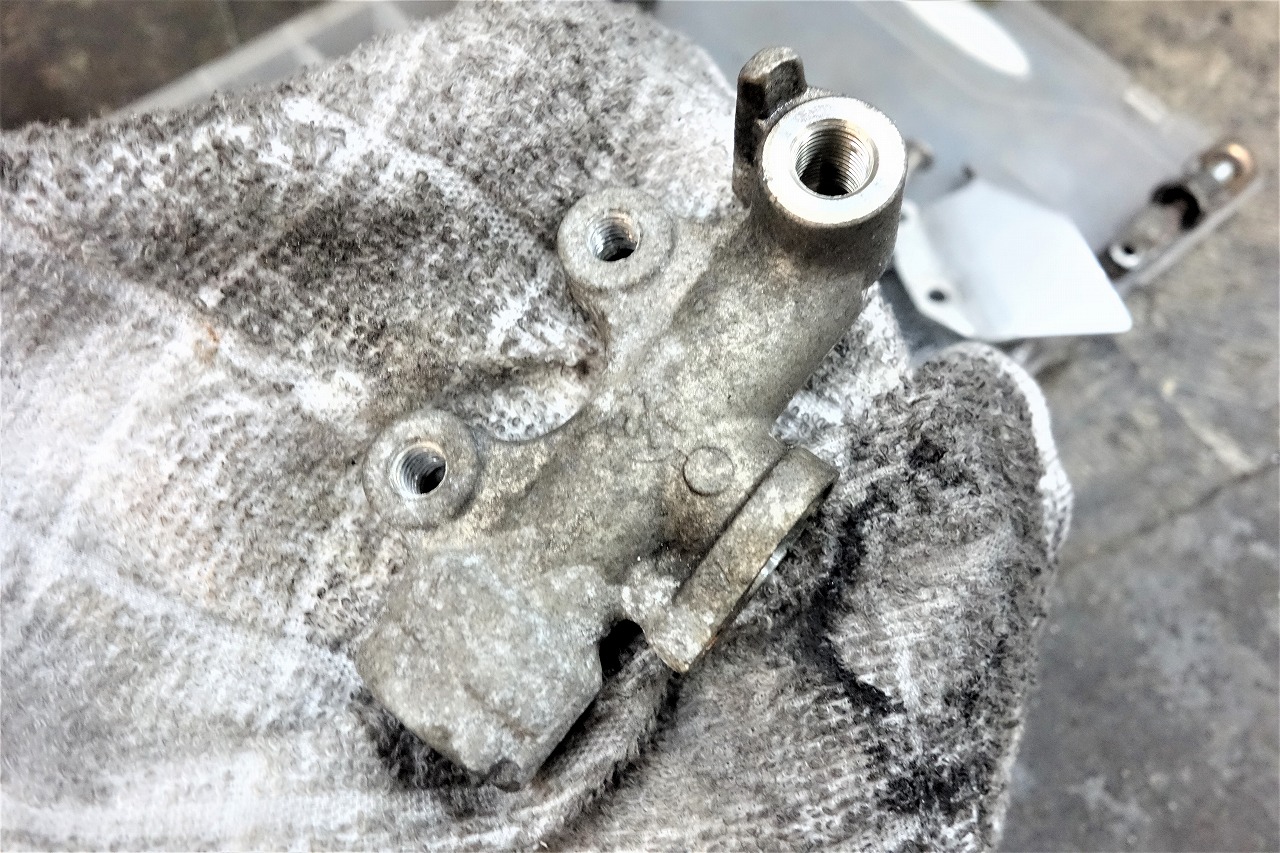
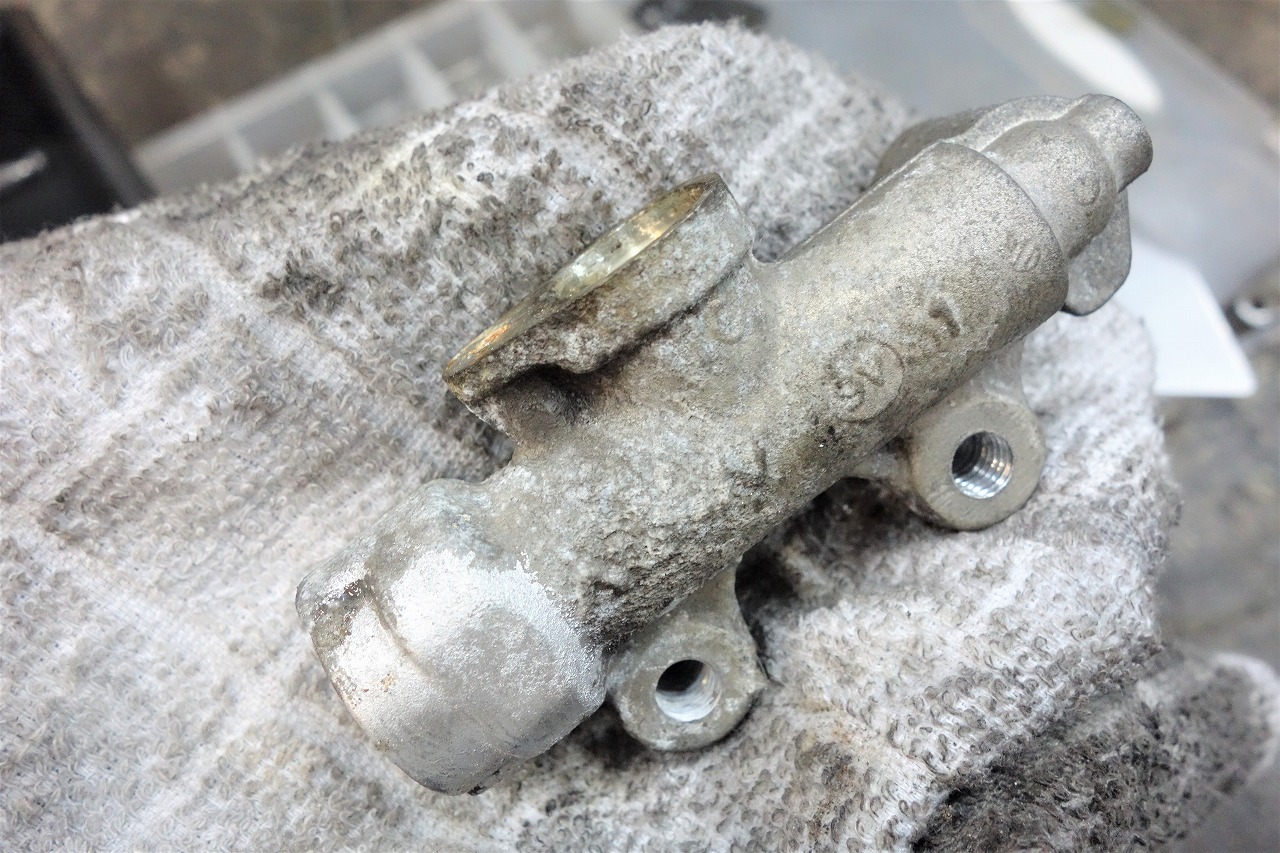
Master cylinder—not worried? I’ll just do a quick check anyway.
It looks pretty rough to be honest.
You shouldn’t judge people by appearance alone, but still…
It’s a tough call.
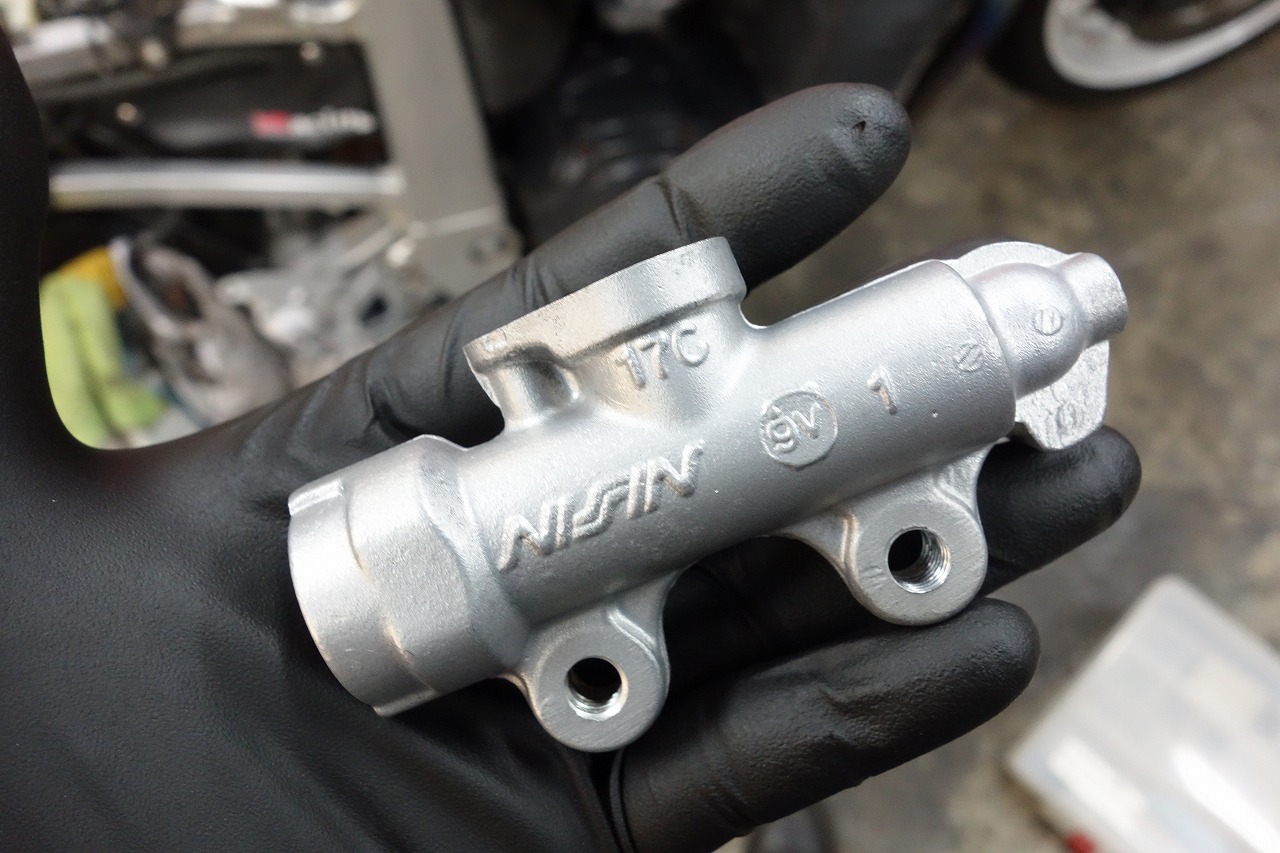
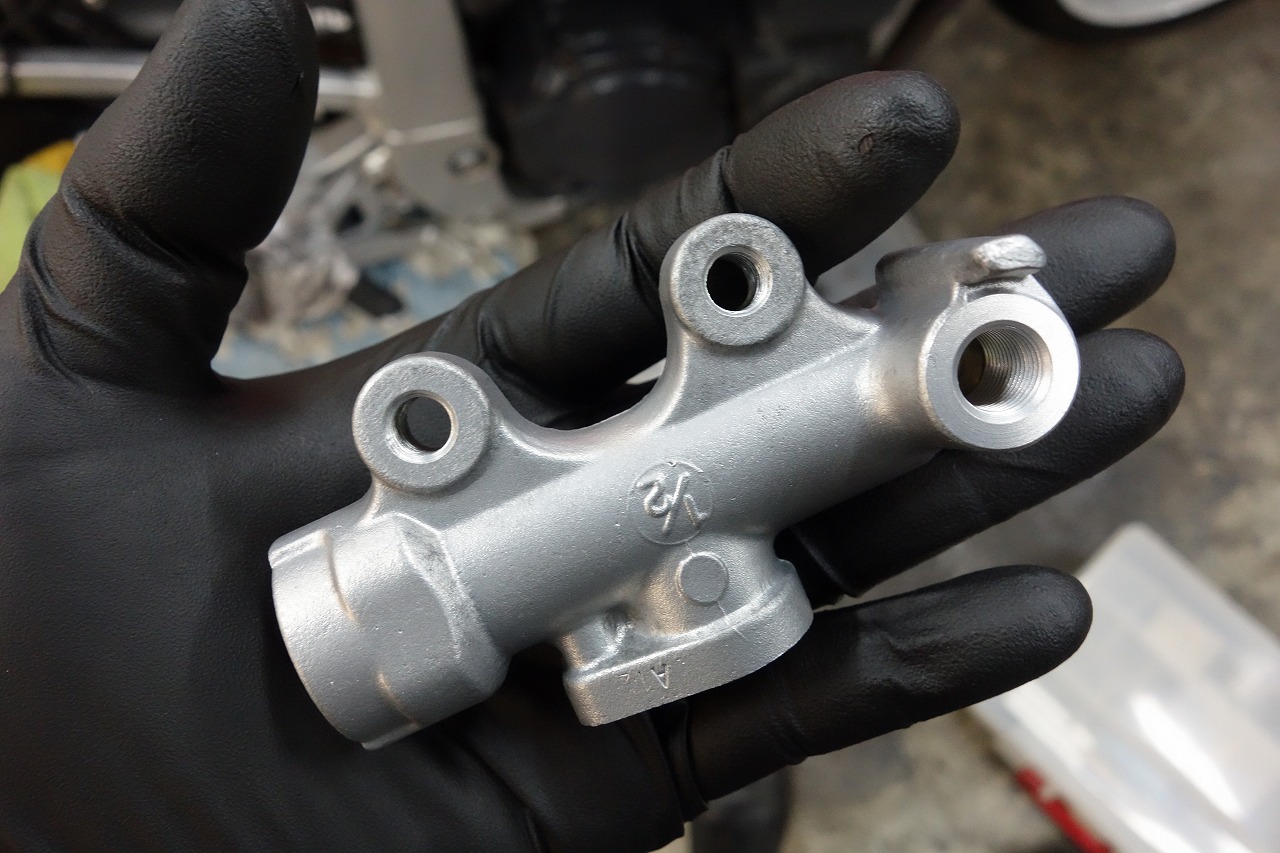
It really comes down to equipment, I think.
You wouldn’t think it’s the same thing.
Work should be quick and clean.
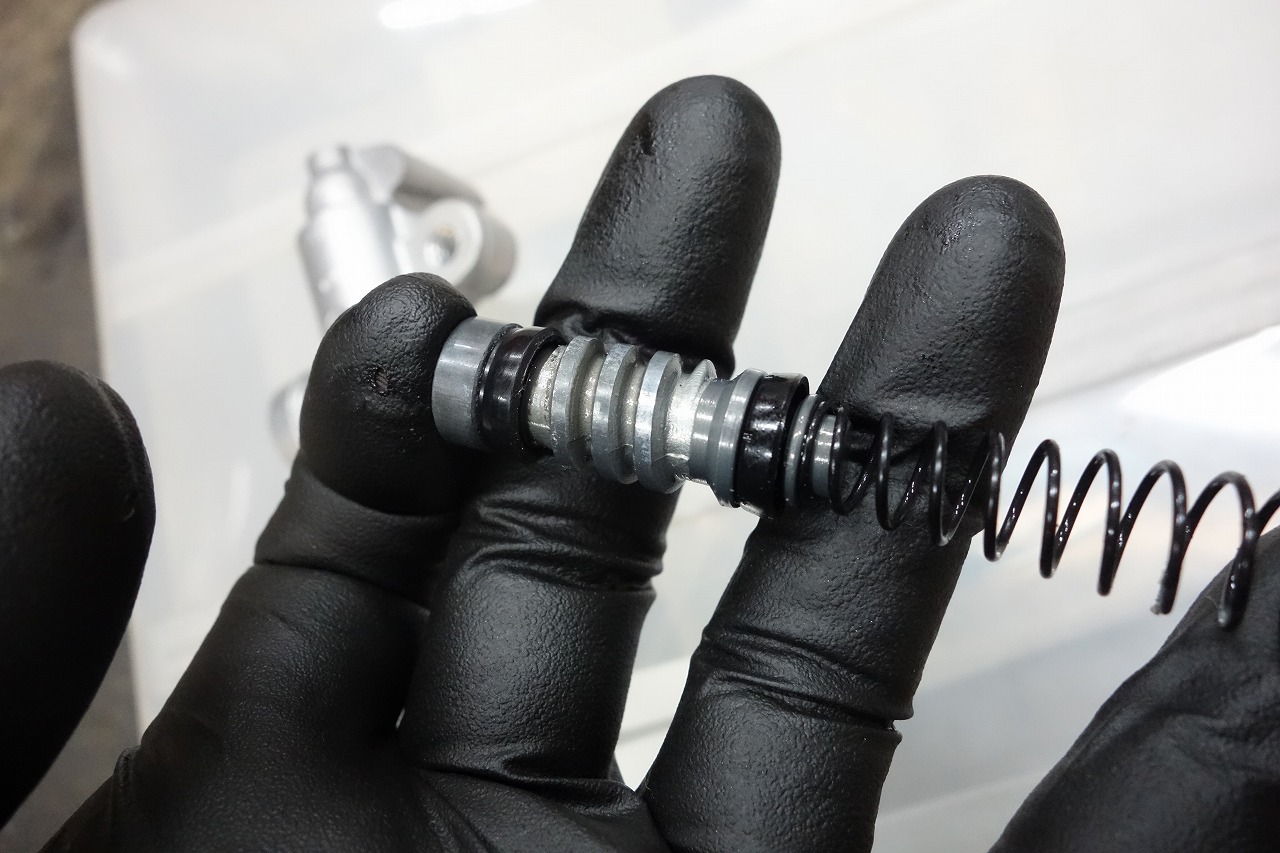
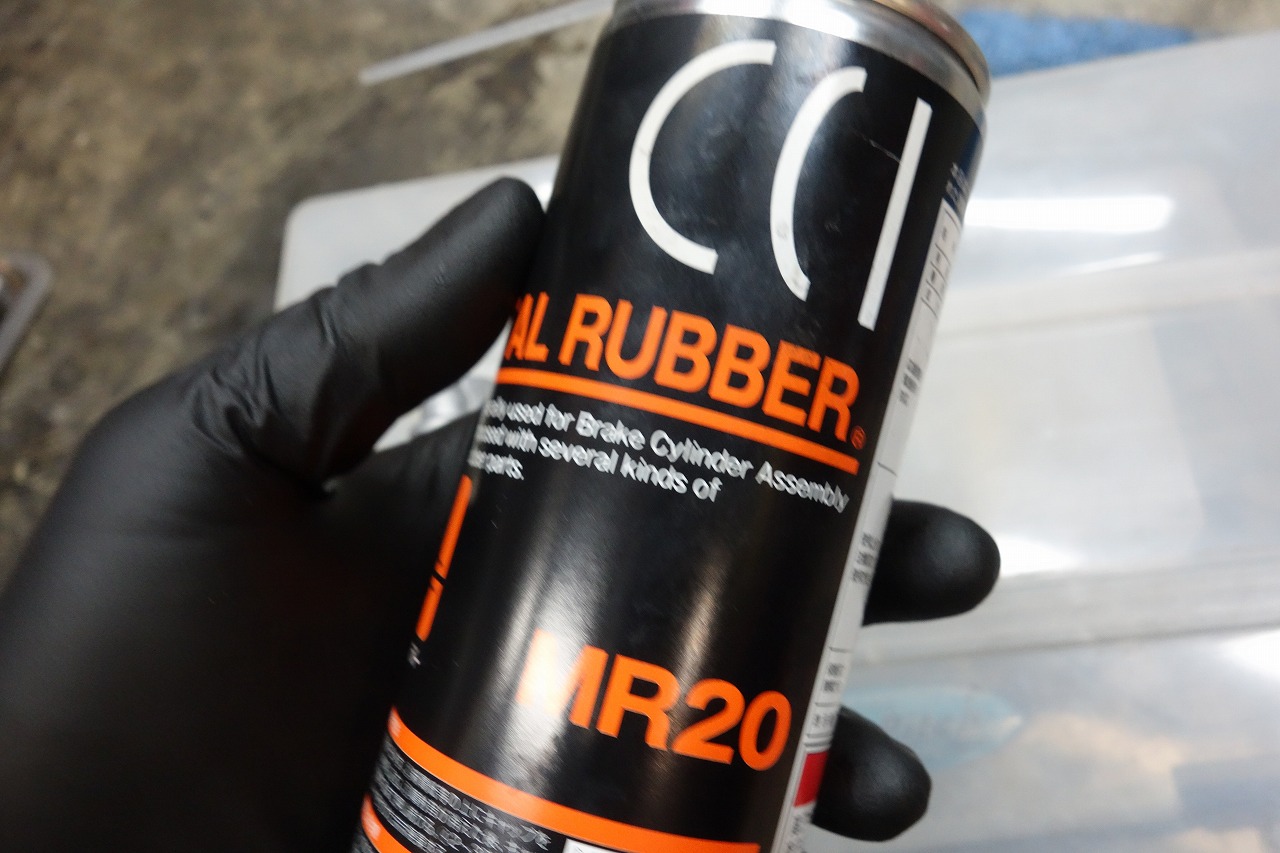
The umbrella is slightly closed, but it should be fine. I assembled it with CCI metal rubber.
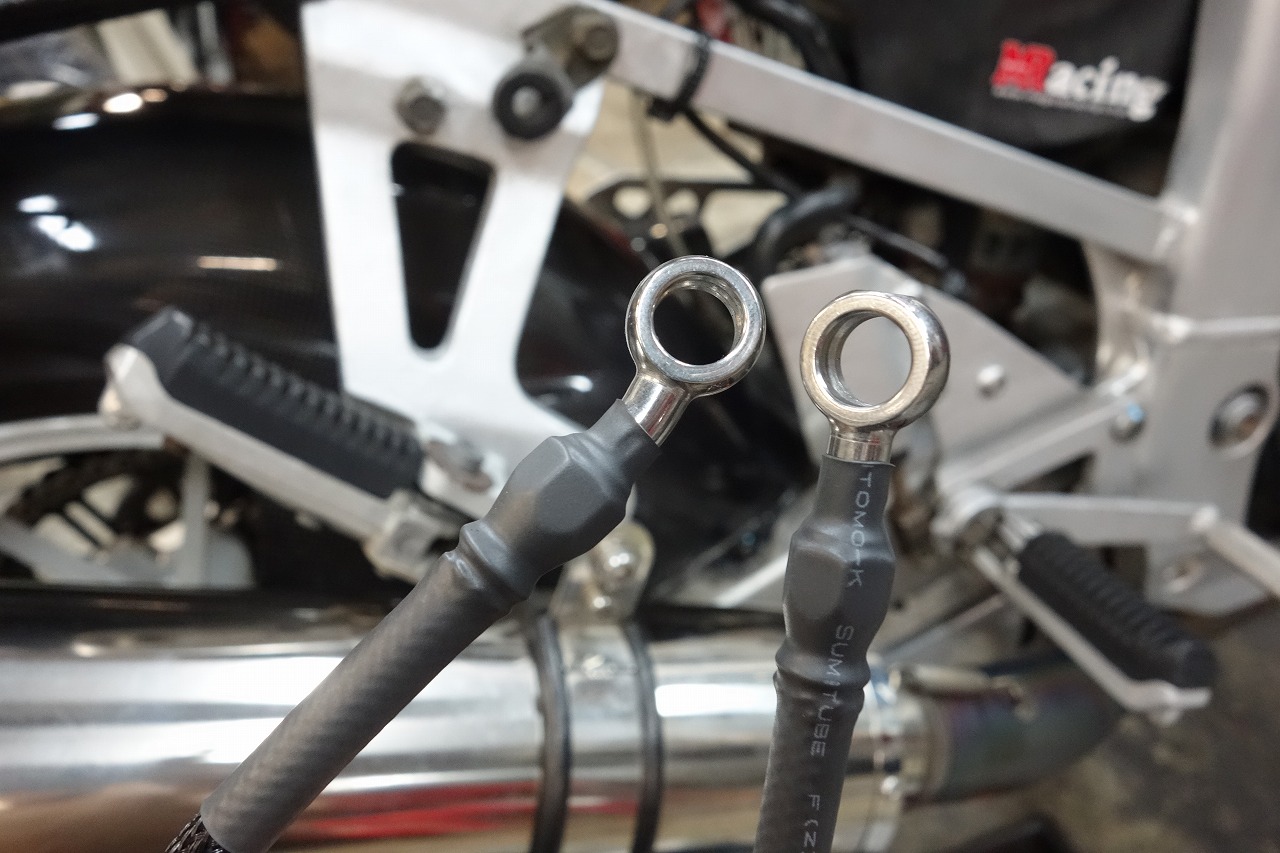
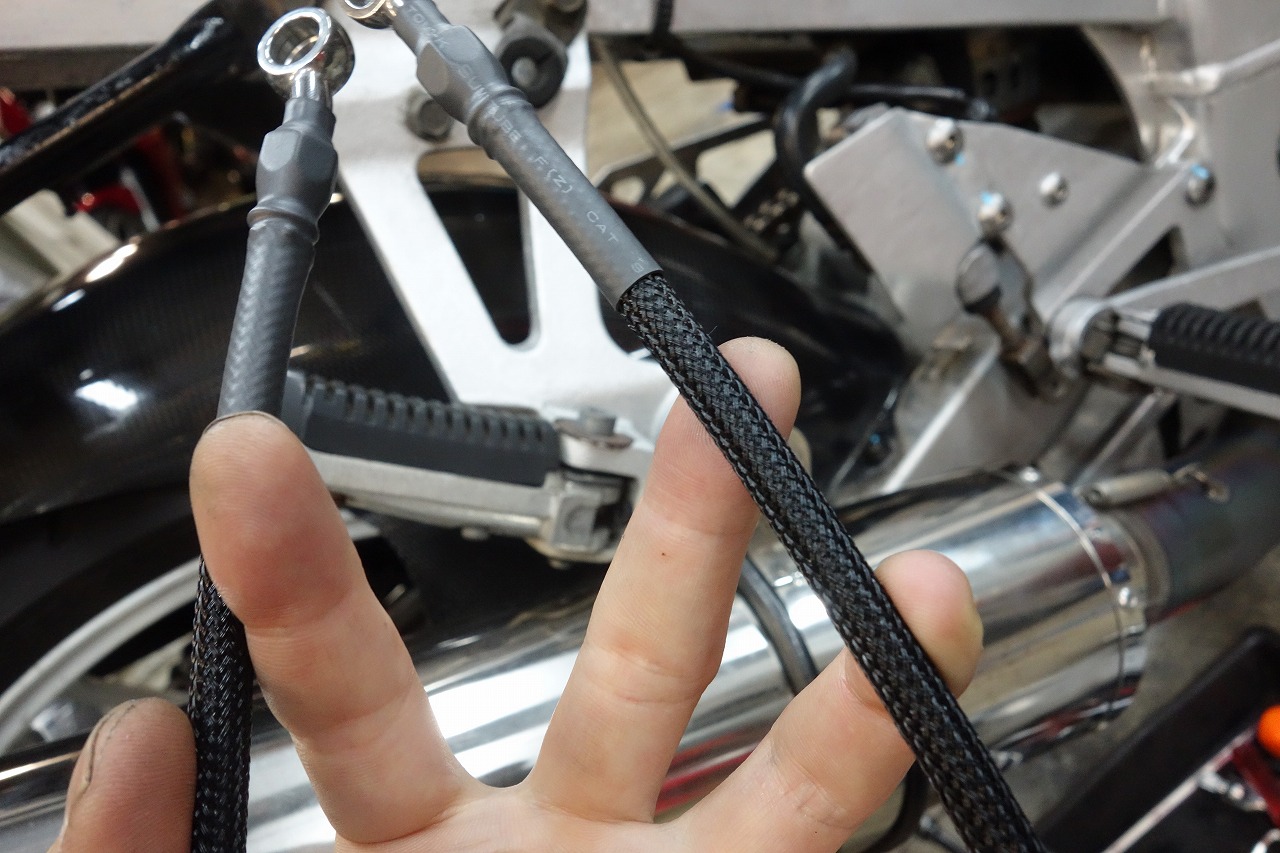
I made the brake hose. The fittings are G/R.
The side neck detail is subtly satisfying, or is that just me?
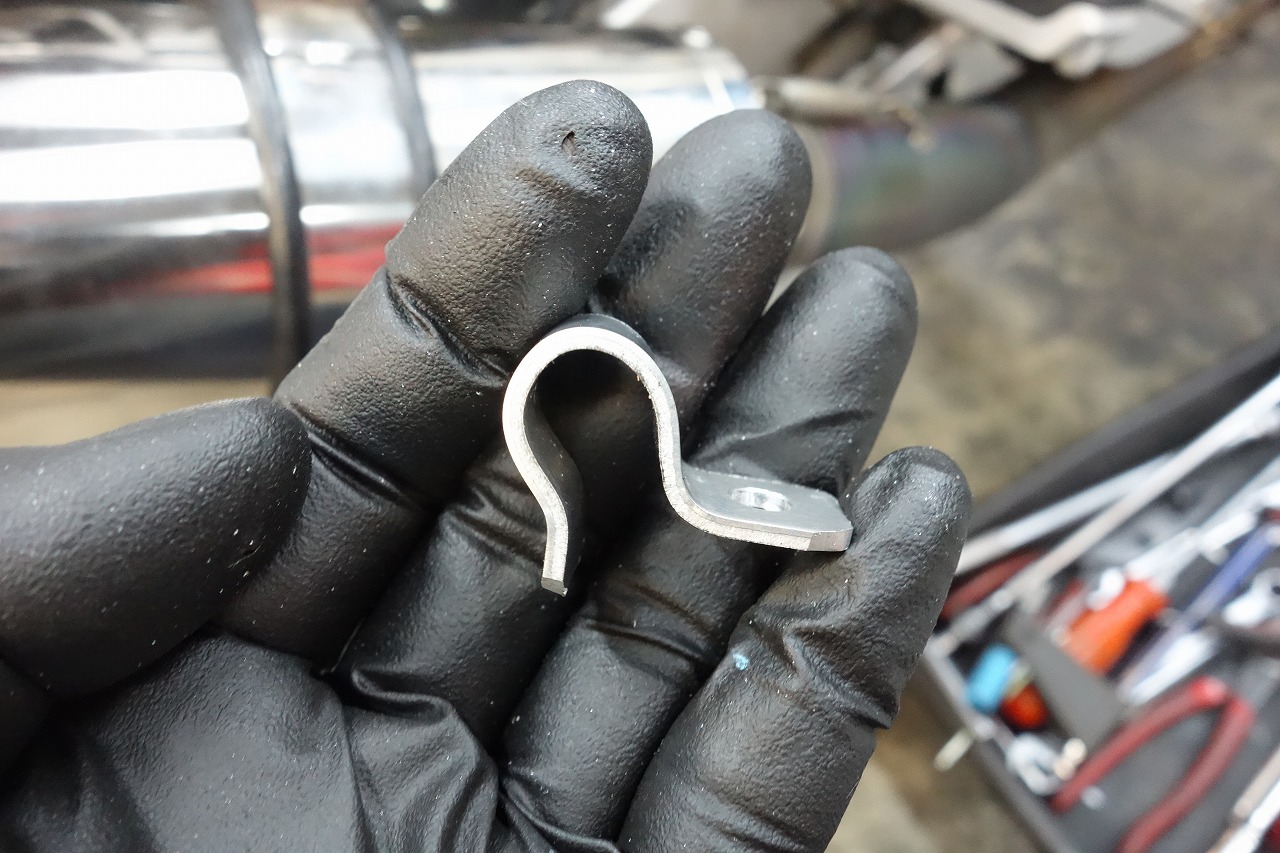
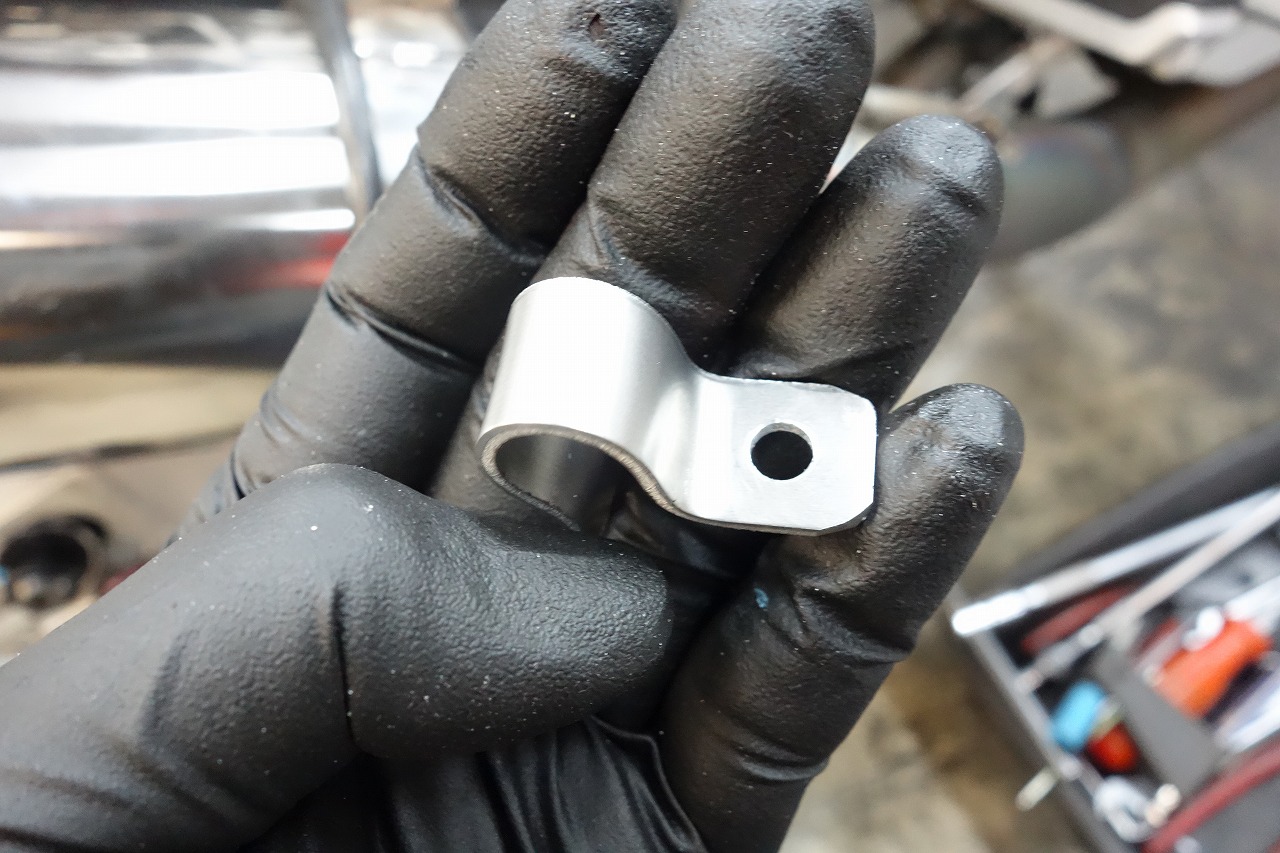
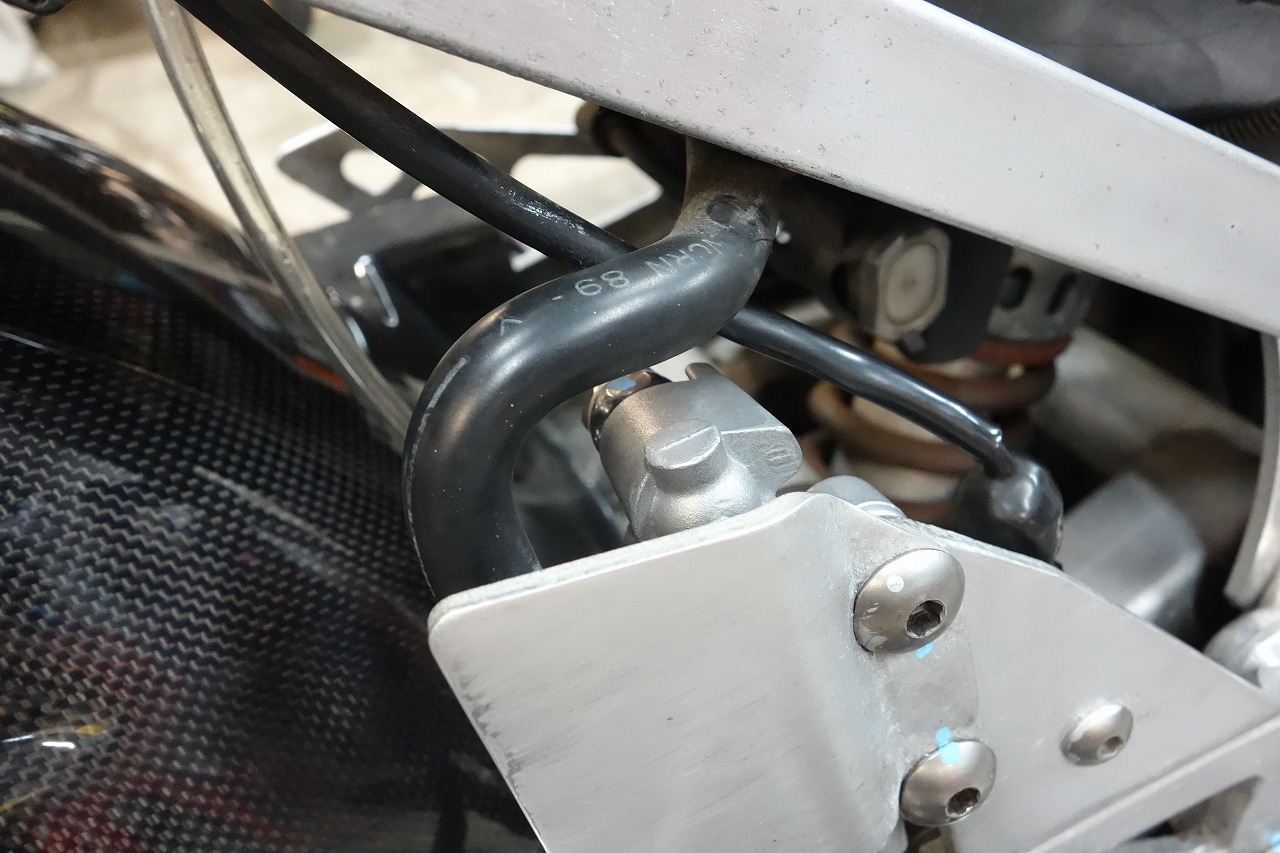
I’m the type who can’t feel secure unless the clamp is firmly fixed.
I bent some aluminum and made it pop out.
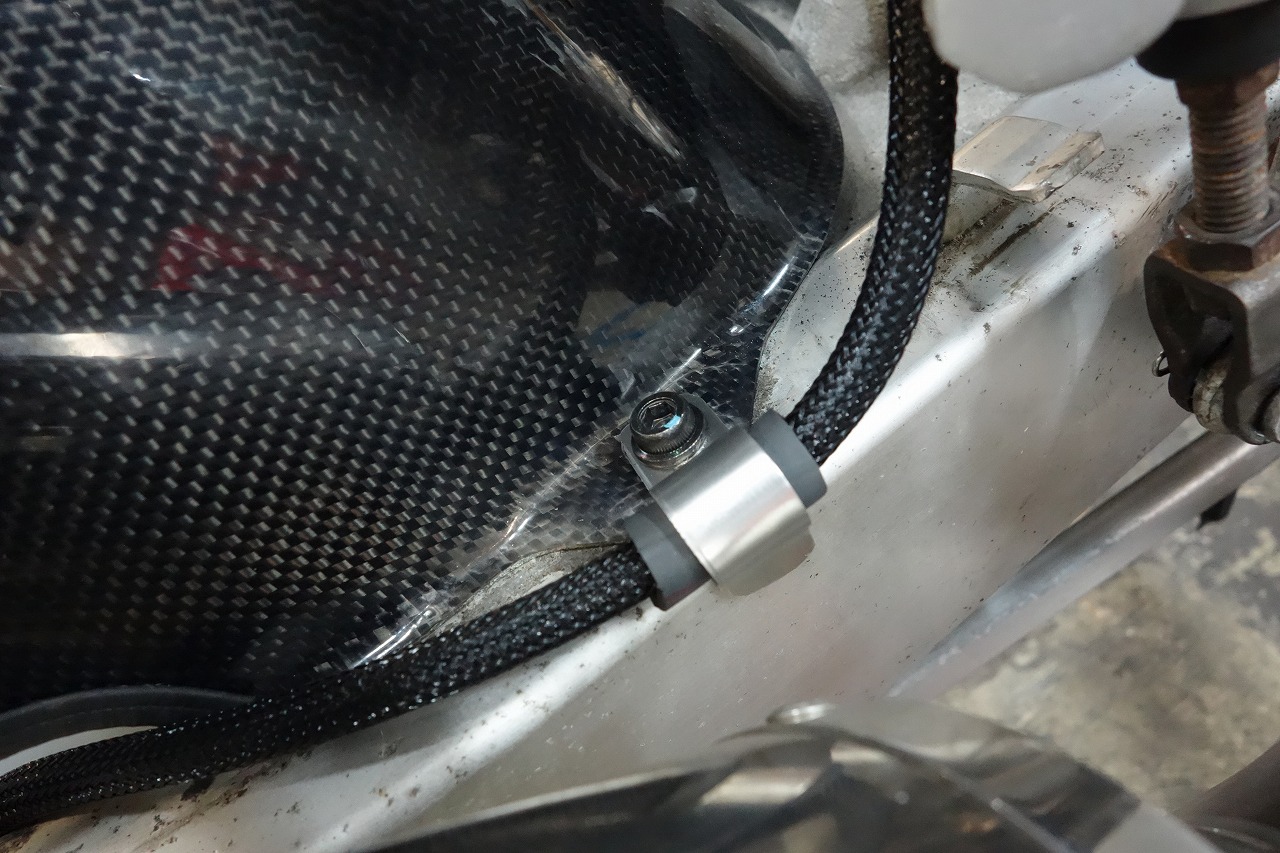
Like this… if we ever remove the swingarm again, let’s swap it back to the OEM plastic clamp.
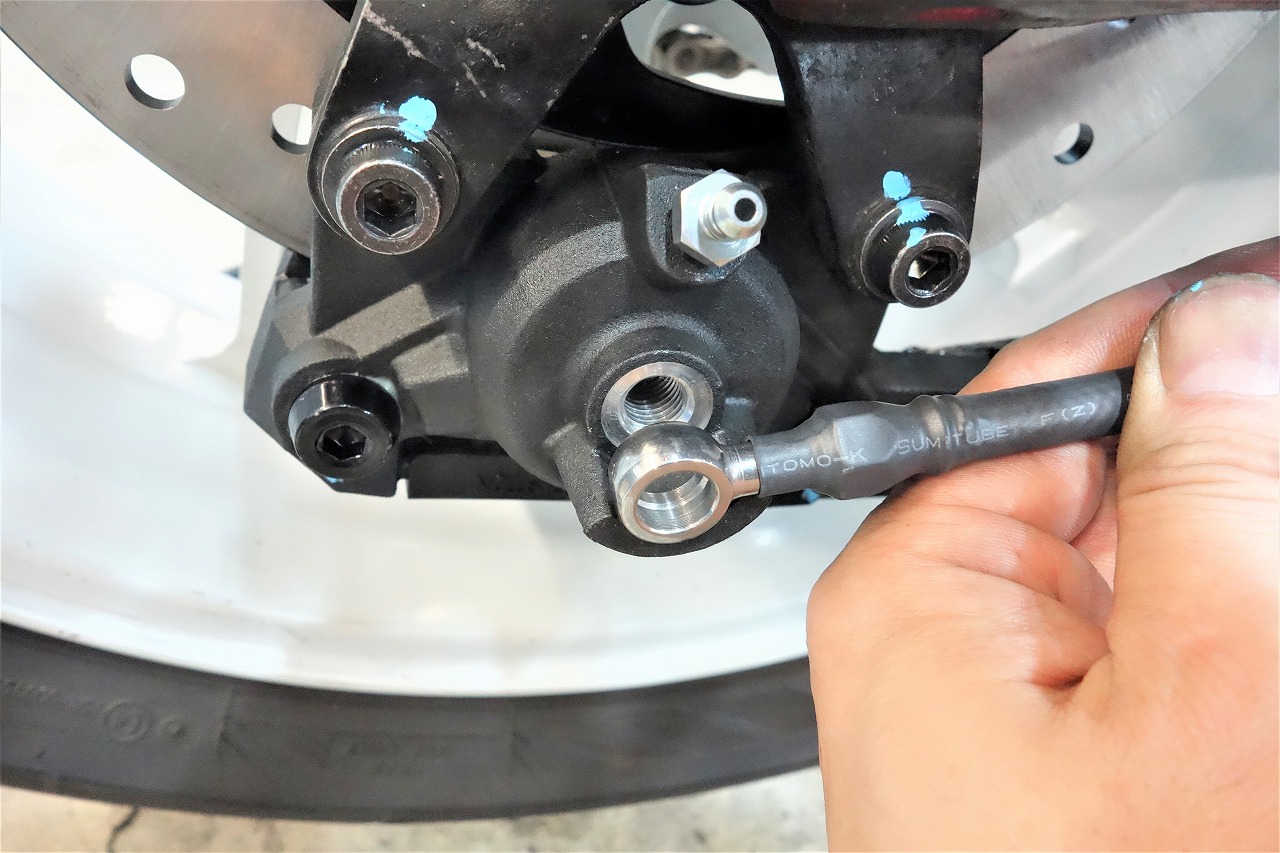
A heads-up for everyone about brake hoses.
When you’re thinking about installing and routing it, “the banjo bolt hole position doesn’t line up” is a red flag.
Twisting can occur, and in the worst case, the banjo fitting can loosen.
That’s why I won’t test-ride first-timers or sketchy DIY custom bikes.
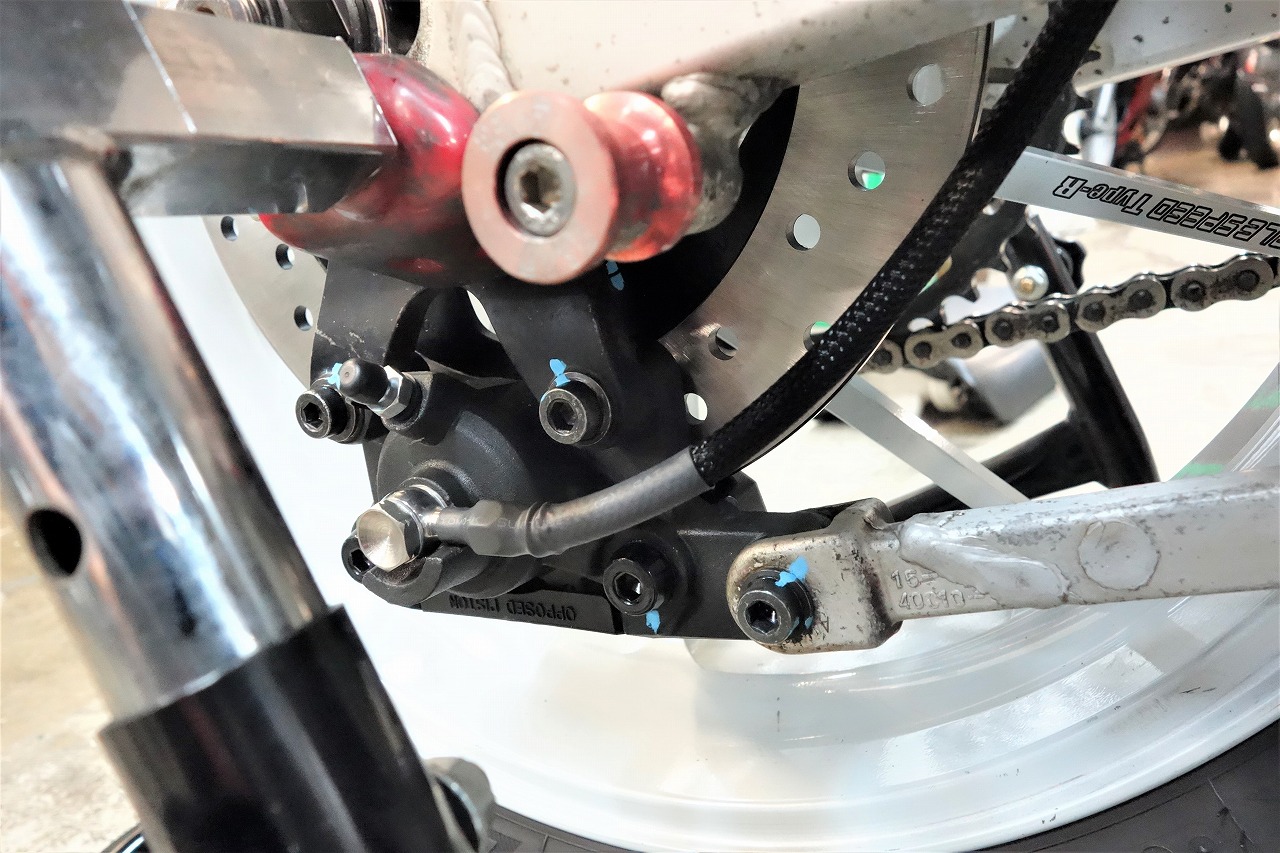
Yeah, it’s clean now and the rear rolls so much better.
I think restoration elements are important in the workflow.
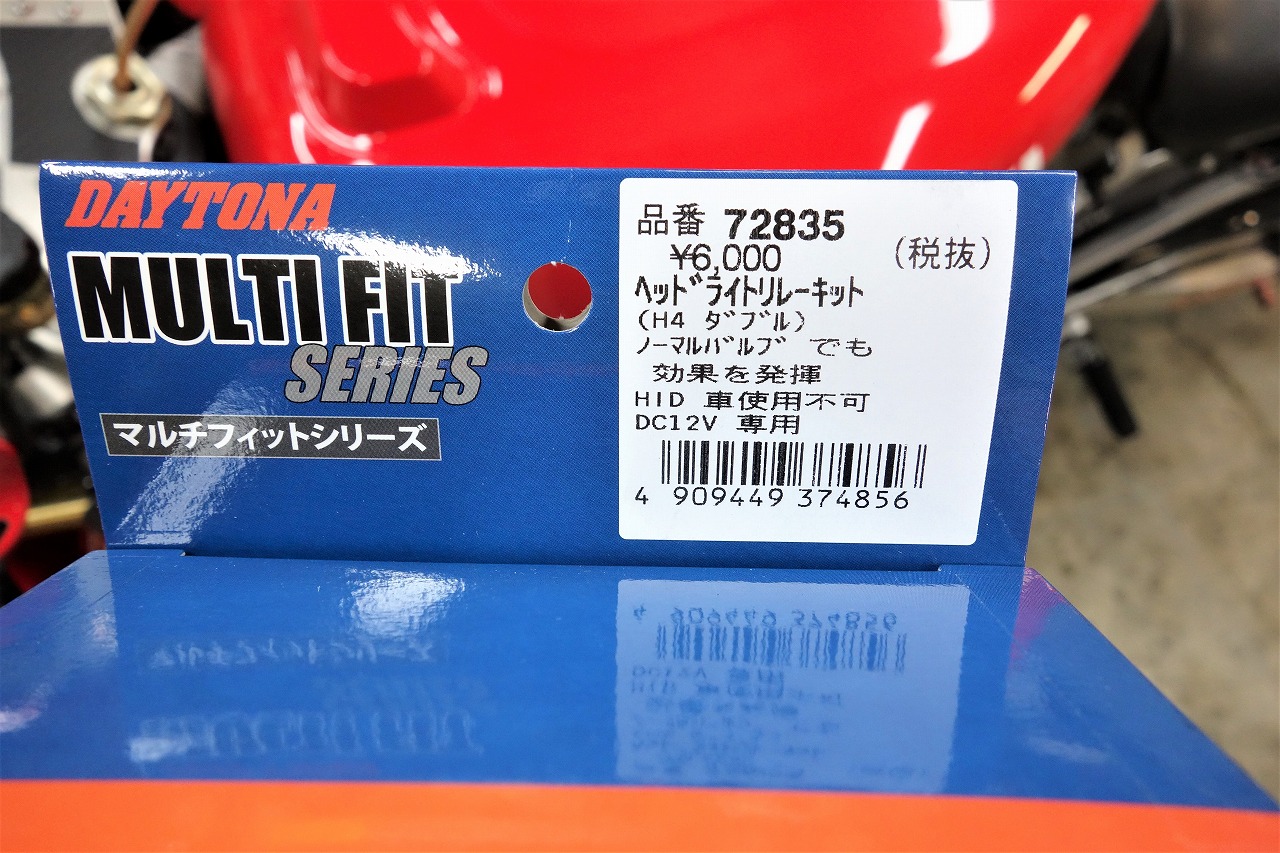
When it comes to headlight relays, it’s Daytona.
① Daytona Motorcycle Headlight Relay Kit H4 Single 95438
② Daytona Headlight Relay Harness (H4 Double) 72835
Hmm, double and single have the same number of relays?
I feel like a single could barely work with just one.
But that’s beside the point…
Since the relay is on the battery side, the layout is very easy, so I recommend it.
Plus the price is reasonable.
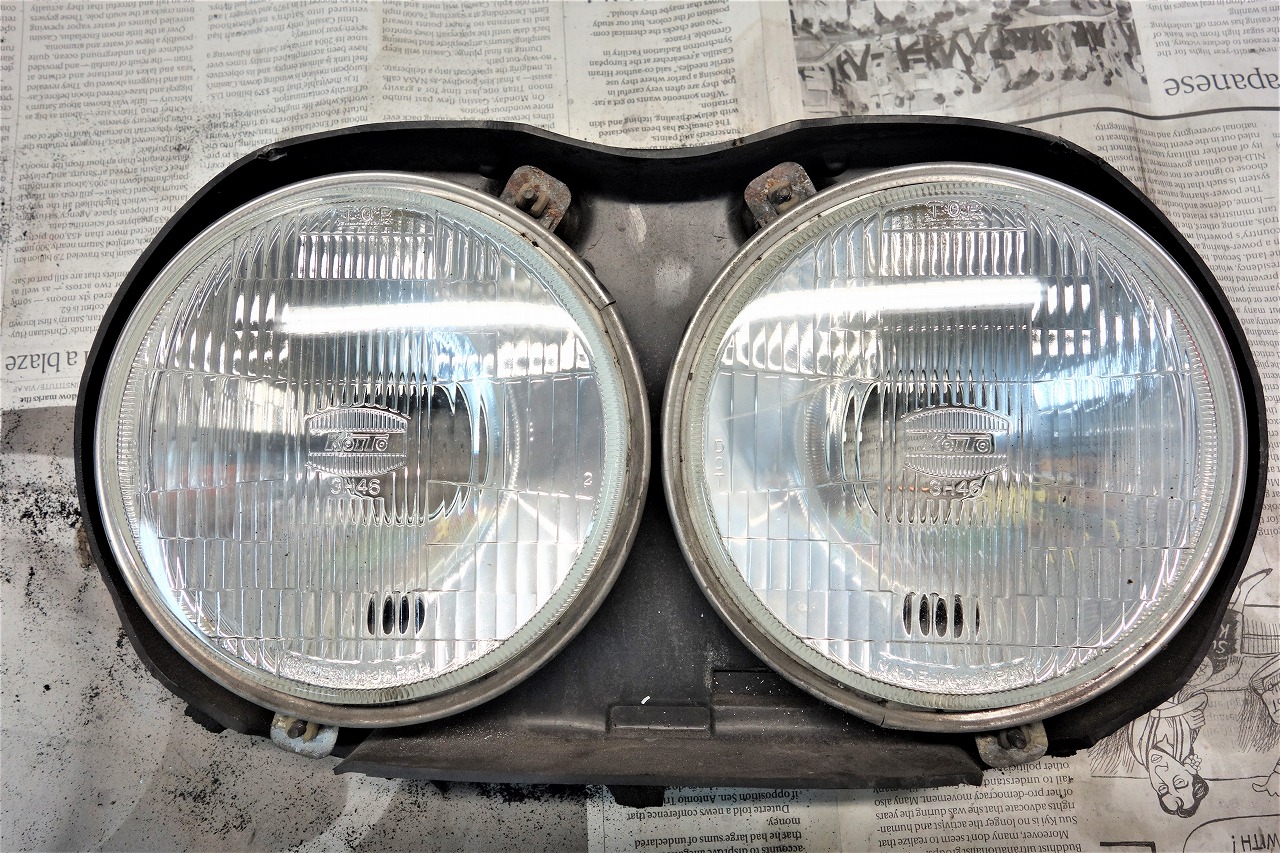
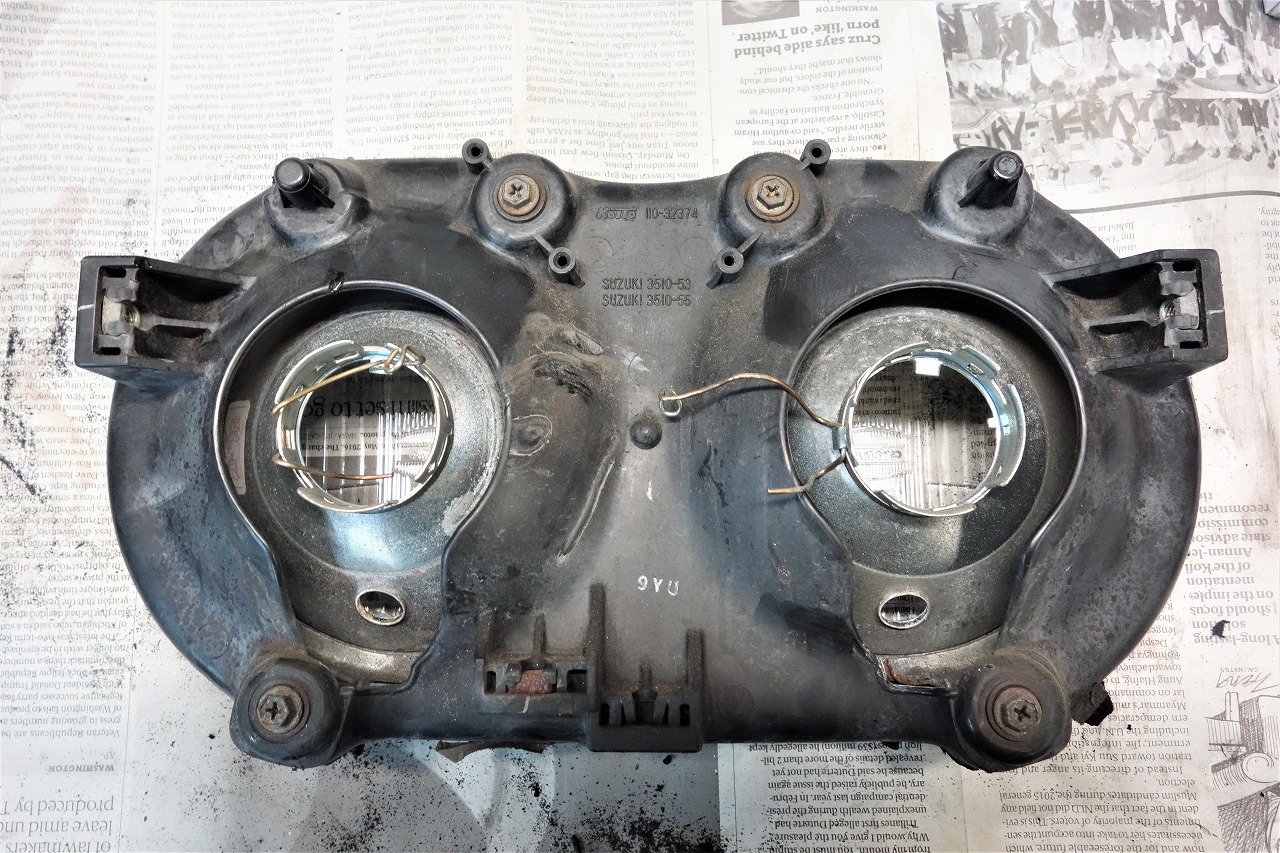
Disassembling the headlight assembly without complaining is actually quite satisfying.
Once you do it, you probably won’t do it again anytime soon.
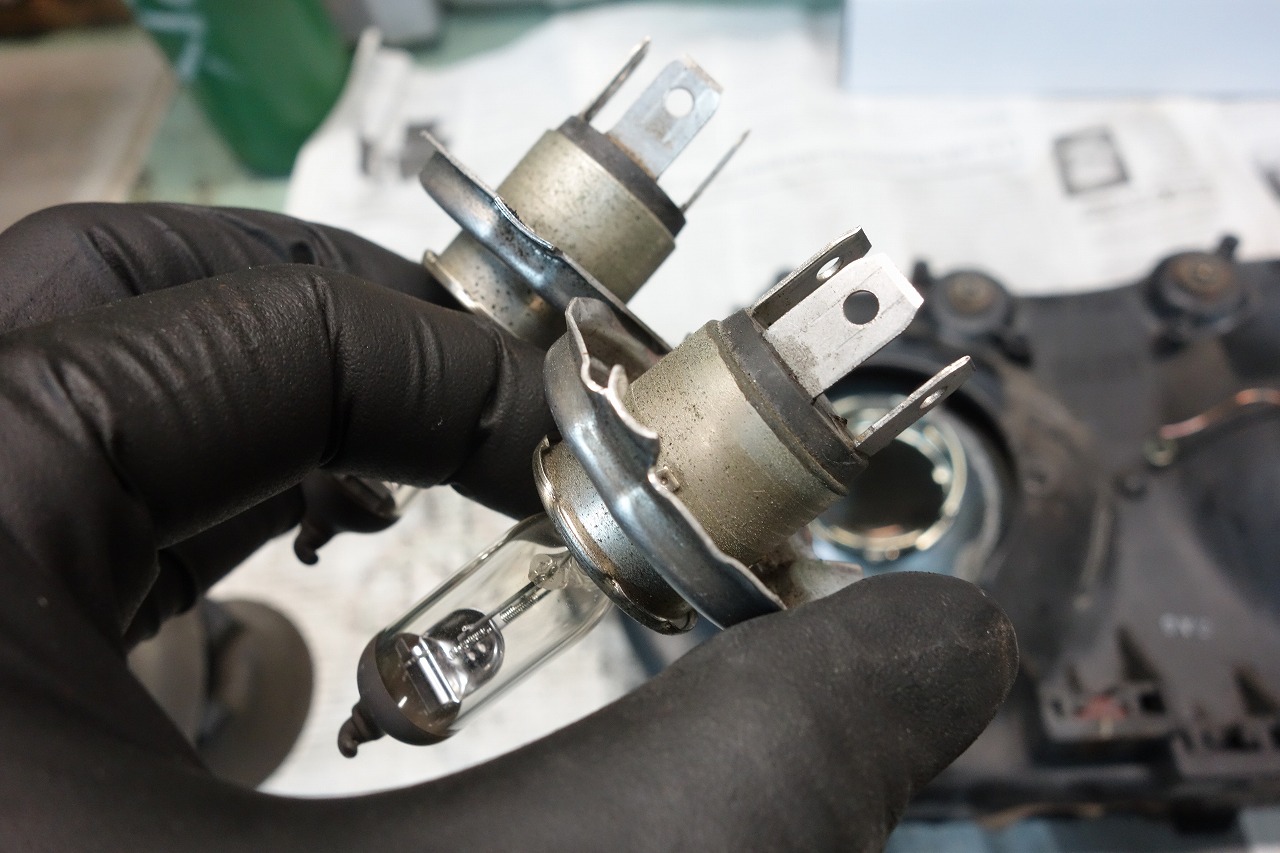
Pretty niche stuff here. When the headlight is dim, this is a standard field trick: the lean-forward maneuver. It does brighten things up a bit.
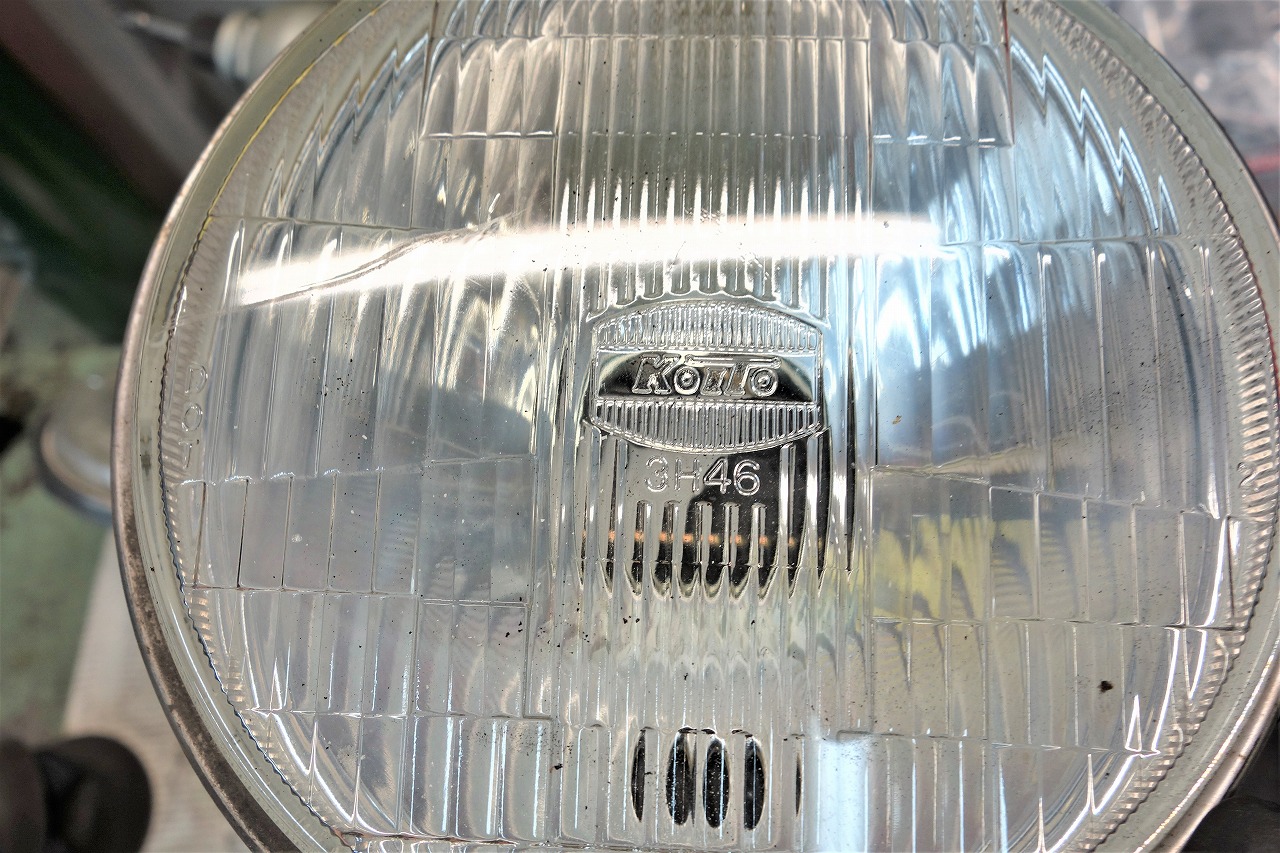
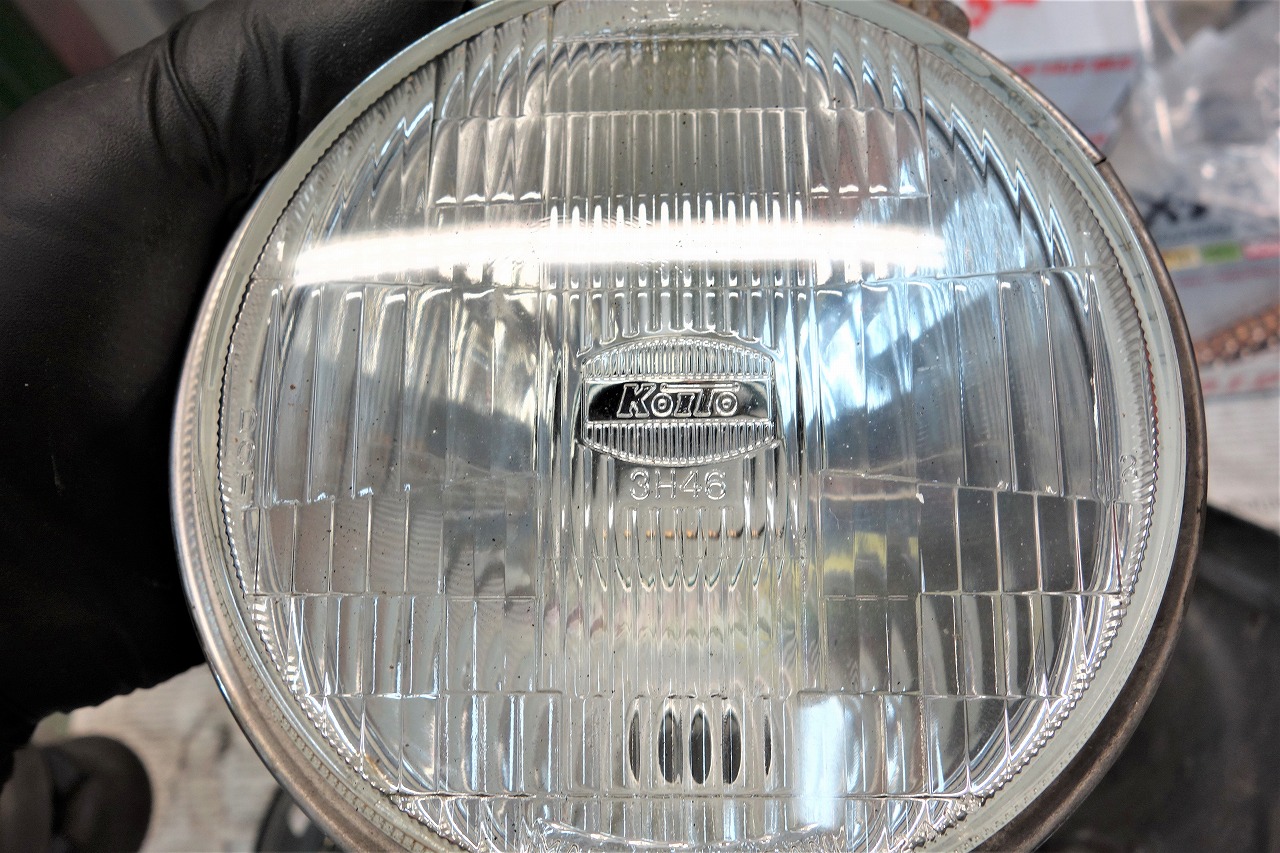
It’s getting cloudy and looks a bit dim. The plastic pivot for the light axis is loose, so let’s replace that too.
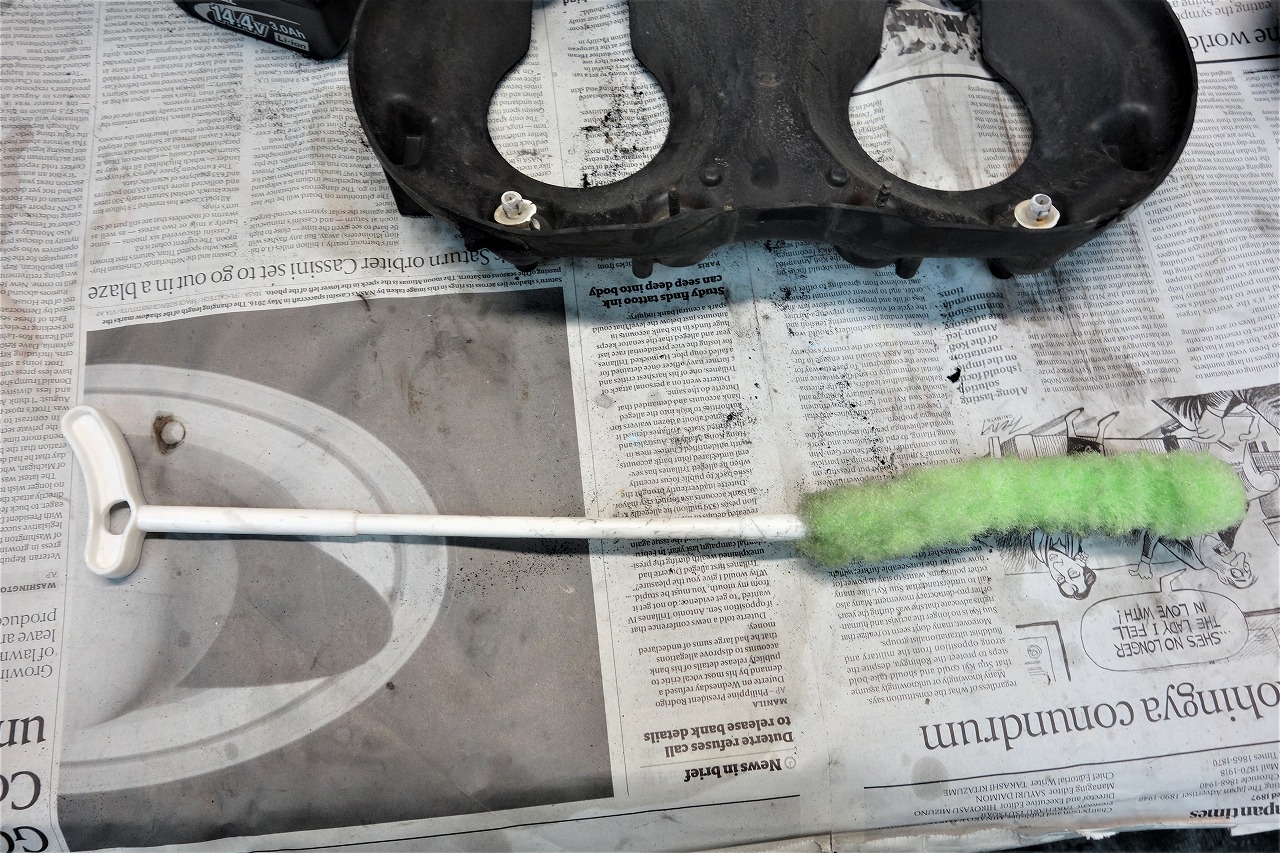
This is the best brush for cleaning inside the headlight. There’s no exposed wire, so you won’t scratch anything.
Plus it’s affordable.
Pika Pika Narrow-Mouth Bottle Brush Green
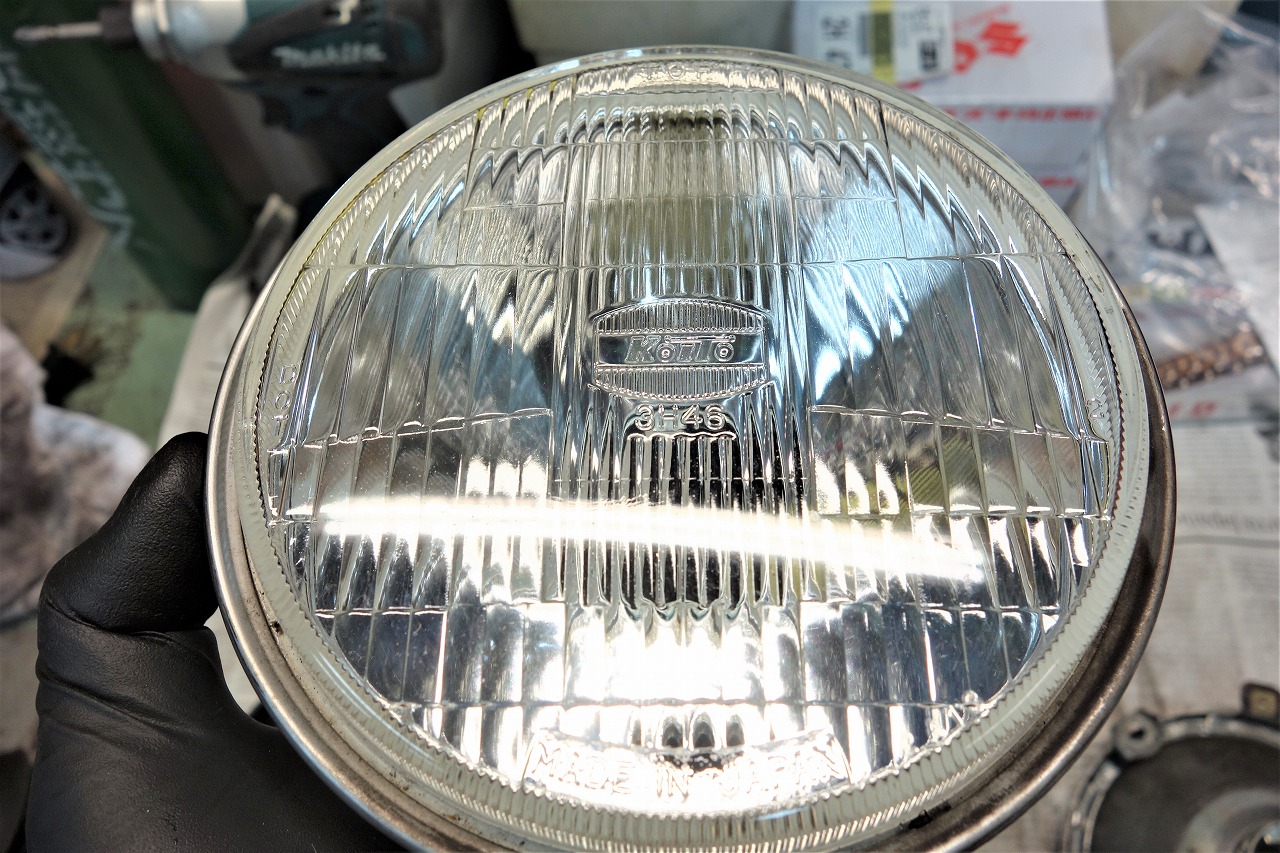
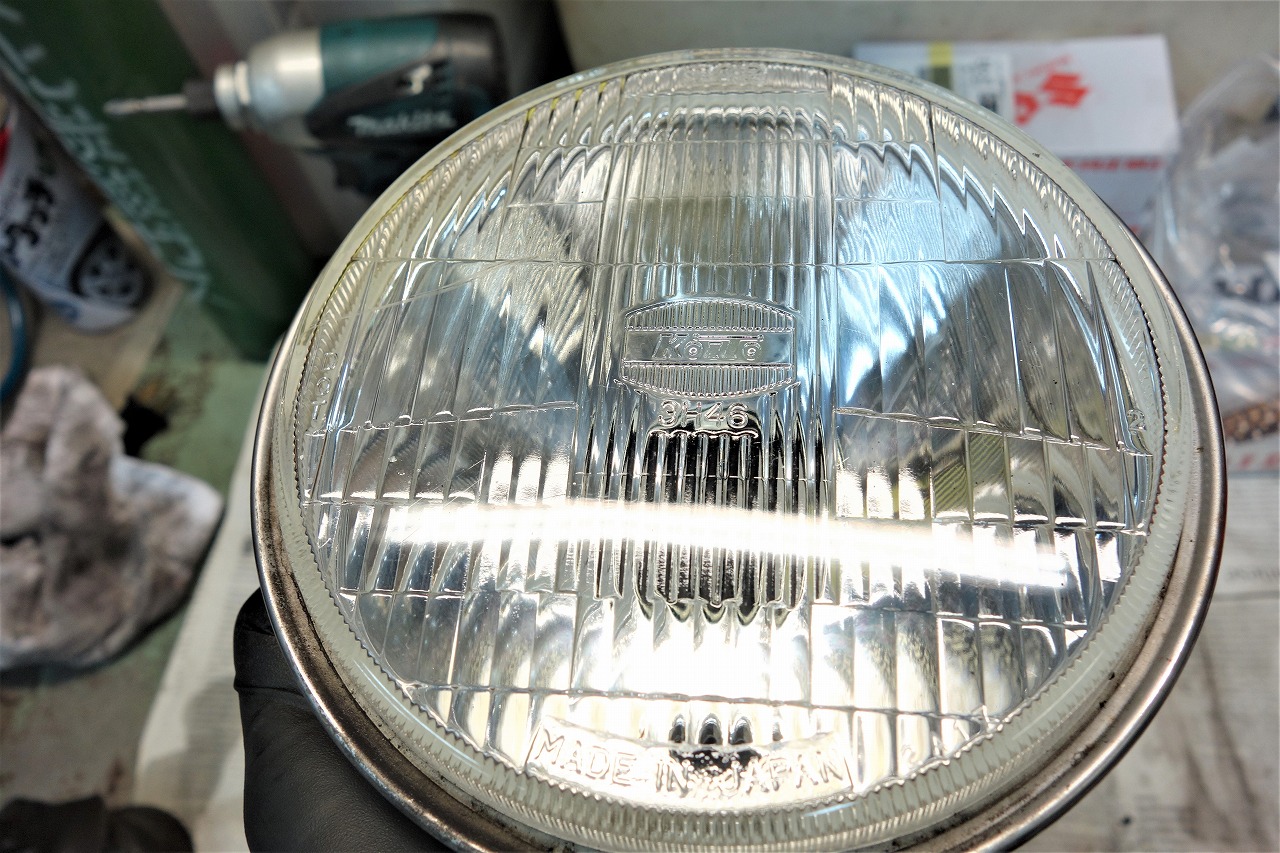
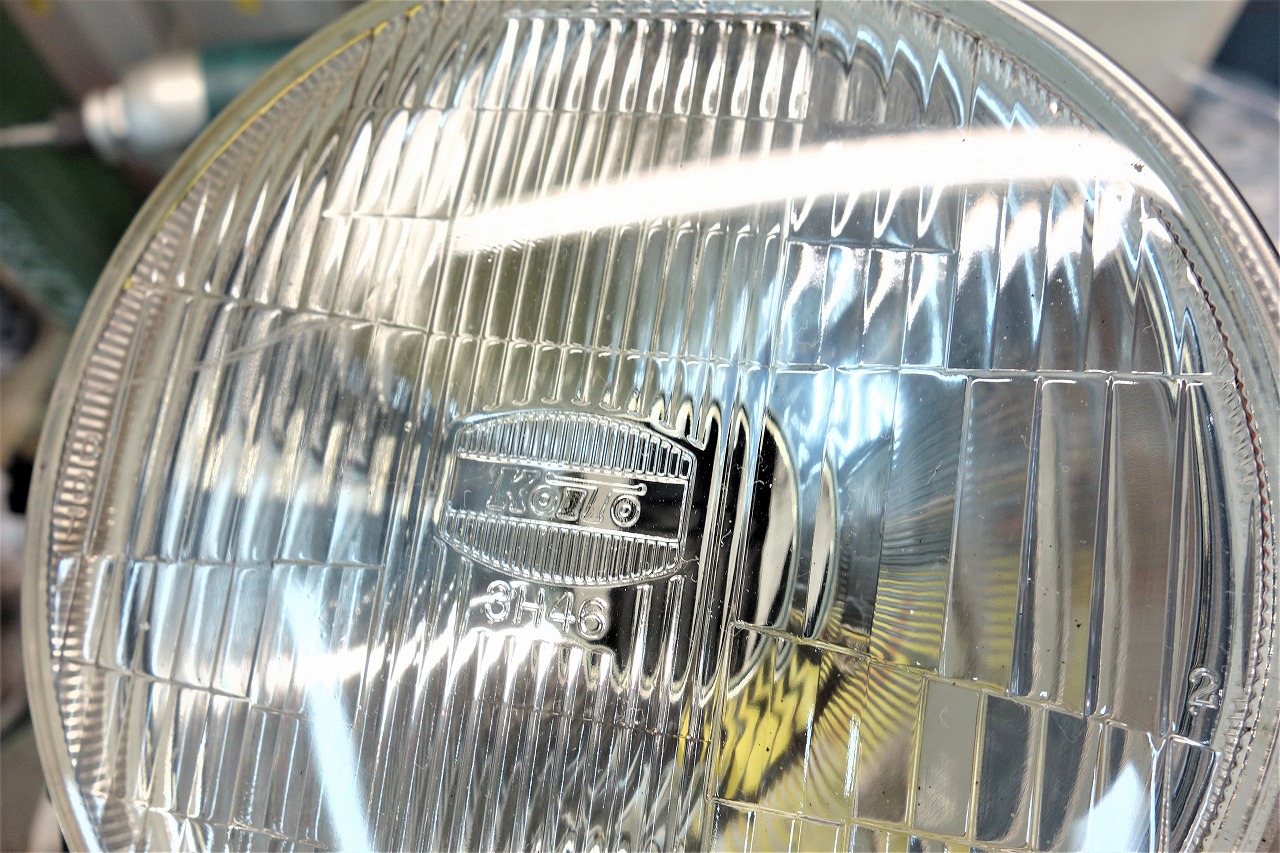
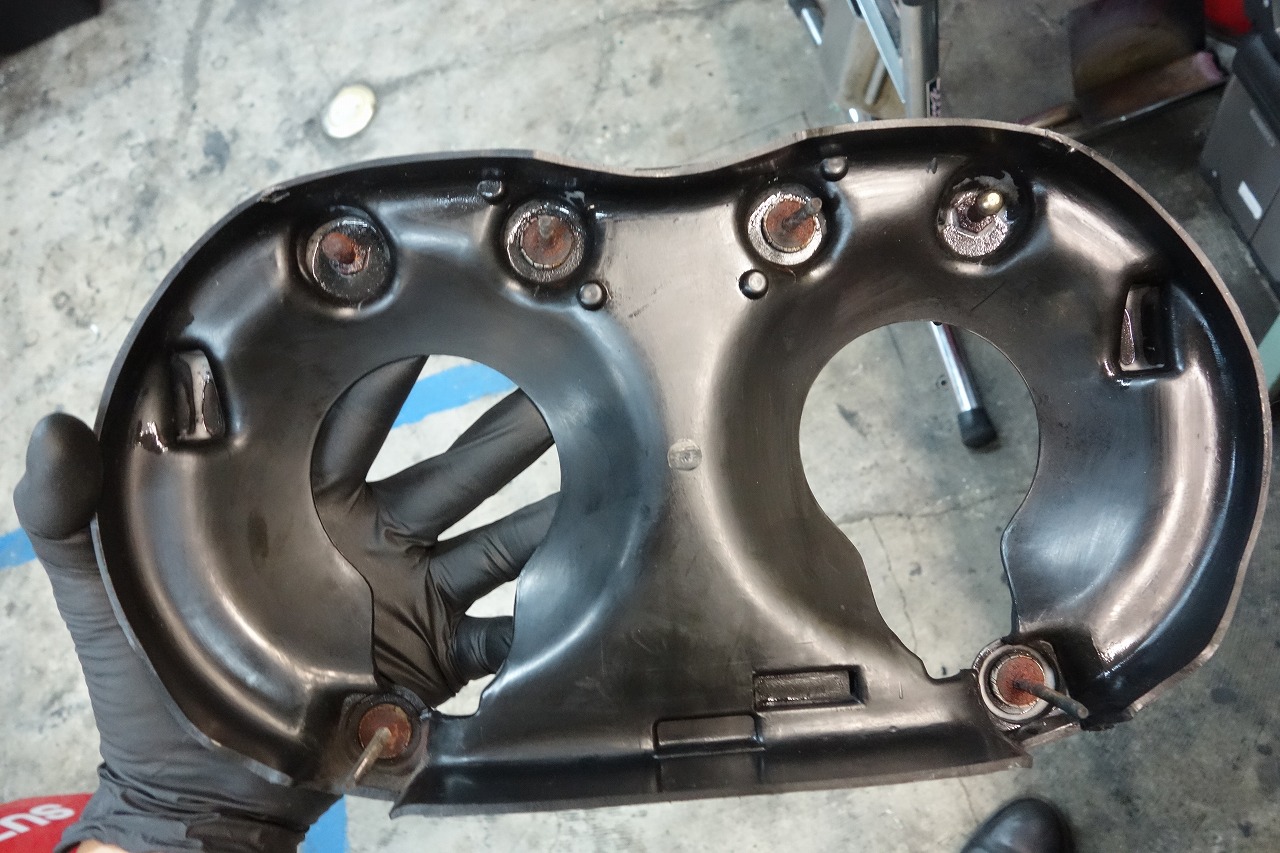
It won’t get dramatically clean, but you’ll notice it’s cleaner.
I left the light case untouched.
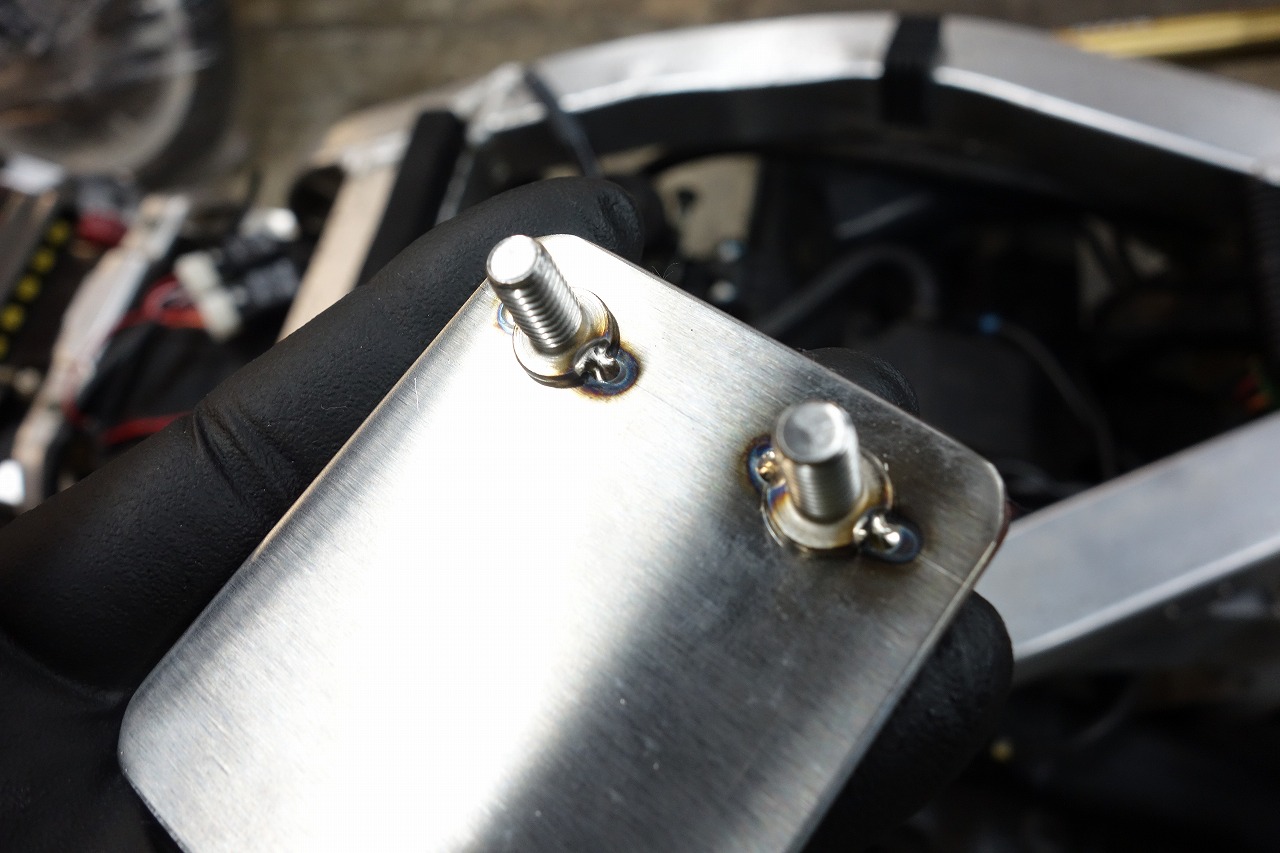
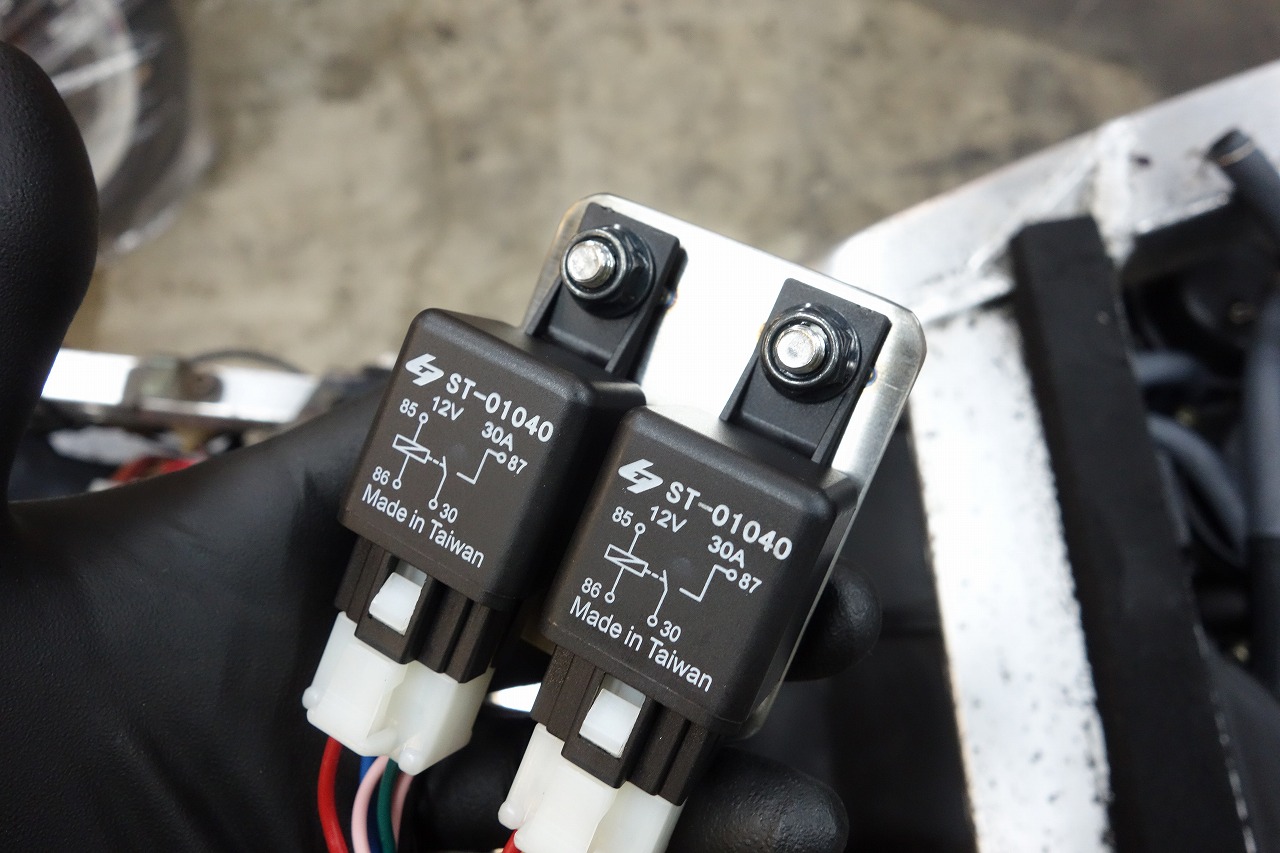
A sneaky trick I recently learned. I fix it with a stainless steel plate and ultra-low-head set screw.
It looks somewhat properly installed.
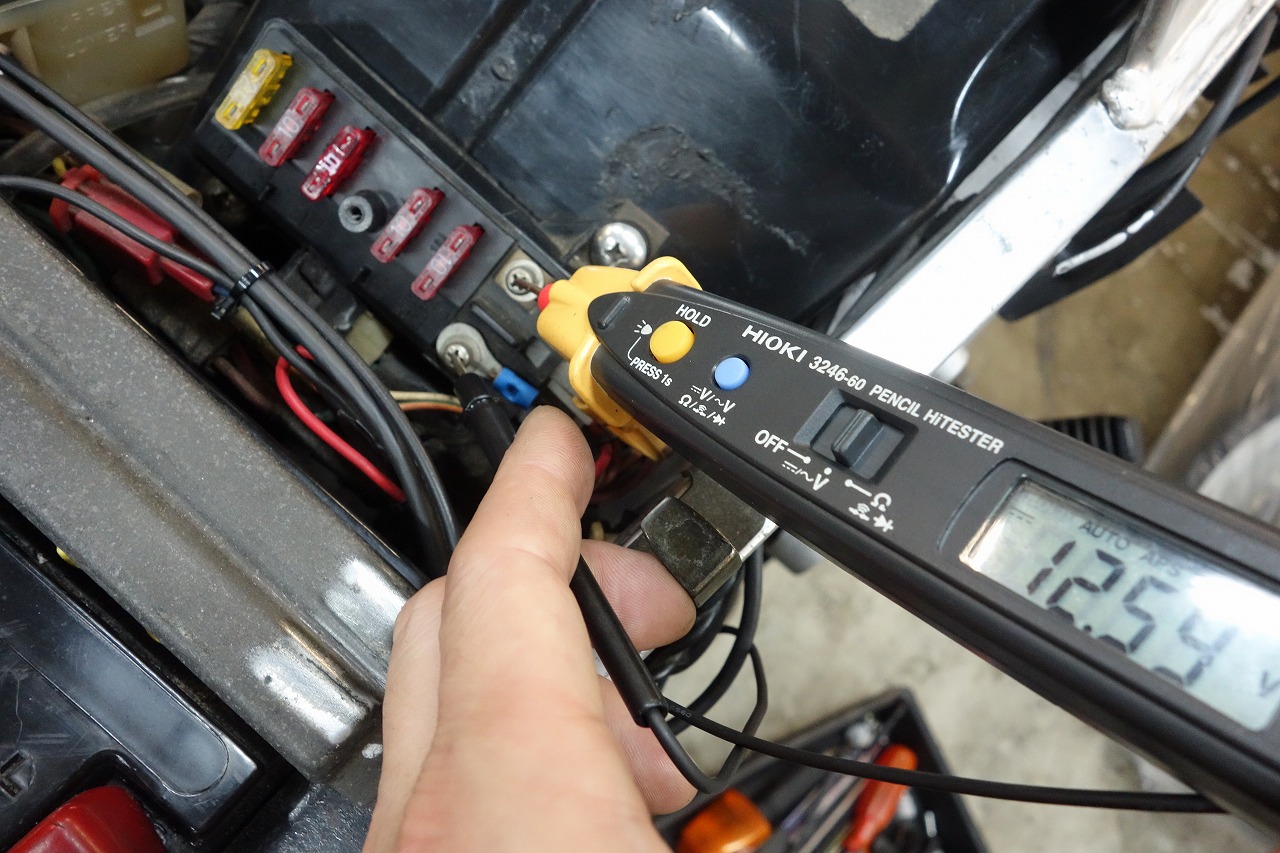
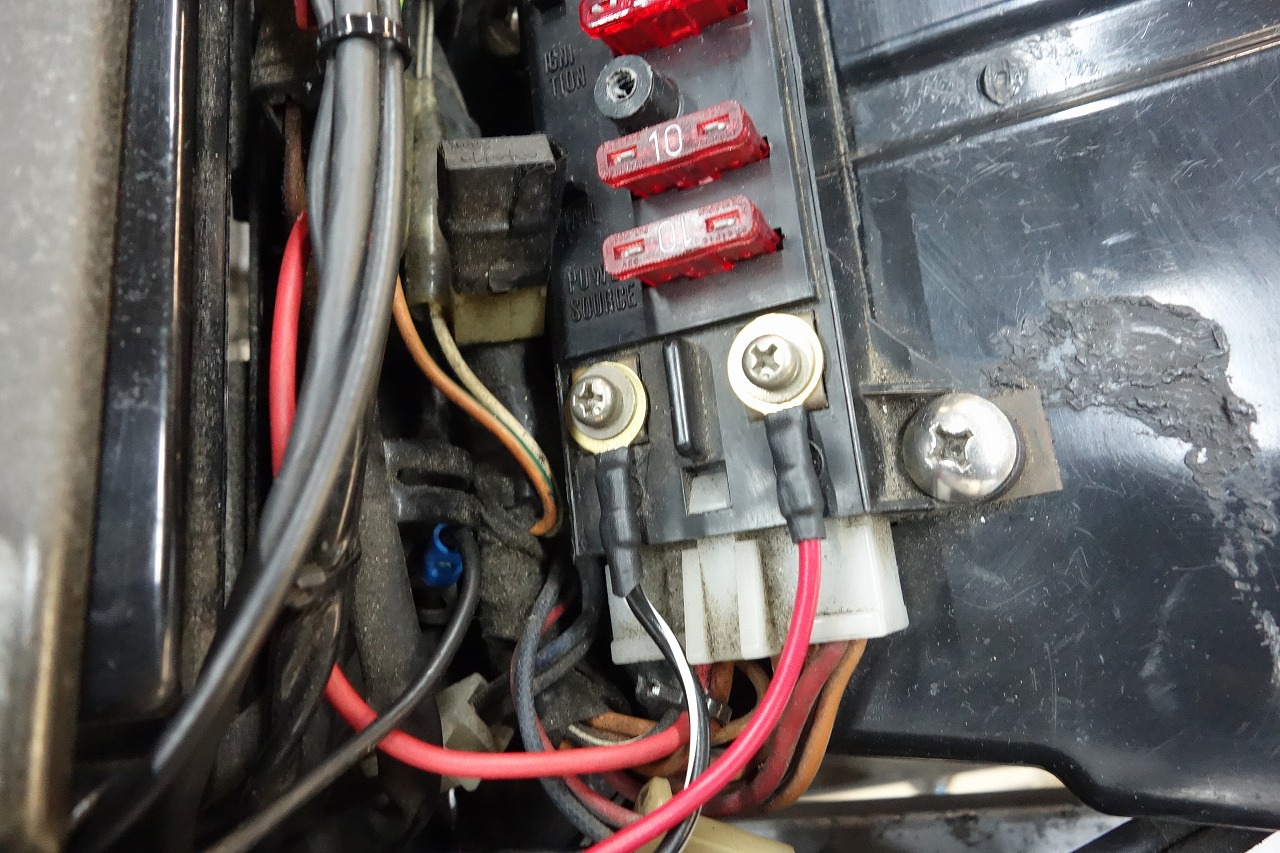
The GSX-R1100 K through N has constant 12V and ground at the fuse box—a very convenient design.
It’s best to keep the battery area as simple as possible.
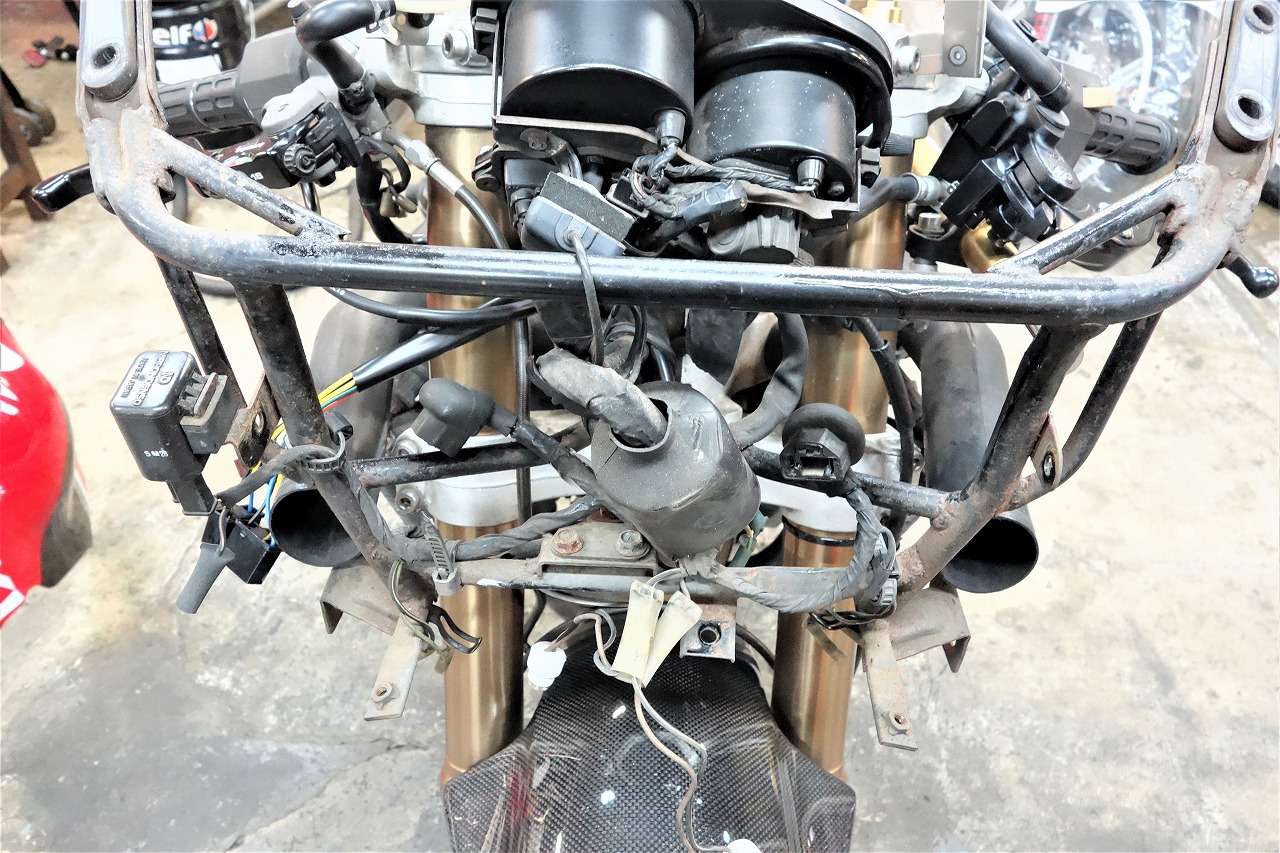
Everywhere is covered in dust and rust, which is a bit discouraging, but I’ll keep plugging away.
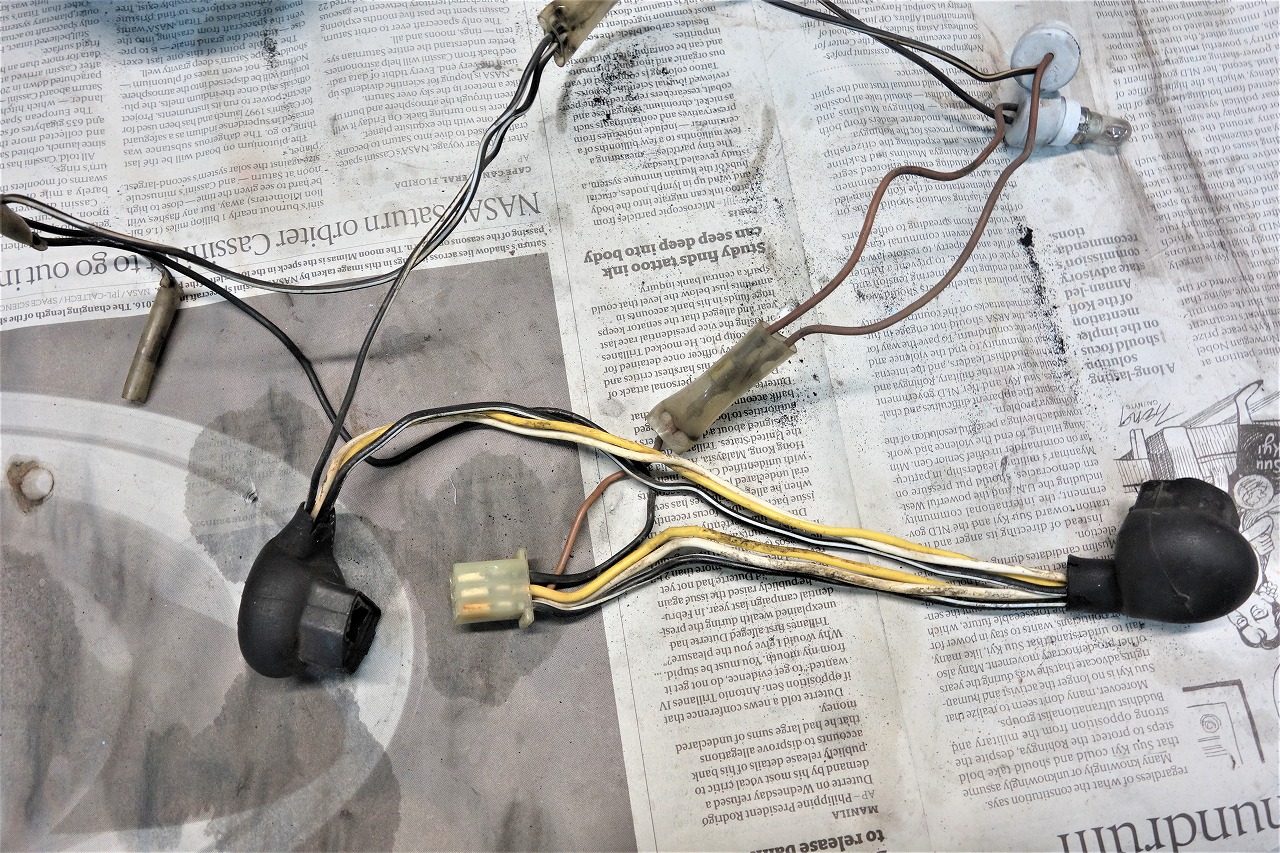
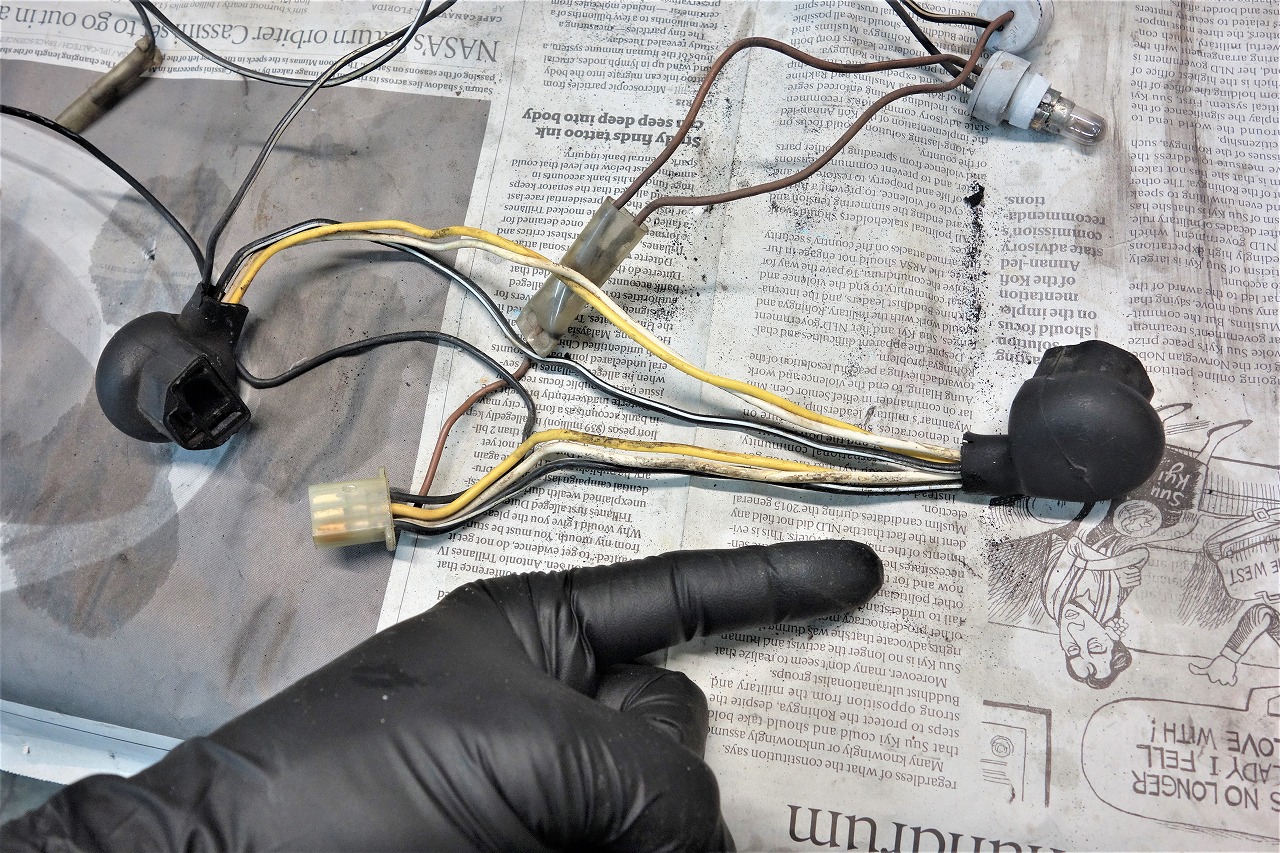
The headlight harness can be minimal, so I’ll cut it short.
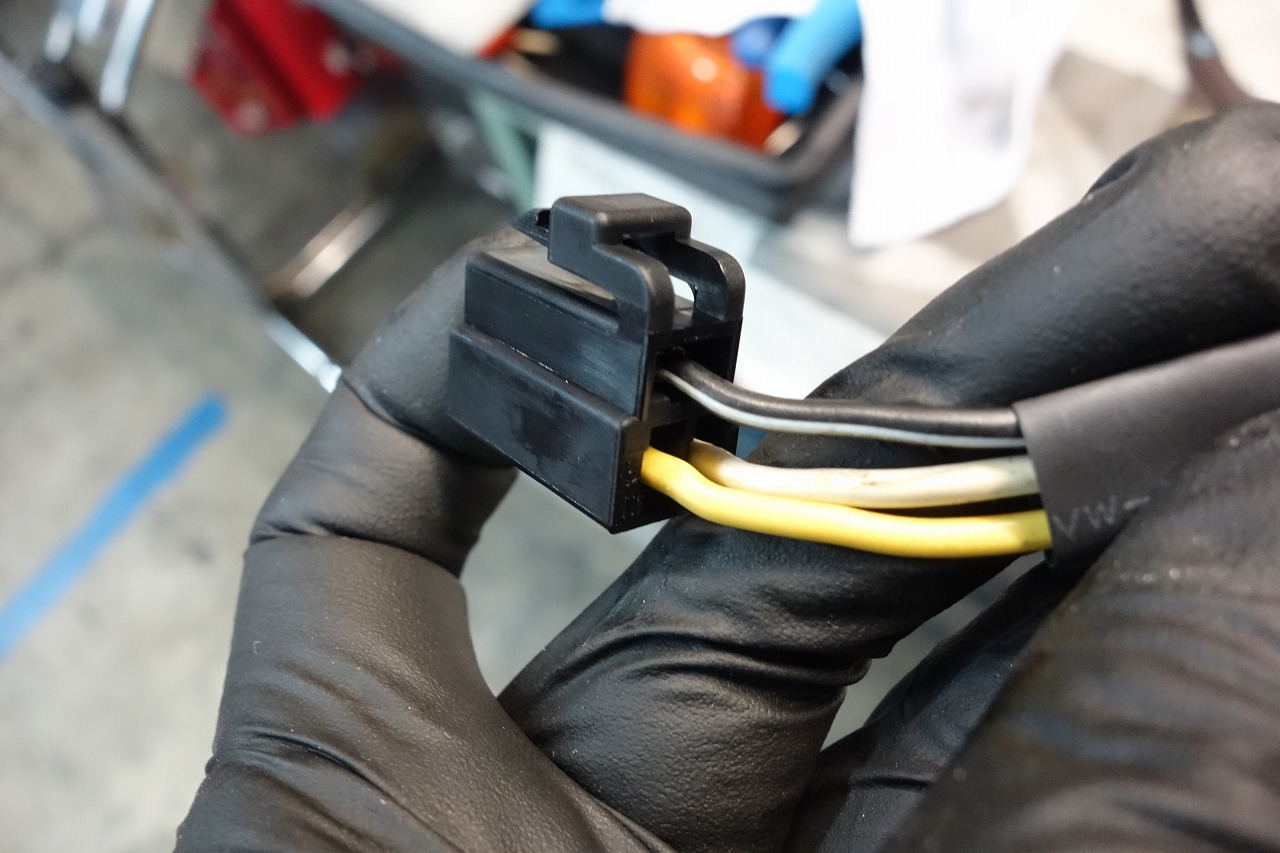
I connected it like this. It’s a bit simpler.
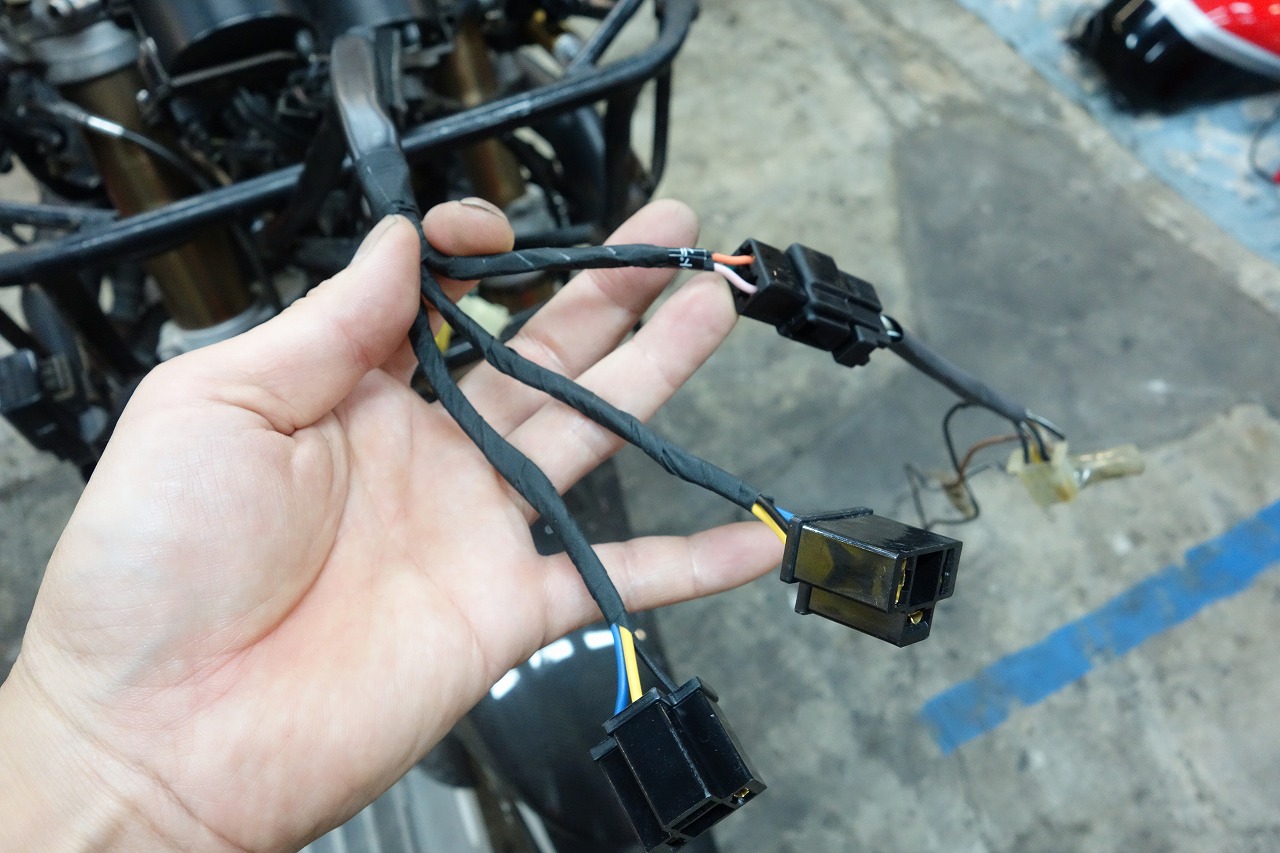
So now the H4 headlight connector is down to just two.
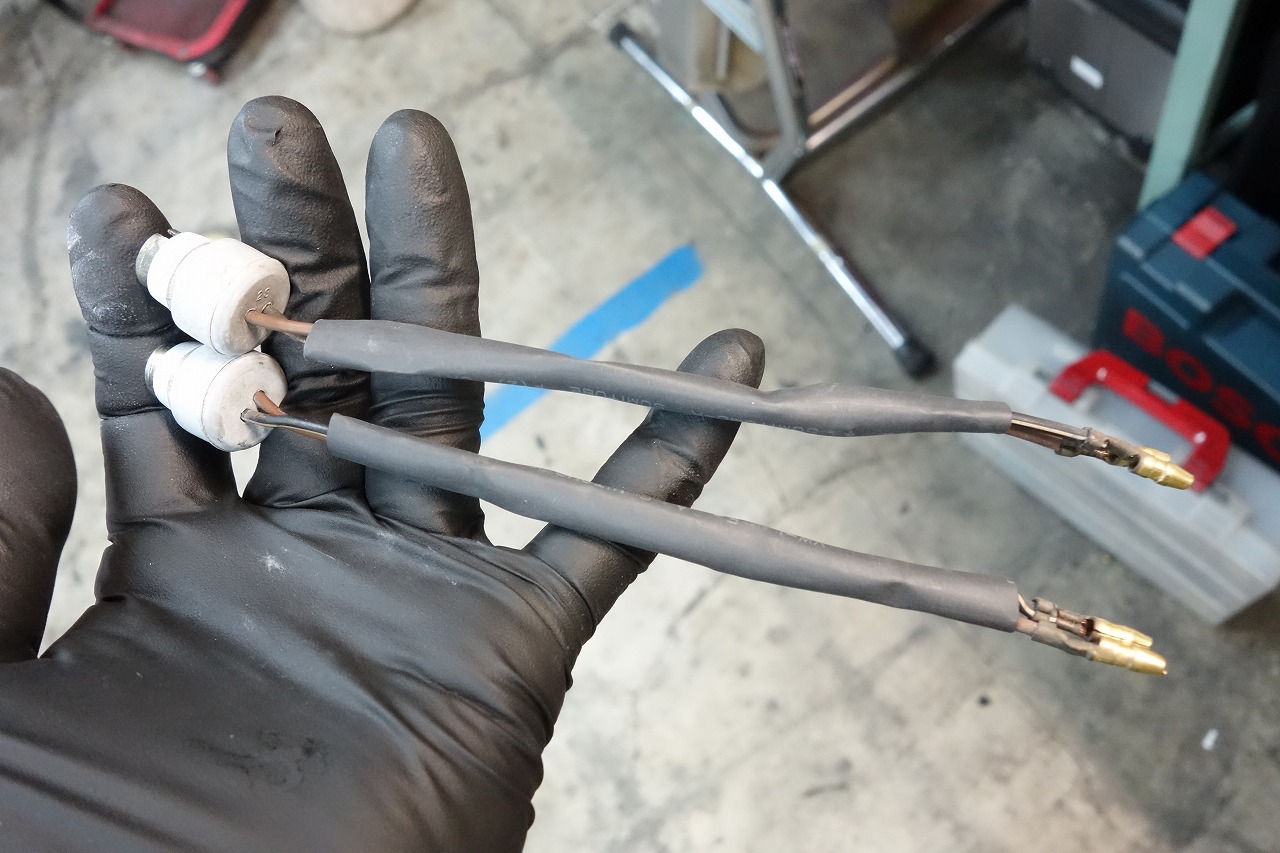
A small thing, but reducing exposed wiring makes the appearance cleaner.
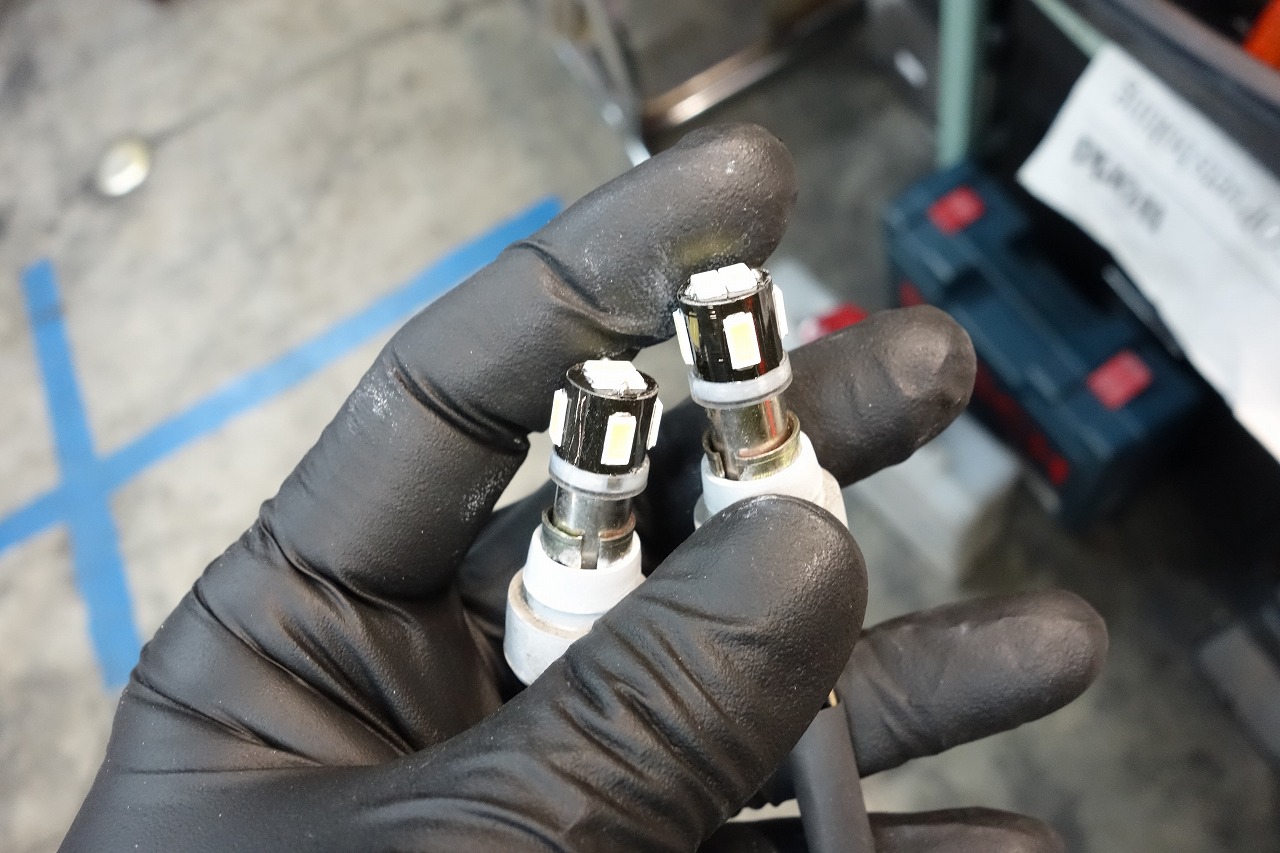
I’m swapping the position bulbs to LED. The head is slightly long, so there’s a trick to inserting it, but the brightness is exceptional.
GOSMY G14 BA9s LED Base Single Pin 180° White
Make sure it’s BA9S, okay?
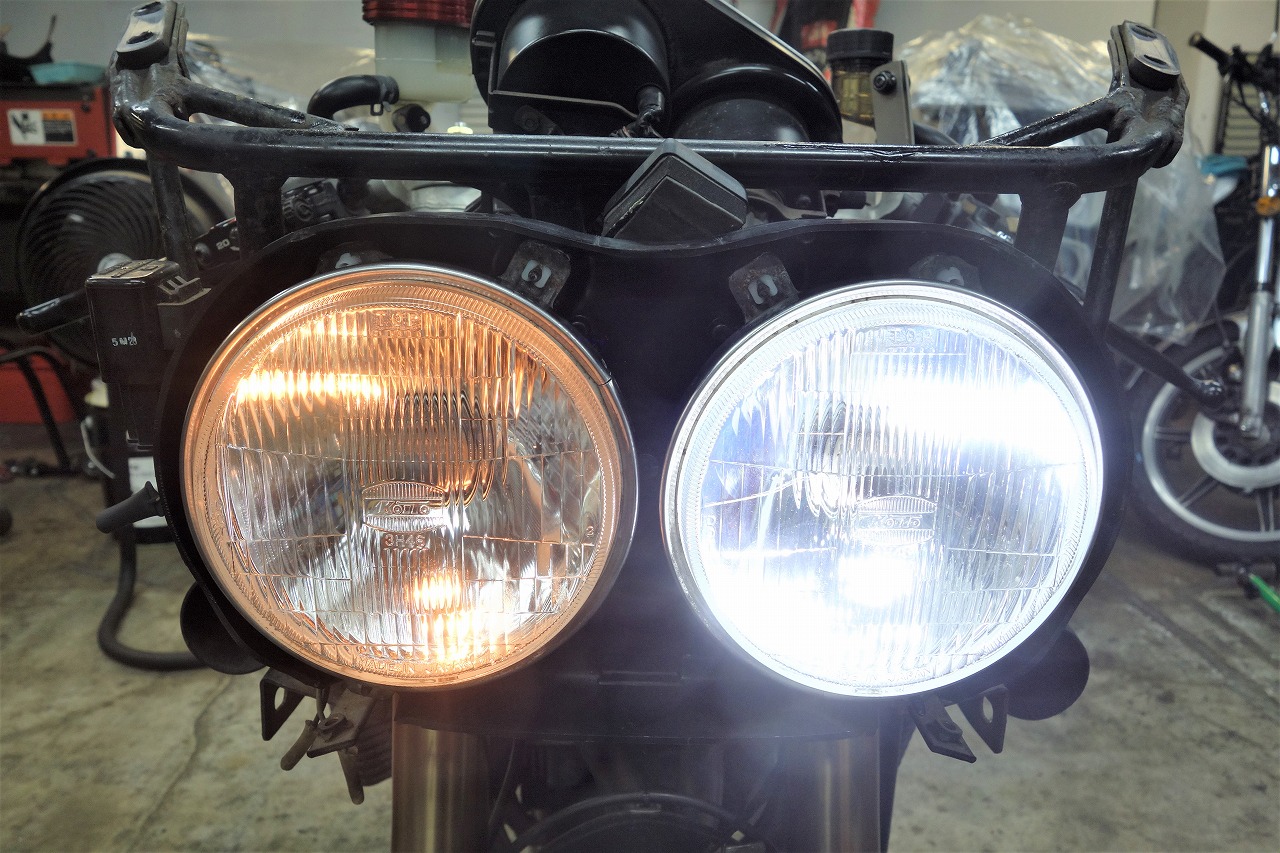
Position lamp comparison. Modern LEDs are so bright—it’s almost like a headlight, though that might be an exaggeration, but they’re definitely dazzling.
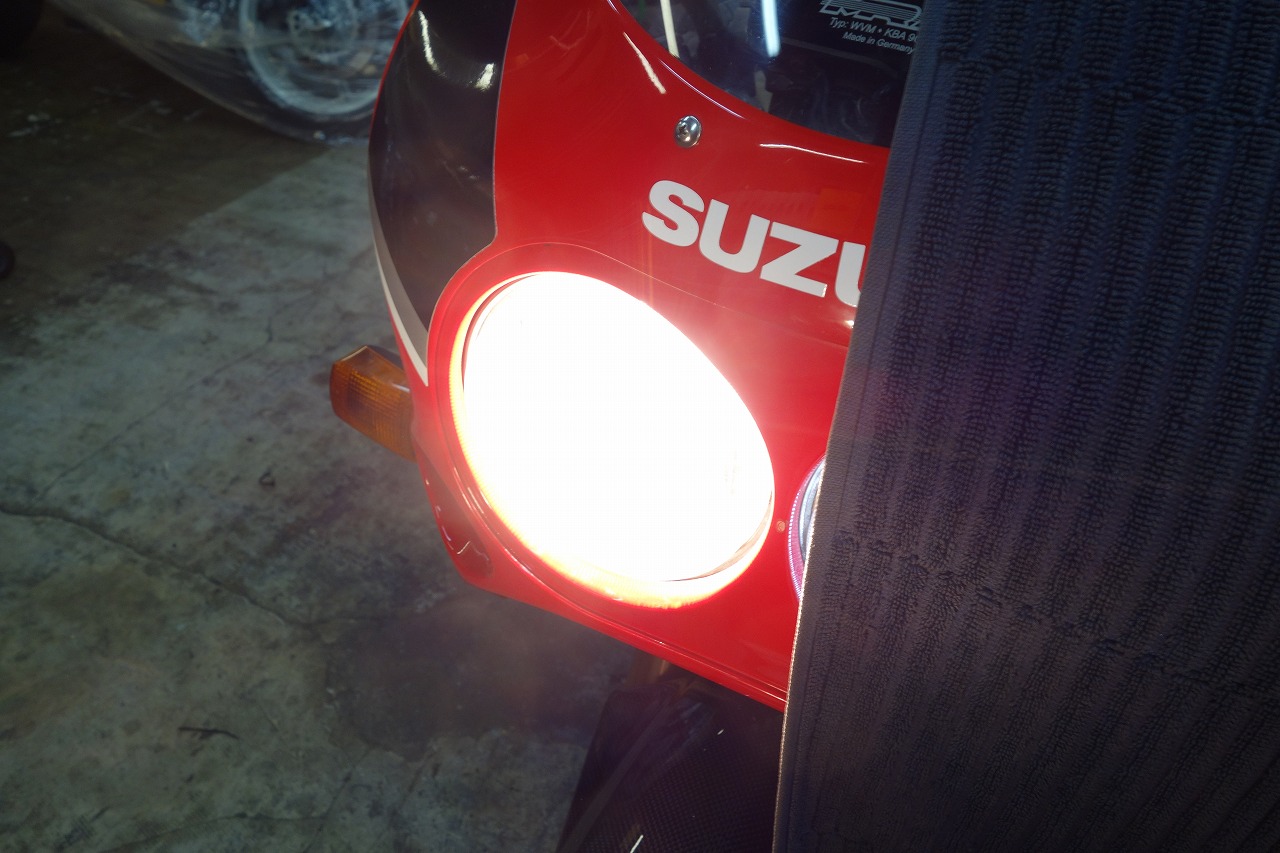
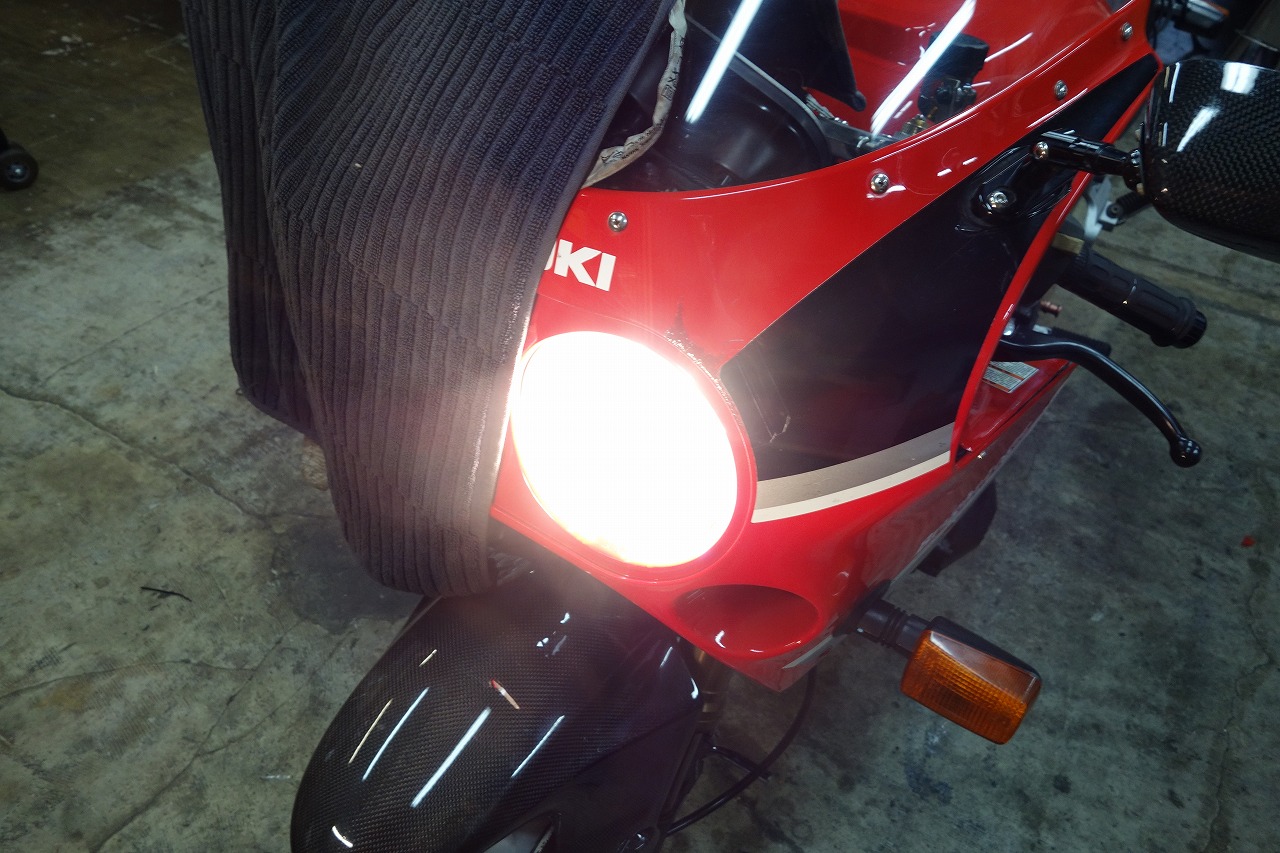
Inspection is coming up next week, so let’s do a quick check. Here are the results…
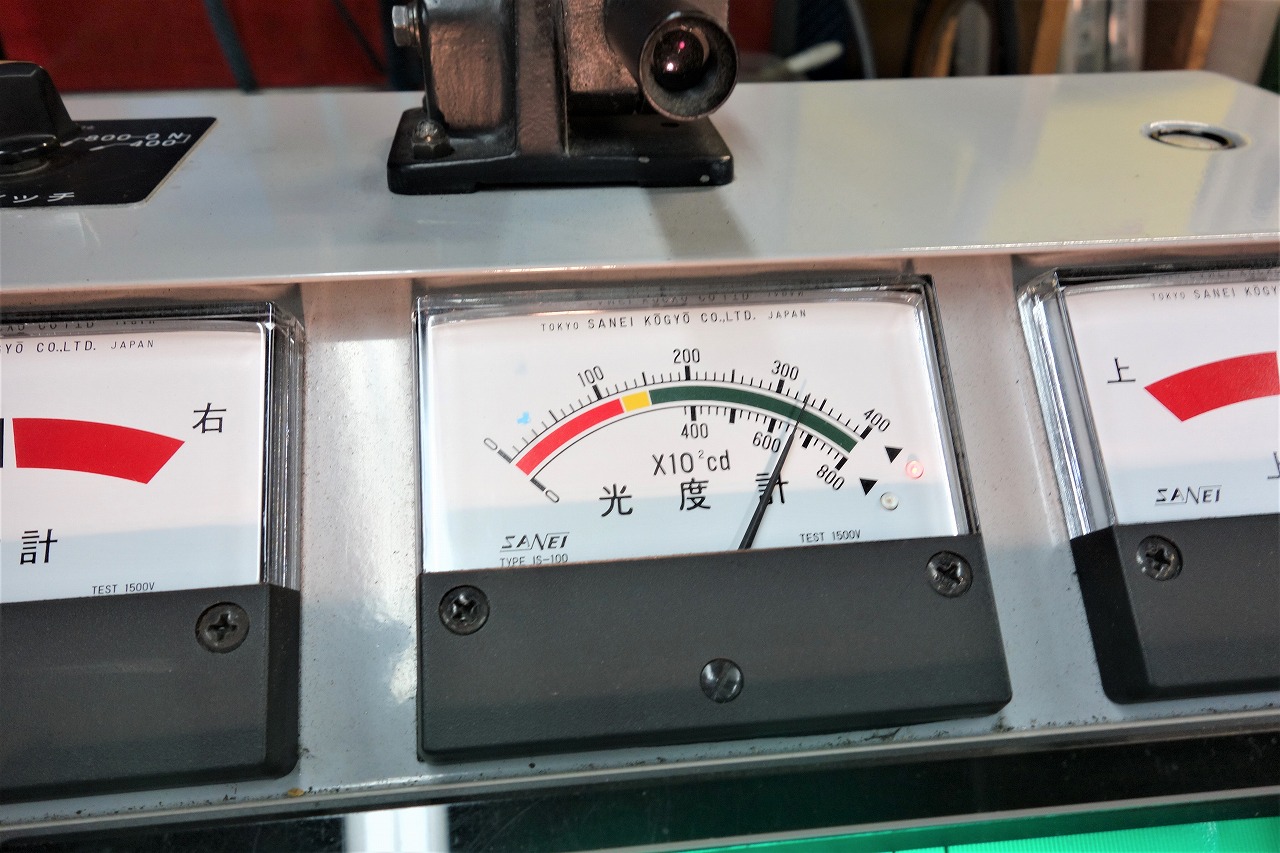
Left eye: 33,000 candelas. That’s a great number! No worries about light intensity.
Right eye though… seriously? It maxed out.
Can that even happen on a bike from this era?
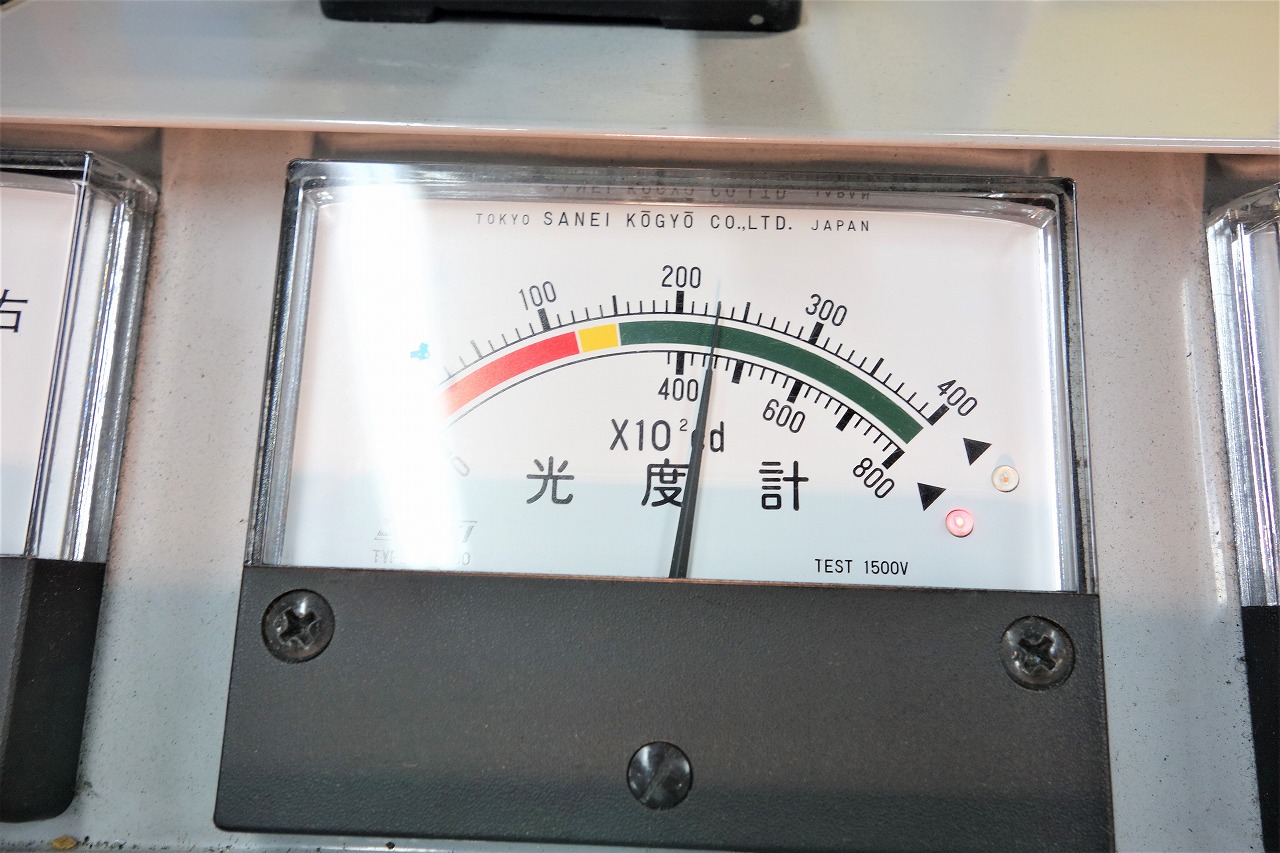
42,500 candelas? I haven’t seen an H4 put out that much light in a long time. Pretty surprising.
The headlight refresh plus the relay effect is really working.
Next is to get the inspection, take it for a test ride, and we’re done.
Progress report
✓ Carburettor disassembly and cleaning
✓ Intake manifold replacement
✓ Front caliper cleaning, pad replacement, and securing
✓ Clutch master removal
✓ Radial clutch master installation
✓ Master tank bracket fabrication and installation
✓ Rear caliper disassembly
✓ Carburettor installation
✓ Synchronization and PS adjustment
✓ Throttle cable and band replacement
✓ Spark plug replacement
✓ Rear caliper replacement
✓ Rear pad installation
✓ Rear fluid bleeding, diaphragm replacement, and pan head screw replacement
✓ Rear disc replacement LR023 & Kawasaki OEM modified bolt used
✓ Chain adjuster replacement
✓ Rear components Guncoat painting
✓ Chain and swingarm cleaning
✓ Carbon rear fender relief machining, stepped collar securing
✓ Rear brake mesh hose fabrication
✓ Headlight relay installation
✓ Headlight harness modification
✓ Rear master polishing and light overhaul
✓ Rear brake fluid replacement and bleeding
✓ Headlight assembly refresh and cleaning