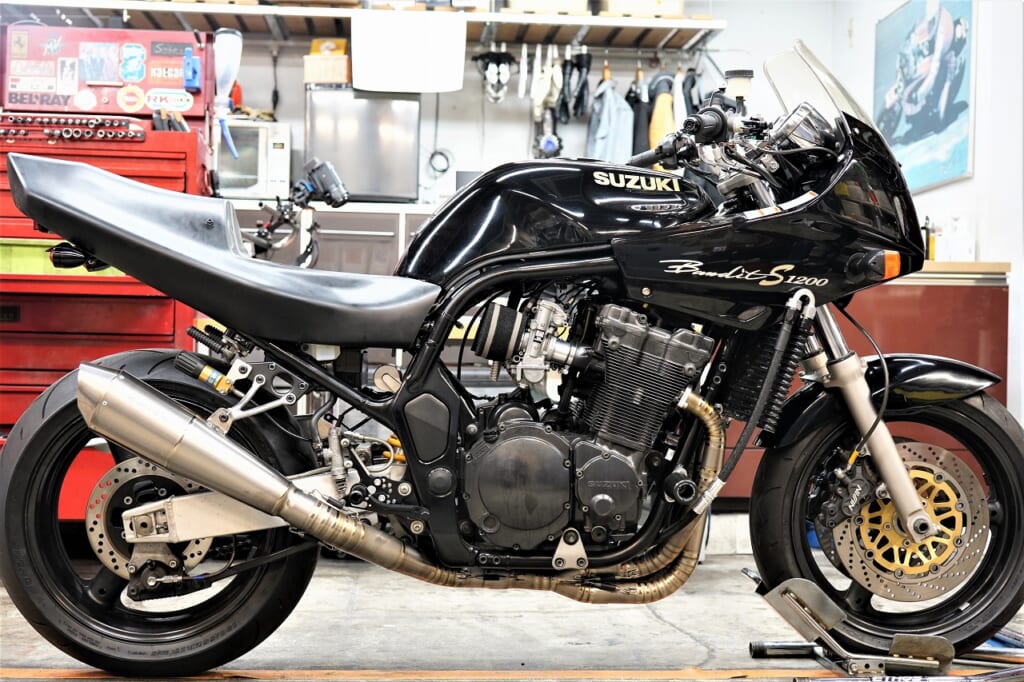
We’ve attached everything we needed to attach, and we also passed the preliminary inspection today, so it’s complete! (‘ω’)ノ
We apologize for the long wait and here’s our work report.
We receive inquiries and custom requests after people see articles like this, but…
*Just so you know, Decoboco does not perform any customization or fabrication work.
Please take customization requests to a custom shop and fabrication work to a fabrication shop.
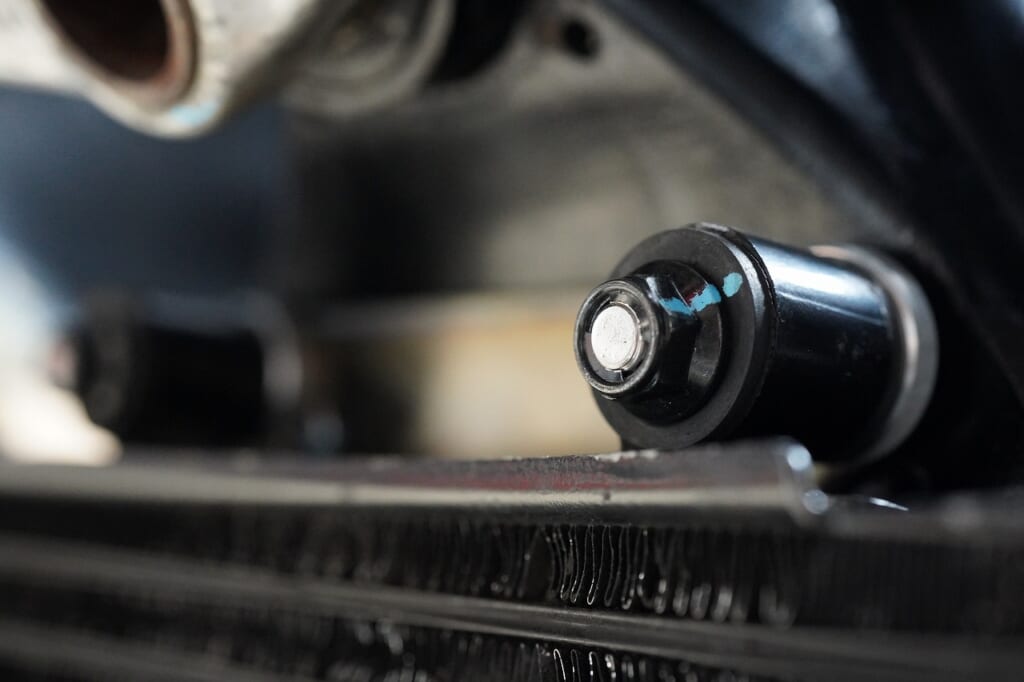
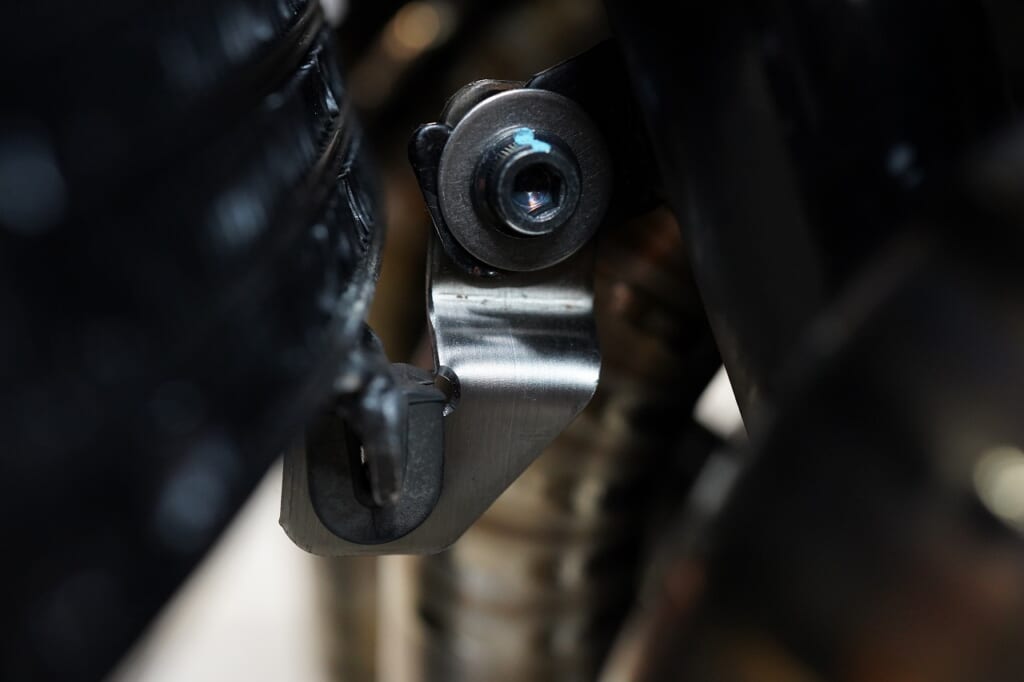
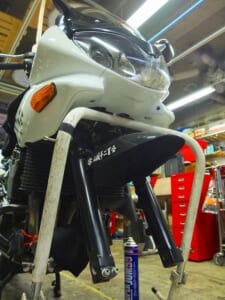
We installed the round oil cooler. We want to make the upper bracket as thin as possible. Both upper and lower are SUS304, so cracks shouldn’t form easily? Maybe.
We believe that standing the cooler upright means “air resistance = wind hits it more efficiently.”
With a bulky bracket, there are issues like fork contact, steering angle limitations, and the cooler bowing so wind doesn’t hit it efficiently, and so on…
Looking back on my past, I hope I’m making progress every day—that’s my commitment.
Also, you really must install the lower side of the oil cooler or you’ll regret it.
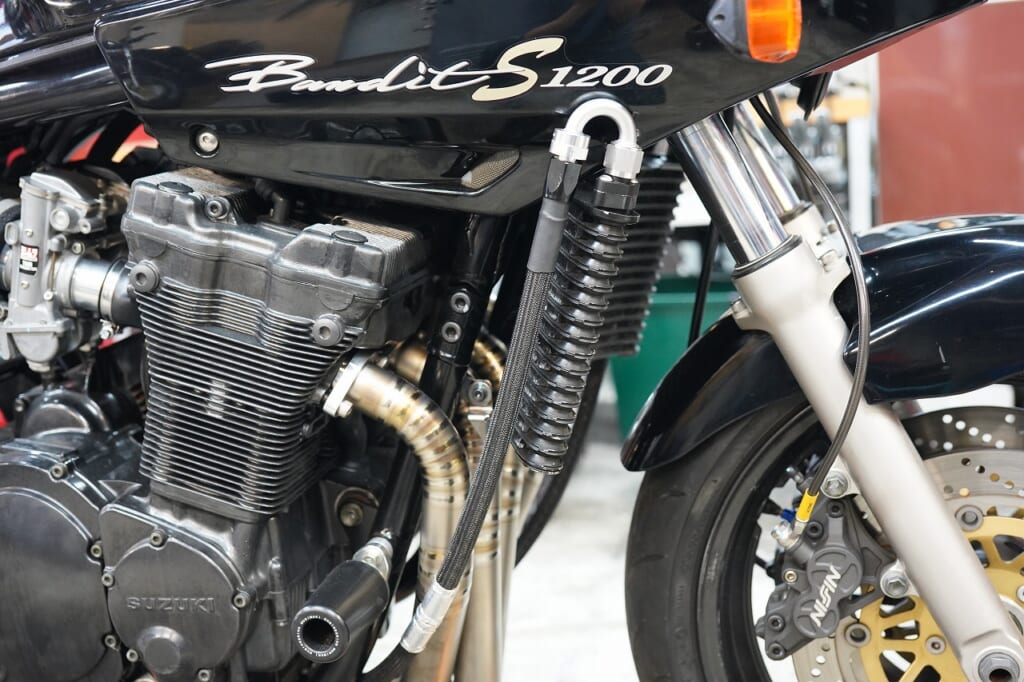
We kept the oil cooler hose layout simple.
The factory layout runs between cylinders 1-2 and 3-4, but that’s possible because it uses thin iron pipe with good distance from the exhaust pipe—with aftermarket hose it might be risky?
For oil cooler hose routing:
・Keep it as straight as possible or with gentle bends
・For tight bends, use banjo fittings or adapters
・Avoid routing through areas with severe heat
Inside the mesh hose is a rubber hose. If it melts or burns, that’s an extreme temperature, but repeated severe heat and cooling will harden it.
And if you’ve routed it poorly, problems are likely to develop there.
Motorcycle parts aren’t forever, but if you consider worst-case scenarios and route and use them carefully, they’ll last longer.
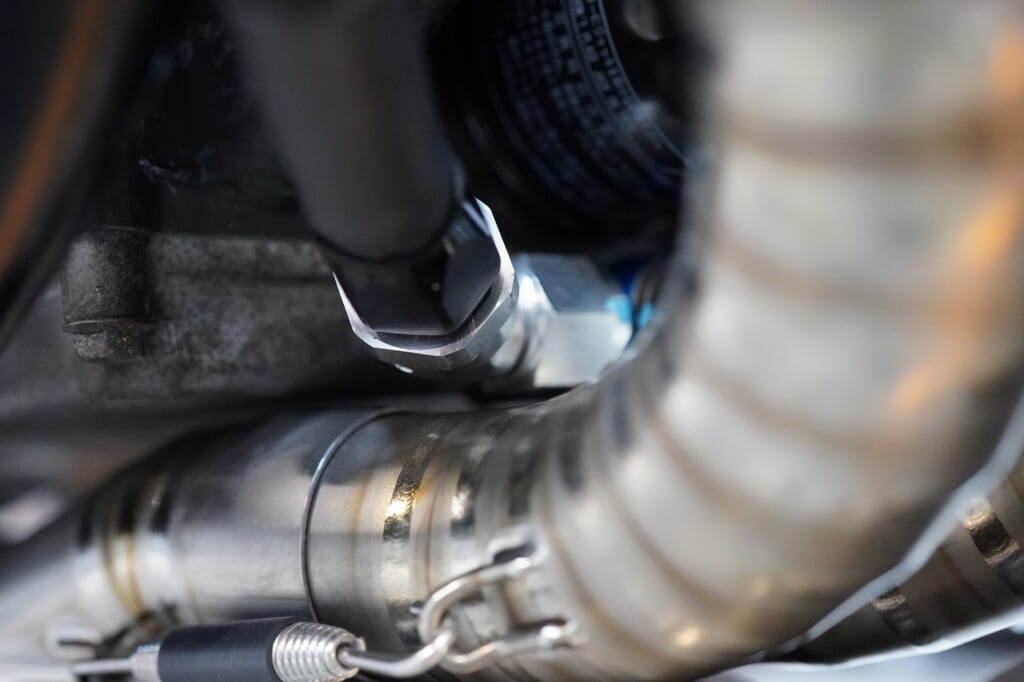
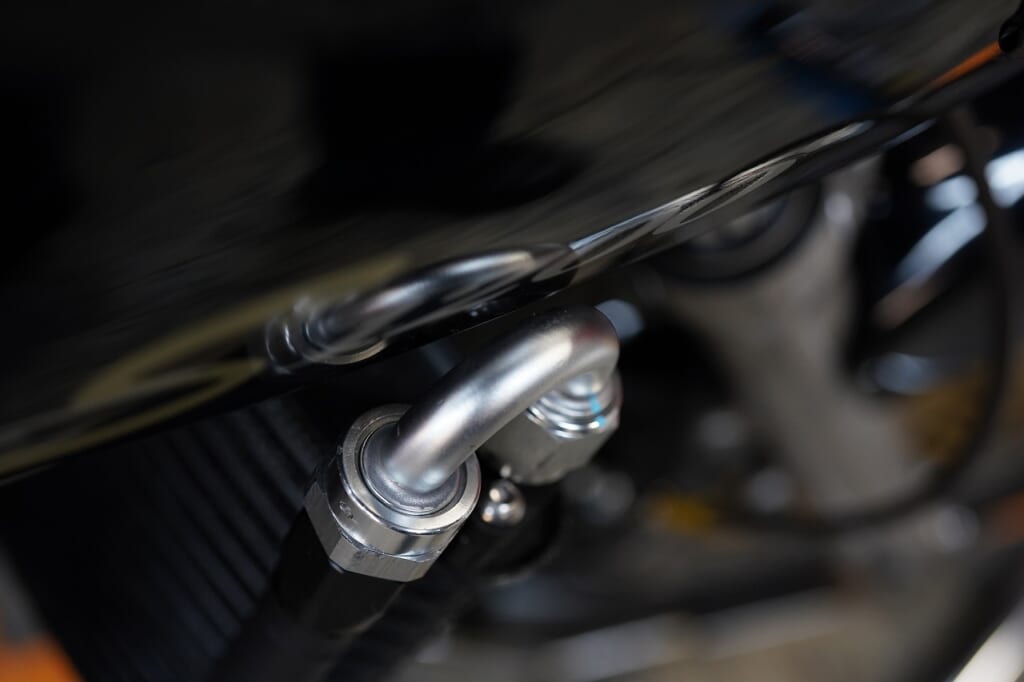
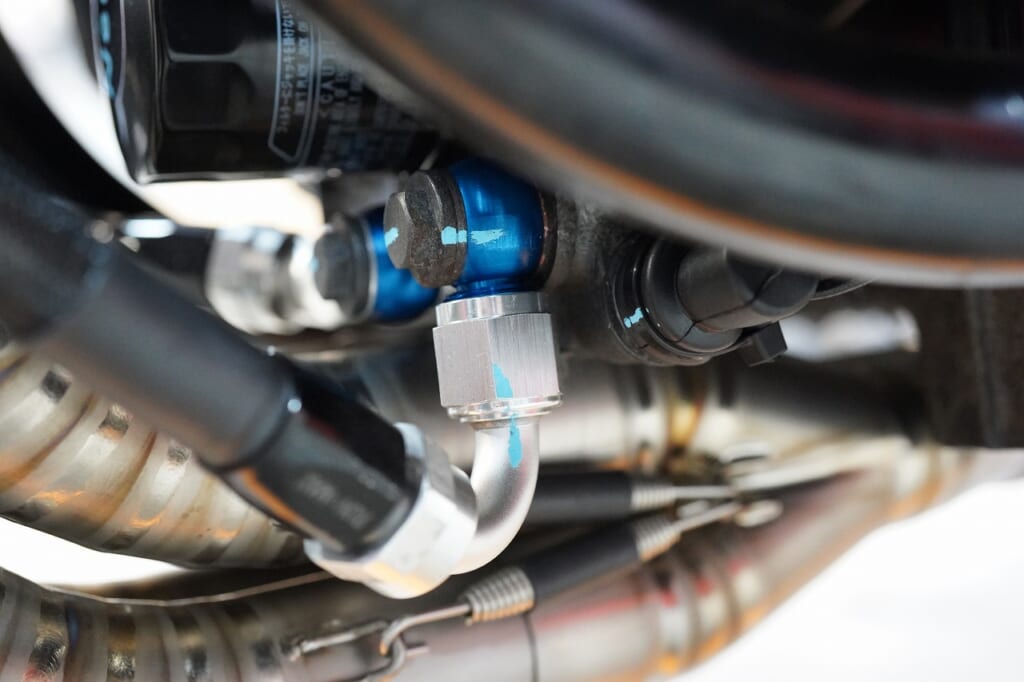
Everything is super tight. Fittings are all about test-fitting…
I messed up 2-3 fittings with slightly different angles (no returns). ( ;∀;)
I just want to avoid putting any stress on the hose.
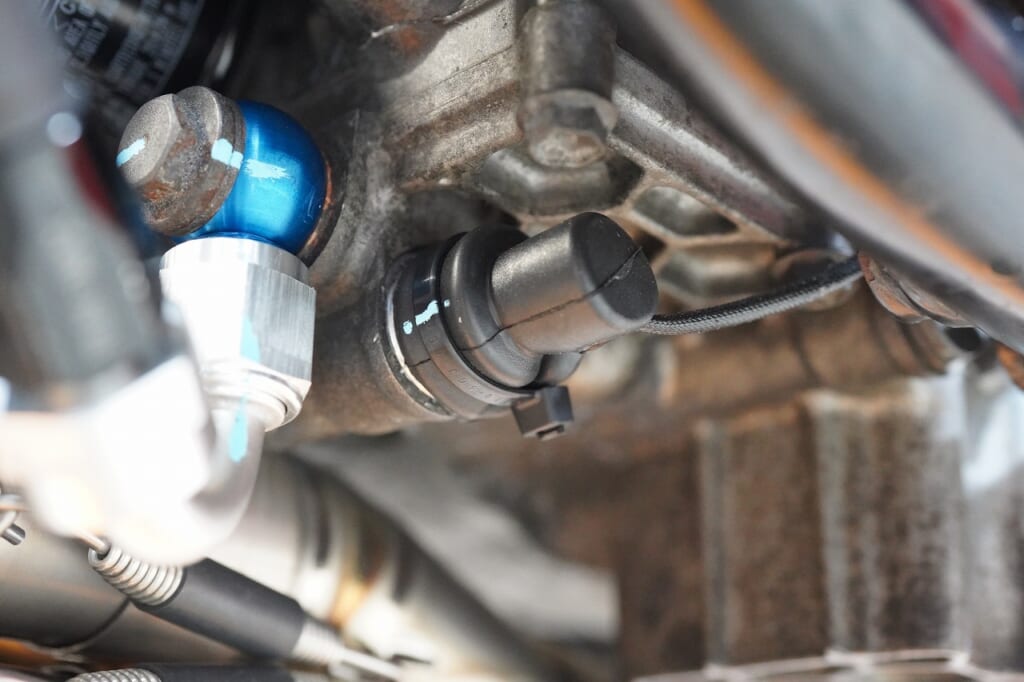
We got the digital temp sensor from the oil pan’s designated hole.
With the sensor cover on, the anodize should stay nice and red.
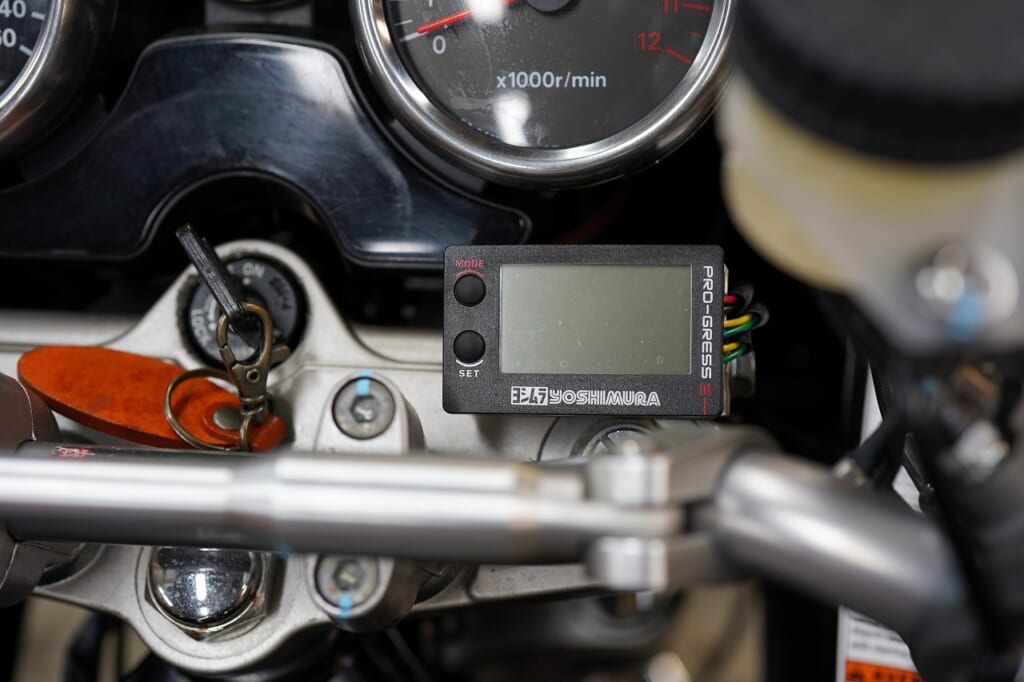
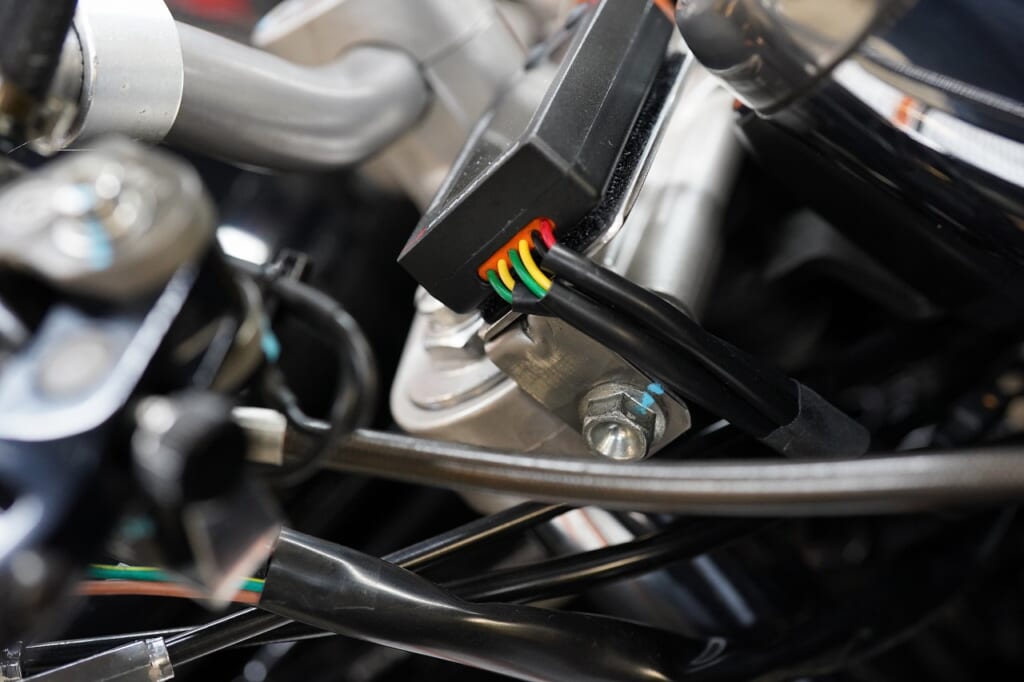
We mounted the digital temp gauge below the meter as usual.
Ideally we’d co-tighten it with the handlebar clamp, but…
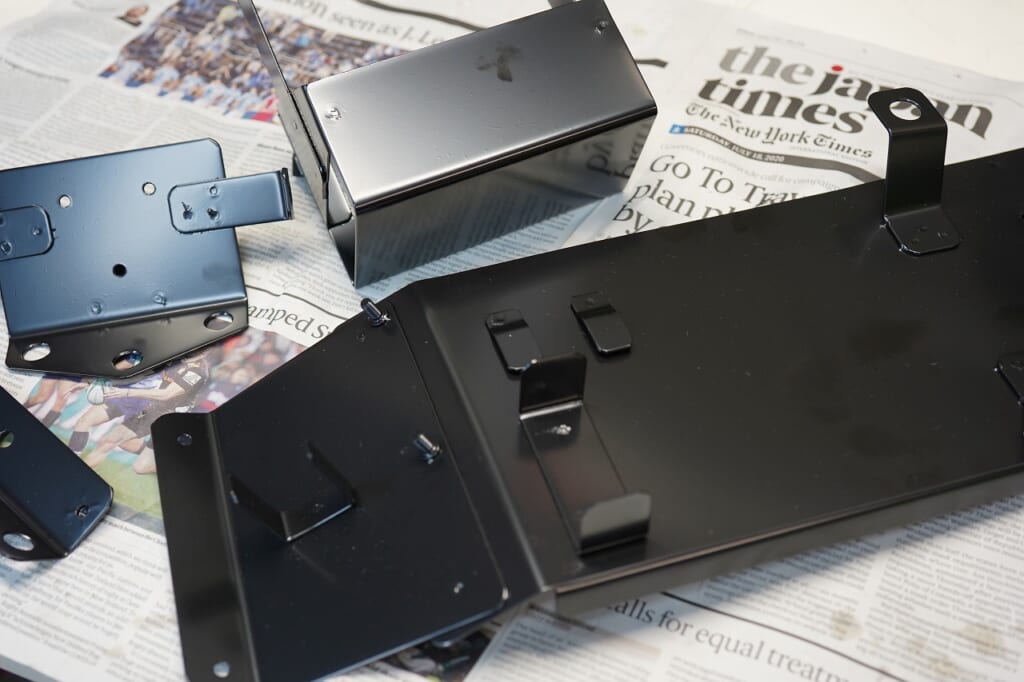
It came back from the painter that some expert recommended!
Incredibly fast! About 2 days?—what an amazing fact…
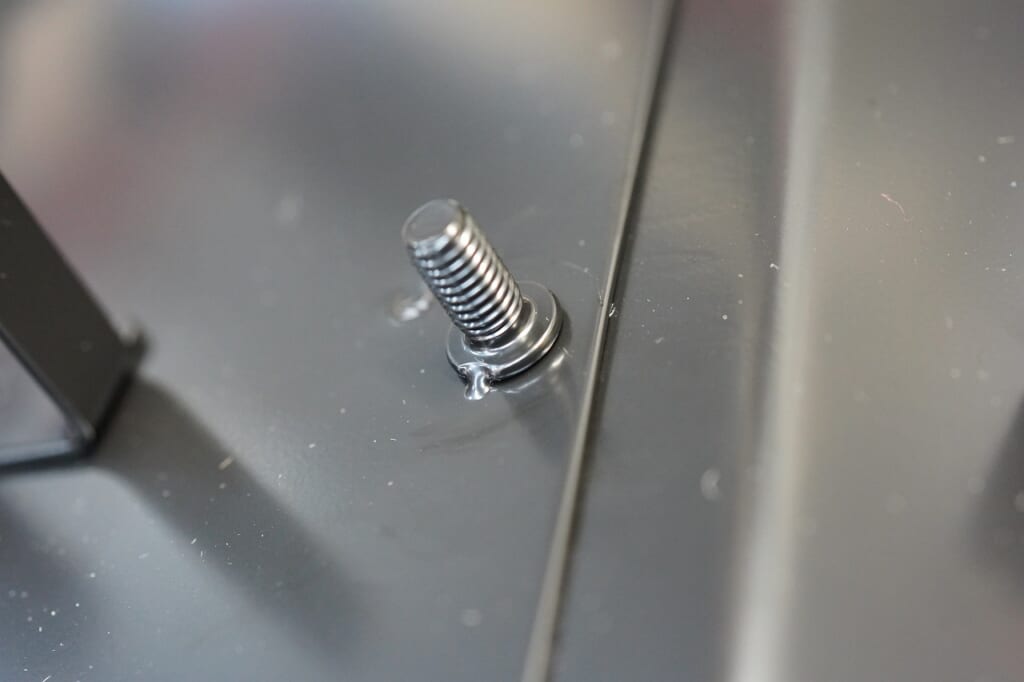
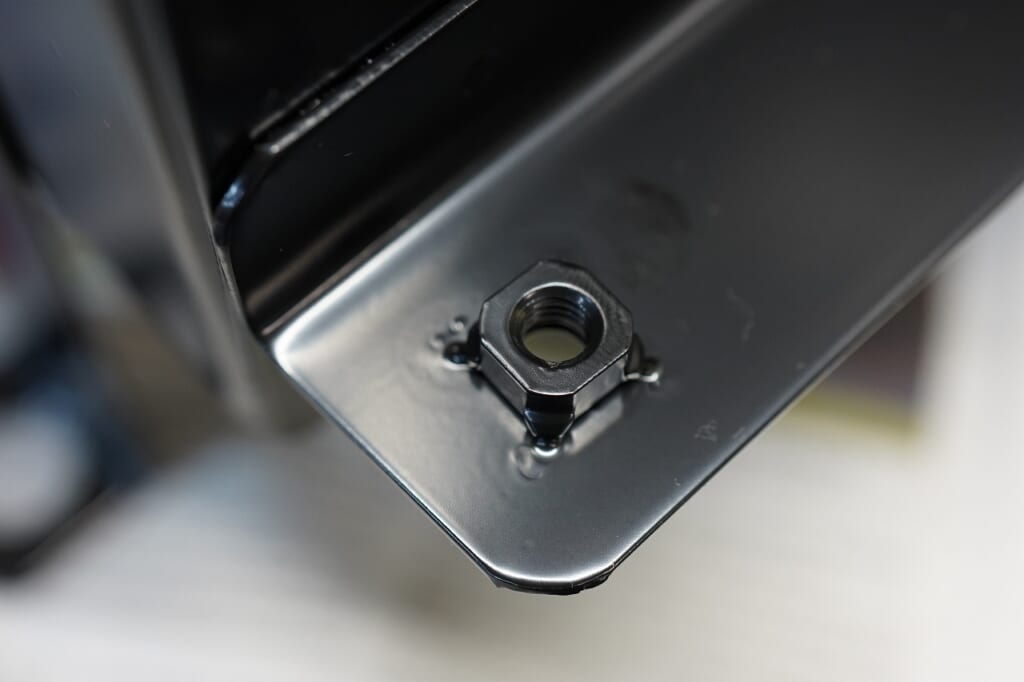
Since this was a new area for us, we deliberately asked for no masking this time.
If it doesn’t work out, we can tap and die it.
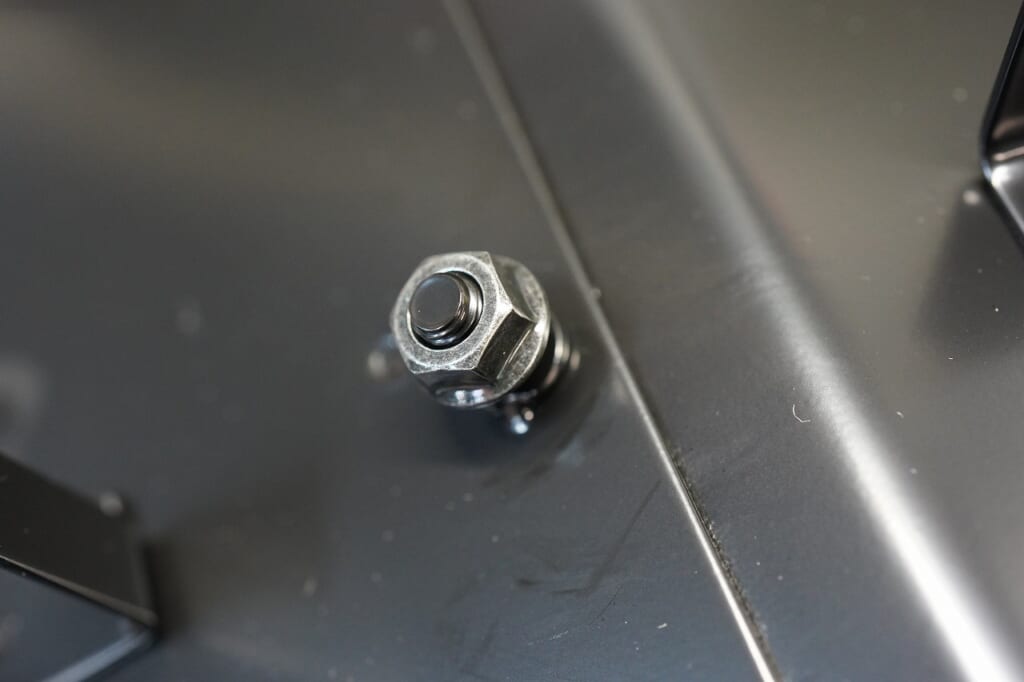
It went in smoothly! (‘ω’)ノ
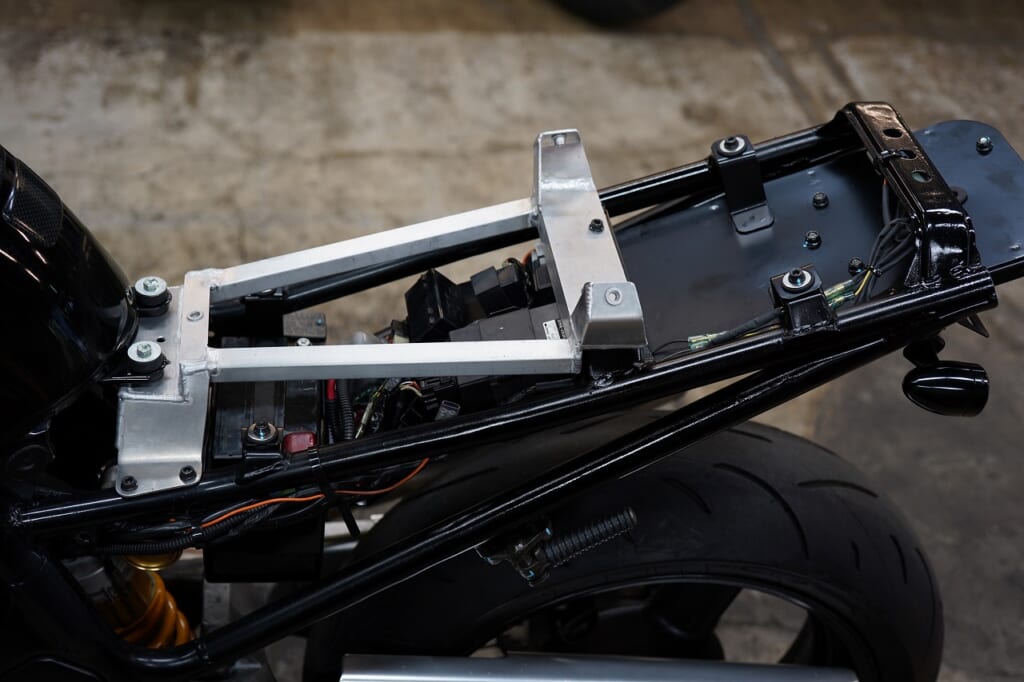
It’s finished like this.
We discovered recently that adding a small storage box would be a pain, so we finished it as-is.
Everything is floating-mounted, so we built it with the “vibration = longevity” principle.
With rigid-mounted aluminum fenderless pieces, they get old and crack, so there’s definitely a feeling of “replace it when the time comes.”
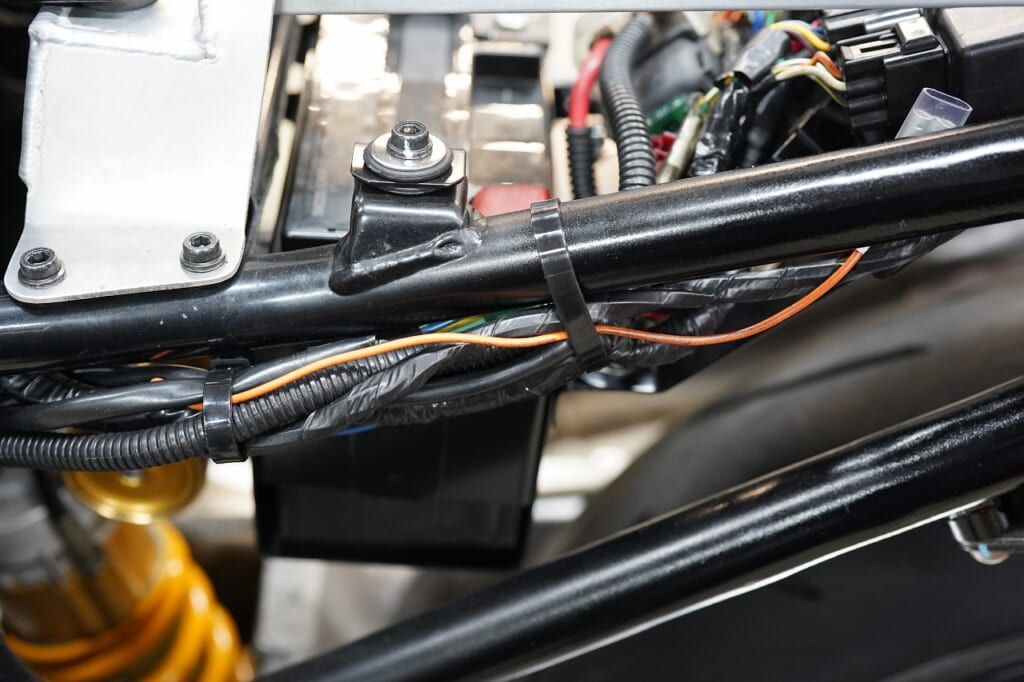
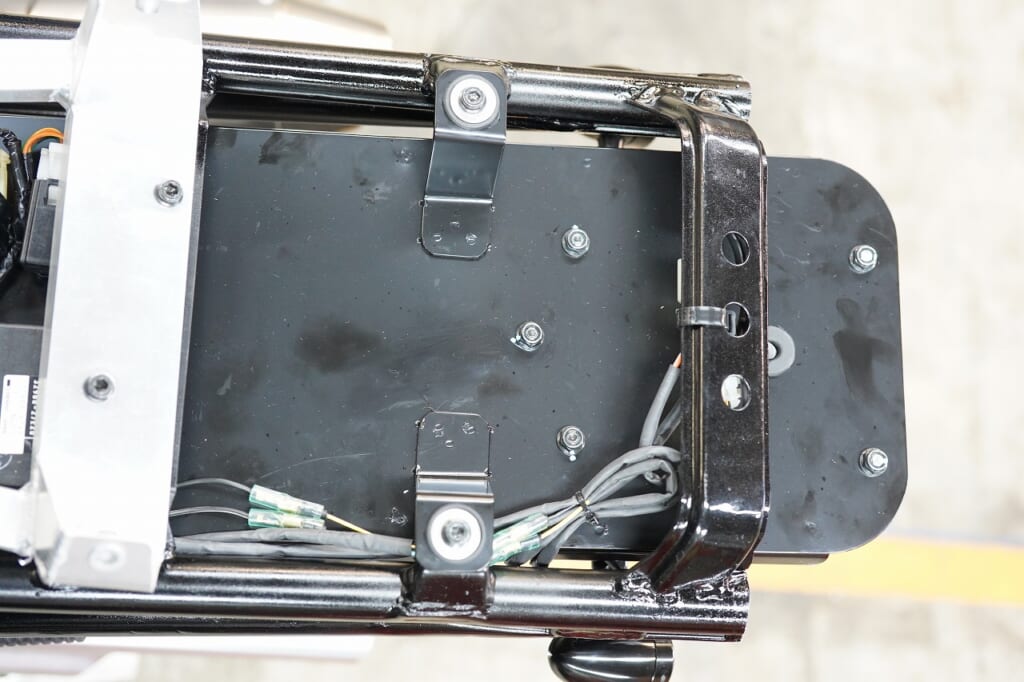
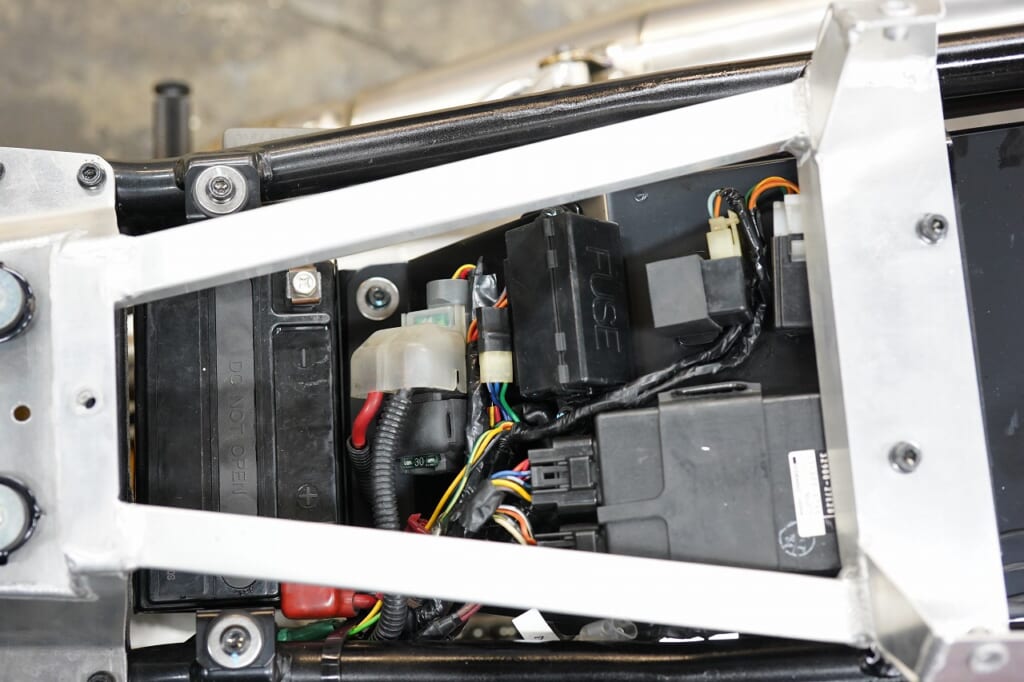
We kept it as simple as possible so it’s not a hassle. (Easier later?)
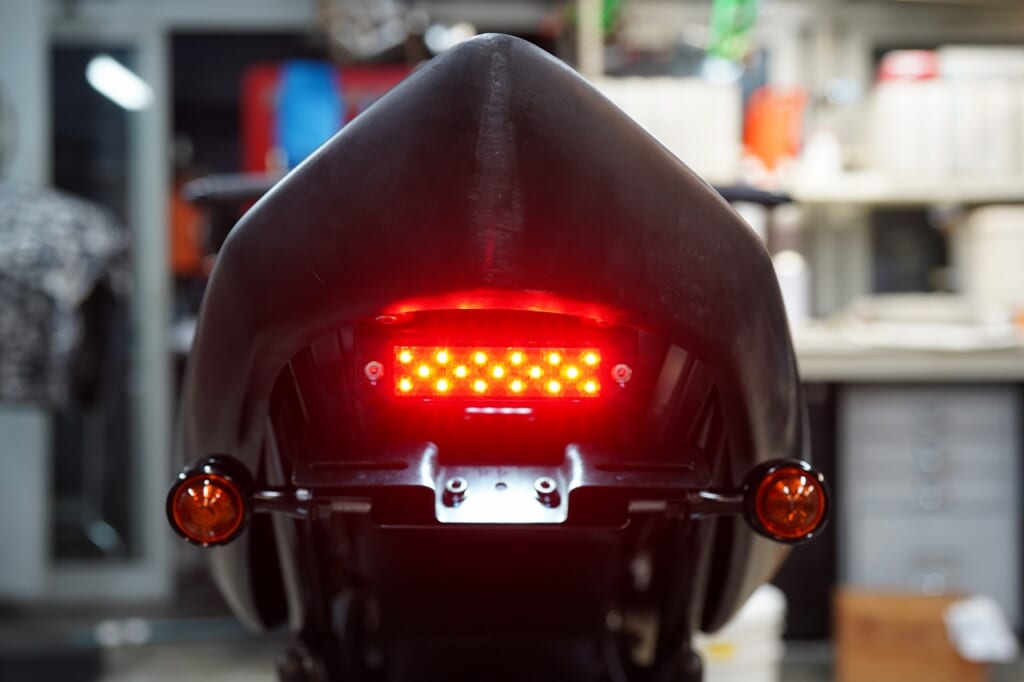
I really like how it looks from the back.
Hmm? Sketchy…
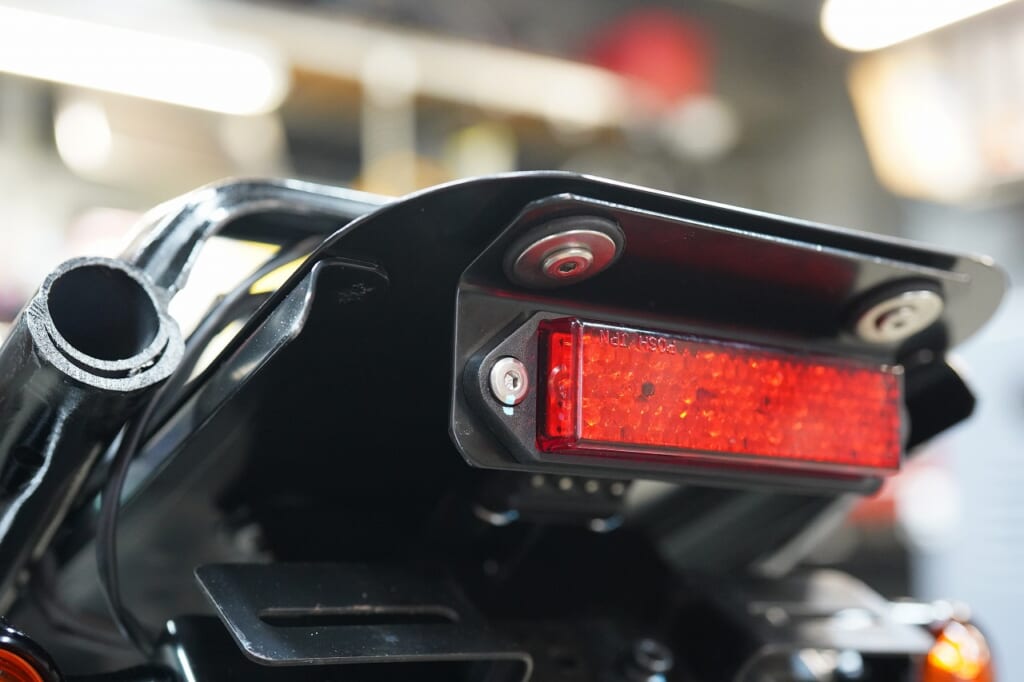
The tail lens is also vibration-mounted for longevity.
The tail lens is a classic. POSH (POSH) Paste LED tail lamp universal YZF type red 090050-90
Every time I look at it… that reliable rectangle.
Oh… there’s also a no-hole adhesive version, but ideally…
Same with turn signals and such—if you don’t make them removable, taking them off later is a hassle = labor costs go up. That’s the DIY-ends-up-costing-more rule.
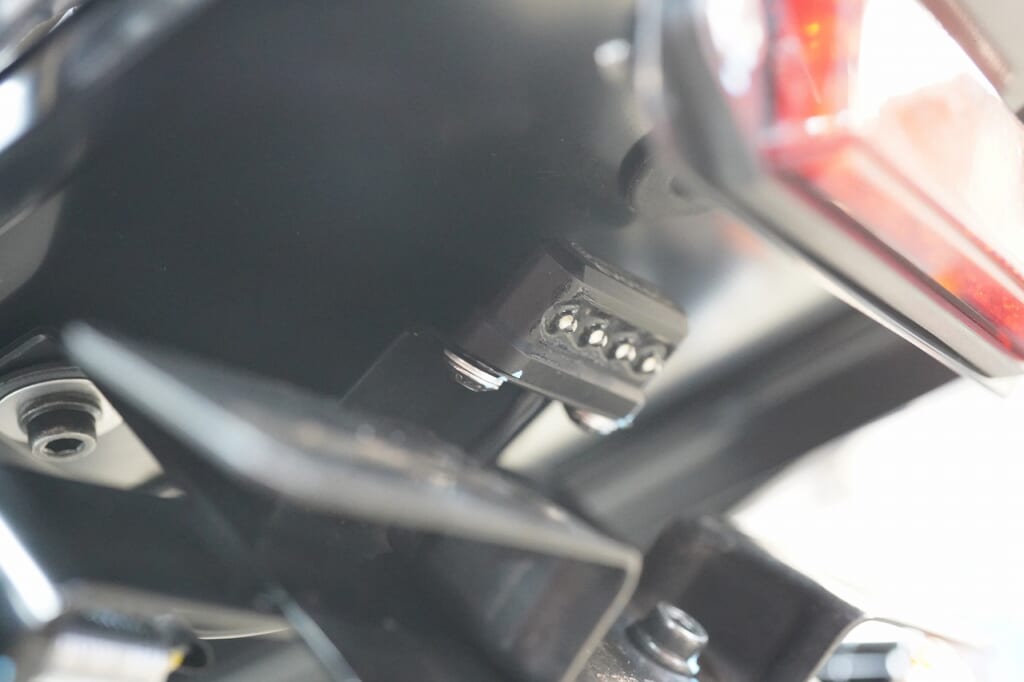
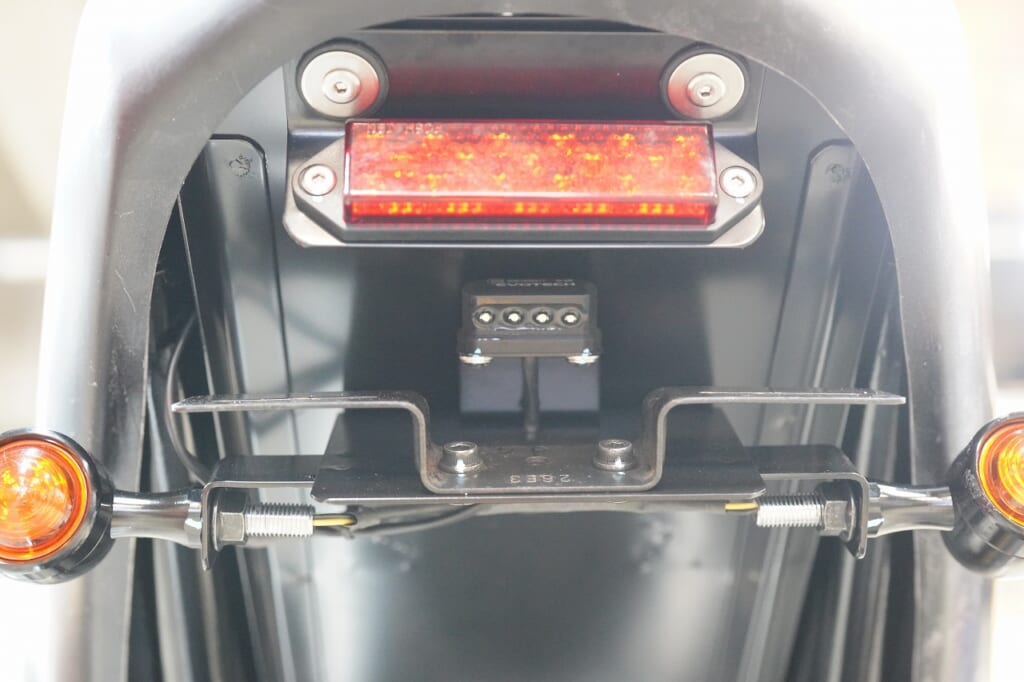
EVOTECH: License plate holder dedicated LED license light
It’s aluminum shell and very high quality. (That’s what I was told, but…)
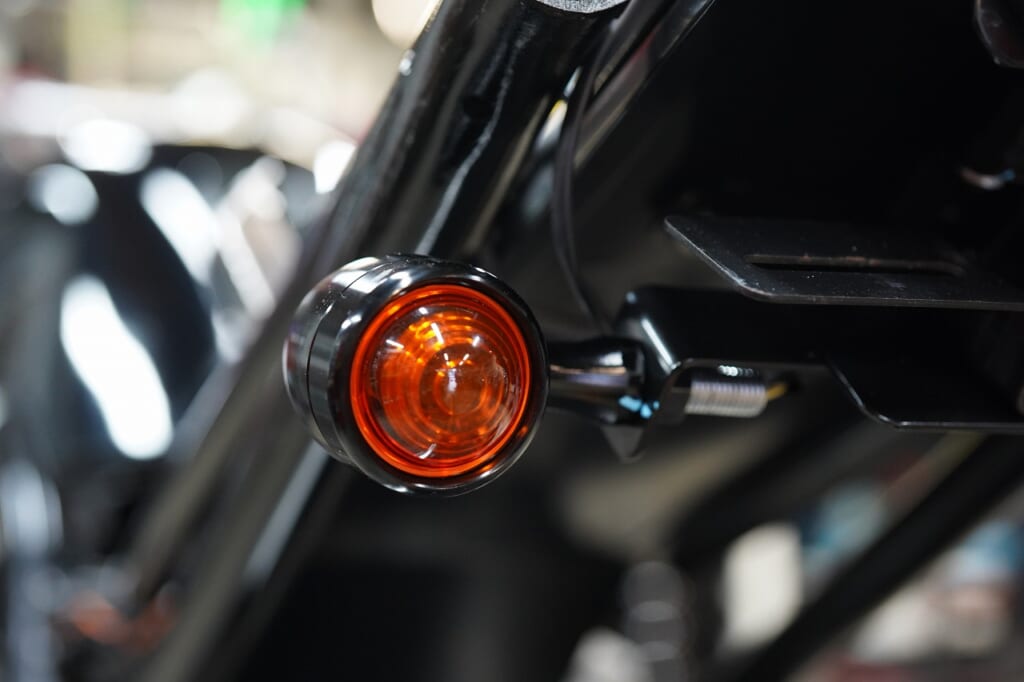
Kijima turn signals = cheap and tacky but light.
I searched Kijima’s website recently and… when did this happen… LED is now the standard.
Hmm, prices have really gone up… I feel nostalgic.
After discussing design preferences, the customer said they liked the Goose 250/350, so we chose this one.
Kijima (kijima) Starmine B4 turn signal lamp
Honestly, I didn’t have high expectations? But when it arrived and I opened it…
“Great texture!” Times have changed… and at this price, I’d say it’s a winner.
Kijima is not to be underestimated!
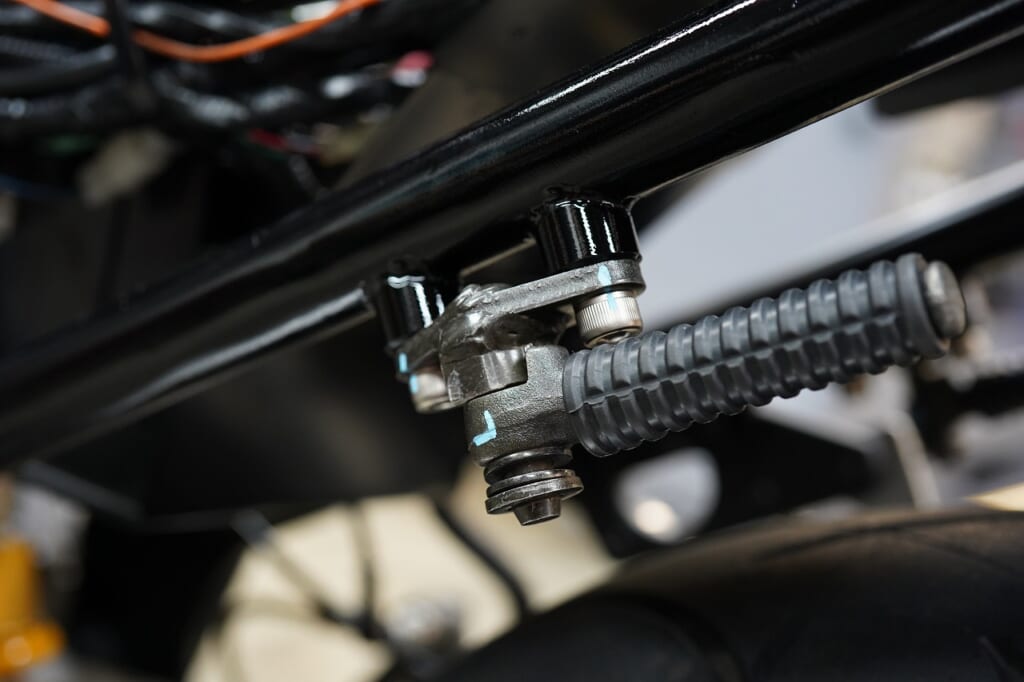
It’s a single seat, but the customer wanted passenger pegs.
Initially they brought the famous collapsible passenger pegs from the NSR250, but…
Mounting inside the seat rail caused tire contact.
Mounting outside the seat rail cut into the single seat visibility.
So we chose the famous CRM250AR passenger pegs instead.
We properly drilled the mounting boss to match the frame radius before welding.
These are also discontinued now… they’re essential for inspection work.
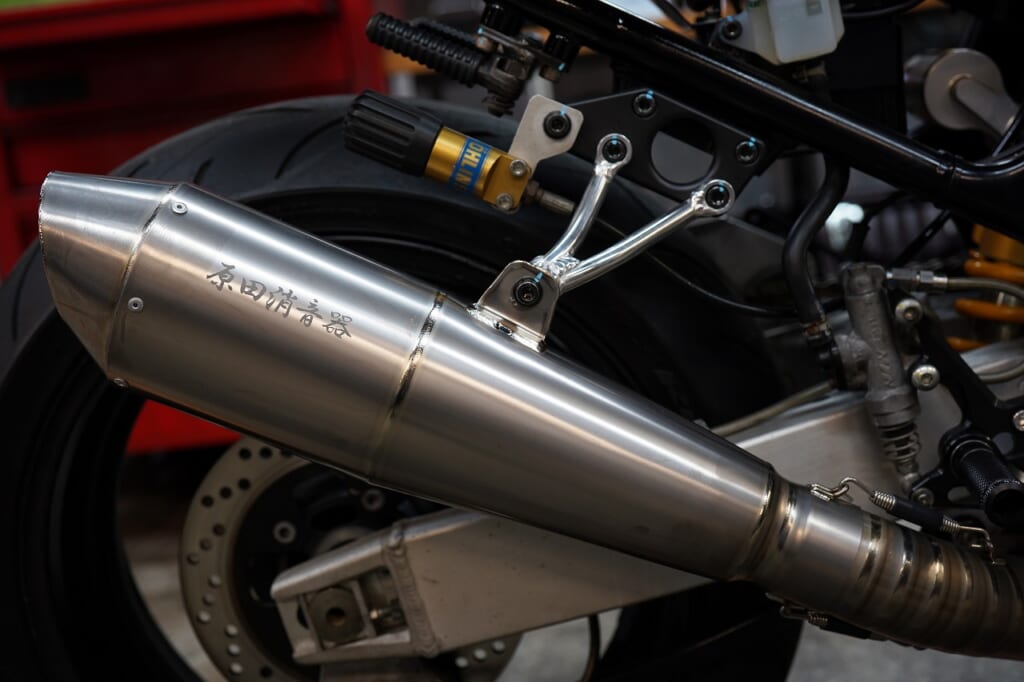
The included muffler bracket didn’t arrive, but… what’s it for?
We temporarily mounted it offset on the lower side.
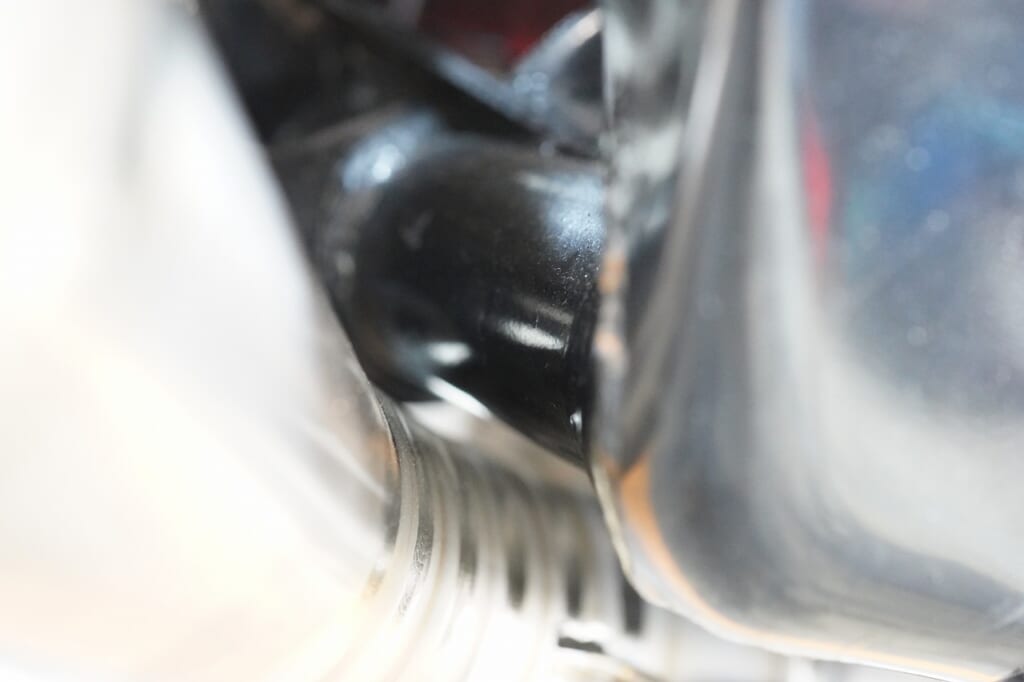
The frame is super tight—if we raise the tail pipe any higher it’ll contact. (FYI)
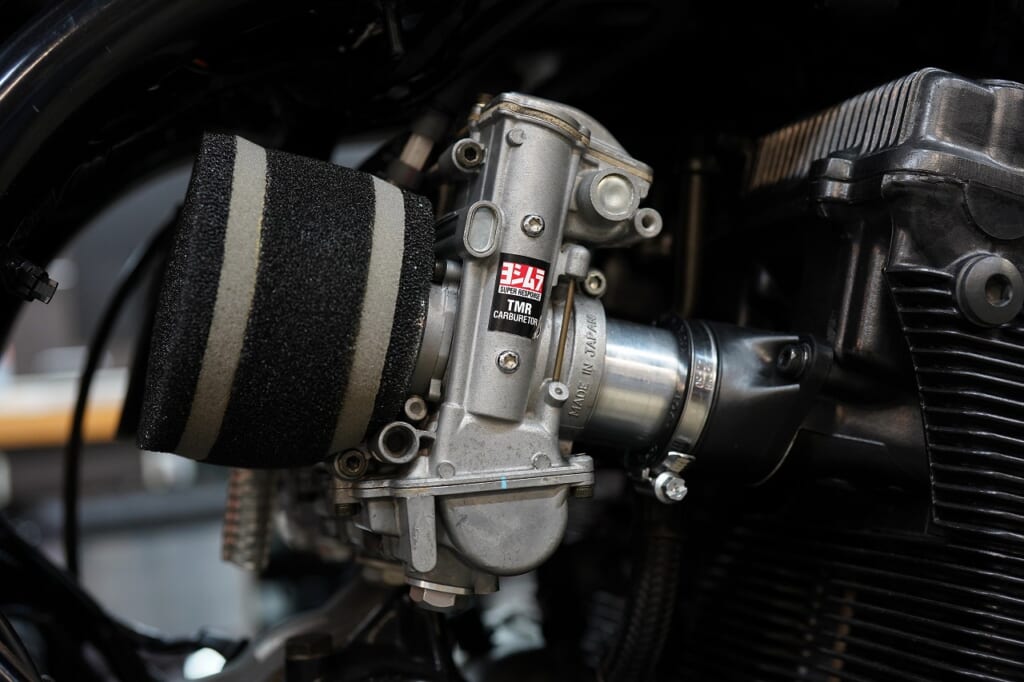
We also added a sponge filter just in case.
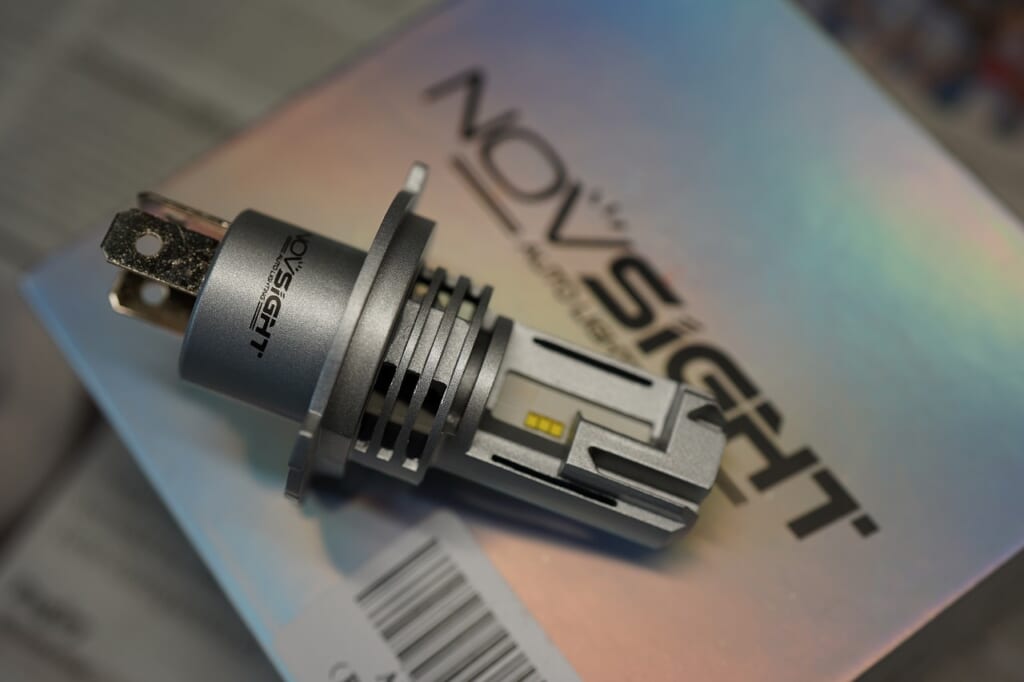
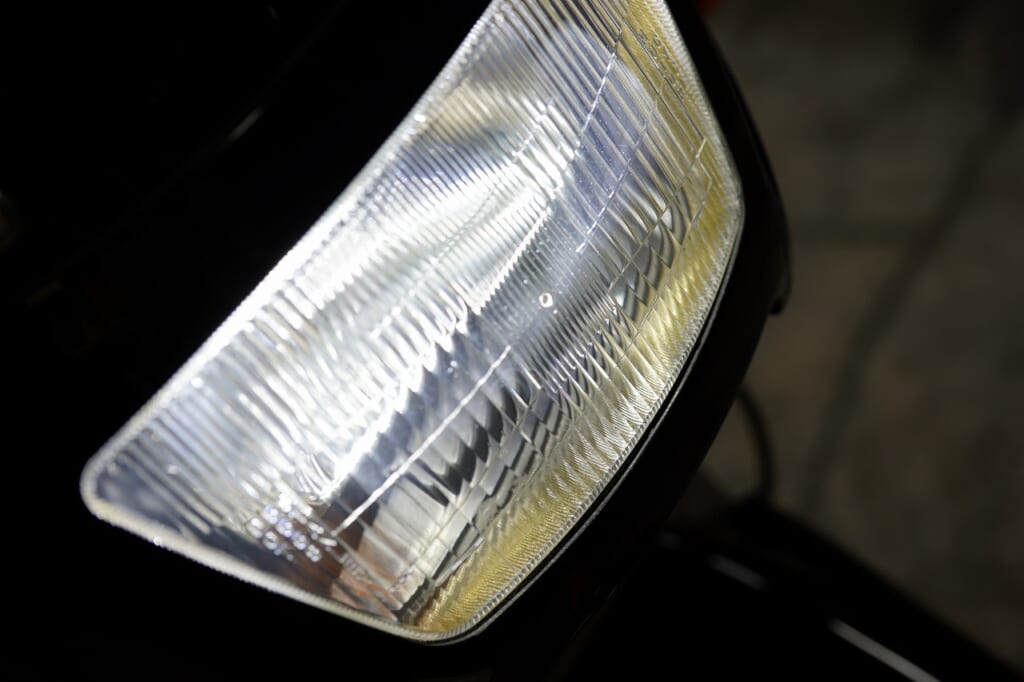
This Amazon LED headlight might be revolutionary.
We’ll cover it on YouTube later. NOVSIGHT H4 hi/lo
The customer told us about it.
The benefits are:
・Super affordable
・You can see the hi/lo height difference just like halogen
・Puts out tons of light (53000cd on the GSF1200S)—measured at the transport bureau
・One-piece design, so you swap it like a regular bulb
・No angle adjustment needed (just swap it in)
I put one in my Town Ace too.
For peace of mind on night rides, it’s all complete!
*Just so you know, Decoboco does not perform any customization or fabrication work.
Please take customization requests to a custom shop and fabrication work to a fabrication shop.