This hassle doesn’t come across at all…
Before you install it according to the instructions.
You need to get your hands on the wiring diagram for the motorcycle you’re installing it on.
Even if you find it, it’s check first, check second.
With a used bike, you never know if the frame and harness actually match up…
One careless mistake and it breaks instantly… or so I think.
To put it simply, it’s super risky. Here too, it’s check first, check second.
① Read the instructions thoroughly.
② Get the wiring diagram for your installation vehicle
③ Identify the meter wiring colors and the vehicle wiring colors
④ Wire everything so you won’t have trouble down the road, label each section with a P-touch, and organize the layout *I’m a fan of the P900W
⑤ Configure the meter’s various settings
⑥ Fabricate the meter bracket and speed sensor bracket.
That’s how it goes. The time you can’t see is longer than the time you can.
And in the end, I found the connector, but couldn’t find the terminals, so I had to go non-OEM.
The connector manufacturer’s explanation is also incredibly vague and frustrating (*^-^*)
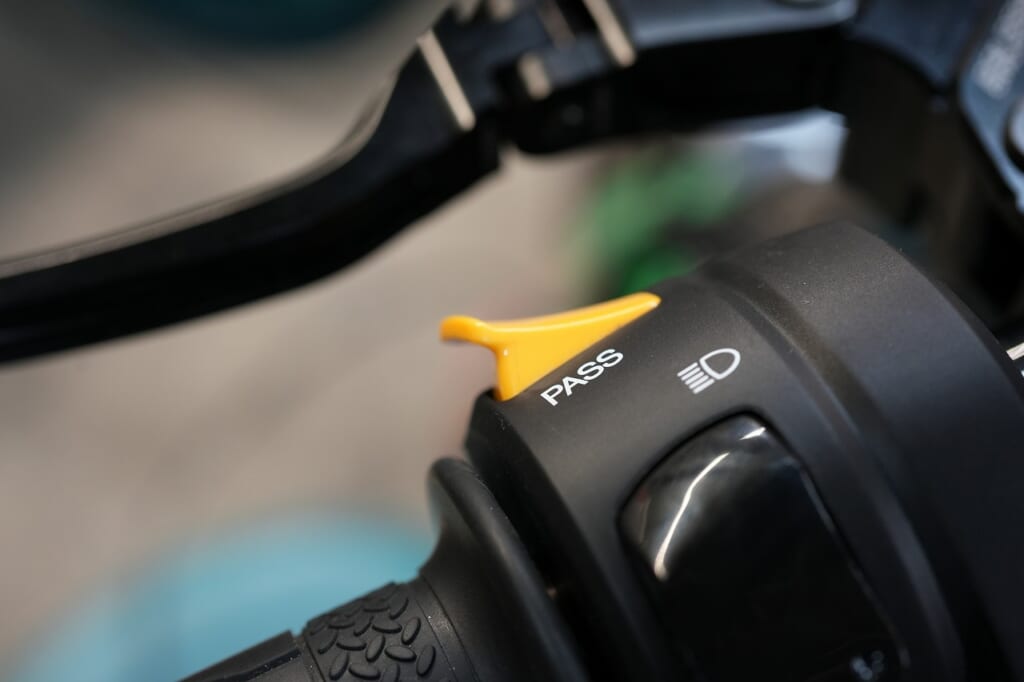
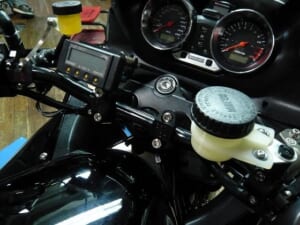
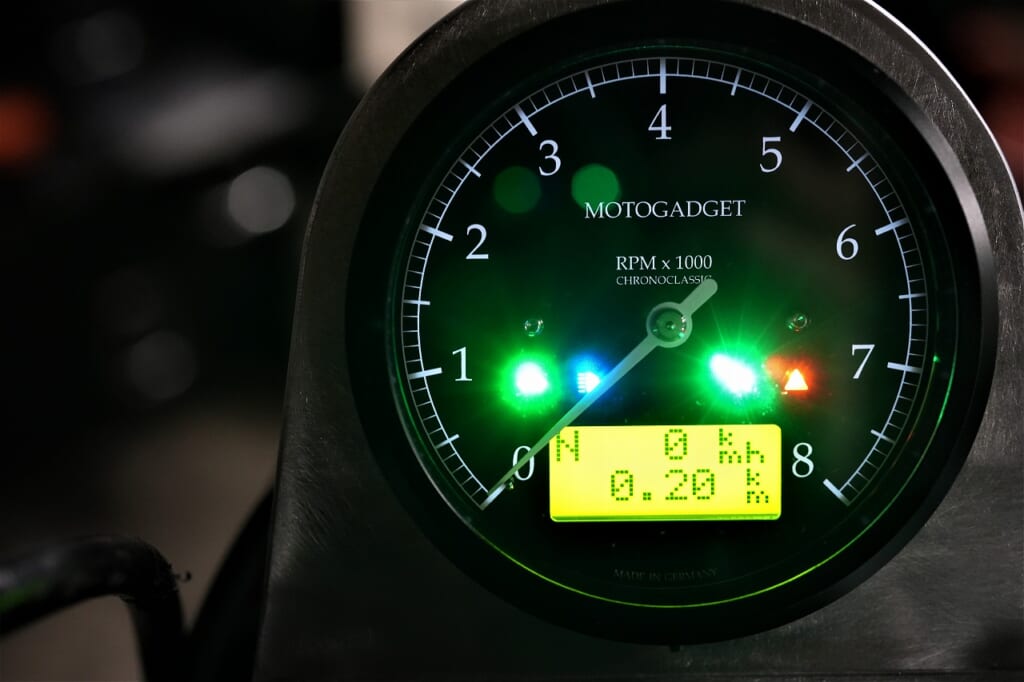
STACK and Motogadget meters come with a ground-drop setting switch.
Ideally, you’d rather not install it to keep things clean.
The STACK ST700 series has a convenient rotary switch, so that’s not an option.
I recommend modifying the PASS wiring to make it a setting switch.
One finger at a red light.
Or wouldn’t it be nice to adjust settings with one finger while riding?
Voltage display, temperature display, odometer display…
I think it’s wonderful when aftermarket parts don’t just sit there but are actually functional.
There’s actually a ton of invisible work involved…