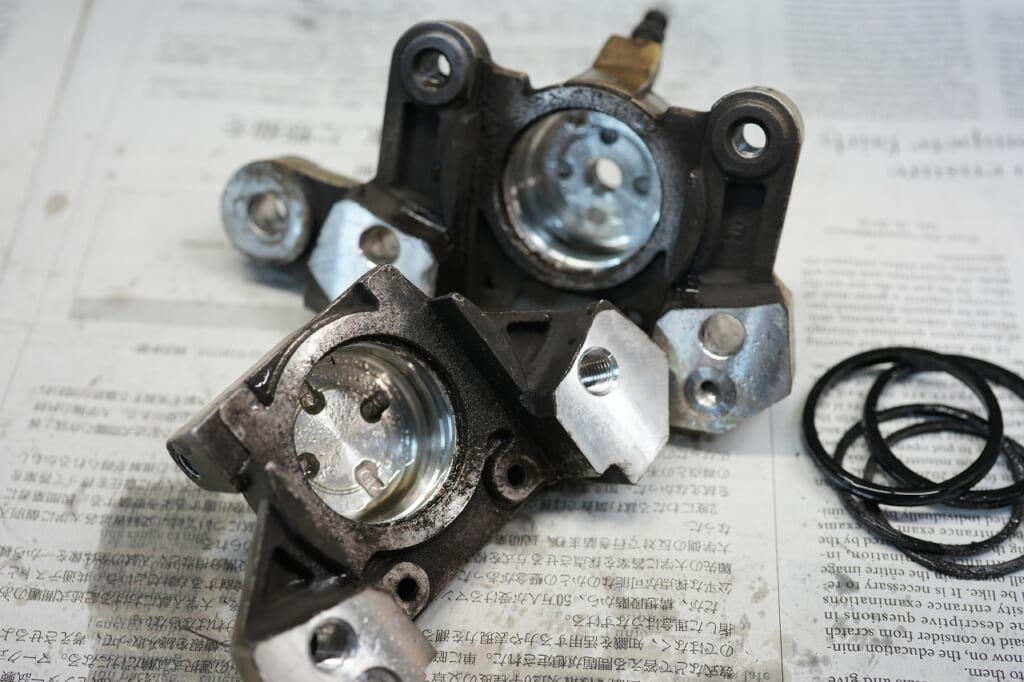
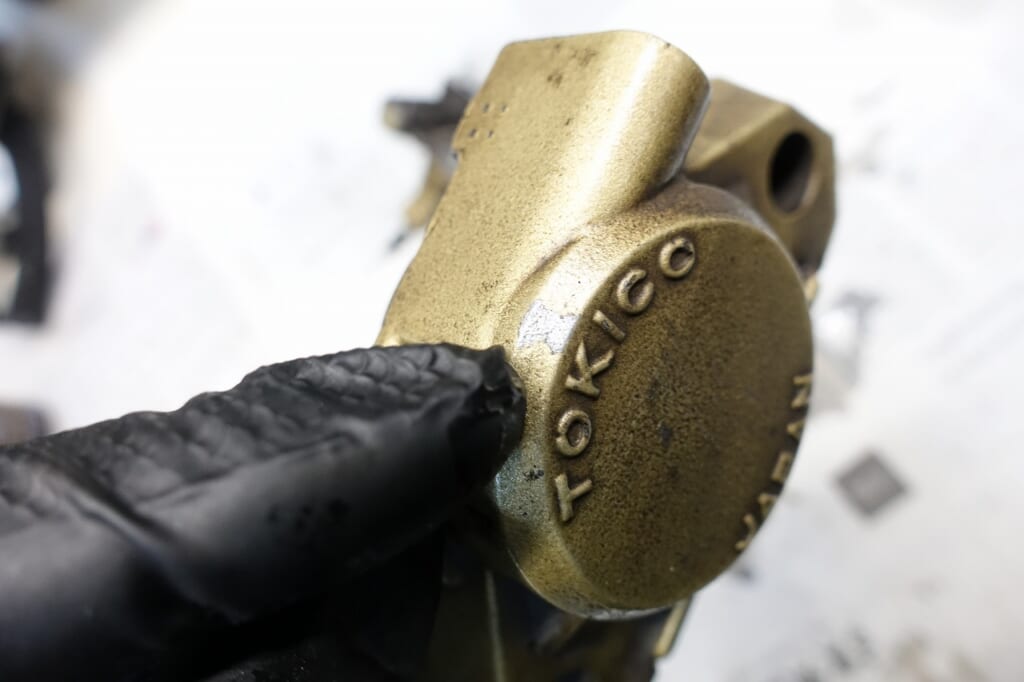
We’ll swap in an aluminum piston while we’re doing the Tokico rear caliper OH.
38mm aluminum piston Kawasaki OEM 43048-0006
Using OEM parts from other models is always at your own risk ( ゚Д゚)


 ポチップ
ポチップ
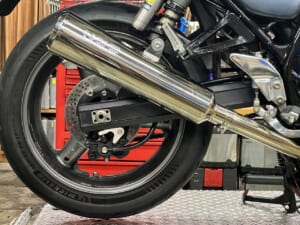
After switching to 220mm, it touches the wheel in one spot.
Just one spot on the wheel… that’s what cast iron is like, I guess?
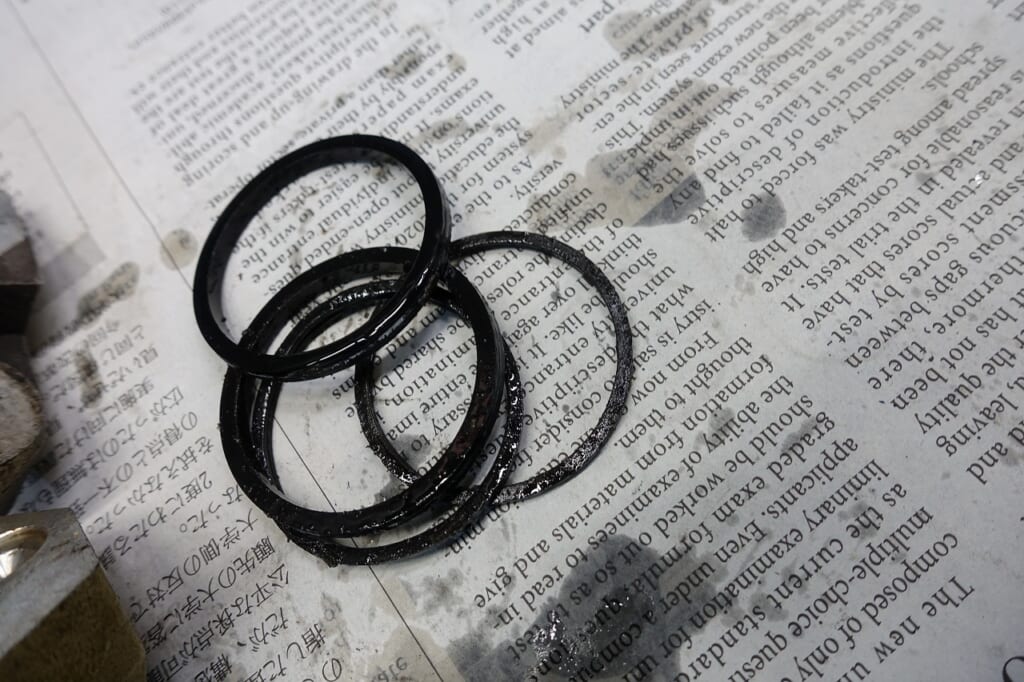
Caliper seals are ultimately just rubber.
The caliper piston action was stiff, so I spent time working it loose…
but it’s better to just do a full caliper OH and replace the seals—it’s superior both time-wise and functionally.
When it gets old, replace it. That’s the fate of rubber.
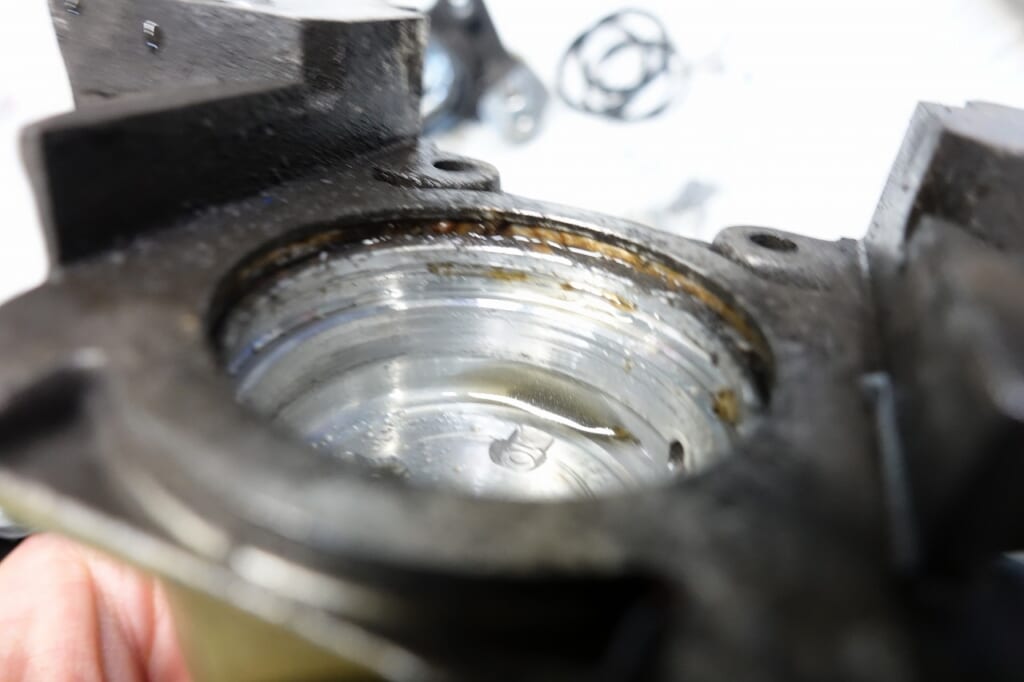
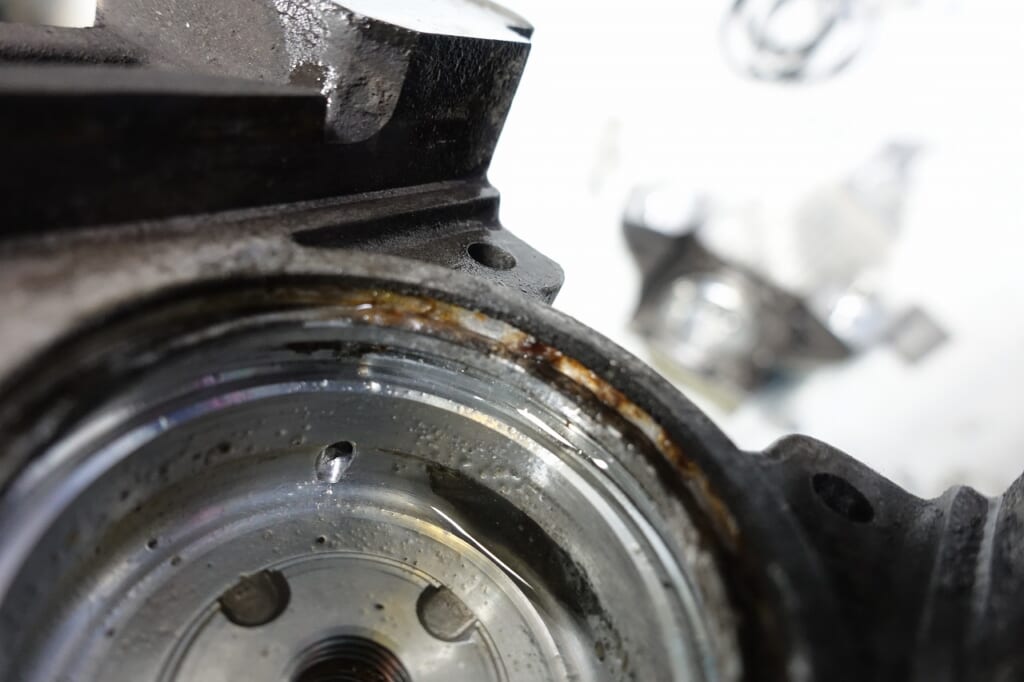
The condition was in pretty good shape.
Even if you look at this and think it’s dirty, it’s the same Suzuki Tokico, and on a vehicle that’s been around for over 10 years, it would be much more corroded and the piston action would be extremely stiff.
It’s good to factor into your future plans whether to replace the caliper entirely or do an OH.
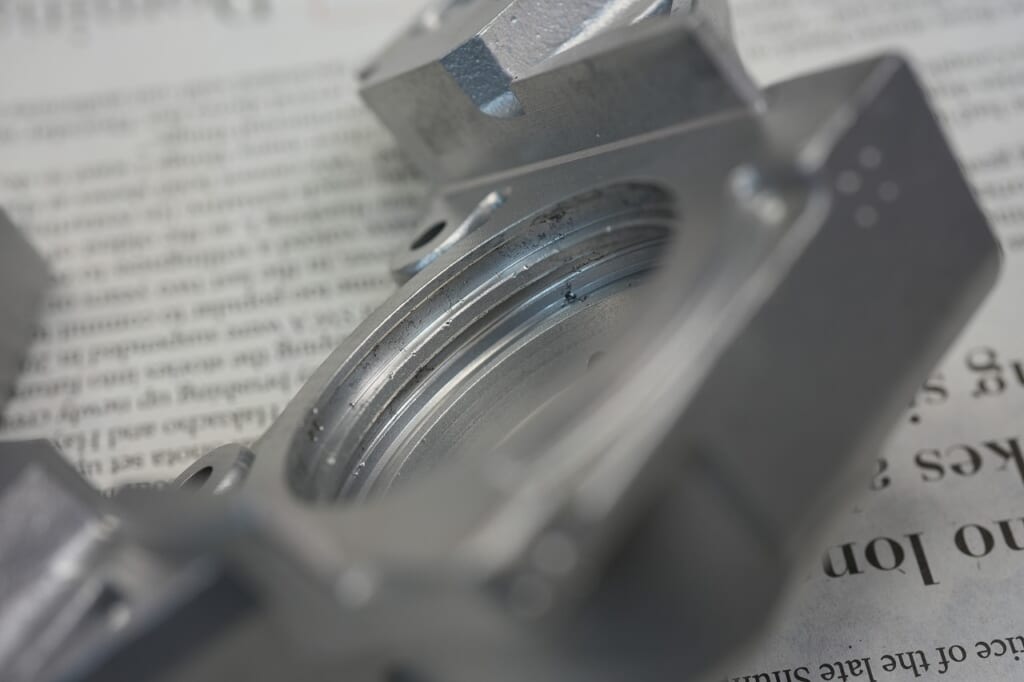
We cleaned it up with wet blasting.
When you polish with shot, it gets a matte finish and seems less prone to corrosion.
In other words, good condition lasts longer.
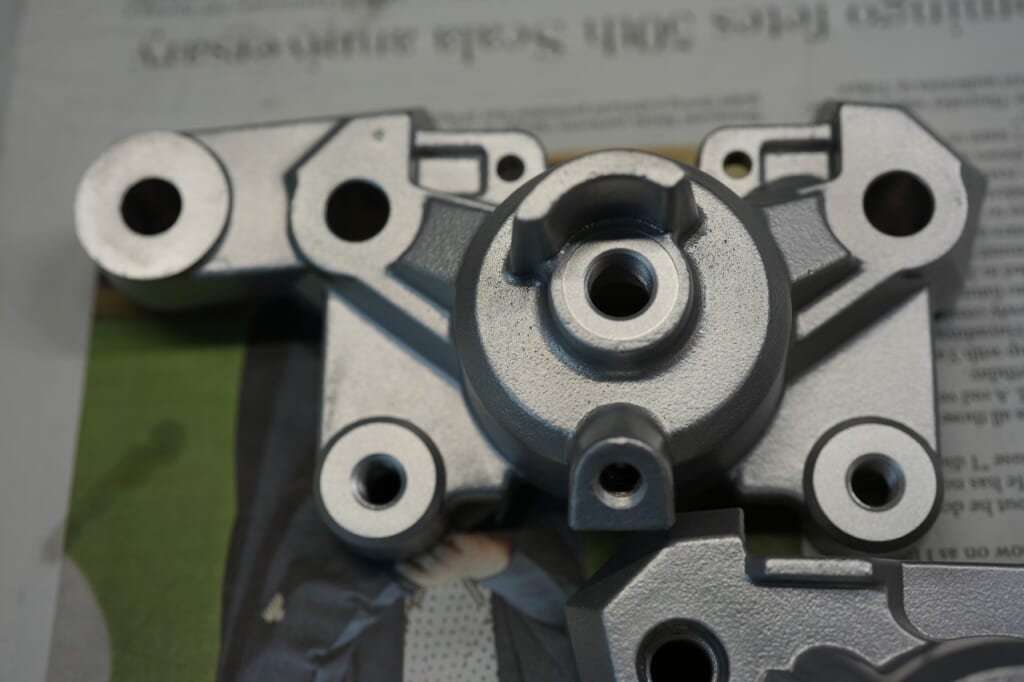
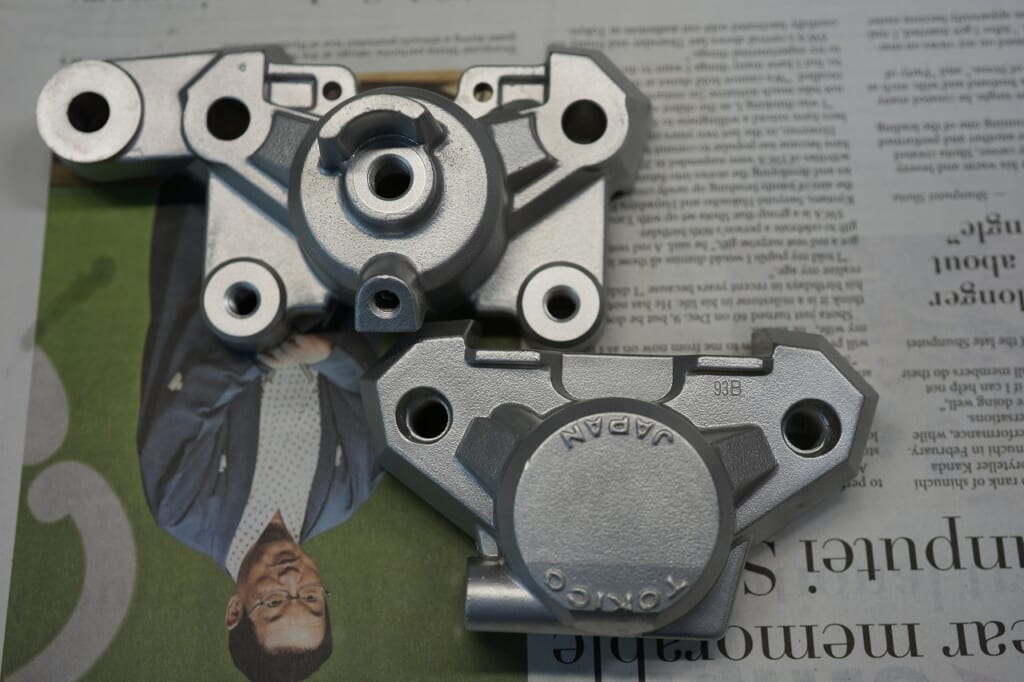
I don’t have any attachment to the gold color, so I’ll use it with a wet blast finish.
No need for painting—easy! (‘ω’)ノ
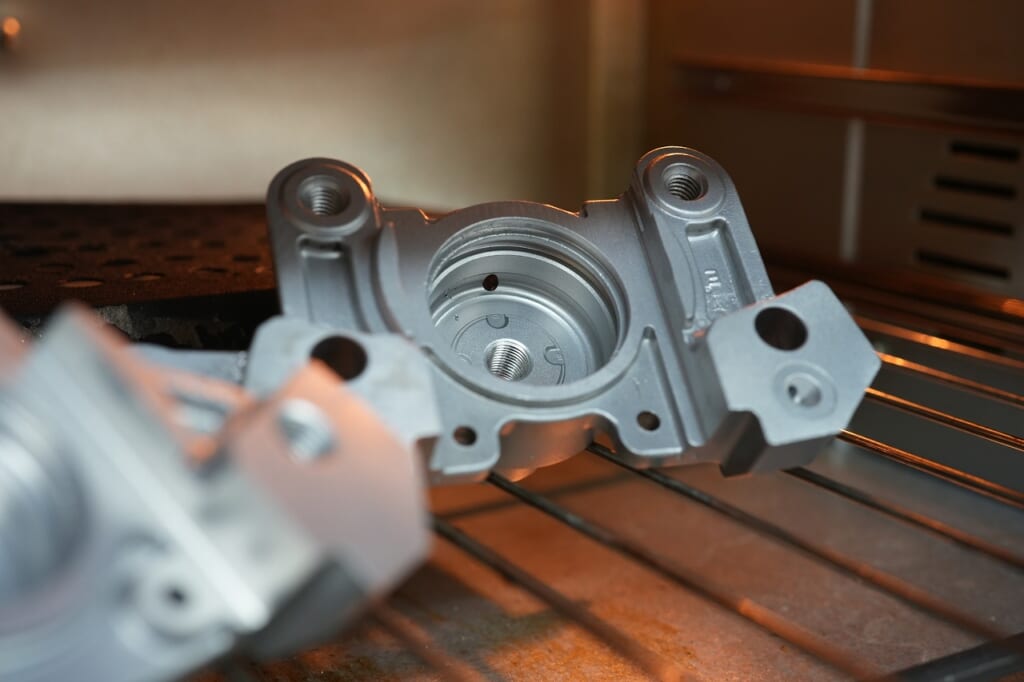
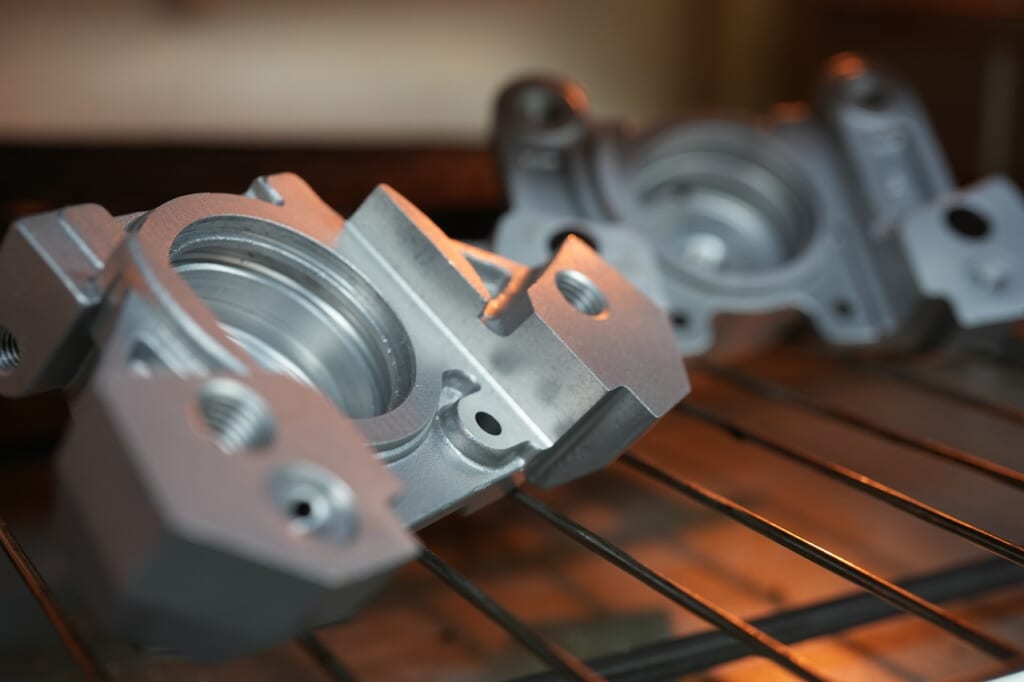
After air blowing, we’ll dry it thoroughly in an oven and prep it.
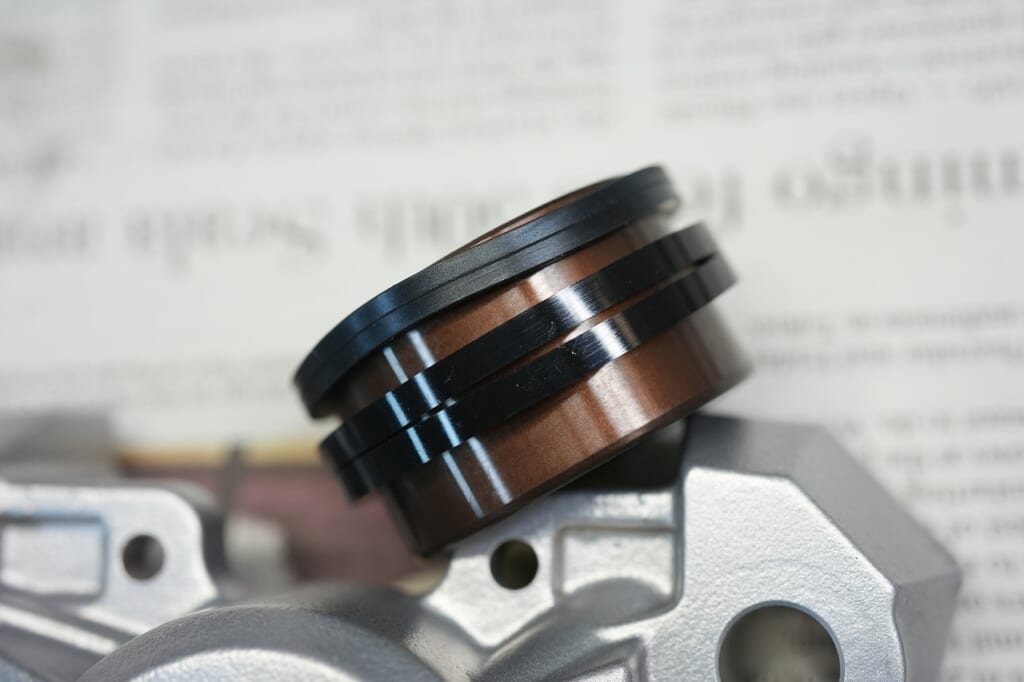
38mm aluminum piston Kawasaki OEM 43048-0006will be used.
I think the GSXR1000K1-K2 might use the same one, but I have a feeling it’s discontinued?
It’s good to carefully inspect the seals and such.
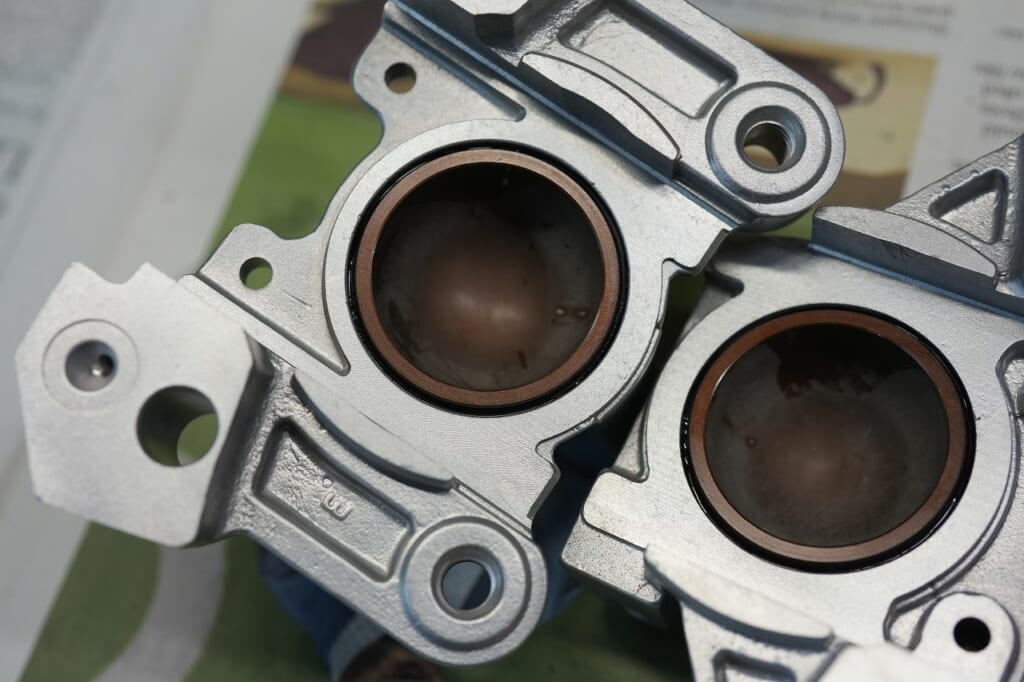
The aluminum piston and lubrication with anodized coating slide in smoothly—very satisfying.
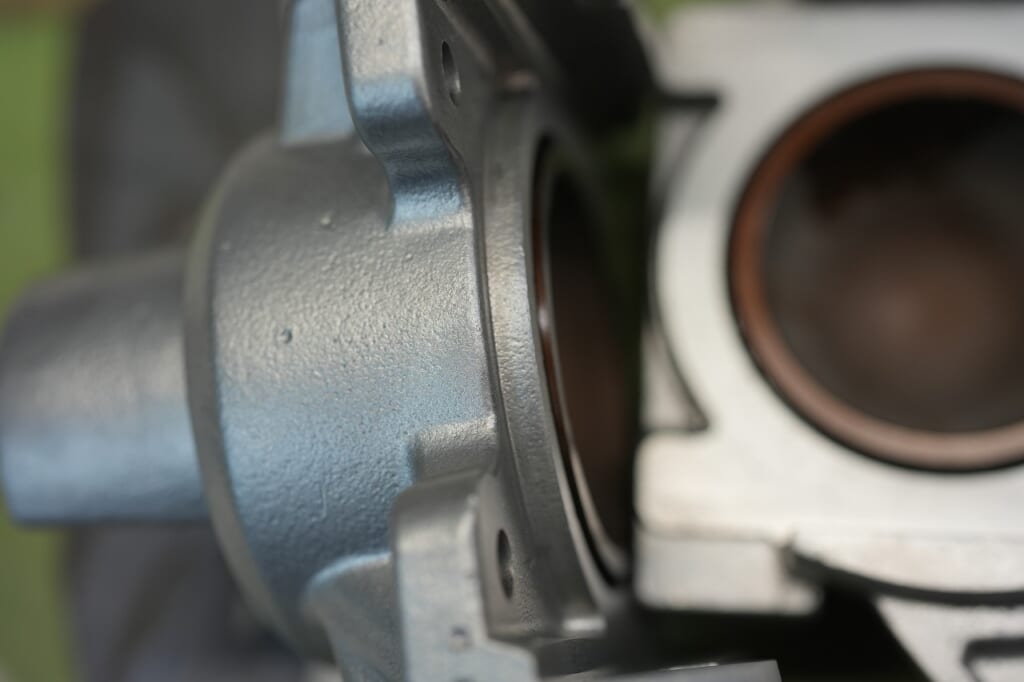
The piston height increases by about 0.7–0.8 mm.
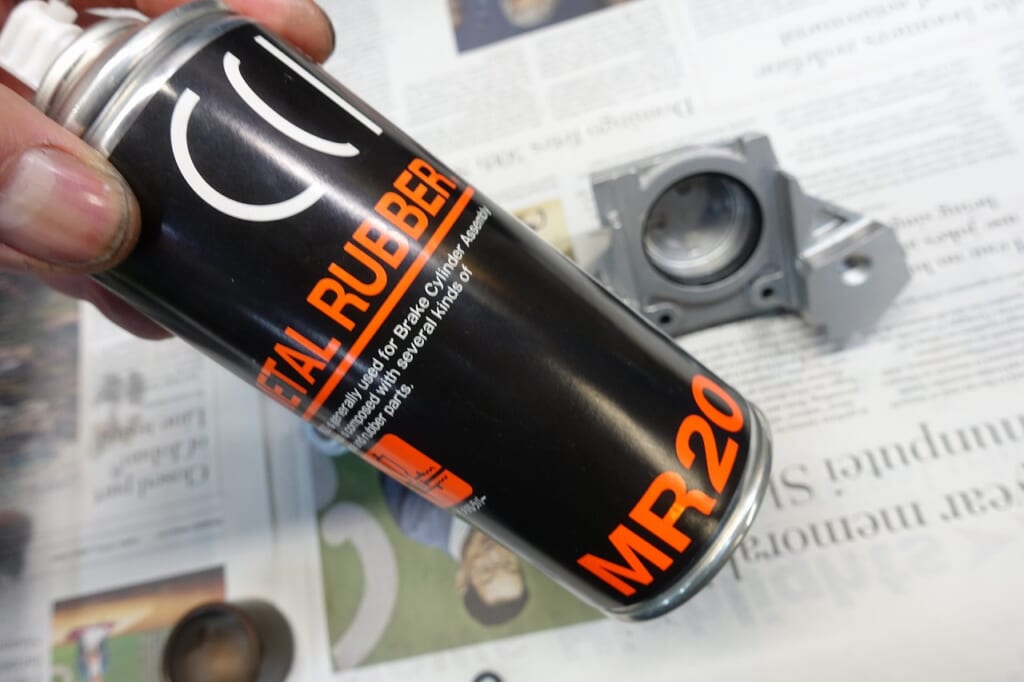
For assembly, I use Metal Rubber lubricant for iron calipers.
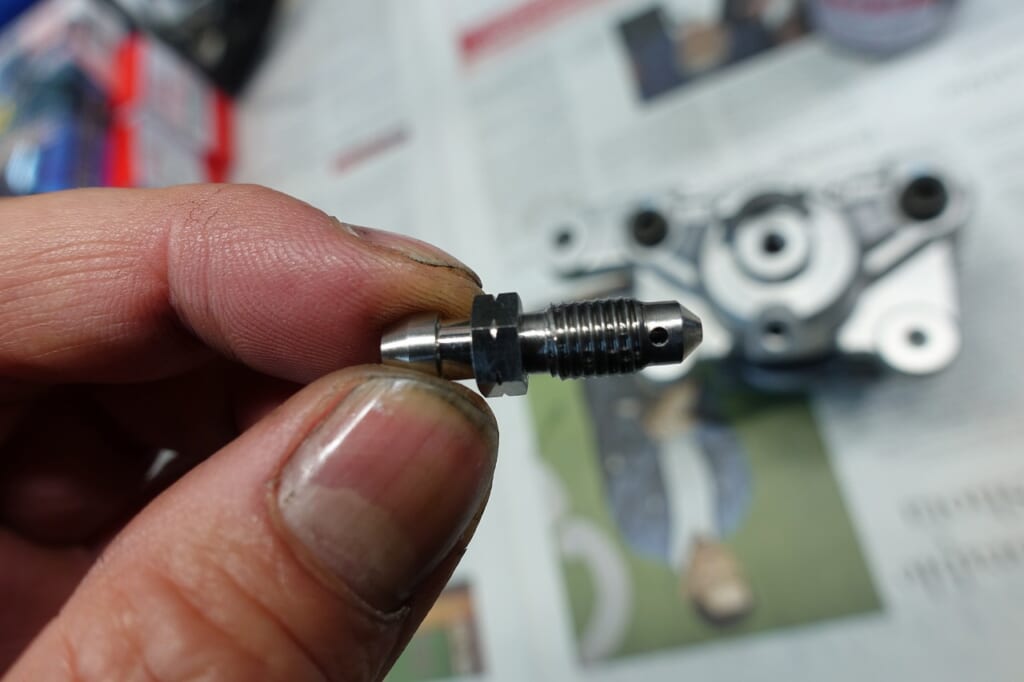
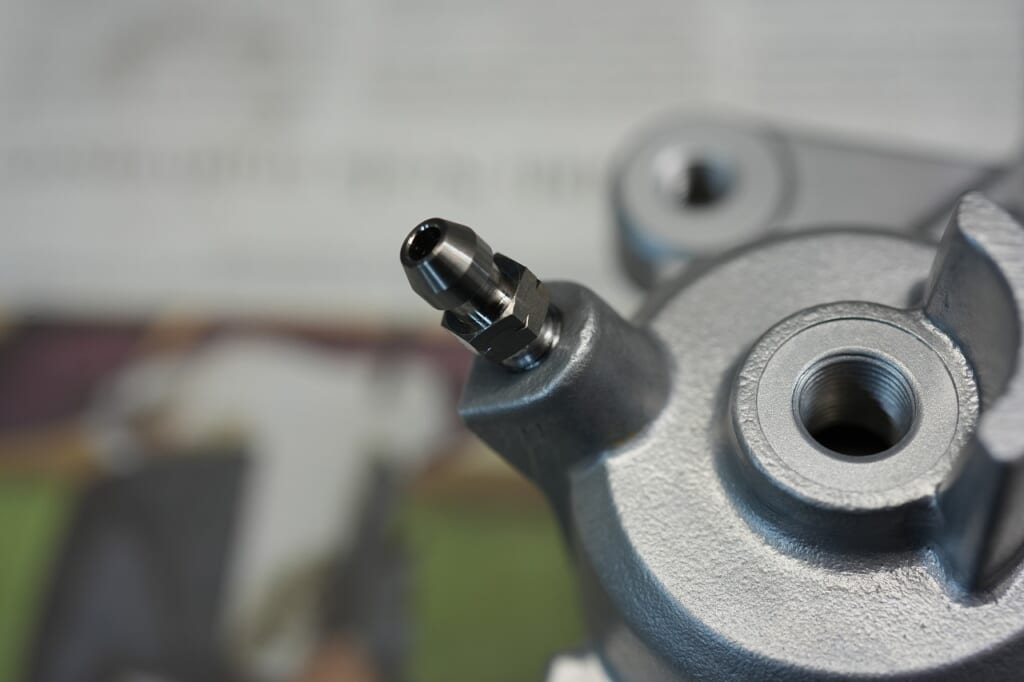
I sourced a titanium nipple.
The OEM M7-P1.00 has gotten pricey lately… if this works, I’d like to use it going forward.
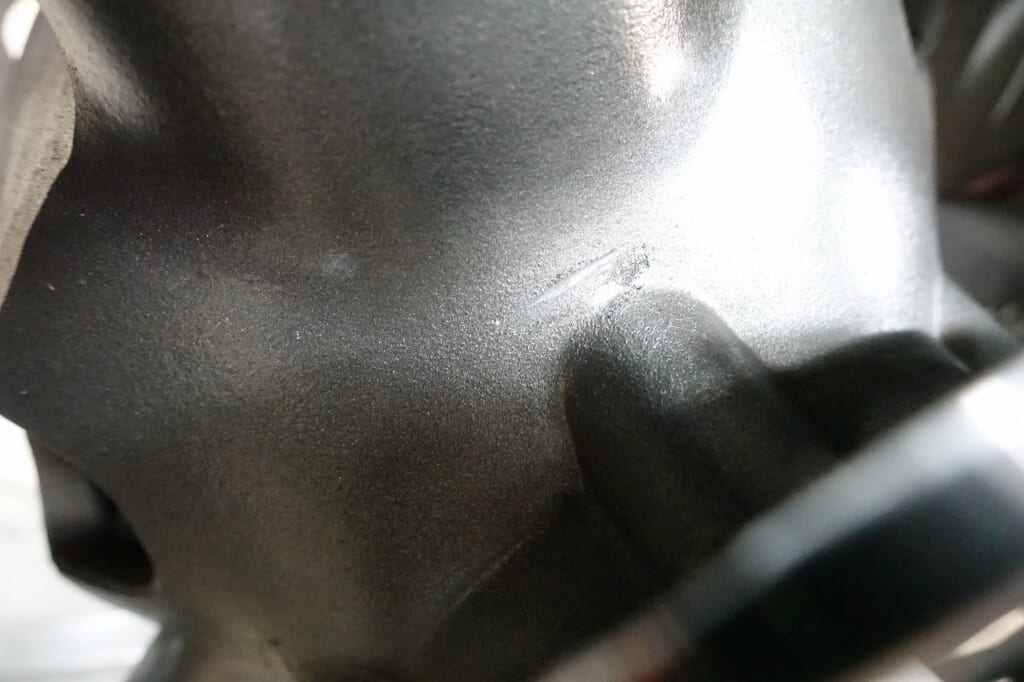
It looks like the caliper is making light contact just in this one spot.
With anything other than OEM (custom?), you need to be careful about various things.
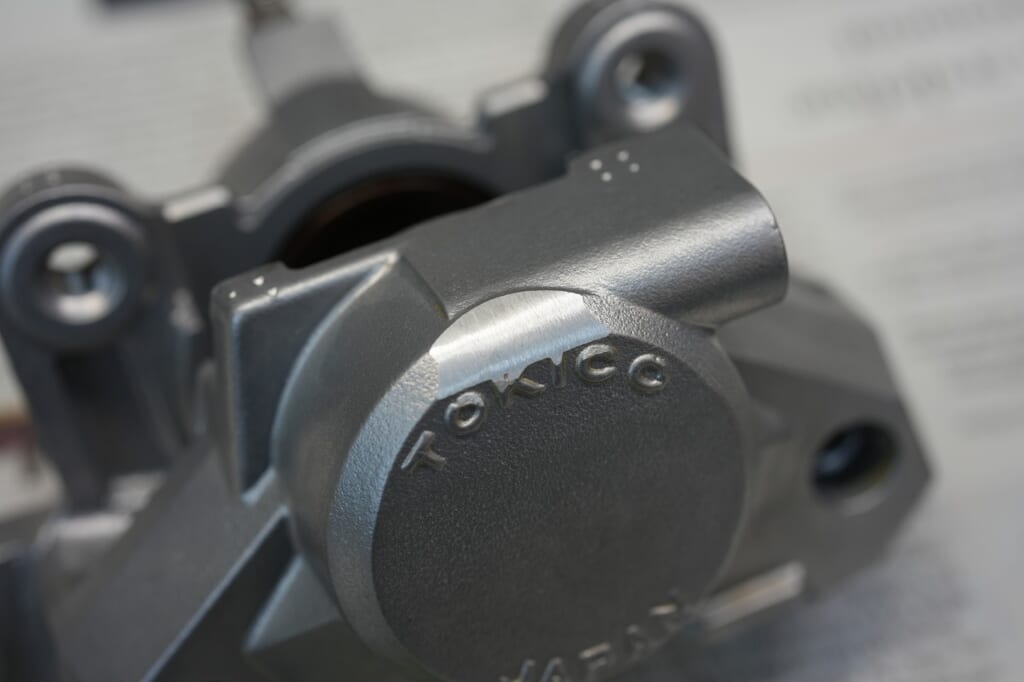
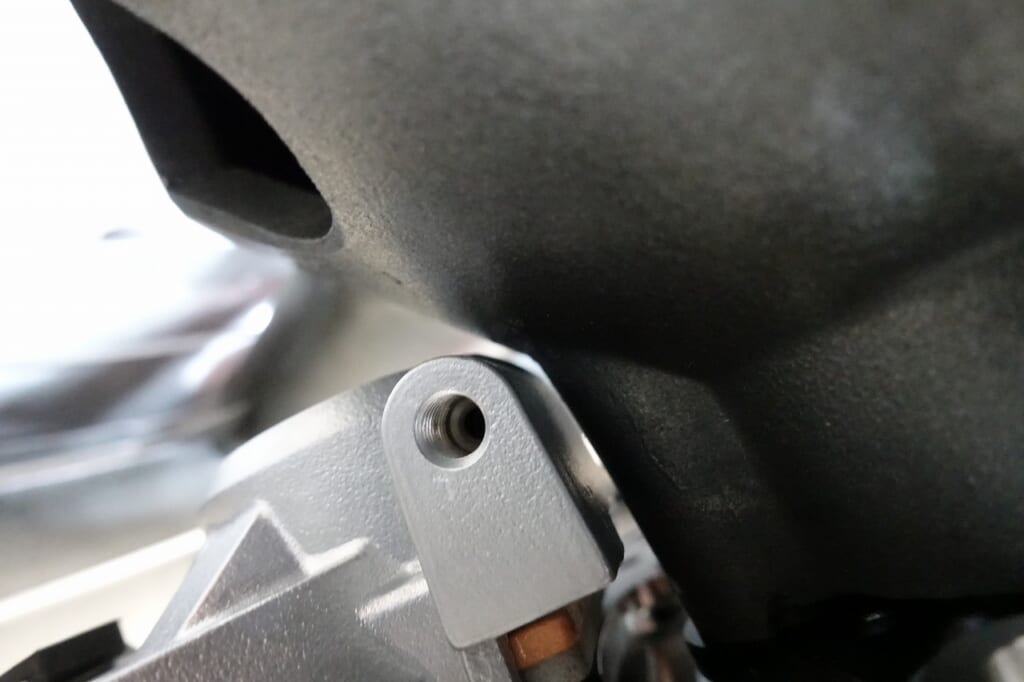
We ground it down before assembly (*´ω`*)
With Brembo, I made sure to grind it down so it wouldn’t contact~
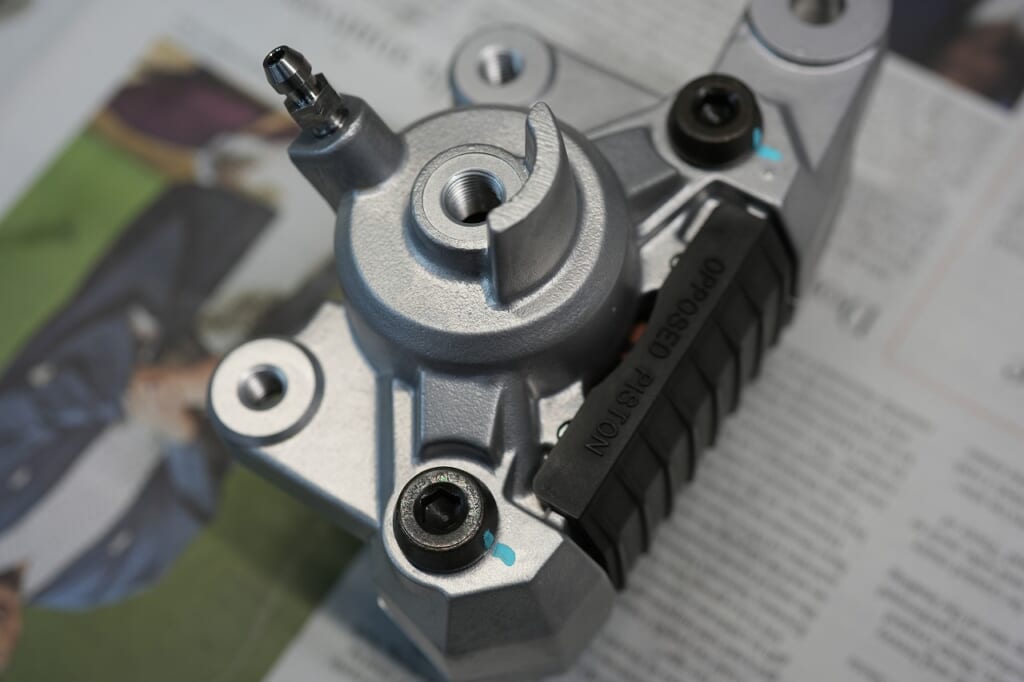
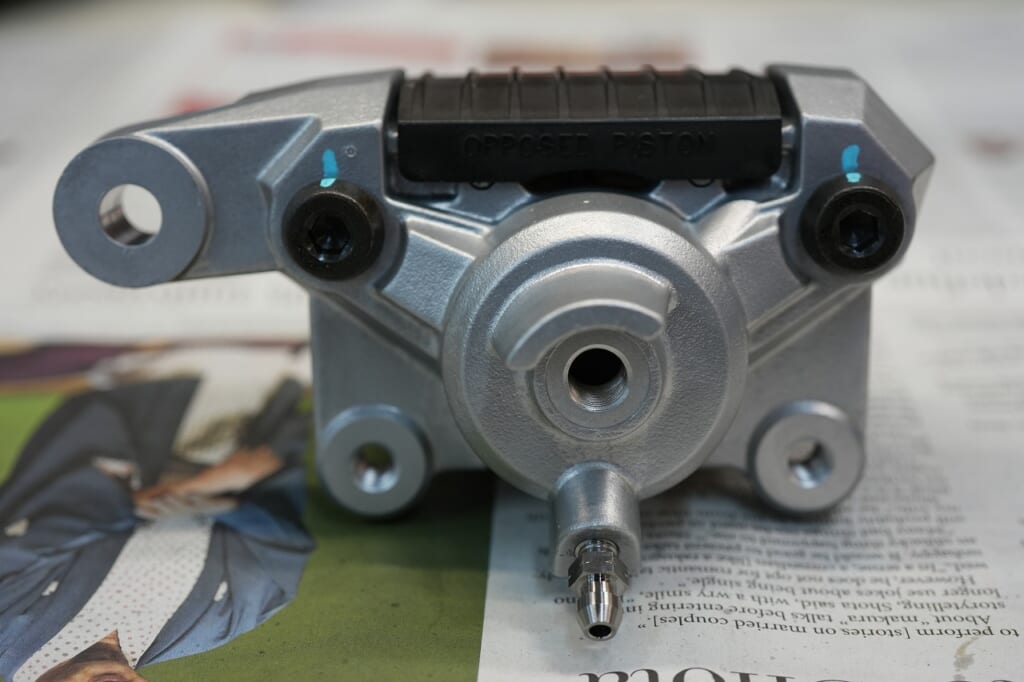
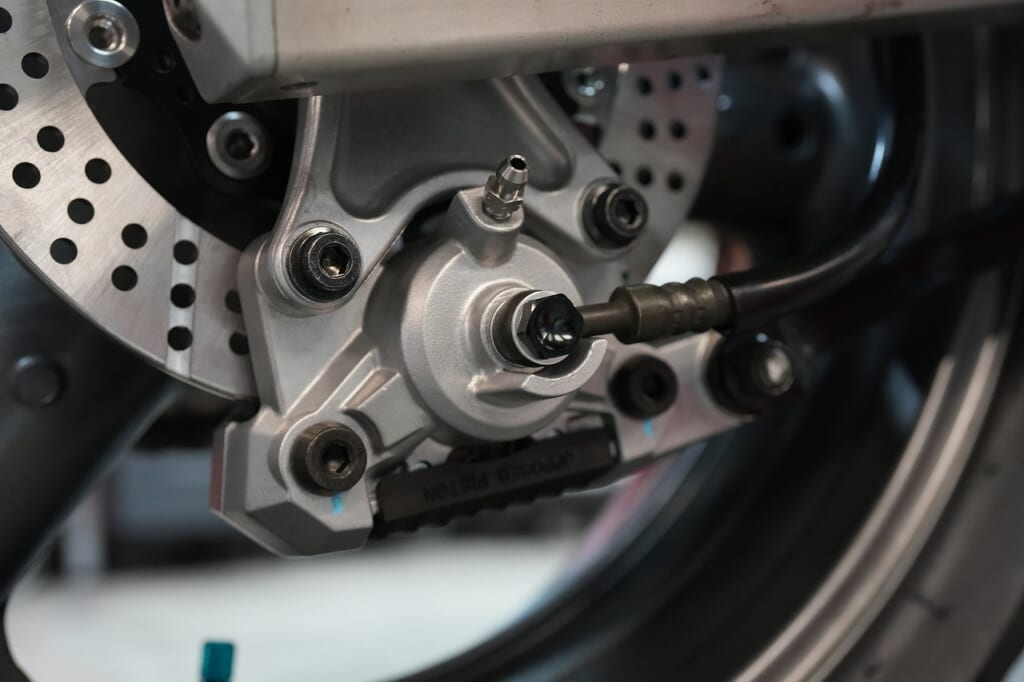
It came out like this~
The pad contact surface is narrower on this disc, so pad adjustment will be needed.
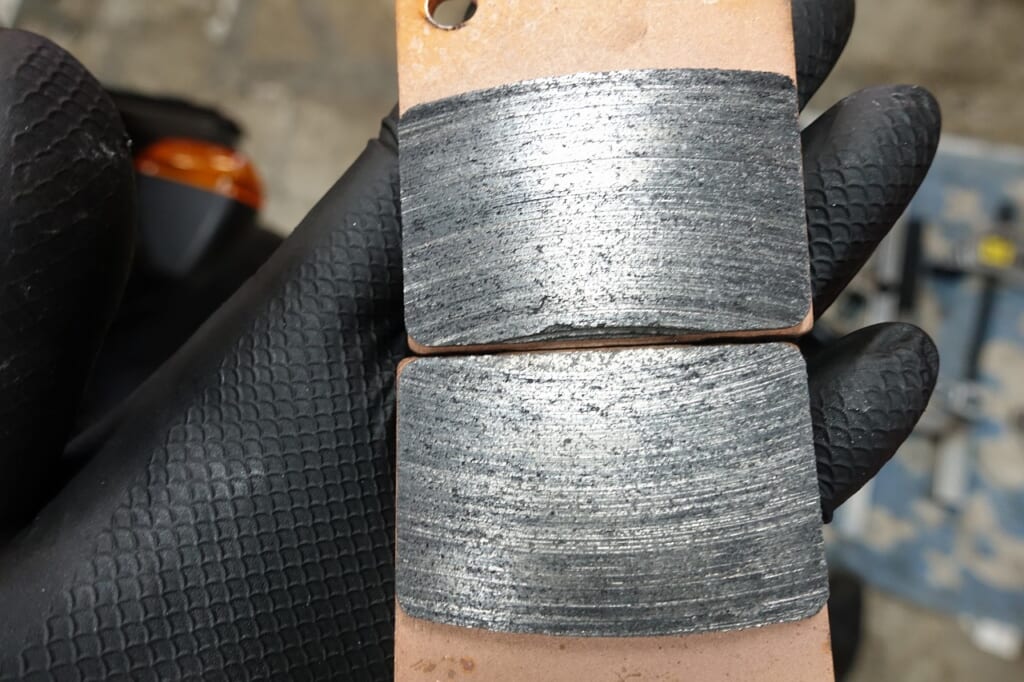
I completely forgot and rode about 100 km ( ゚Д゚)
It looks like it’s making contact across the whole surface—maybe too much?
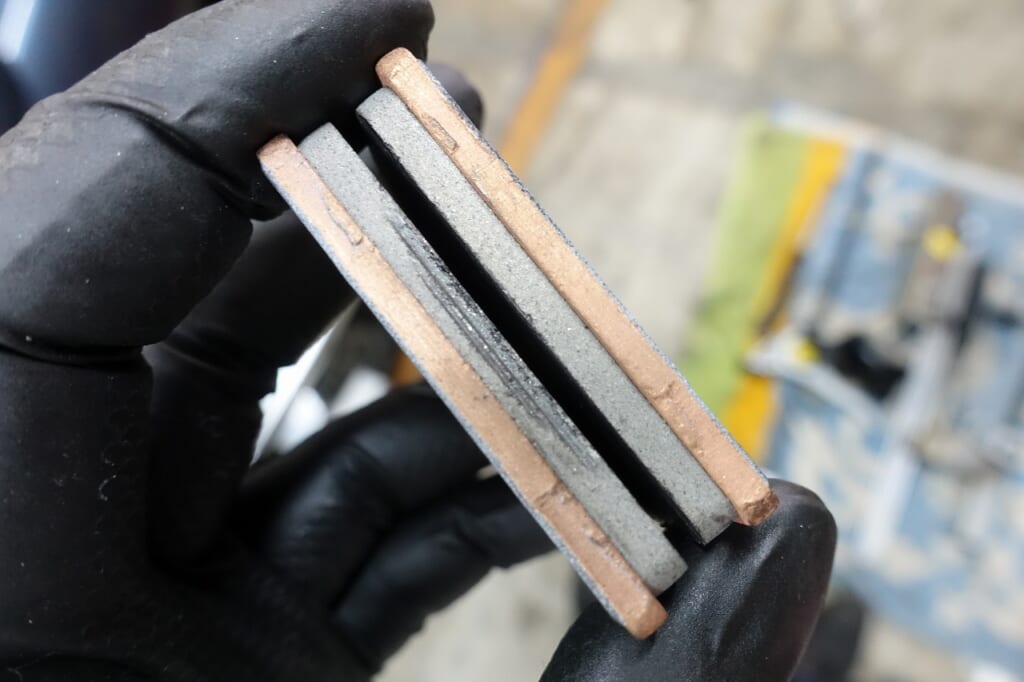
There are signs of pin contact, so I’ll need to remove quite a bit.
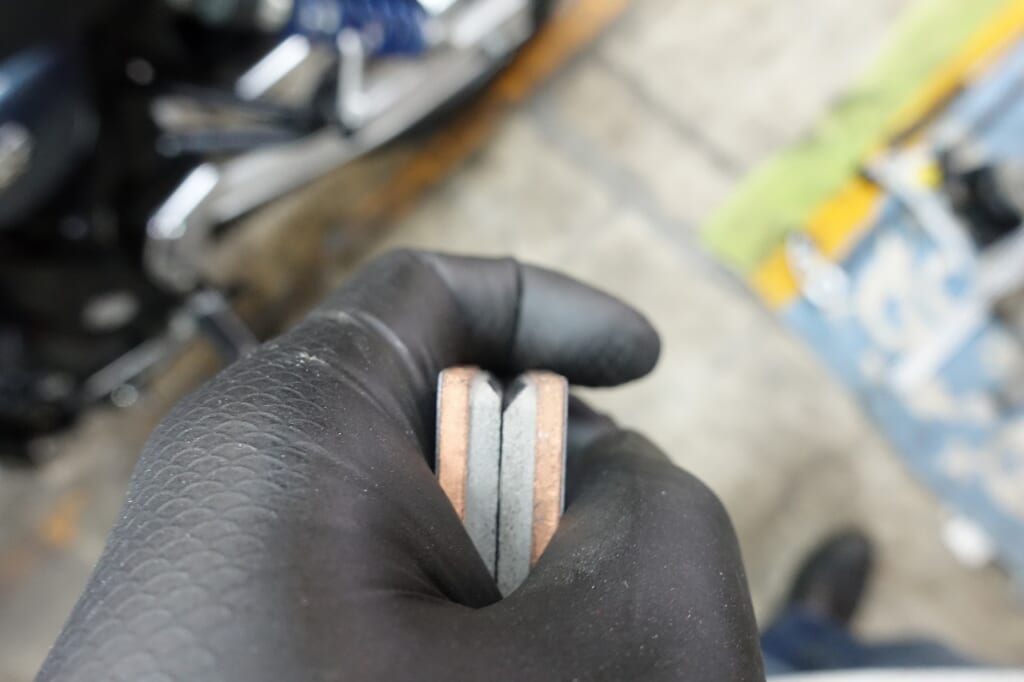
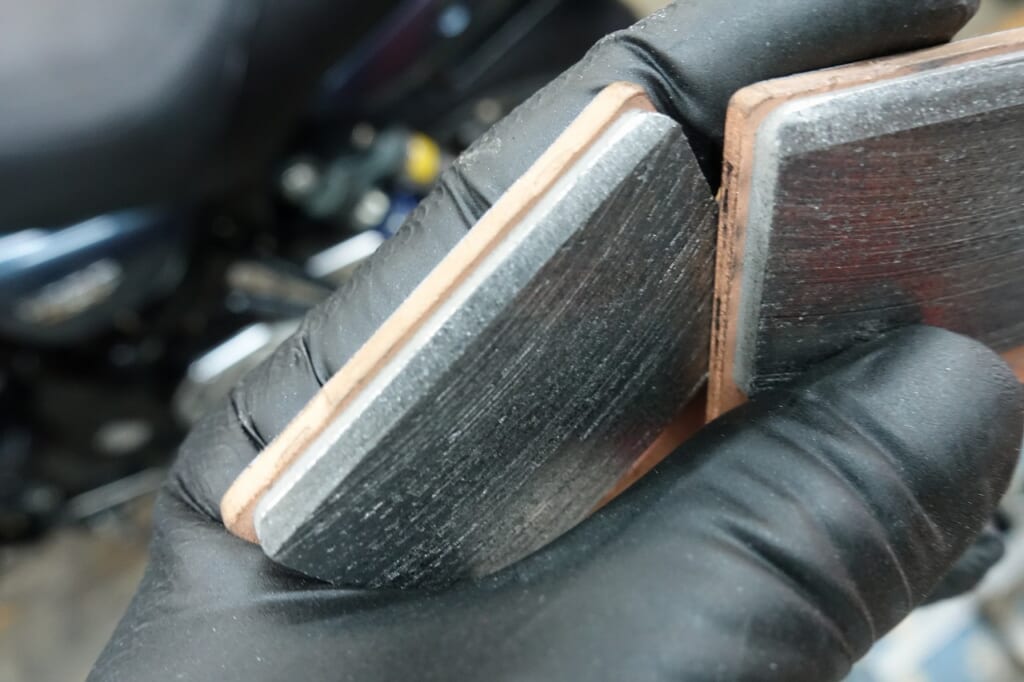
I ground down both top and bottom (especially the pin side at the top) thoroughly.
With anything other than OEM (custom?), this kind of tedious work becomes necessary, so please be aware~