Sigh…
I hung the tank overnight and gave the petcock a good pull…
This morning when I checked…
The gasoline had gone down a bit… hadn’t it… a few centimeters.
Slow overflow confirmed (;∀;)
It’s genuinely traumatic. I’m starting to wonder if I should even bother doing carburettor OH anymore.
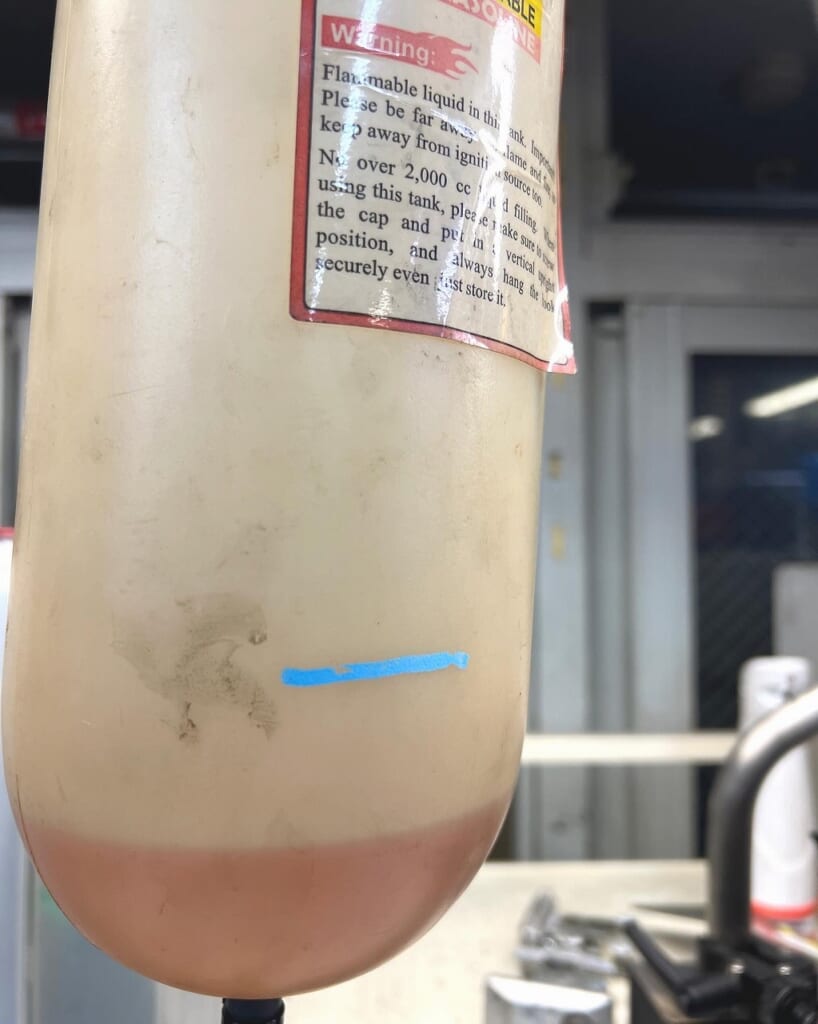
Hmm… it’s definitely gone down… quite a bit.
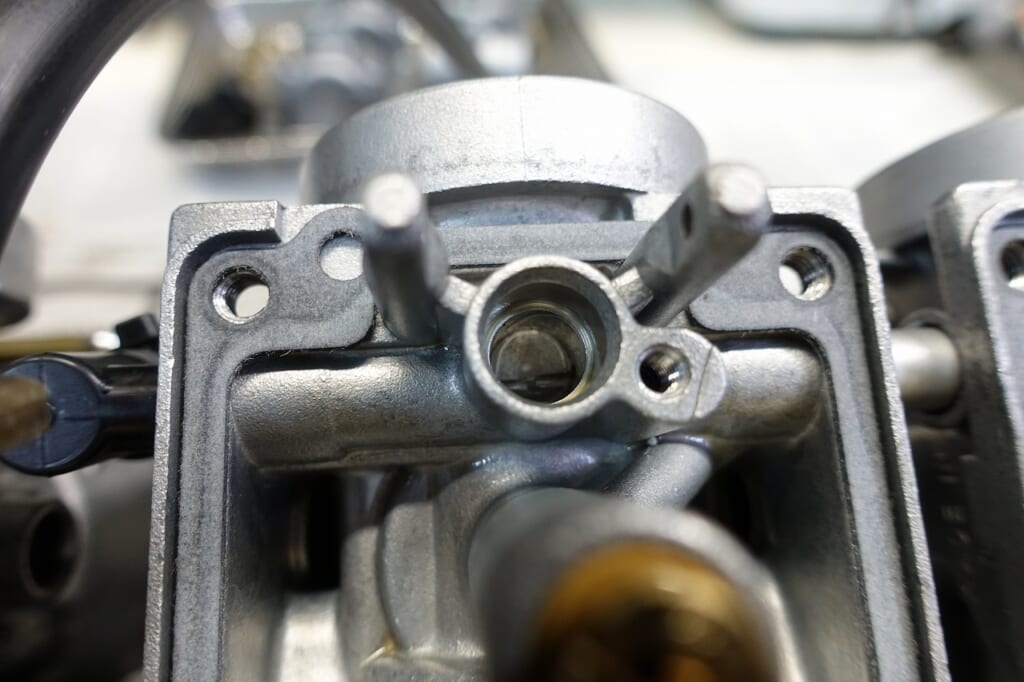
There’s only one place where fuel enters the float chamber. Just this one spot.
The chances of anything going wrong are… zero.
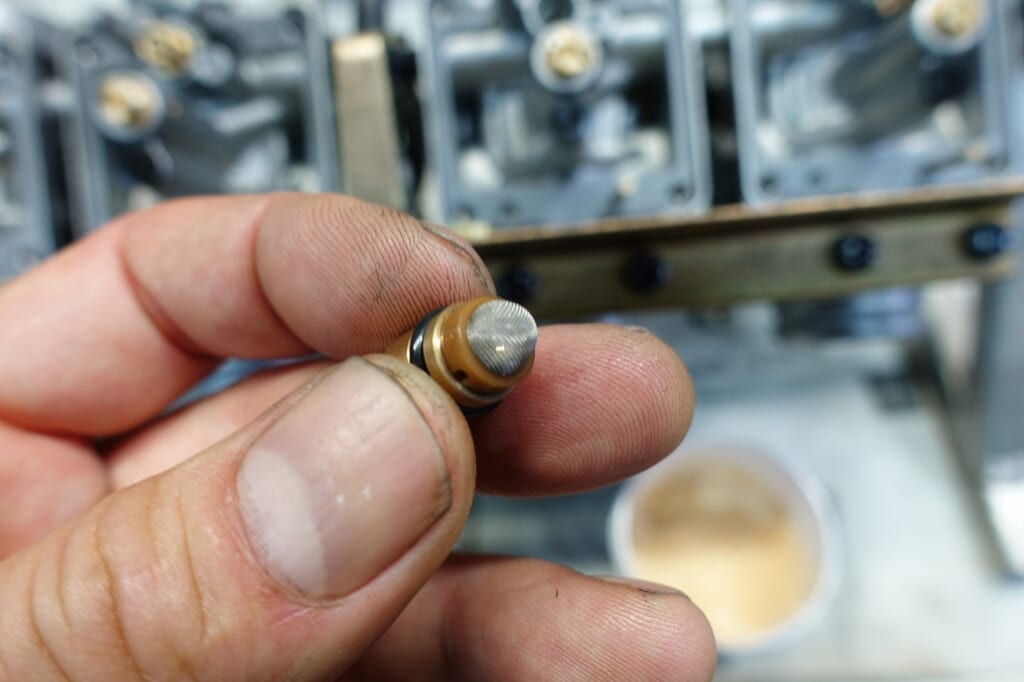
Float valves from this era come equipped with a mesh filter.
They don’t clog that easily.
And yet it’s actually harder to reproduce a slow overflow!? So why does it happen…
By the way, this time the float valve assembly is OEM and brand new.
Float valves from this era are made of soft metal. Honestly, that’s just no good.
Modern times!? use fuel injection, but later carbs use rubber-type needles.
Of course the sealing and durability are incomparably better.
There are also Mikuni OEM rubber-type needle valves that can be adapted.
But they cost about 1,000 to 2,000 yen more per unit, so I skipped it this time… but here’s the harsh reality.
So how do you stop the leak in a case like this!?
You lightly lap the valve seat side. Dab a little compound on a cotton swab and rub, rub, rub, rub.
The seating surface becomes fresh and the contact becomes firm.
Parts are, after all, just machine-finished items that get packaged and supplied.
You use the packaged seat and valve as if they were a married couple, but by making that relationship deeper!?
and more solid, maybe it turns out better.
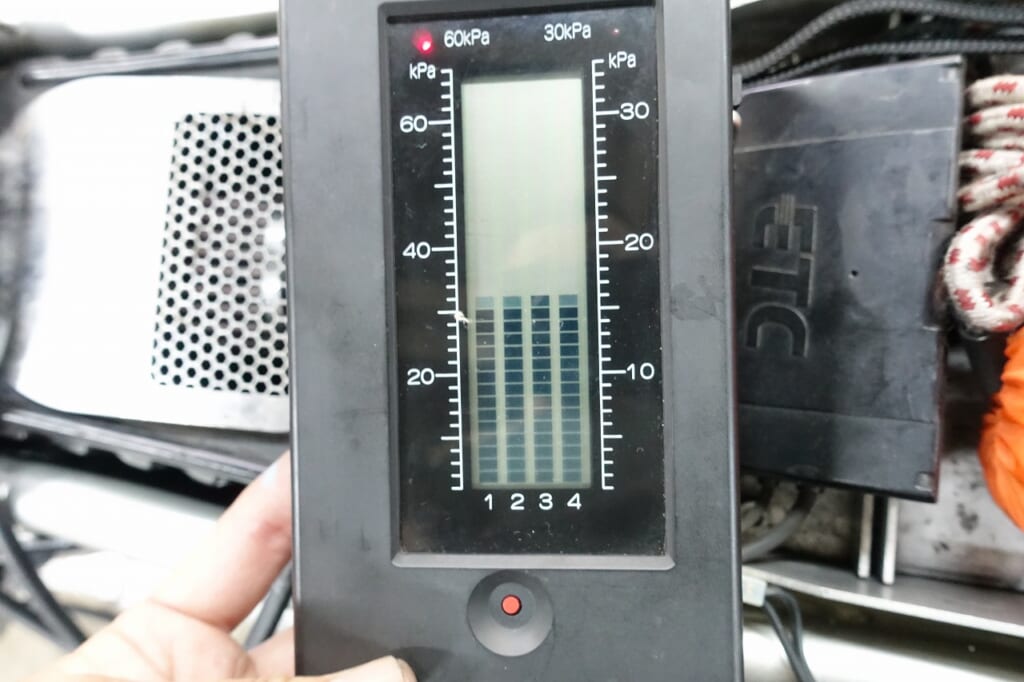
So I spent a good chunk of the morning running gasoline through and letting it sit…
Once I confirmed it wasn’t leaking at all, I finally assembled it and checked the synchronization again.
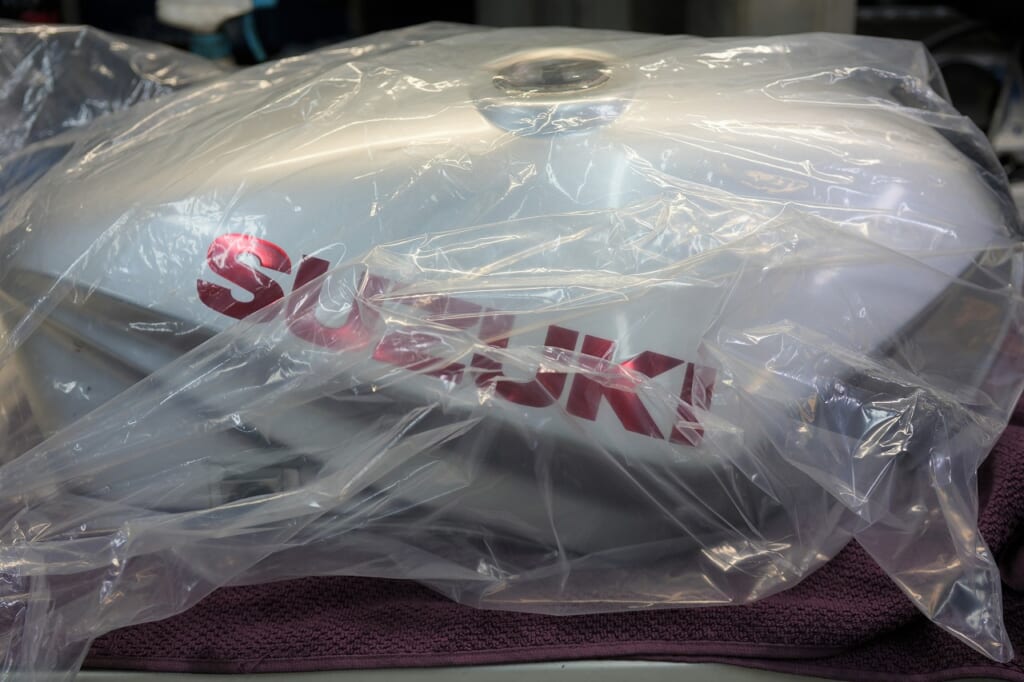
About the dent repair you asked about the other day…
After talking with the expert… the location is risky, so let’s skip it!?
That’s how it ended (*’▽’) We’ll leave it as is.
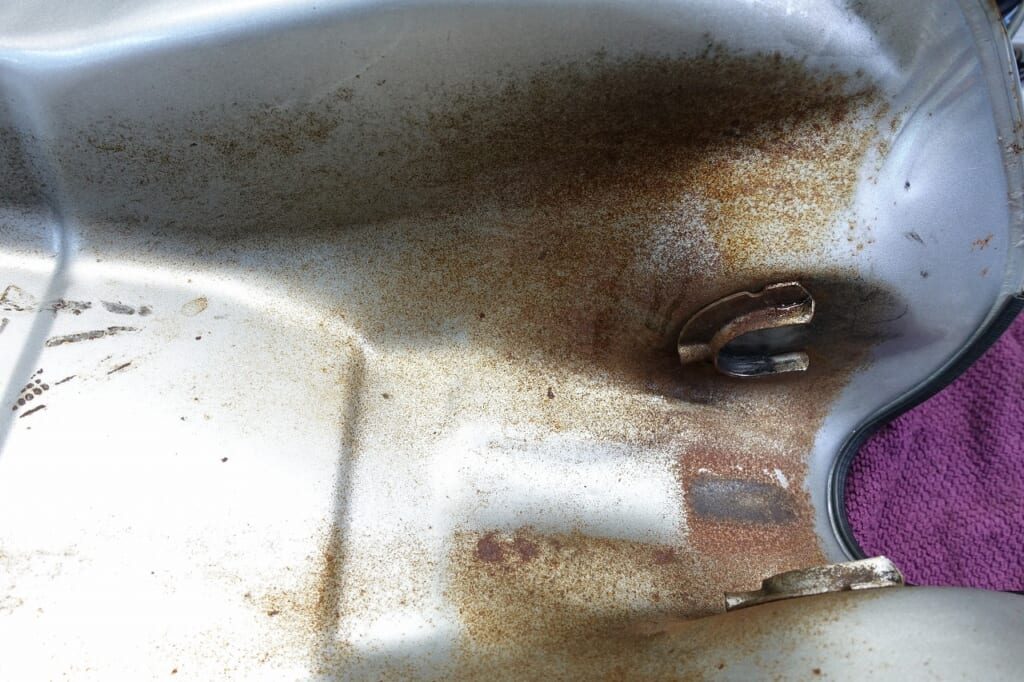
I also cleaned the back of the tank…
Some rust has developed, so I’d like to do something about it.
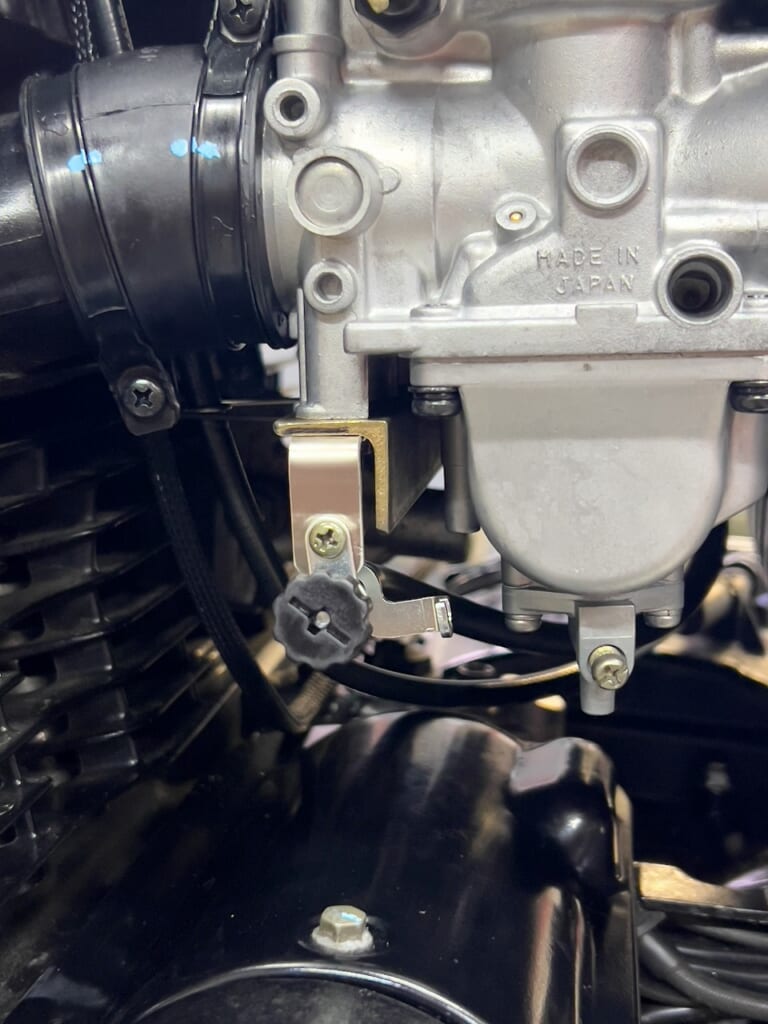
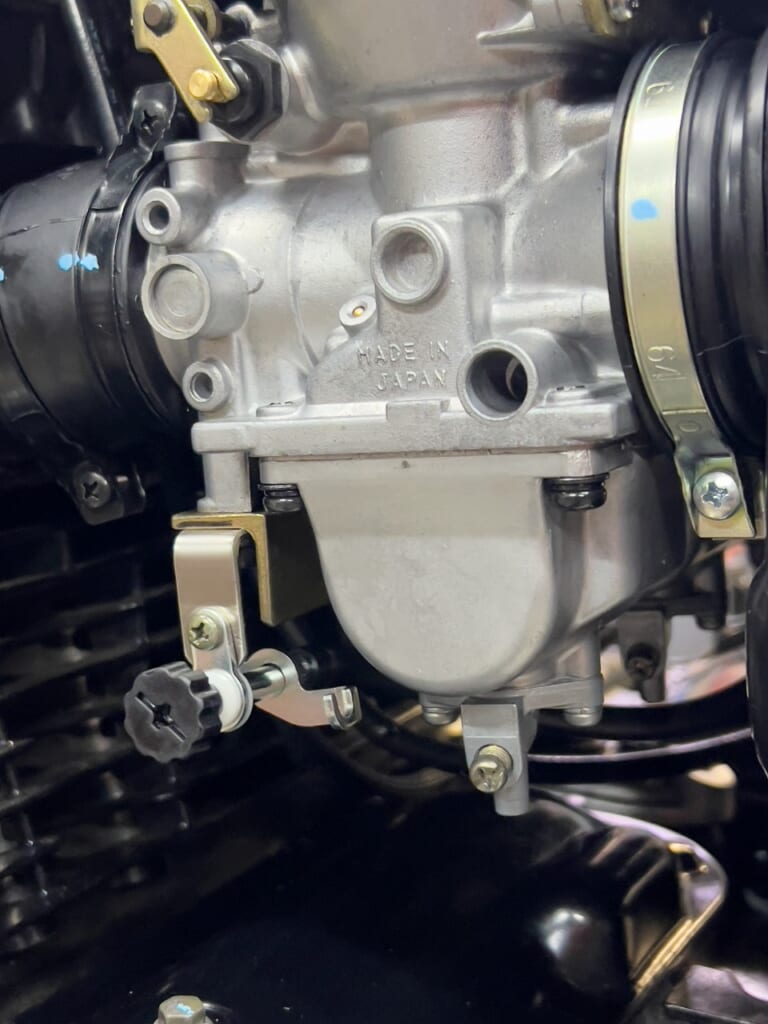
I positioned the TMR remote control knob in an easy-to-adjust spot.
The screw pitch fits as is, but the spring is shorter, so you need to apply preload with the spacer or it won’t work, so please note.

I rushed it to inspection right away.
After that, a test ride and we’re done~