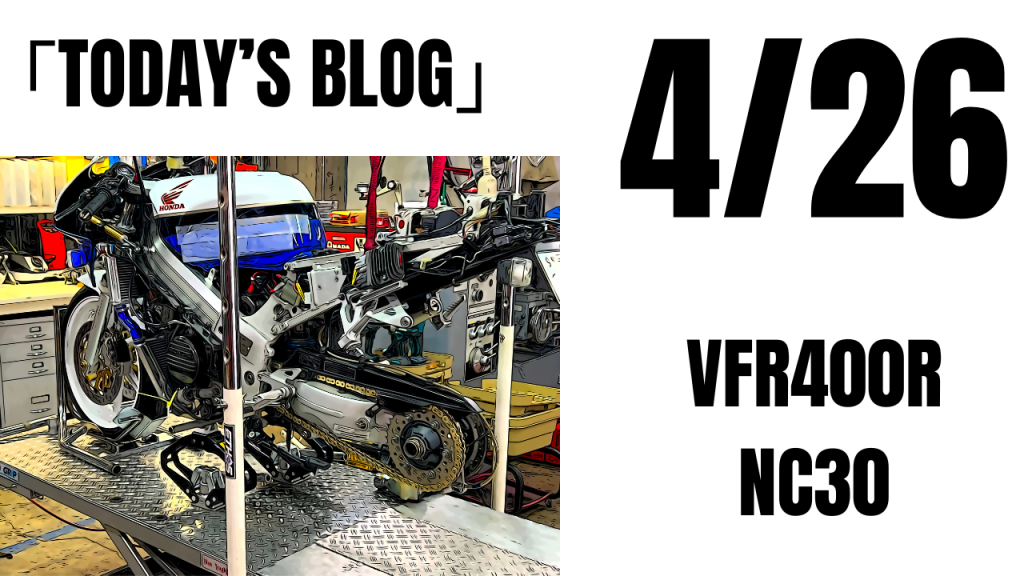
I’ve never disassembled a 400 Pro Arm before…
Whether work can be done or not depends on “tools”
Special tools come up a lot… especially with aluminum frames.
“Inexperienced = Better not to take on in the future” That’s what I thought.
*NC30 is now in my experienced list (*´ω`*)


 ポチップ
ポチップ
I stumbled right away with the pivot lock wrench (*´ω`*)
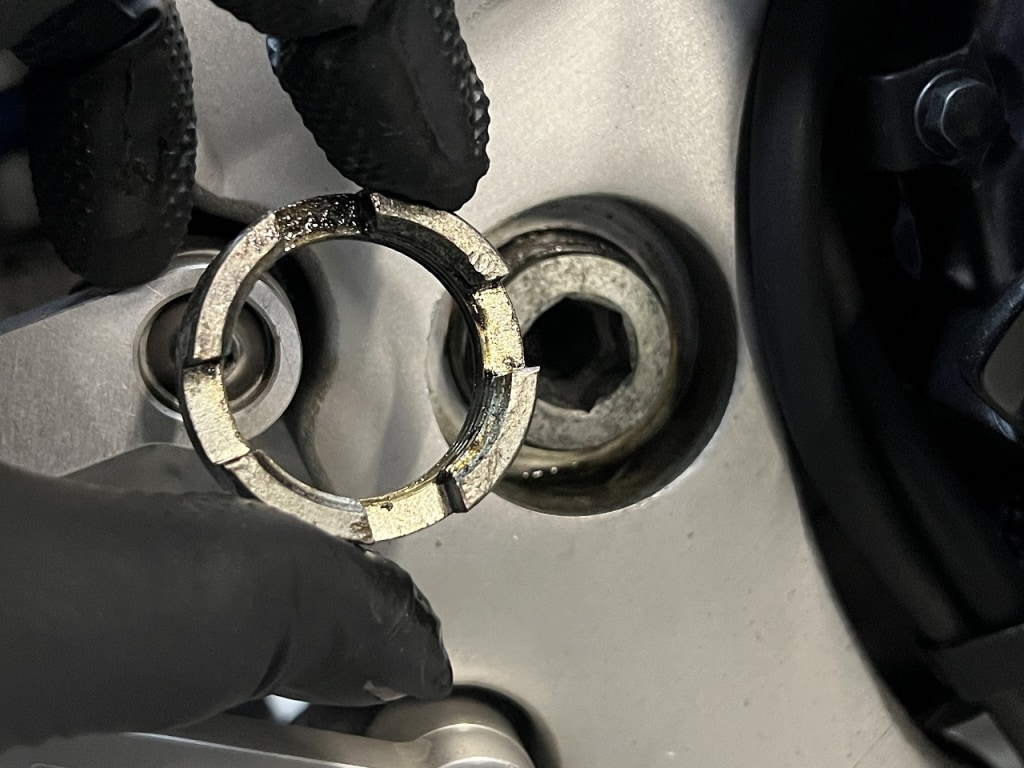
As expected, it’s different from Suzuki and Yamaha… *Of course
I found compatible tools… which expanded my options when in a pinch (*´ω`*)
ポチップ
I’m always confused by bikes without an under-tube
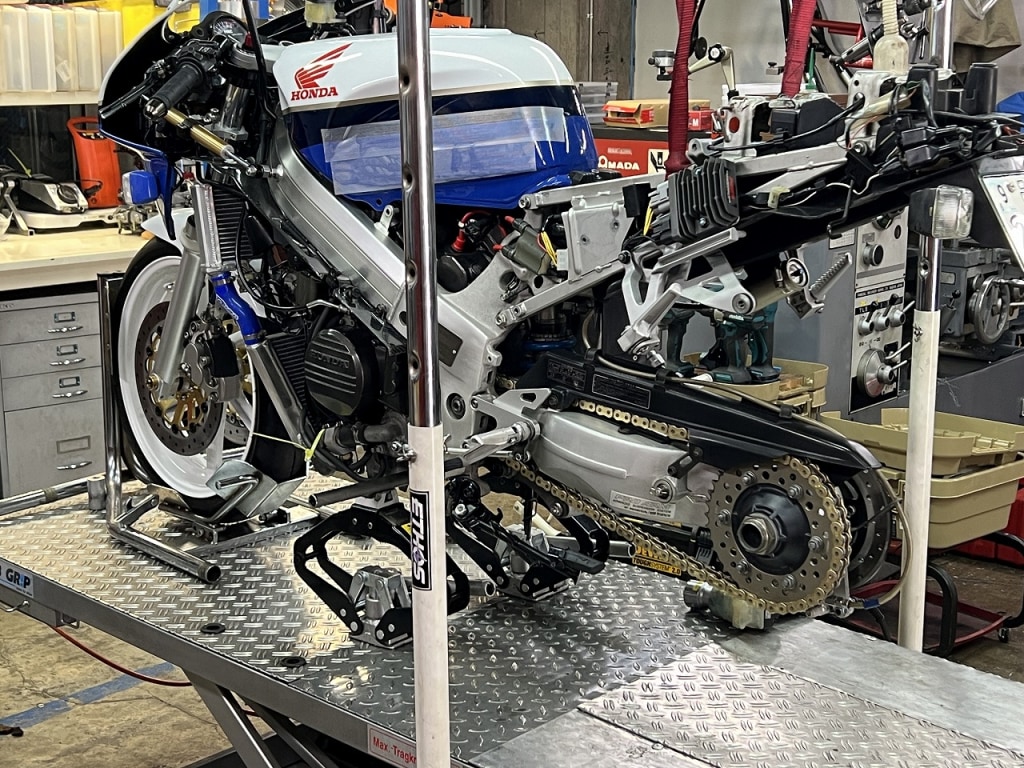
Everyone’s favorite? Lifting up with an Ethos frame stand .
If you lift from a thin spot, it bends easily, so use a sturdy spot.
I’m using Ethos for the front too.
Just hanging it swings around, so I lightly supported it from below.
 ポチップ
ポチップ
 ポチップ
ポチップ
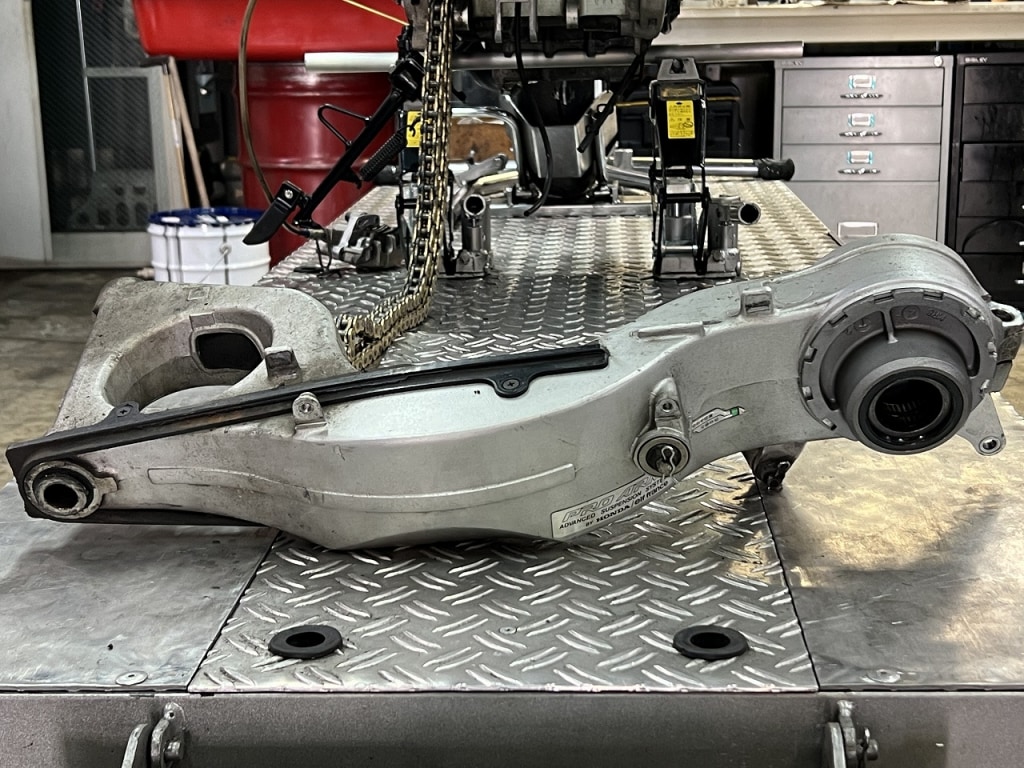
Time flows… and it came off.
It’s great when it just comes off like that (*´ω`*)
The owner prepared all the parts.
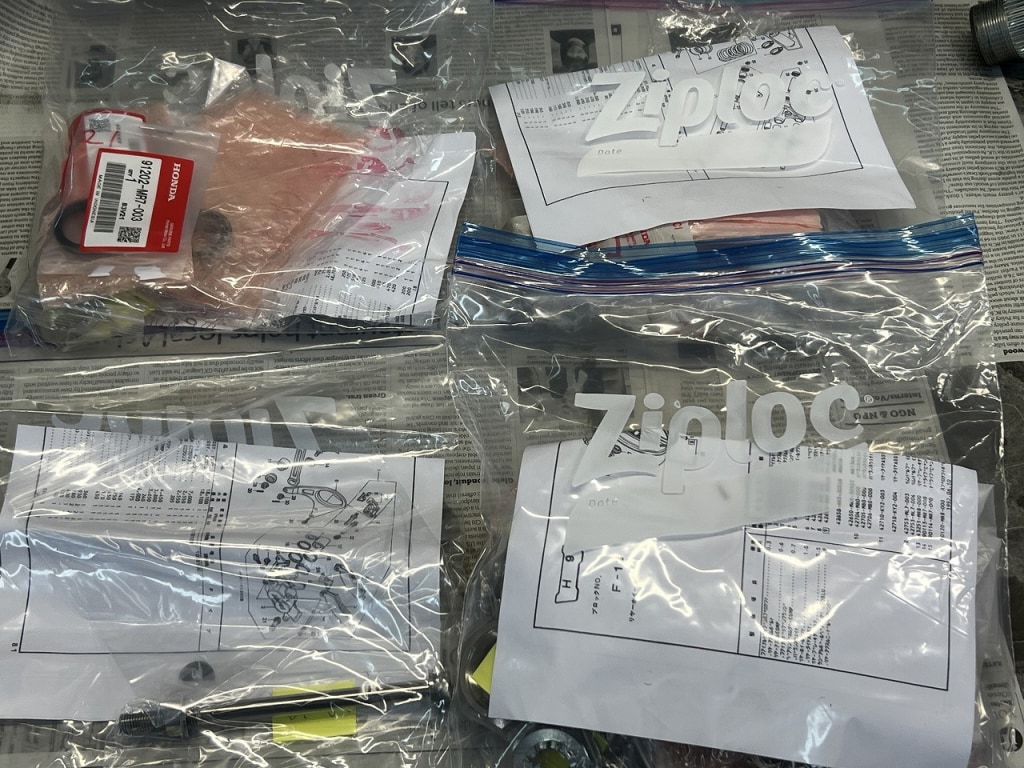
They separated them by parts list page and bag, which reduces inspection work.
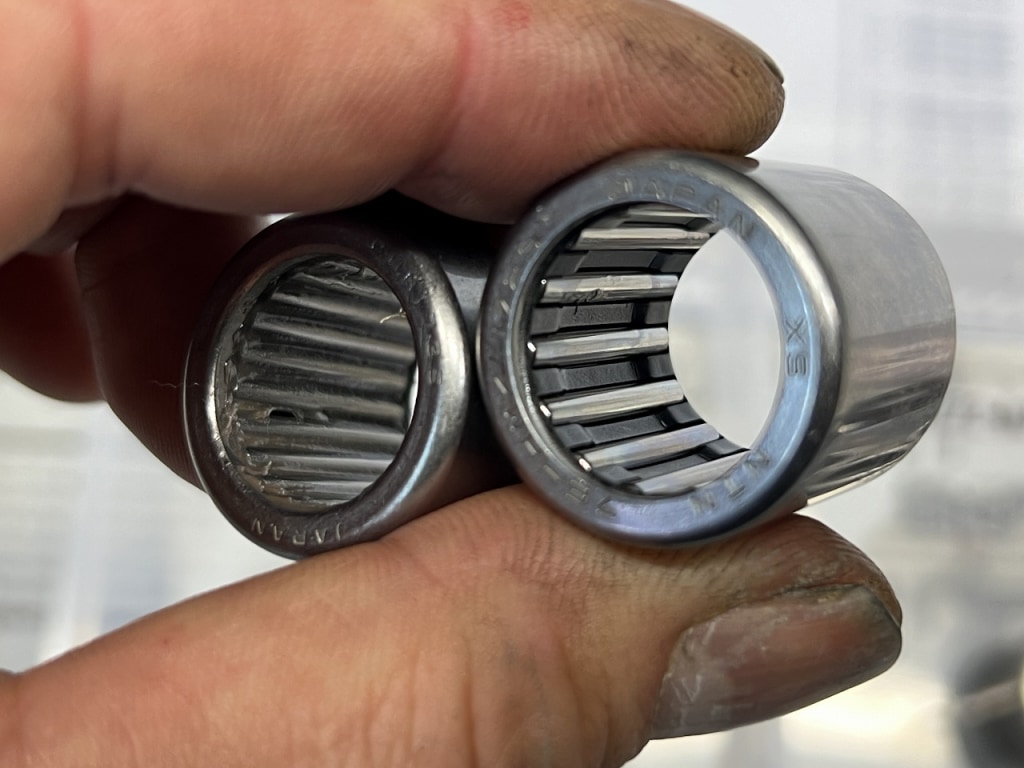
During inspection… I was staring hard wondering why the part numbers are different when the dimensions are the same…
It’s the presence or absence of a guide… Honda really thought this through
Suzuki would probably set them the same.
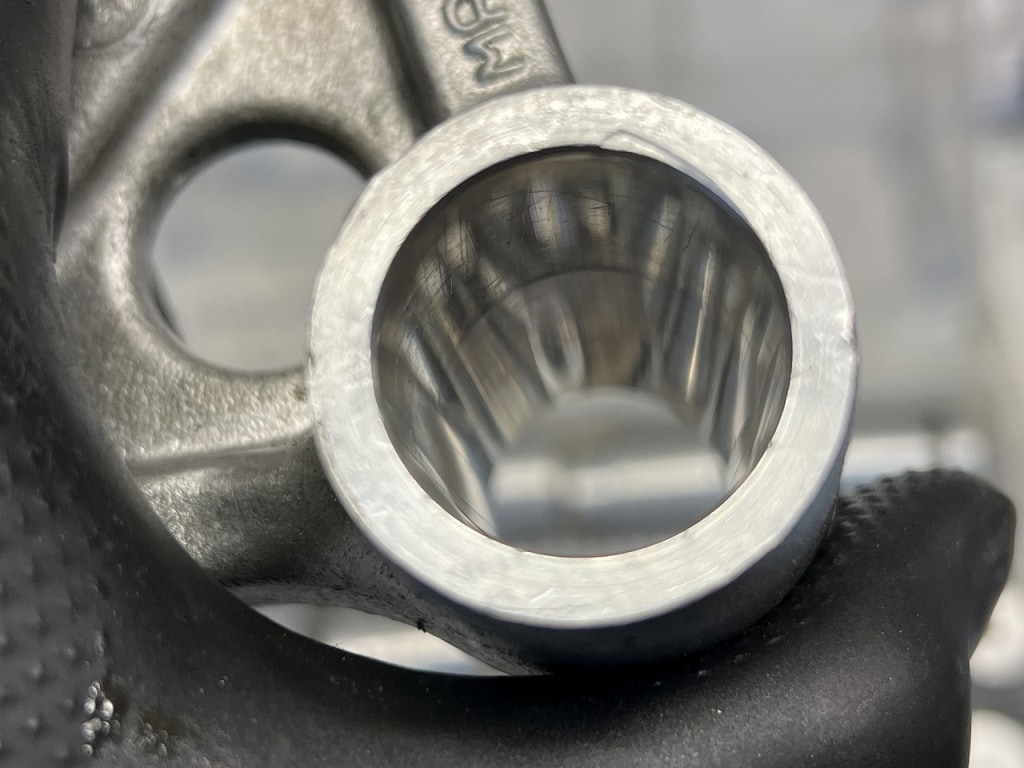
I was moved by the beauty of the inner wall after removing the press-fit (*´ω`*)
I want to press-fit carefully.
I’ve saved all my past press-fit battle records
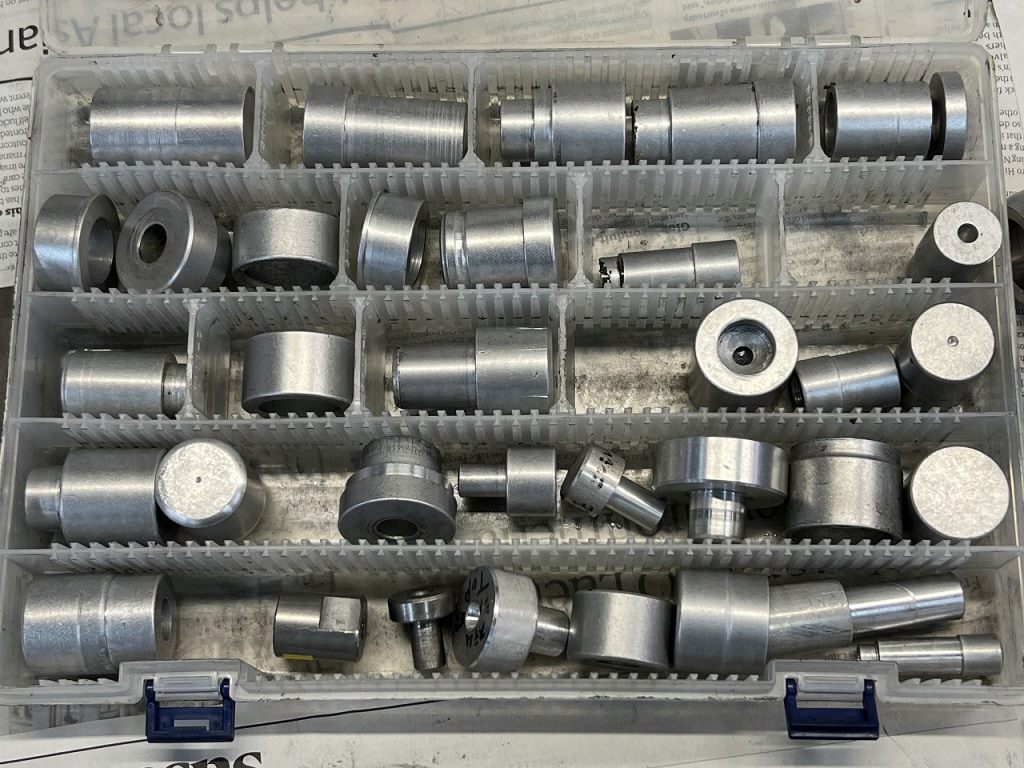
I keep everything.
Once I’ve dealt with a bearing, I don’t have to worry about it again…
I make a new one for first-time opponents each time, but one effort saves trouble in the future.
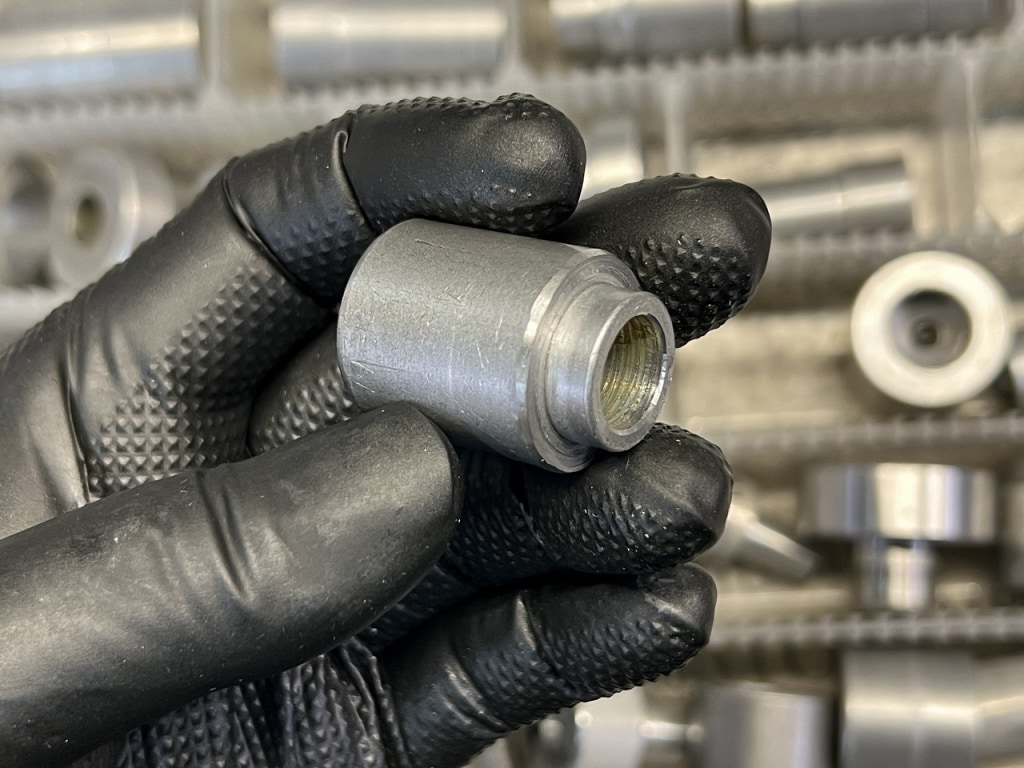
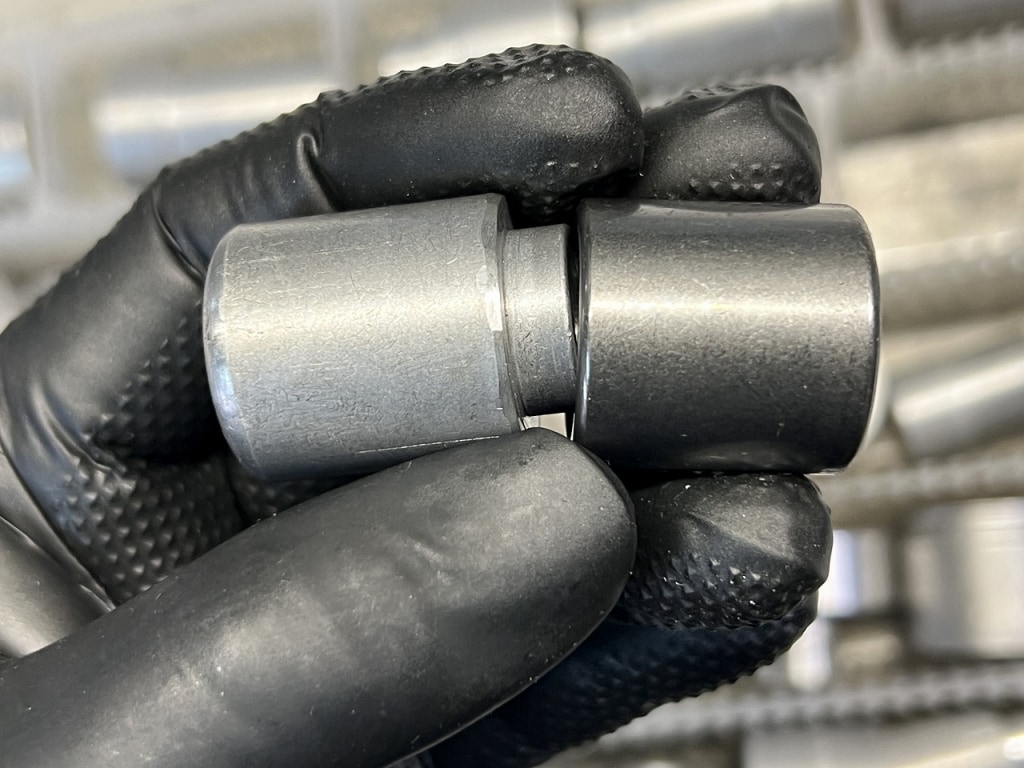
Supporting from the inner diameter reduces wobbling (certainty improves)
No way, absolutely no brute force
Handle it with love… I’m sure it’ll be fine.
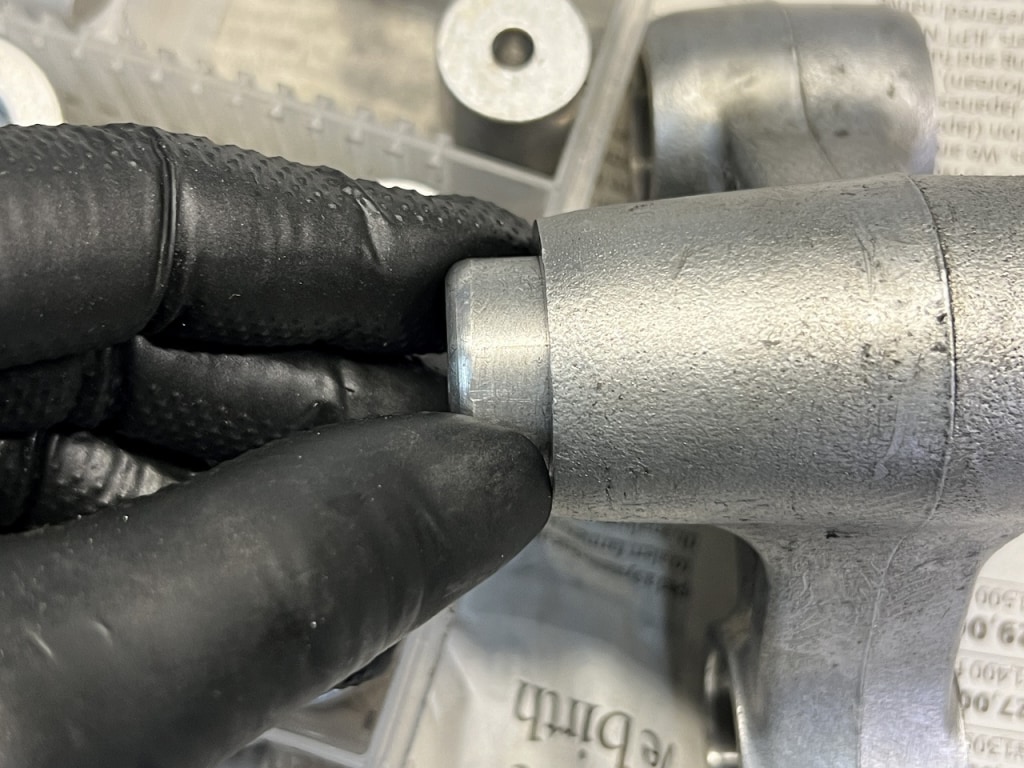
Of course the outer diameter has negative tolerance, so even if it goes in smoothly No problem!
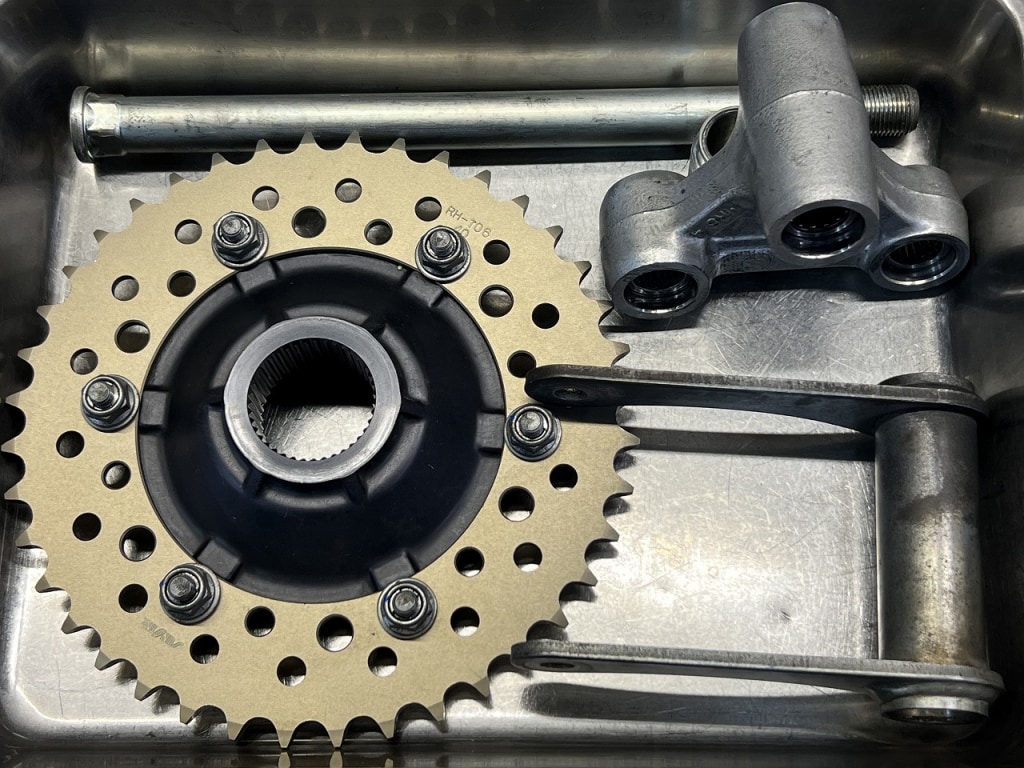
Link area. There were parts that didn’t match the parts list. *Brought-in part number and PL are the same
Rear shock lower mount STD bush → Currently needle roller
Link area oil seal Only two locations usable *Other outer diameters don’t fit
I went with reusing those without forcing it.
Link area complete
Hot hot in the oven ( *´艸`) Thermal expansion makes work easy
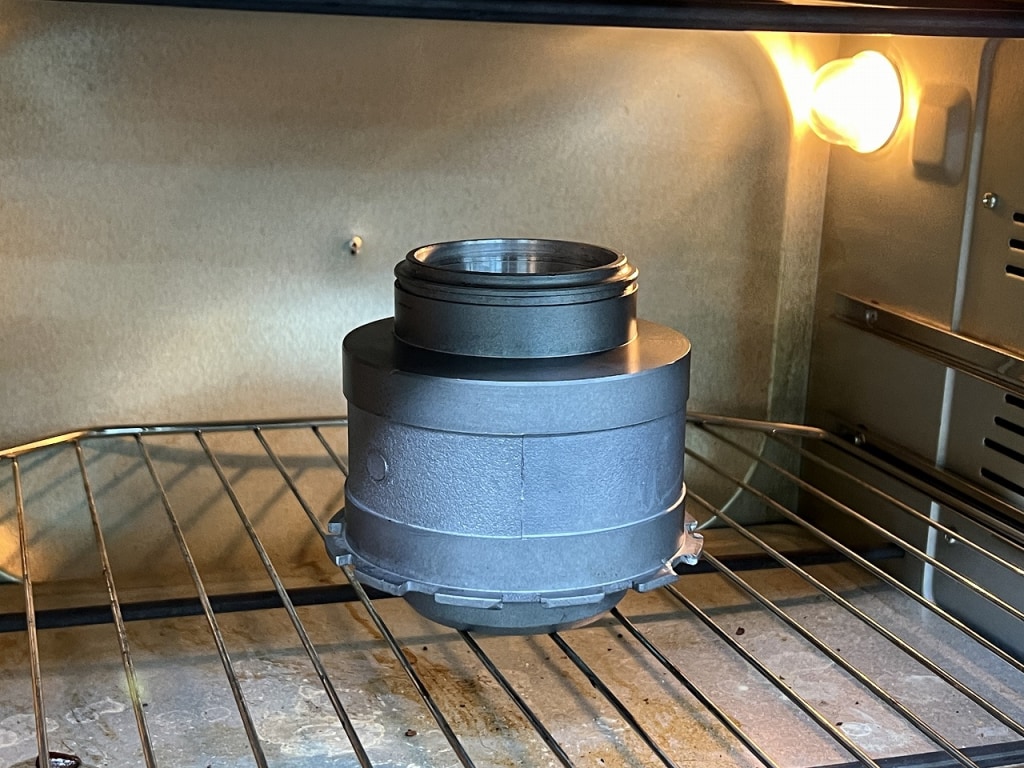
Warm it in the oven “No hit! No life! Bearing replacement”
Remove by its own weight and insert by its own weight. I always think this is how press-fitting should be…
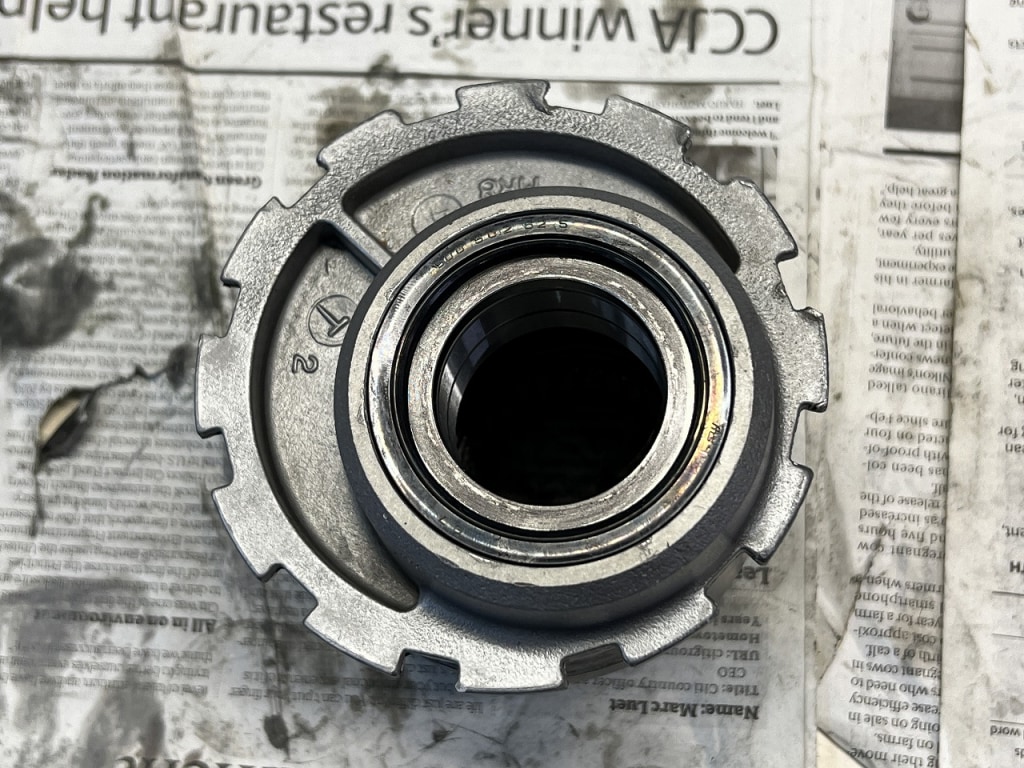
And swap them out, filling complete
Moving on to the main event, the Pro Arm body itself.
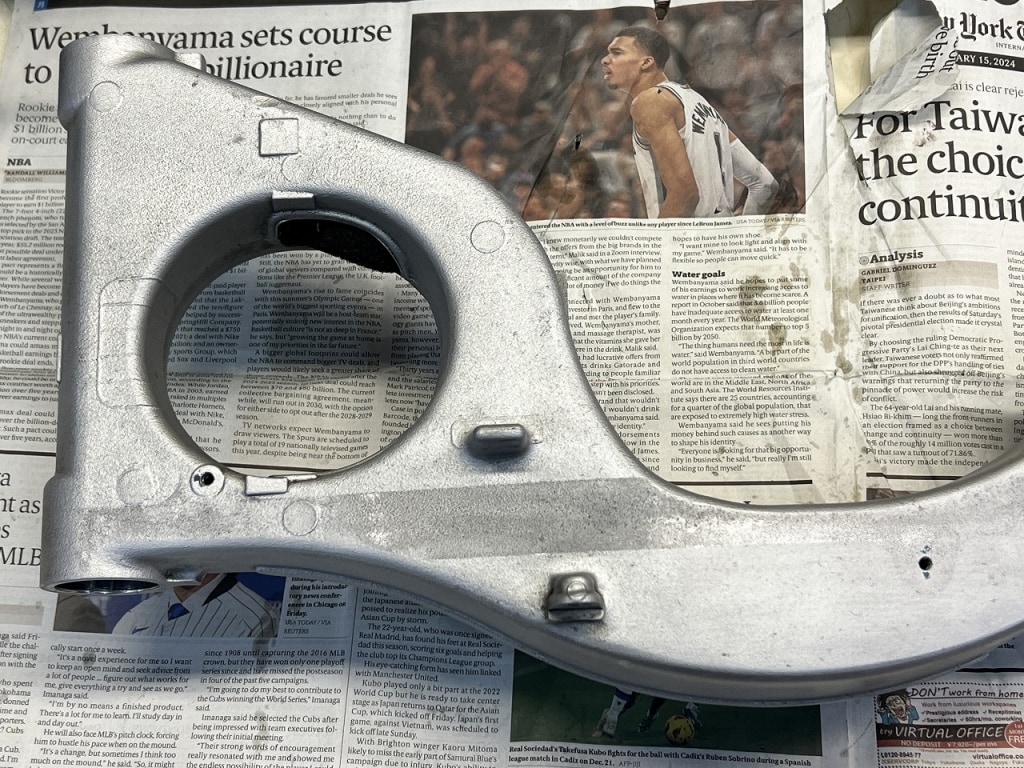
A nice structure using ball bearings on one side of the swing arm.
Play doesn’t develop easily and operation is smooth.
With aftermarket swing arms using tapered rollers, be careful…
*There are various issues so I won’t go into detail…
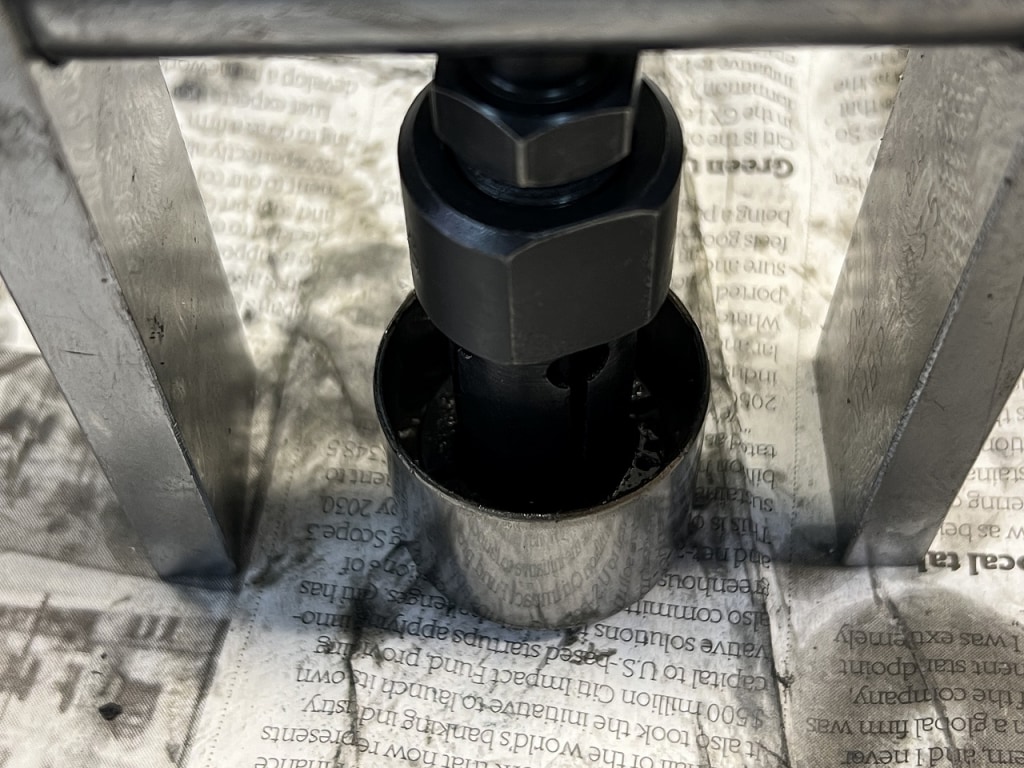
I don’t have a 28mm inner diameter puller…
I stretched a 25mm one and encountered the hell of outer shell remnants
for the first time in a while. I used Hascoat …
As expected from a high-end specialty tool… The material and hardening are different…
Just remember that cheap tools are just black.
Once it’s out, it’s just a matter of putting it back in, so it goes smoothly.
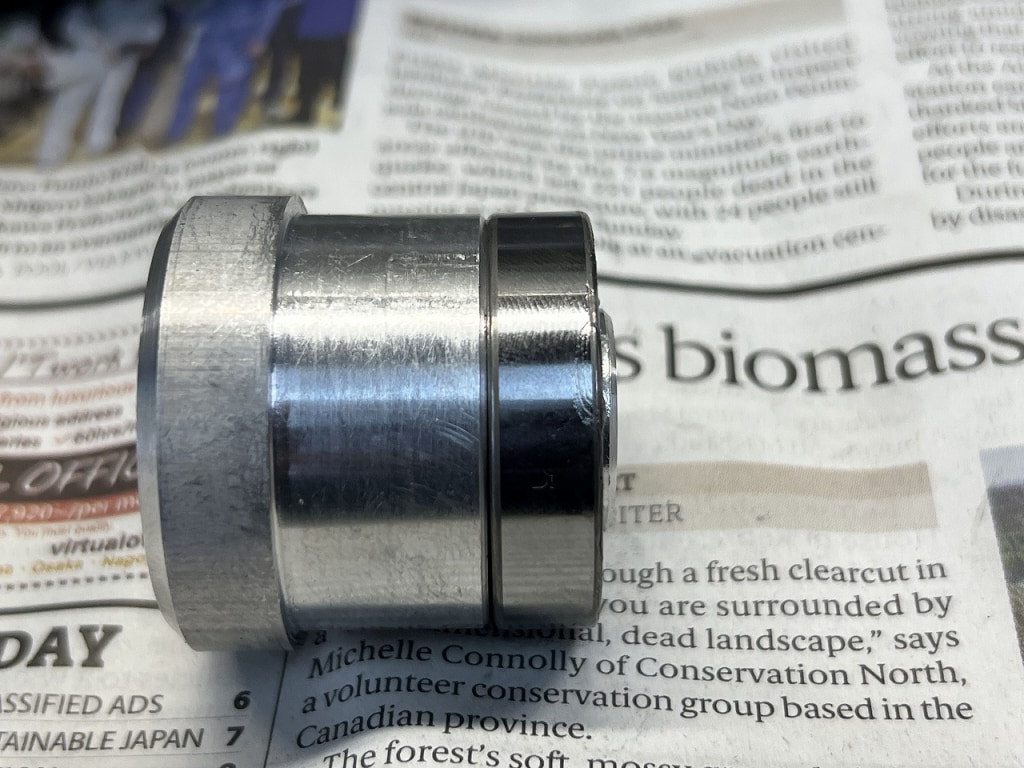
I didn’t have anything to install the pivot ball bearing, so I made one (*´ω`*)
It’s always such an obscure dimension…
Once you make it, future jobs are easy.
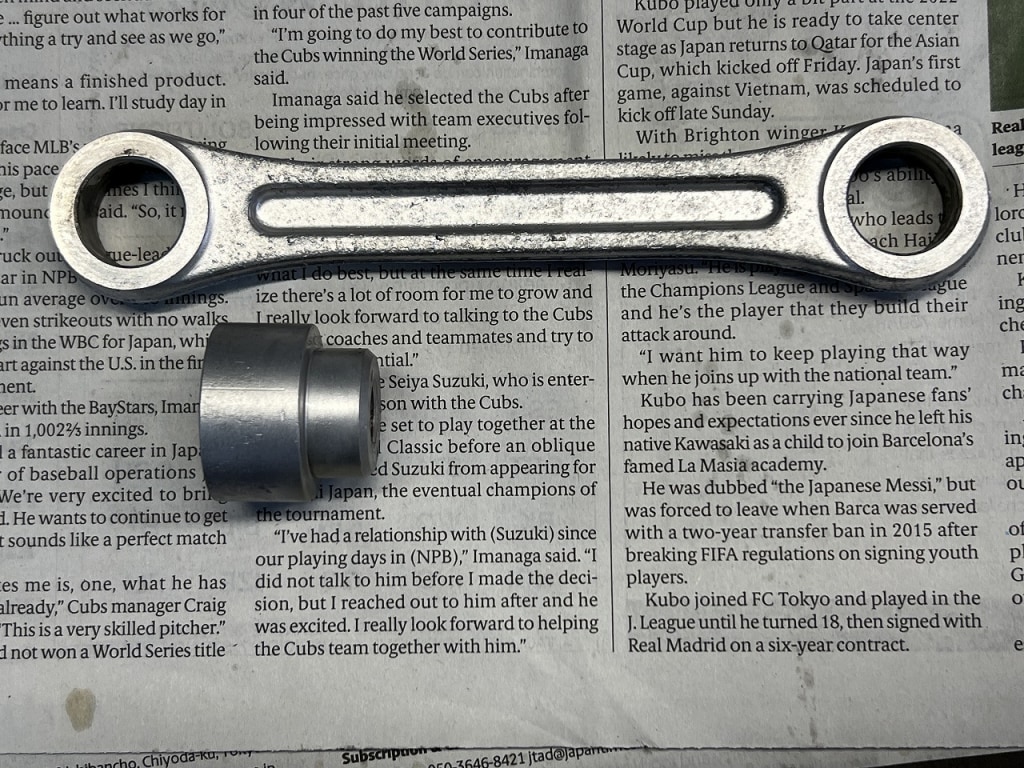
I also cleaned up the torque rod-like part nicely (*´ω`*)
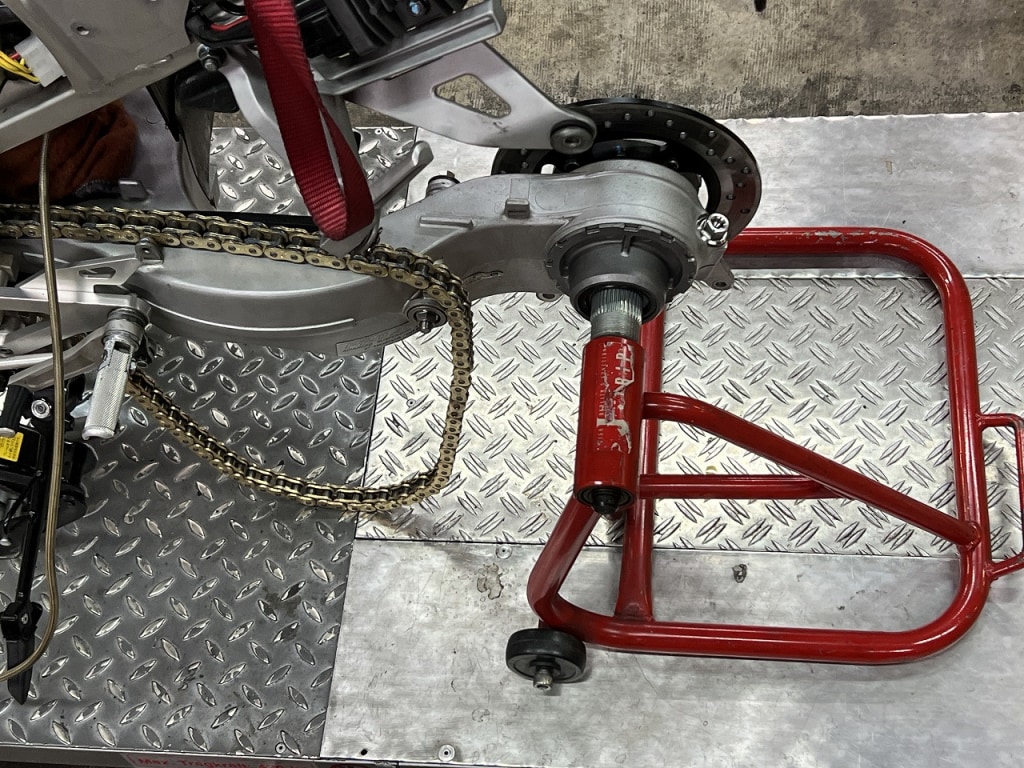
On 4/25 I ran out of time and made a temporary landing.
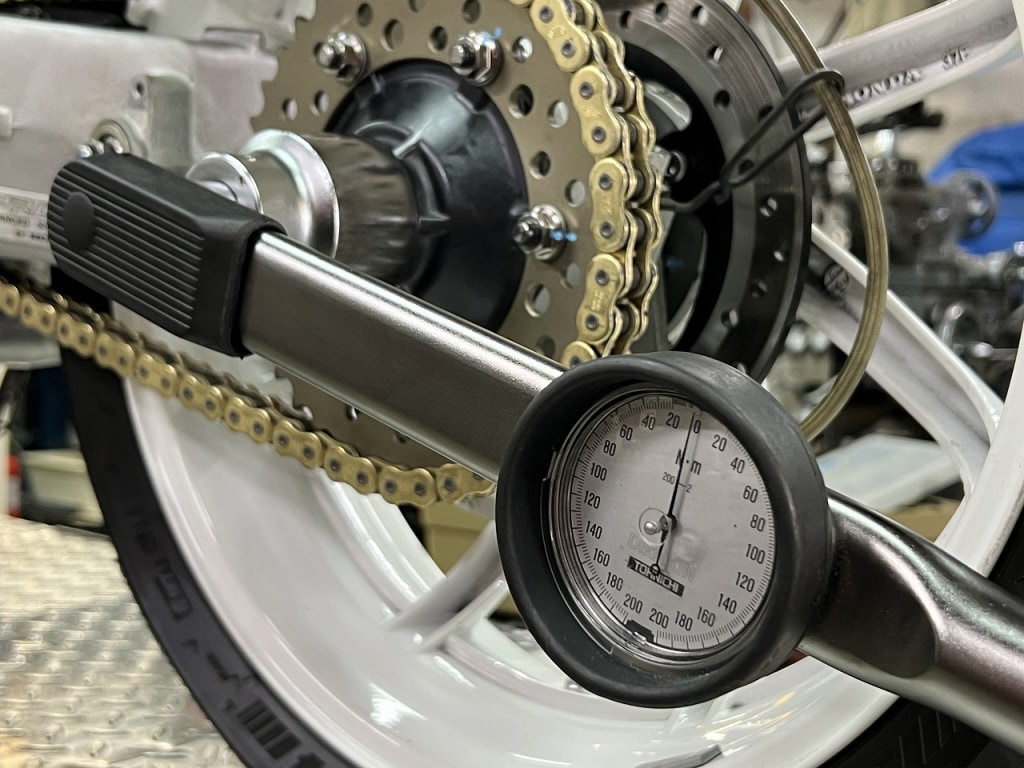
And the next day…
I checked everything again and assembled it all (‘Д’)
The nuts are titanium, which is very scary…
The horror of having seized a titanium bolt before… “Stuck!” won’t move~
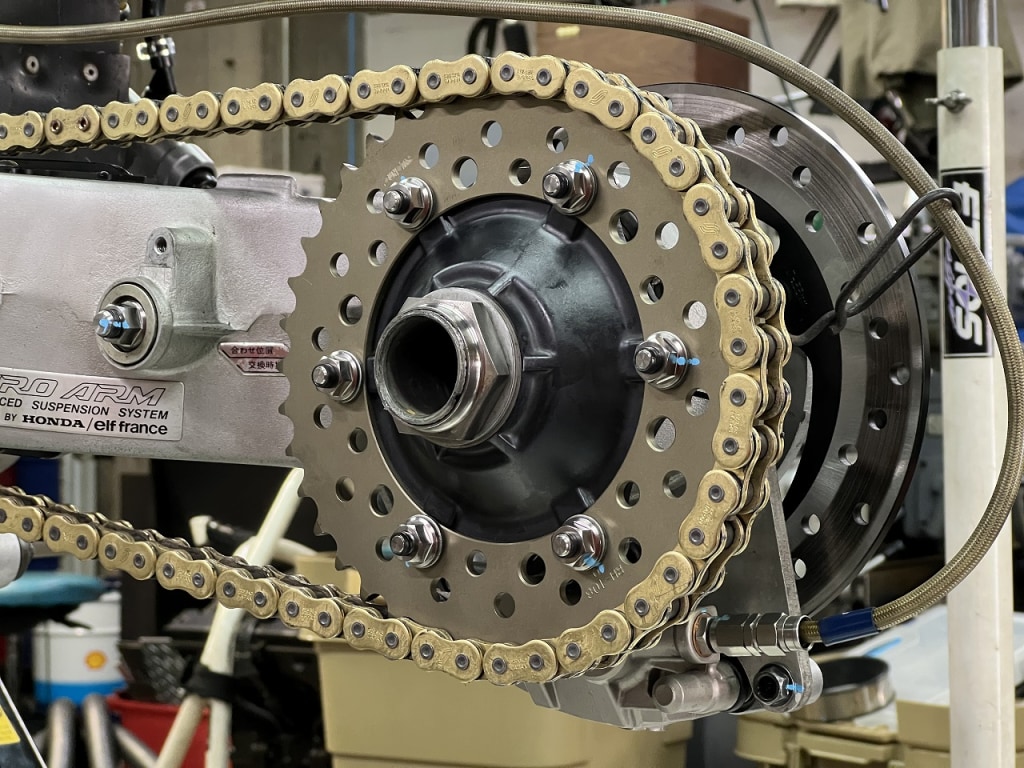
The brought-in nuts have no lock, so I applied thread locker + anti-drop treatment.
*All STD lock nut locations
Now installing the polished muffler
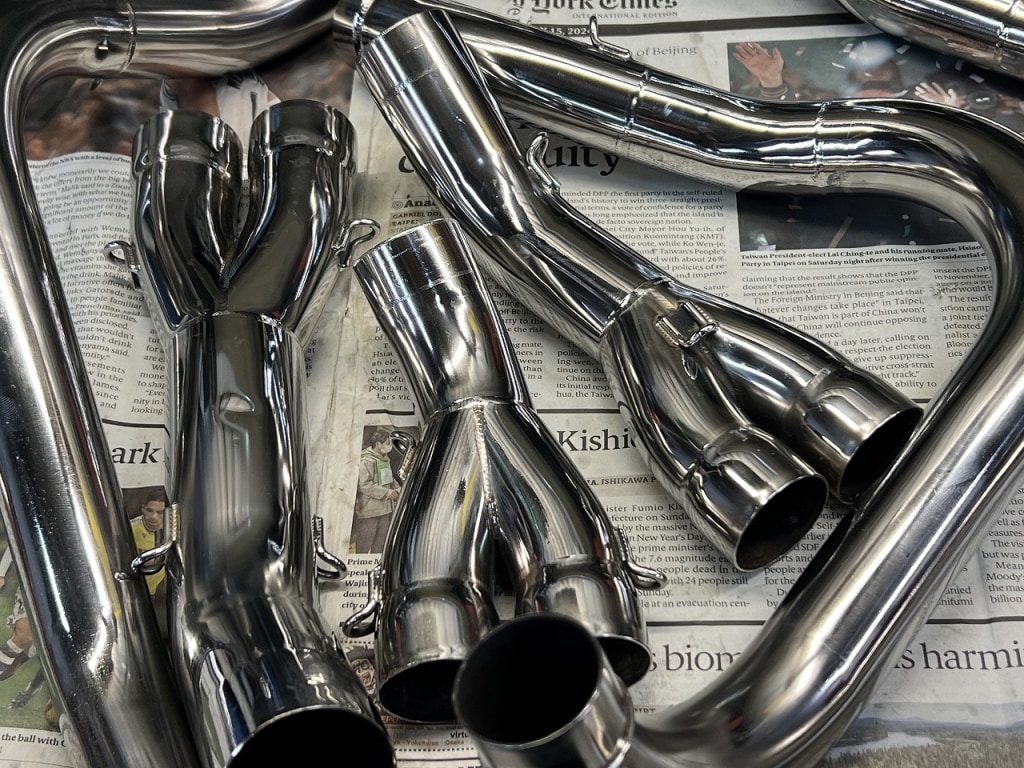
Wow, Pikachu! ( *´艸`)
That’s some scary skill… truly mirror-like
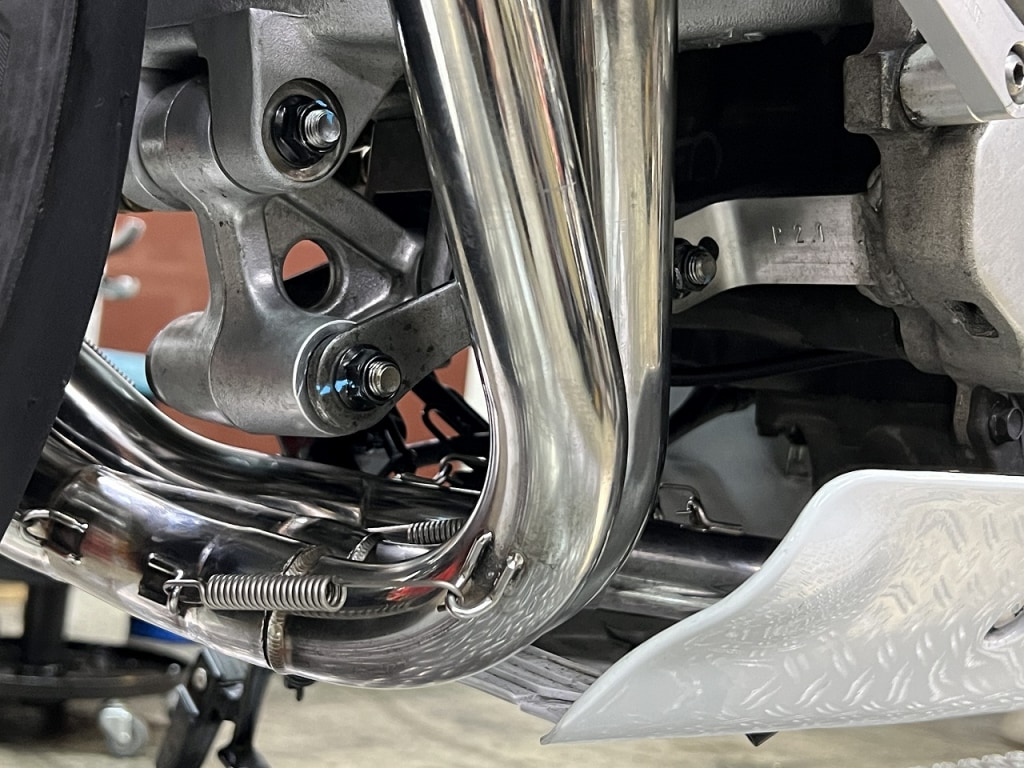
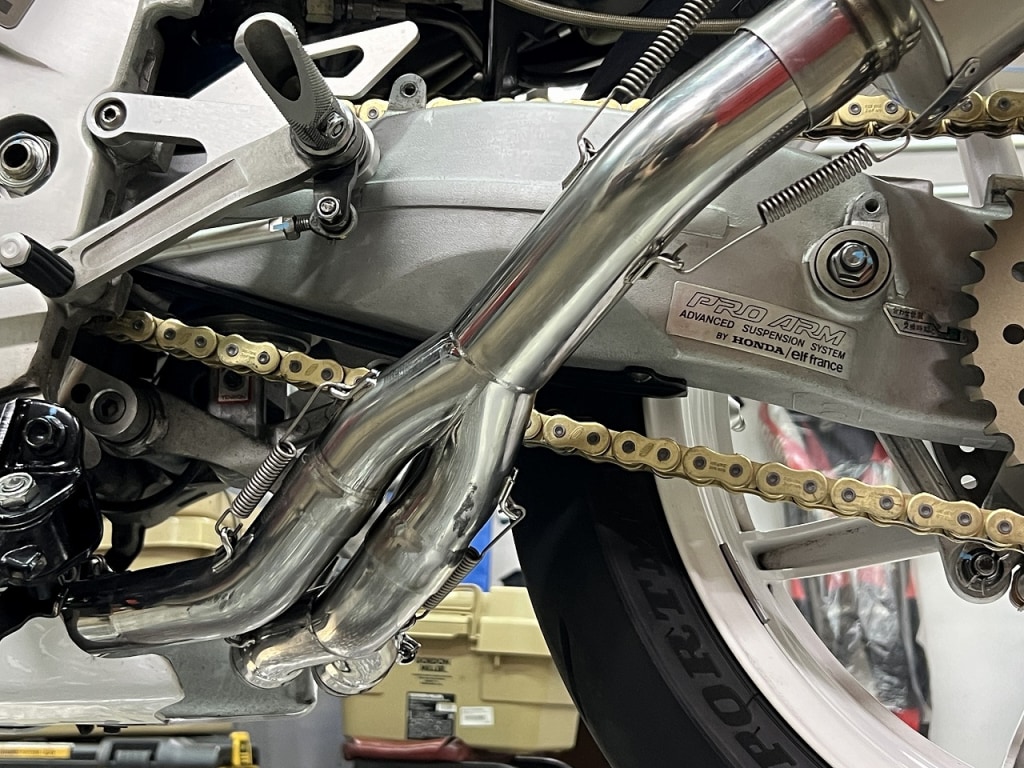
It’s shiny and feels great!
All that’s left is to install the chain case and we’re done~
ポチップ
ポチップ
ポチップ