Things never go as planned (*・ω・)(*-ω-)(*・ω・)(*-ω-)Yeah, yeah♪
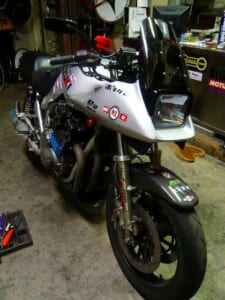
Today was one of those days. I was supposed to just do a quick oil change this morning and be done with it. The Z1000MK2 project keeps dragging on, but I’ll finally get it finished.
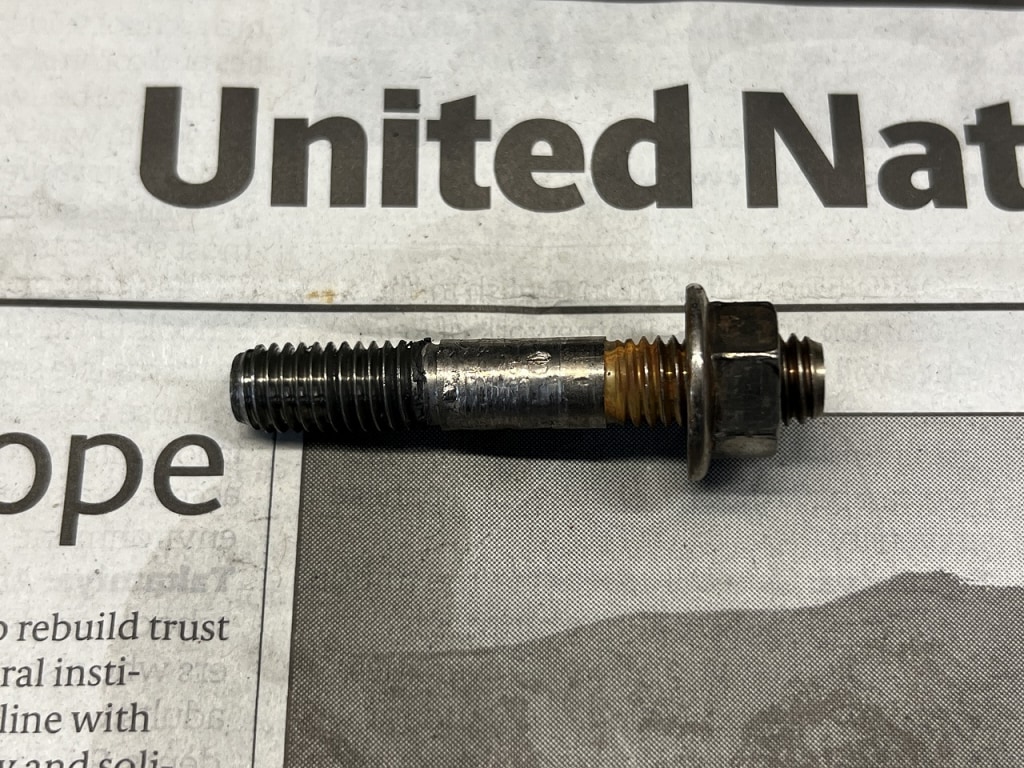
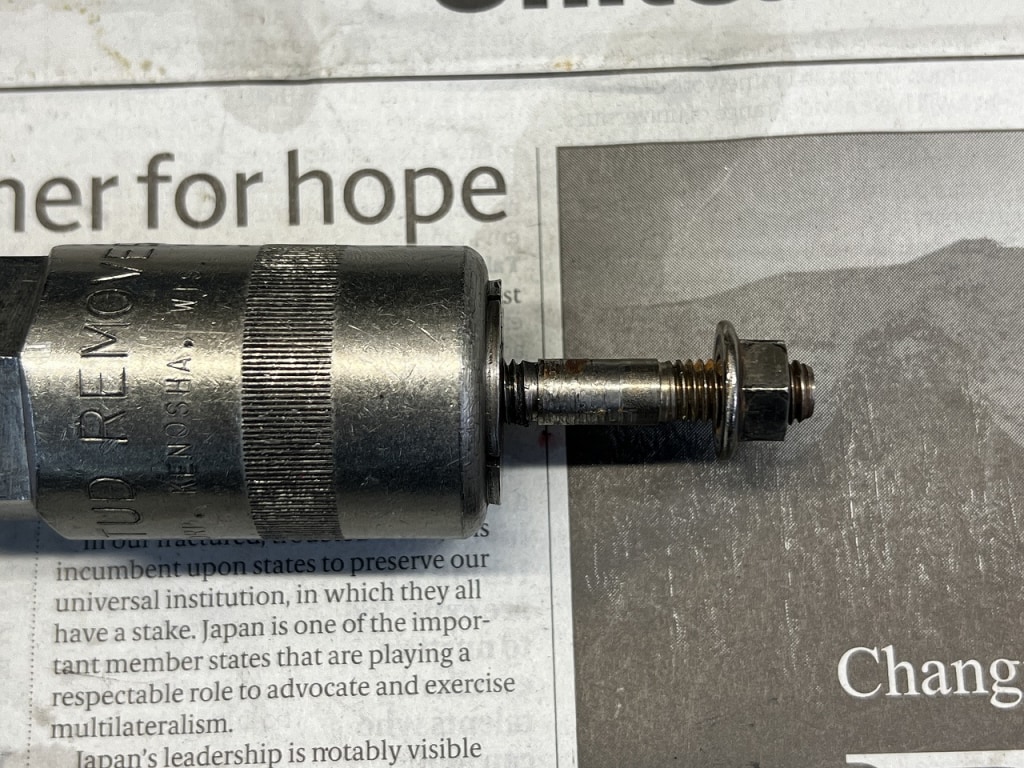
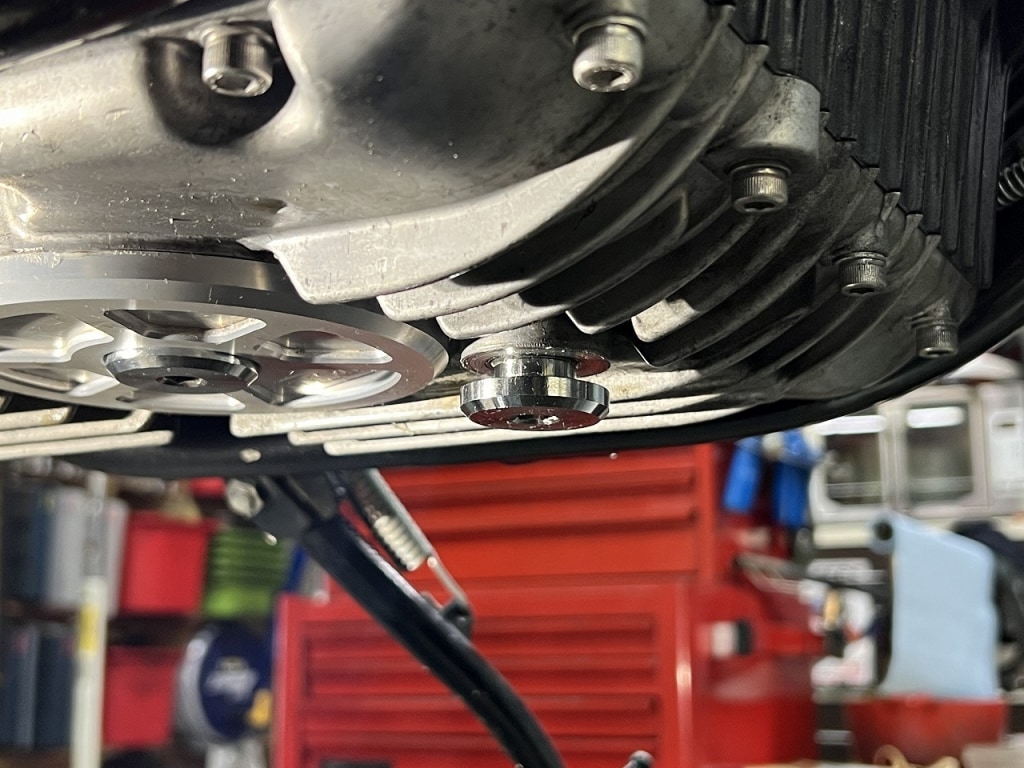
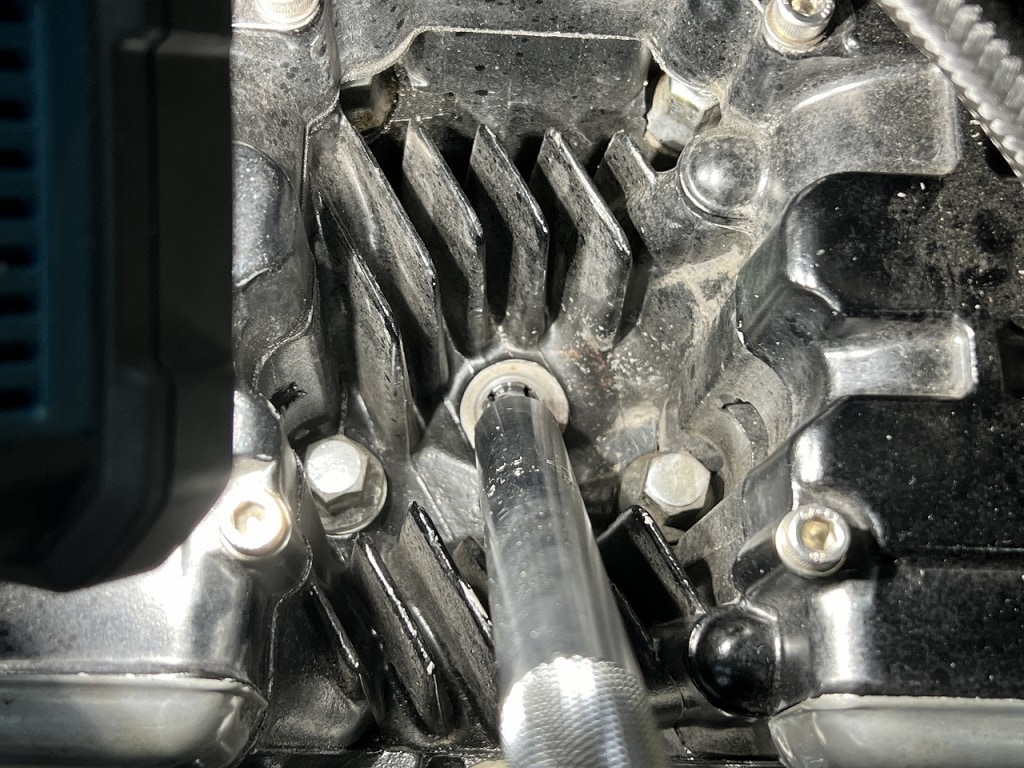
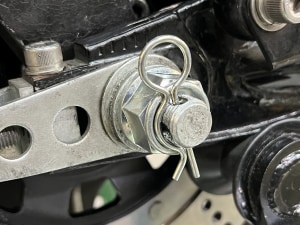
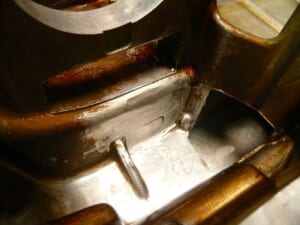
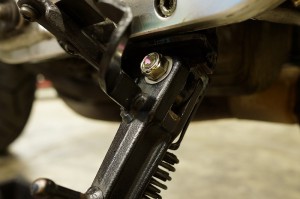
One of the studs came out. It’s some kind of unfamiliar SUS304 stud bolt + SUS304 nut I tried to remove it by attaching a puller to one side and turning the nut but it’s seized solid and won’t budge.
Stainless steel seizing is no joke. With iron you can sometimes fudge it and get it out, but with stainless it usually just breaks. I don’t hate stainless steel. There are just certain places where you don’t want to use it, so it’s good to be careful about how you work with it.
I didn’t want to pull everything out and risk it, so I just cleaned up the problem area and replaced it with an iron one.
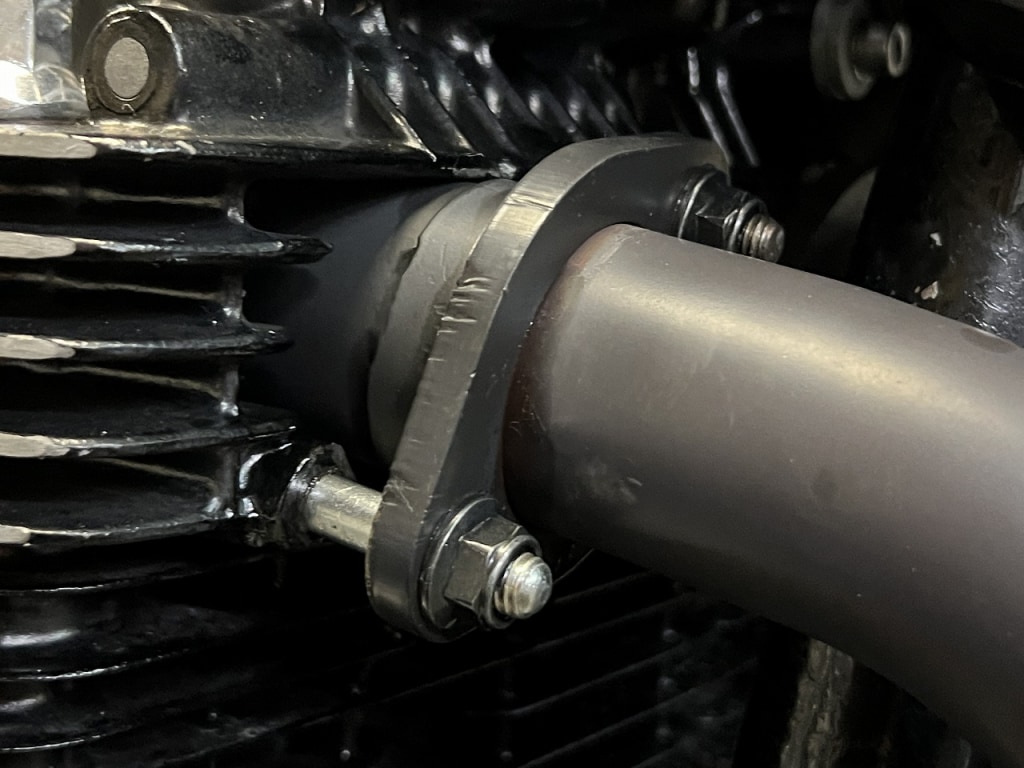
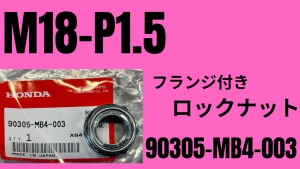
I also switched the nuts to iron flanged lock nuts (non-serrated). *All nuts are
I’d like the muffler to be securely fixed but if I tighten it too much the flange bends. If I want it to not leak exhaust and not come loose, lock nuts are the only option. Since maintenance gets a bit messy, I prefer to use flanged nuts. I don’t want to damage the muffler flange too much, so I use non-serrated ones. *Serrated = the bumps that prevent loosening
The feeling when removing the drain bolt is really bad. Even when putting it in, it feels a bit rough for a few turns.
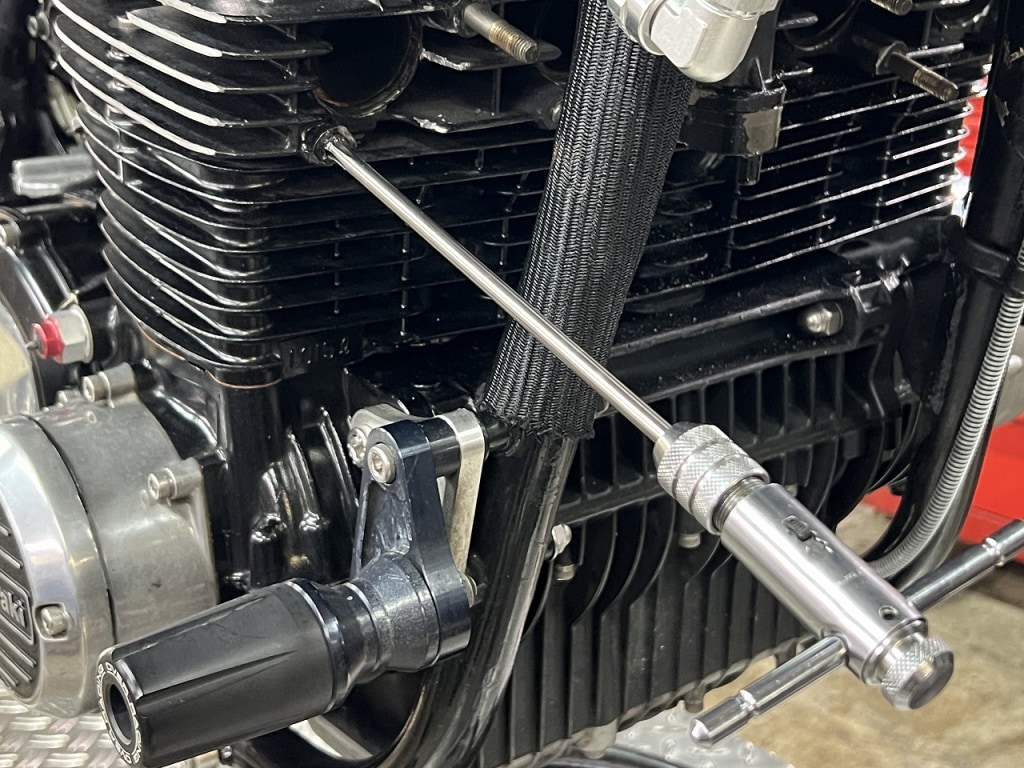
The drain is M20-P1.5. I lightly cleaned it up with a tap to correct it. For some reason, I feel more comfortable replacing this kind of thing with the original iron one too.
While I’m at it, I check the throttle cable and find a problem…
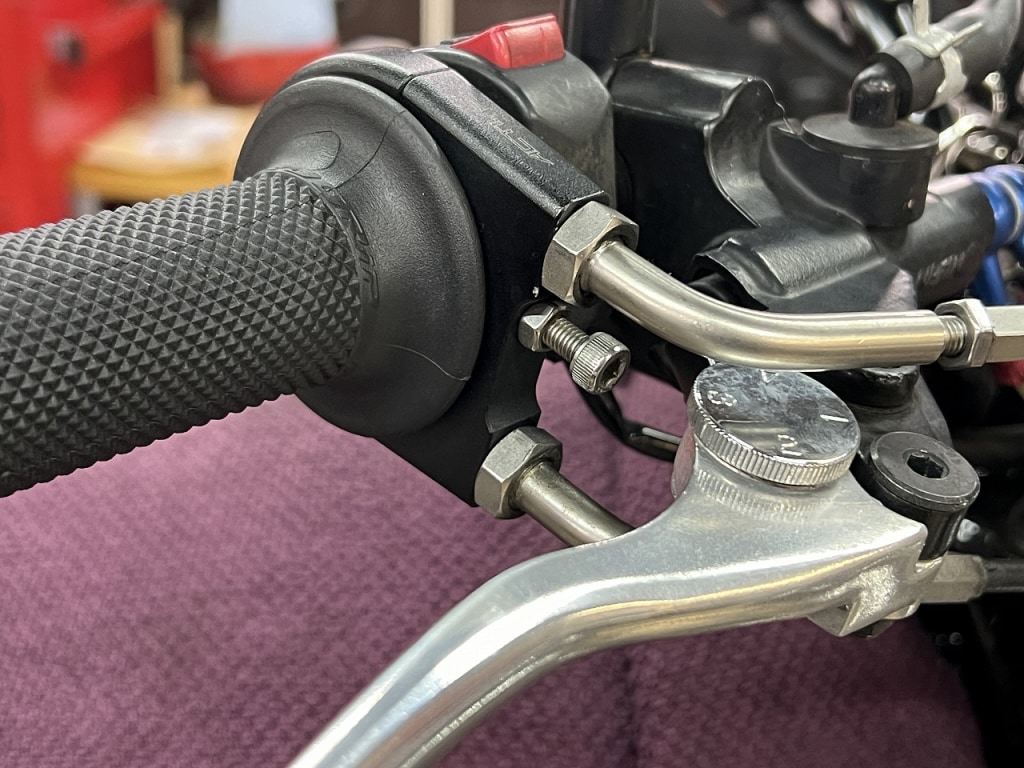
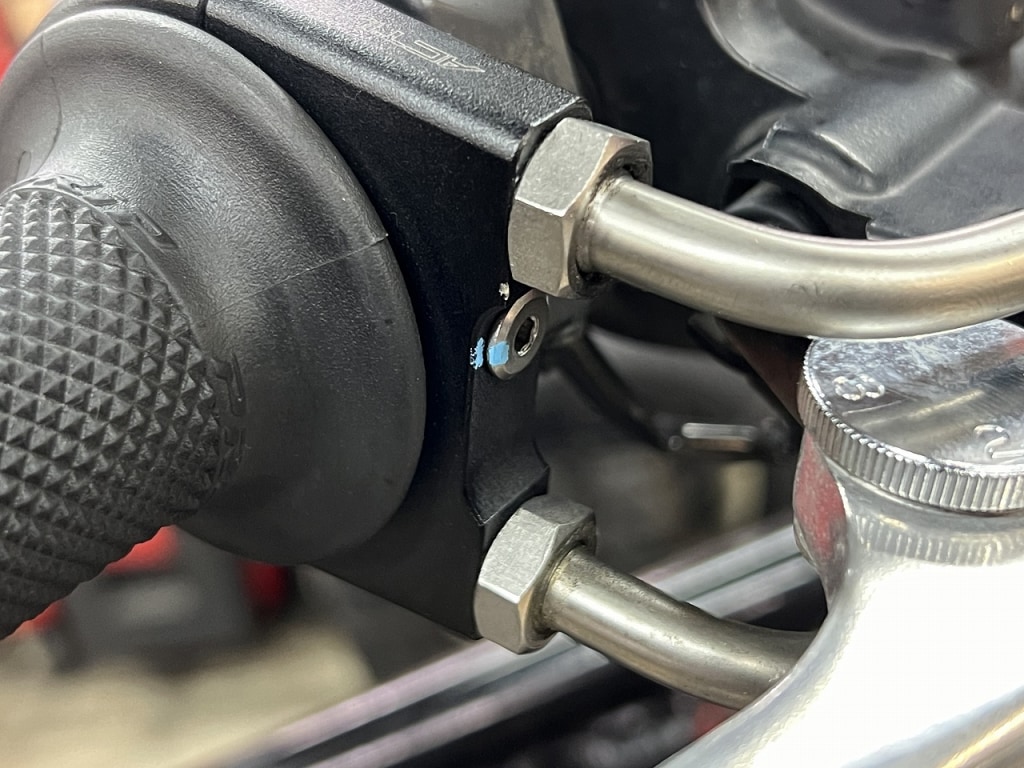
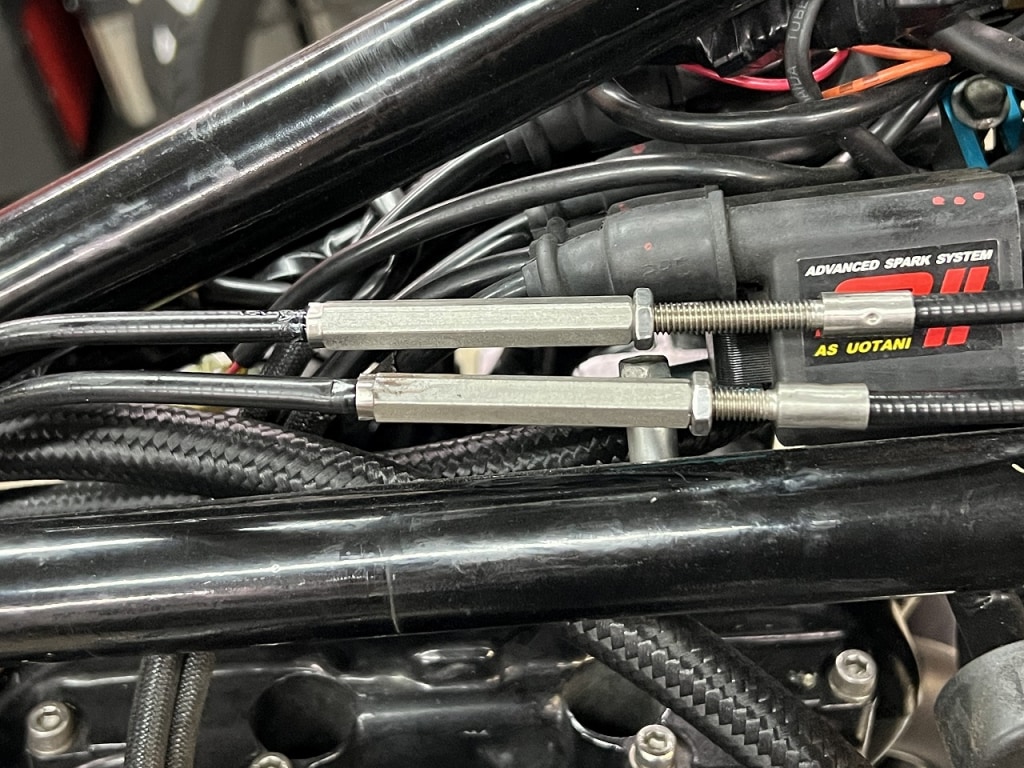
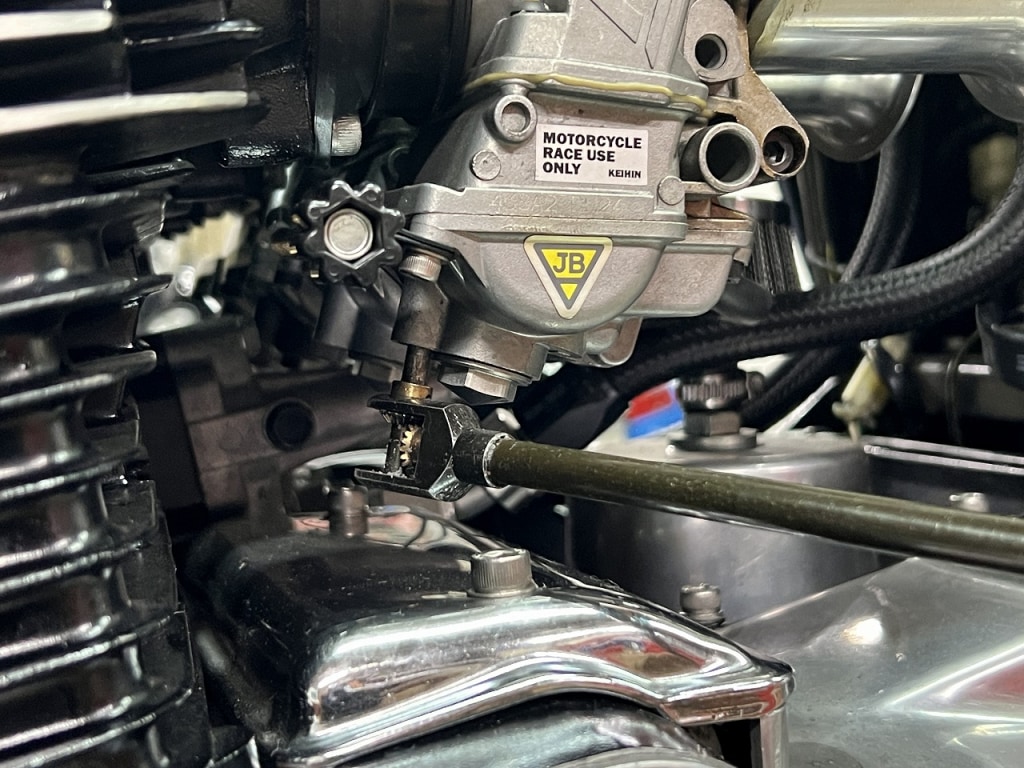
The throttle holder has a stopper bolt. Surprisingly, I see a lot of people installing throttle cables without using this feature.
If you use the stopper bolt, you can adjust the throttle cable properly, so please try it.
I decide the length myself and lock it with the bolt on the holder side.
The reason the included bolt is“bolt and nut configuration”is so that all“throttle sleeve winding outer diameters”can be adjusted.
There’s nothing complicated about it—it’s just a stopper—so as long as the throttle moves smoothly and the bolt isn’t pressing on the throttle sleeve, you’re good. It’s best to check visually to be sure.
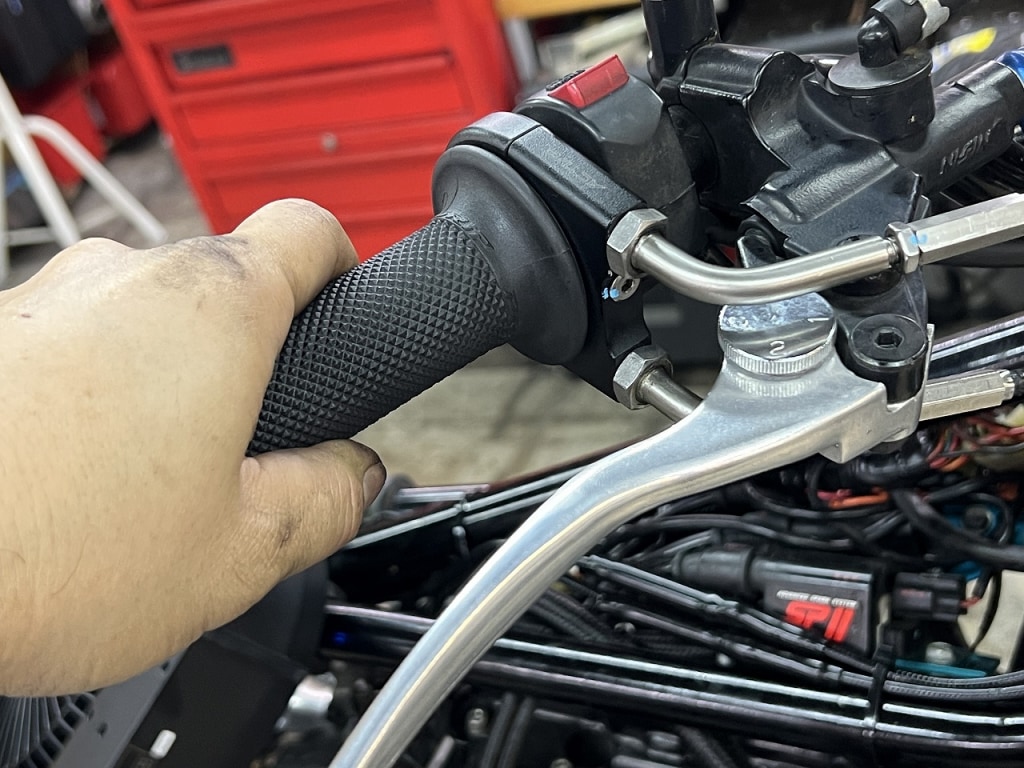
Then I pull the throttle cable back and make it all free.
Since the stopper is solidI adjust the pull side first. Just think of it as adjusting the throttle play.
Next I adjust the return side. The return side is basically insurance, soadjust it without making it too tight.
Without a stopper, it’s hard to adjust properly. The reason is that you’re adjusting the throttle cable play by balancing the pull and return sides so depending on how you adjust it, the return can be sluggish or it gets really complicated. Plus, the throttle off doesn’t hit the stopper crisply so it feels spongy and really uncomfortable.
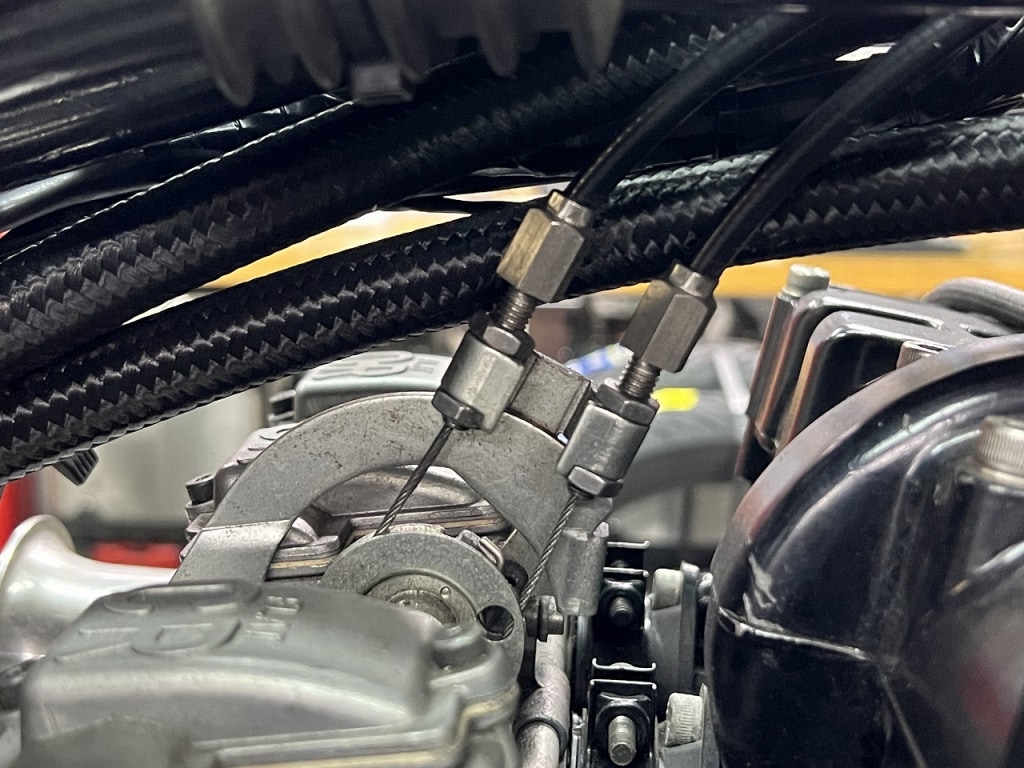
*The throttle cable currently in use is something you’d better not use if possible.
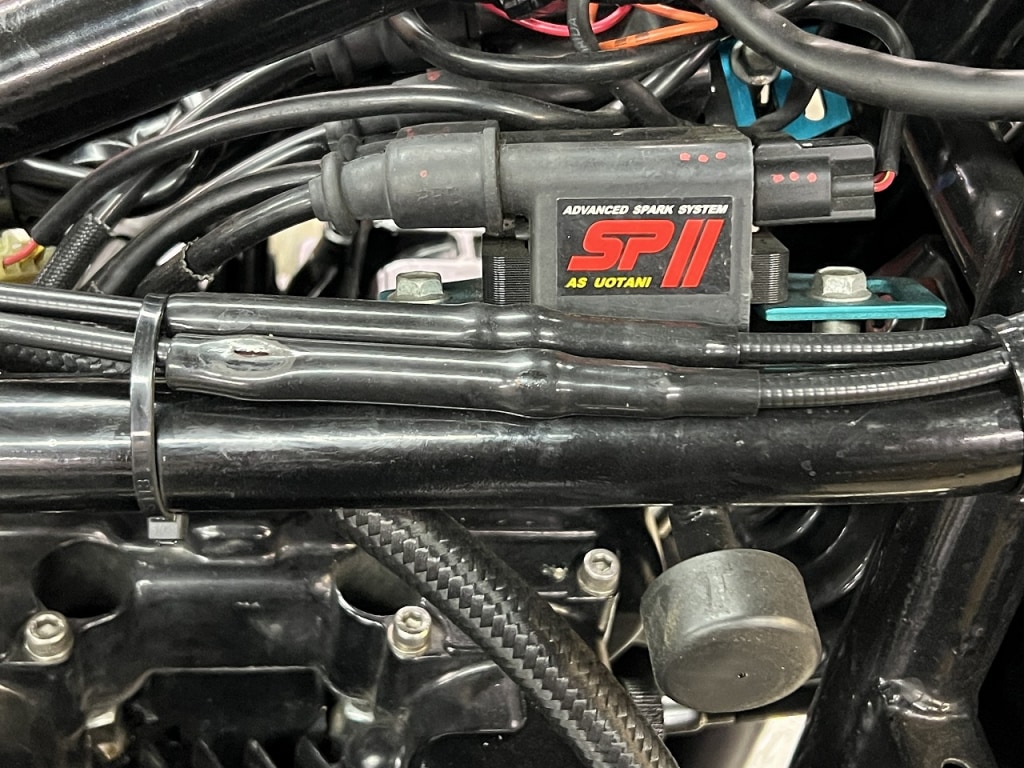
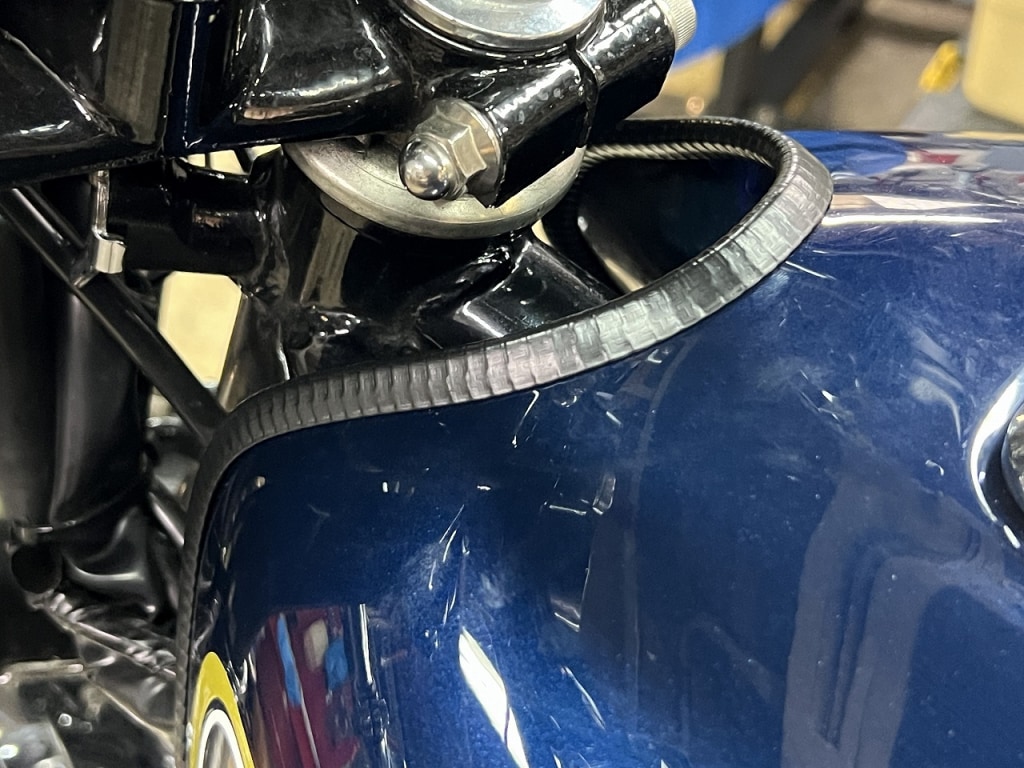
It has lots of adjustments and you don’t need to remake the cable, which is great, but… As you can see in the photos, it contacts the tank and other parts and gets scratched. Also, the more you adjust it, the longer it gets, so the layout isn’t pretty. *Play adjustment = outer length increases. There’s no end to it, so let’s replace it another time when we get the chance.
Now the throttle is super smooth! (*´ω`*)
Since we have such good parts, I want to get 100% performance out of them.
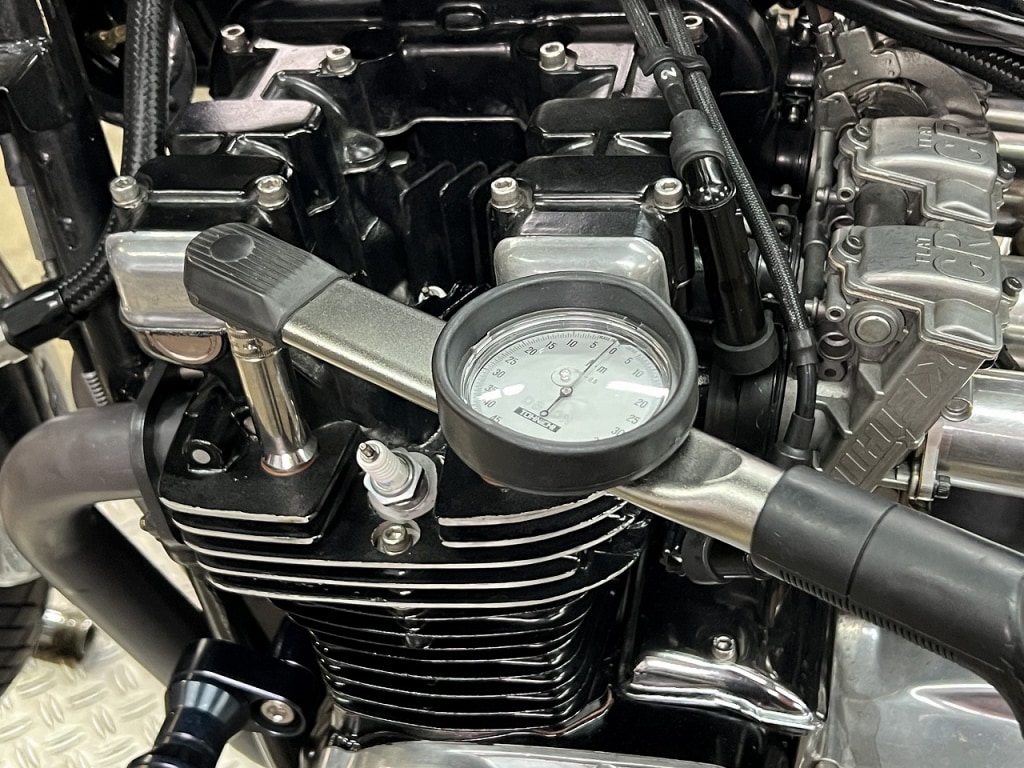
I’ll check the head tightening torque
It looks like it’s been overhauled, so I’ll check it just to be safe even though it’s scary. It’s tightened up tight!
Kawasaki fasteners from this era are a bit scary, you know. I talk to the torque wrench and tighten gradually instead of all at once. If I break a bolt doing this, it would be the worst. Take your time and don’t rush.
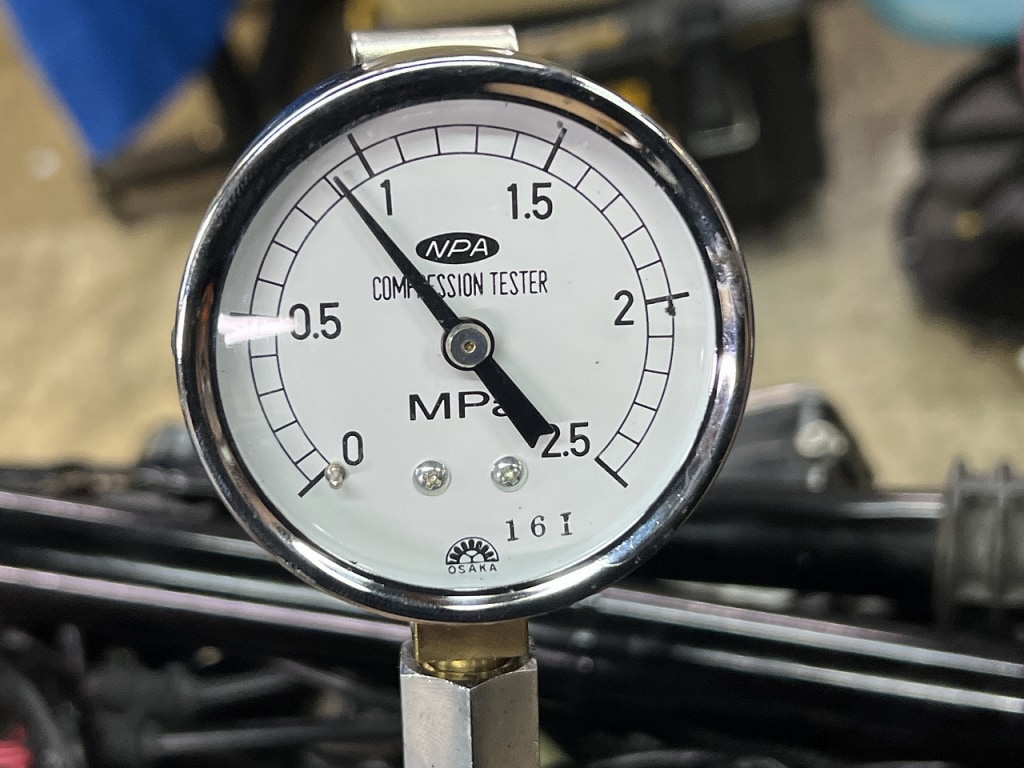
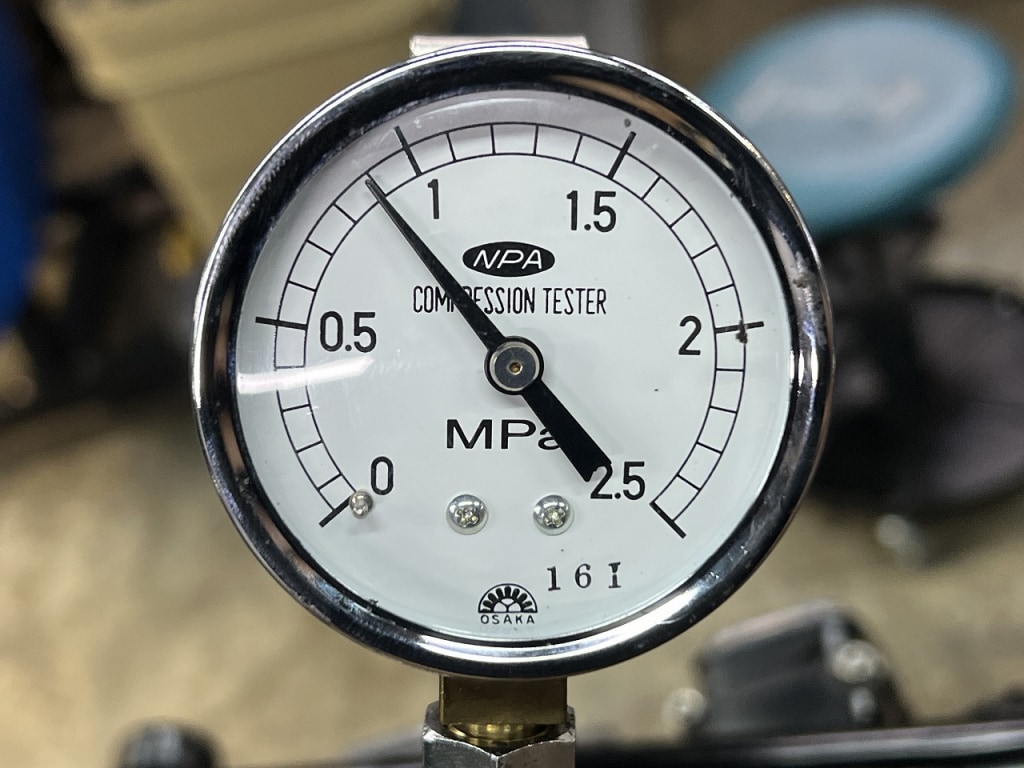
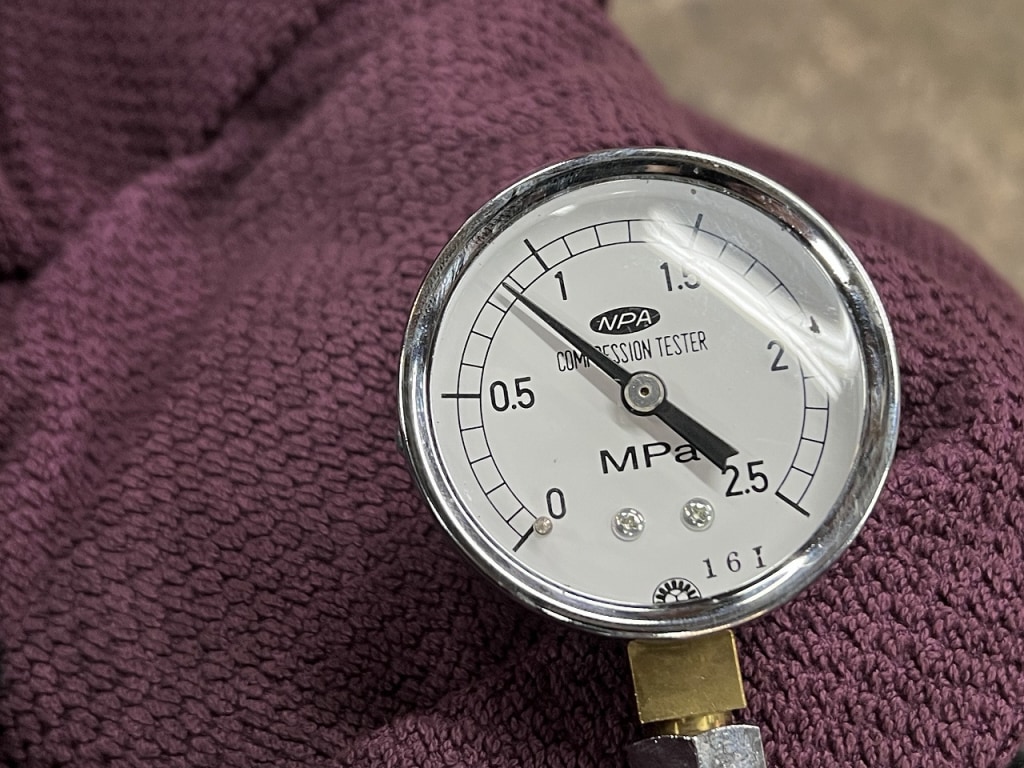
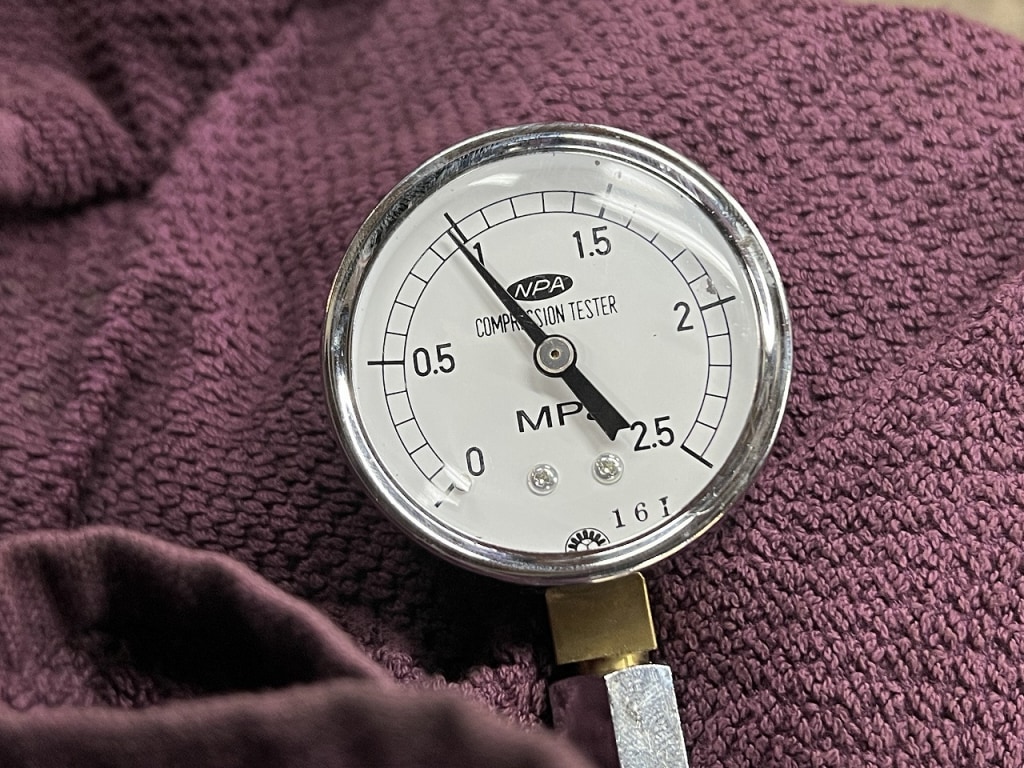
The plug color was a bit off, so I’ll check the compression
Cold, it was around 0.9~1 MPa, so that’s reassuring. Compression measurement is rough, but it lets you check for issues like clogged tappets or loose piston clearance.
If there’s a serious problem, the reading won’t go up at all, so you can quickly tell the engine is in bad shape. If you crank the starter hard with a fully charged battery, the numbers will go up, but that’s all. Just make a rough judgment that it’s probably okay.
The #3 thread is definitely messed up ( ;∀;)
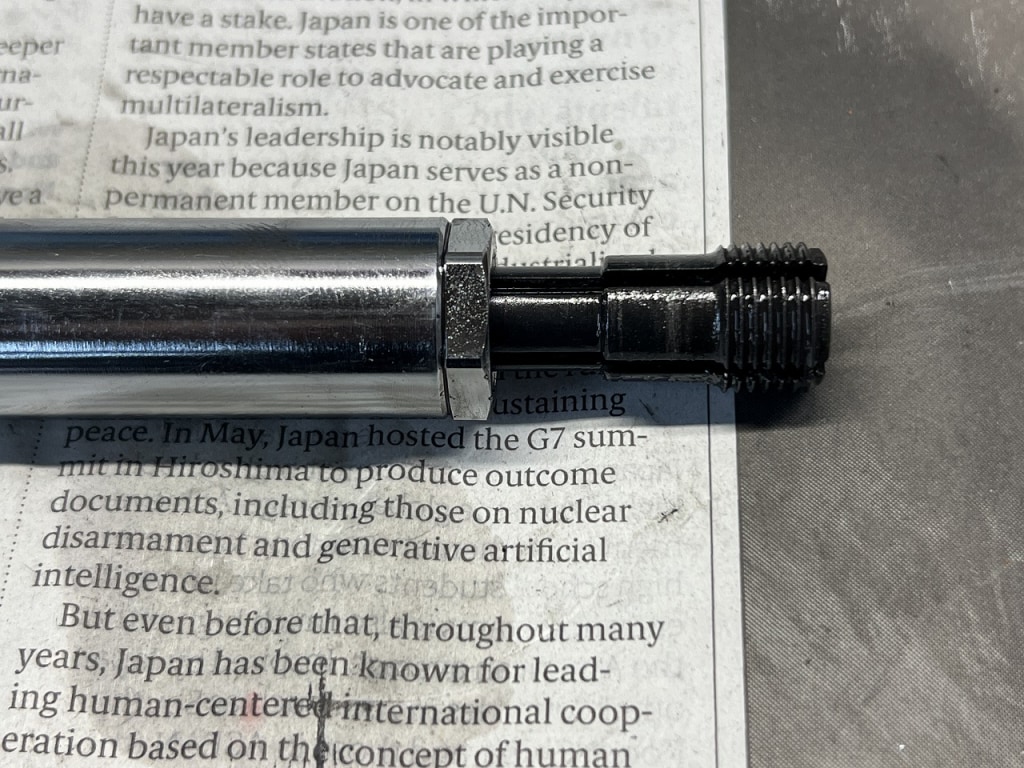
Hasuko’s internal and external spark plug thread repair tool. It comes in handy at times like this. *About once a year
Plugs should basically slide smoothly all the way in by hand. Probably #3 was inserted at a slight angle and the entrance got a bit messed up. For peace of mind, I corrected it.
But using this tool is a bit scary too, so I do it nervously every time. You have to focus all your attention when replacing spark plugs. It’s that dangerous of a place.
I’ll attach a molding to the front of the fuel tank
The tip of the fuel tank tends to get paint chips pretty easily. Adding a molding reduces that and even if it does chip, it doesn’t bother you as much.
Safety first, appearance second—both are really important.
I adjusted the PS and AS. Now it’s just a test ride and we’re done.



 ポチップ
ポチップ