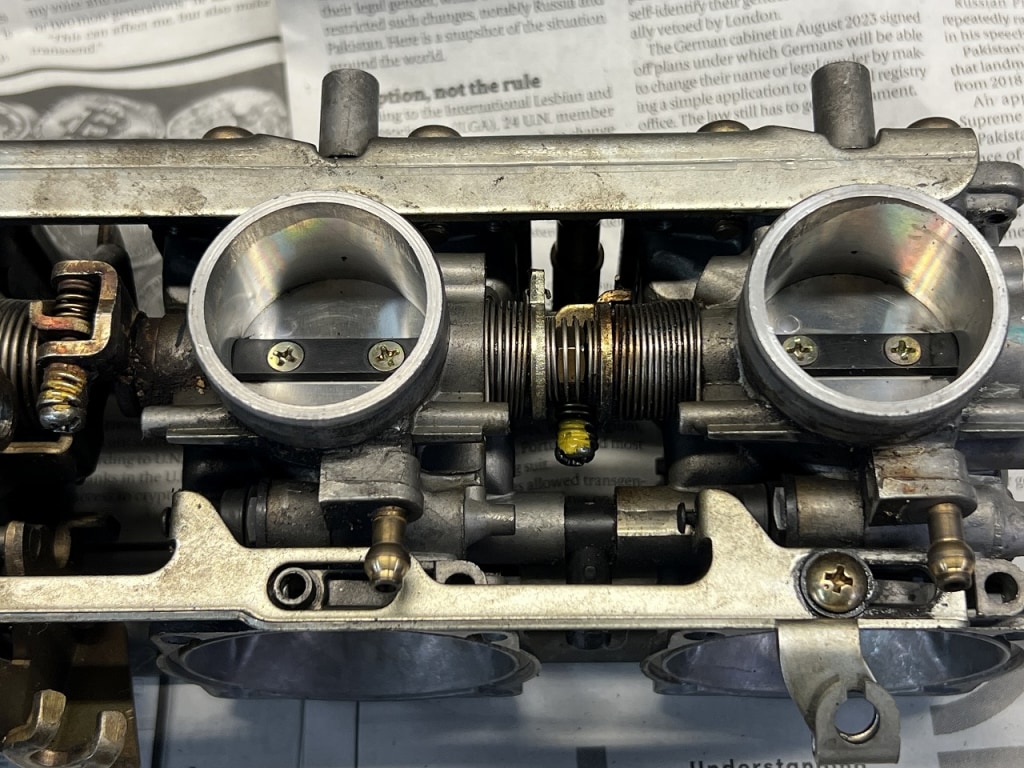
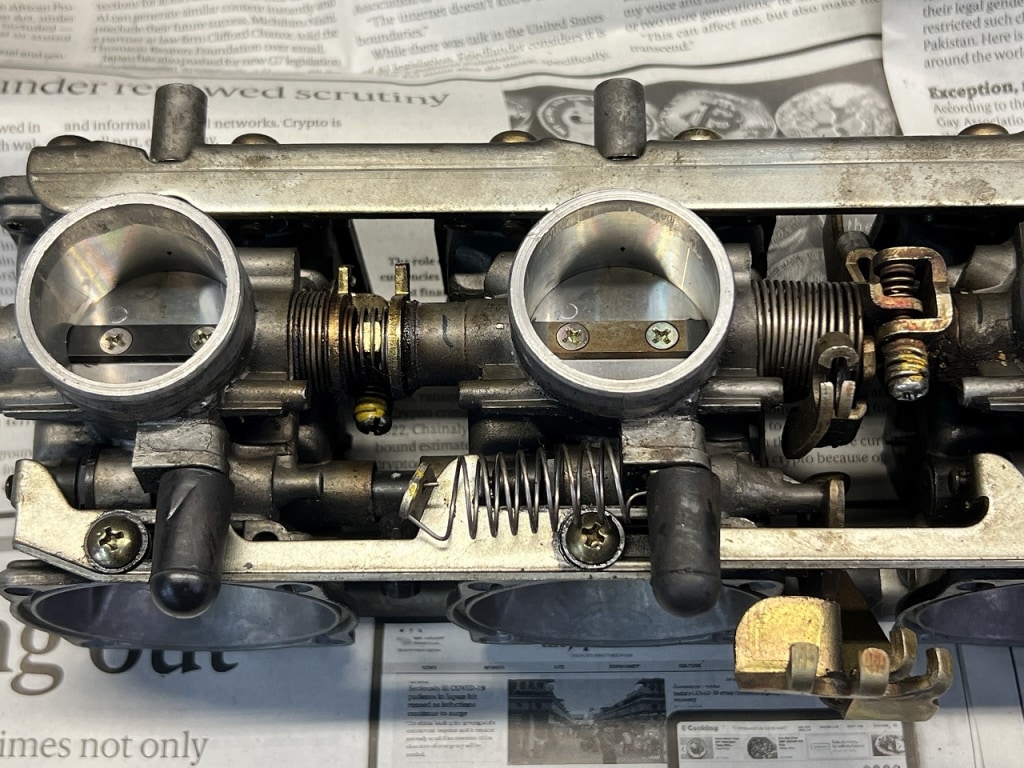
After assembling some parts that were brought in. “Something’s a bit off.” I actually felt it a little during the test ride too.
We don’t test ride in this Tokyo area because it’s dangerous. Bicycles just come flying at you, you know? ( ;∀;)
After that, I double-checked for mistakes right in front of the customer—none found. Replaced the intake manifold and O-ring—slight change. Removed the needle shim—no change. Reverted to the original parts—no change??
Checking again, the slide valve movement at rest seemed slightly off. I’m not sure if it’s a surface treatment issue, but it feels wrong, so the request is to “overhaul the stock carburettor and swap it in.”
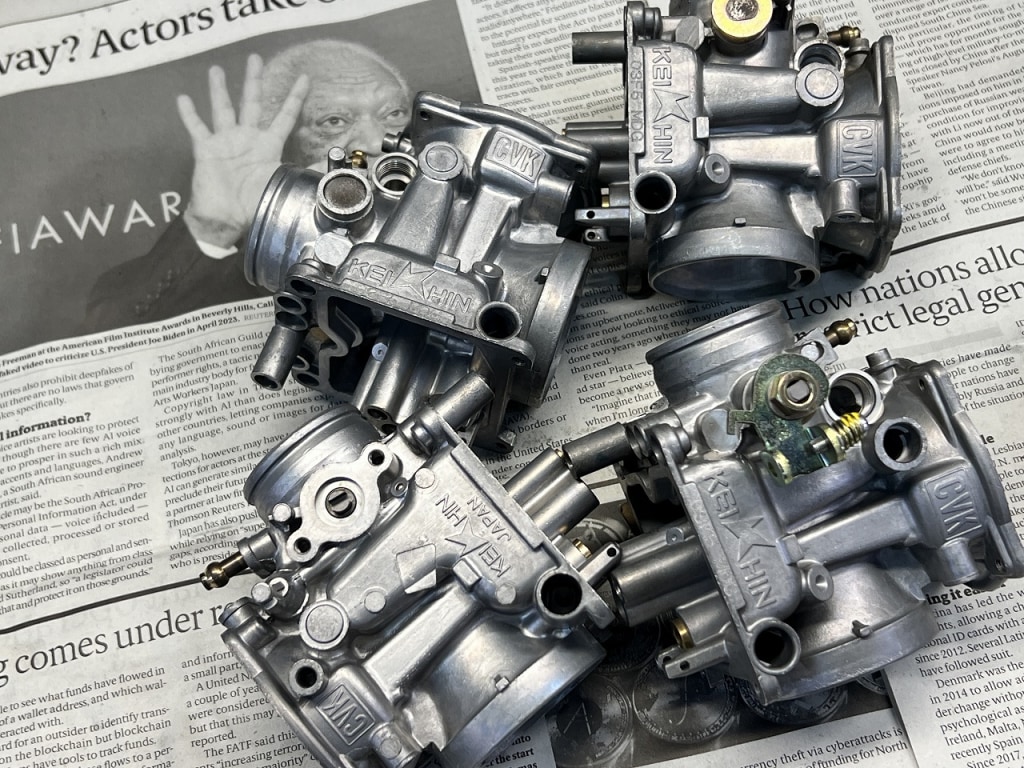
I’m really convinced again that carburetors should be Keihin!
It’s a hand-me-down without a slide valve. The condition is really nice though.
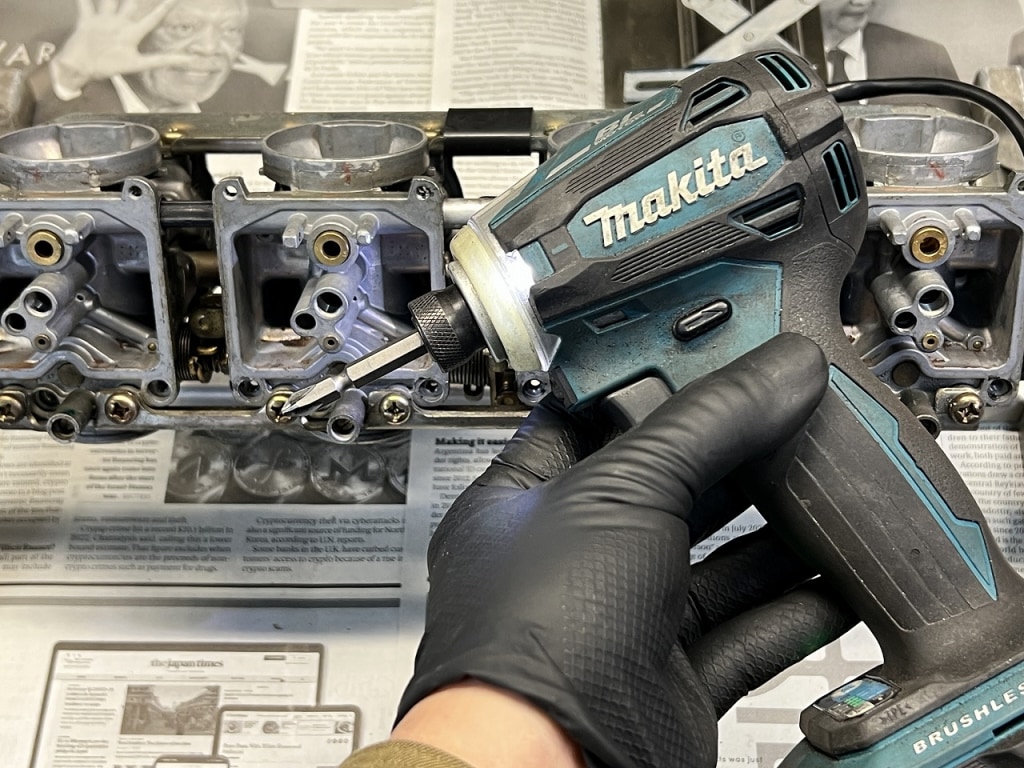
When removing Phillips head screws, a Makita impact driver is foolproof. Honestly, if you try to loosen them normally, you’ll strip the head pretty much every time.
Even stripping one screw wastes time and doesn’t guarantee you can remove it. I think it’s best to use a “shock driver” as little as possible. A shock driver basically strikes, so it does some damage to the body.
The carburettor is aluminum casting and has been around for many years. If it cracks or breaks, things get messy, so it’s best to keep risks minimal and work carefully.
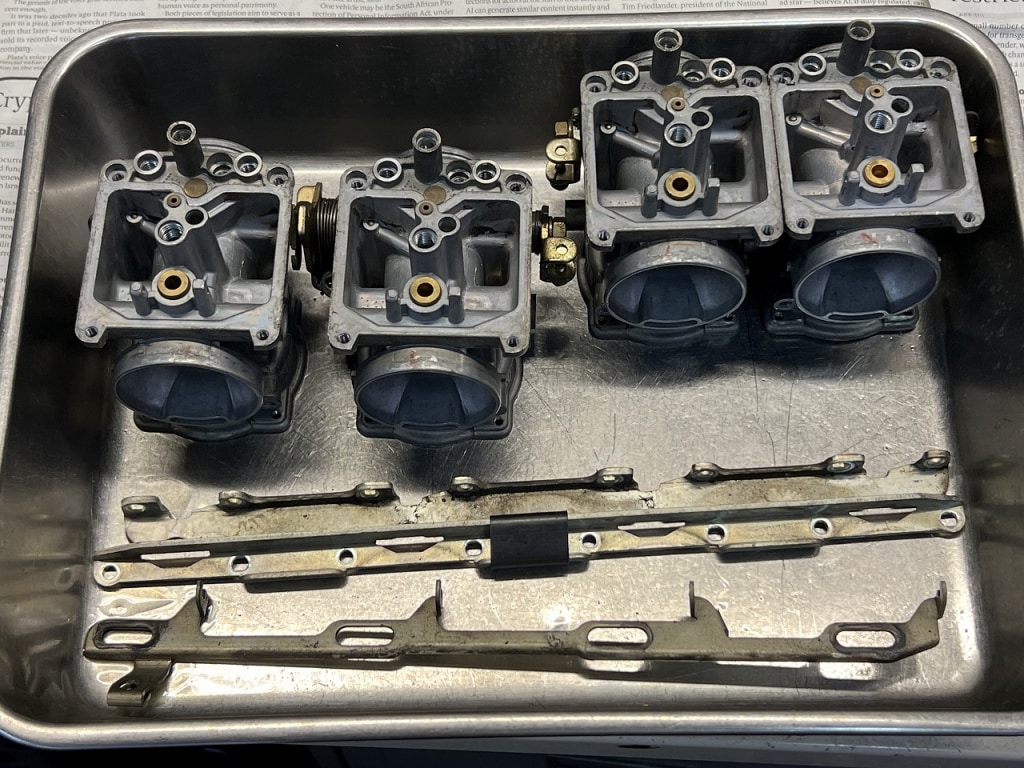
Before disassembly, I check to make sure nothing is missing.
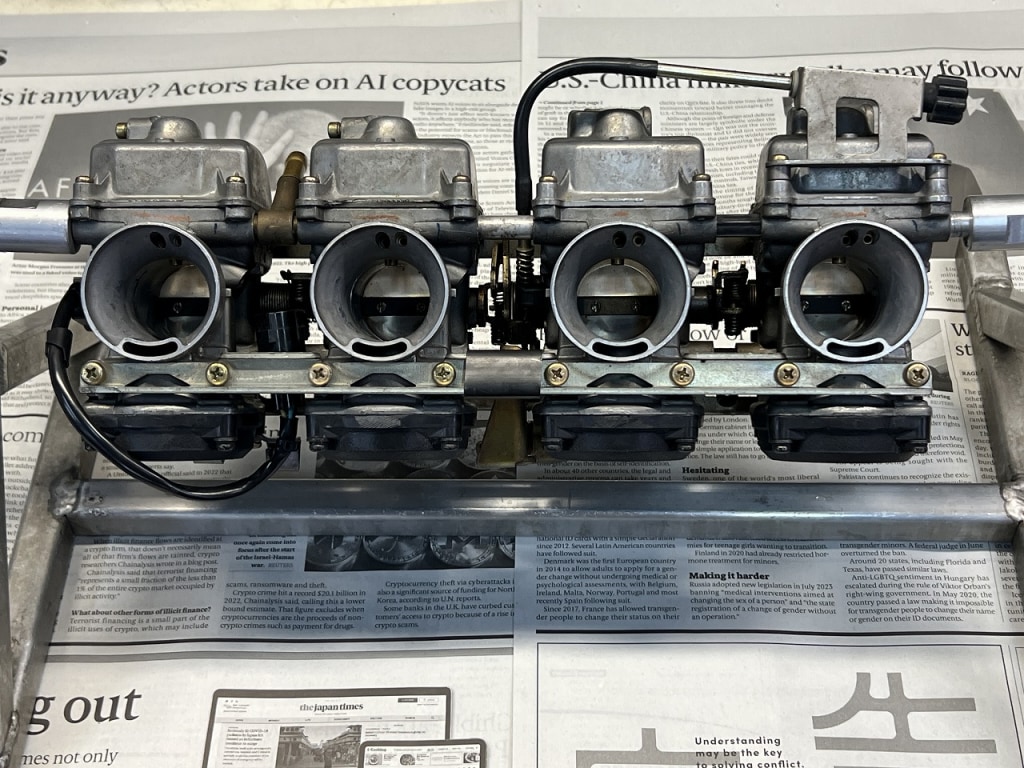
Vacuum carburetors have a basically simple structure, so they’re easy to work on.
Finished it lightly with baking soda wet blasting
The visible cylinders 1 and 4 —putting the most effort into the outside is critical (*´ω`*)
Baking soda media has gotten so expensive lately that we can’t do it very often.
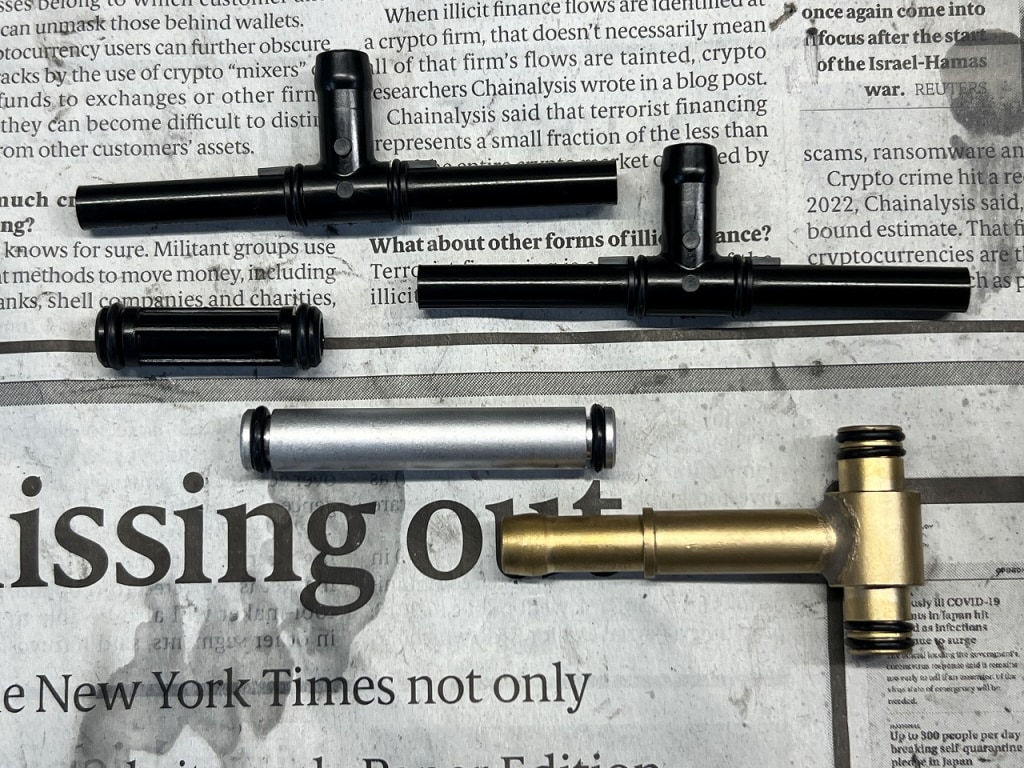
I replaced the replaceable plastic joints while parts are still available.
I wet-blasted the aluminum and brass fuel passage parts. The O-rings were basically all dried out, so if you have an oil-cooled 1200-series stock carburettor and haven’t overhauled it yet, you’d better check it soon.
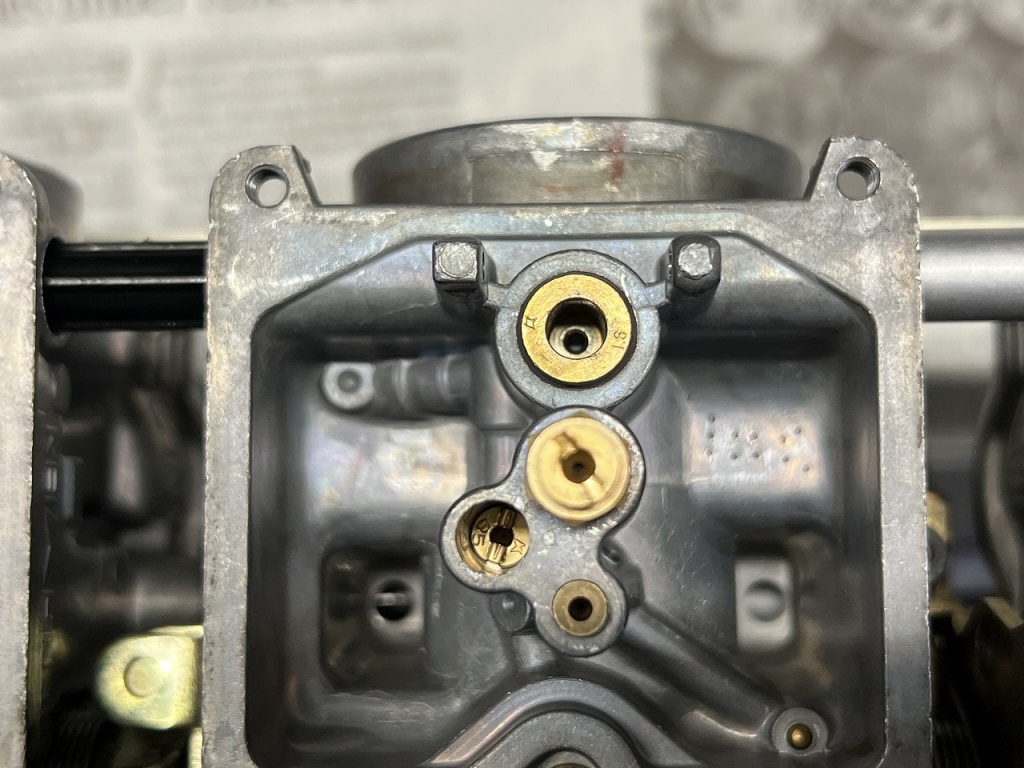
I lapped the valve seat with an industrial cotton swab and compound. Just doing this makes it seal perfectly.
Unfortunately, the float valve needs replacement.
Float valve tips with rubber rarely wear out. More often, “the rubber hardens” instead.
When this part hardens, “the seal gets slightly worse,” and the fuel level won’t stop precisely. It just keeps floating around. That’s the feeling I get.
You could skimp and keep using it, but “carburetors should be Keihin,” and parts are reasonably priced. The owner probably won’t overhaul it again in their lifetime, so I’ll replace it. Currently waiting for parts.
Fluorine grease—you can use it like this too
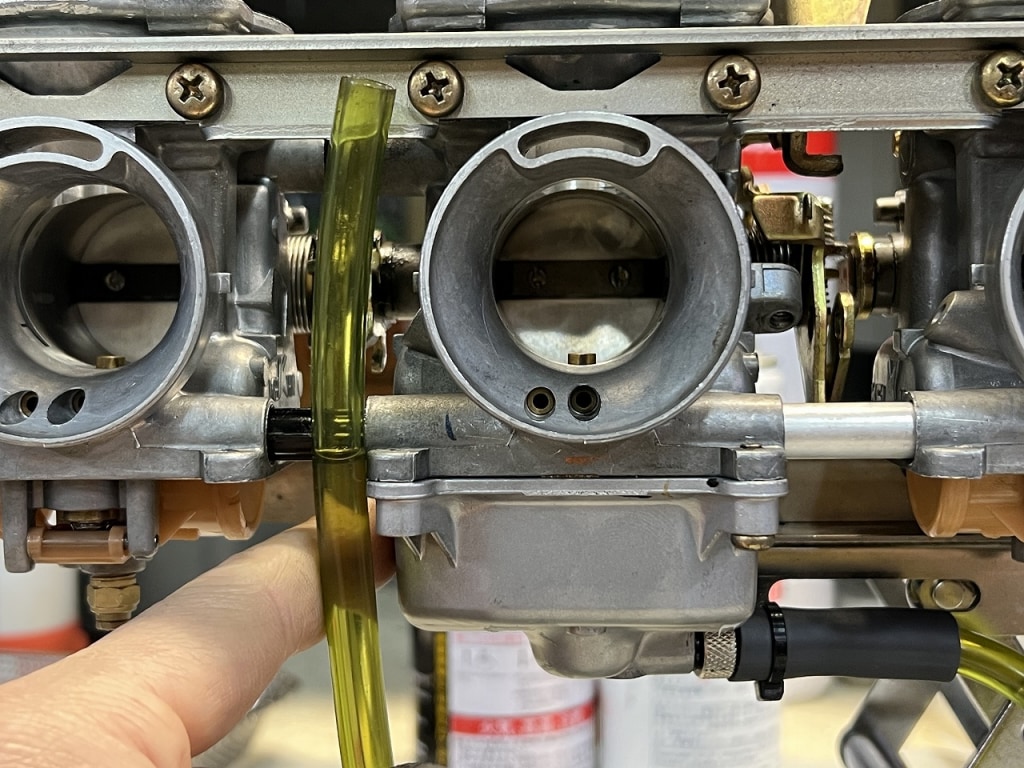
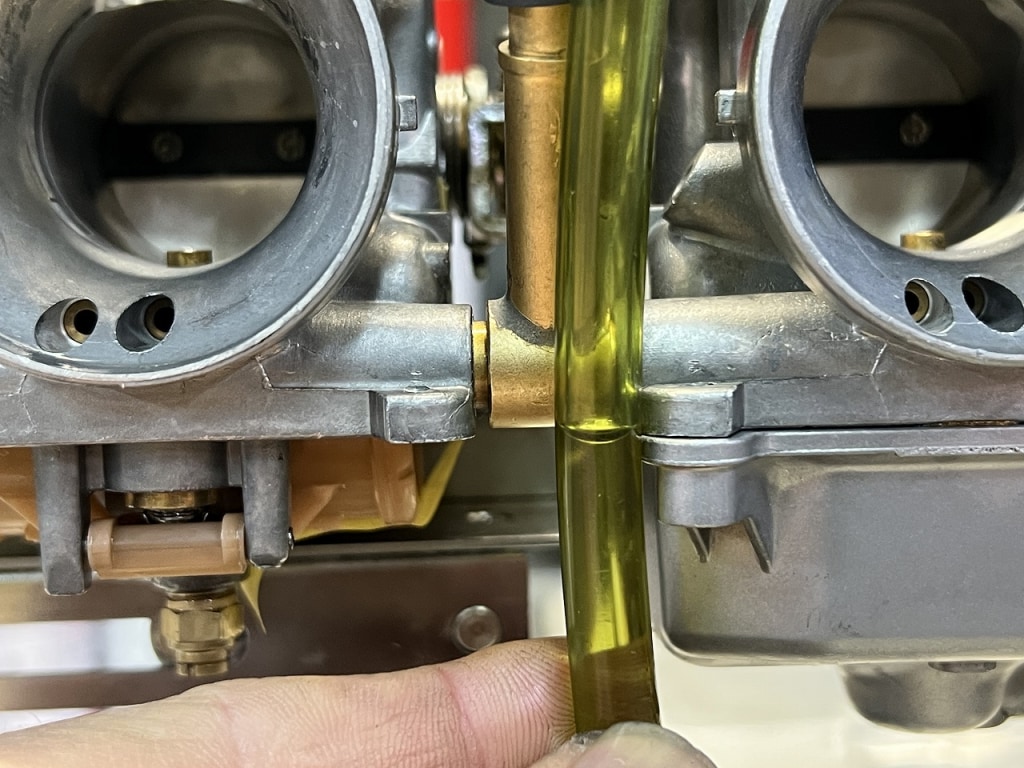
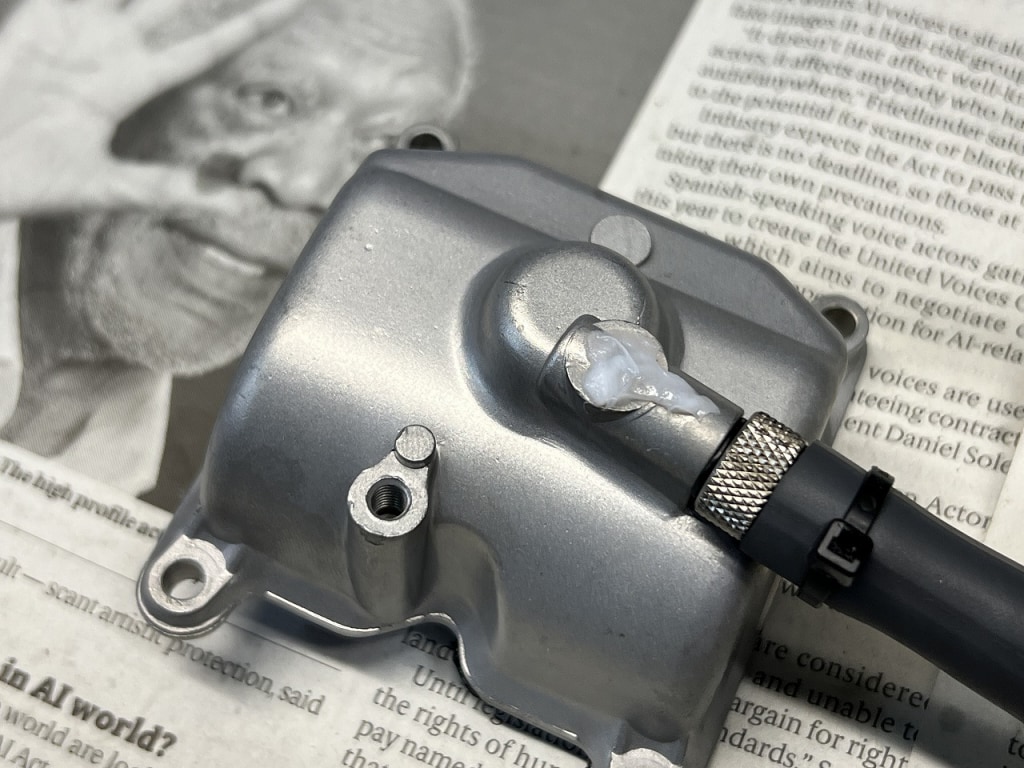
I want to check the carburettor fuel level, but even with the tool attached, the hole leaks.
Just a light coat of fluorine grease stops any leaks from there. With the right idea, fluorine grease is incredibly useful, so having one on hand is really great. You might even want to carry one on a tour.








 ポチップ
ポチップ